 Dan Schnur
Video Game Business Card
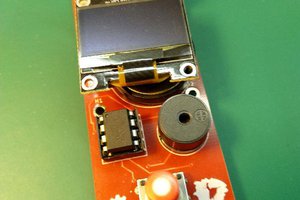
This business card uses an ATTiny85 programmed by an Arduino AVR via the pin header.
It uses the Open Source repository from Tiny Joypad for the software.
The screen can be just about any 128x64 SSD1306 device. I use the .94" one to keep costs per unit down, but I designed the card with space to fit a larger size screen too.
The button top of the joystick is designed in OpenScad and 3D printed.
This is very much designed to a price. That's why there is no USB port, no rechargeable battery, and it requires an external programmer via an unpopulated AVR pin header.
My original goal was to keep the BOM below $6.00, but it's crept up a little over time. I also had to re-design it because I could not order the attiny85's in a SOIC package for a while. QFN's are more difficult to solder, but I think the card actually looks better for the work!
Some of my component choices were also simply "because I had a lot of them." When looking at the card, see if you can find any components that only slightly make sense. There are a few of those. Balance those with the cost of ordering different ones and waiting for them to arrive and the method to my madness becomes apparent. Oh, and for the love of all that is pizza: Use a more thumb friendly button. I had way too many of the ones you see here and had to get rid of them. They make an ok button for game play, but you can do better. Don't be as cheap as I am. Be better!
The software is from the amazing set of games/tools/api from danielc at tinyjoypad.com. All it took to make them work as a little code integrating a graphics library and some to flip the screen so it works with this design. That code is on my github page. I like the idea of being able to switch games, so I included the least expensive option I could. An unpopulated pin header is on the card that I use to program it.
The programmer I use is an Arduino nano with a 10uf cap between GND and RST, and 5v, GND and D10 -> D13 to the appropriate pins soldered to a 2 row 6p pin header that I wedge into the holes on the card to load software. (My teacher wife would roll her eyes at me because of that last run-on sentence. Glad she's not going to see this.) The total cost of the programmer is around $6.00 and lets me be flexible with the software I load on the cards.
Finally, I used ATTinyCore from Spencer Konde to add support for the microcontroller to Arduino IDE.
Things to note: The version of Arduino IDE and the libraries you have often affect how the software compiles... or doesn't. Several of the games should be simple to get running. A few will require some debugging to work with your setup. Changes are almost always minor.
Files:
https://github.com/dschnur/Business-Card-4.0
BCD Joystick Cap.scad - OpenSCAD file for the pad on the top of the joystick.
BCD Joystick Cap.stl - STL file - import in your 3D slicer.
BOM_Game-Buisness-Card_2024-05-24.csv - Current Bill of Materials updated with in-stock items @ DigiKey
BOM_Game BCD 4.0_2023-04-13.csv - Old bill of materials for the card.
PCB_Game BCD Board 4.0_2023-04-13.json - EasyEDA PC Board.
SCH_Game BCD 4.0_2023-04-13.json - EasyEDA Schematic.
From tinysaur:
ssd1306xled-master.zip - Arduino Library for the OLED screen.
(He liked it too: https://tinusaur.com/2022/04/17/business-card-with-display-uses-our-attiny85-oled-library-ssd1306xled/)
From tinyjoypad.com:
Tinyjoypad Games/TinyDriver.h - Modified OLED library driver include for use with ssd1306xled. Use this with all programs below.
Tinyjoypad Games/SOFTWARES/ - Contains test software
Tinyjoypad Games/Games/ - All games included here. Use TinyDriver.h and the ssd1306xled library.
ATTiny85 Support for Arduino IDE:
https://github.com/SpenceKonde/ATTinyCore


 Thomas Capricelli
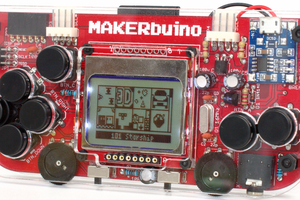
 CircuitMess
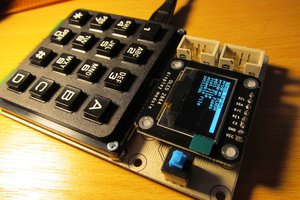
 jaromir.sukuba
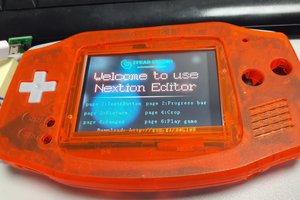
 Craig Hissett
Right now it runs from a 3 volt cr2032 coin cell. To keep the price down, it does not use a lithium battery. It also has a minimal low power microcontroller, so it won't run Arduboy programs. You could modify it, add a USB port, a Lithium battery and charge controller. I didn't because my goal was not only to keep the price low, but to keep the build as simple as I could.