ESP8266 is a fantastic Wifi Microcontroller which comes very cheap and you can do lot more than blinking the LED. I started getting comfortable with ESP8266 (NodeMCU) when I controlled my office AC with Alexa:
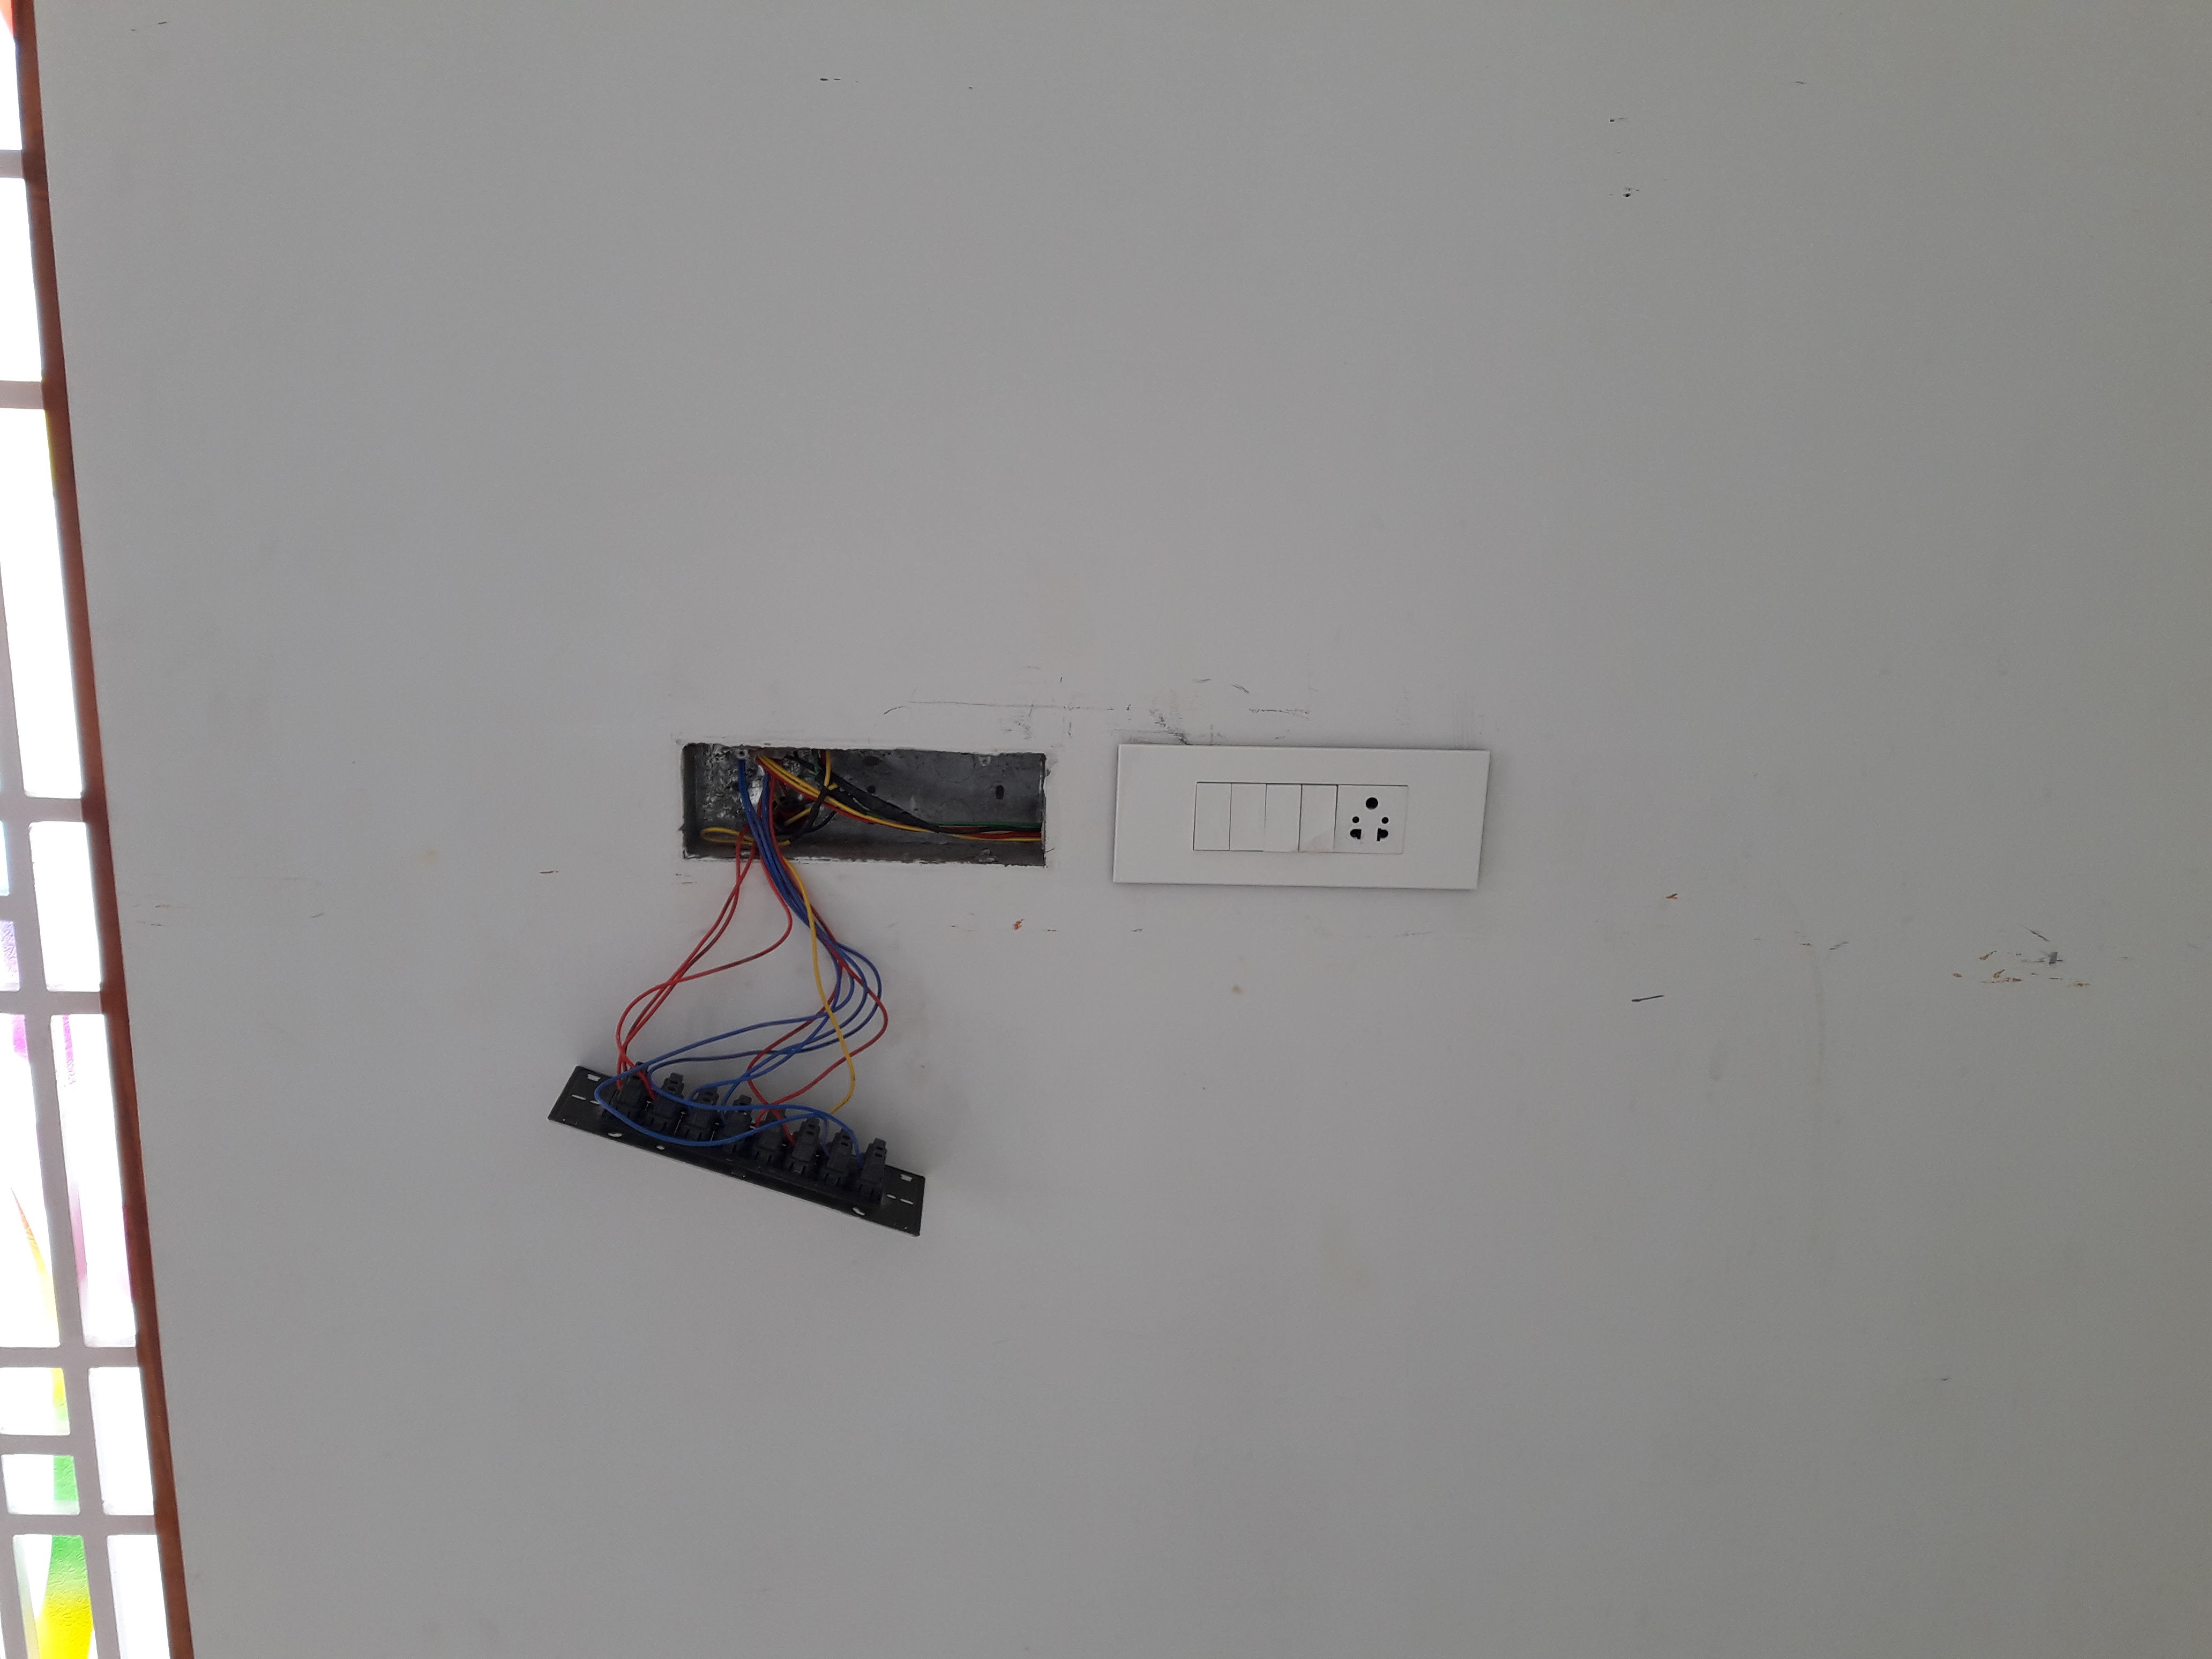
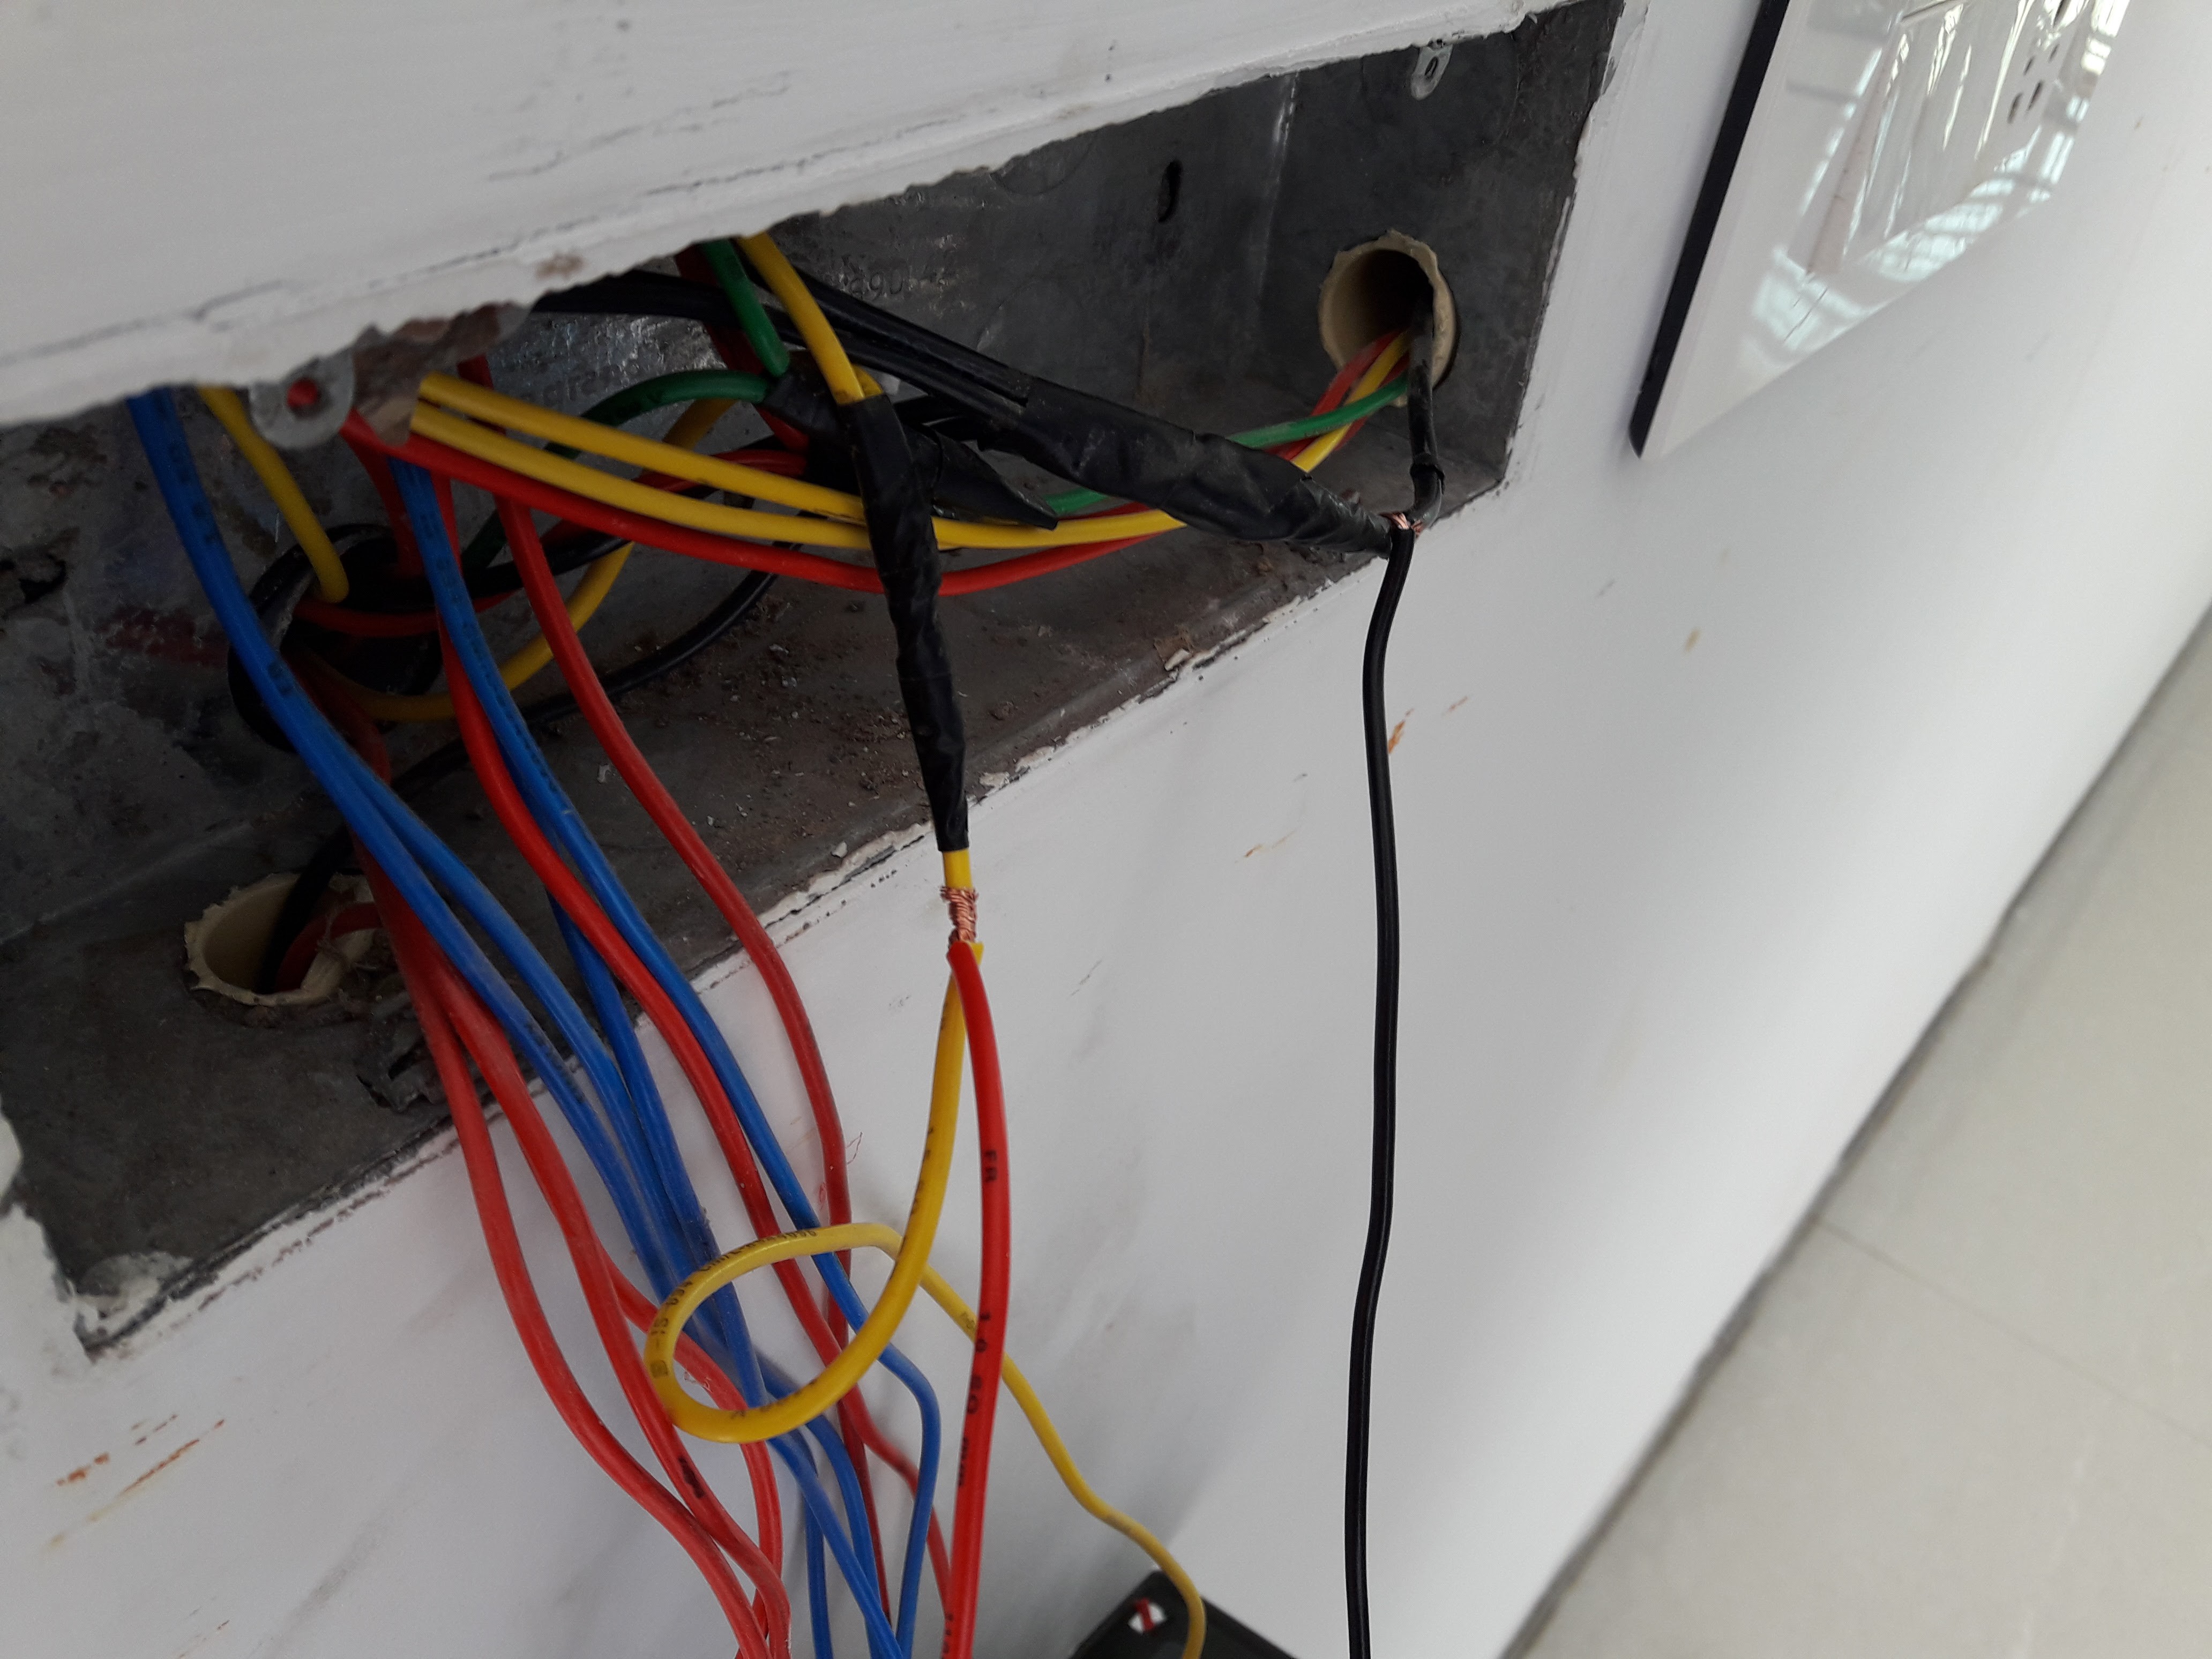
Recently we started building a new house and as a maker I want to do home automation for the new house. We had few places where 2 way switching (using two 3 way switches) was planned. Even when home automation is implemented, I wanted the user to control the switches in traditional way even without the mobile app. For example, if the light is turned off from the mobile app and the user wants to turn it on again with the normal switch, he should be able to do it. This requirement was not satisfied by existing relay boards if I plan to put one in parallel with the existing switch.
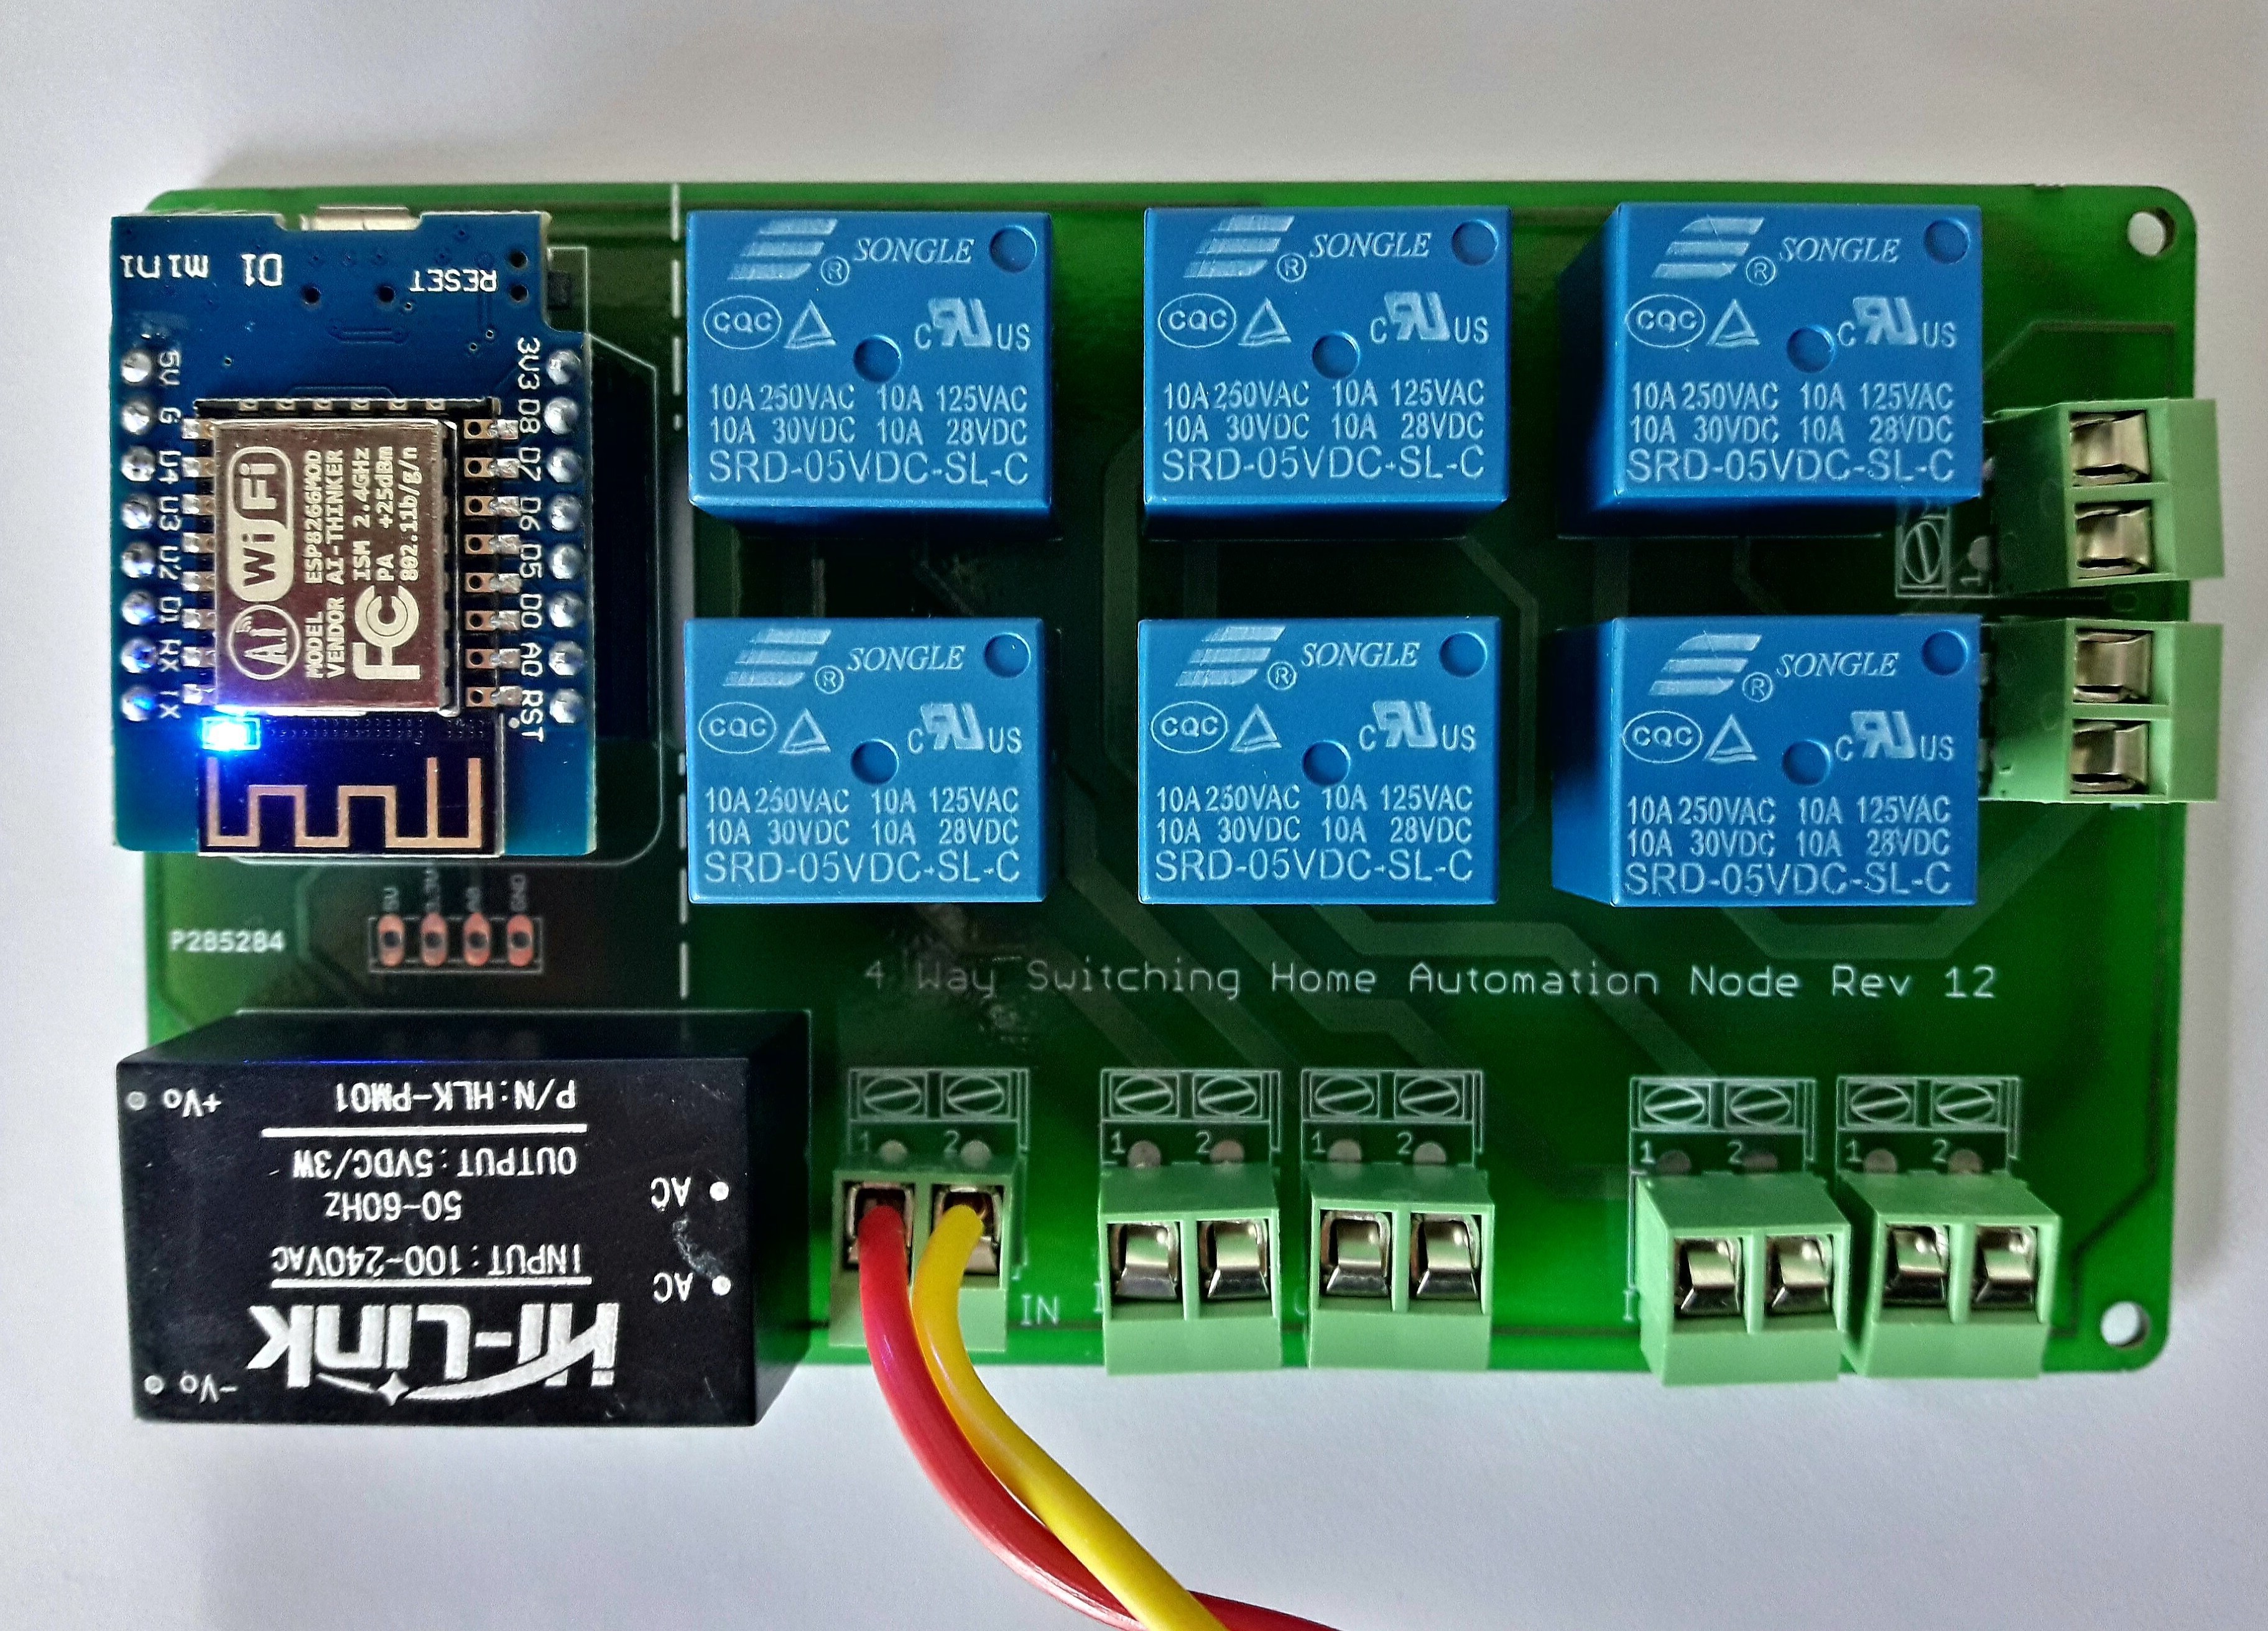
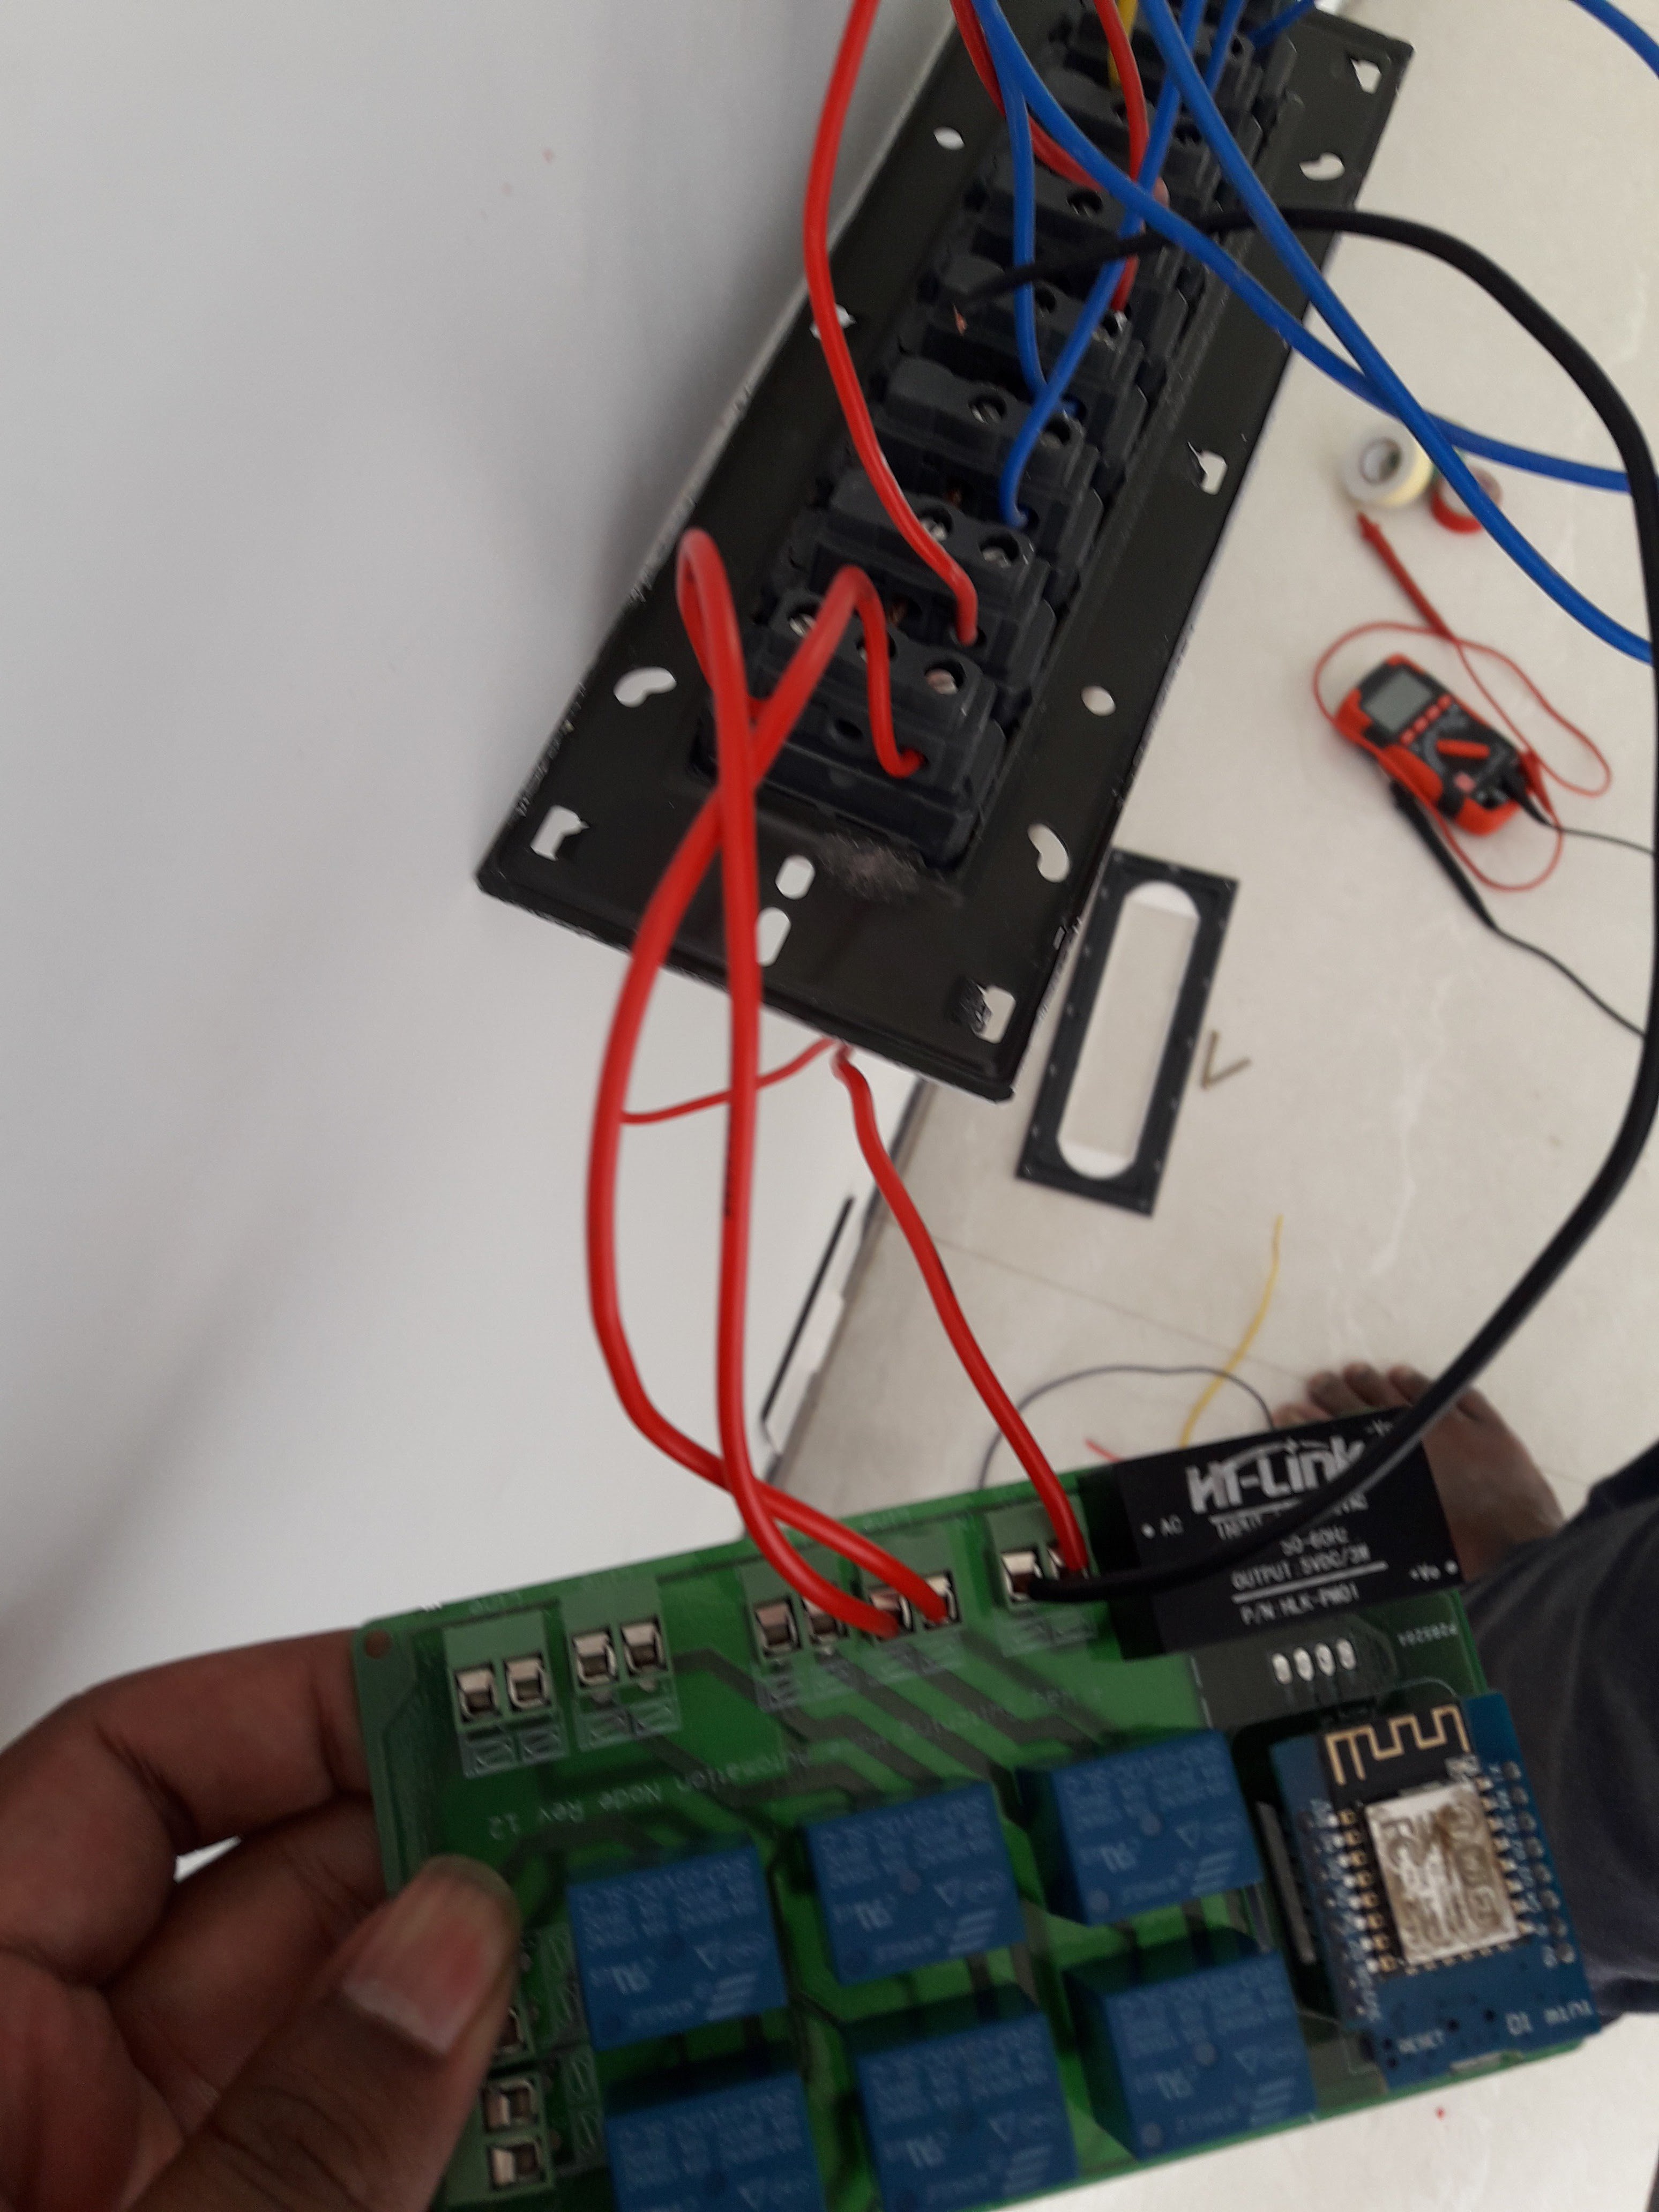
So I design a ESP8266 controlled 4 way switching relay board which can be put in between two 3 way switches. It used 2 relays to implement a 4 way switch (DPDT switch) and there are 3 sets of 4 way switches in the board.
Here's a very nice video which explains how Four-way switches works:
CAD design:
While designed the board, I took careful consideration for creepage distance and clearance. The minimum creepage distance maintained in this board is 100 mils between high voltage and low voltage tracks. The high voltage track width can handle 4 Amps (which is more than necessary for home appliances such as light, fan etc.)
Mechanical constrain:
There was a mechanical constrain while designing the board. I co-ordinated with the electrician frequency while designing the board. He told that the standard switch box size available (in souther part of India) is 5 inch X 3 inch. Initially I planned to have 4 sets of 4 way switches but I couldn't bring down the size of 5" X 3". So I had to ditch a set.
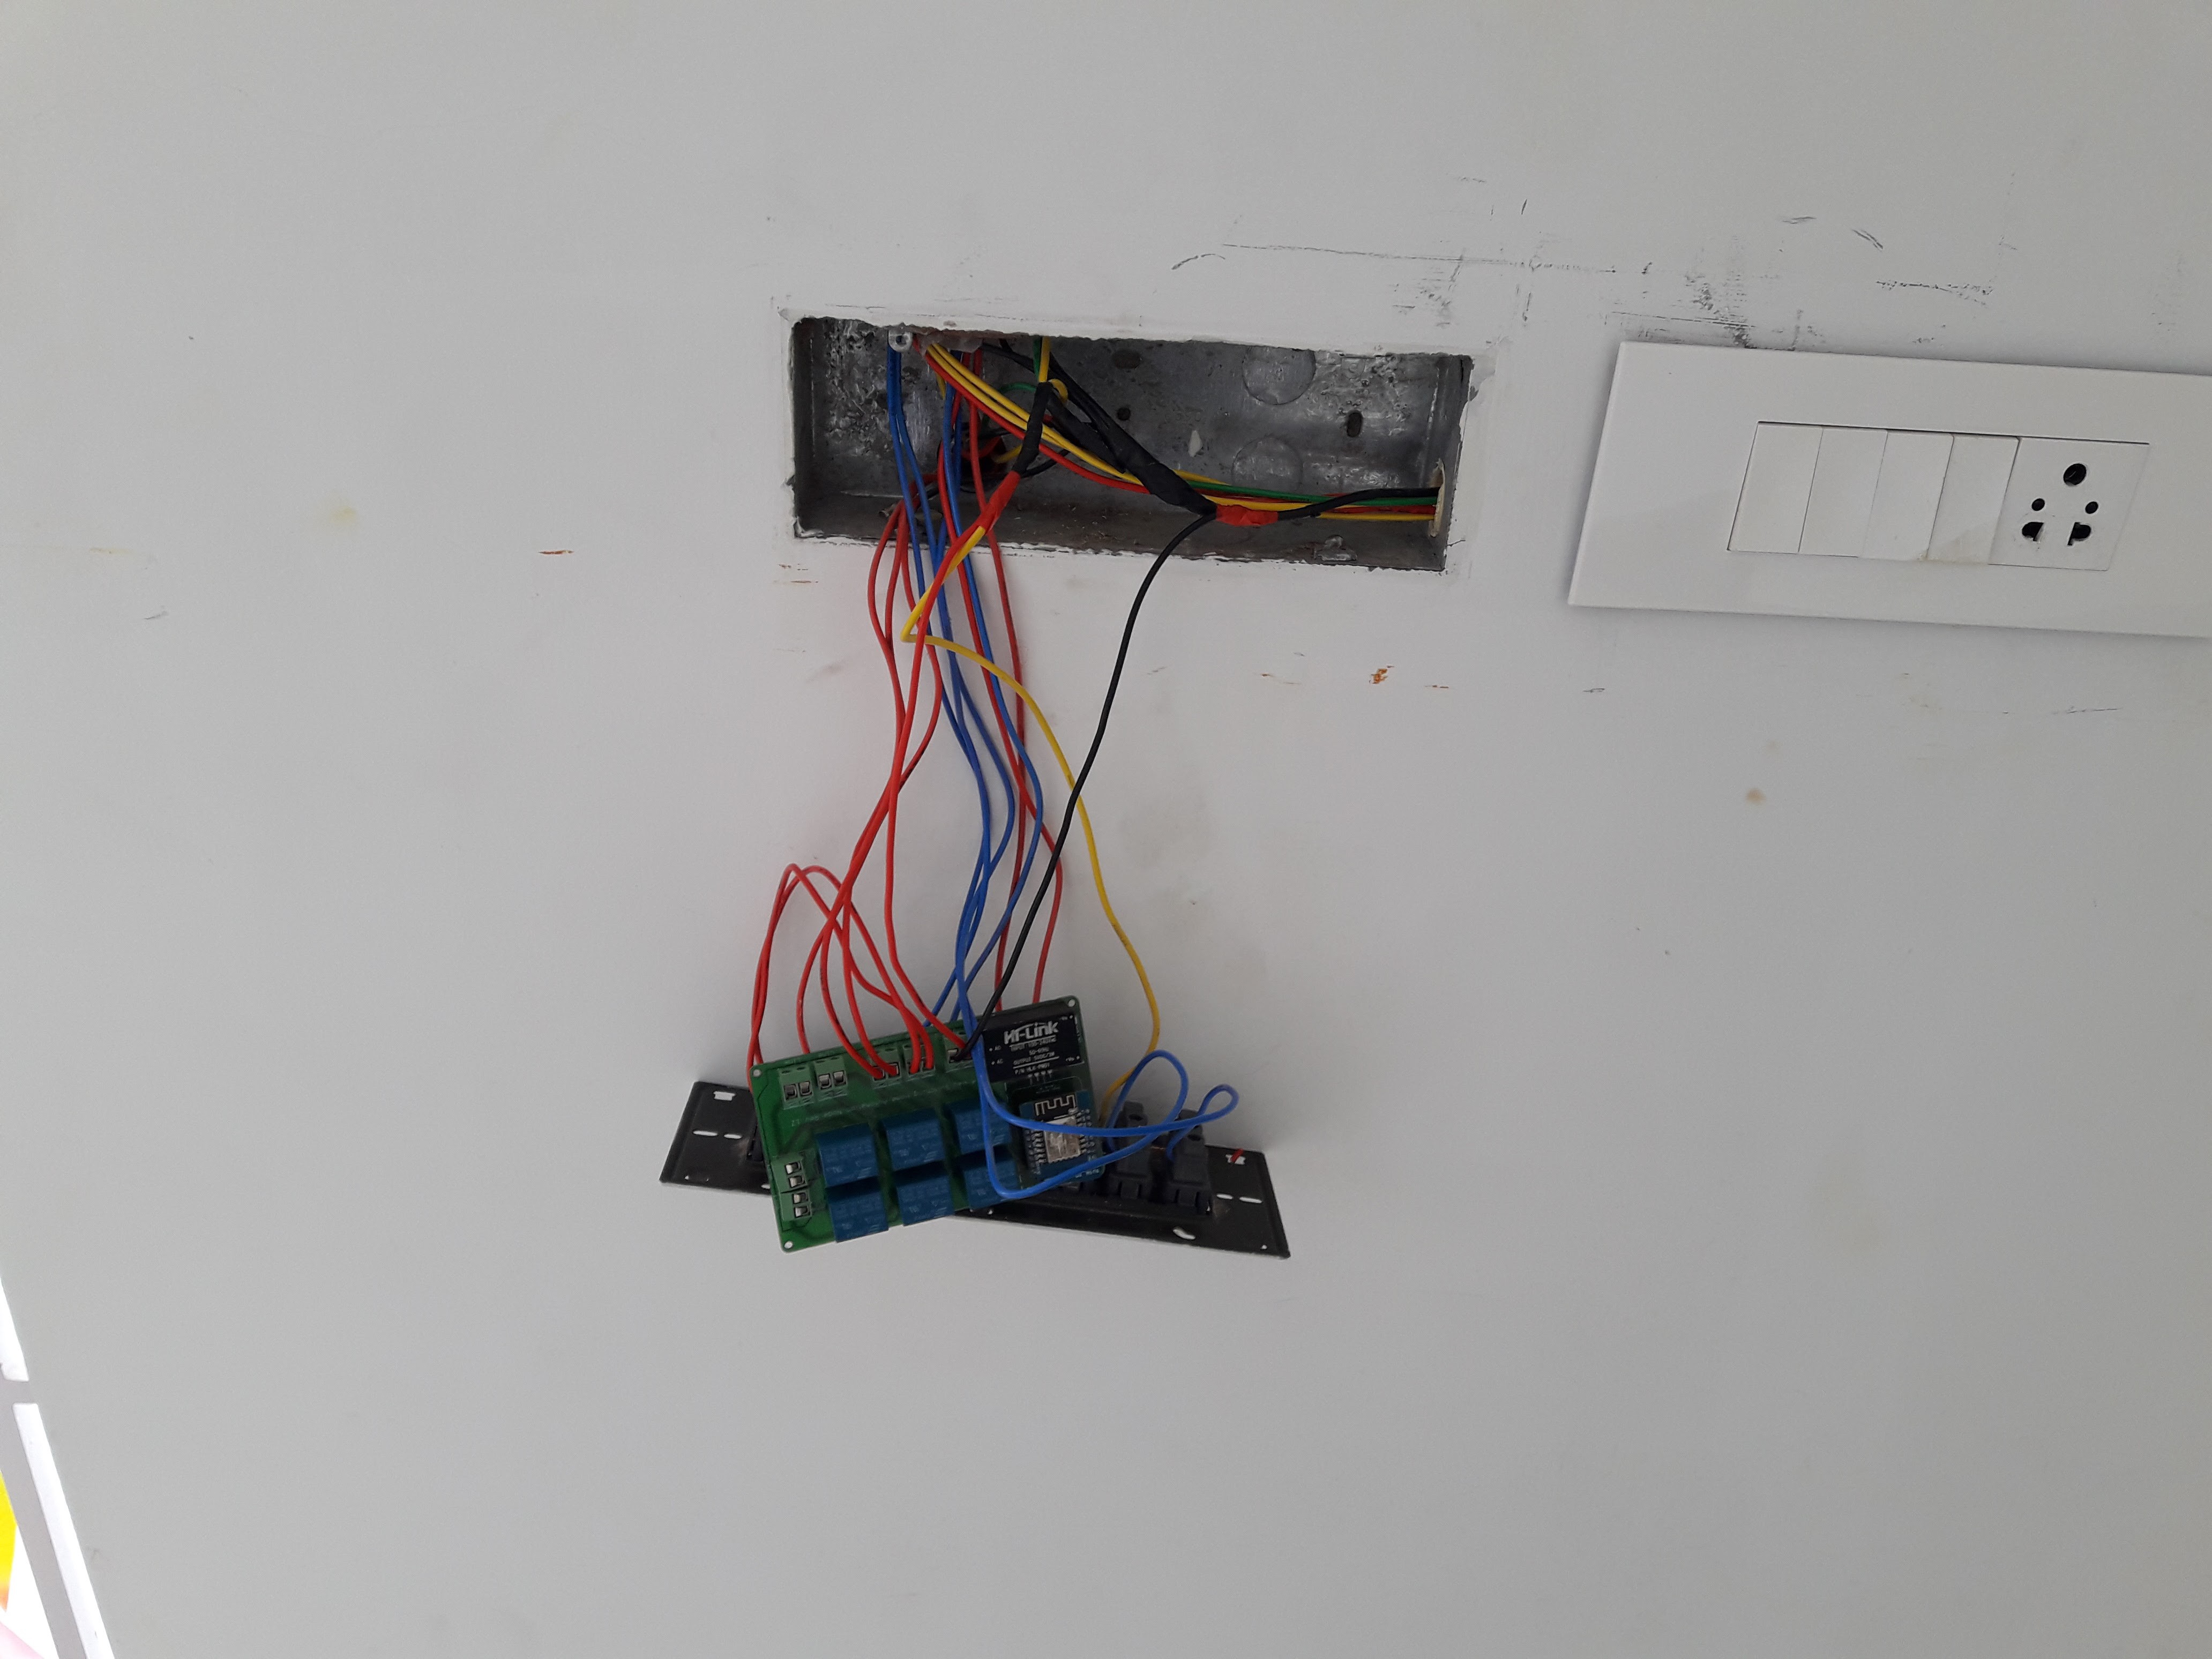
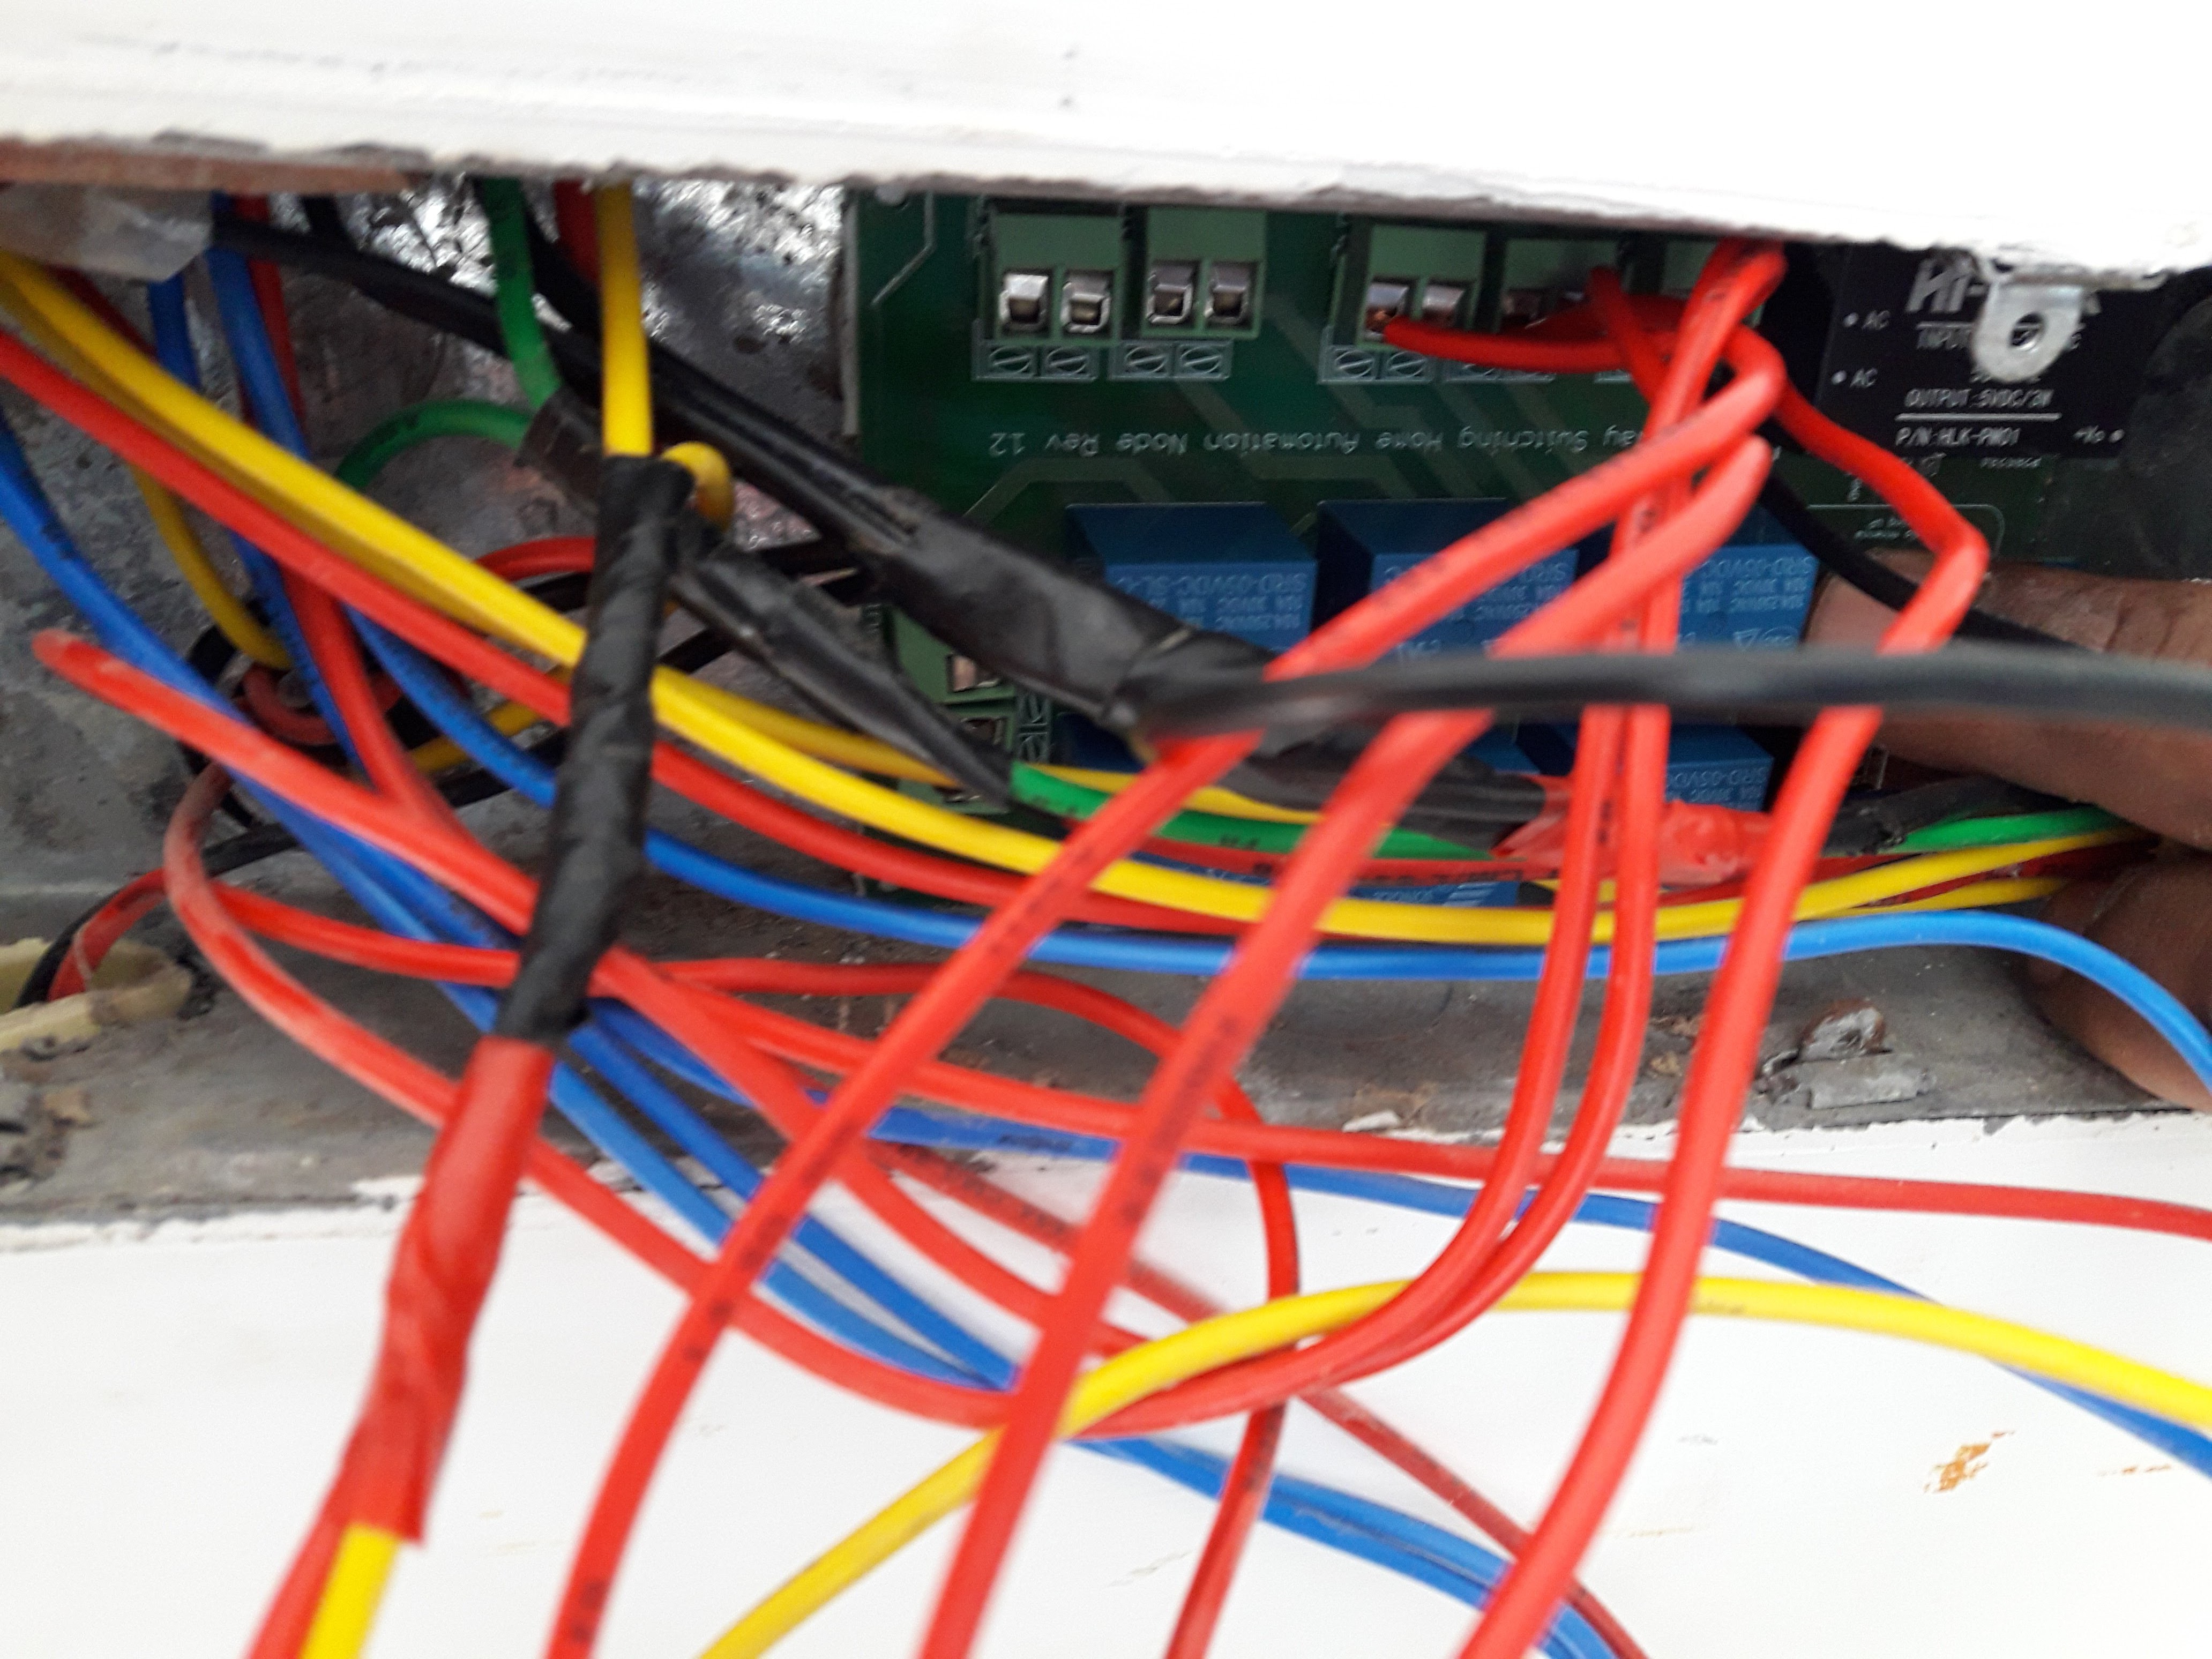
Here's a completed SwitchiFy board:
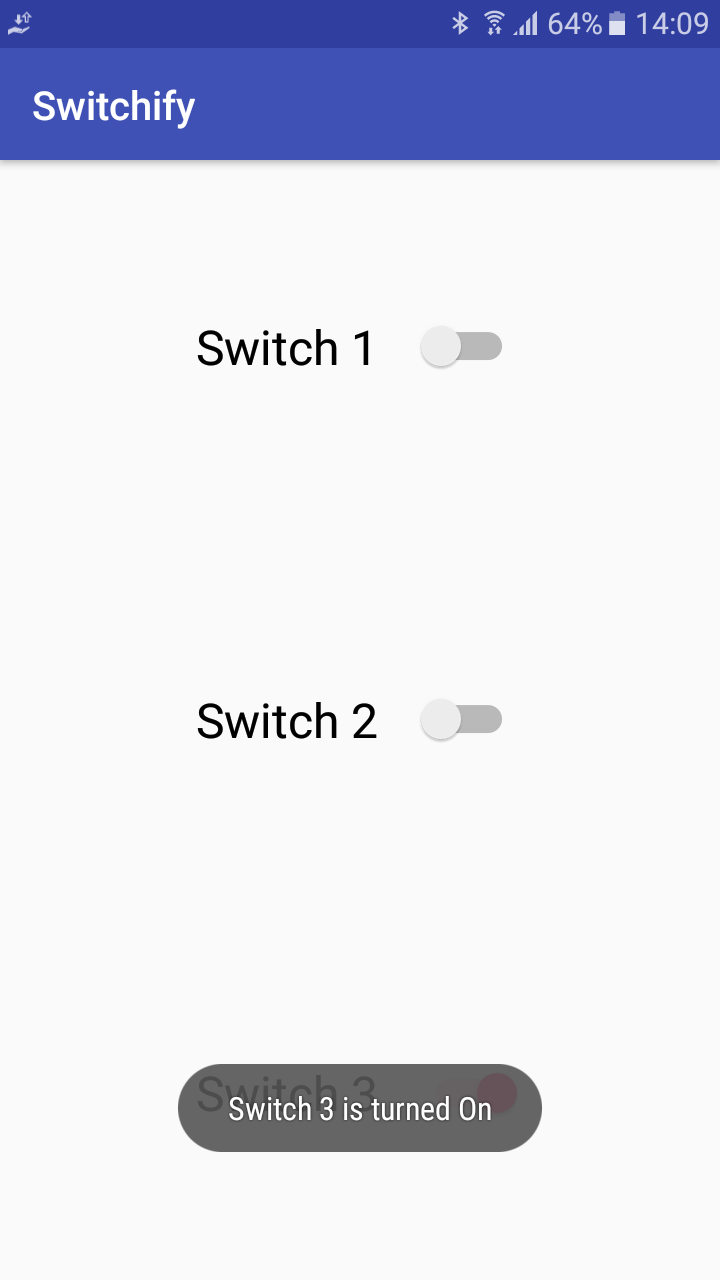
Demo video of SwithiFy board configured in 4 Way Switching mode:
You can order this board on @Tindie: https://goo.gl/pjIX5K


 Lee Otto
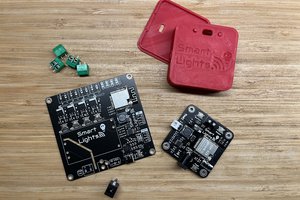
 Jon
Jon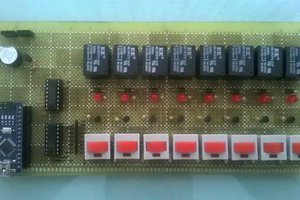
 ZaidPirwani
 Milad
Milad