 Peter Walsh
In the Star Trek (original series) episode "I Mudd", a society of androids, each wearing one of these amulets, kidnaps the ship and its crew.
To defeat the androids, the crew performed a series of over the top acts of silliness, nonsense, and madness. The androids burned themselves out trying to understand the meaning of such actions.
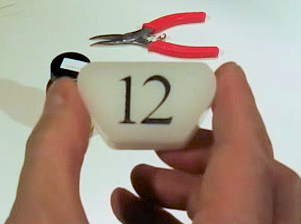
When the androids encountered something they didn't understand, the amulets would blink and beep - indicating that the entire android society was pondering (in unison) what to do.
At a con, many people will get the reference and remember what the crew had to do to to defeat the androids.
If you wear this amulet at a con, you will get many, many people performing wacky and screwball scenes in an attempt to bewilder the "android".
Every time you see one you can stop, activate the amulet, and enjoy the show.
This is also one of the simplest hall costumes you can have at a con.
The amulet will go with just about any costume, including street clothes!
|
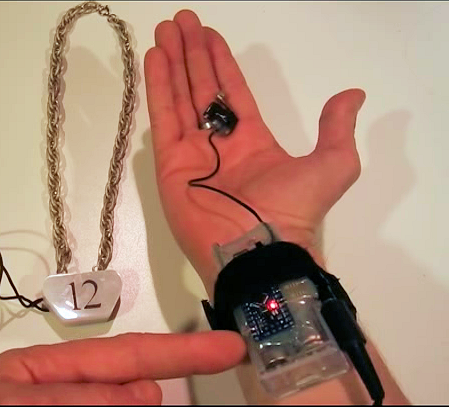
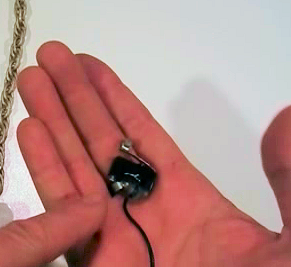
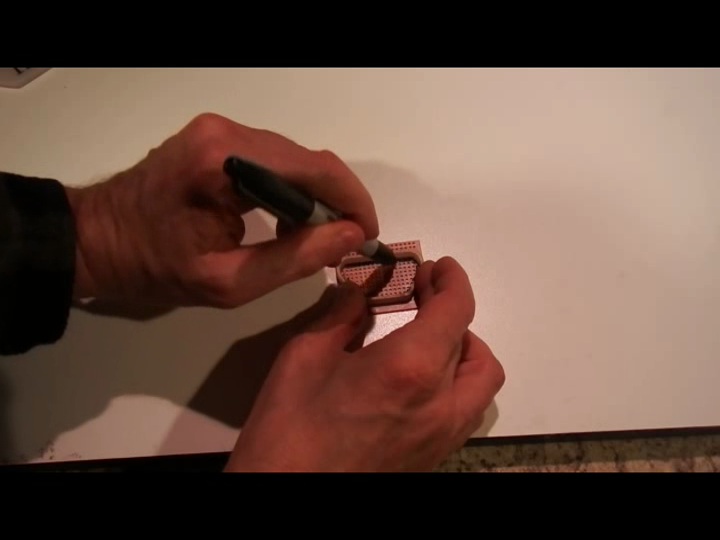
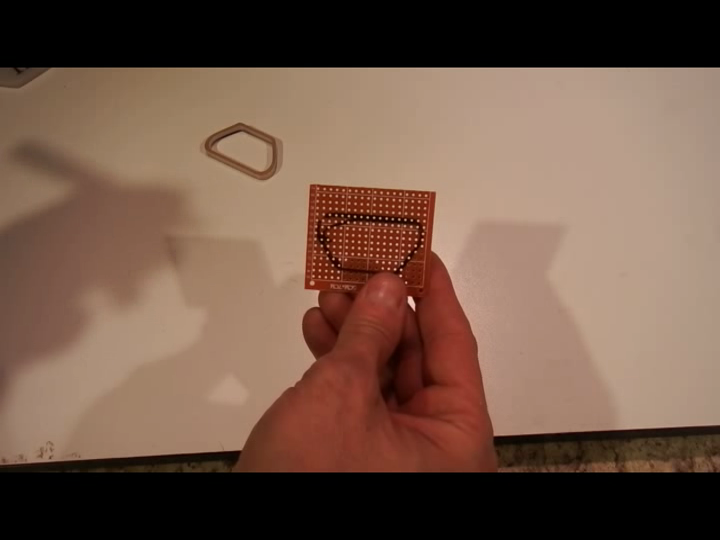
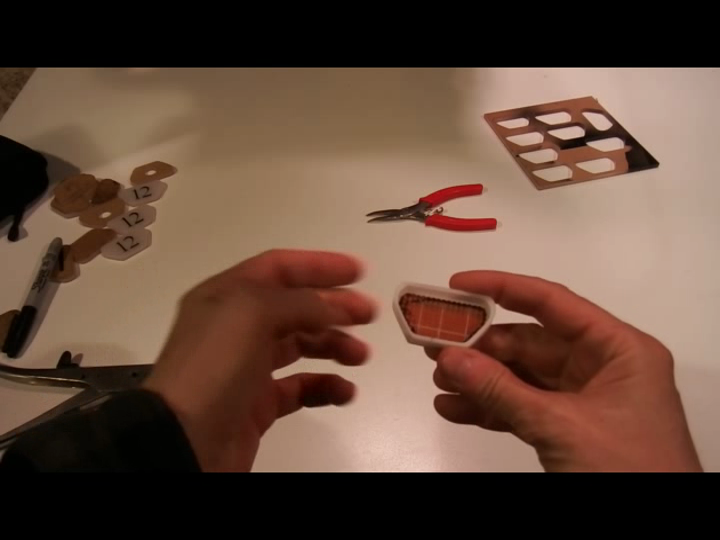
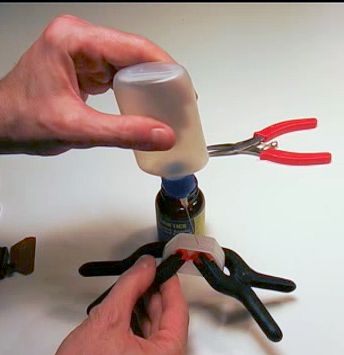
The amulet connects to a battery pack and control switch. Hide the switch somewhere on your body and you can discretely control the amulet. For example, you can wear the battery pack on your wrist and mount the switch on the backside of a ring. When you see something interesting, a quick press starts the amulet beeping, and a quick press stops it. Press and hold activates continuous mode, for those scenes which are especially confusing. |
|
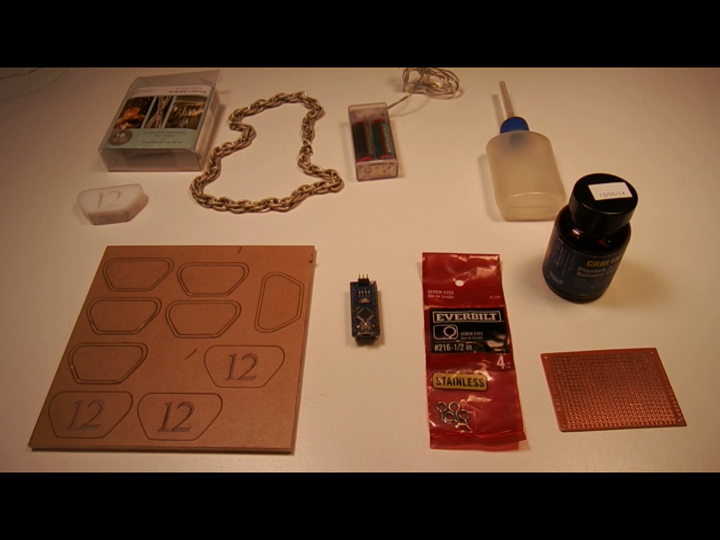
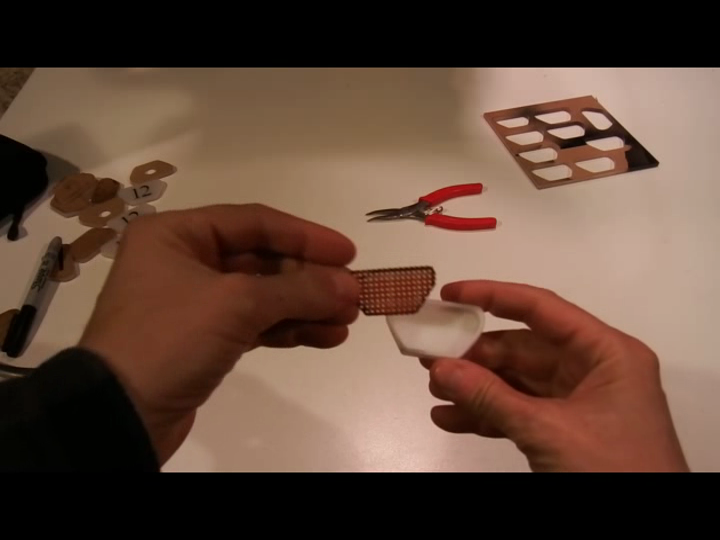
Here's what you need to build one. You can get the exact chain used in the series episode on eBay by searching for "double textured chain" in the jewelry section.
The LEDs with battery pack is also on eBay - search for "LED string lights".

This work is licensed under a Creative Commons Attribution-ShareAlike 4.0 International License.


 shlonkin
 Adam Sifounakis
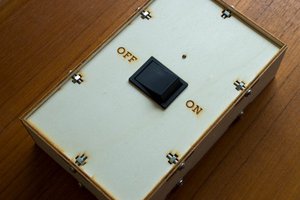
 unigamer
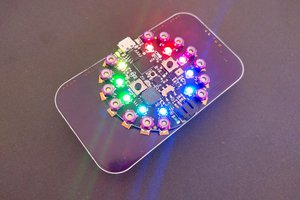
 deʃhipu