 Mike
MikeThe First Video SupplyFrame made documenting the Cabinet's build while at the SupplyFrame DesignLab!
This Project Consists of 5 Deliverables:
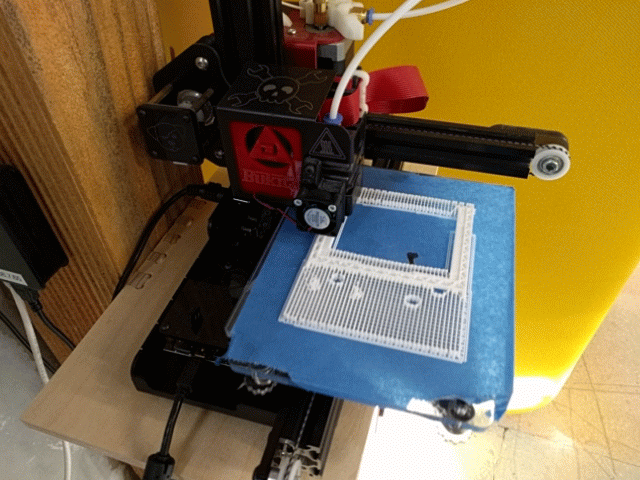
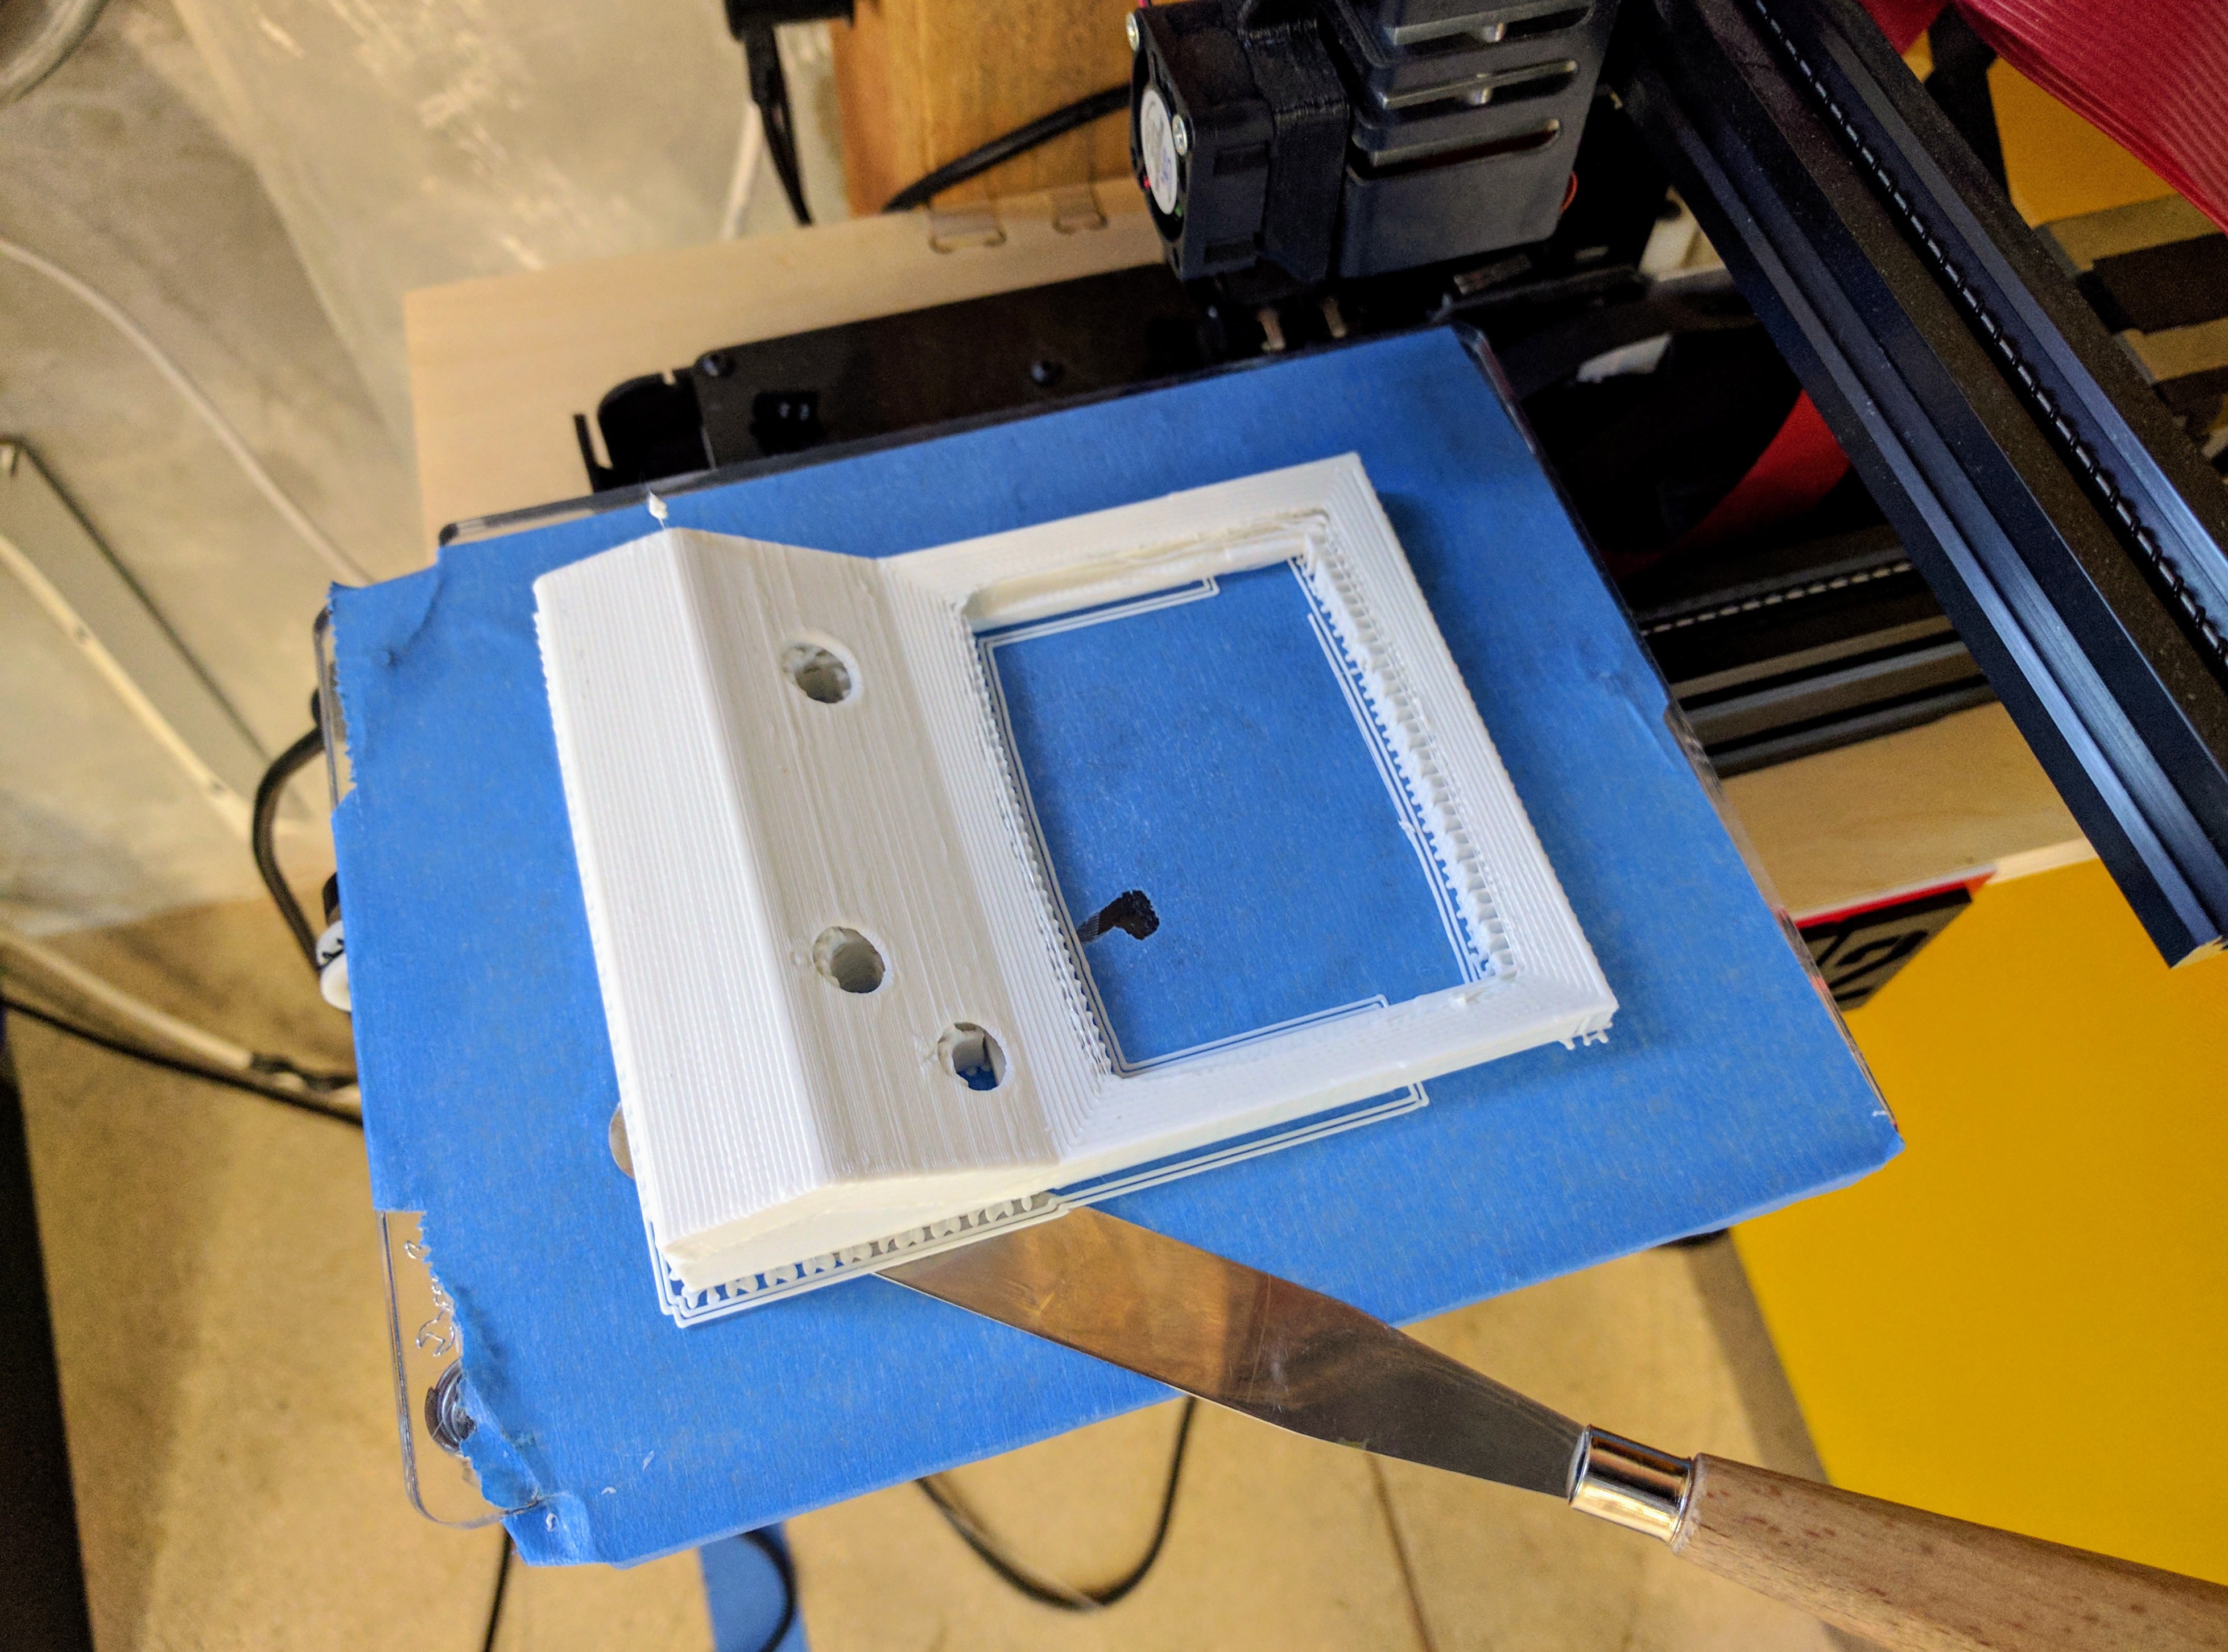
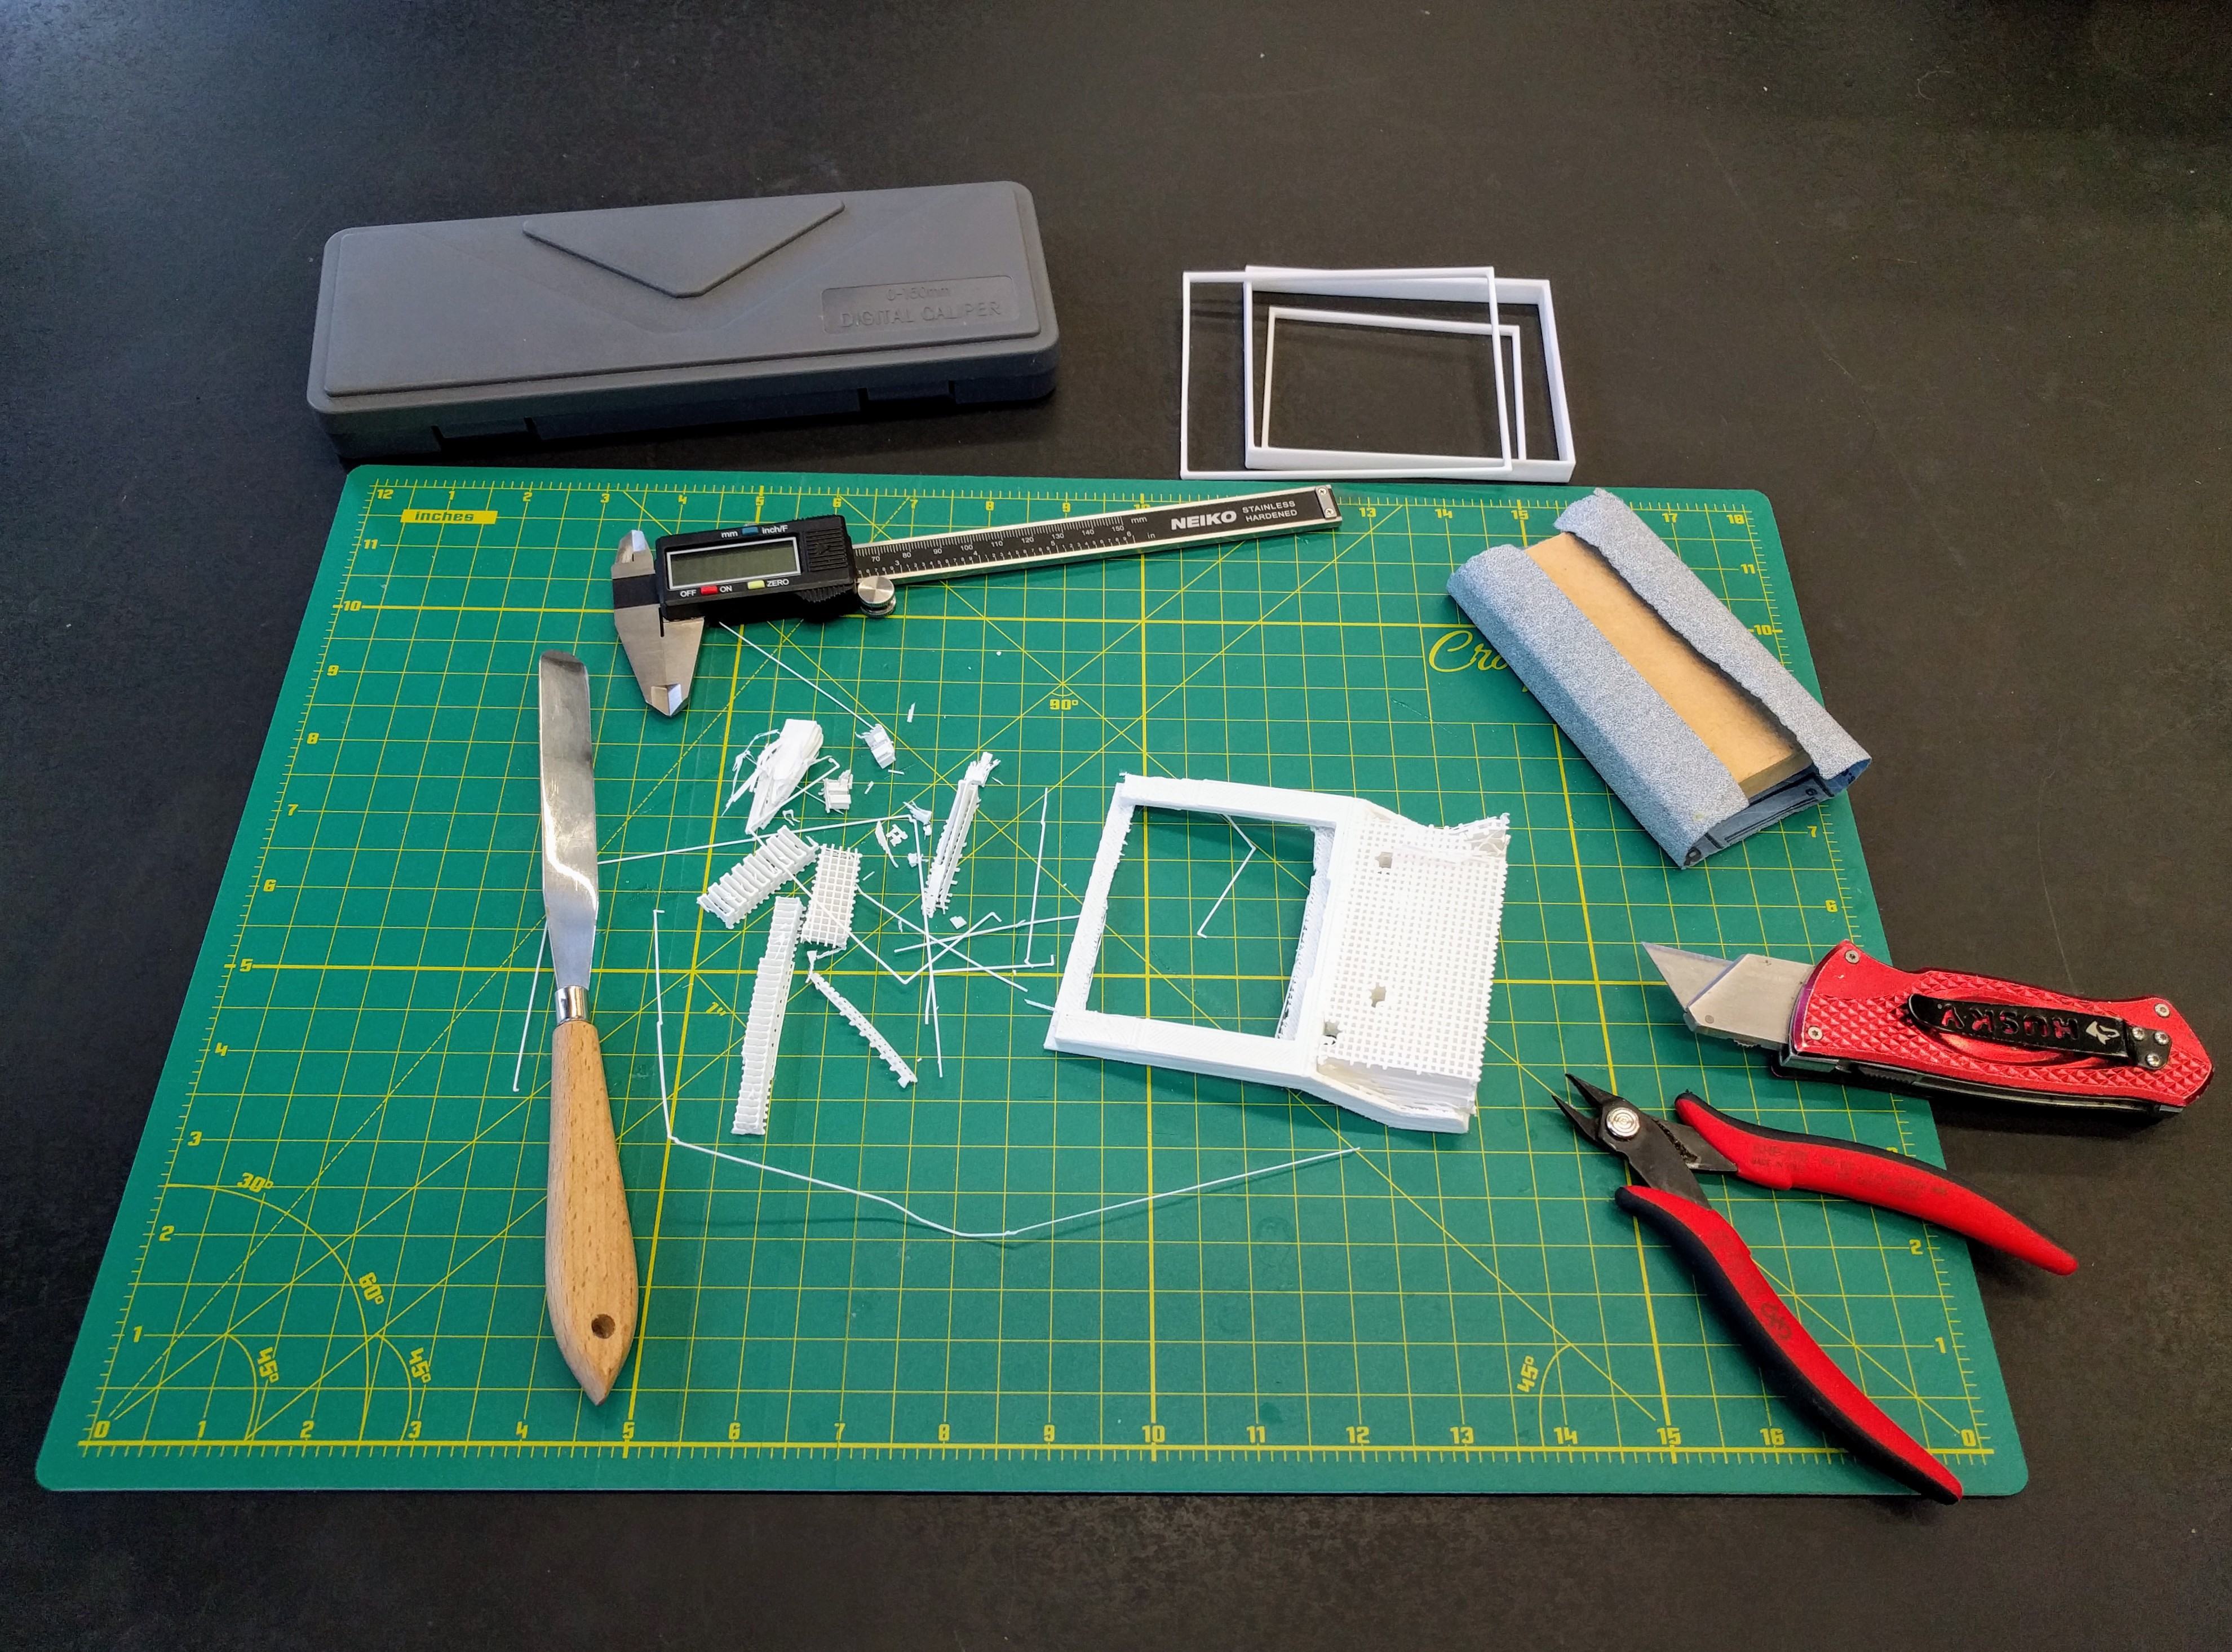
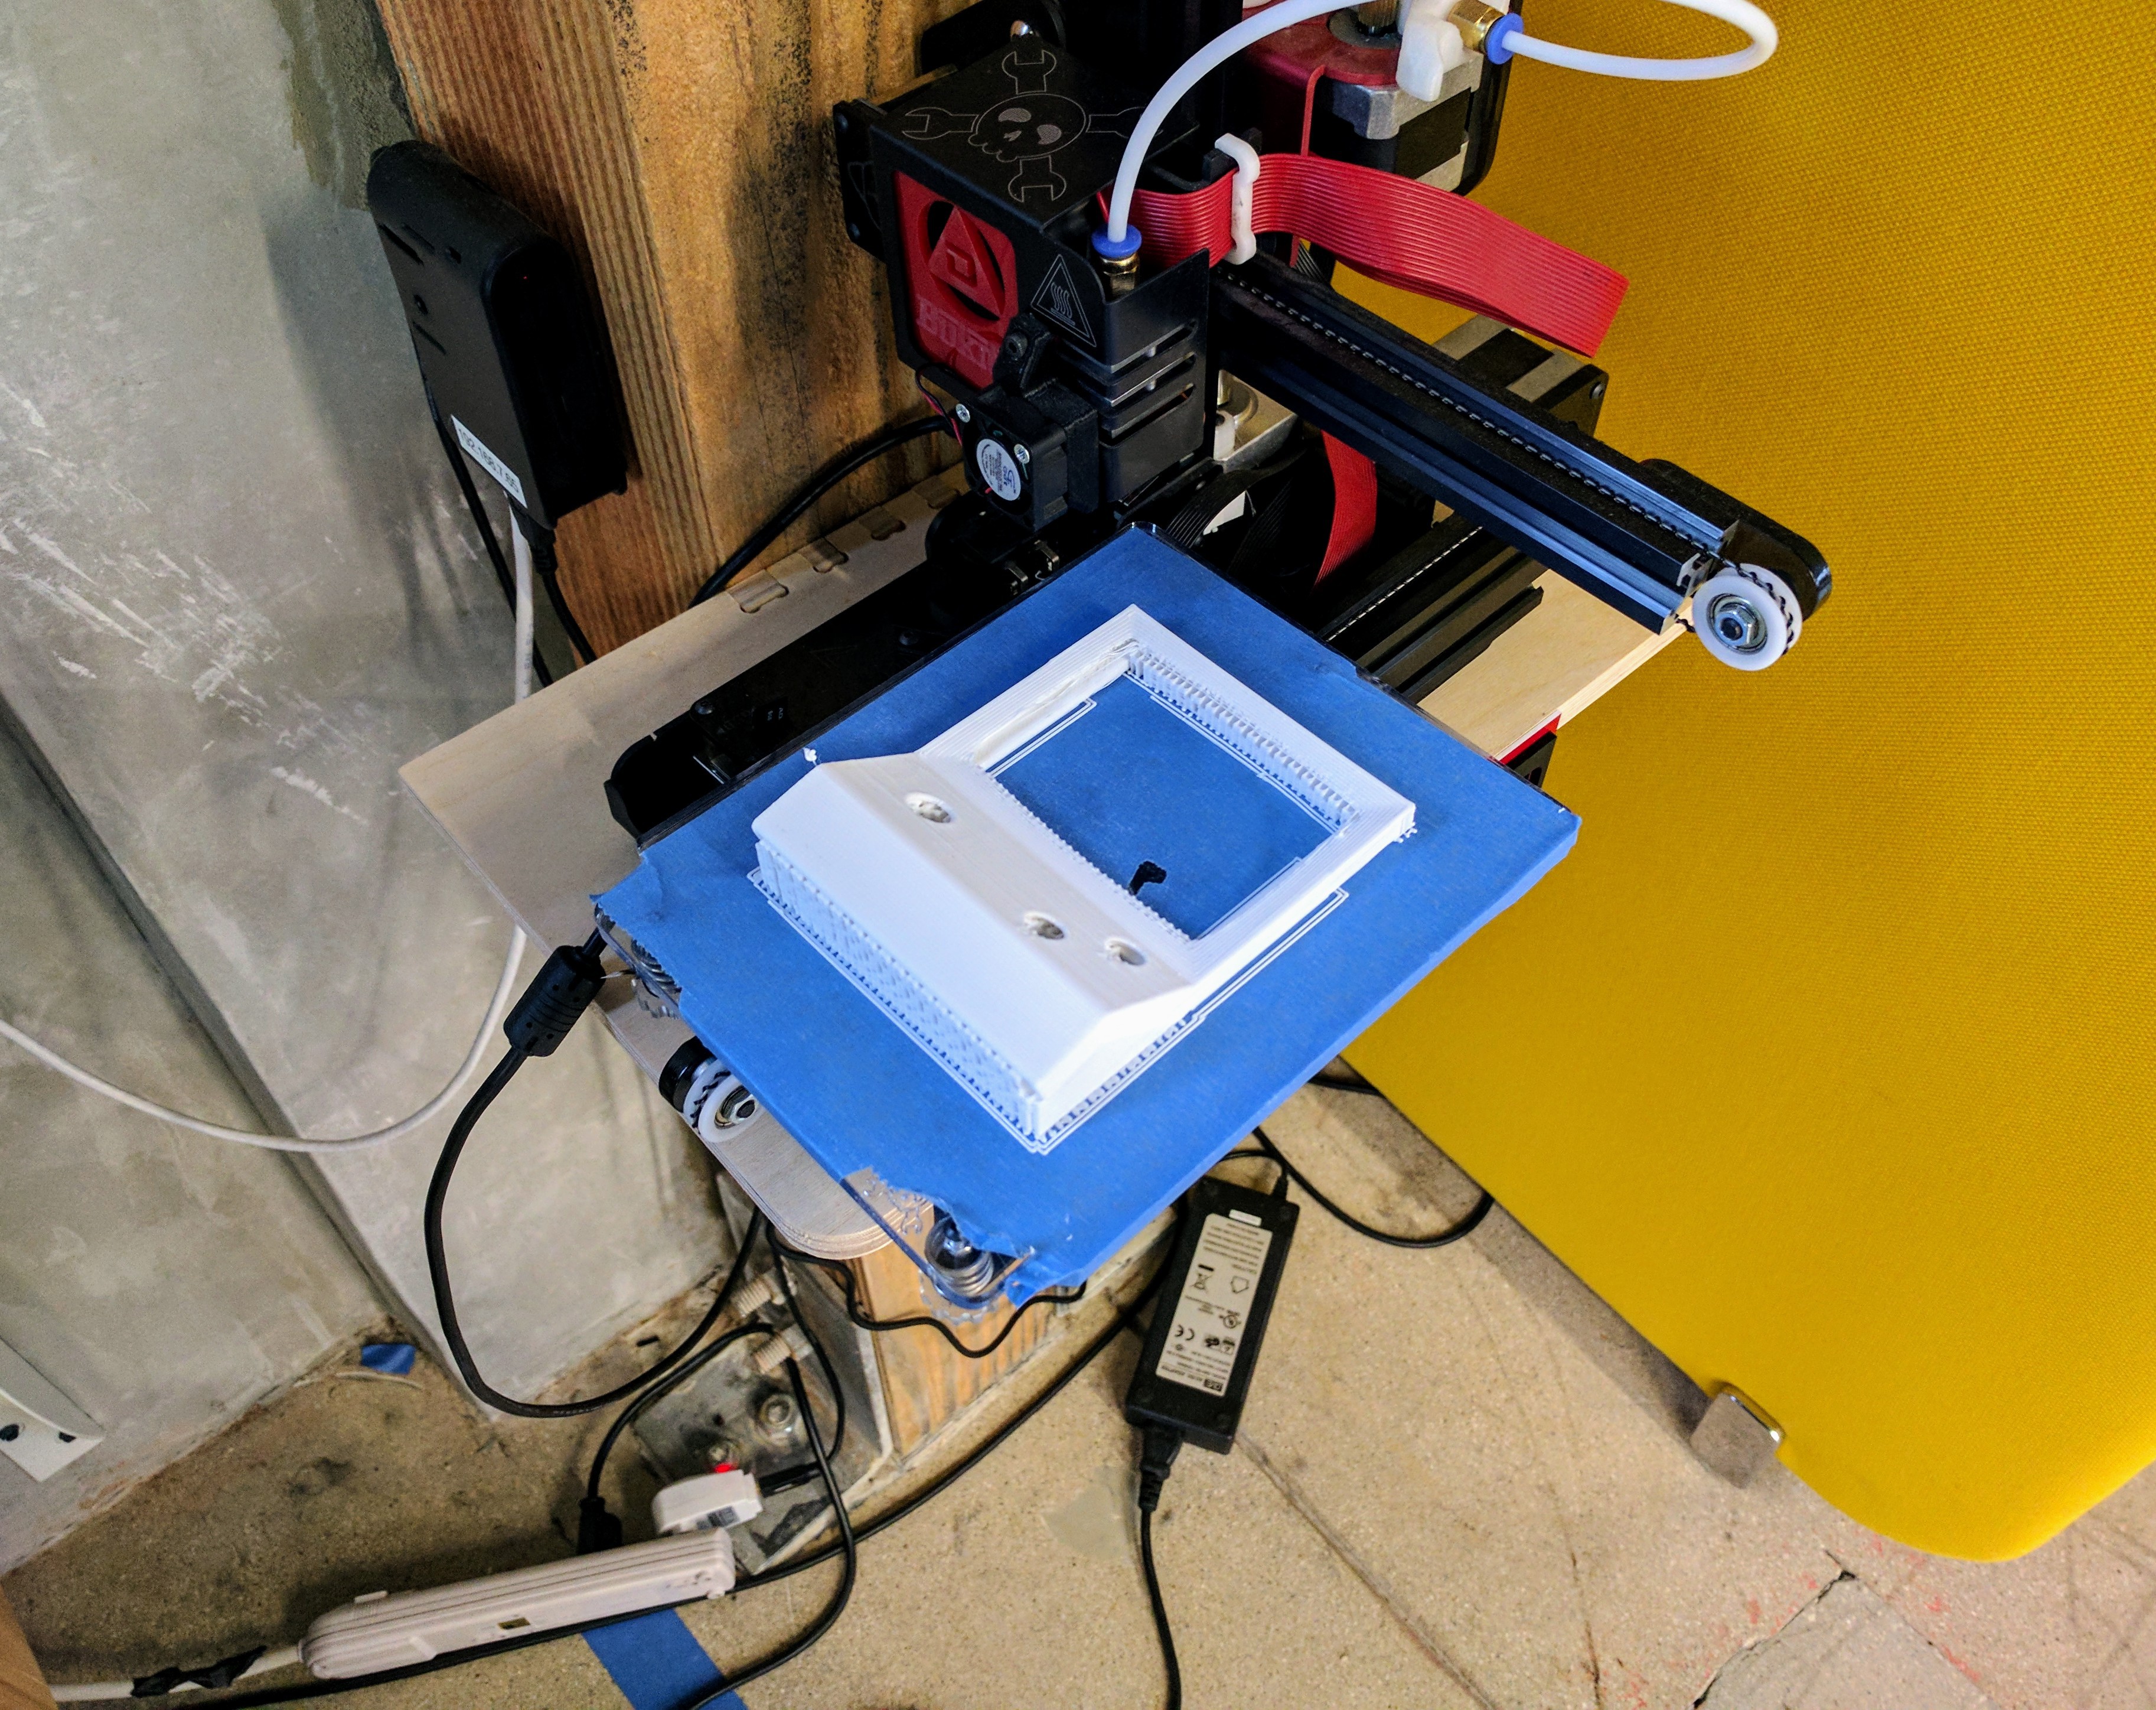
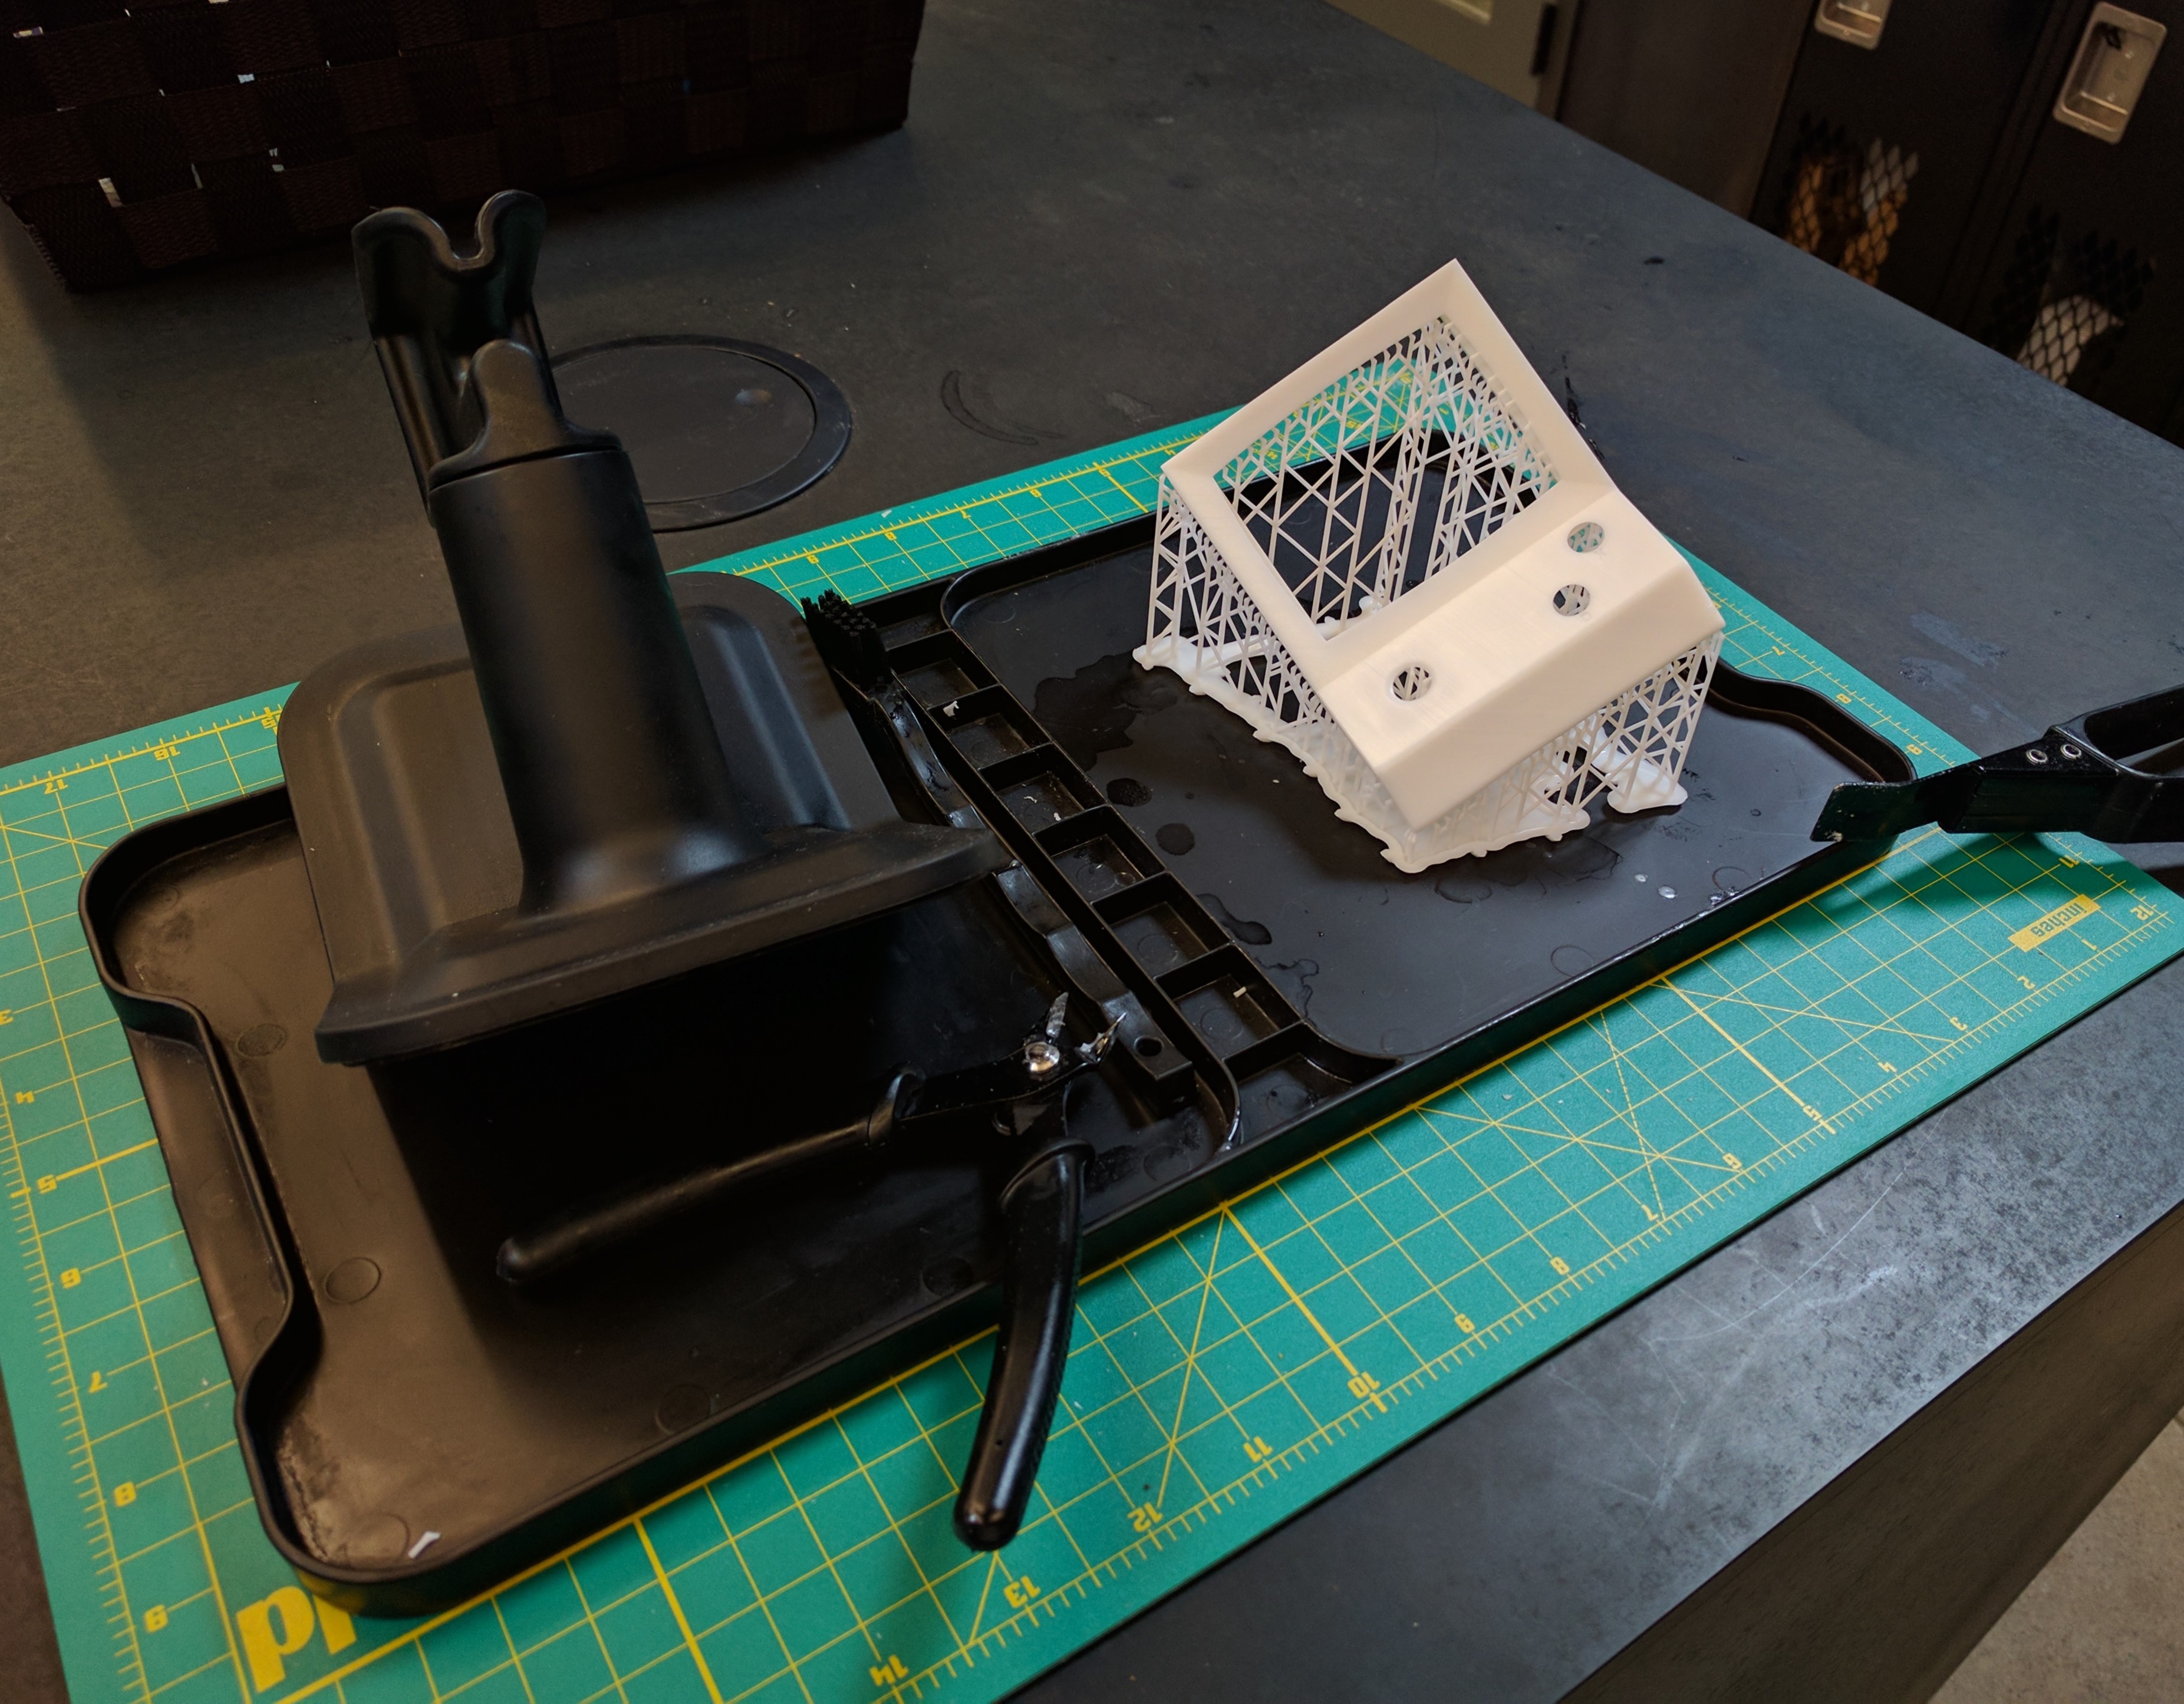
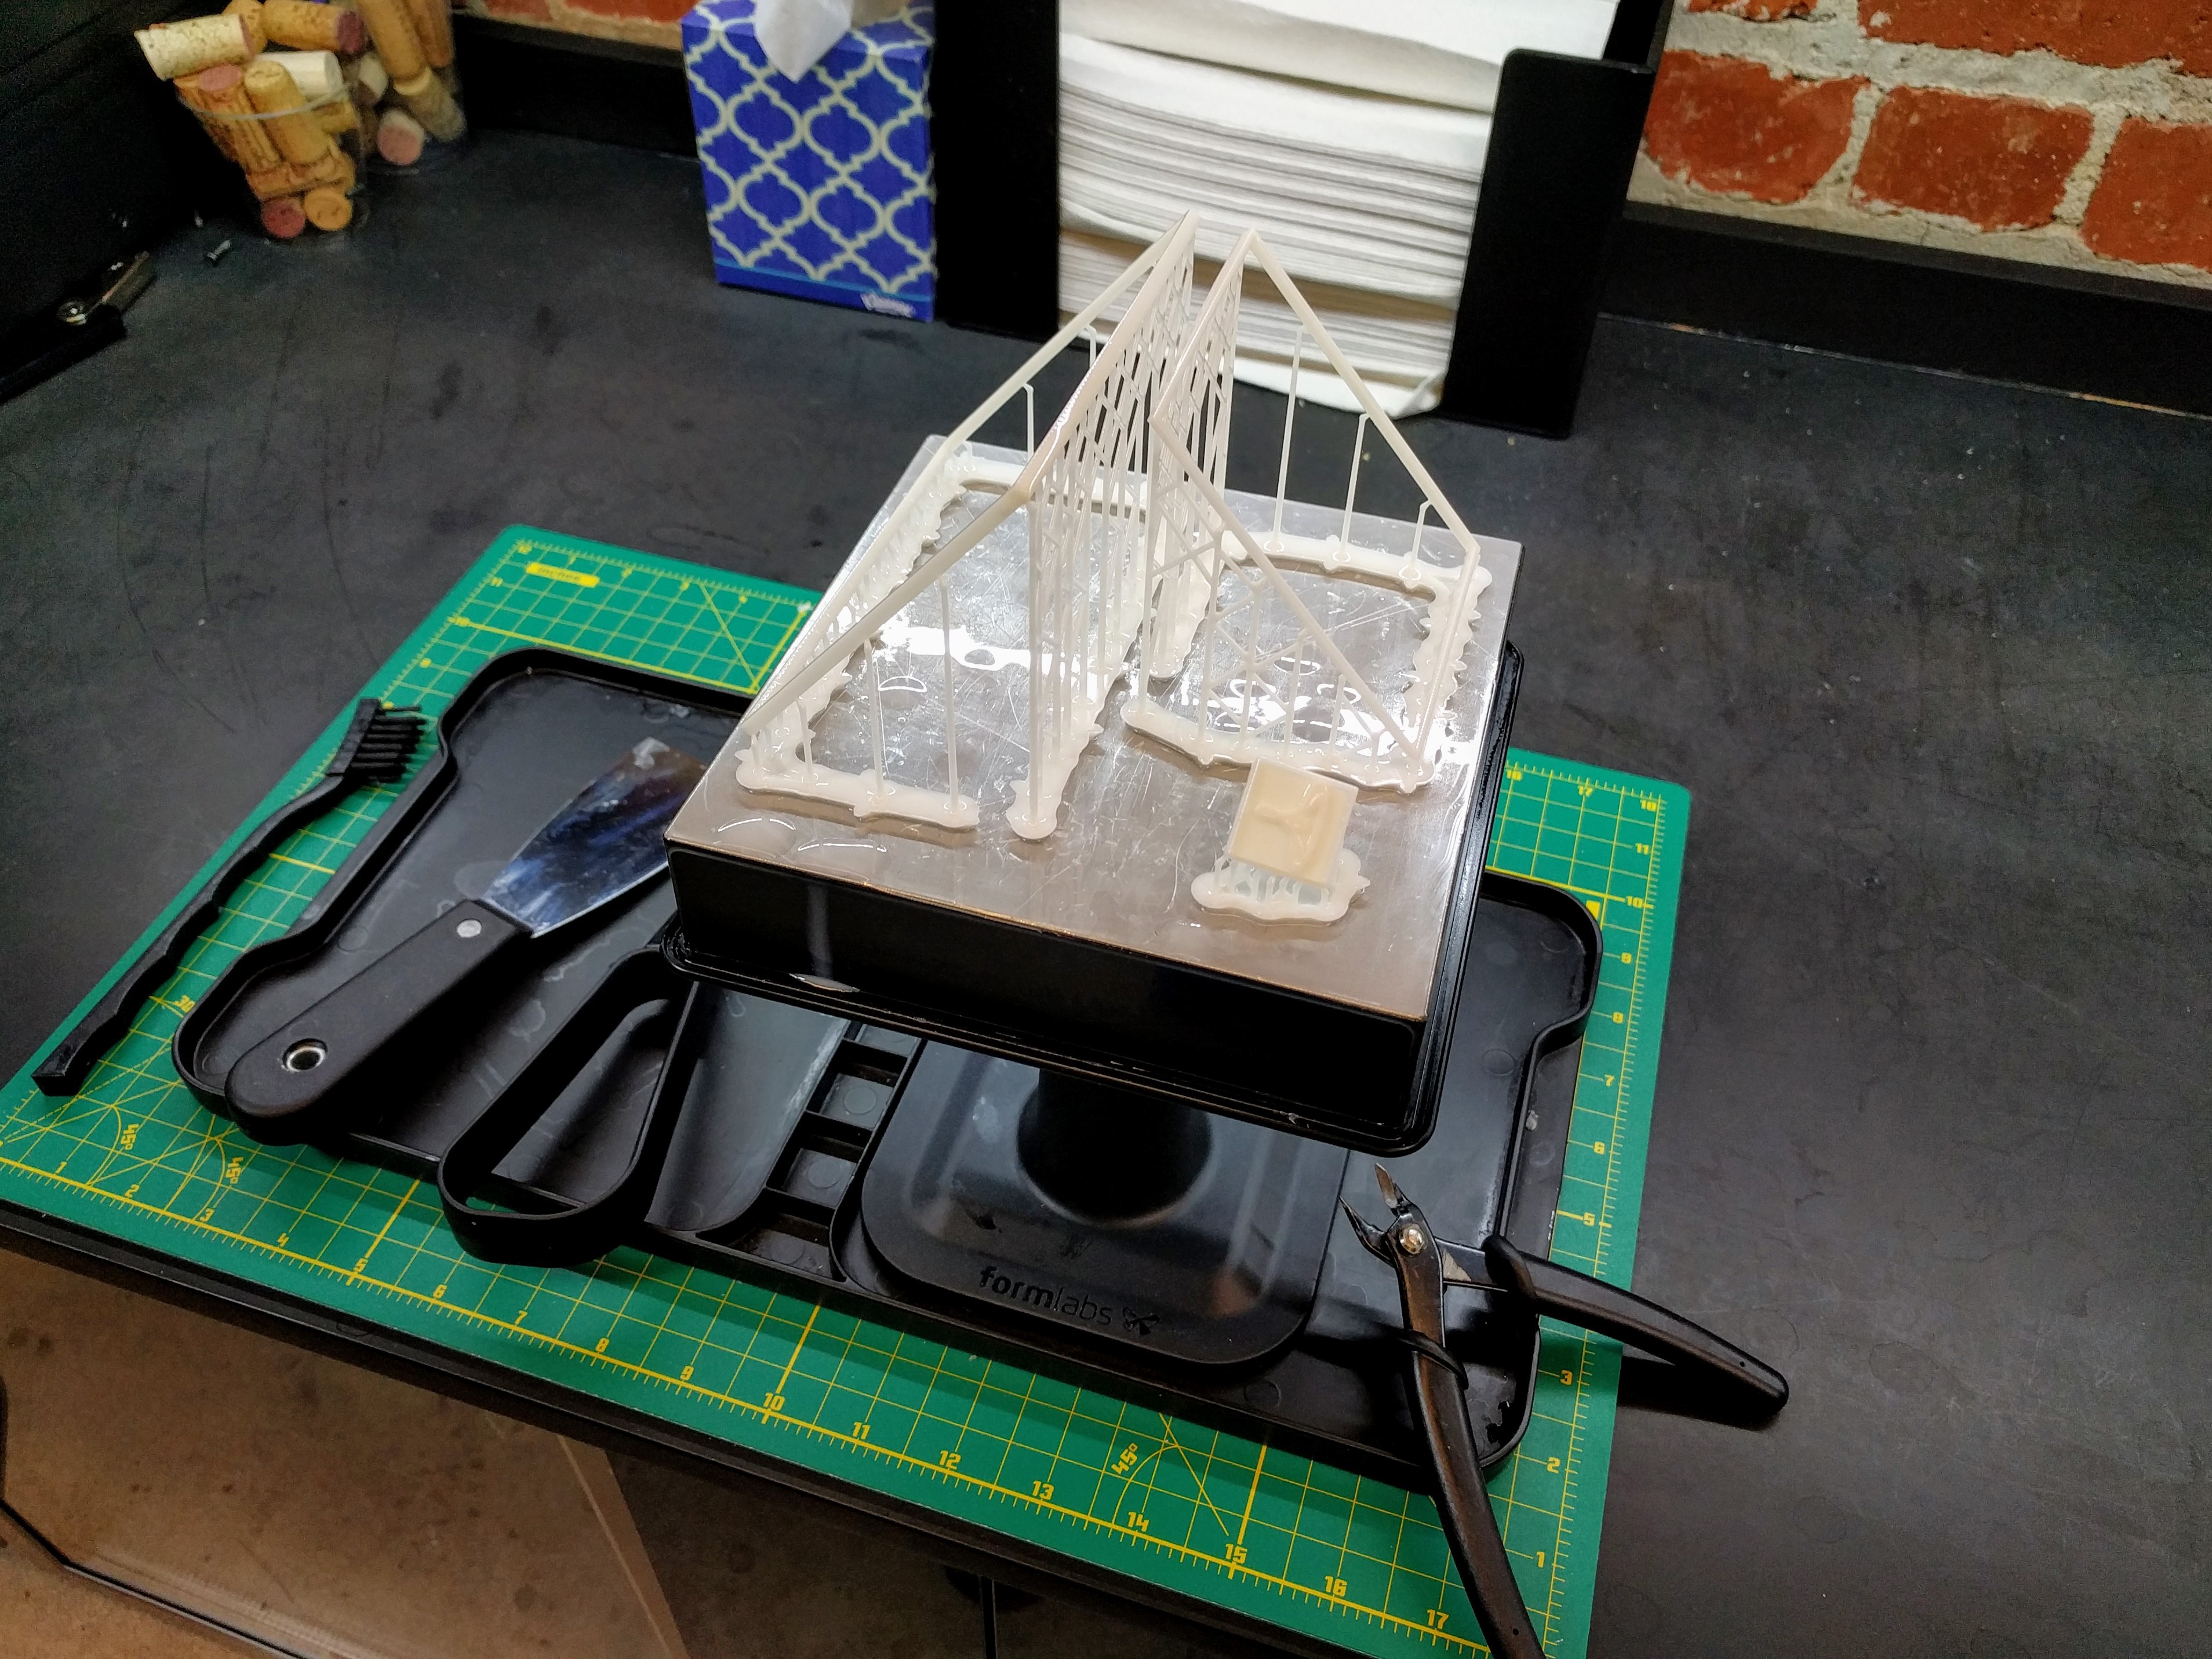
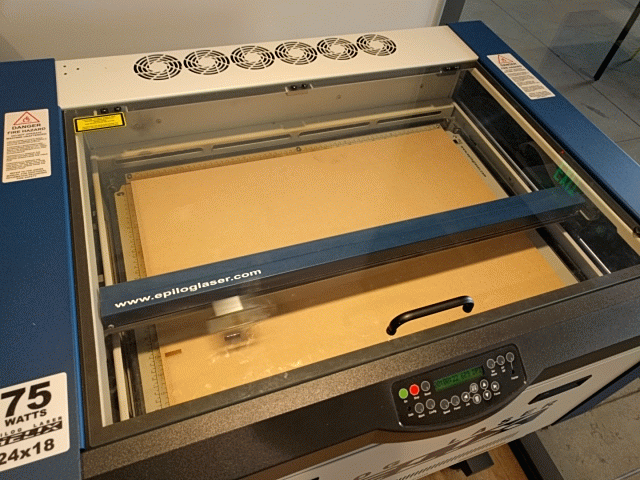
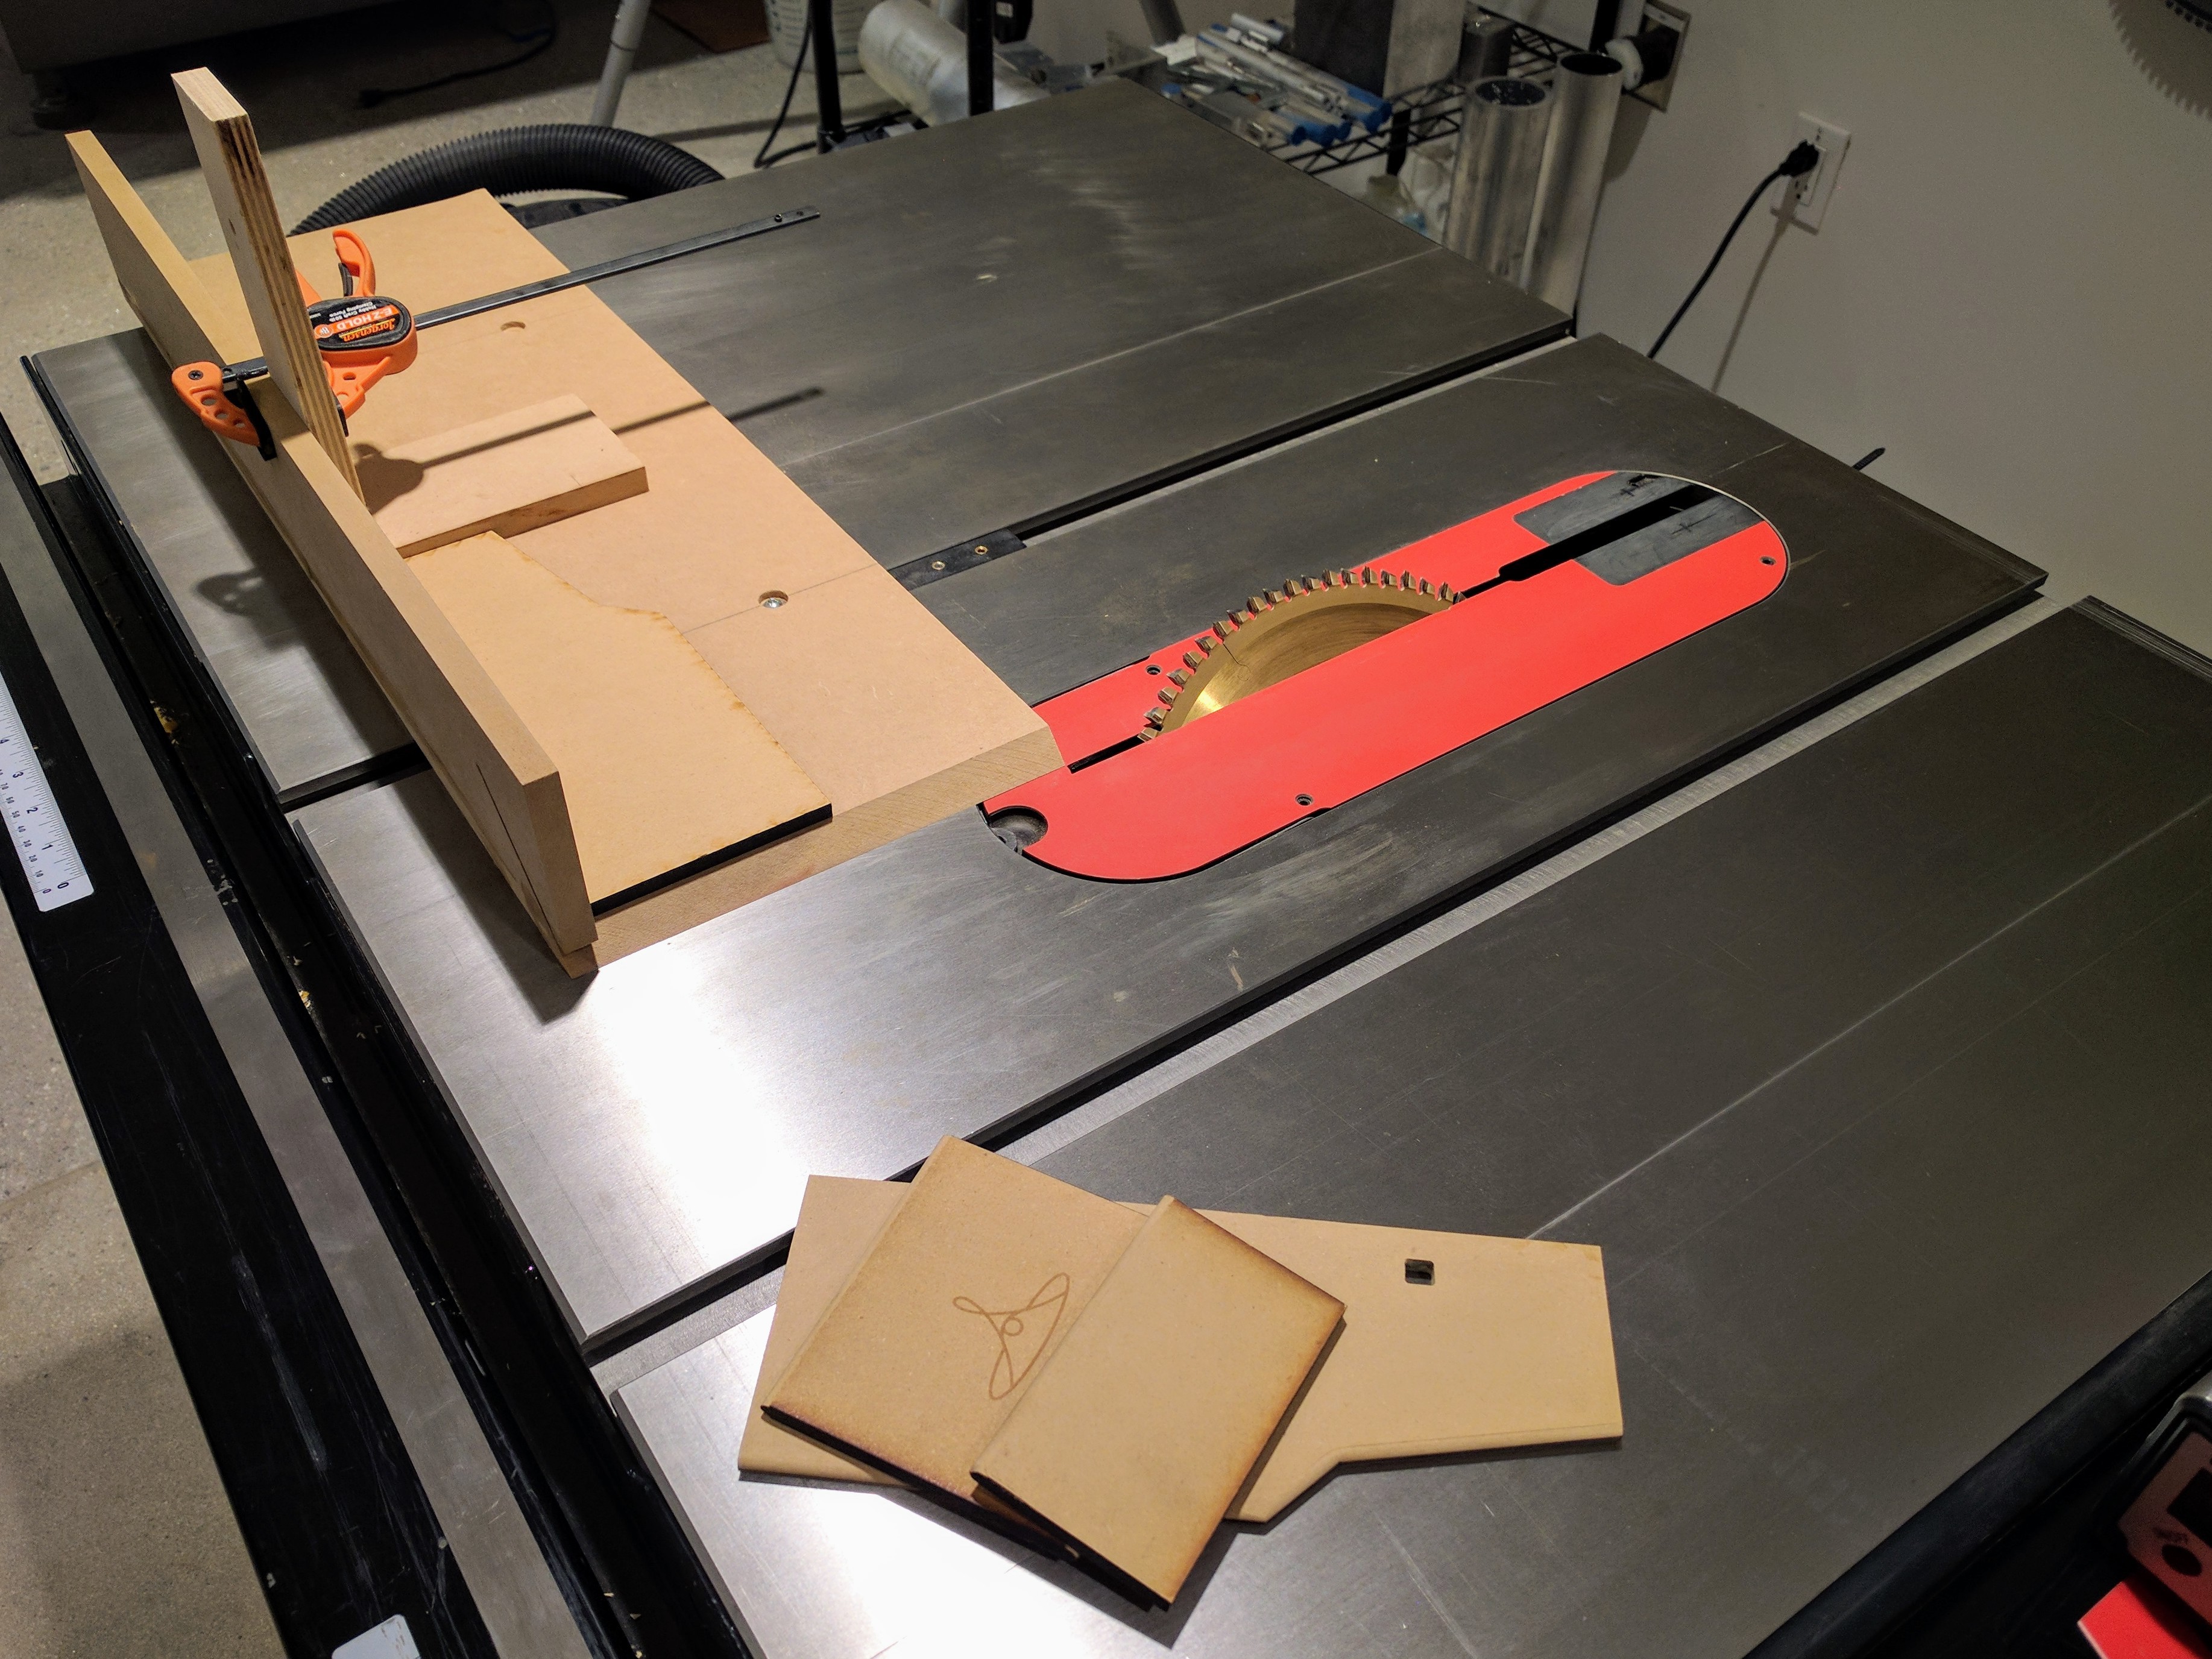
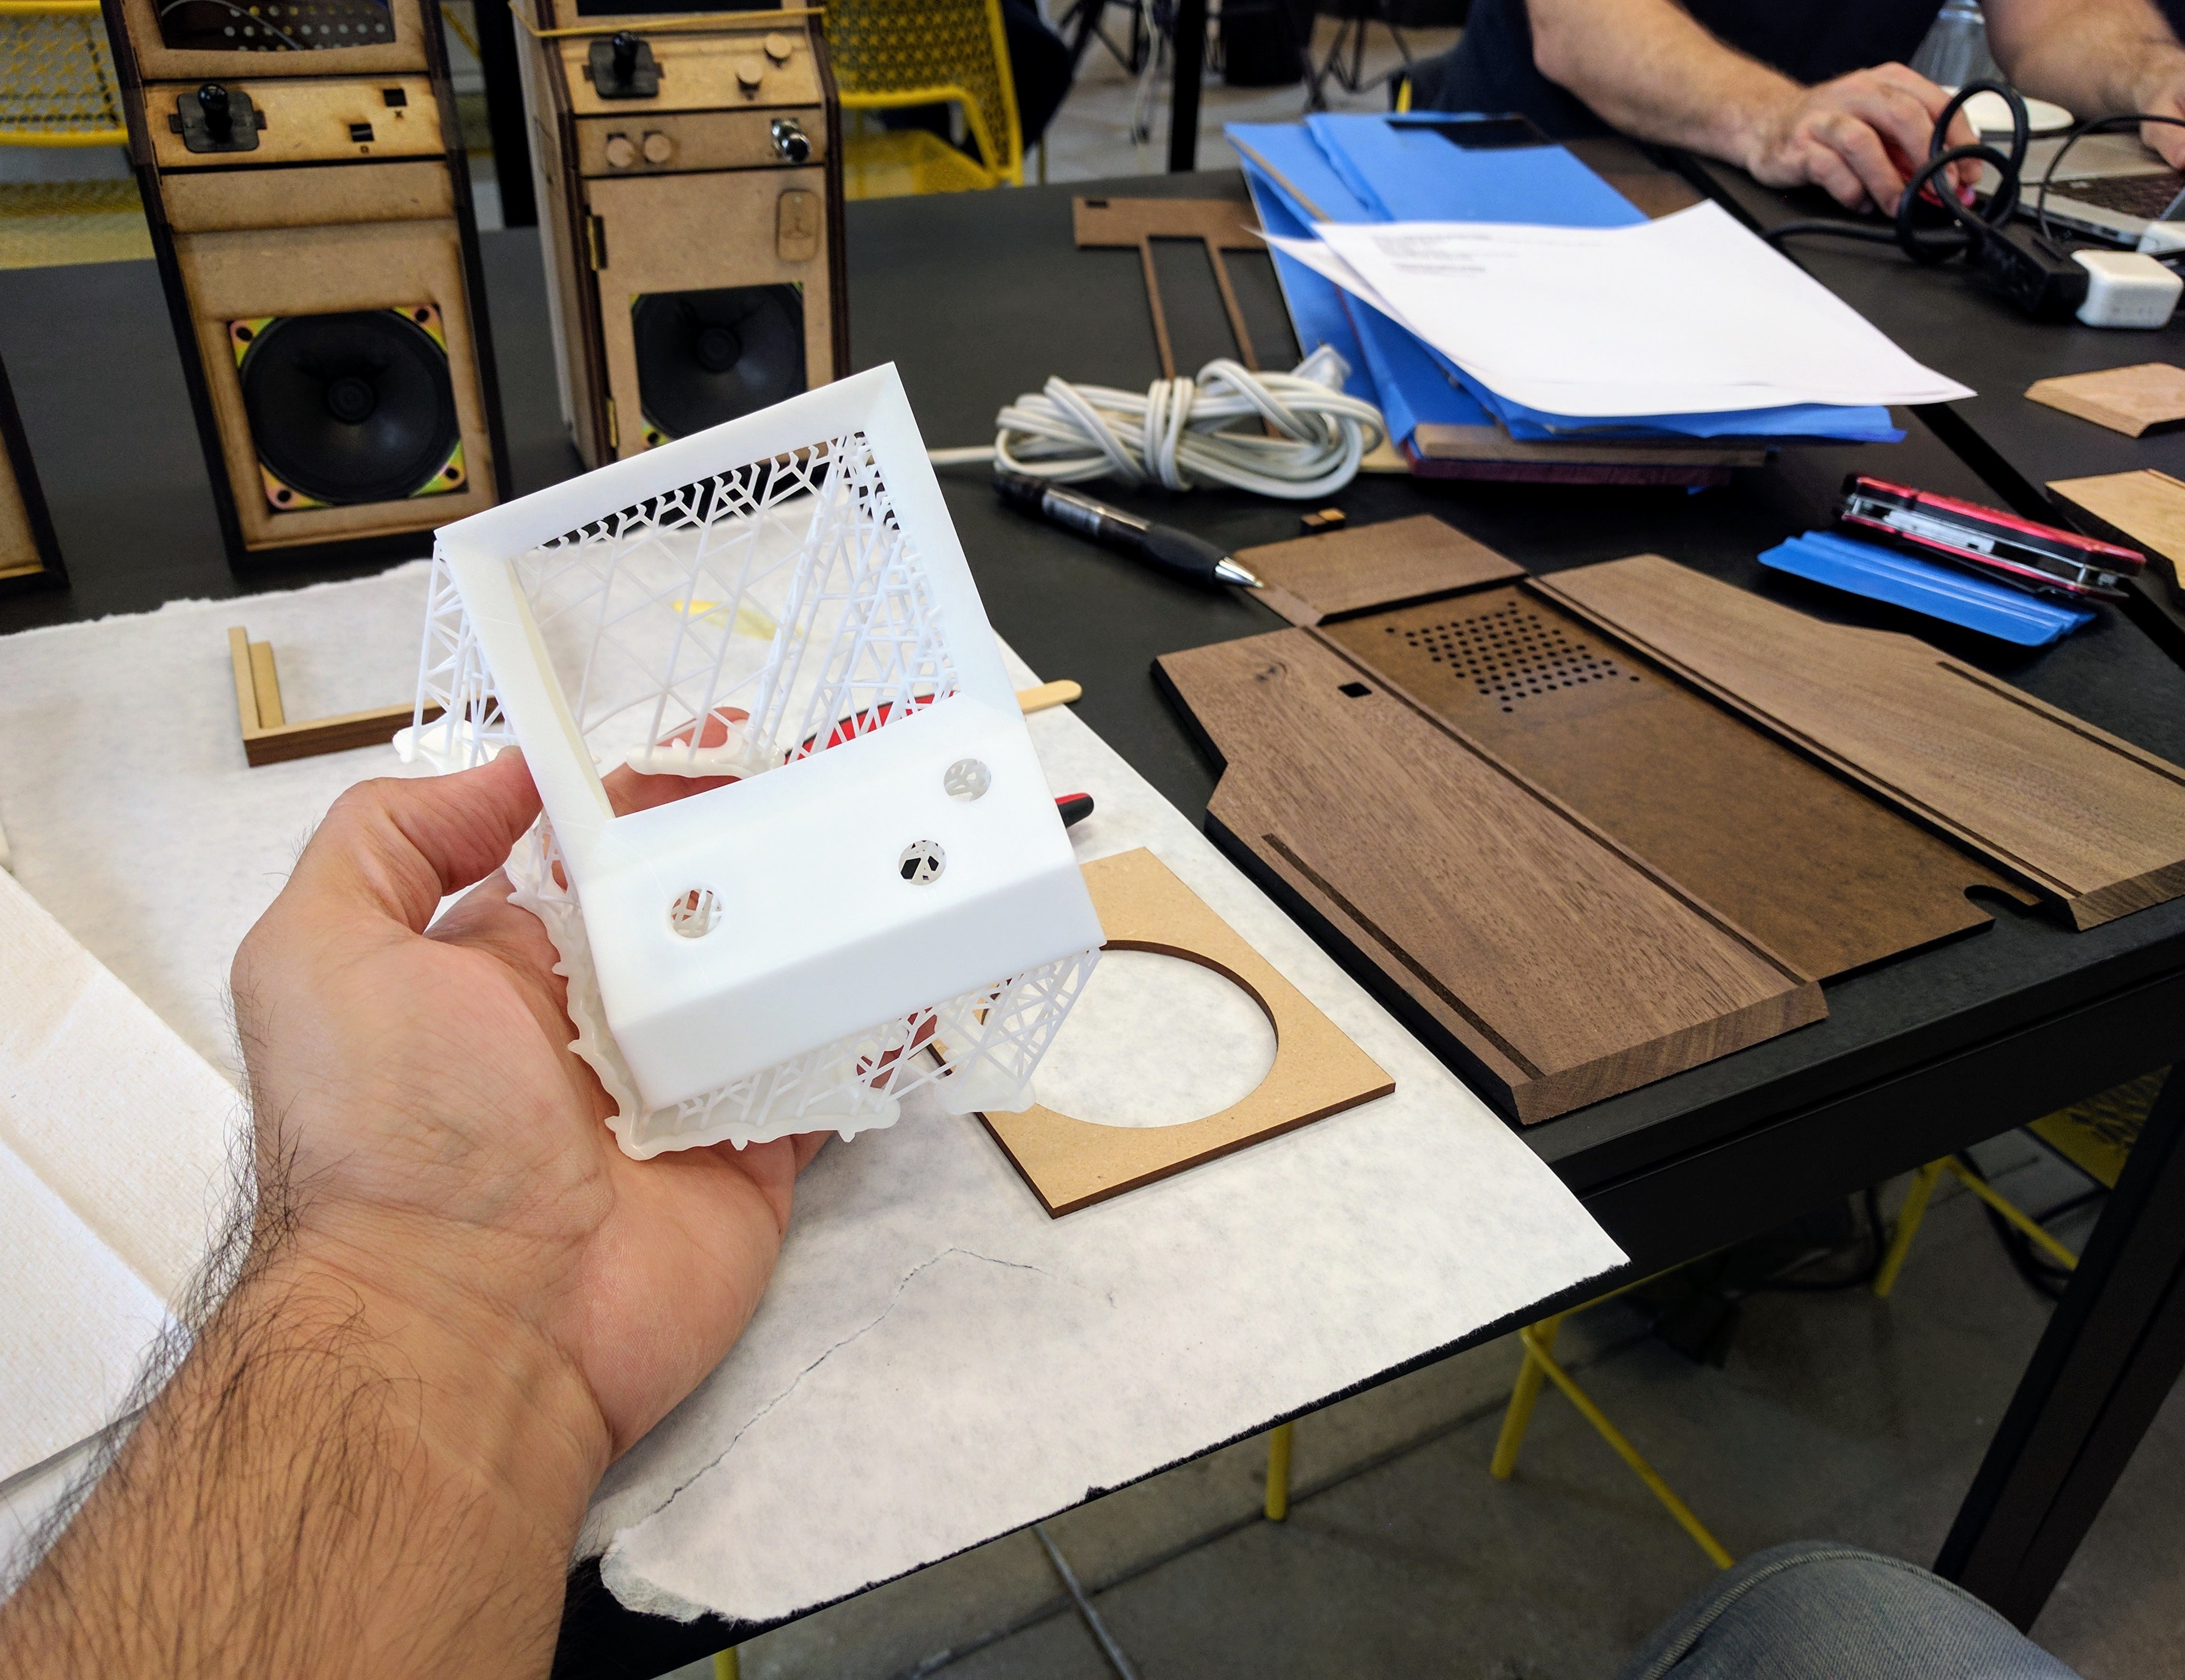
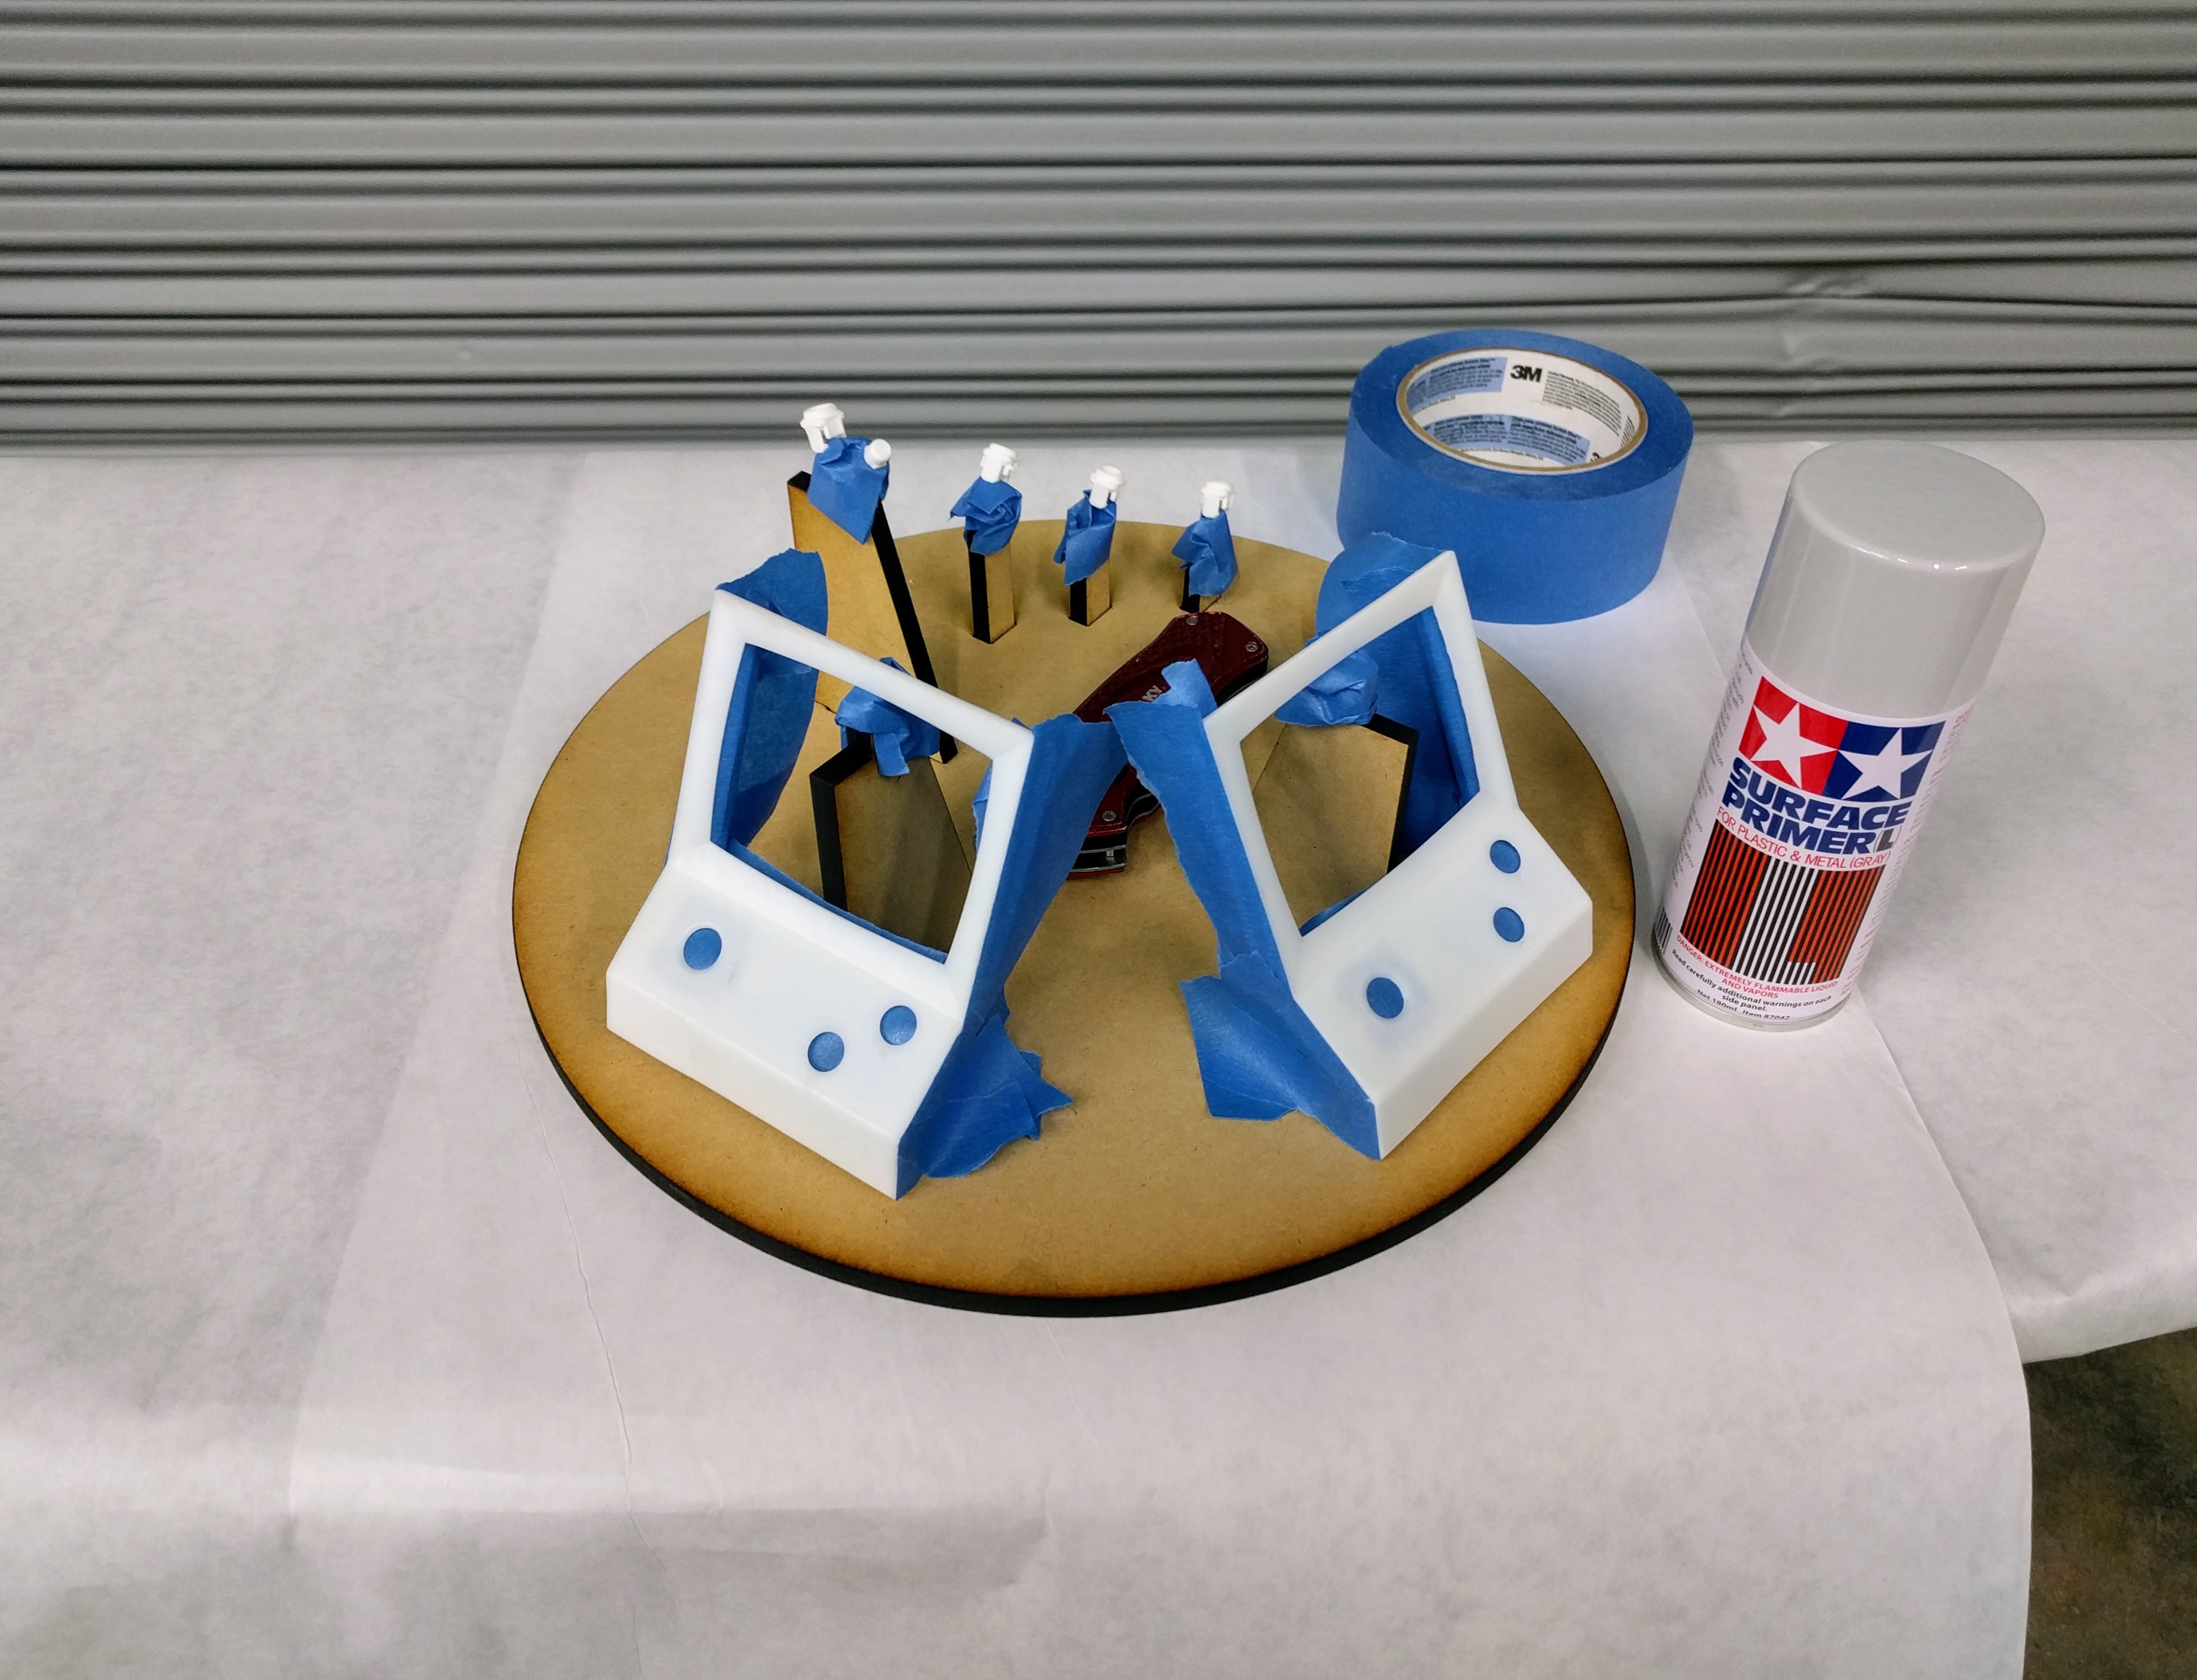
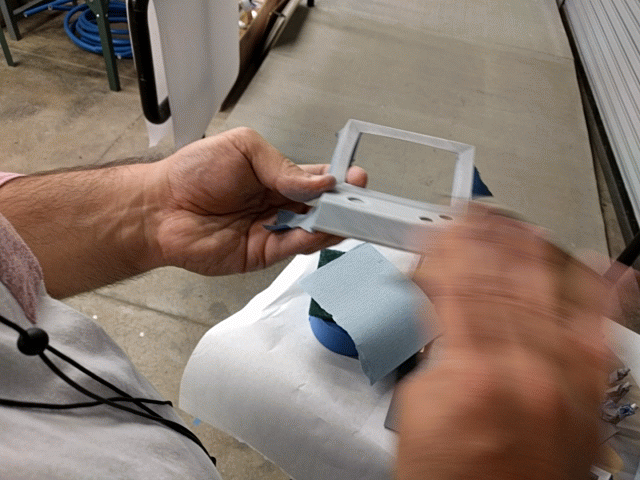
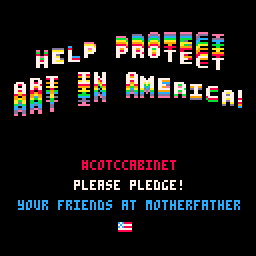
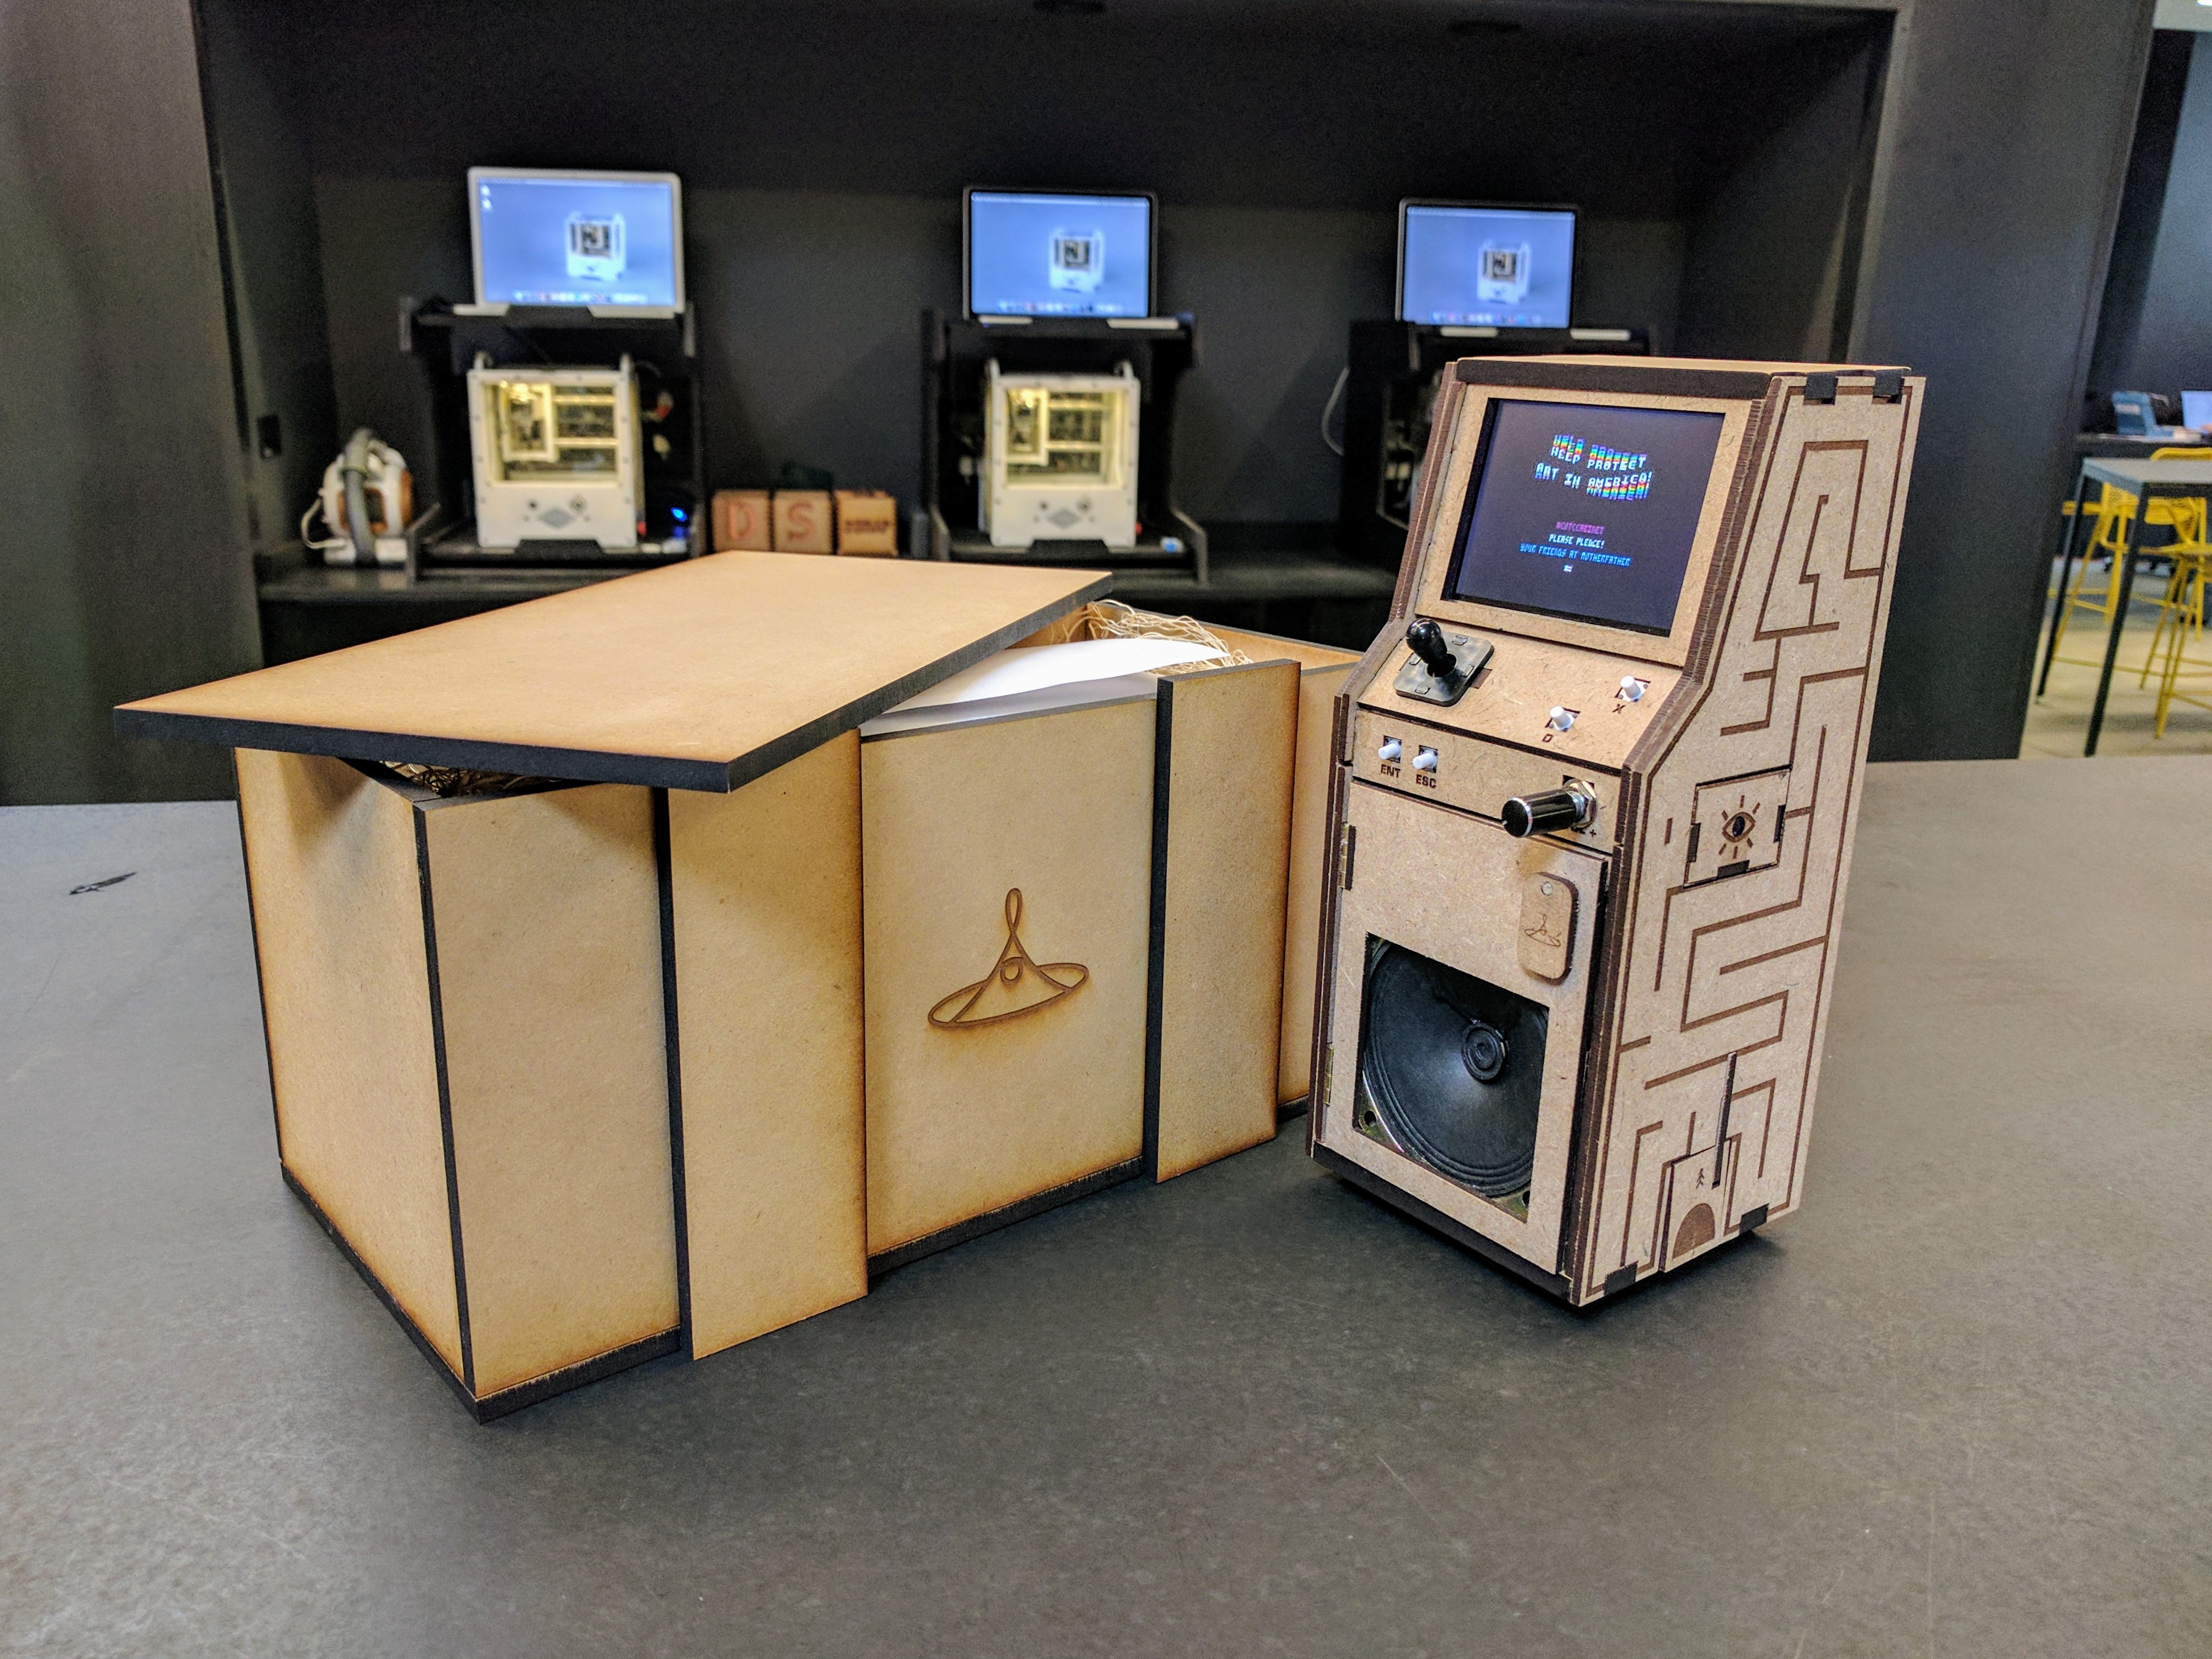
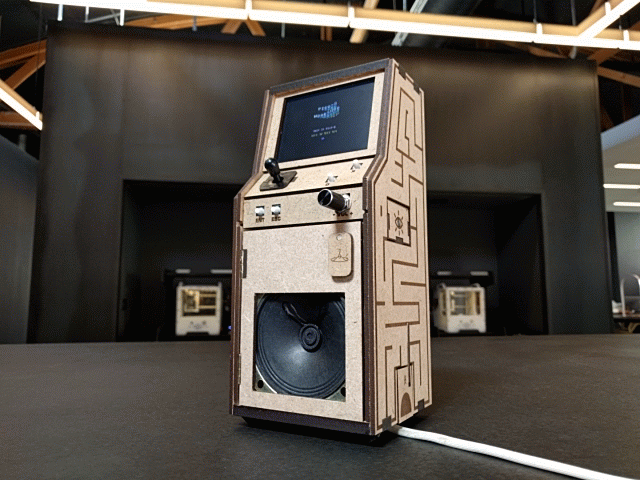
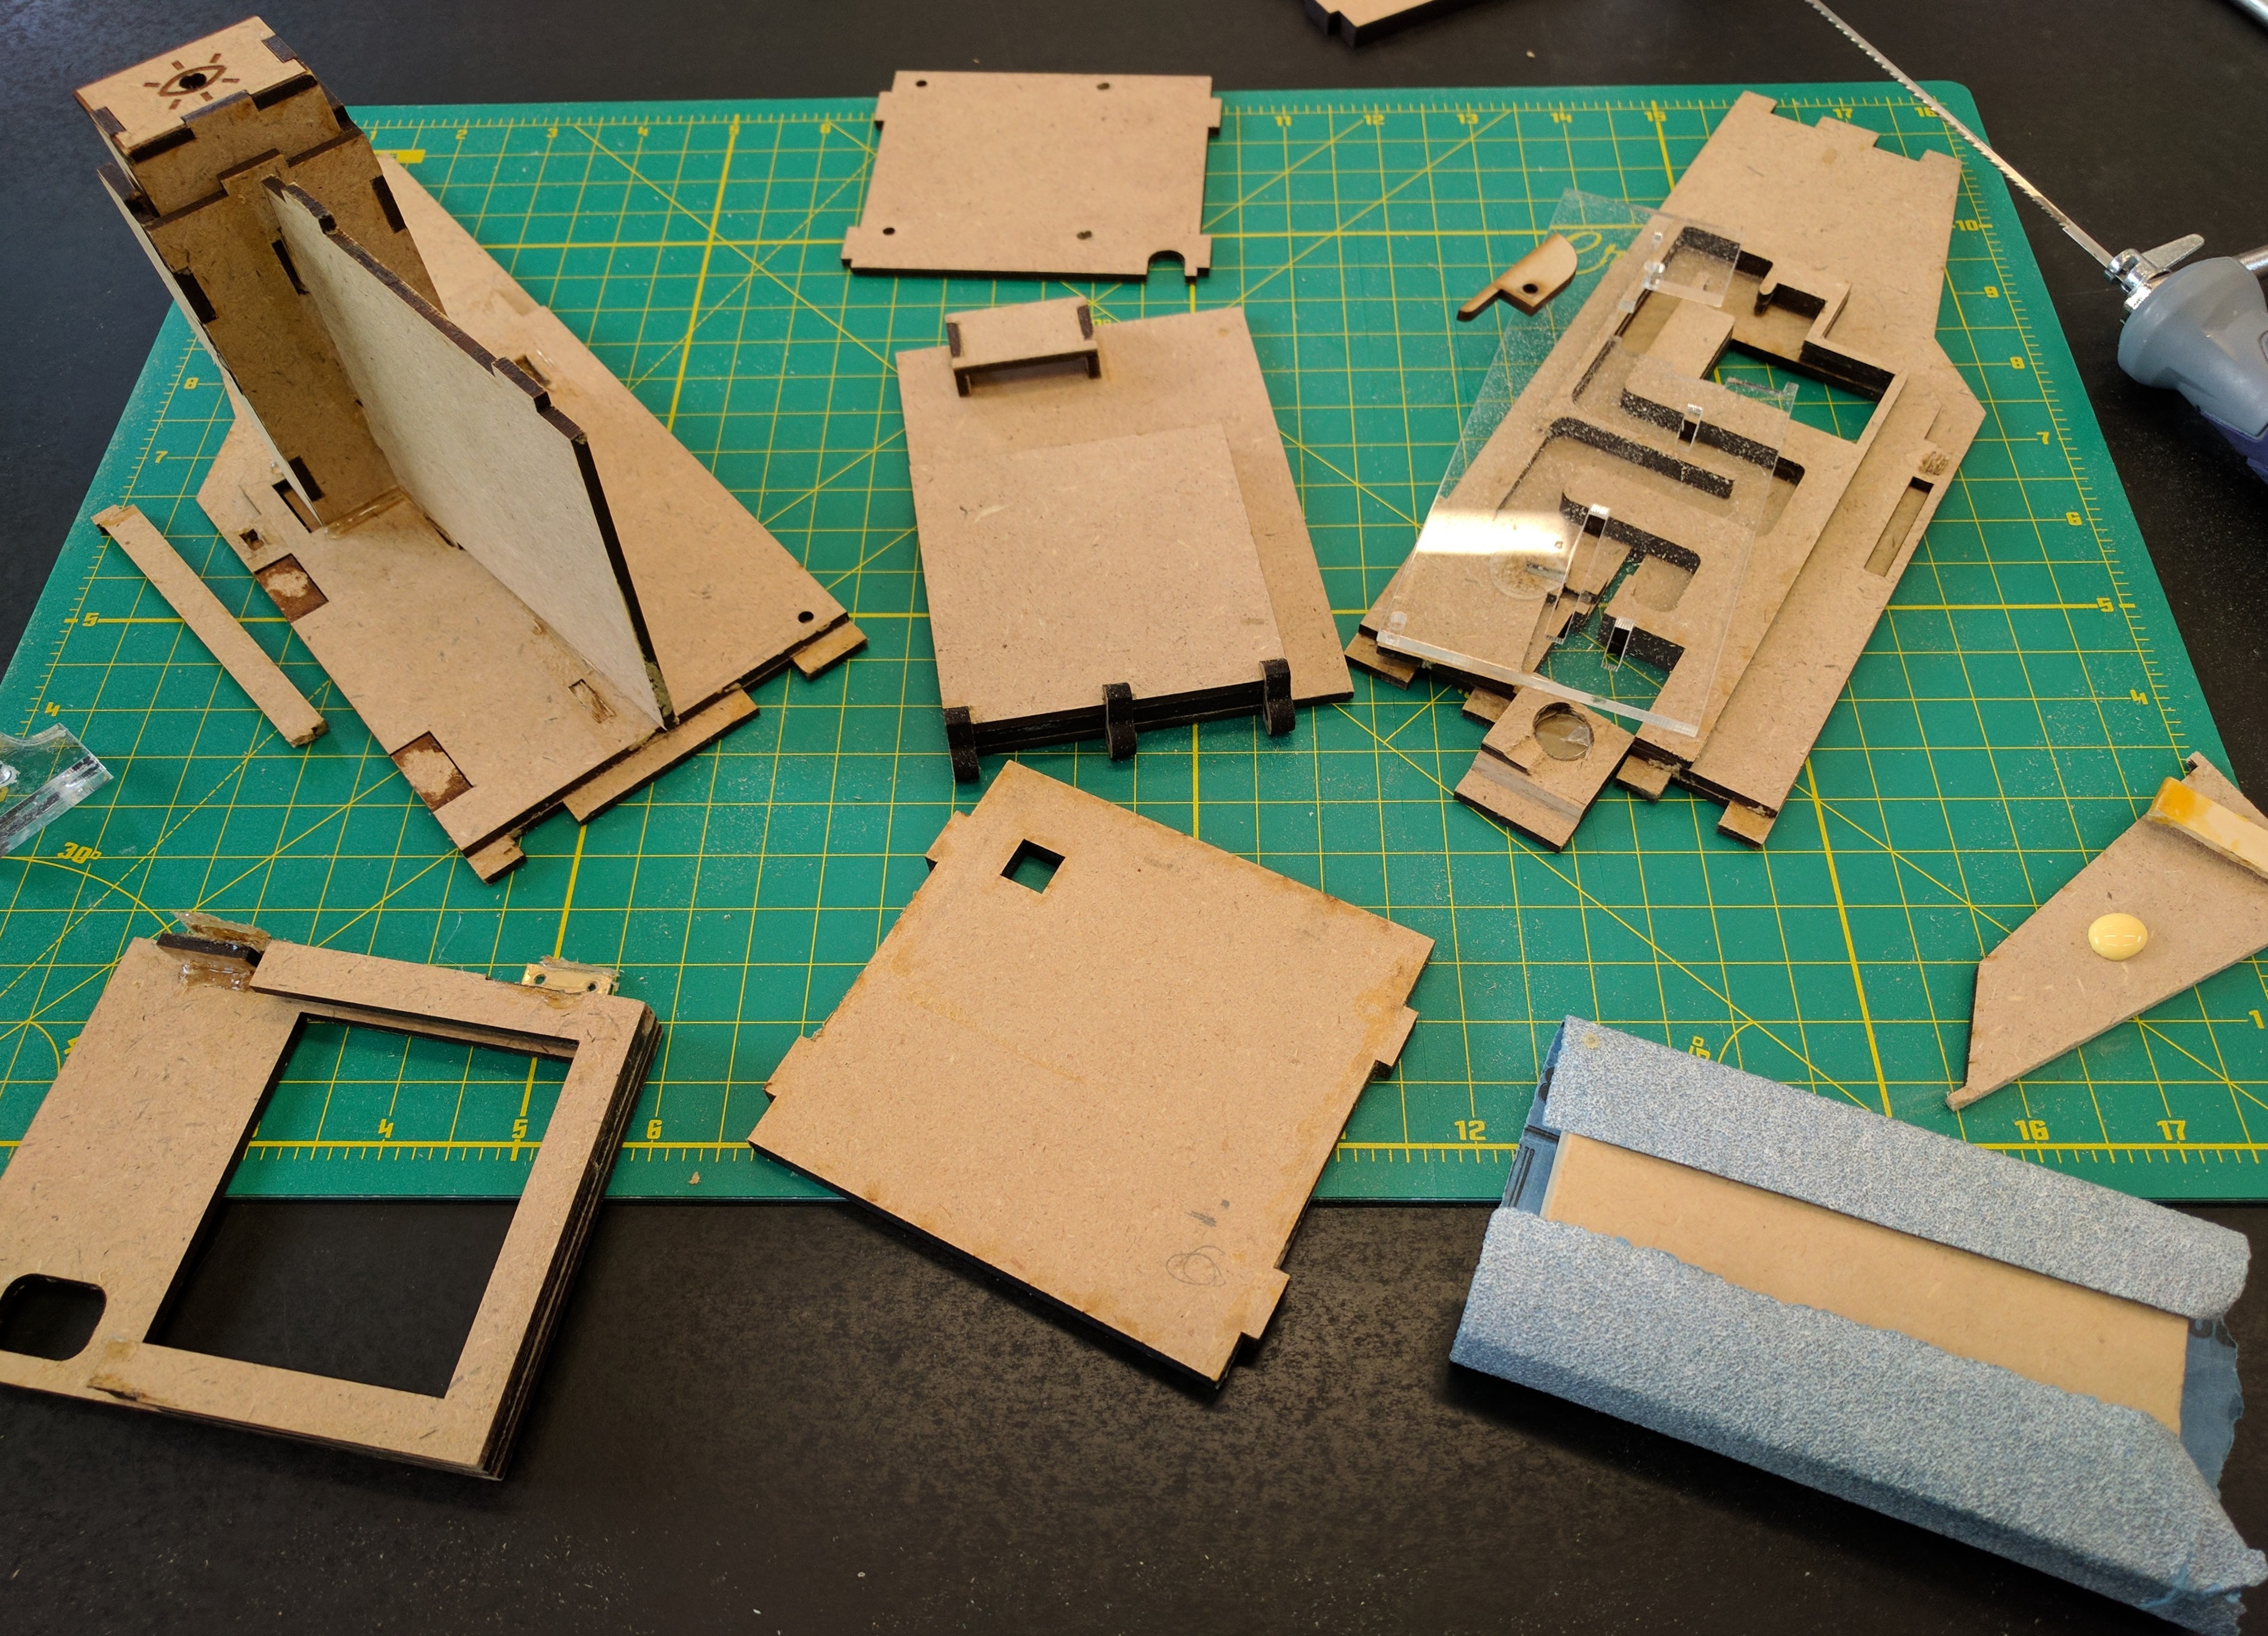
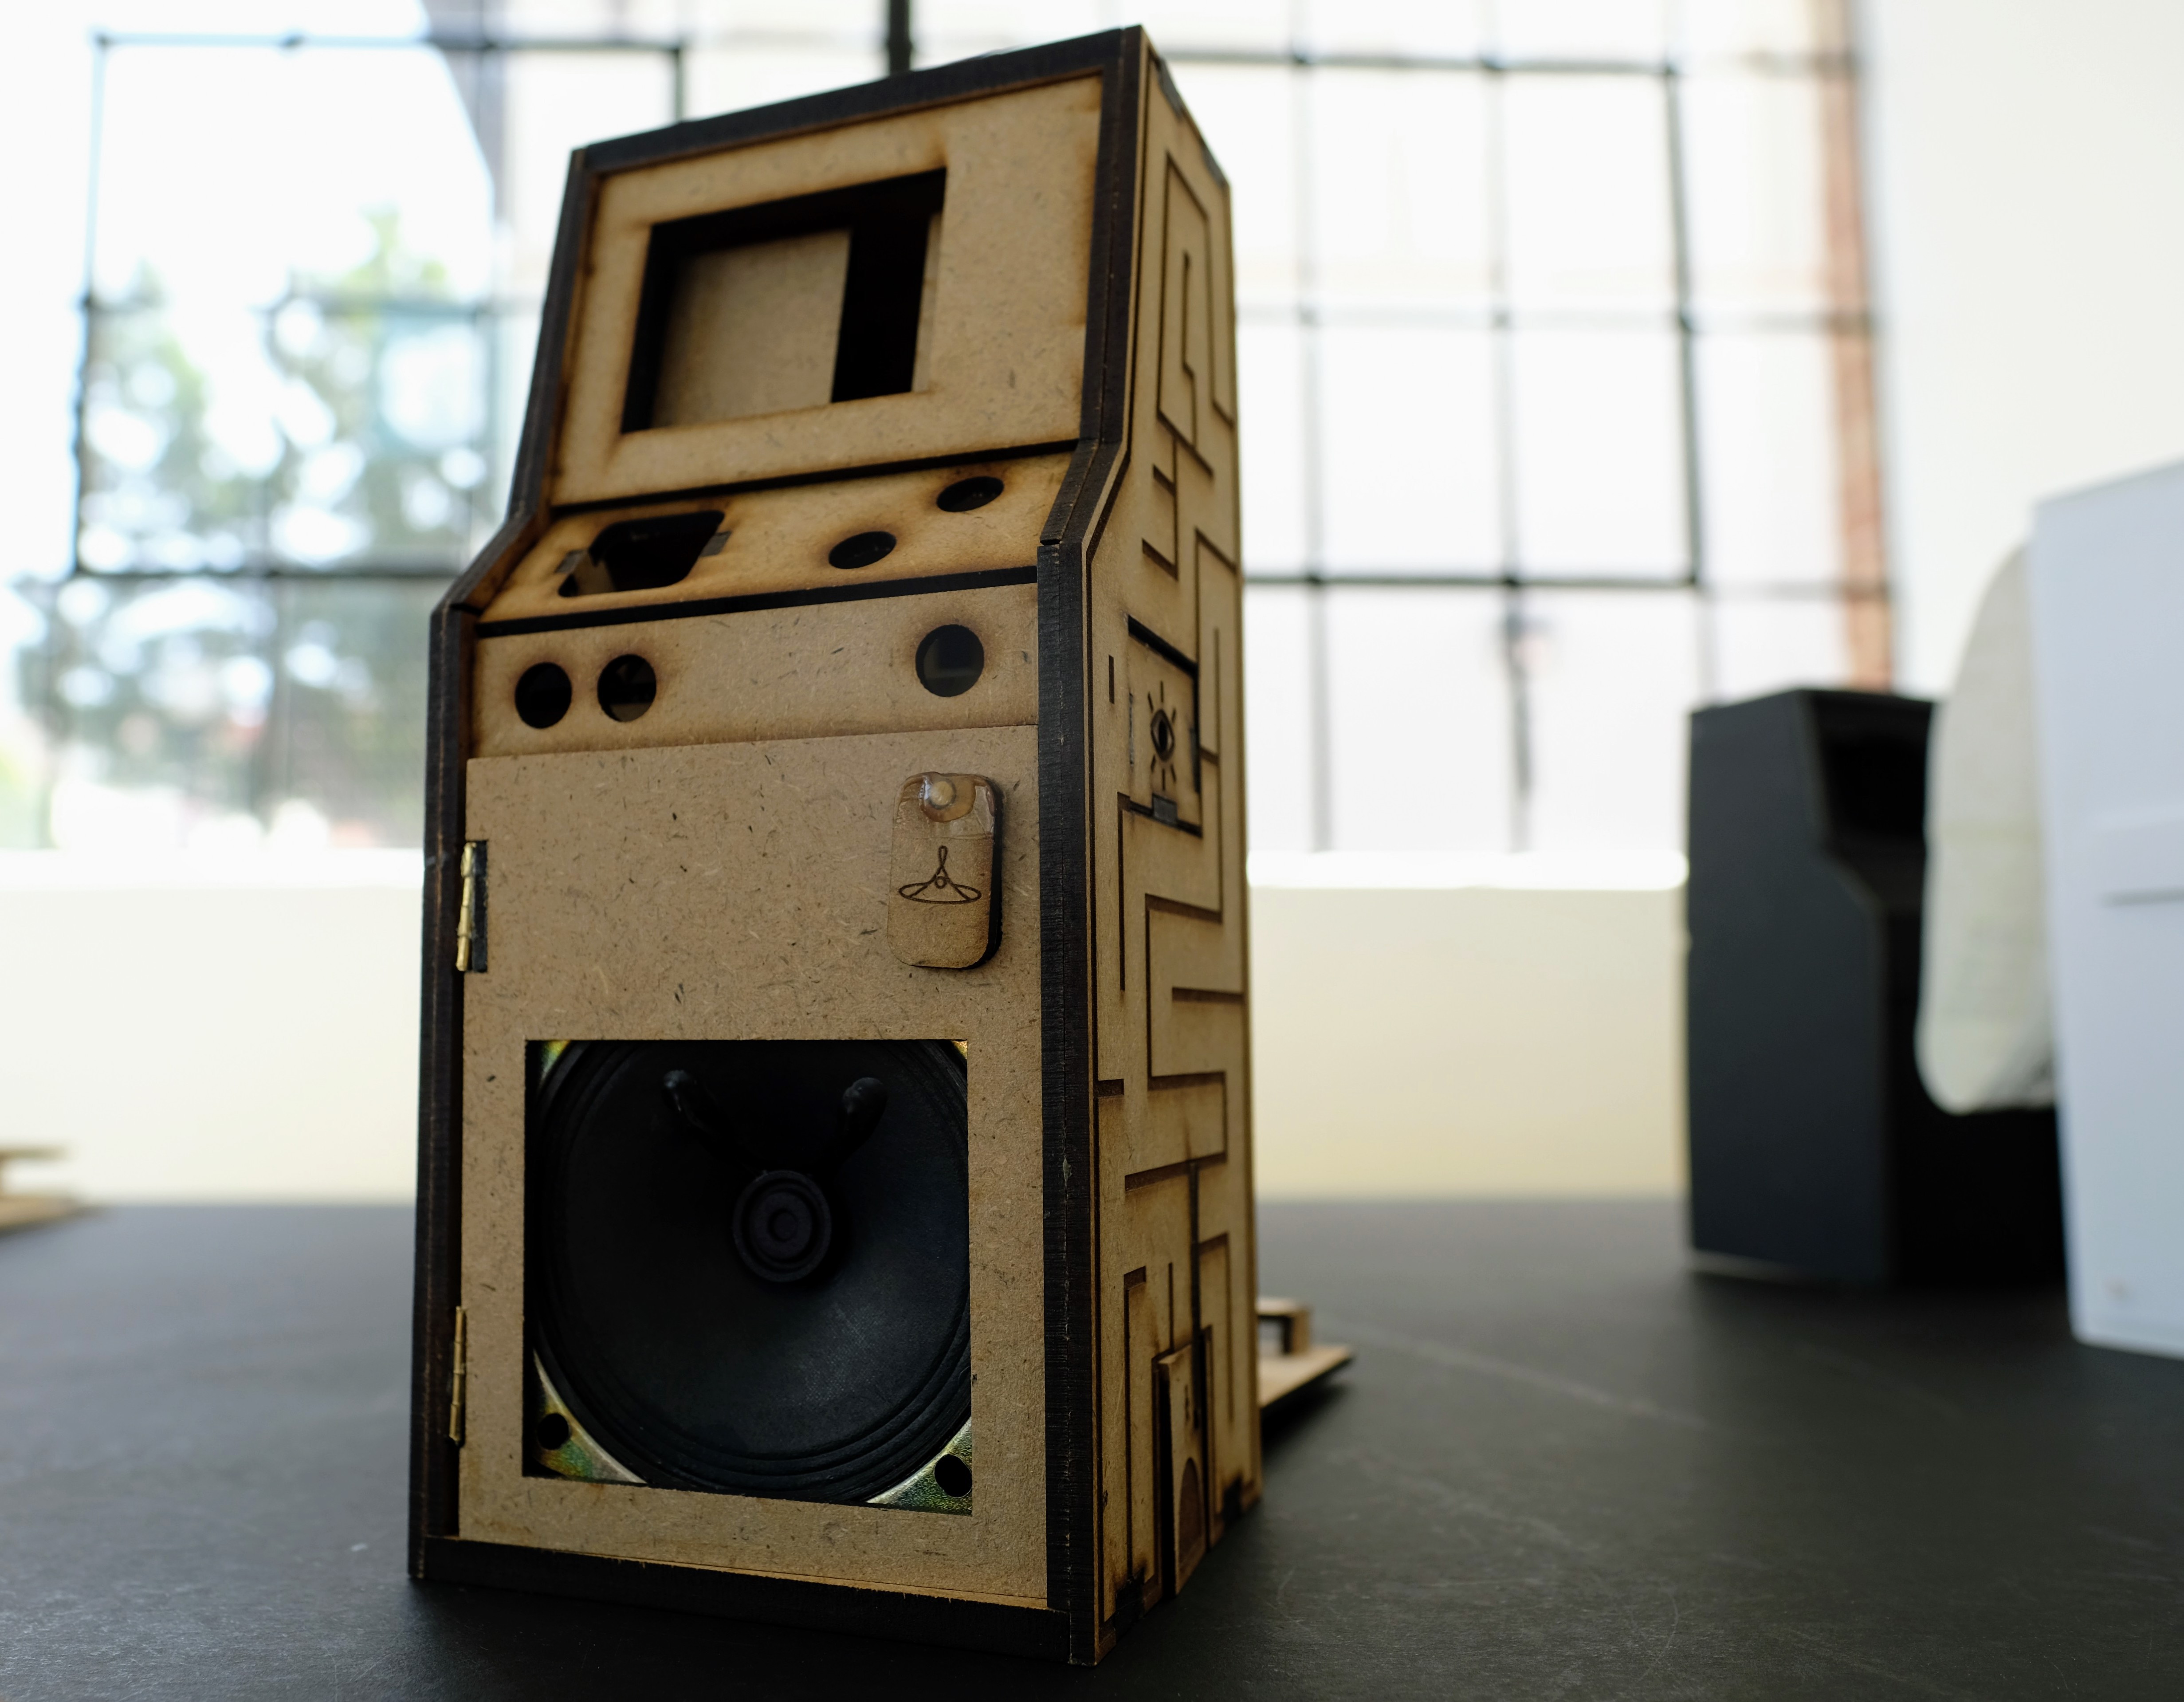
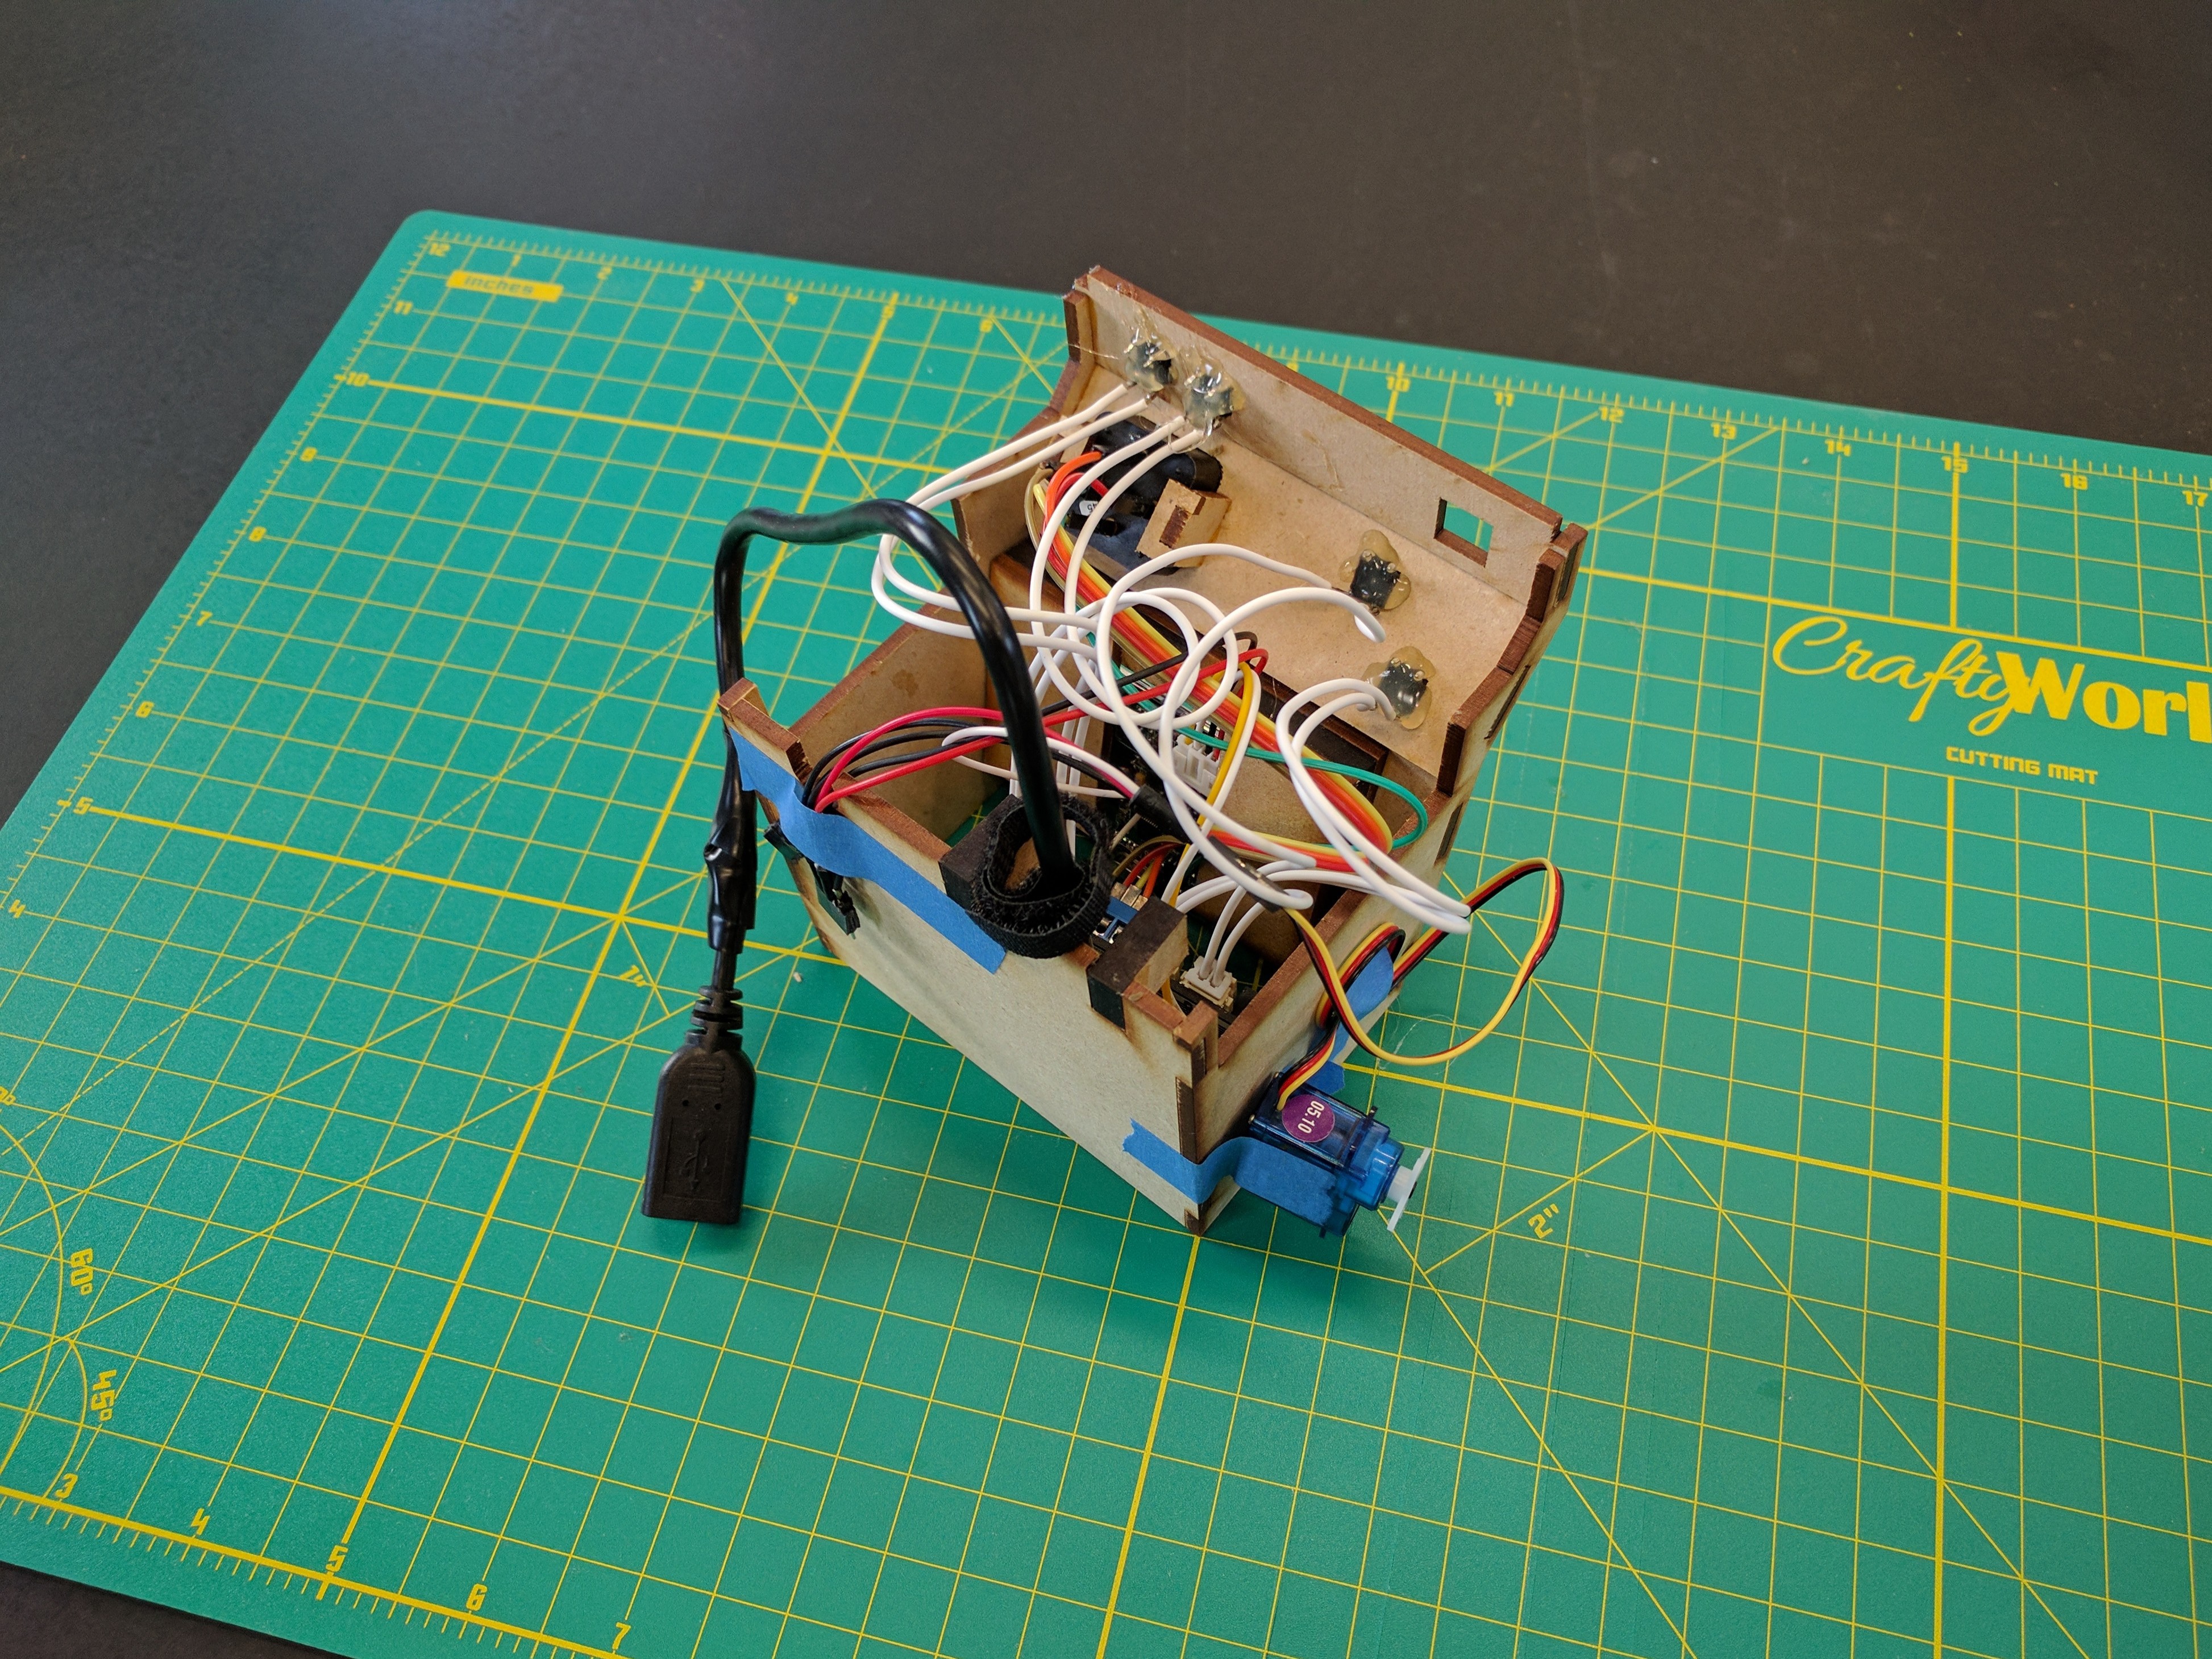
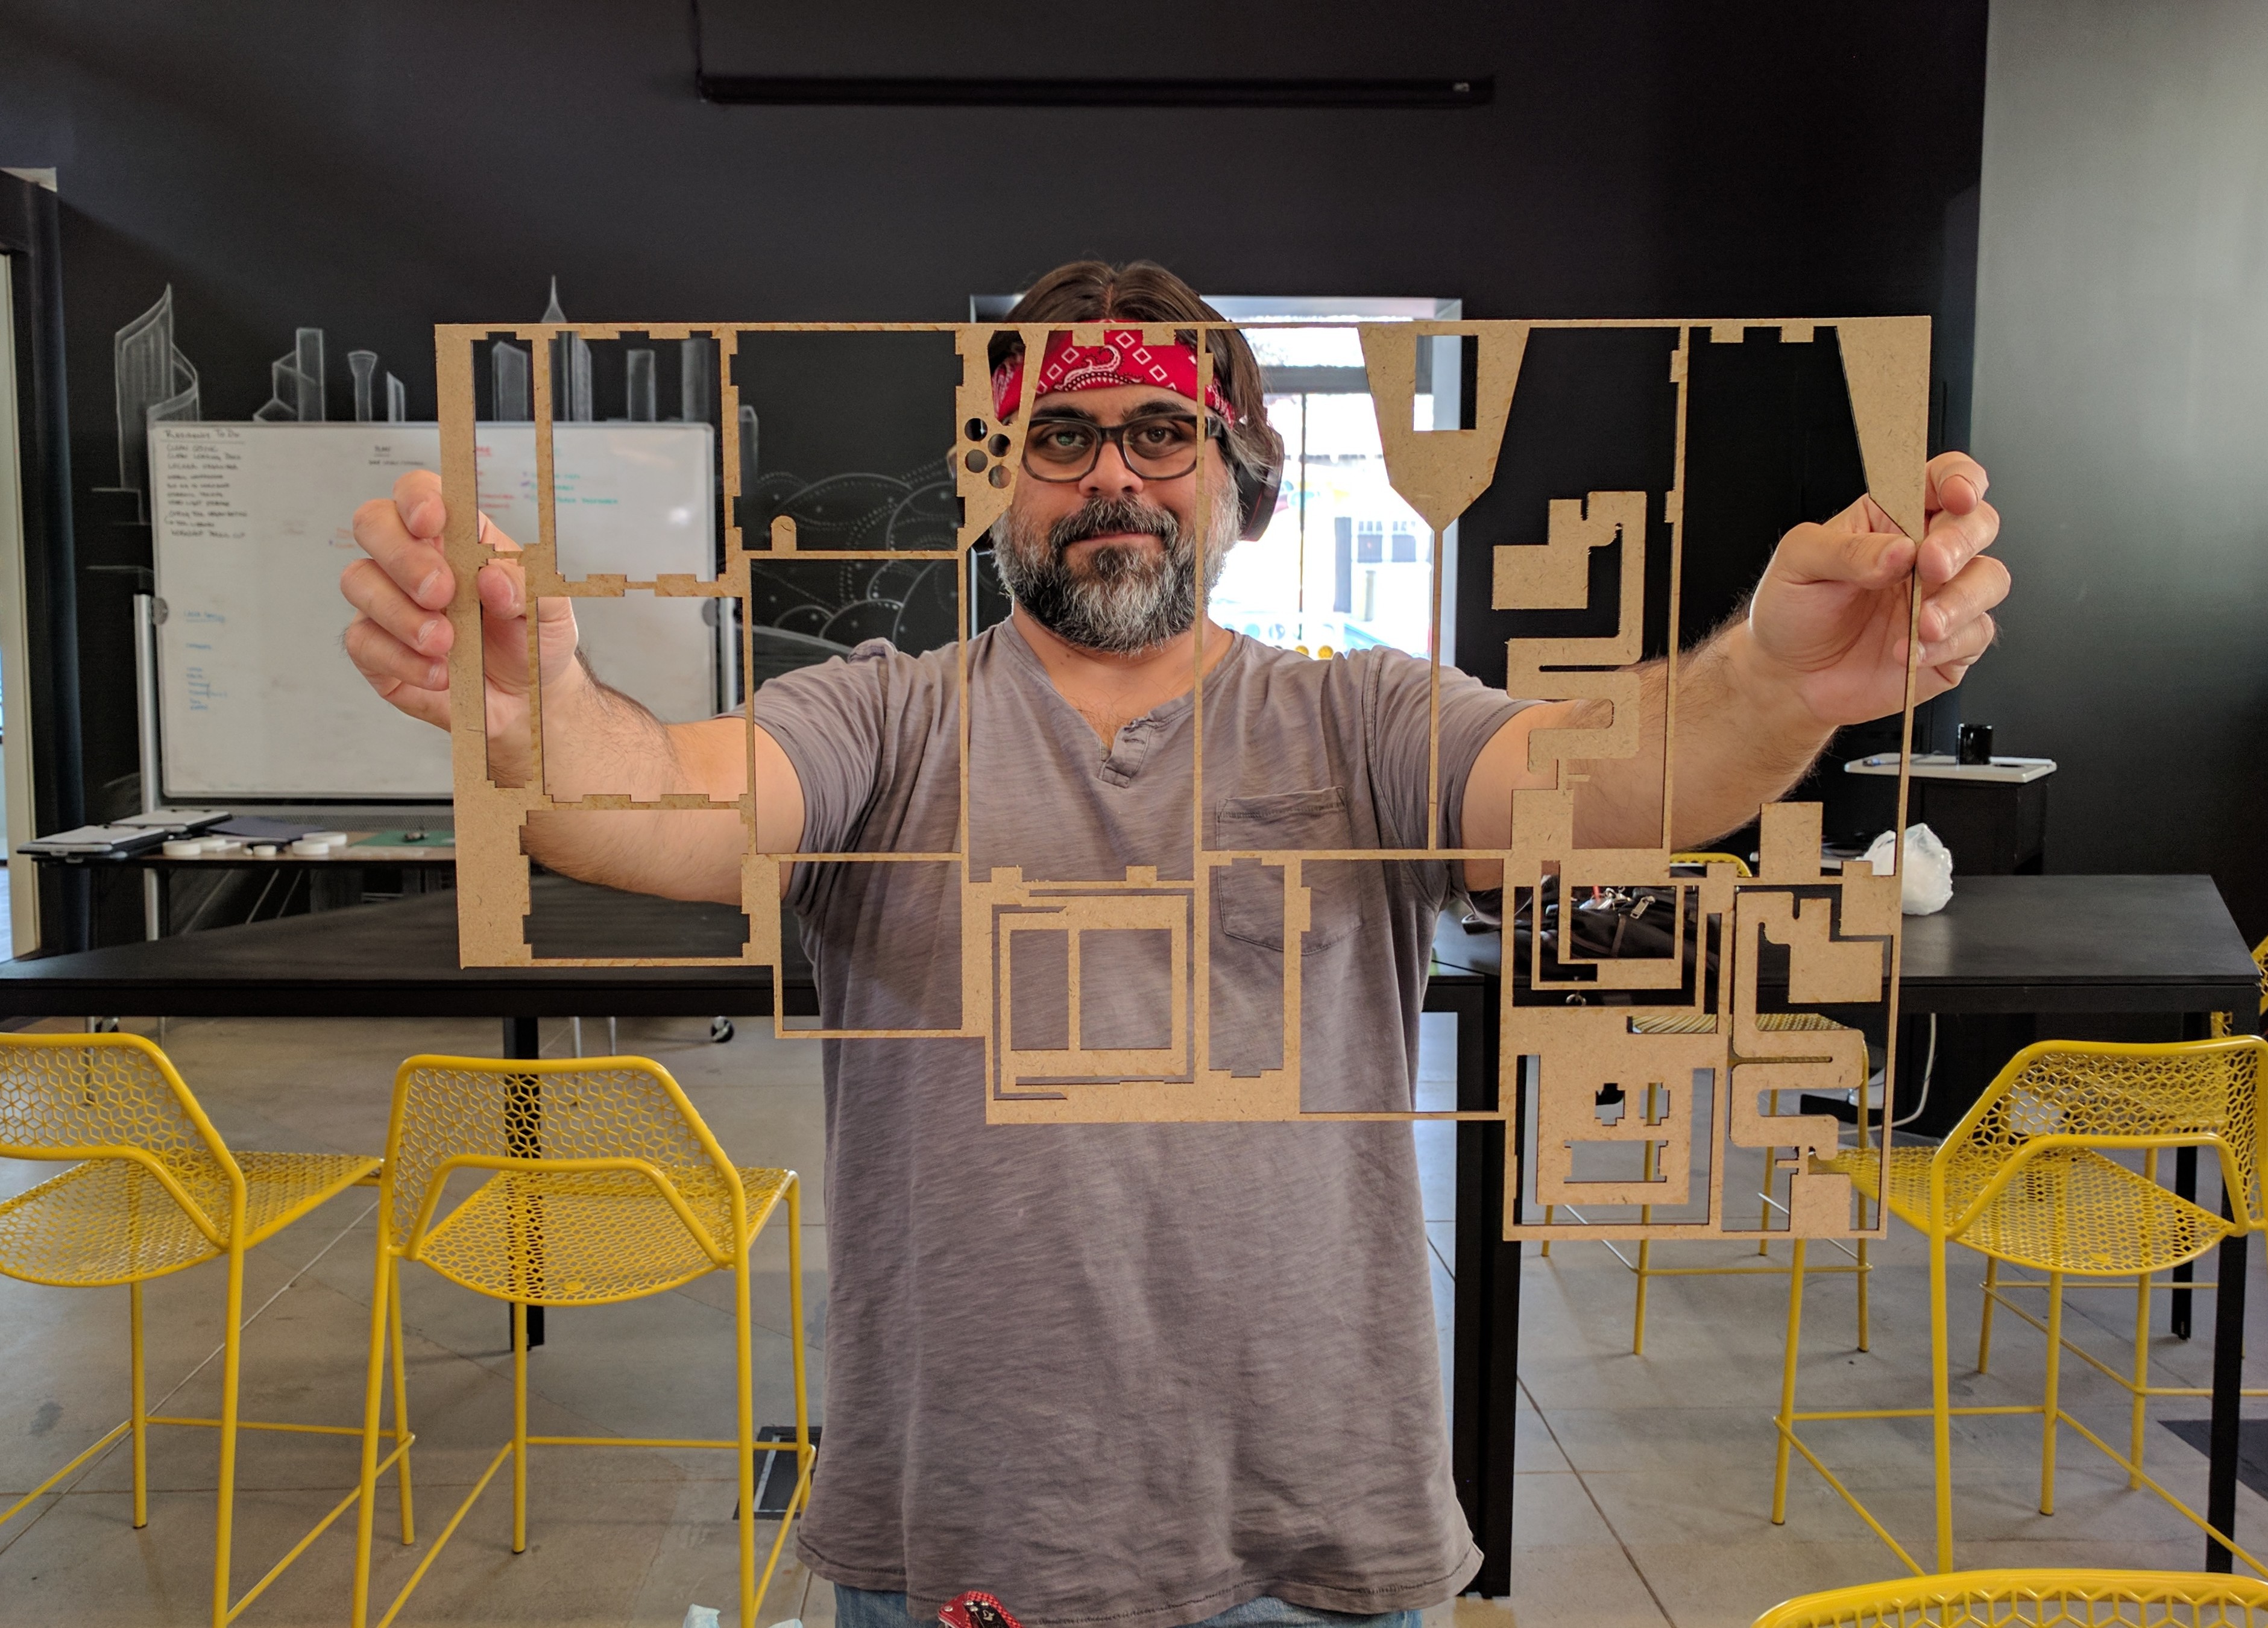
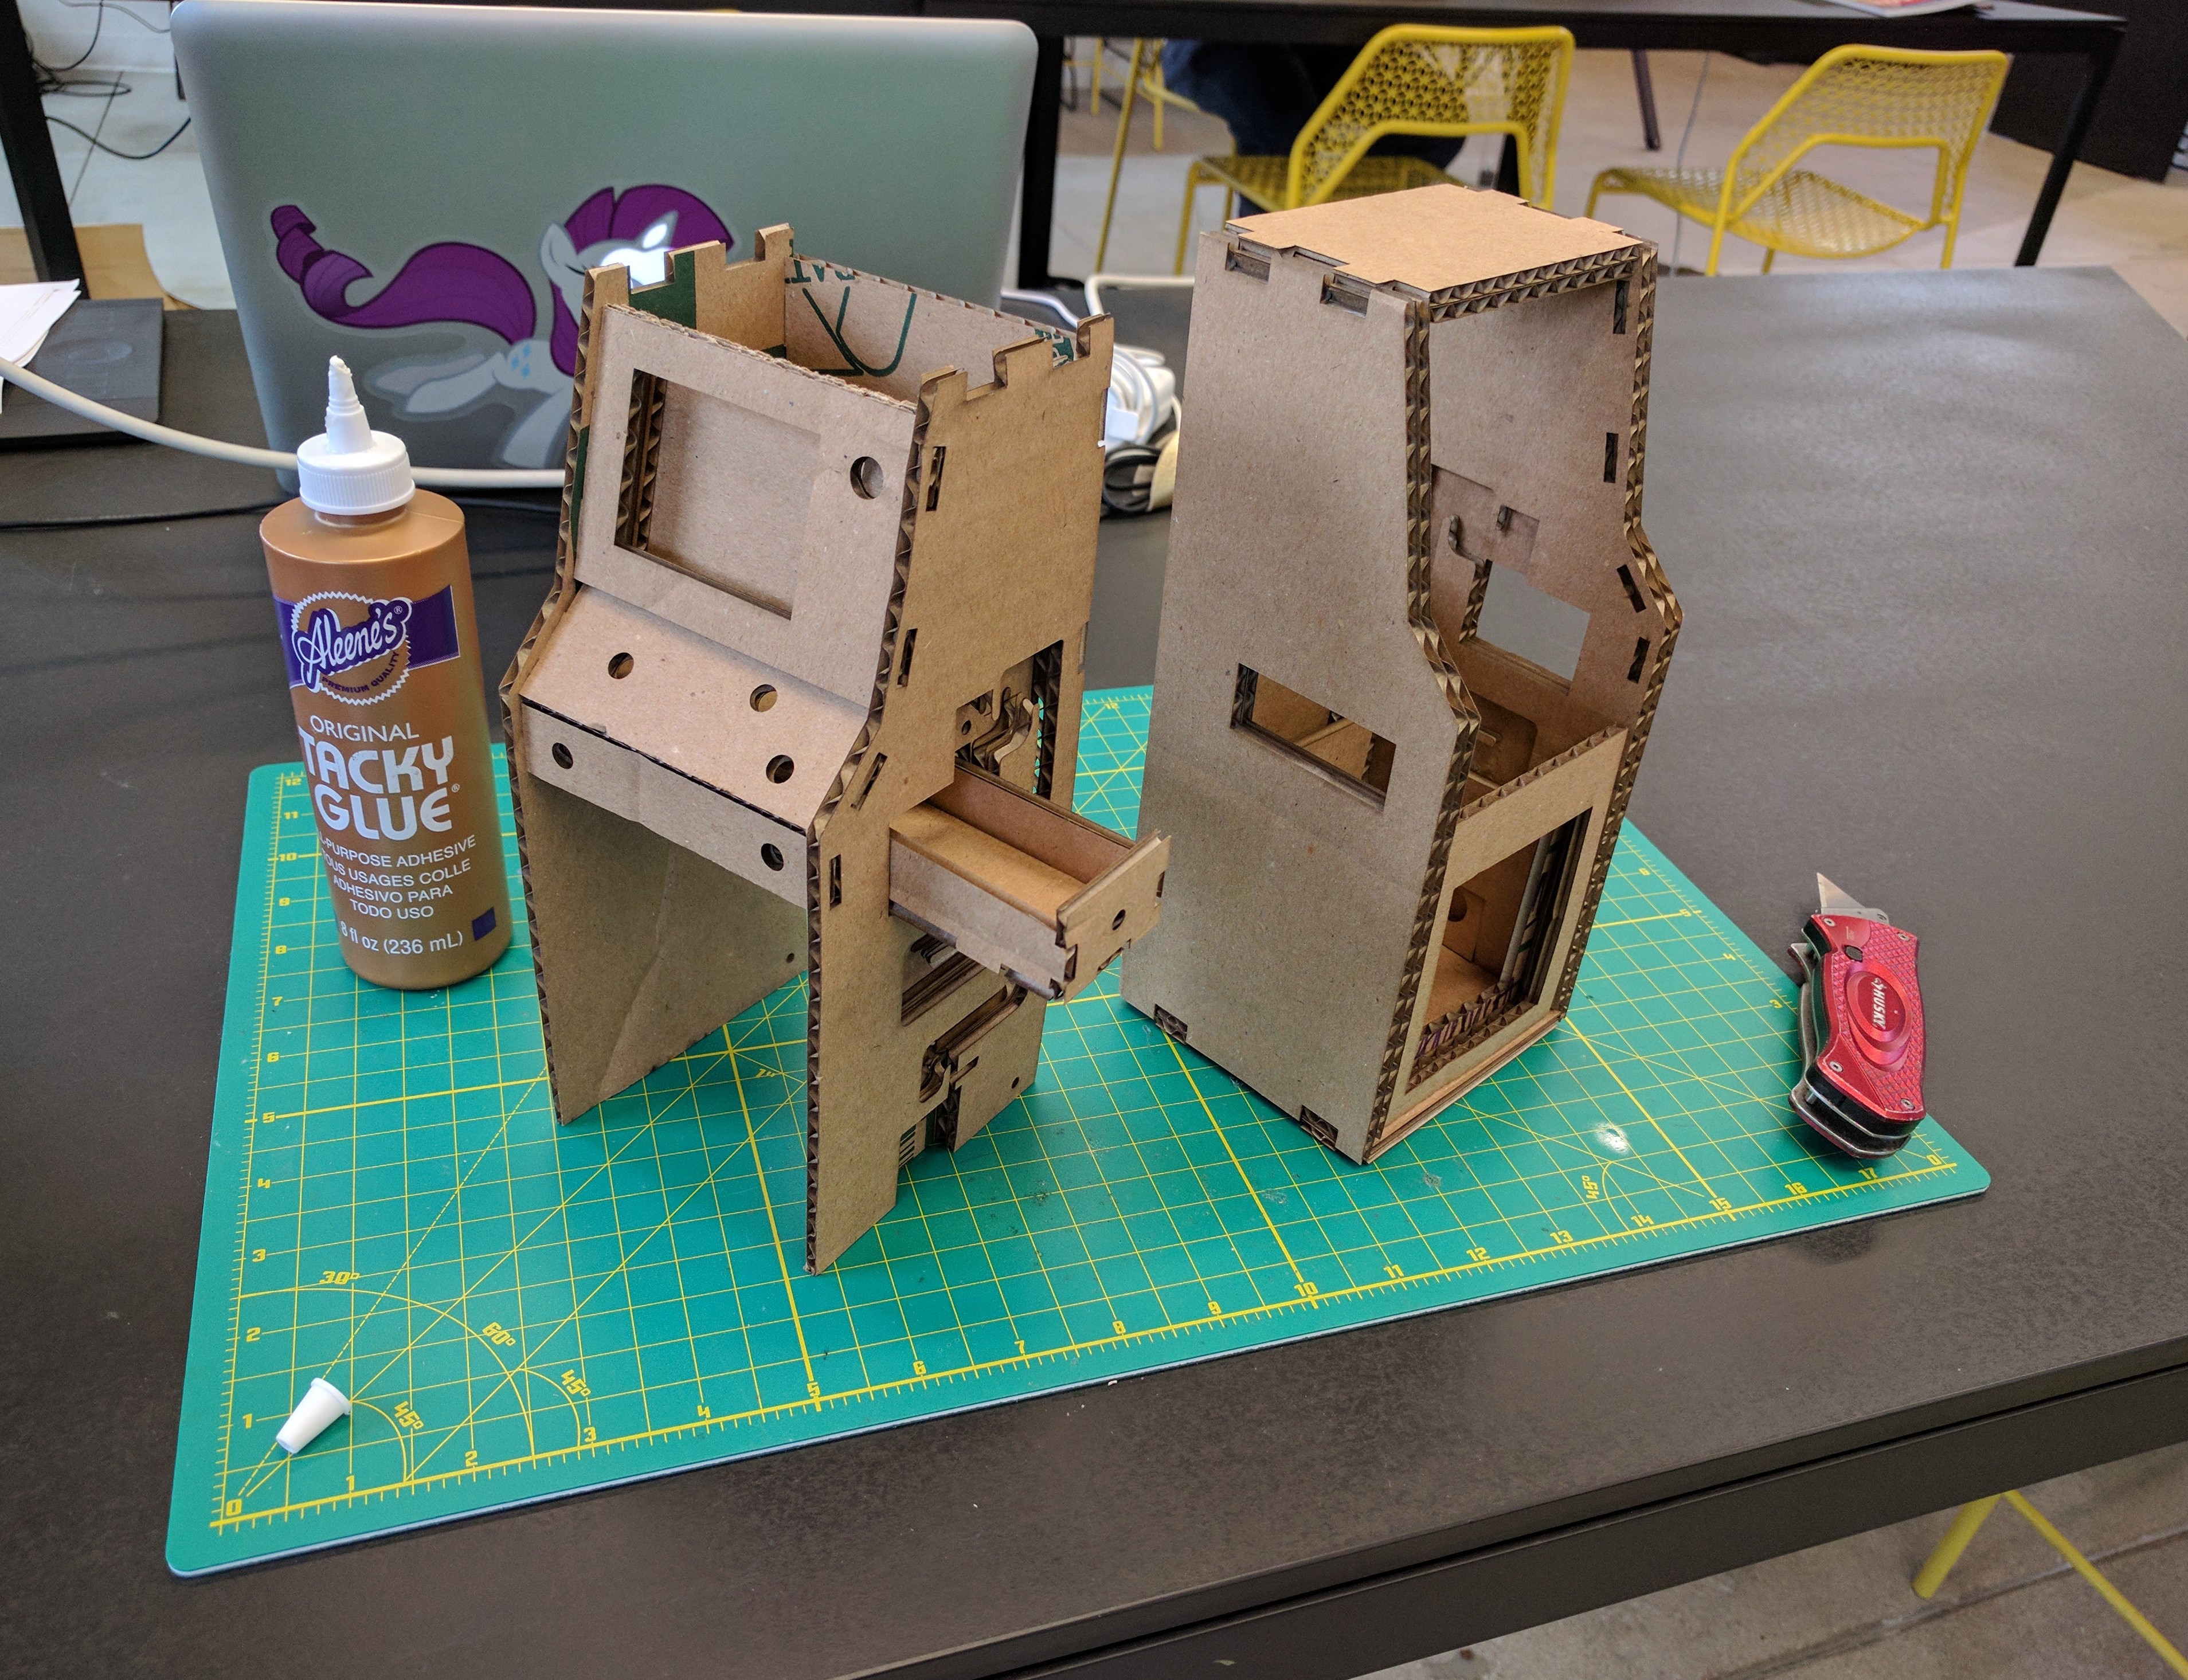
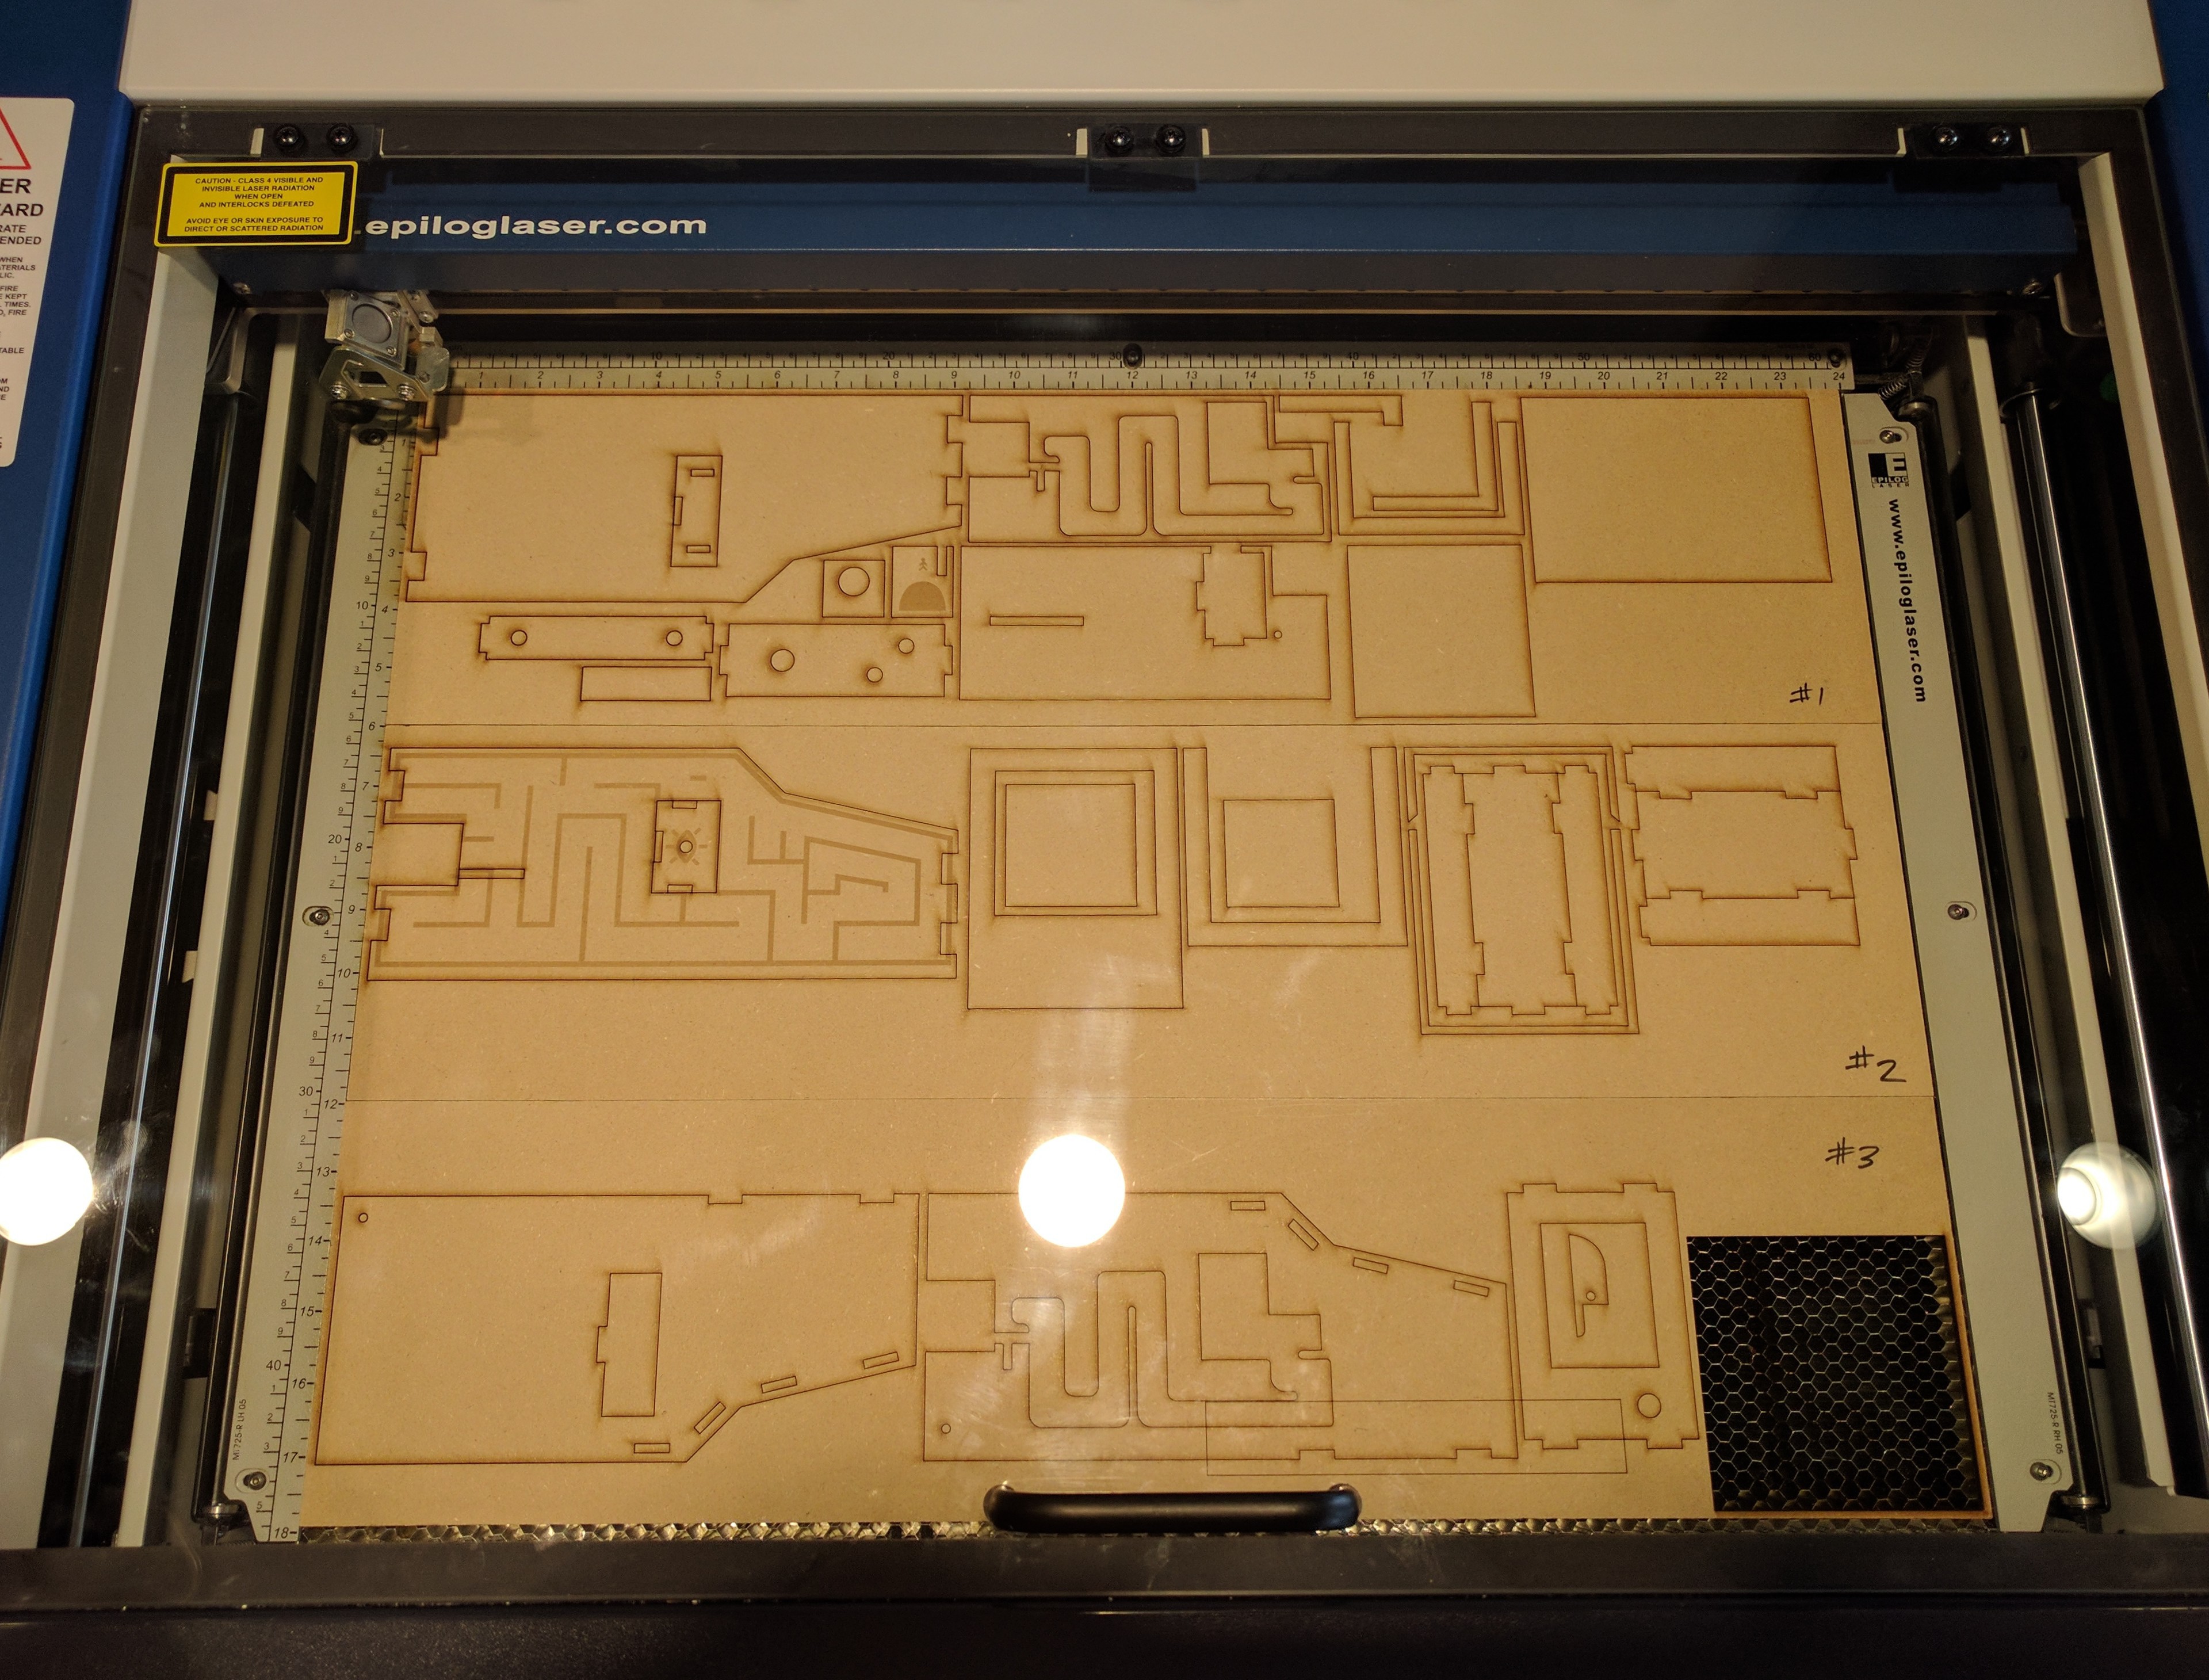
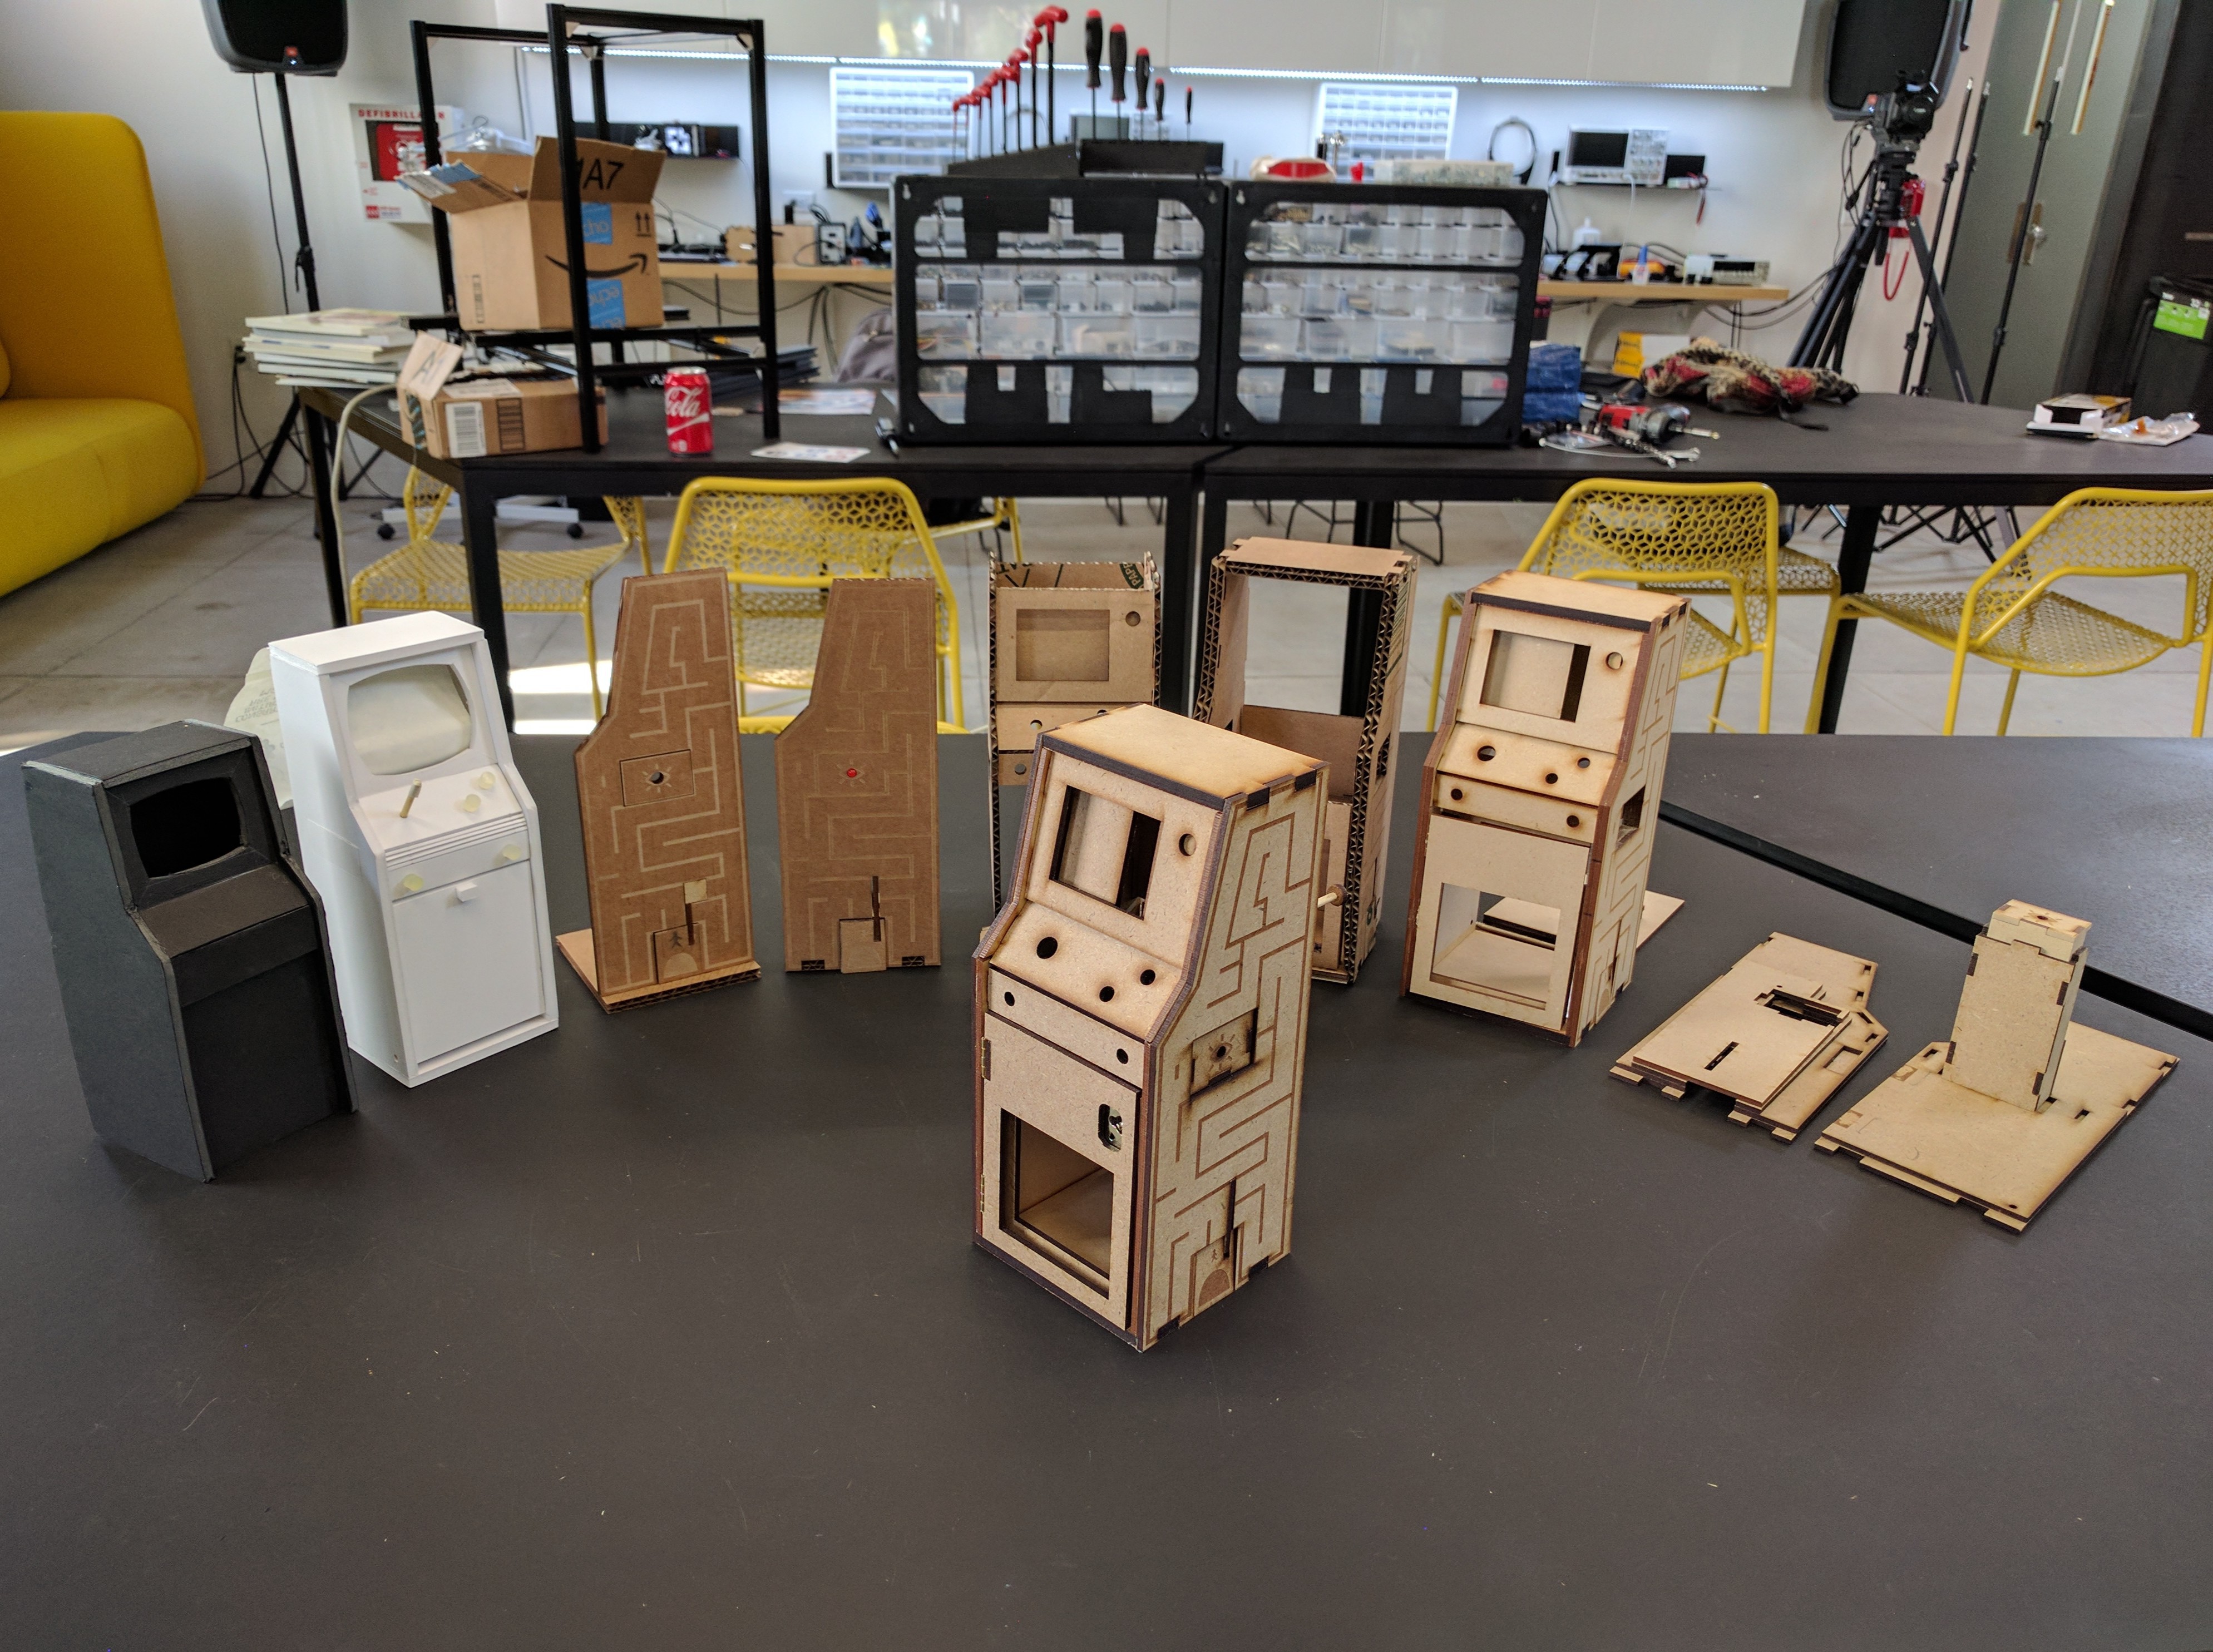
A Micro Arcade Cabinet+Mystery Puzzle Box: A trophy sized arcade cabinet powered by a single-board computer. It takes its aesthetic cues from 50’s era TVs and industrial control consoles, and is made out of a walnut and 3D printed SLA. It has multiple hidden puzzles and compartments that recipients need to find, solve and open to fully unlock the "College's Secrets". Once the cabinet’s secrets are fully unlocked it becomes a fully functional arcade cabinet capable of wirelessly connecting to the Lexaloffle BBS, which recipients can use to download and play PICO-8 games made by the Lexaloffle community.
A Video Game: A text based choose your own adventure video game (programmed via PICO-8) made to look like it's in the terminal that addresses recipients by name, uses details from their lives, and inserts it all into a series of morally grey scenarios written around WWII/Nazi, J. Edgar Hoover/FBI, McCarthyism era threats to arts and creative culture.
A Pocket Guide: Member’s Guide to joining the College of the Creatives. It details the College’s founding, history, and traditions. It also holds puzzles and codes hidden in its text that cabinet recipients need to solve to fully unlock the physical puzzles found on the cabinet.
Four Pieces of Supporting Collateral:
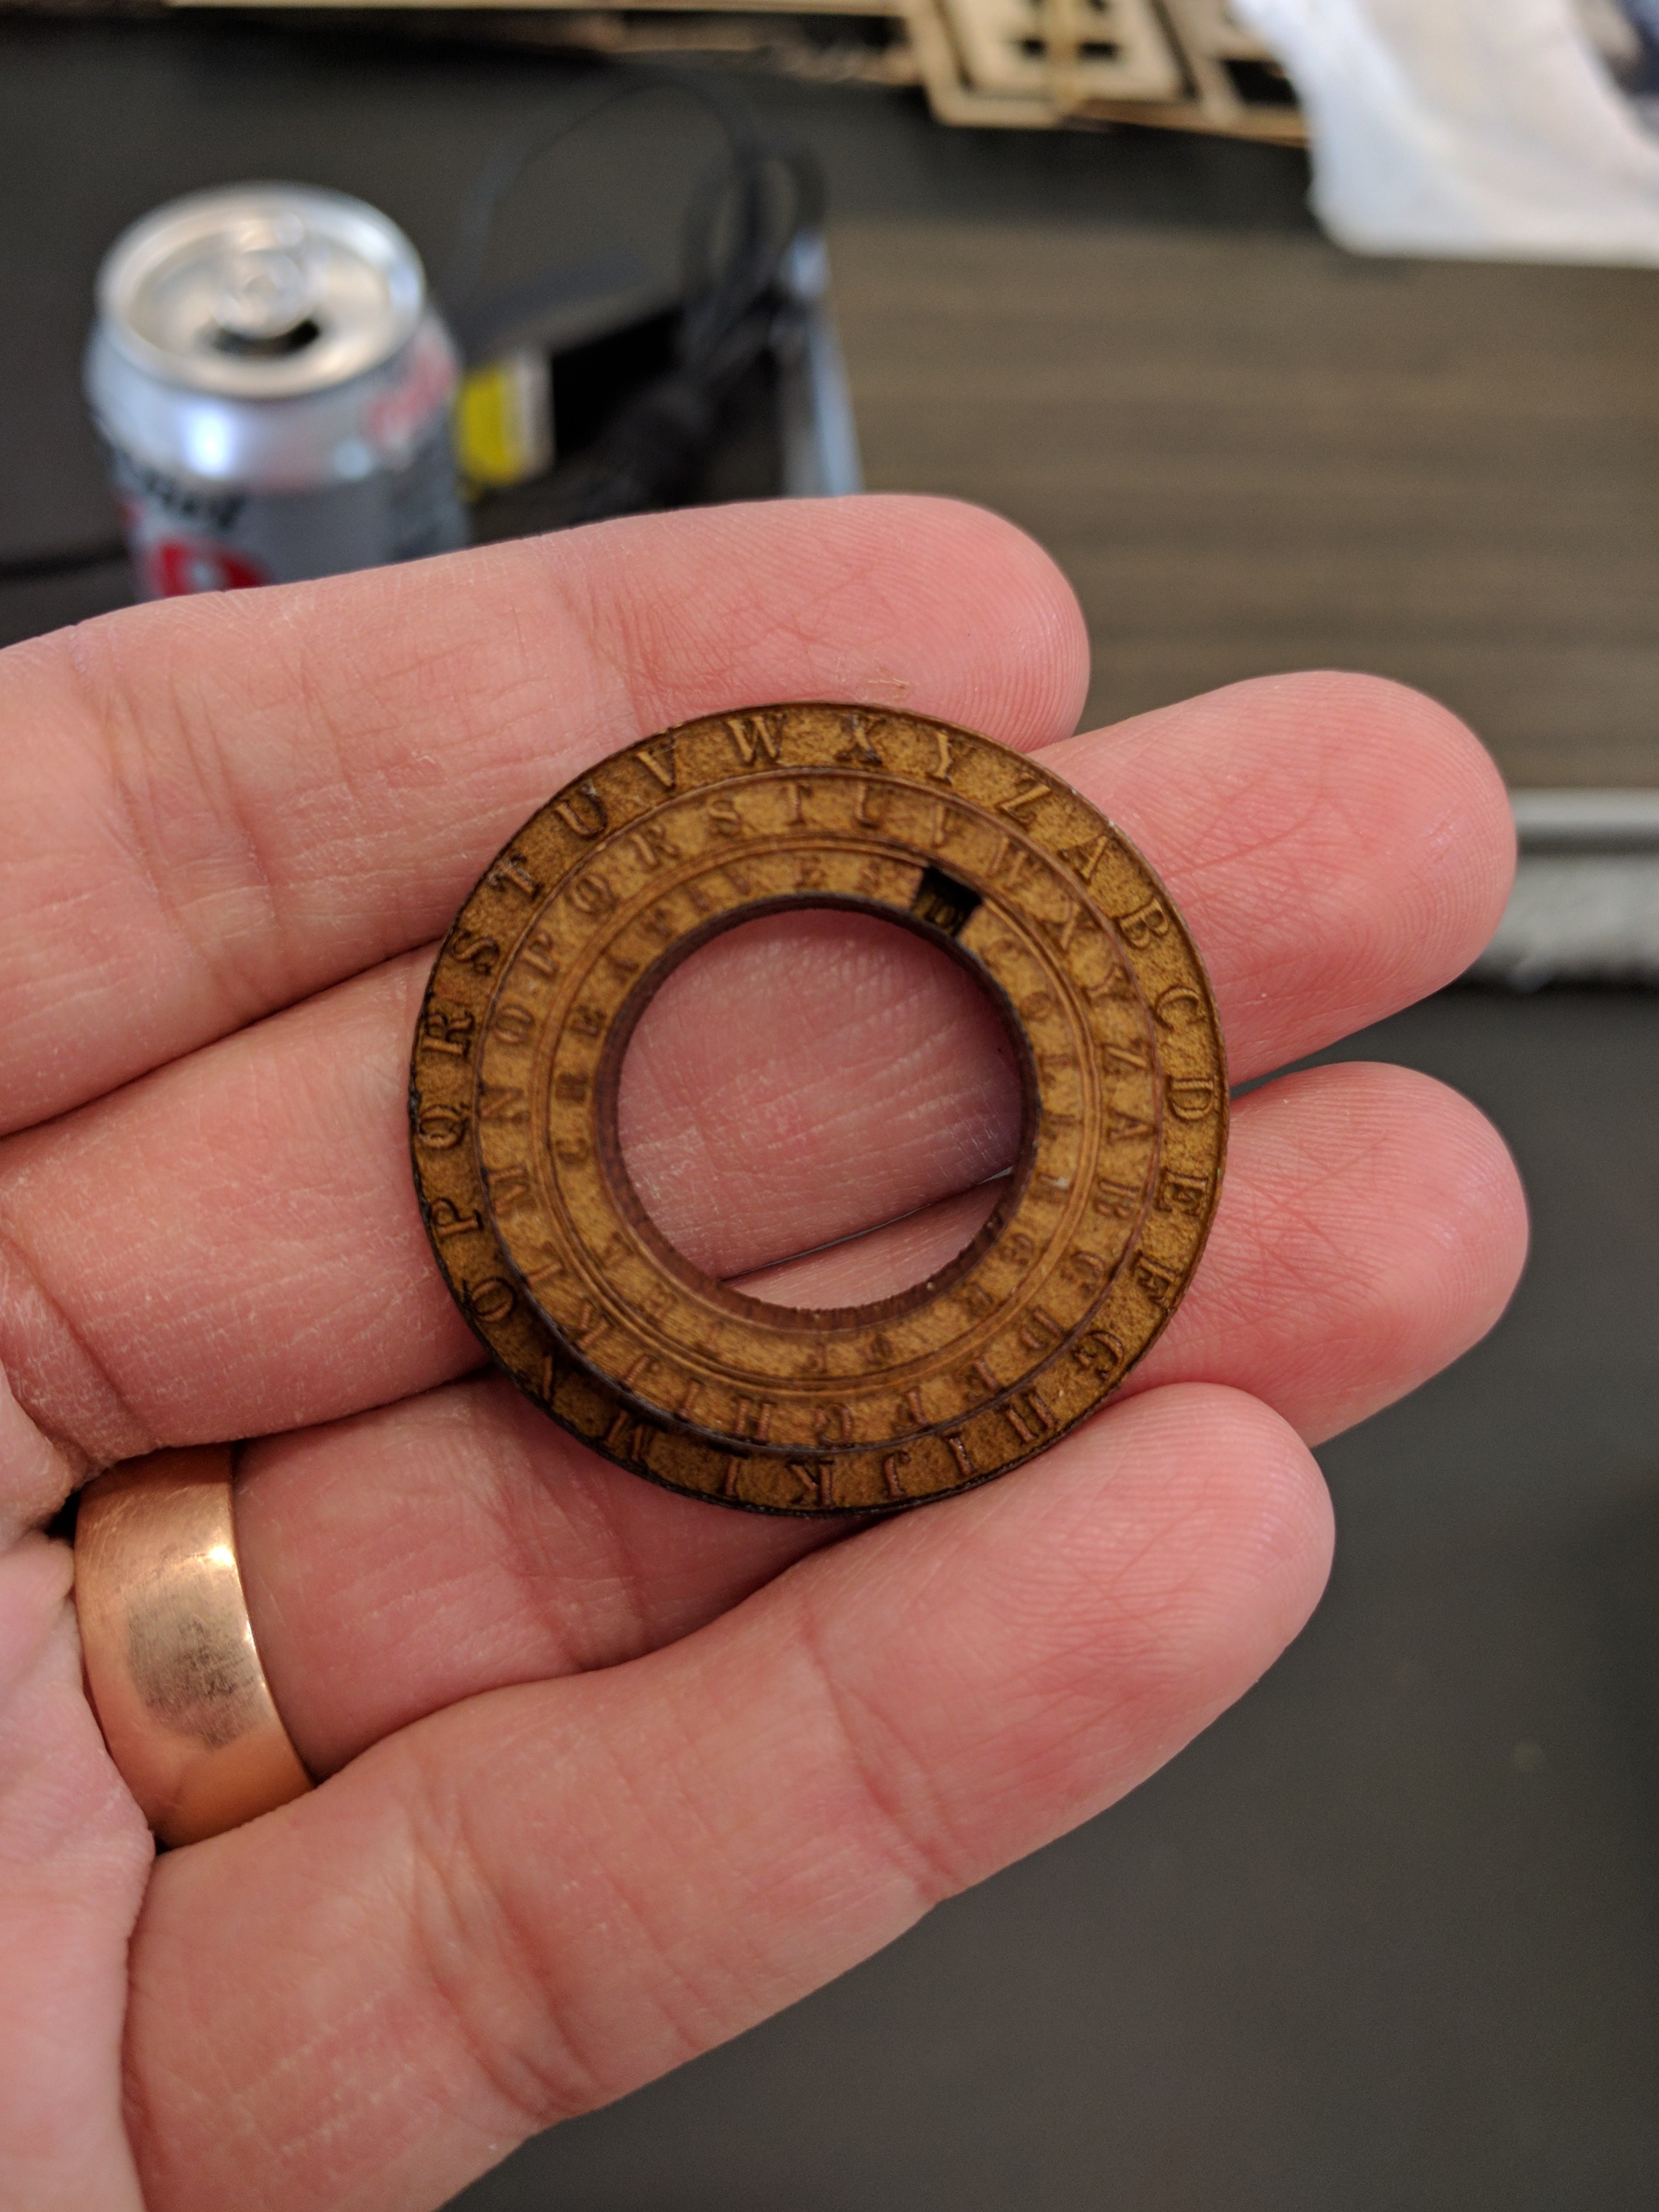
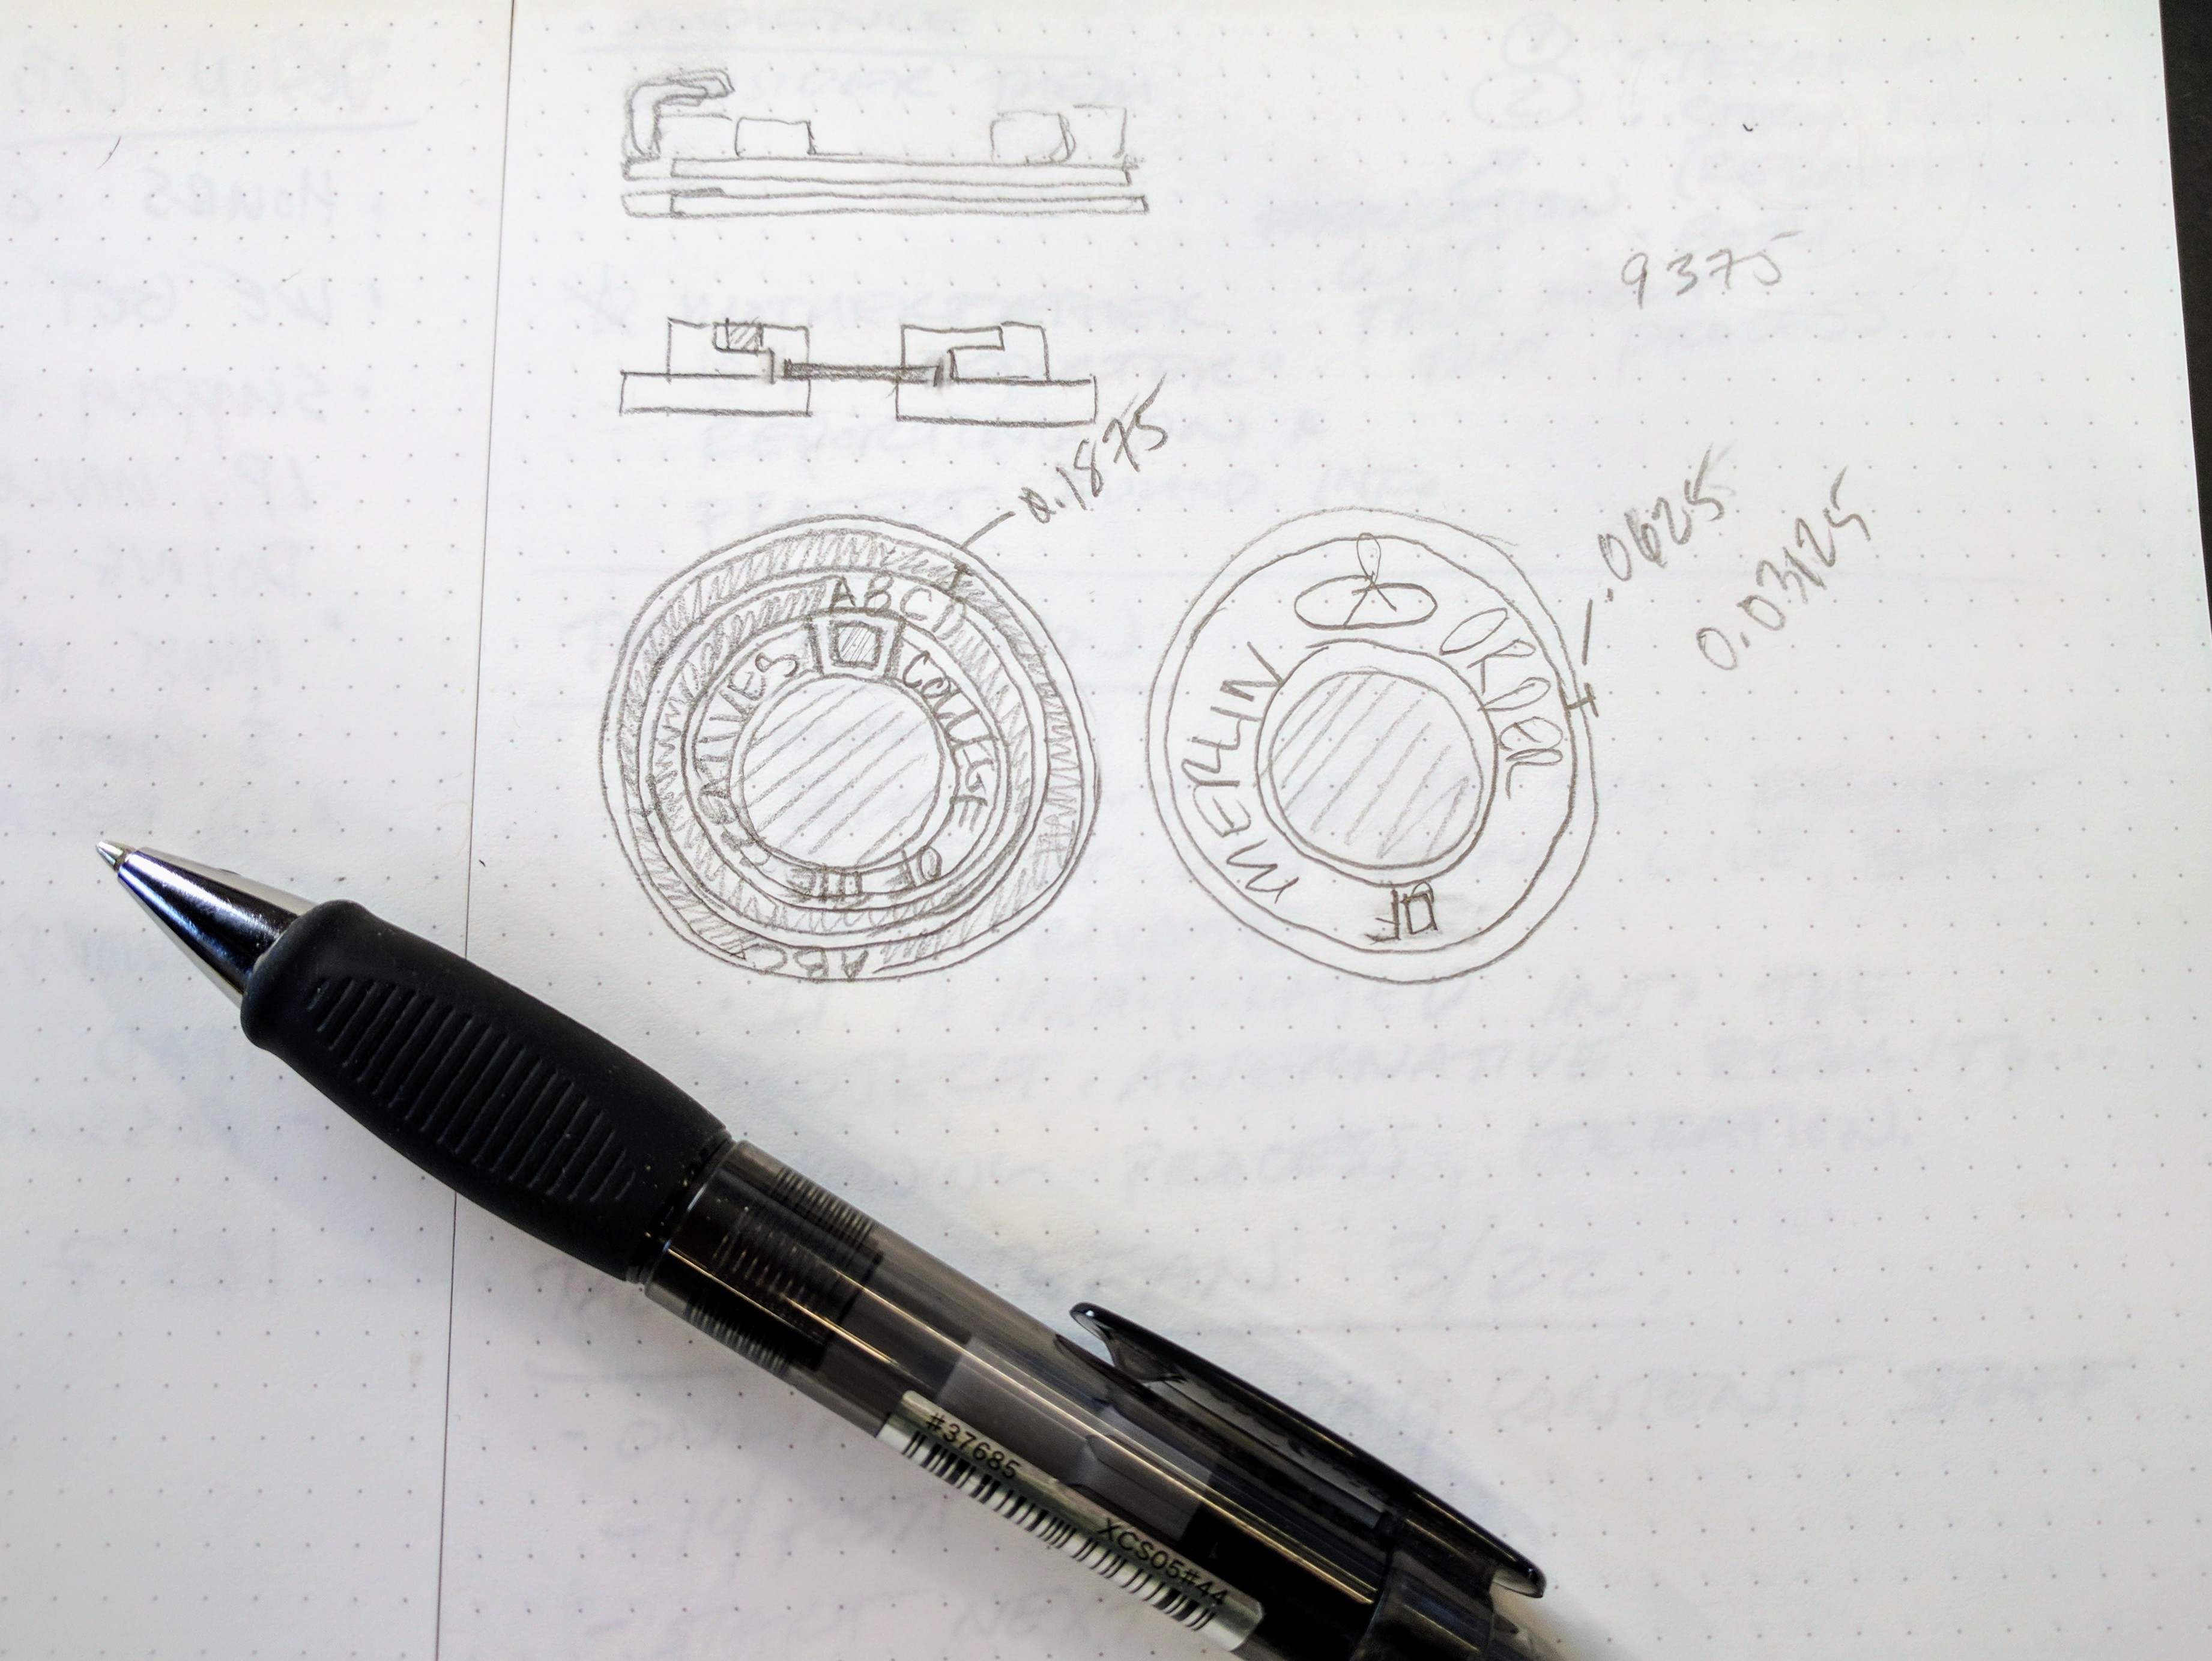
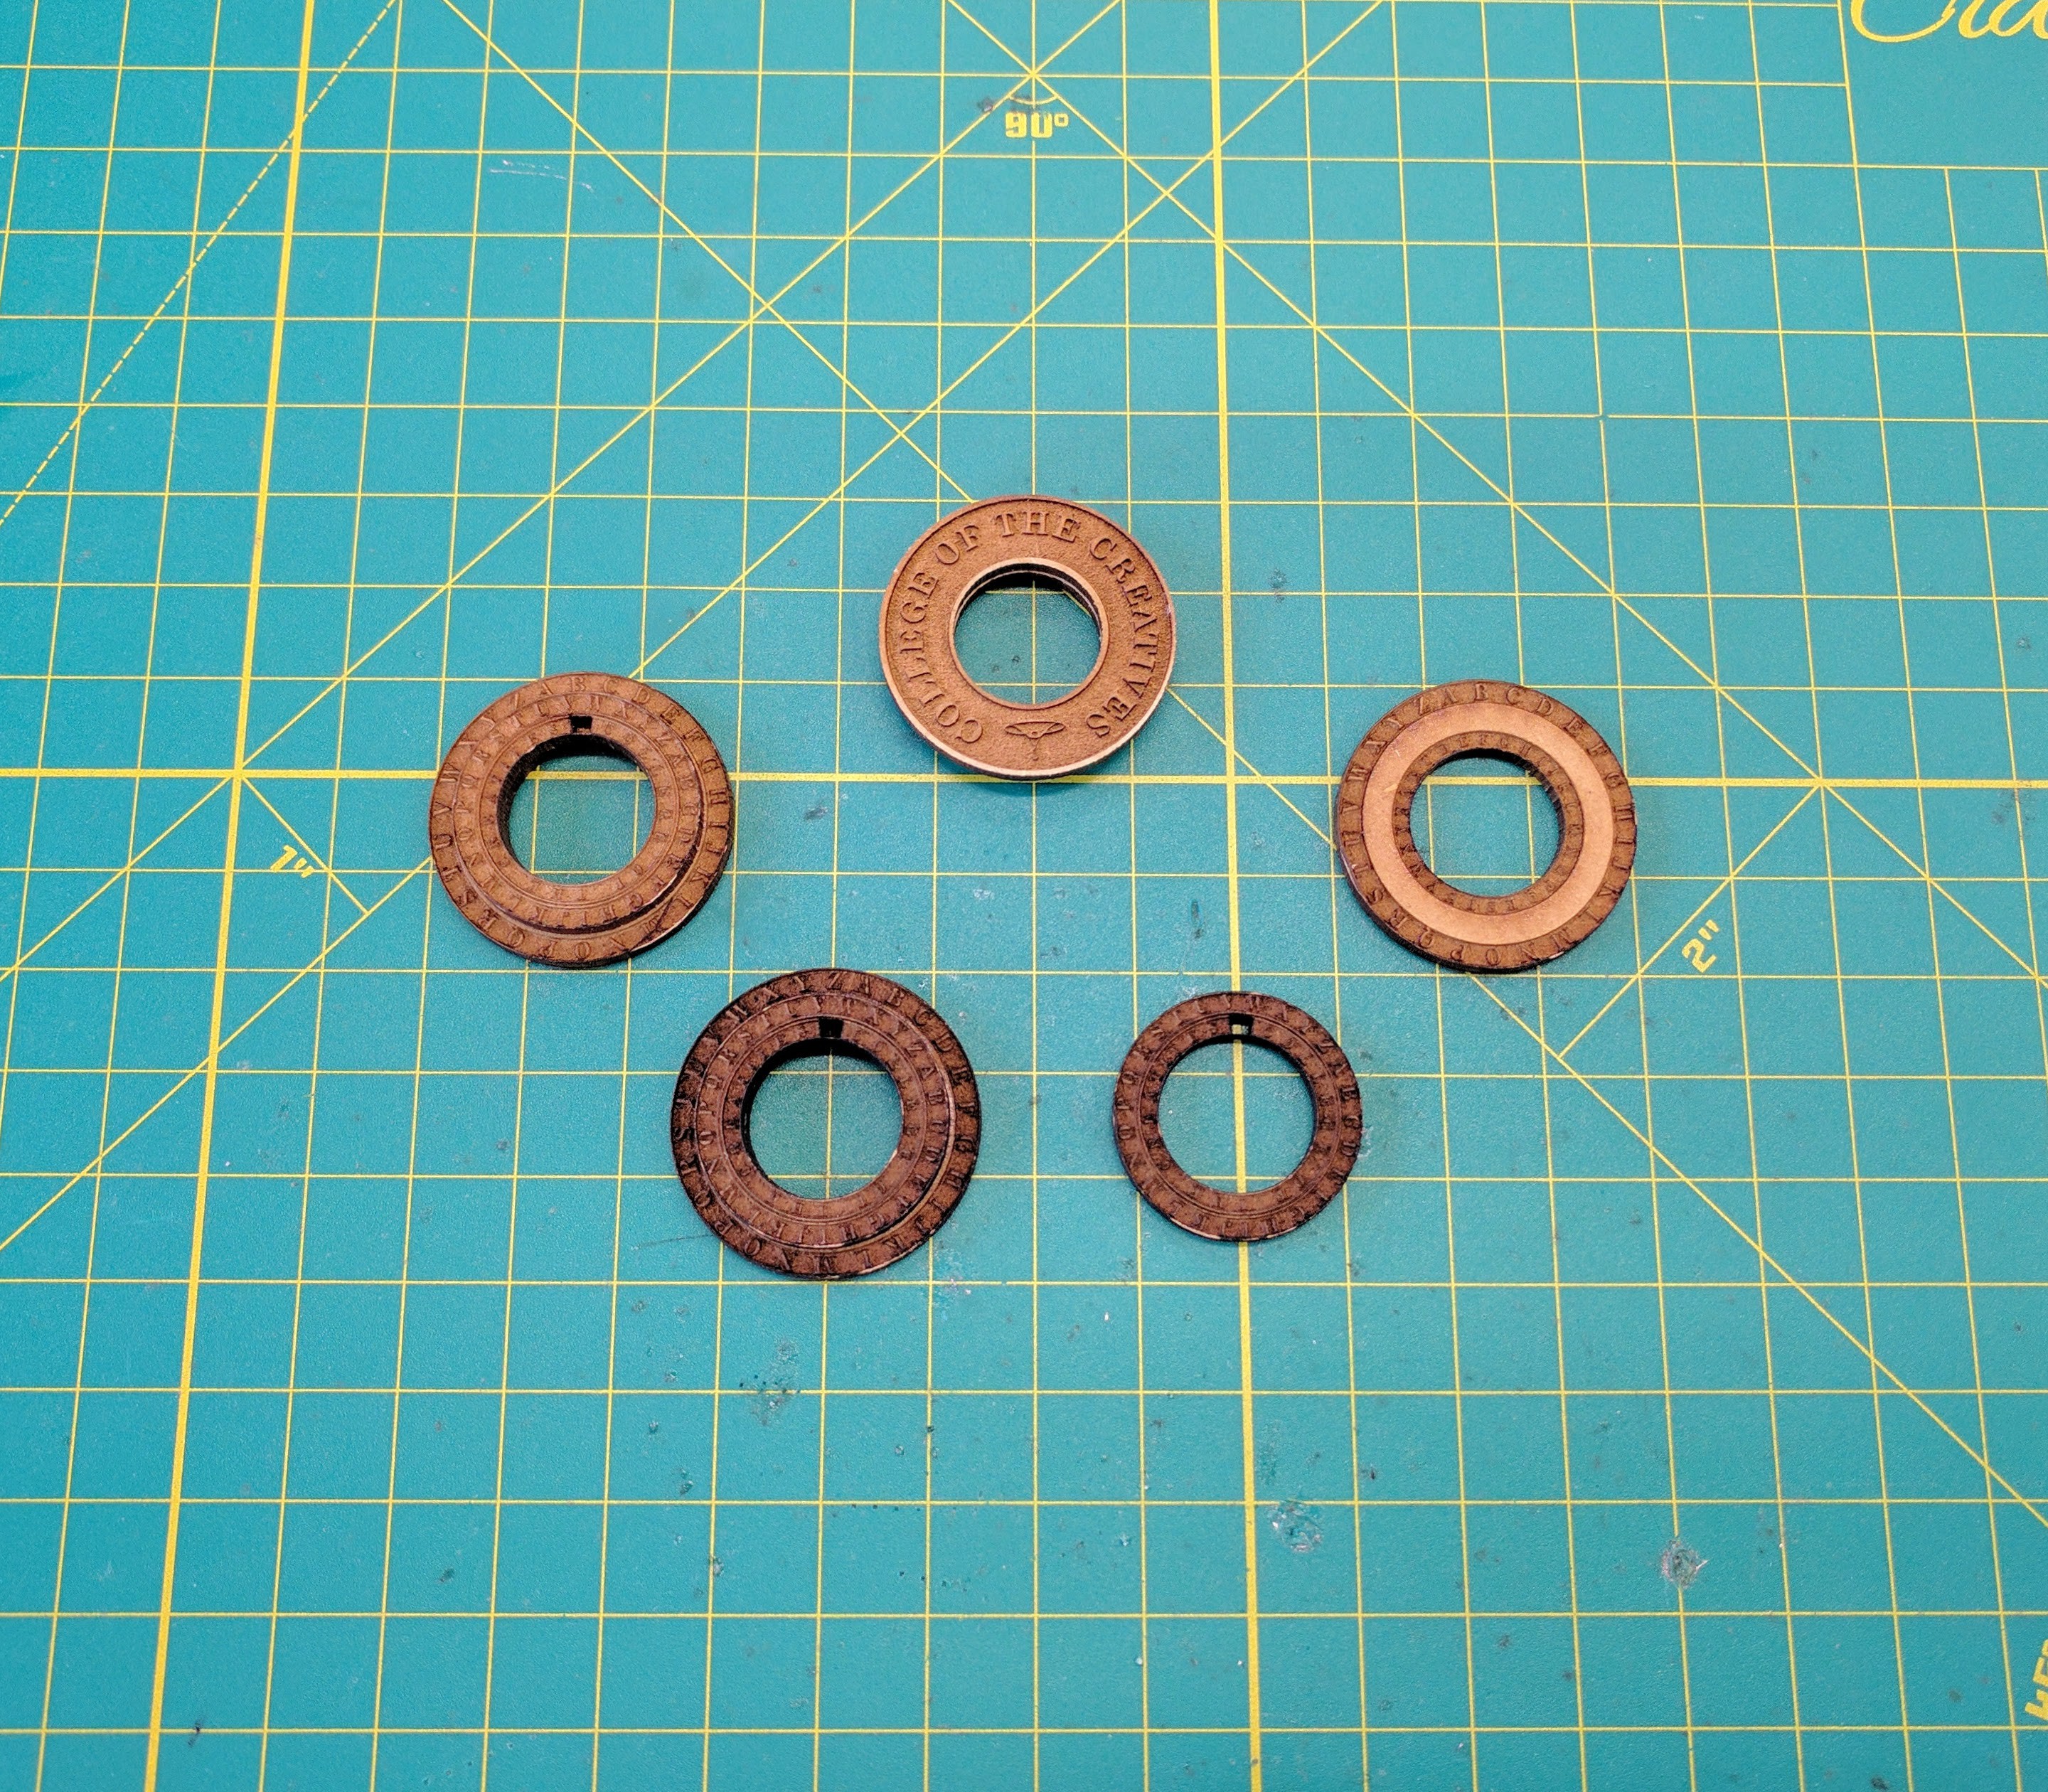
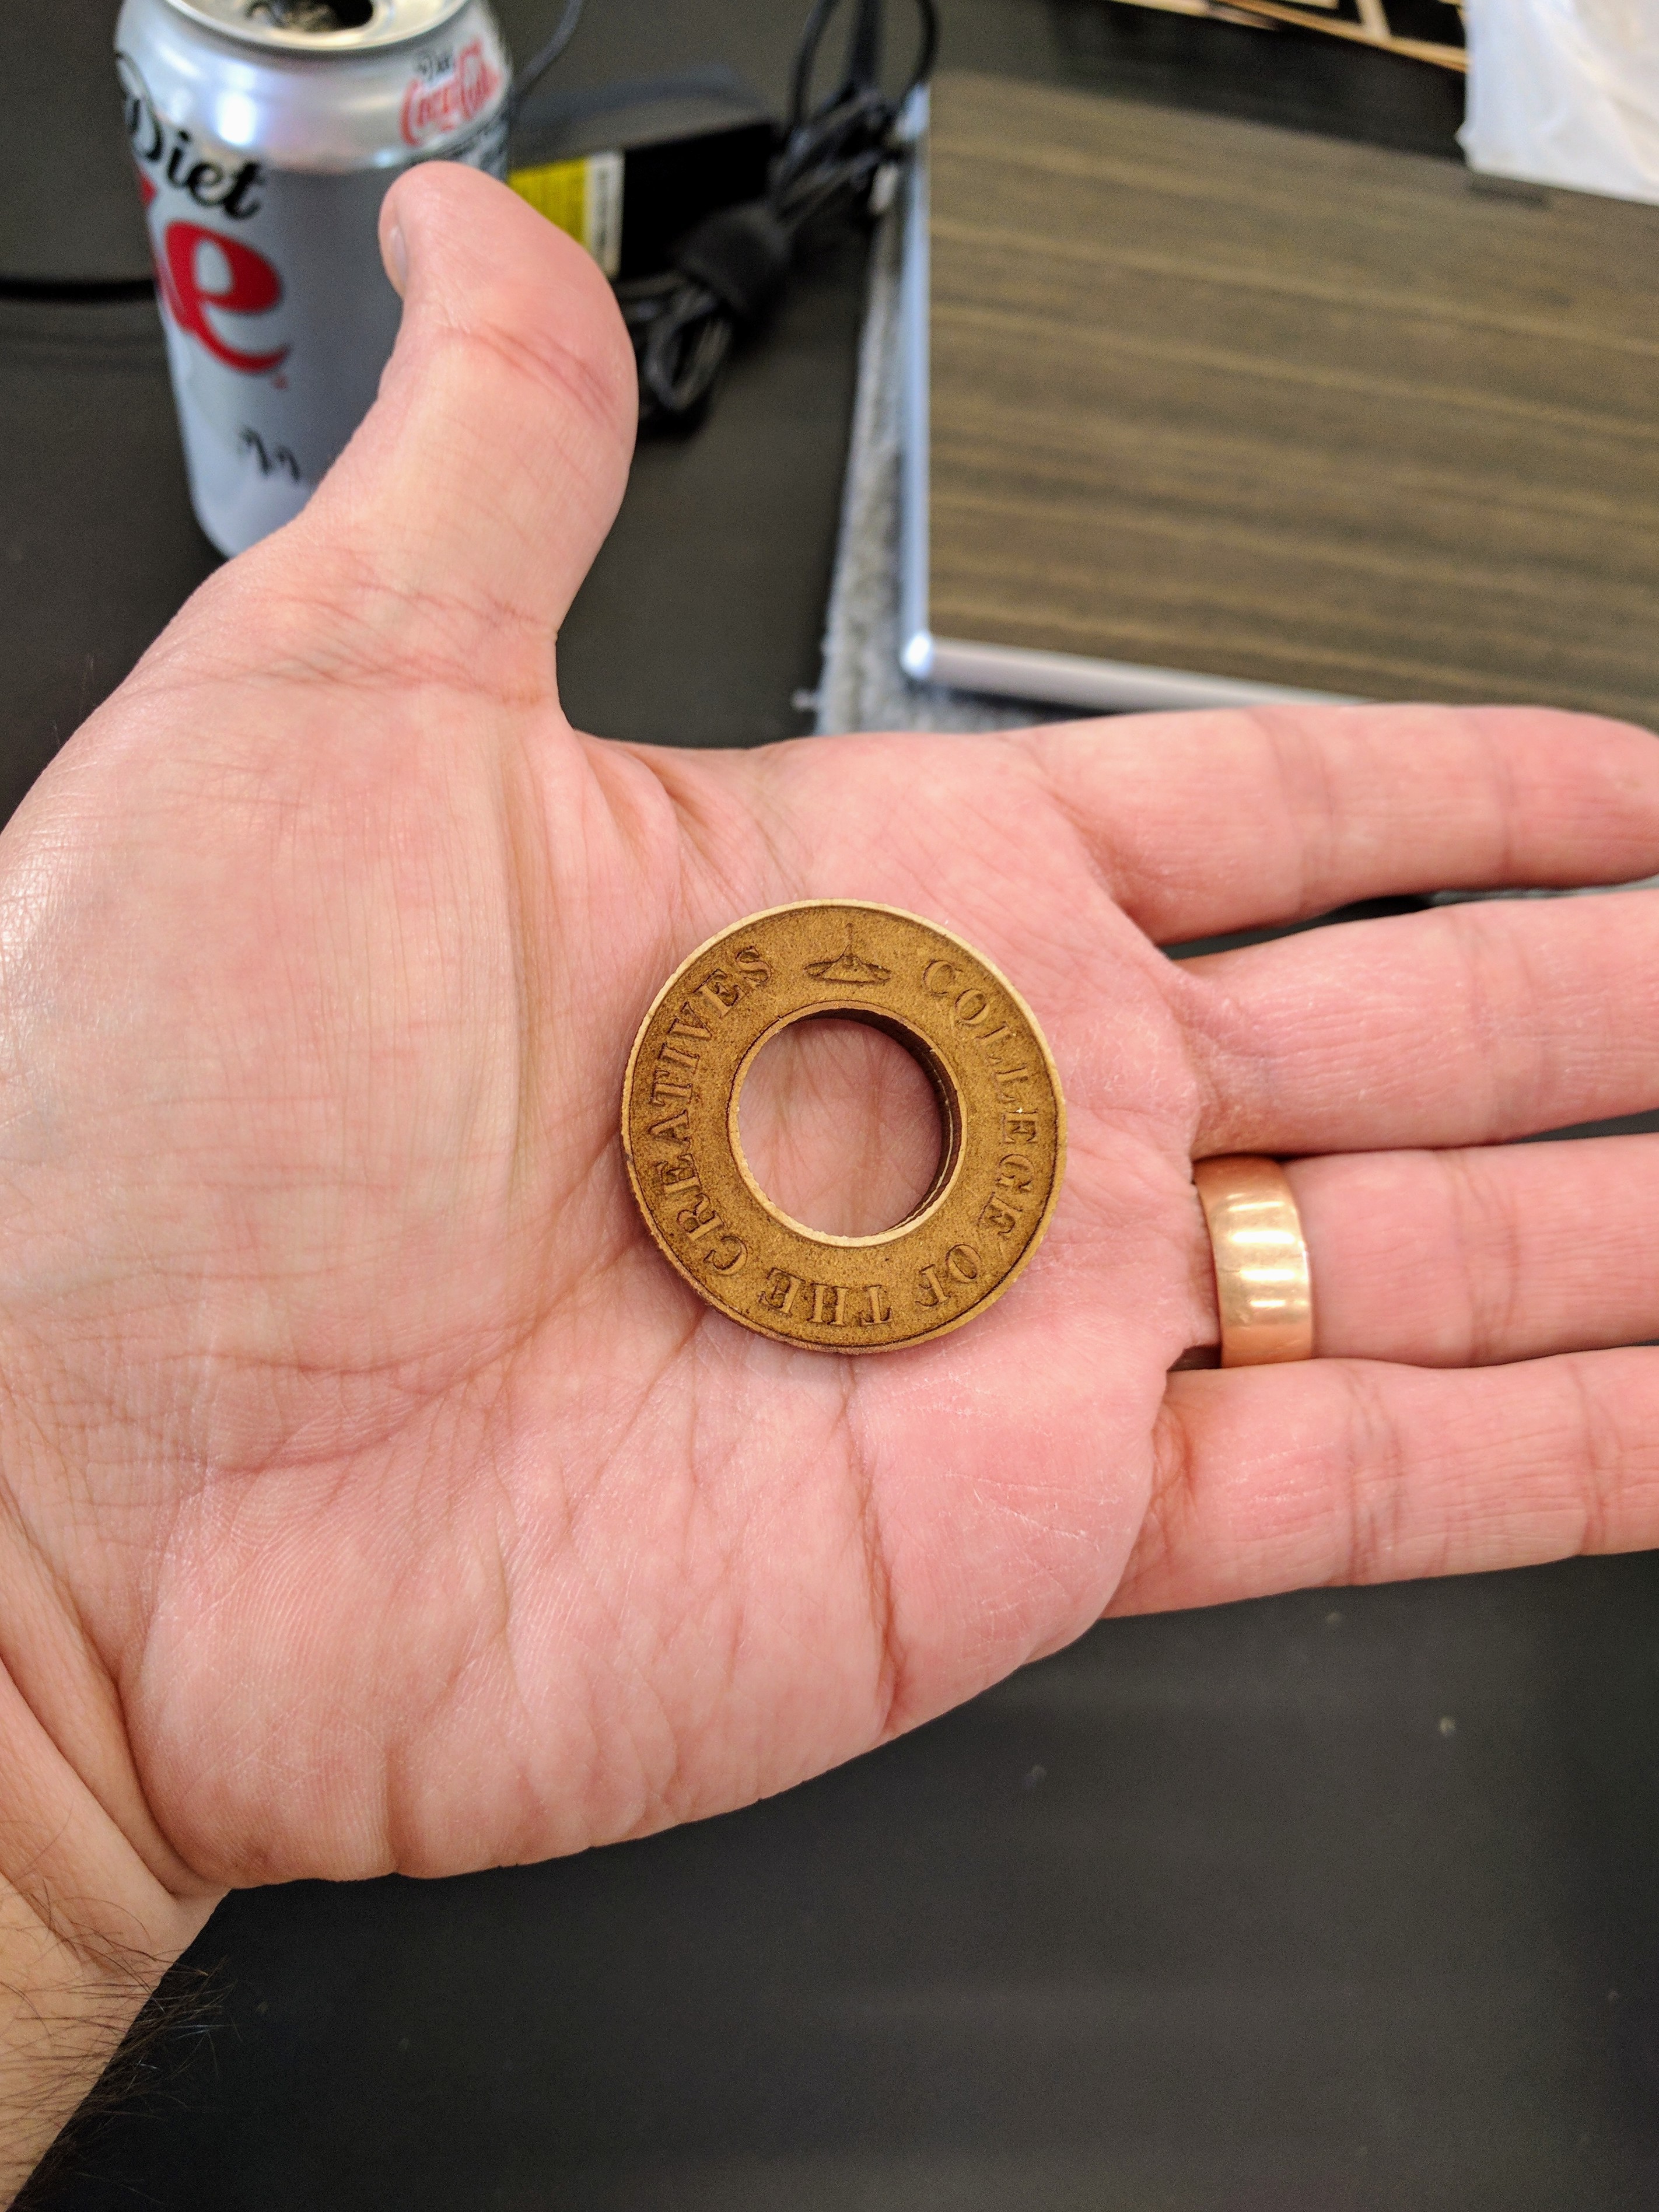
- A Decoder/Cipher Coin: A challenge style coin with an inbuilt cipher that is used to solve and decipher the puzzles and codes hidden in the text of the Pocket Guide.
- A Key: A key hidden in a hidden drawer that is used to unlock a hidden compartment found on the front of the cabinet.
- A Enamel Pin: A pin used to symbolize that the recipient has passed all of the College's trials. When worn this pin “marks" recipients as fully Lettered Members of the College of the Creatives.
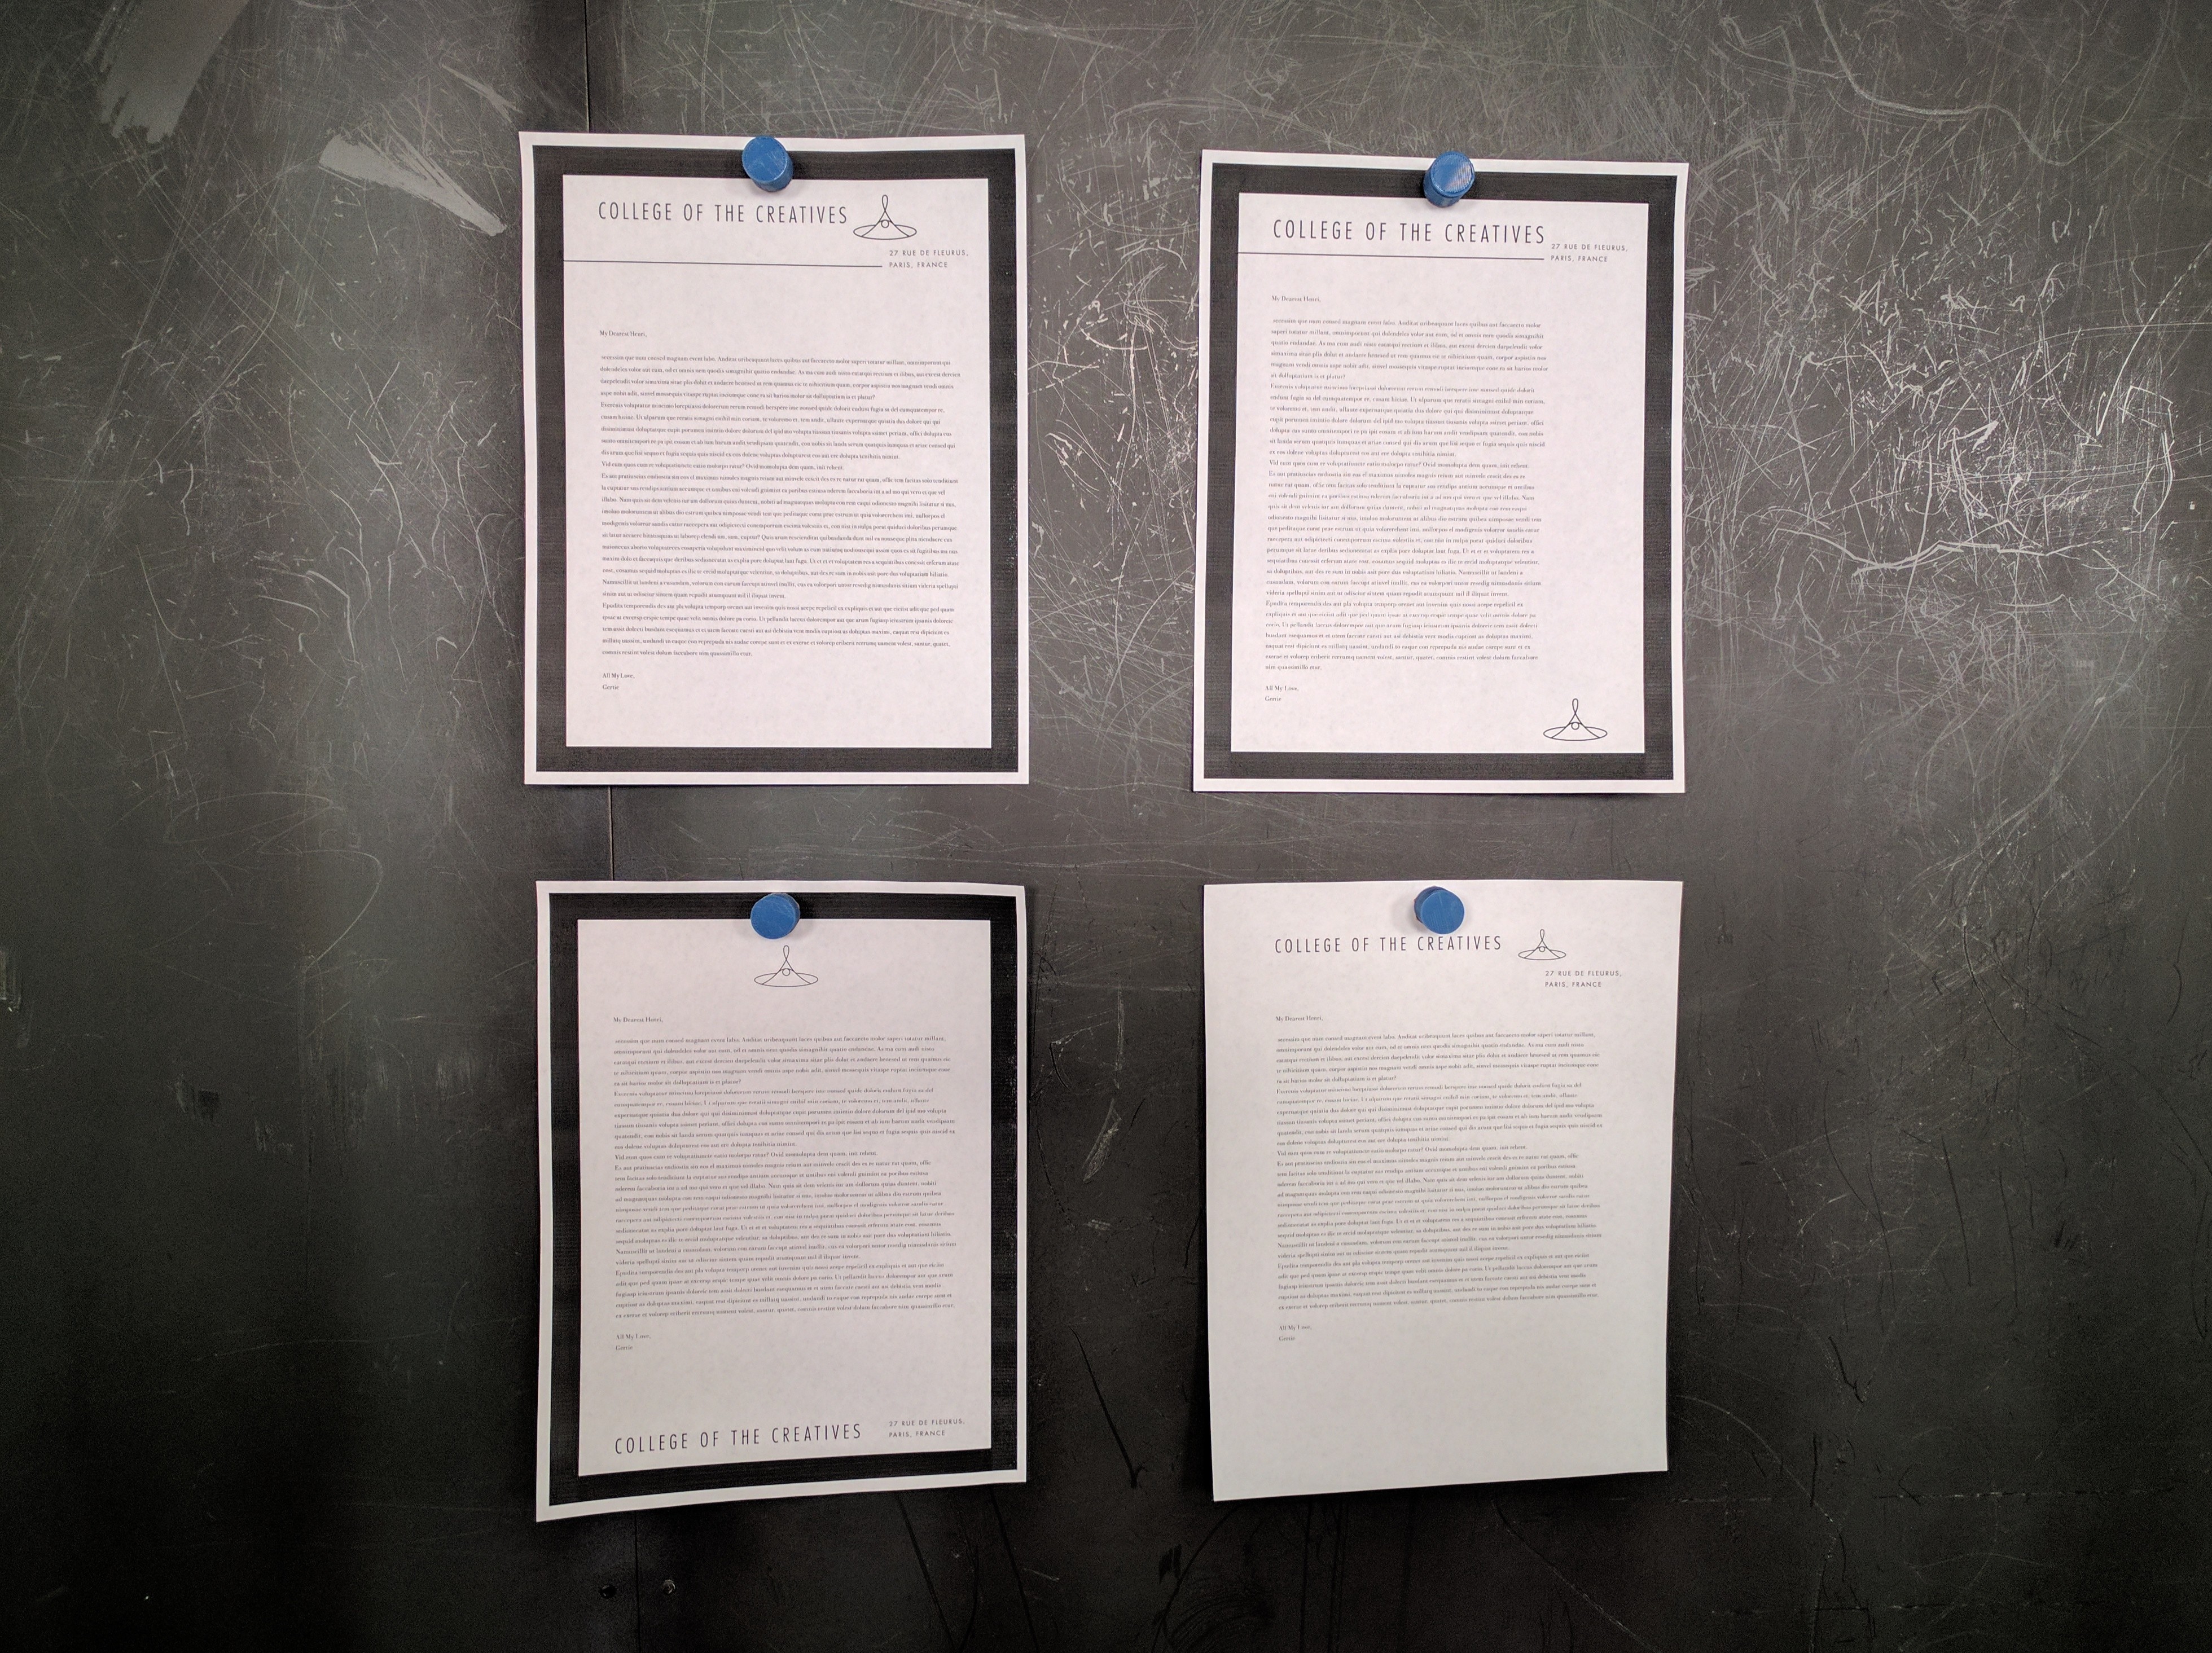
- Letters: Letters included inside of the crate and cabinet that: address each recipient by name, introduce the person we're sending the box on the behalf of to them, and invite them to take the "College of the Creative's" trials to become a Lettered Member of the College. These letters also help fill in historical facts about the College, give context about its activities during and post WWII. The last letter will serve as a prestige, revealing our intentions, explaining our call-to-action, and inviting each recipient to help us fight threats to art and creative culture like the planned defunding of federal initiatives that fund art and creative culture in America by the current administration.
A Wooden Crate: A Baltic bitch plywood crate the cabinets will be shipped in to their intended recipients.
Below is a video of a foam core mock-up I made, before coming the the DesignLab, to walk people through the cabinet experience.
Who We Are:
In late 2015 my wife (Maggie) and I decided to strike out on our own, forming a small independent change-driven design studio/artist collective called MotherFather. Our collective is comprised of socially conscientious designers, artists, and makers obsessed with making the world a better place. We're focused on the belief that there is world changing power in thoughtful, empathetic, and communally engaging stories told from the heart that combine design, culture, and technology to create wonder and intrigue in the name of bringing people together to do good. We're committed to establishing ourselves as creatives that specialize in telling stories that matter and are worth sharing, and sincerely feel that making passion projects like the "College of the Creatives Cabinet" is the best way to reach that goal.
Why We Need to Make This/Artist's Statement:
There are multiple reasons why I personally needed to make this, mostly I've had the idea for the physical cabinet part of this project kicking around in my head in various states for the last 5 years, I just never had a worthwhile...
Read more »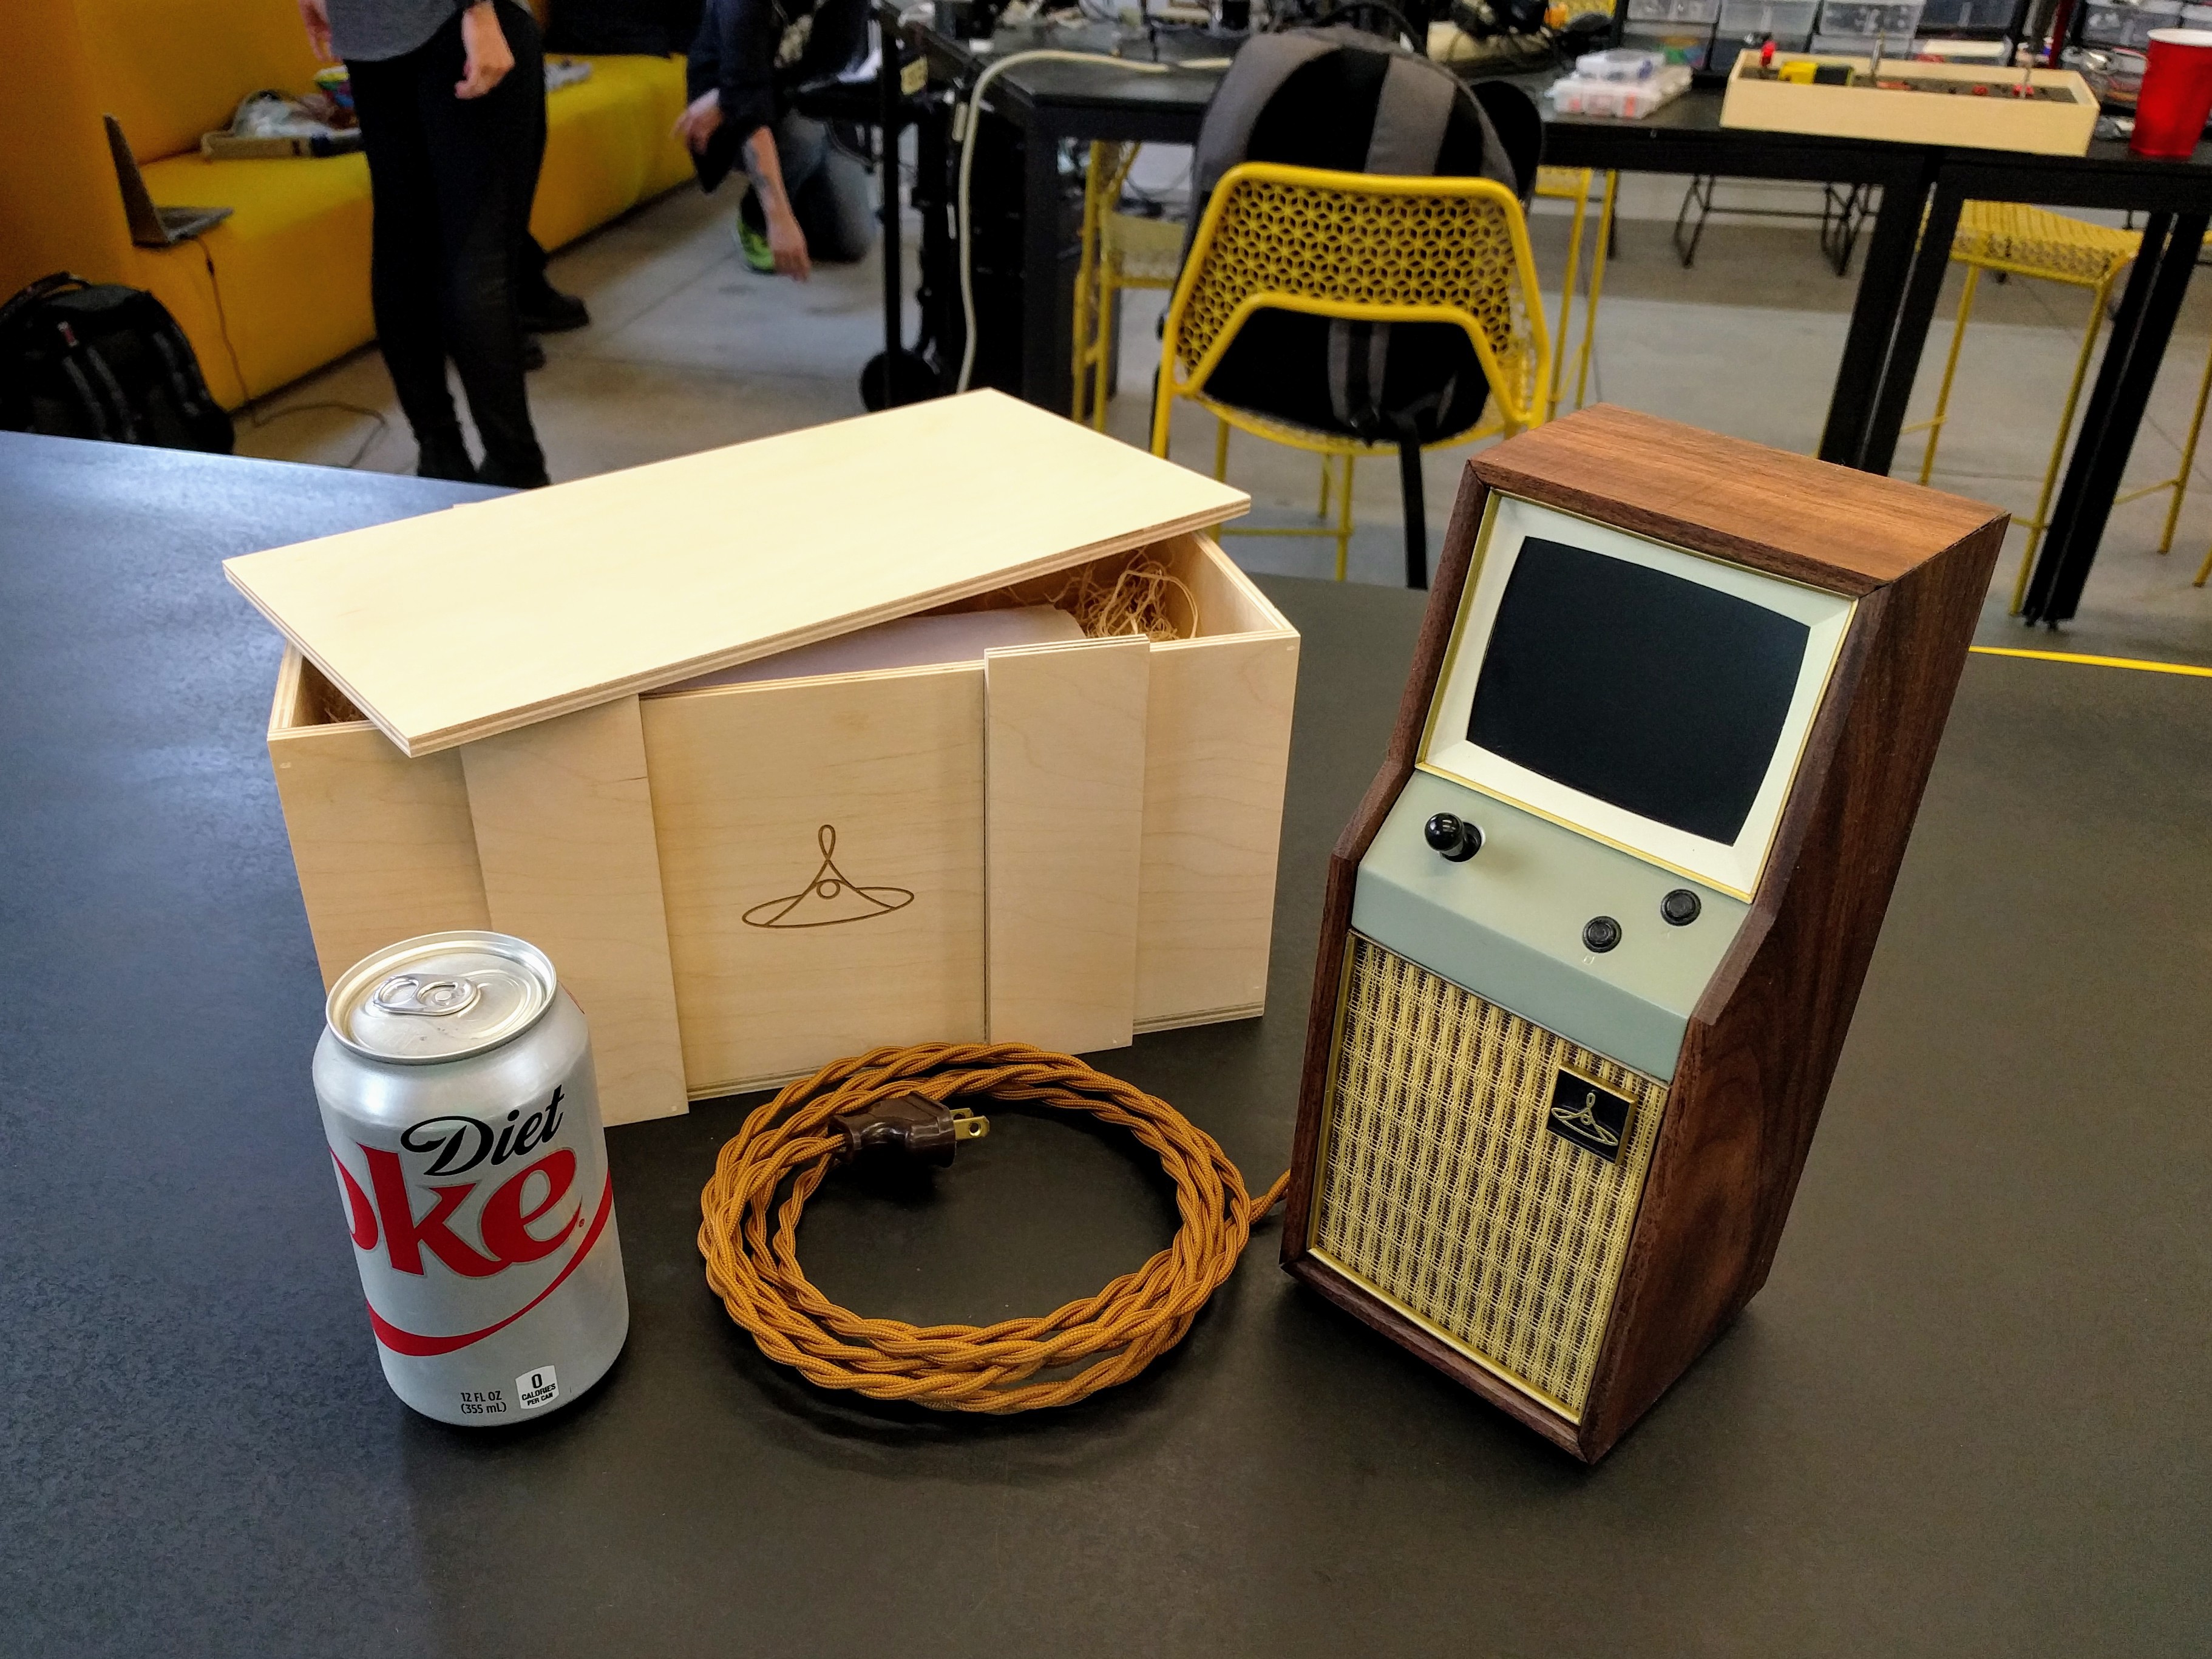


 Kaspar Emanuel
 Santiago Jose Amavisca
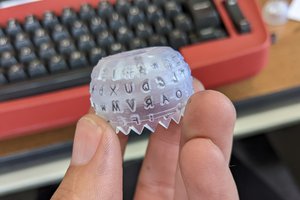
 Sam Ettinger
An effective influencer marketing strategy requires you to speak to the right people using the right tools—and the right influencers. The first step is to define who your audience will be for this specific campaign. TLC models & Talent Developing audience personas is a great way to make sure you understand who you're trying to reach.