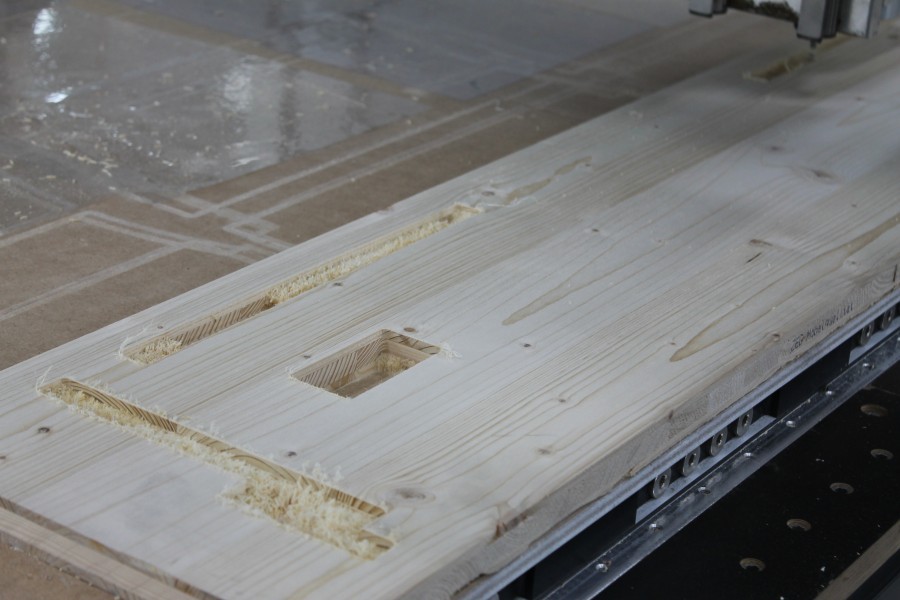
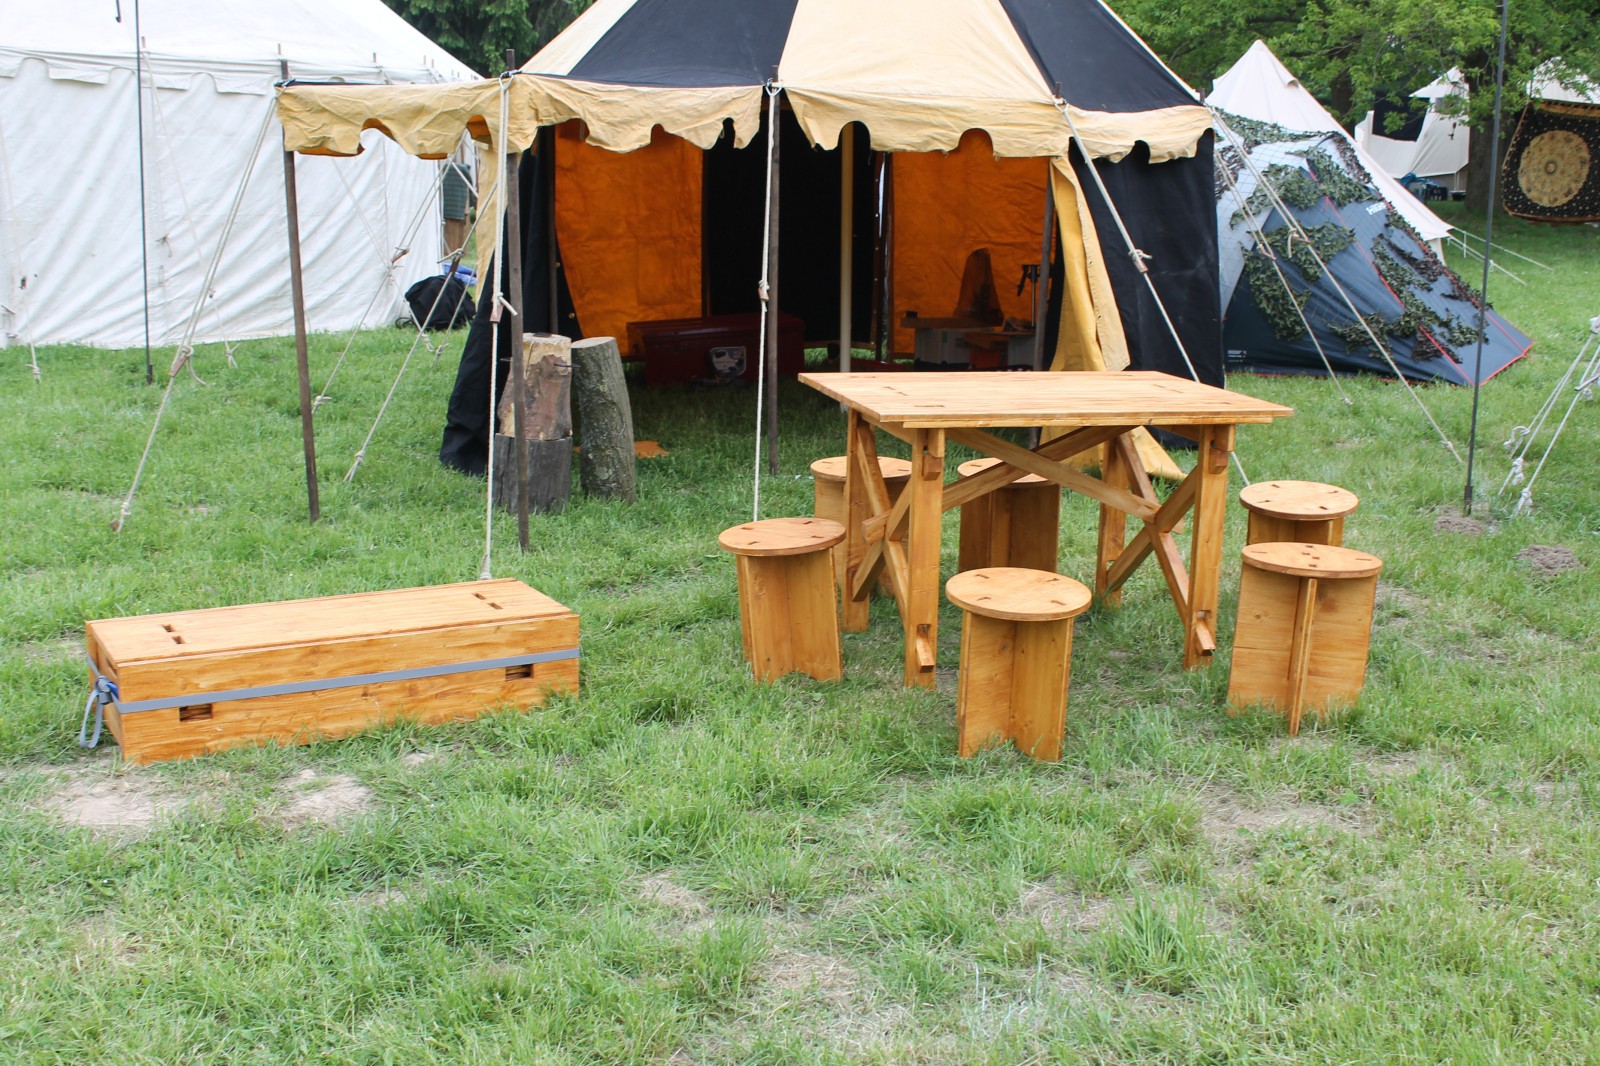
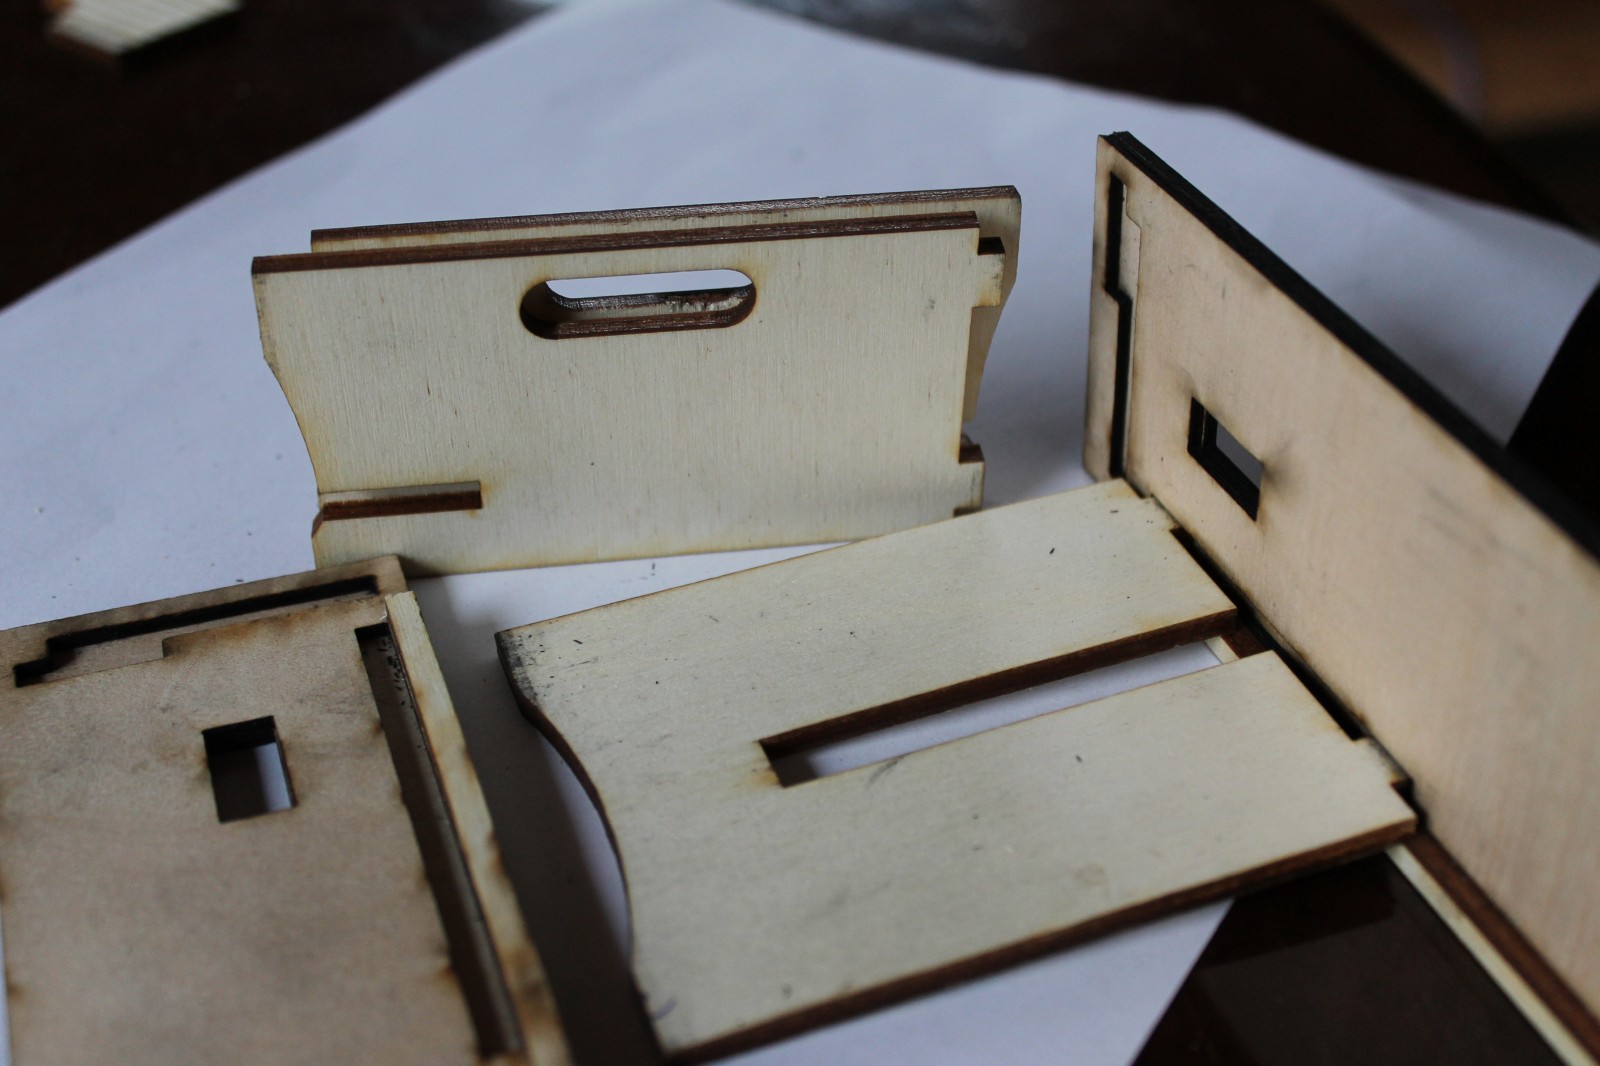
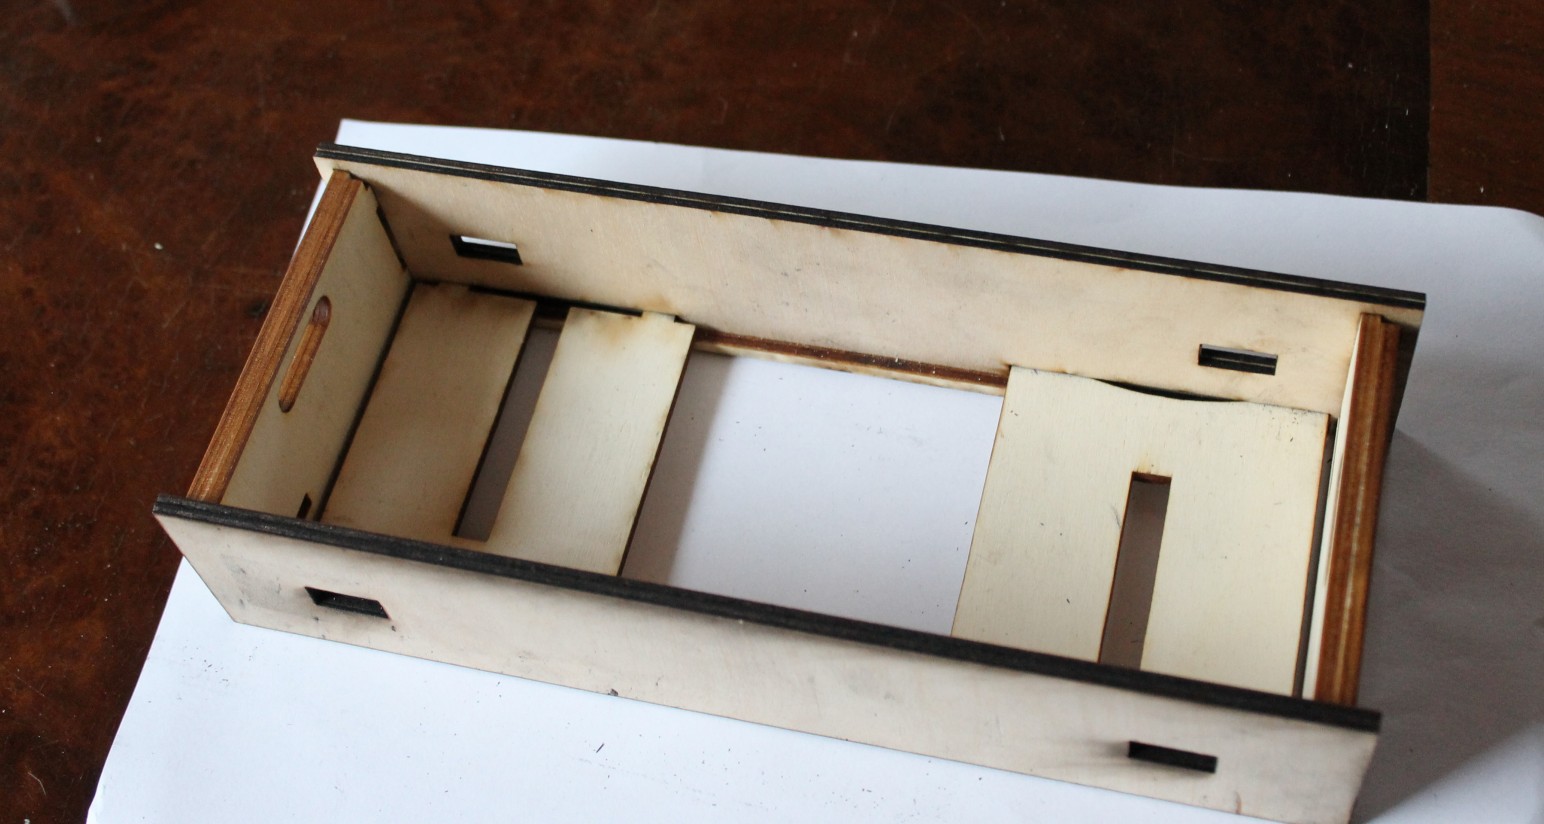
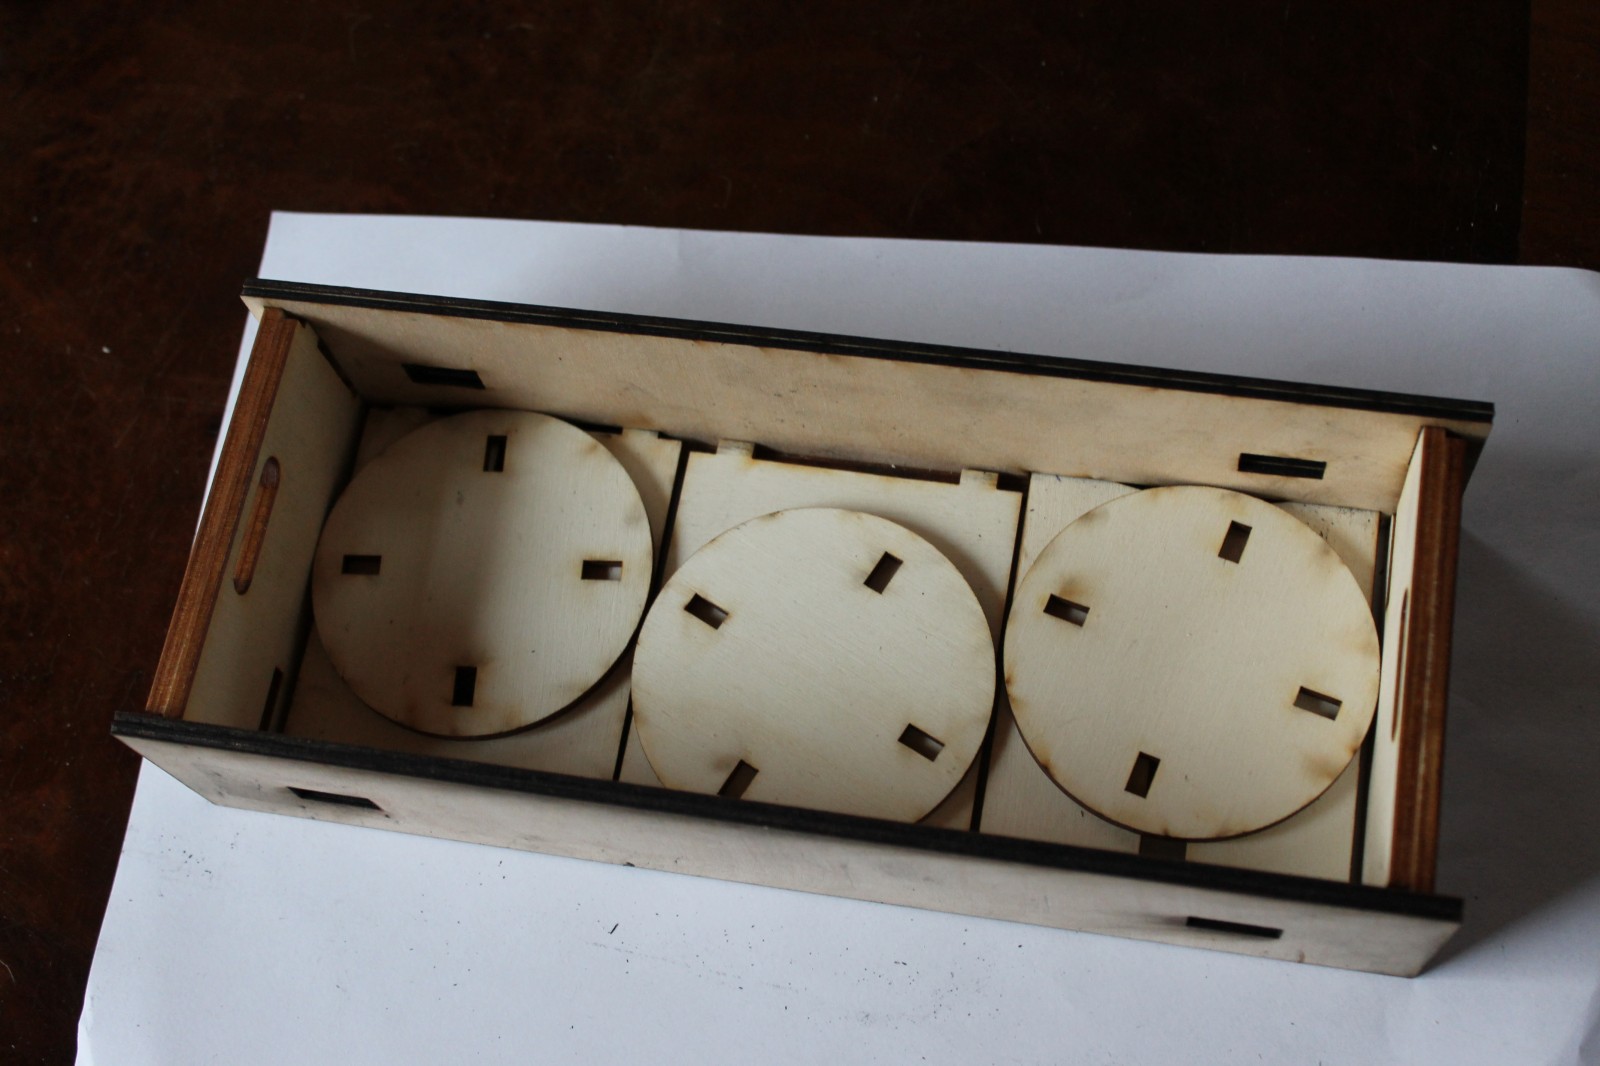
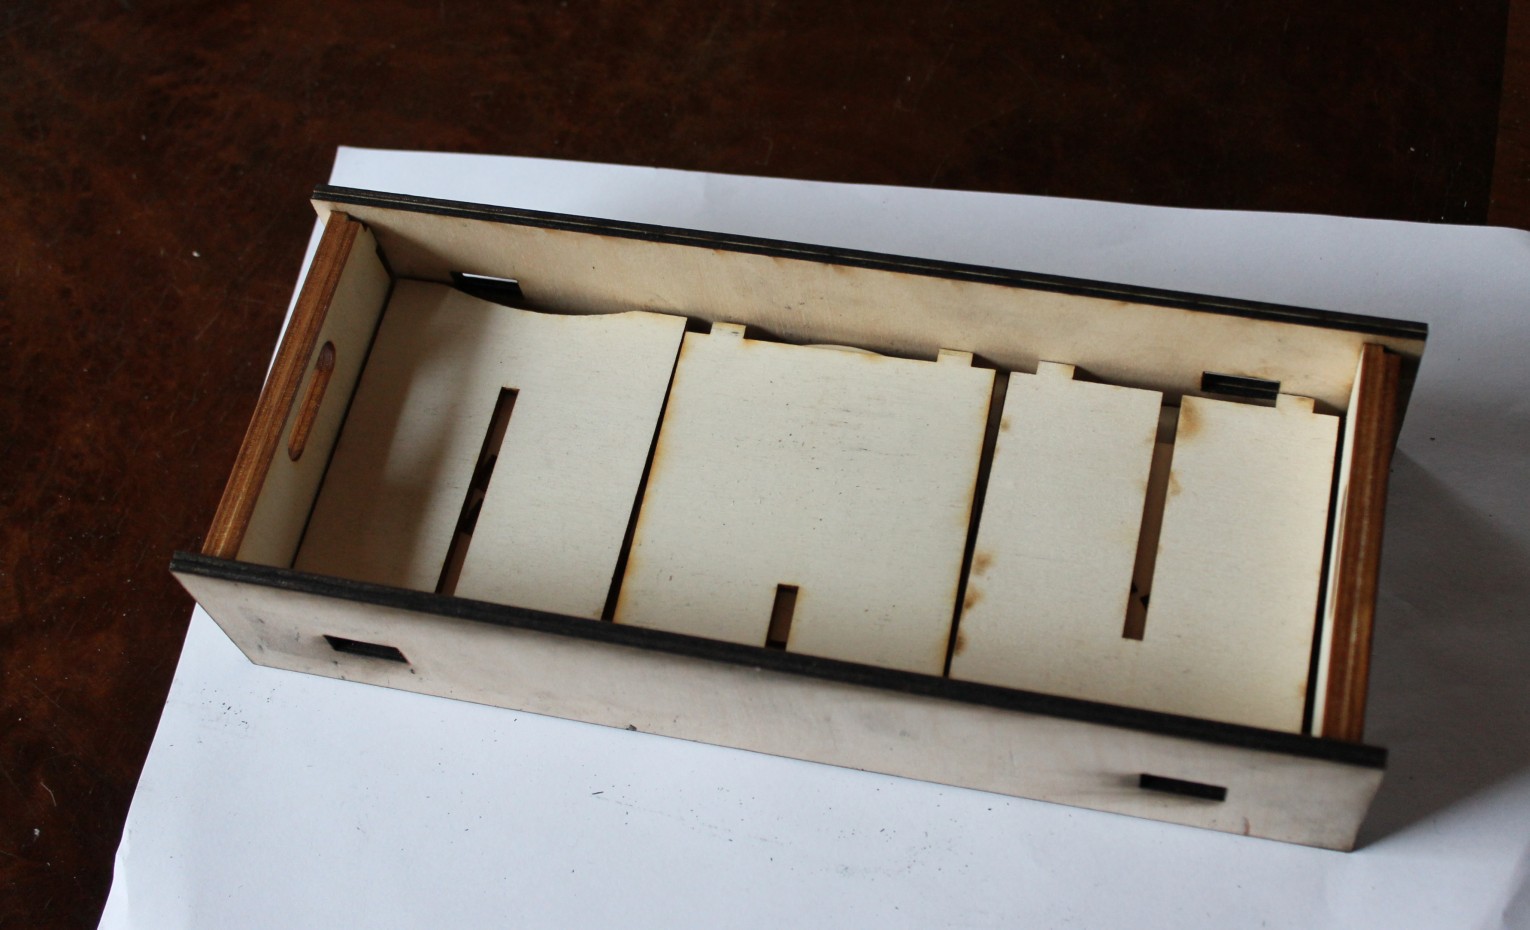
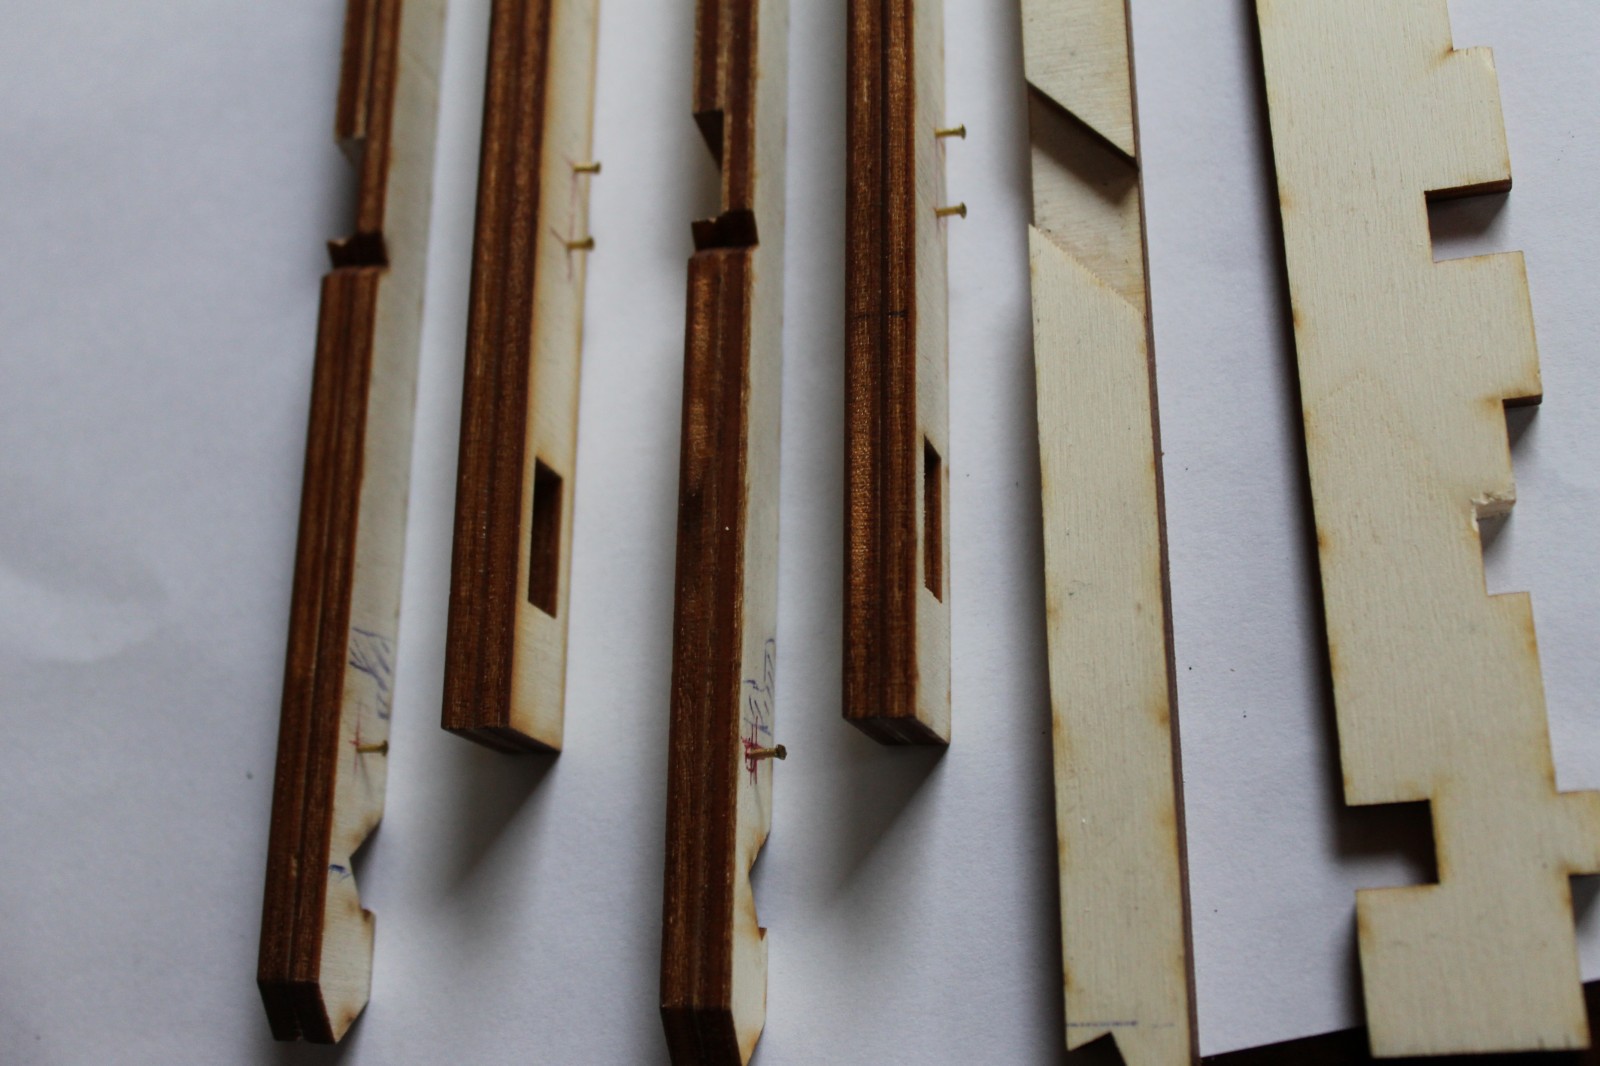
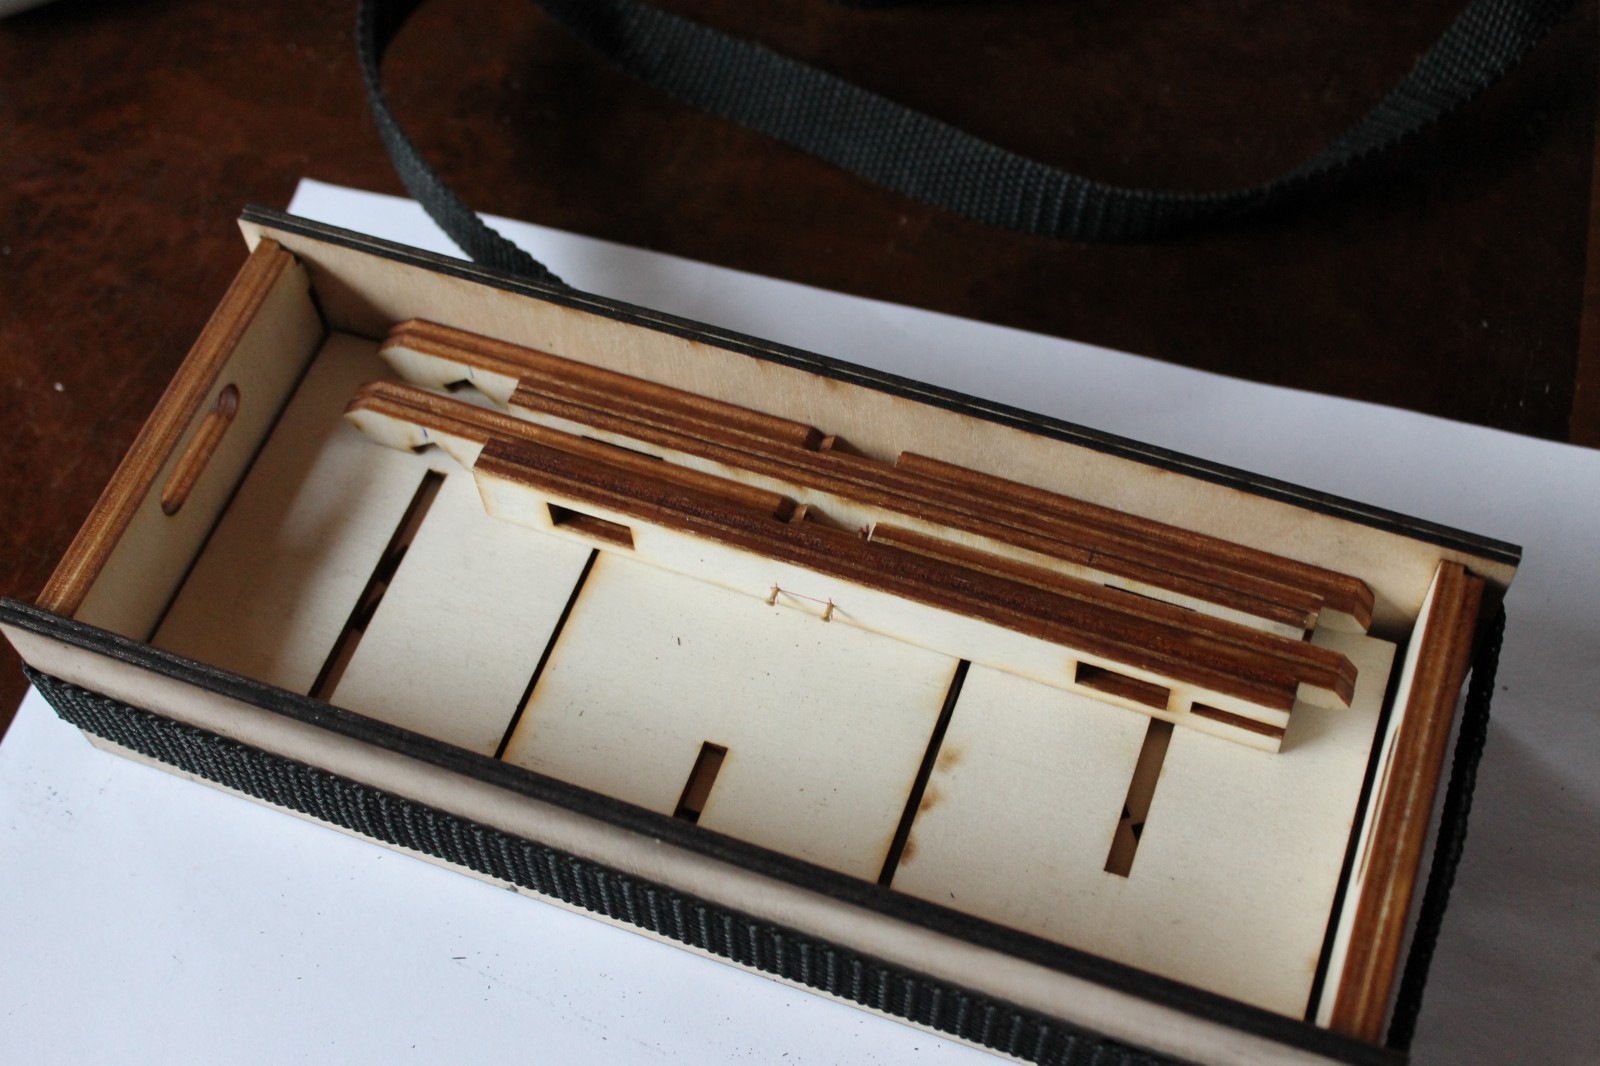
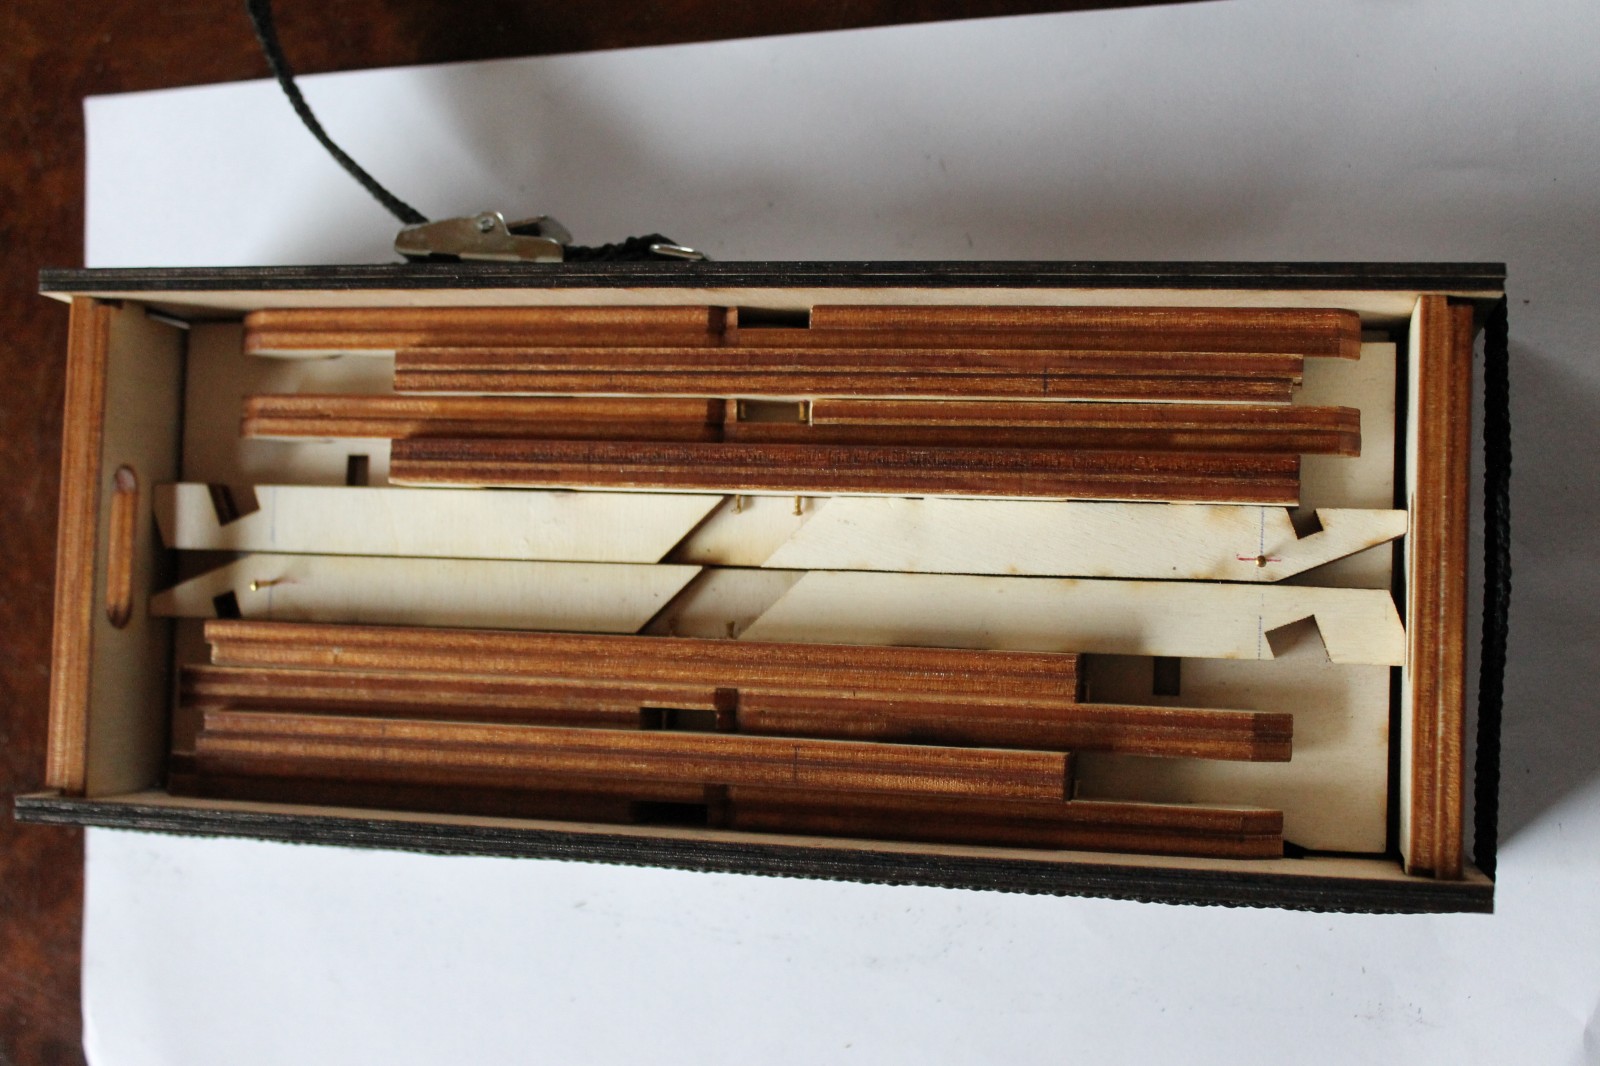
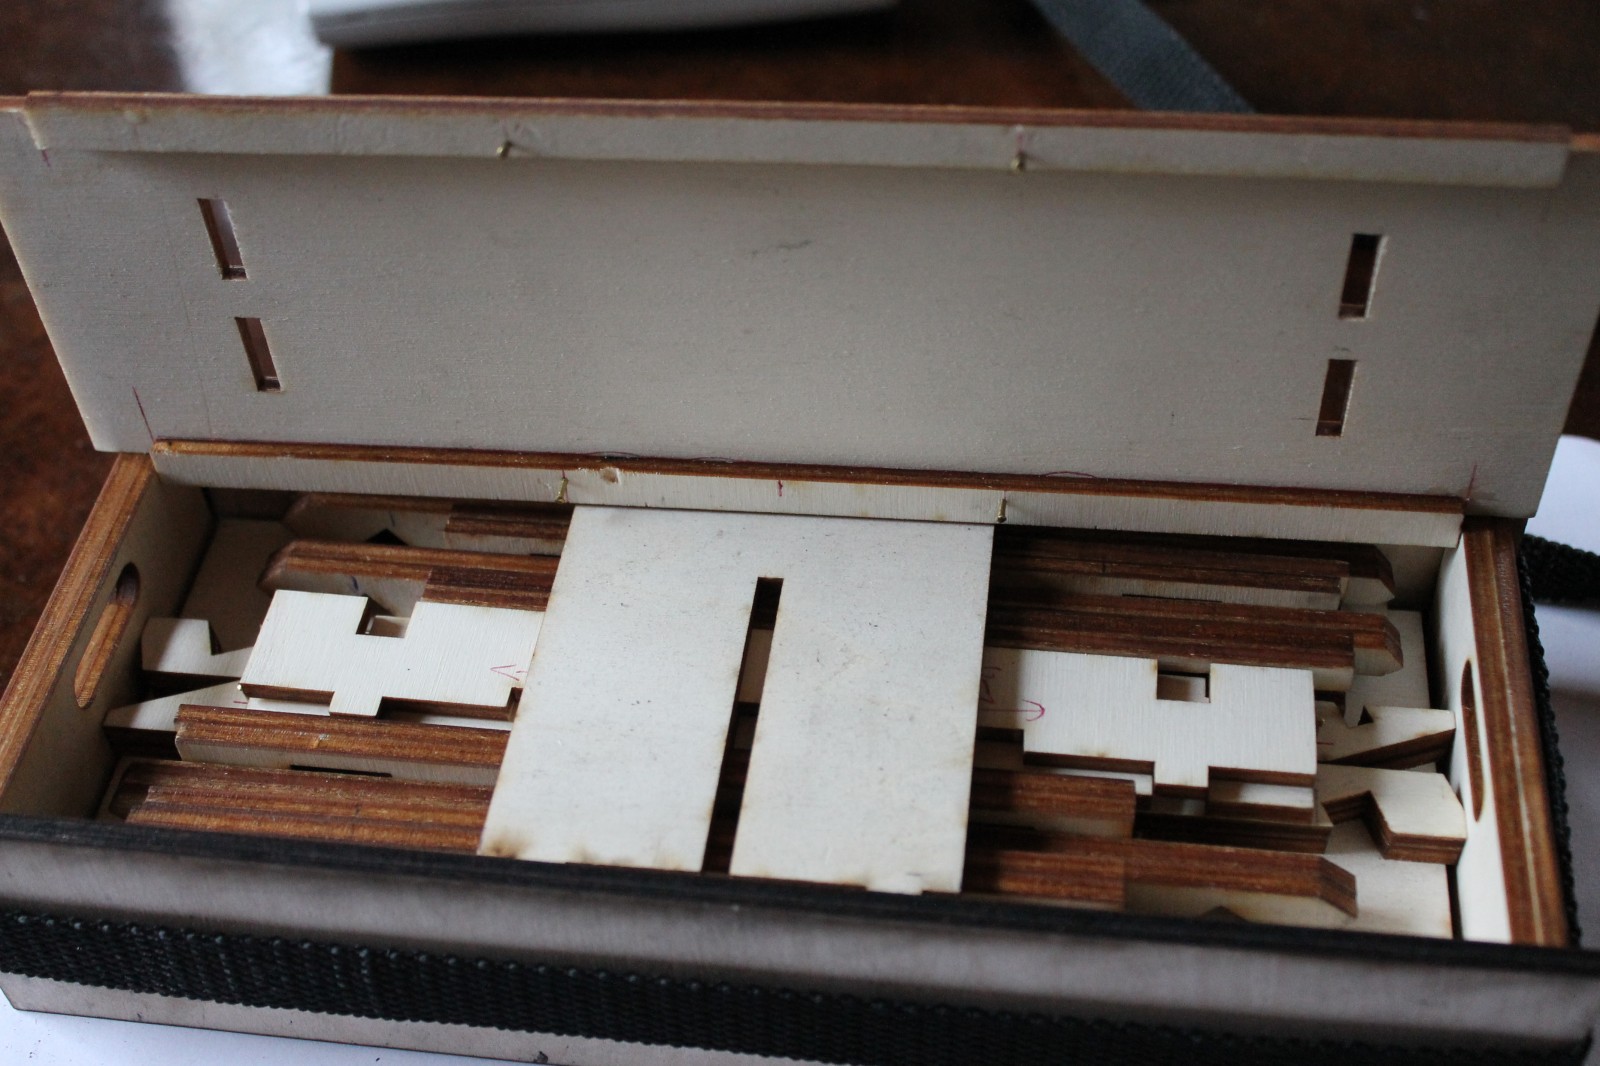
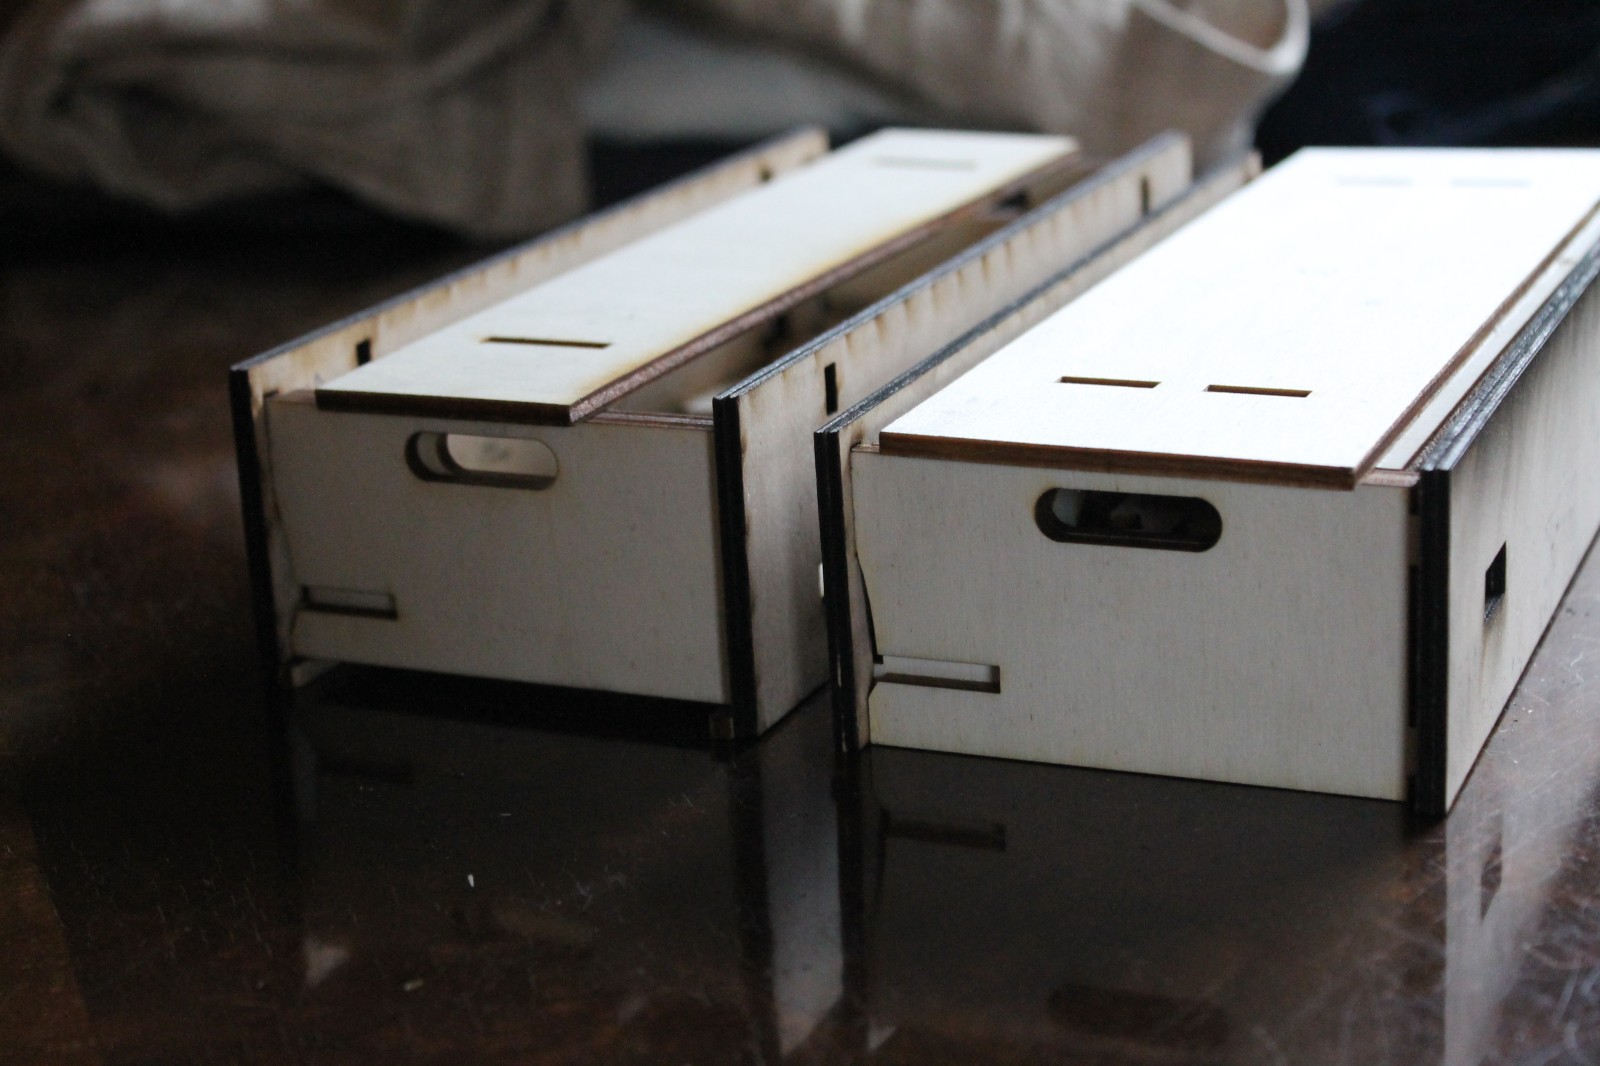
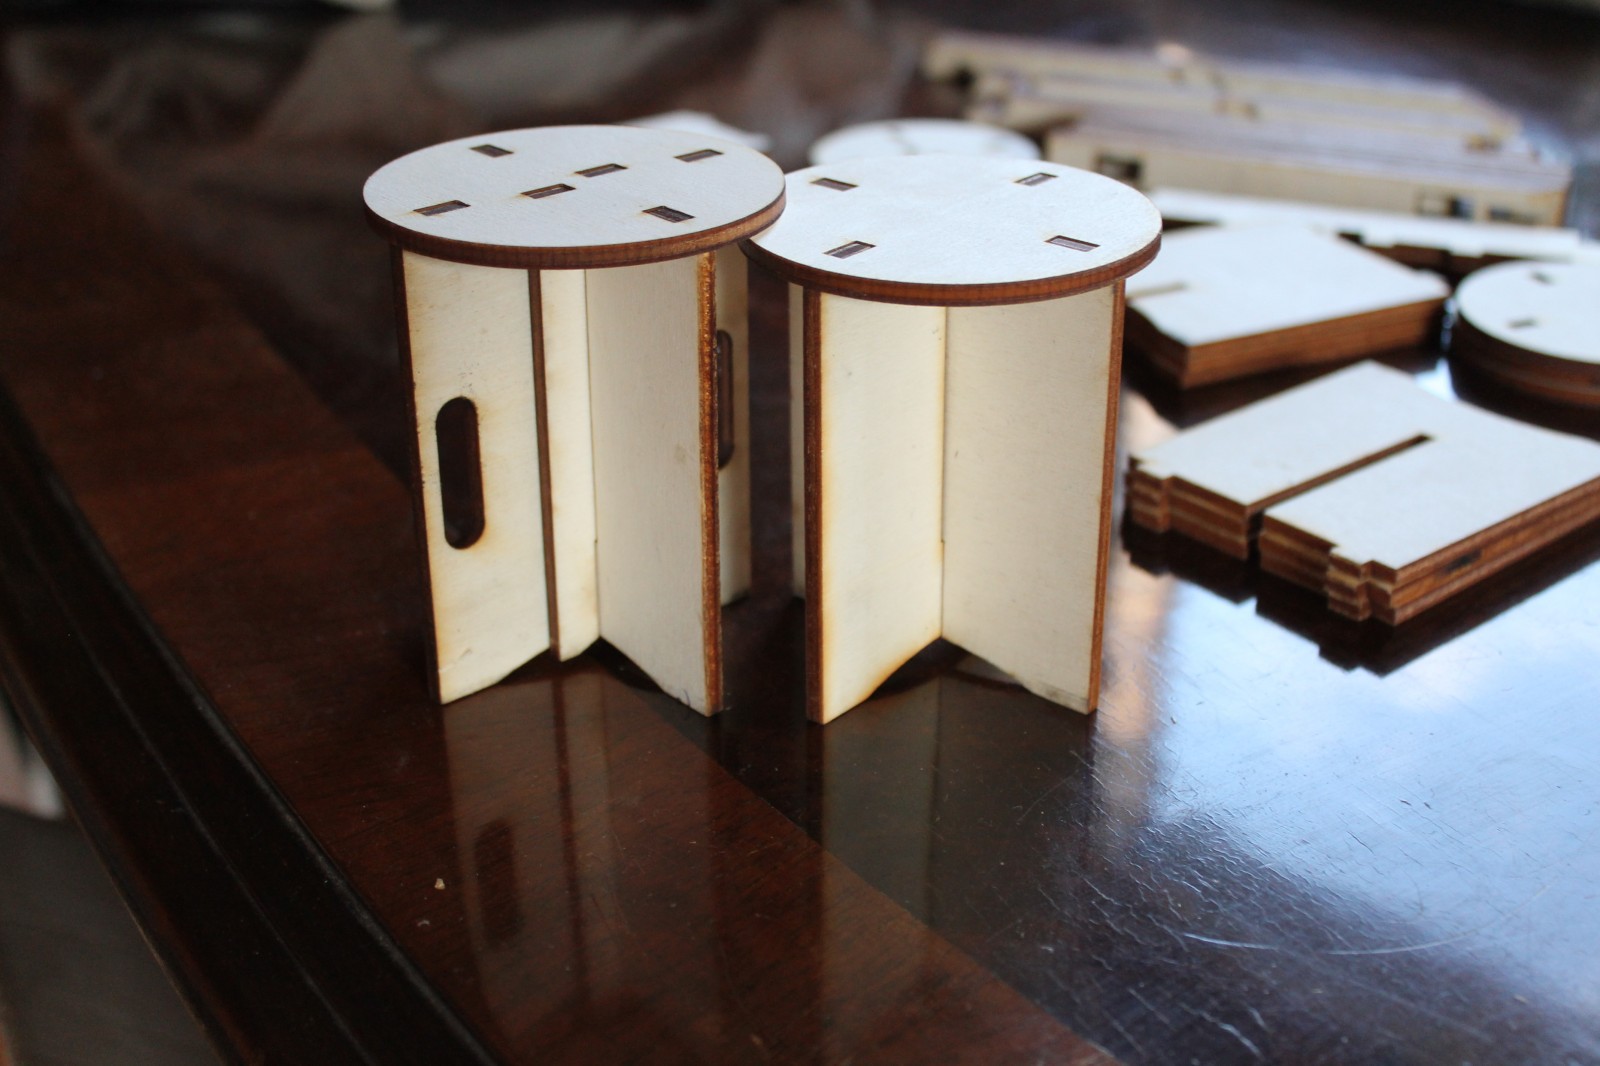
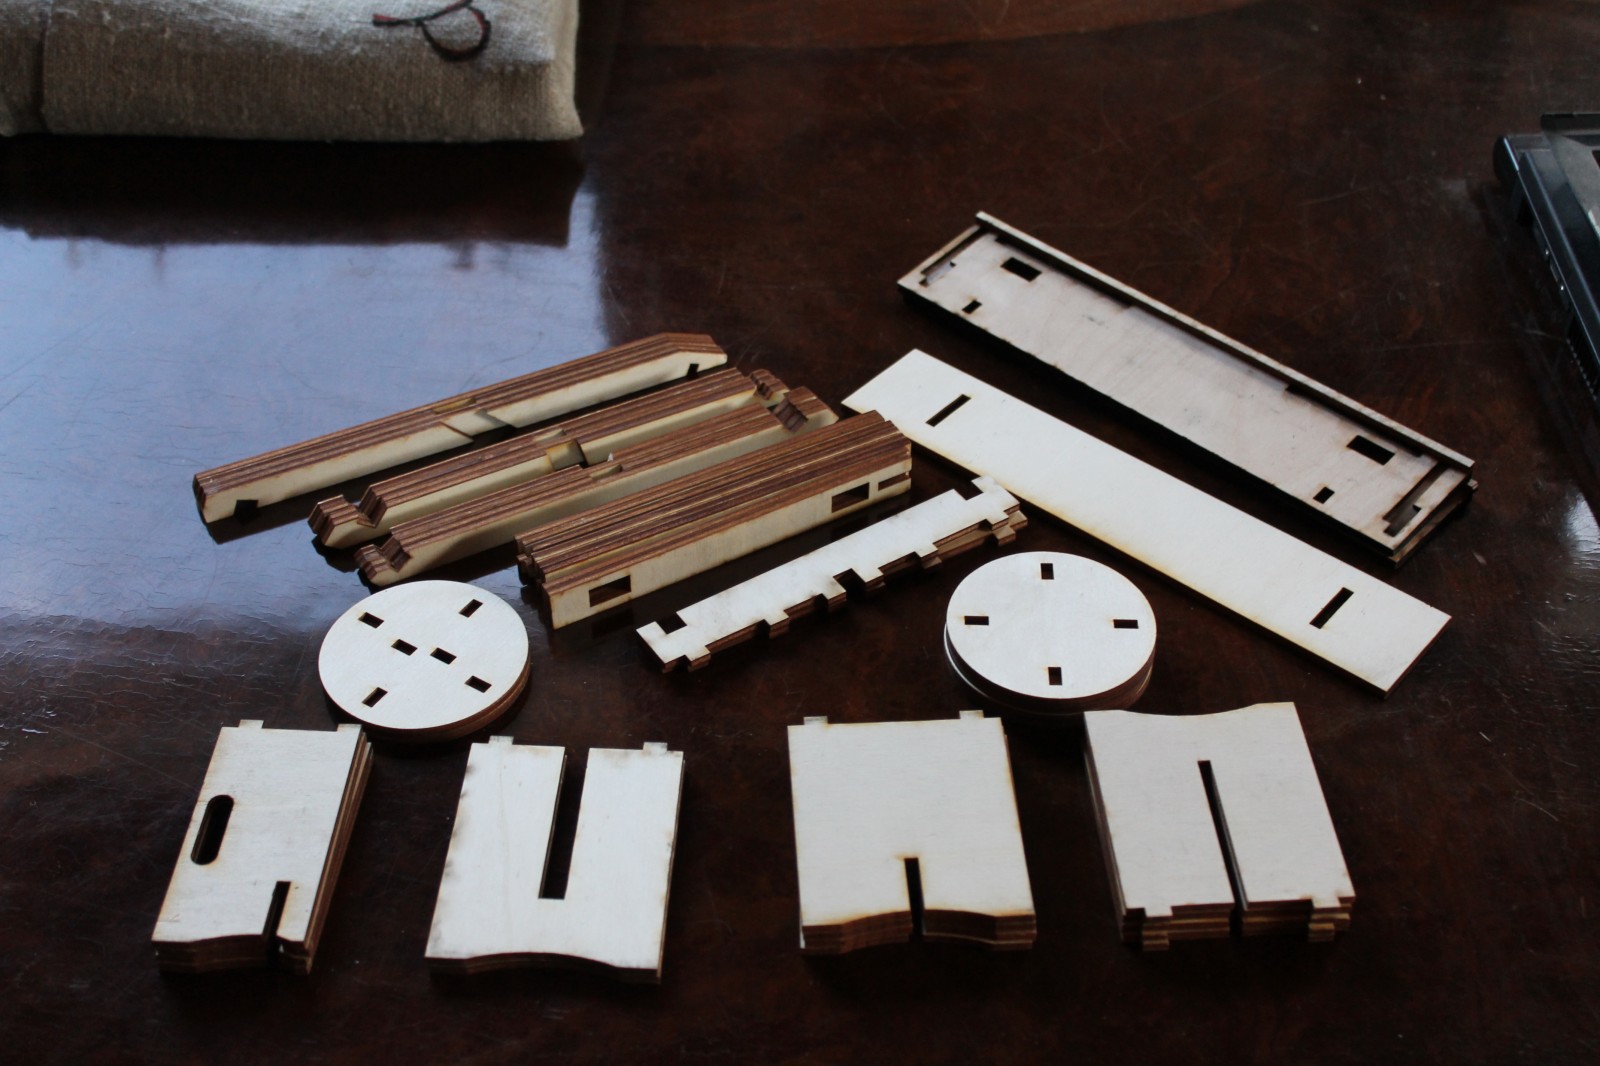
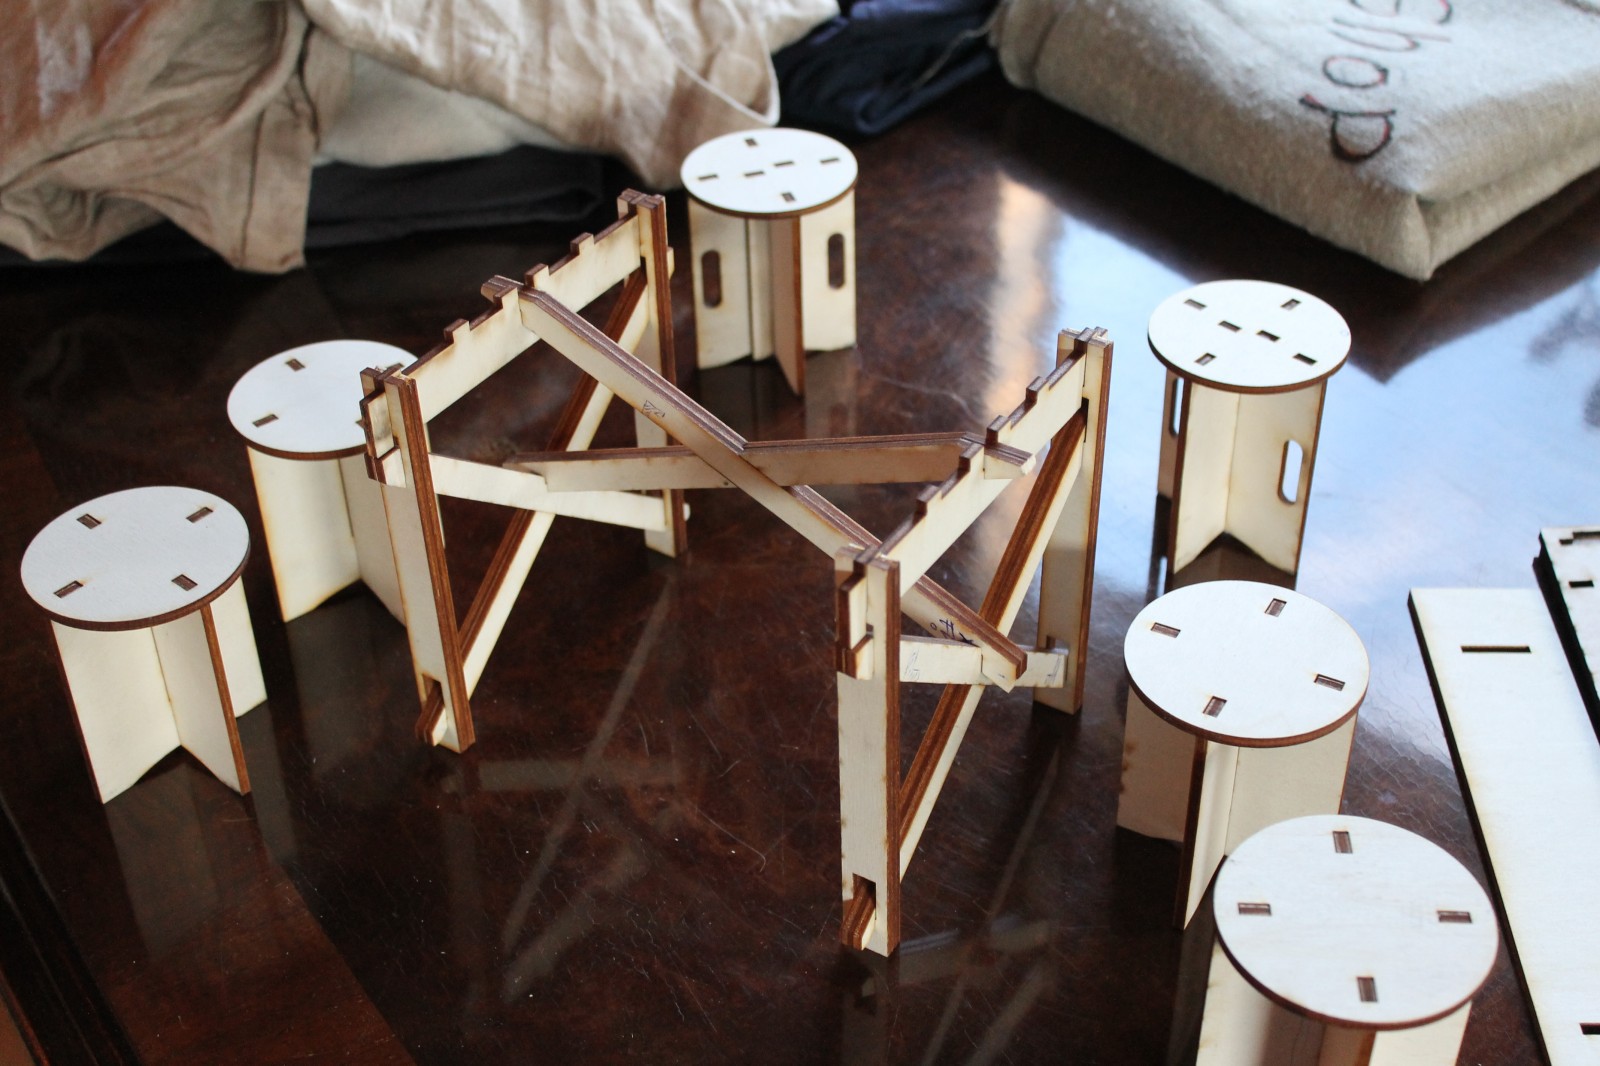
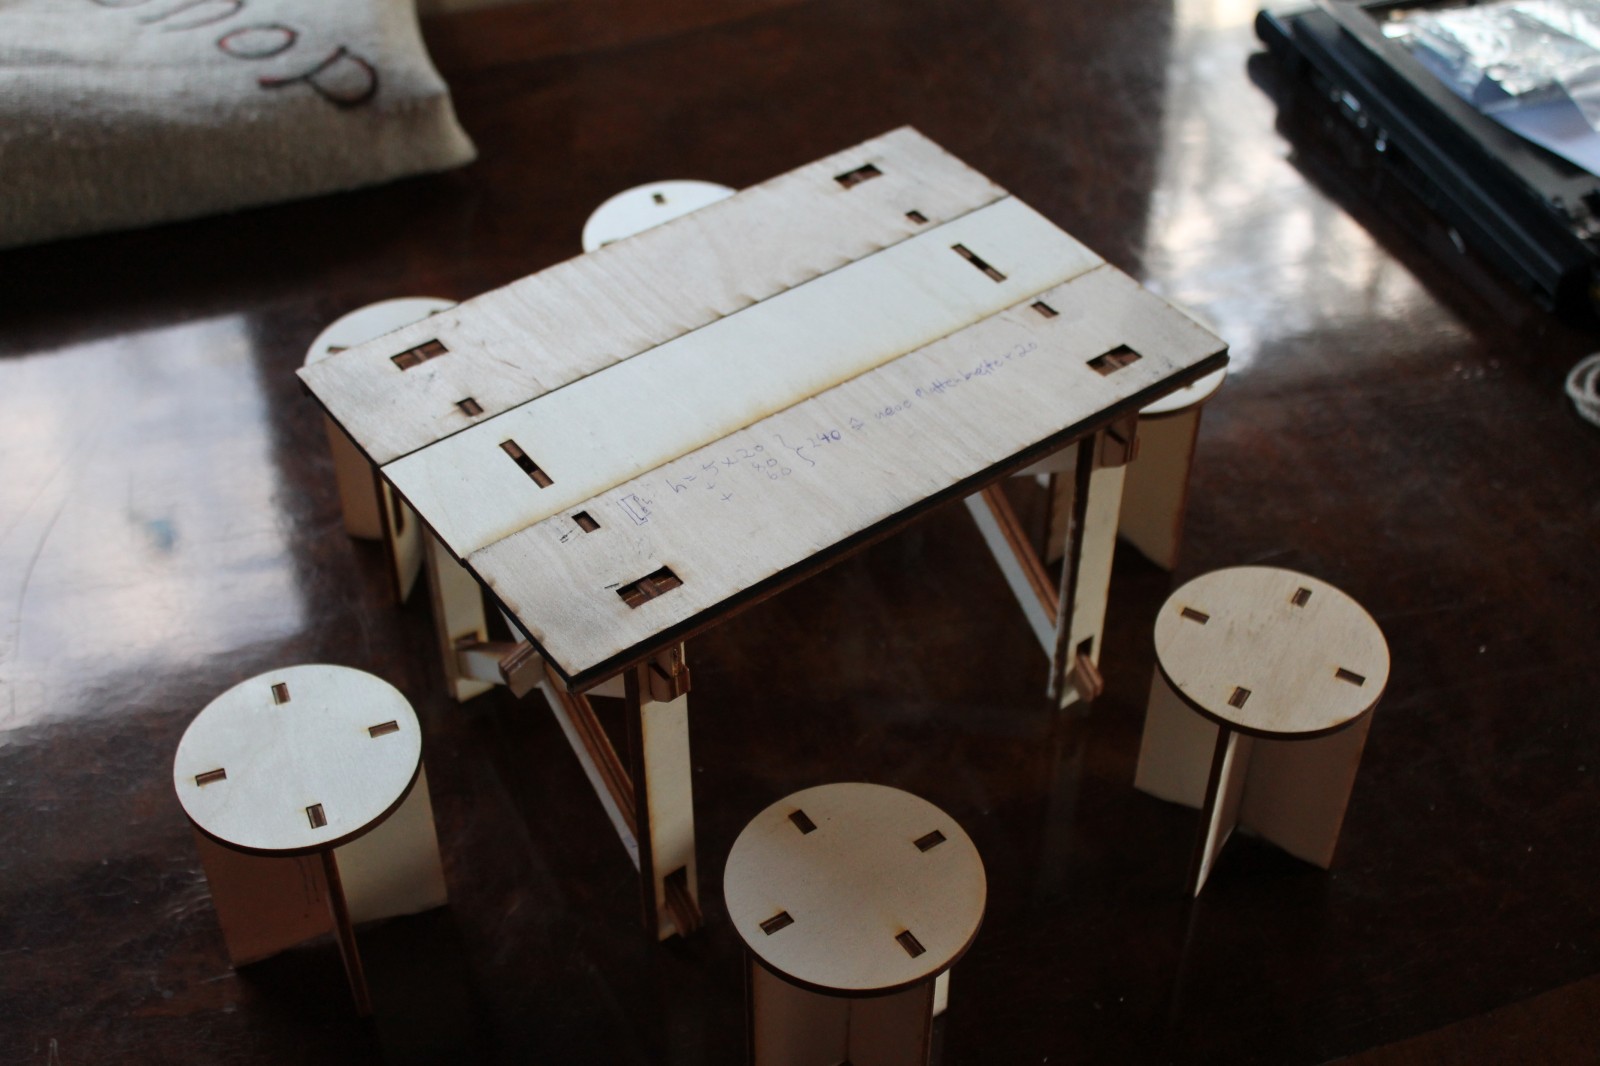
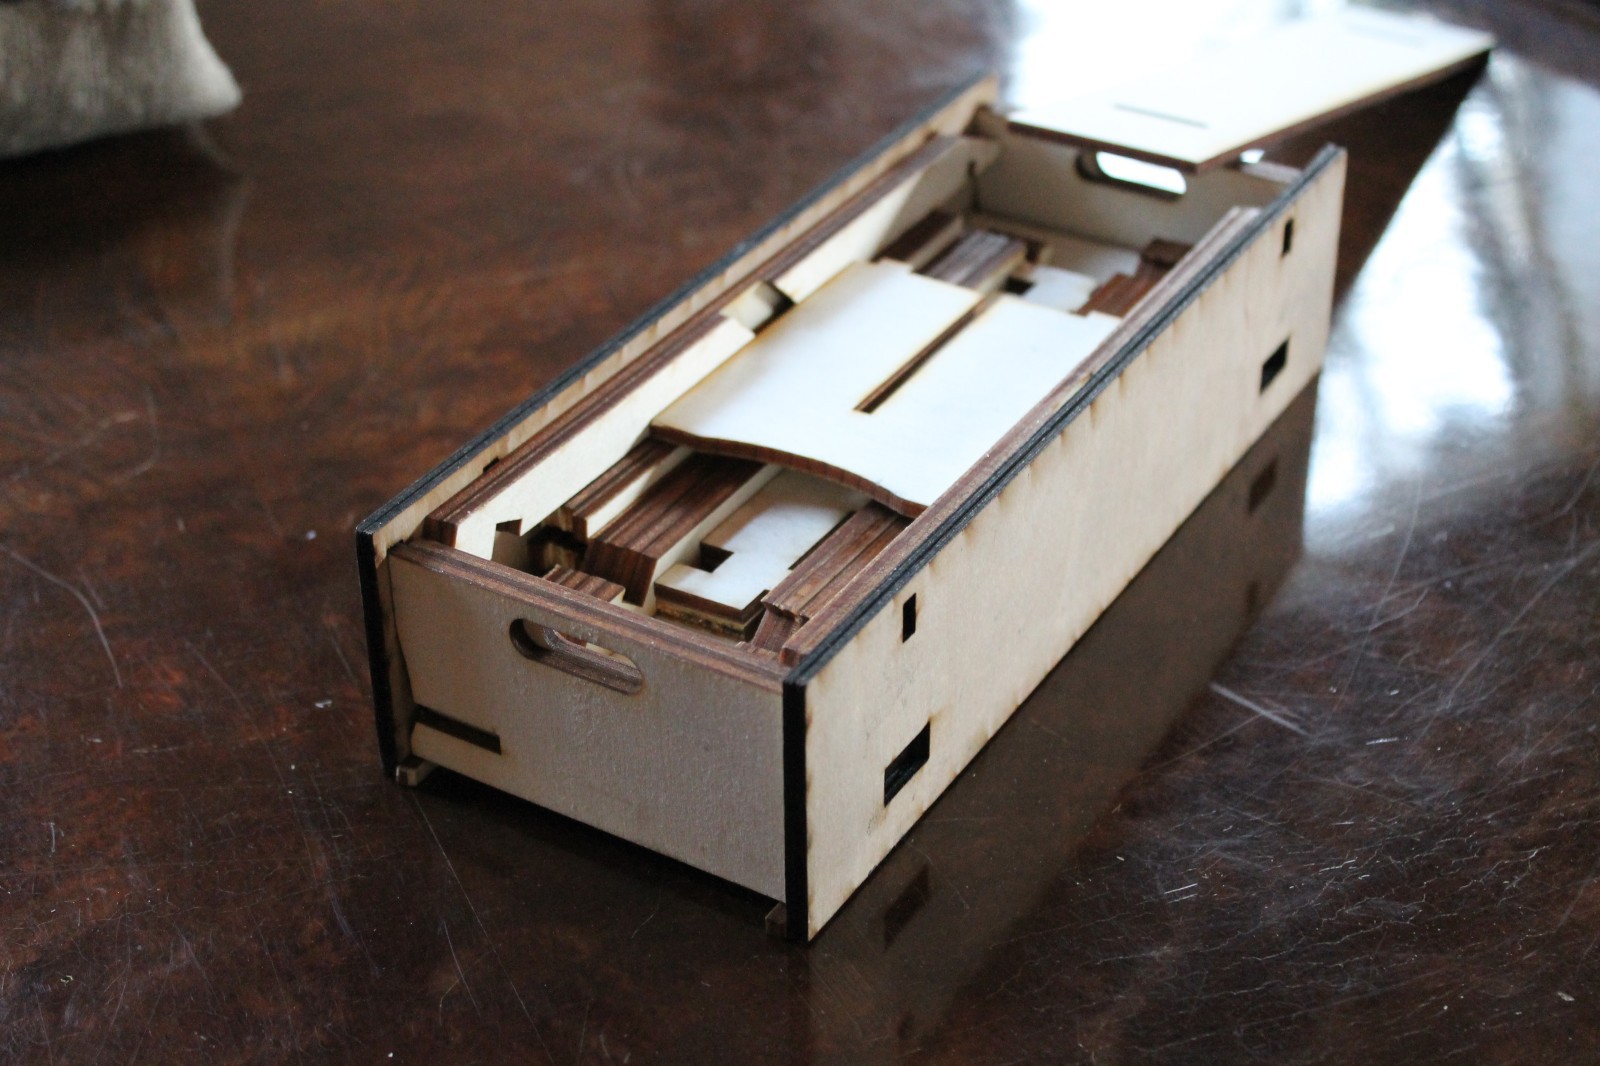
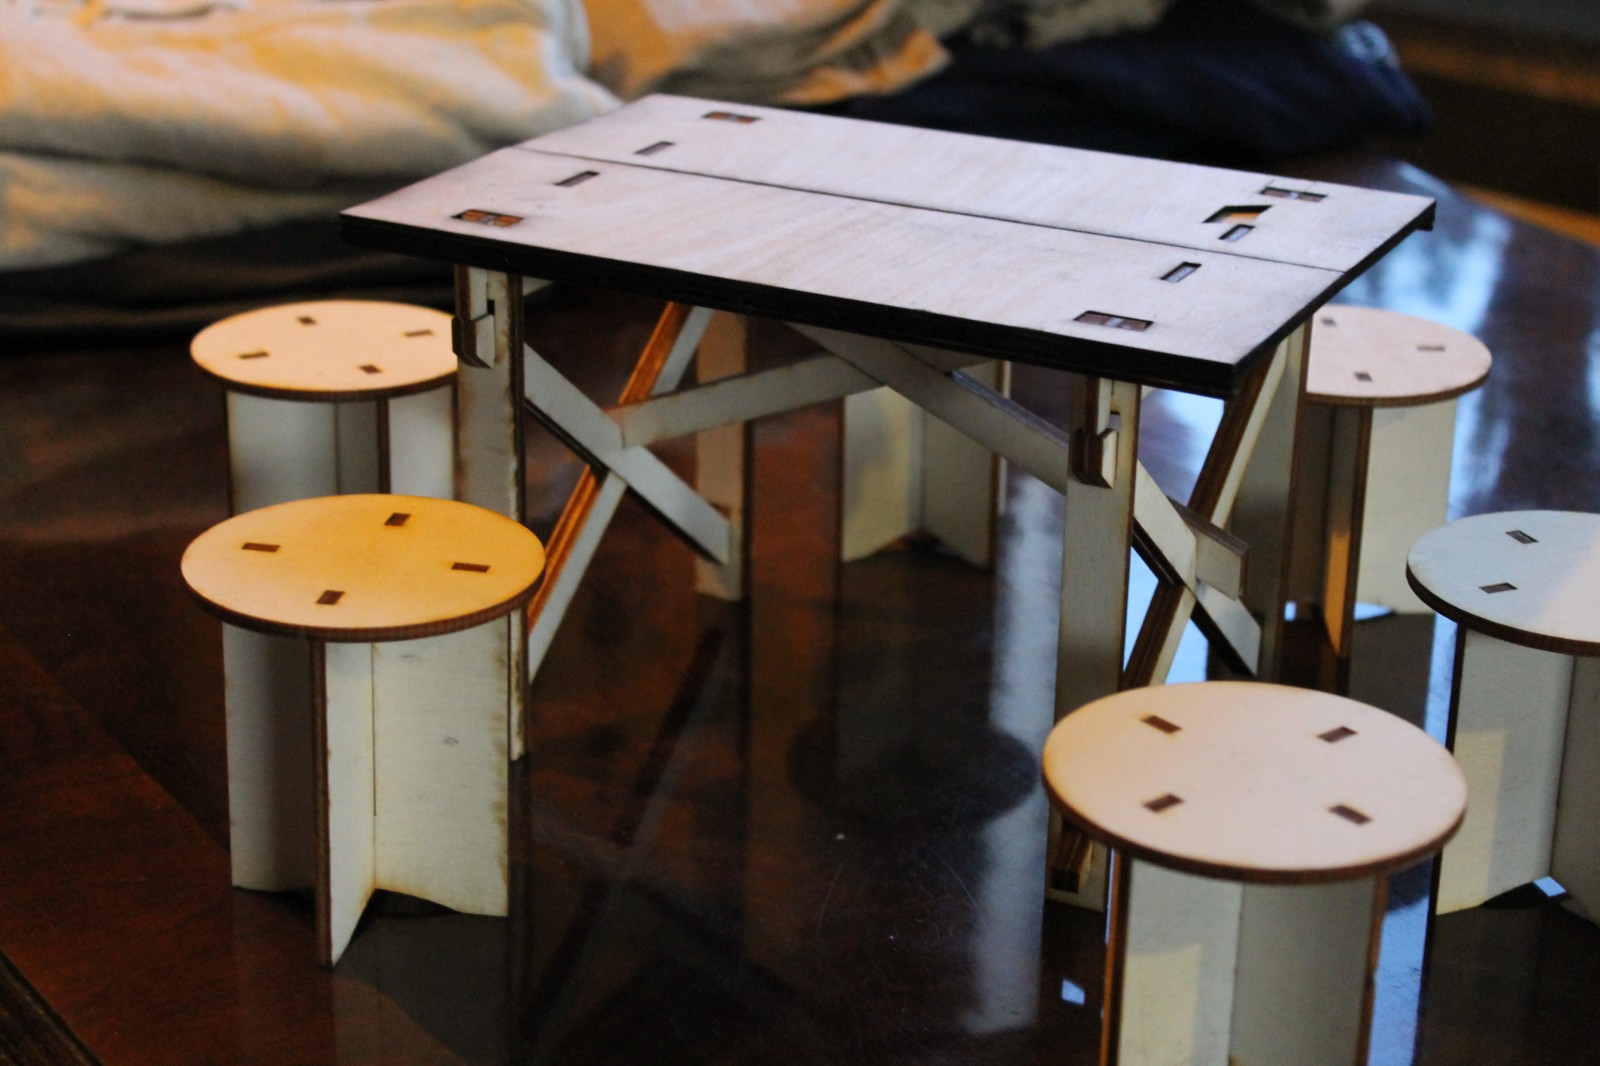
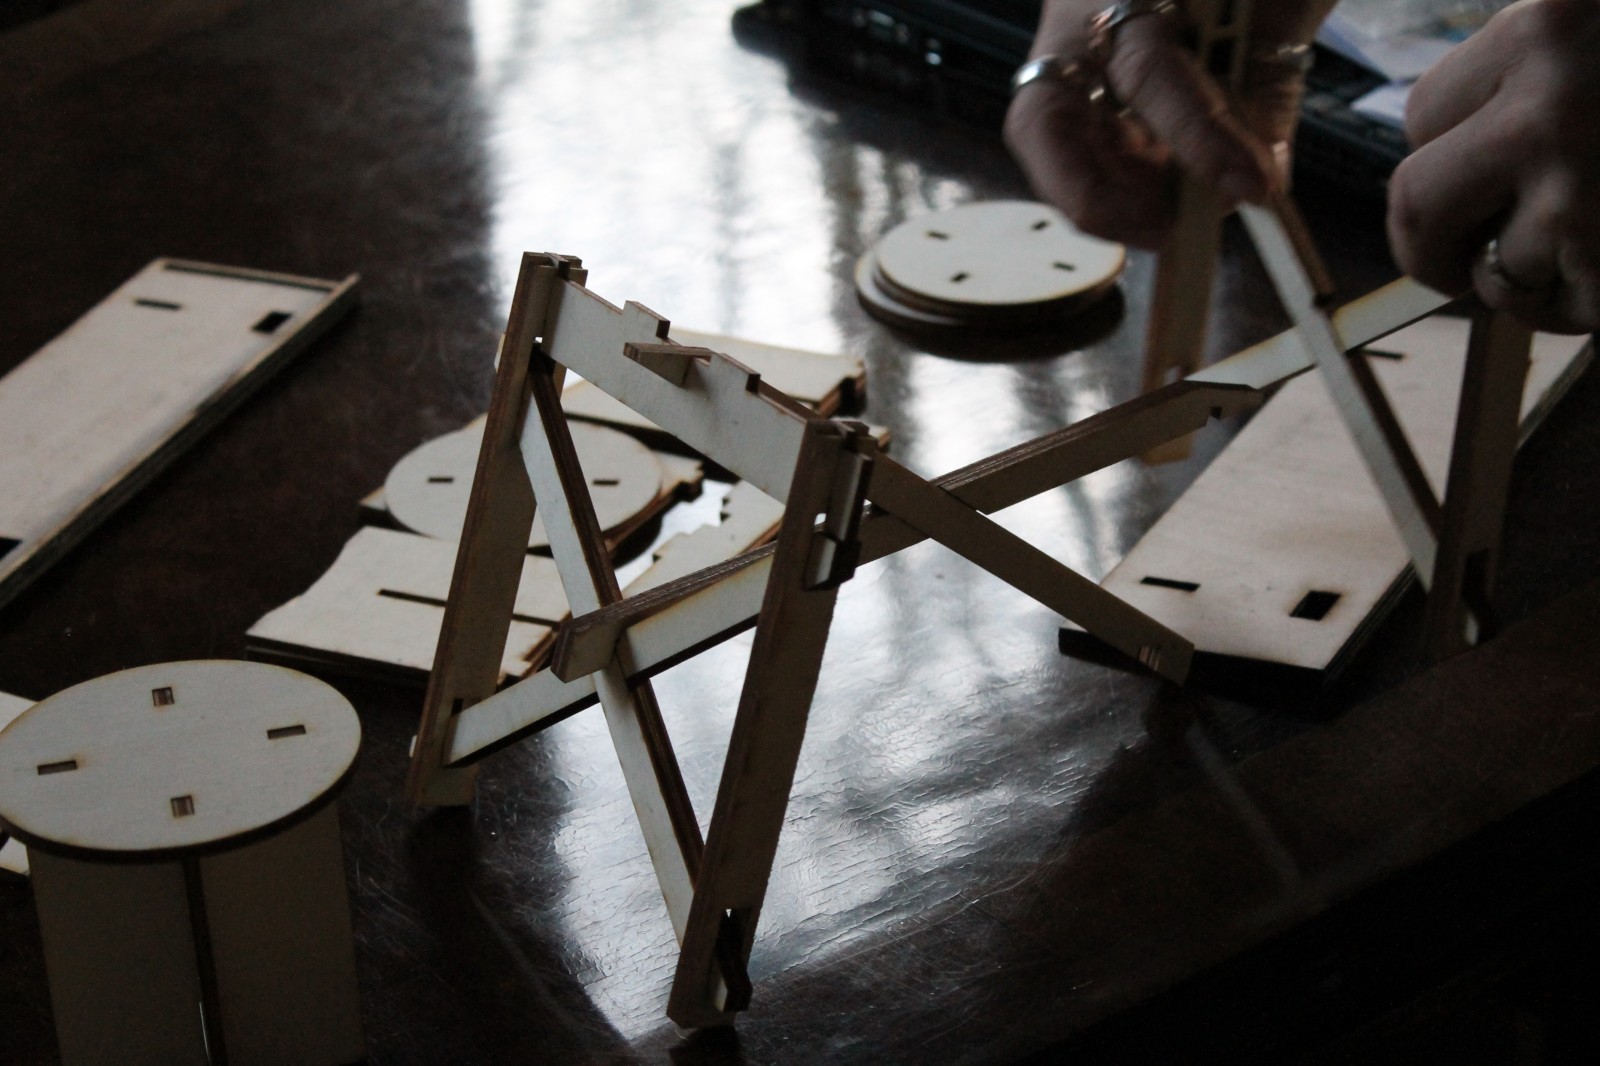
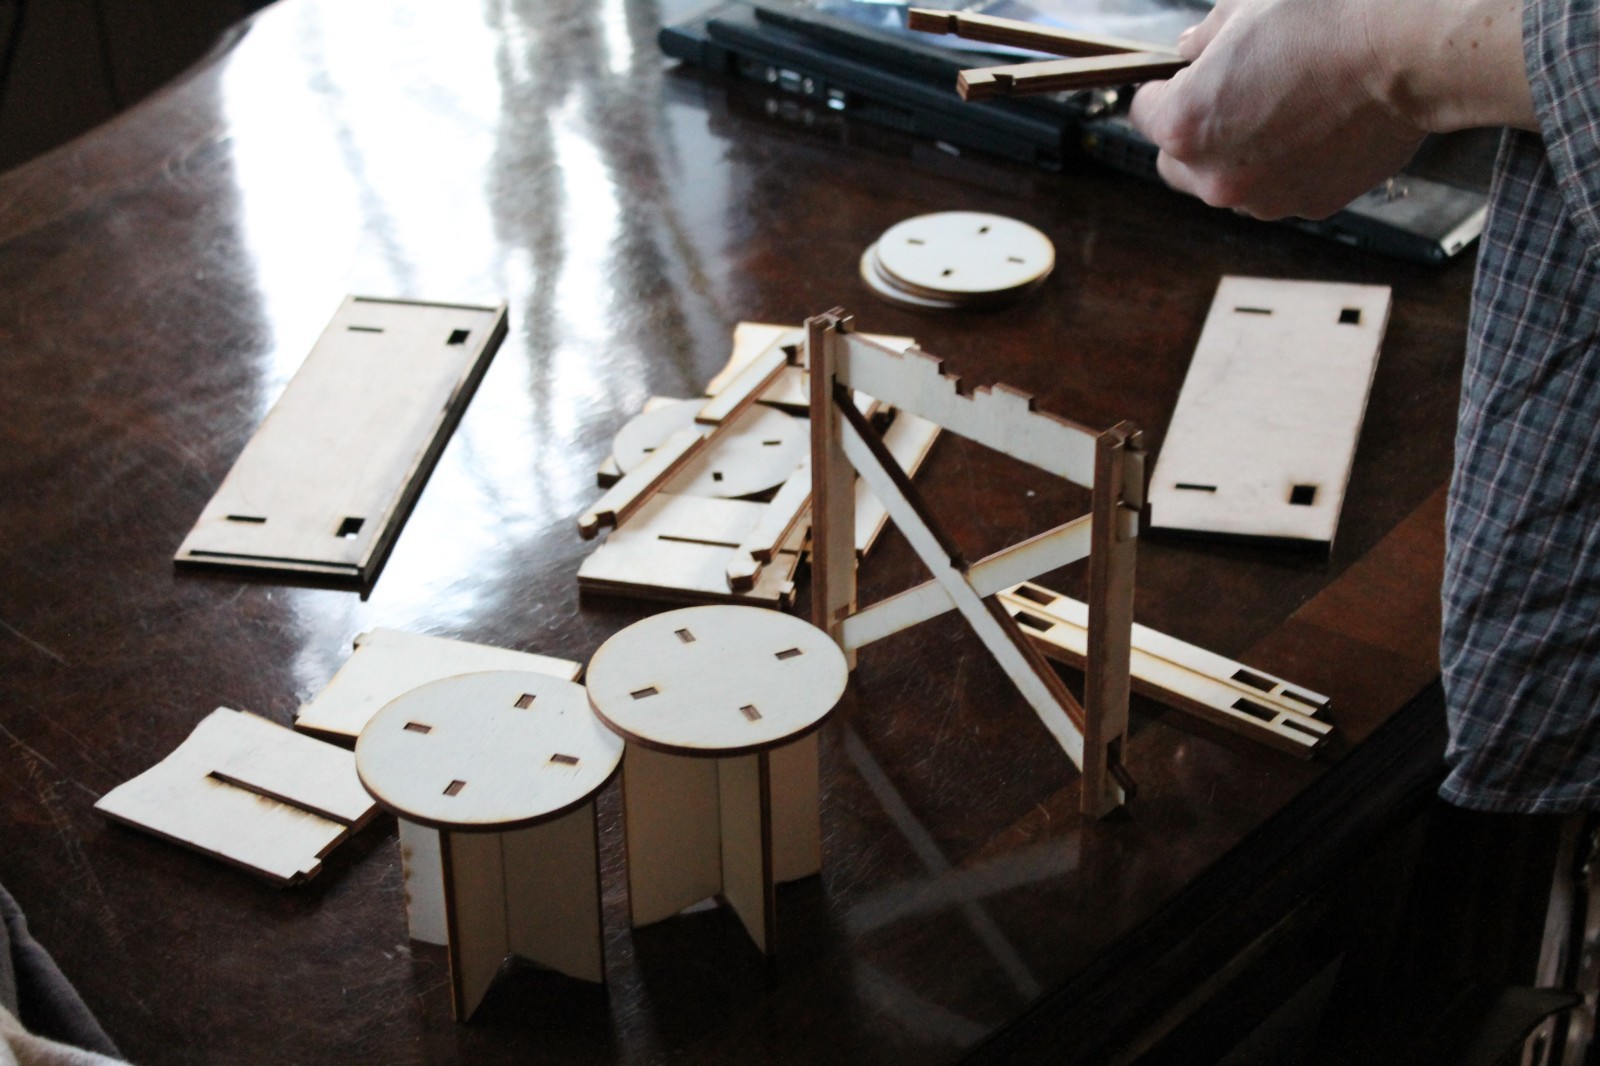
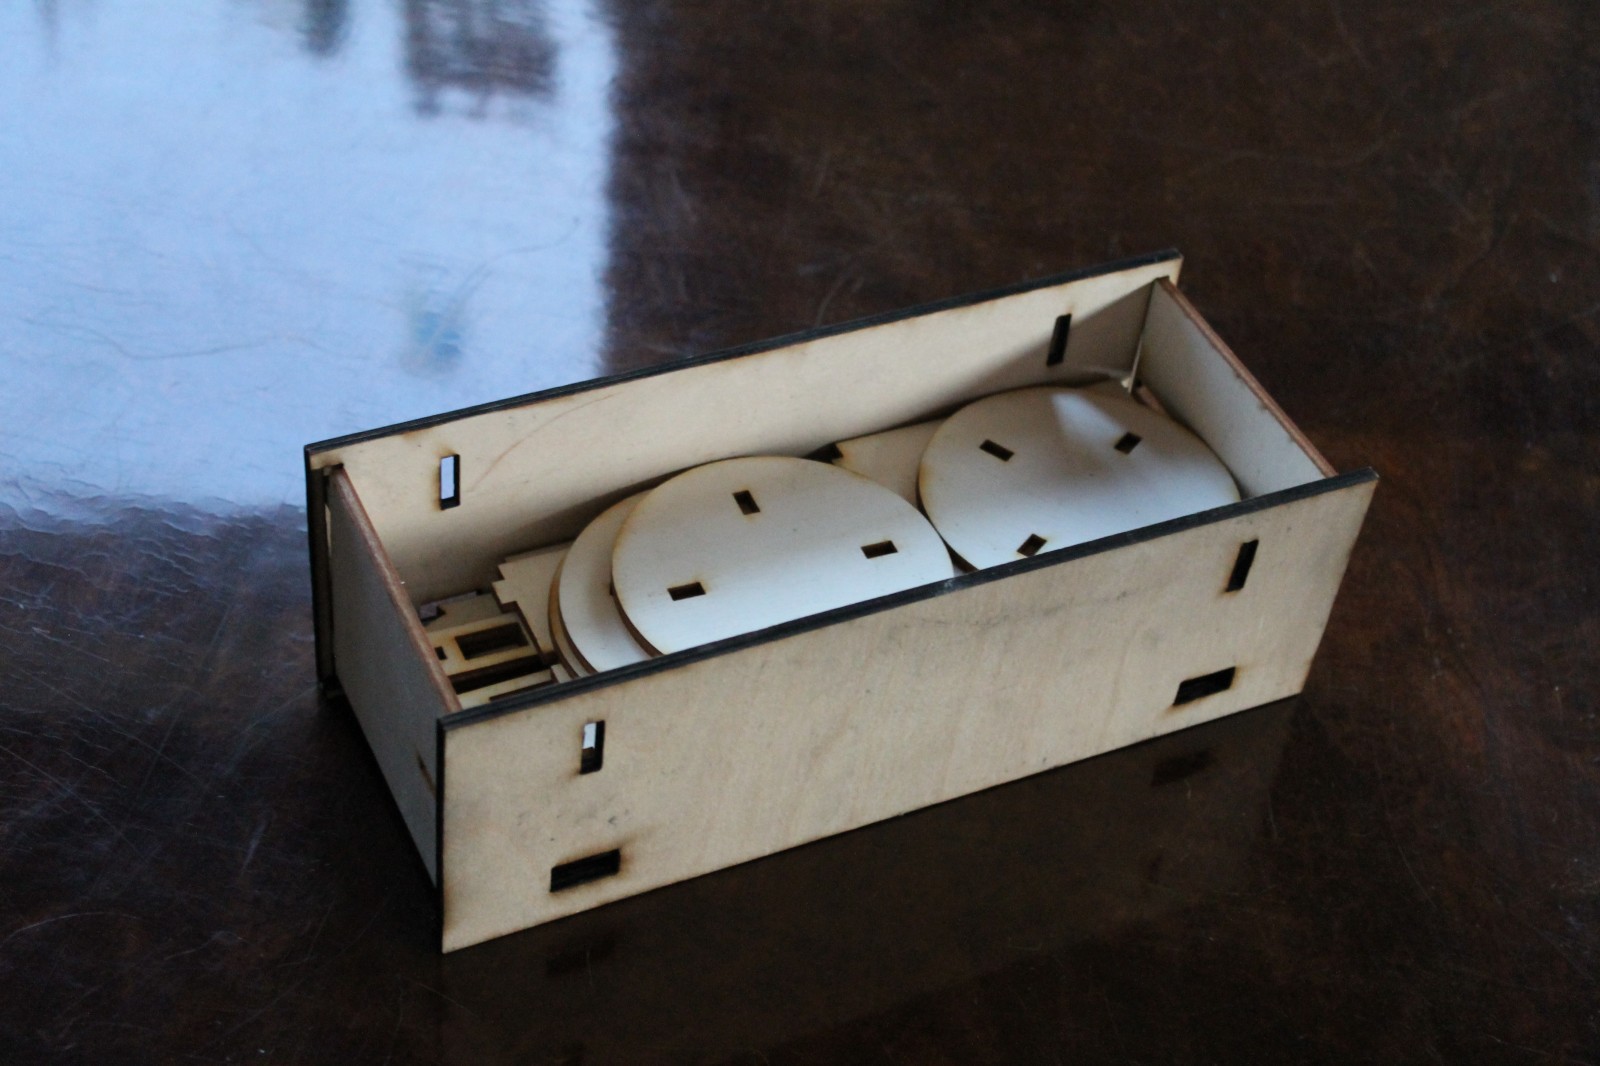
• aaaand the real thing!

    mclien10/15/2017 at 17:16 0 comments

    OK, has been a while, sorry for that.

    here is one pic of the making using our CNC mill in the local Fablab (www.hafven.de):

    That is one of tables top parts.

    We made 2 sets in one go, to have the needed places for our goldsmithing workshops. And here is an impression of the finished set(s):

    Set one (left) is in the packted-for-transport state (the grey tension belt is the only additional part), set 2 (right) is the ready-to-use state.

    It manly worked out fine. Only I underestimated the amount of  working the wood did, when oiled and exposed to moisture. So we had to do quite a bit of grinding and milling afterwards to make the parts fit without the need to use a hammer all the time.

  • Modell v3 and packaging details

    mclien04/08/2017 at 15:21 0 comments

    I refined everything a bit. And here is some detail about packaging:

    that's how the stool parts interlink with the Tabletops to form the basic box:

    All interlinking parts in place:

    Next step, one stoolpart and 3 stool tops:

    Some more layers of stool parts later:

    While this all stays in place easily, the beam parts are a bit trickier. So I thought about placing some wooden plugs in the right places of the beams (represented by nails in the model. Easy to push in with pliers, since it's cottonwood):

    first parts interlinked in the box:

    (all parts of the same shape have the plugs in the same place,so you cant put them in wrong places)

    All beams in place (point symmetrical, so the center of gravity is the middle of the box):

    Last parts and the missing stool part (which is hold in place by the top of the box). The small beams fixed to the tabletop hods in in place):

    comparison v2 and v3 of the box. Improved things

    • hight reduced
    • fixed the handle holes
    • box topping much wider,so you can stack the boxes
    • all side walls start ad ground level, which should make assembly easier

    I also calculated the volume of all parts together: 100 cubic dm (so made from water it would be 100 kg).

    I intend to make it from spruce, which should be ~50kg (oak would be about 85kg..)

    Next up: Building the real deal. Difficult part might be to find the right wood, because for some reason wood comes in strange measurements in germany (19, 22, 24, 27 mm in thickness). But for the scaled down model, I could get hands on plywood with the exact scaled down thickness, so I designed with round values (20, 40, 60, 80 mm)

  • 1:5 Model v2

    mclien04/04/2017 at 20:14 0 comments

    After some more CAD work, here is the next version.

    I changed the Assembly of the higher stools (which build the small sides of the box). It is now 4 parts to get a box with less hight :

    As you can see the left one is slightly higher, has handle holes and 2 overlapping pieces.

    .

    .

    .

    .

    .

    .

    All parts disassembled / partly assembled:

    .

    .

    .

    .

    .

    .

    .

    .

    And completely assembled / and nicely fit in the new much less high box:

    .

    .

    As you can see I also changed the top of the table to 3 pieces, from which I plan to use the middle one as cover plate of the box.

    I'll tweak the design a bit more to have the cover plate, the site walls of the box and the long beams at the same hight when boxed.

  • CAD work and first 1:5 model

    mclien04/02/2017 at 18:18 0 comments

    So the first ideas a scribbled on paper and started on the CAD with that. Main course of action was to thing about the general measurements and then start the design in the assembled stage of the furniture. The next step is scaling the whole thing down by 0.2 (or 1:5) an use some plywood and a lasercutter to get a nice functional model. All parts that interlink an need some milling for that like the crossing beams (common halving/ Überblattung) I simply did in 2 layers and clued them together afterwards.

    So

    So that worked out nicely and this is how it disassembles:

    From that point I started to try out how the packaging would work out.After some fiddling I got this:

    Quite nice so far, but clearly some drawbacks:

    - the box is a lot higher than needed, but that was a bit of a given, since I used the parts of a stool to build the small site sf the box.

    - the plates to sit from the stools a just a tiny bit to big in diameter to fit 3 of them in one layer.

    But not too bad for the first shot.