5/6/2017: THIS IS OUT OF DATE! I have conslidated the hardware considerably and moved to a single ESP8266 based device.
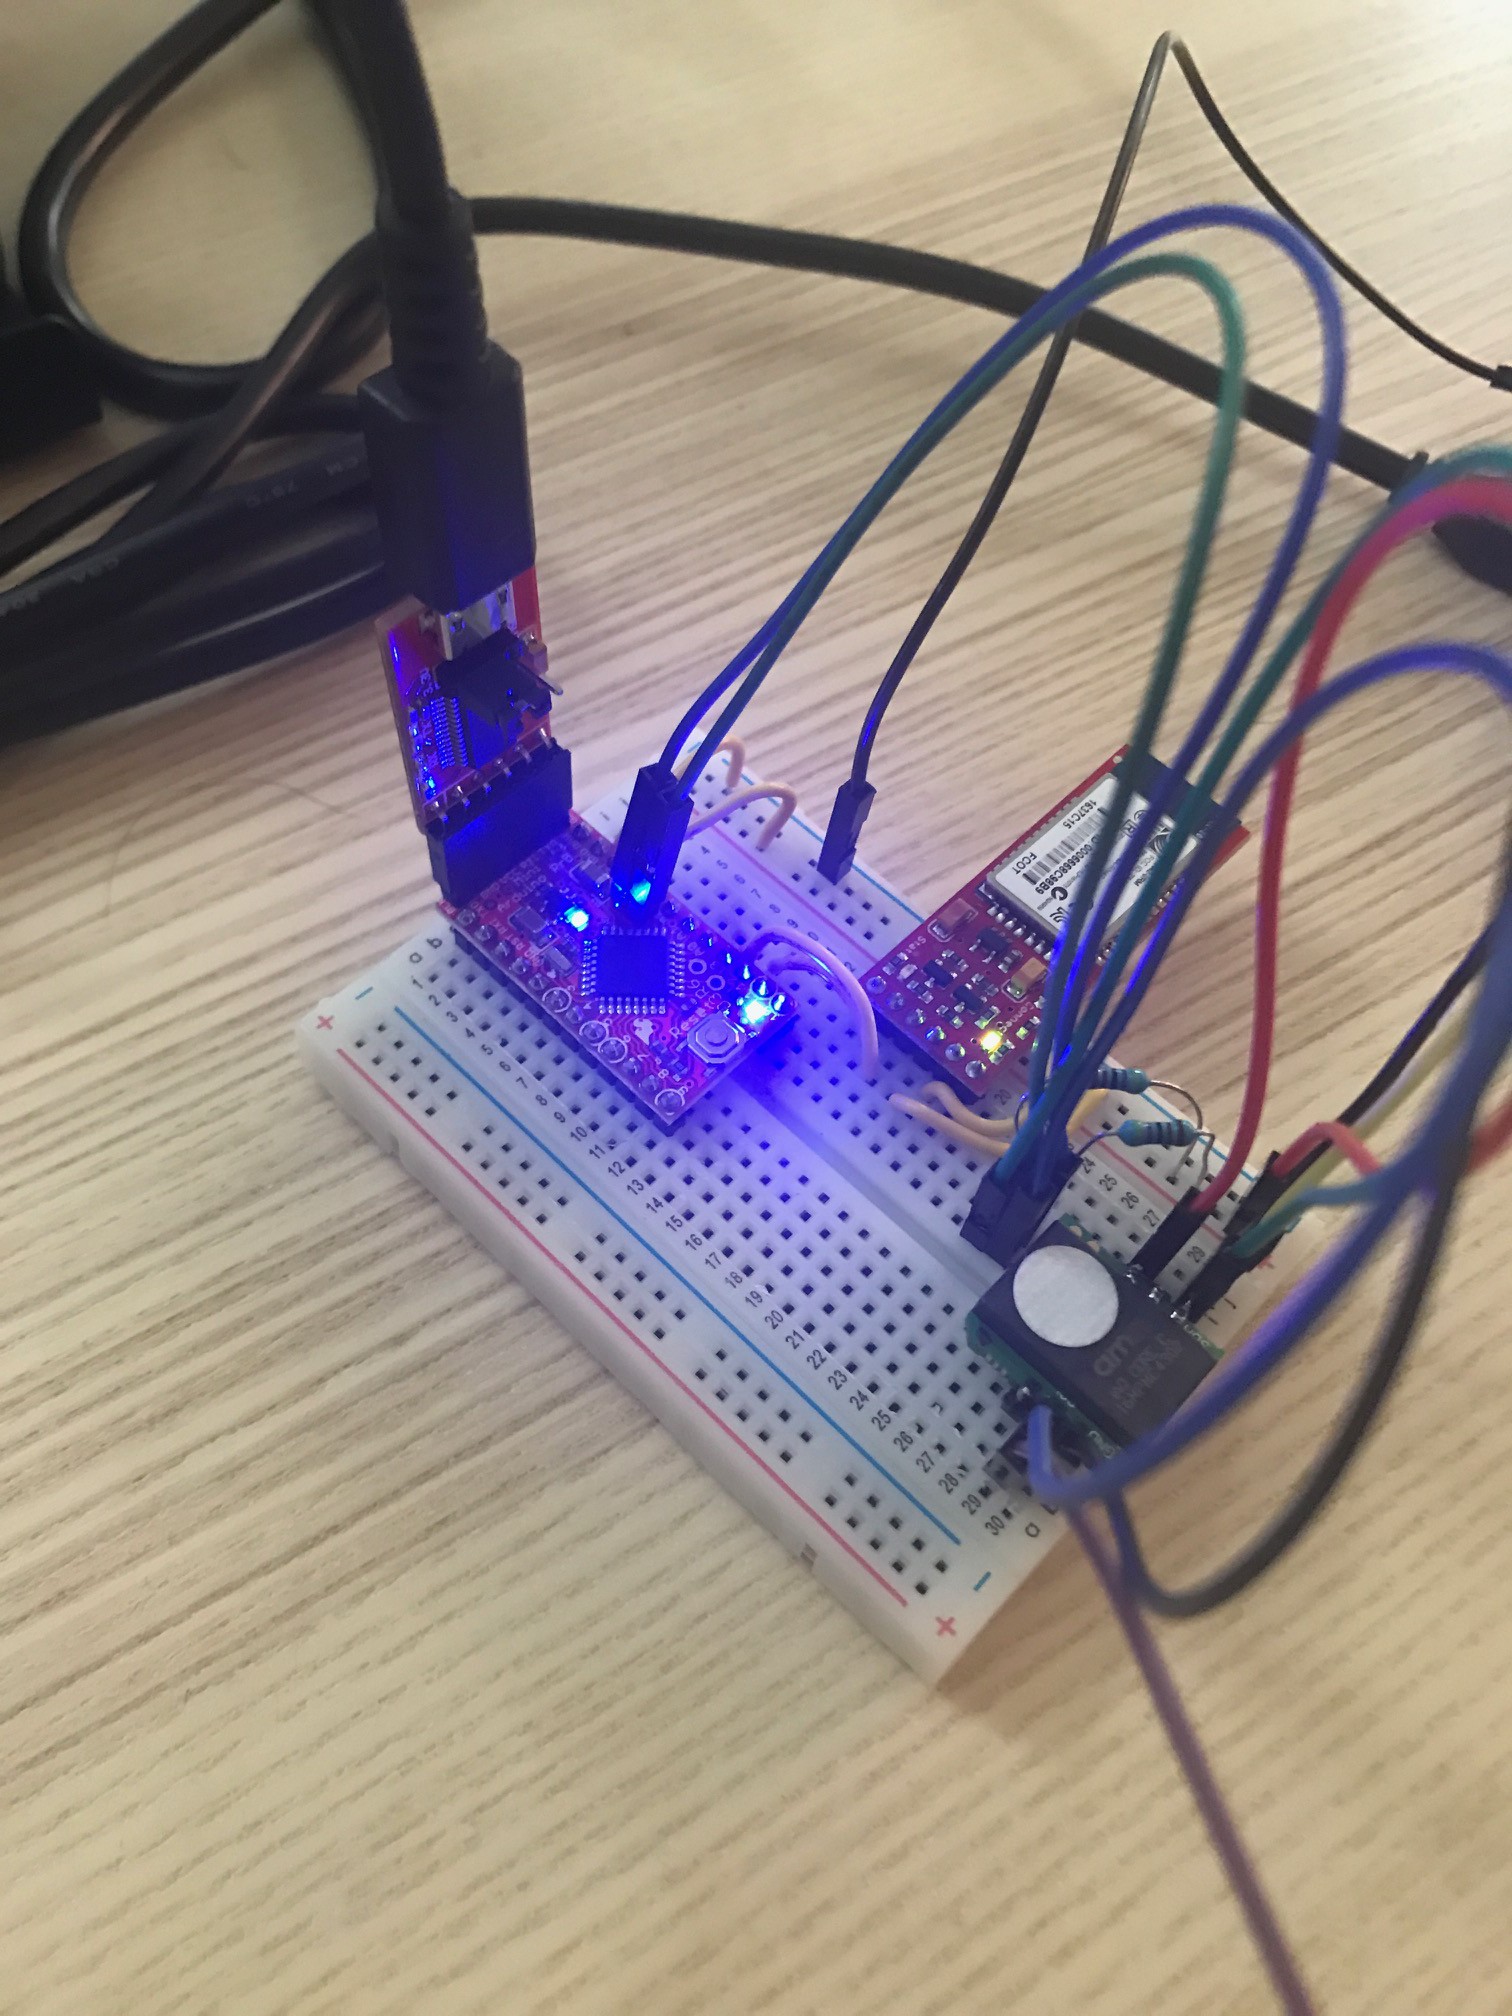
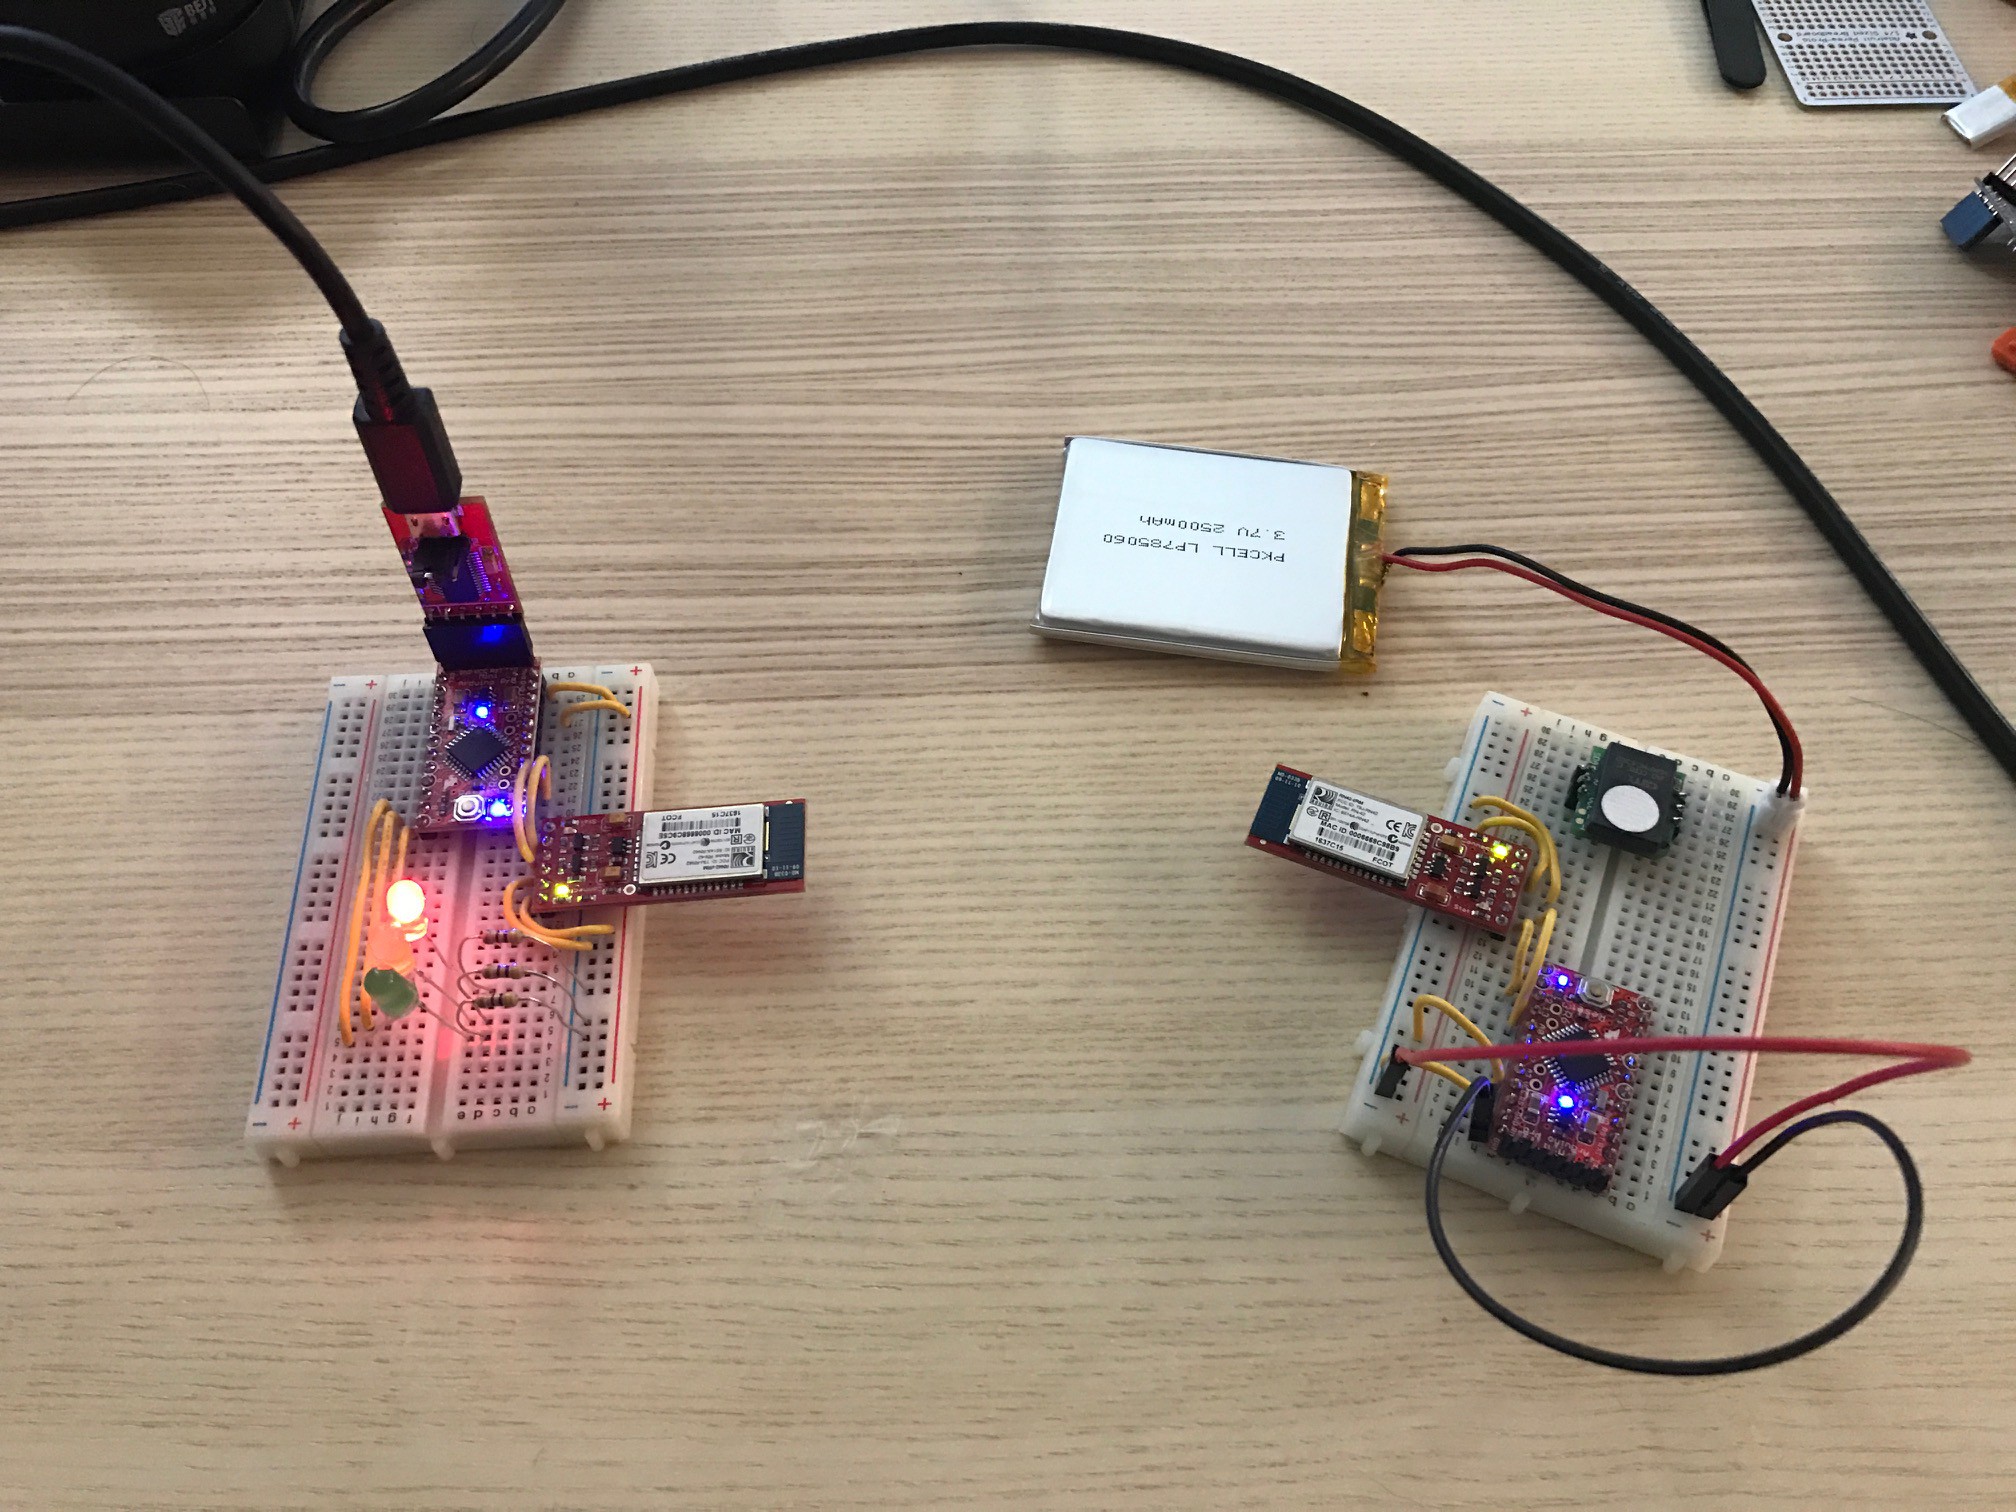
There are two pieces of hardware to my setup: A Sensor and a Receiver. Both are based on an Arduino Pro/Uno and a RN42 bluetooth module from Sparkfun that acts as a UART connection between the two. The receiver uses a gas sensor to monitor for smoke. I started with the MQ-2 Gas sensor since thats what a ton of these kinds of projects use. There are a few problems with it that have led me to look at other options, but that will be a post for the future. Right now the prototype does work.
The Sensor Device reads from the MQ-2, does the ADC and reports the value over the bluetooth connection to the Receiver Device.
The receiver will illuminate a Green/Yellow/Red LED based on some arbitrary 'smoke' thresholds. Ideally the receiver will be next to my desktop so I can notice if there is smoke about to come into my apartment. I might add a buzzer or some other way to get my attention. (Version 2 will be more complicated. Im imaging a email-to-text notification but I'll get to that).
All in all, its a basic setup right now. I'll detail some of the improvements and problems ive run into along the way.
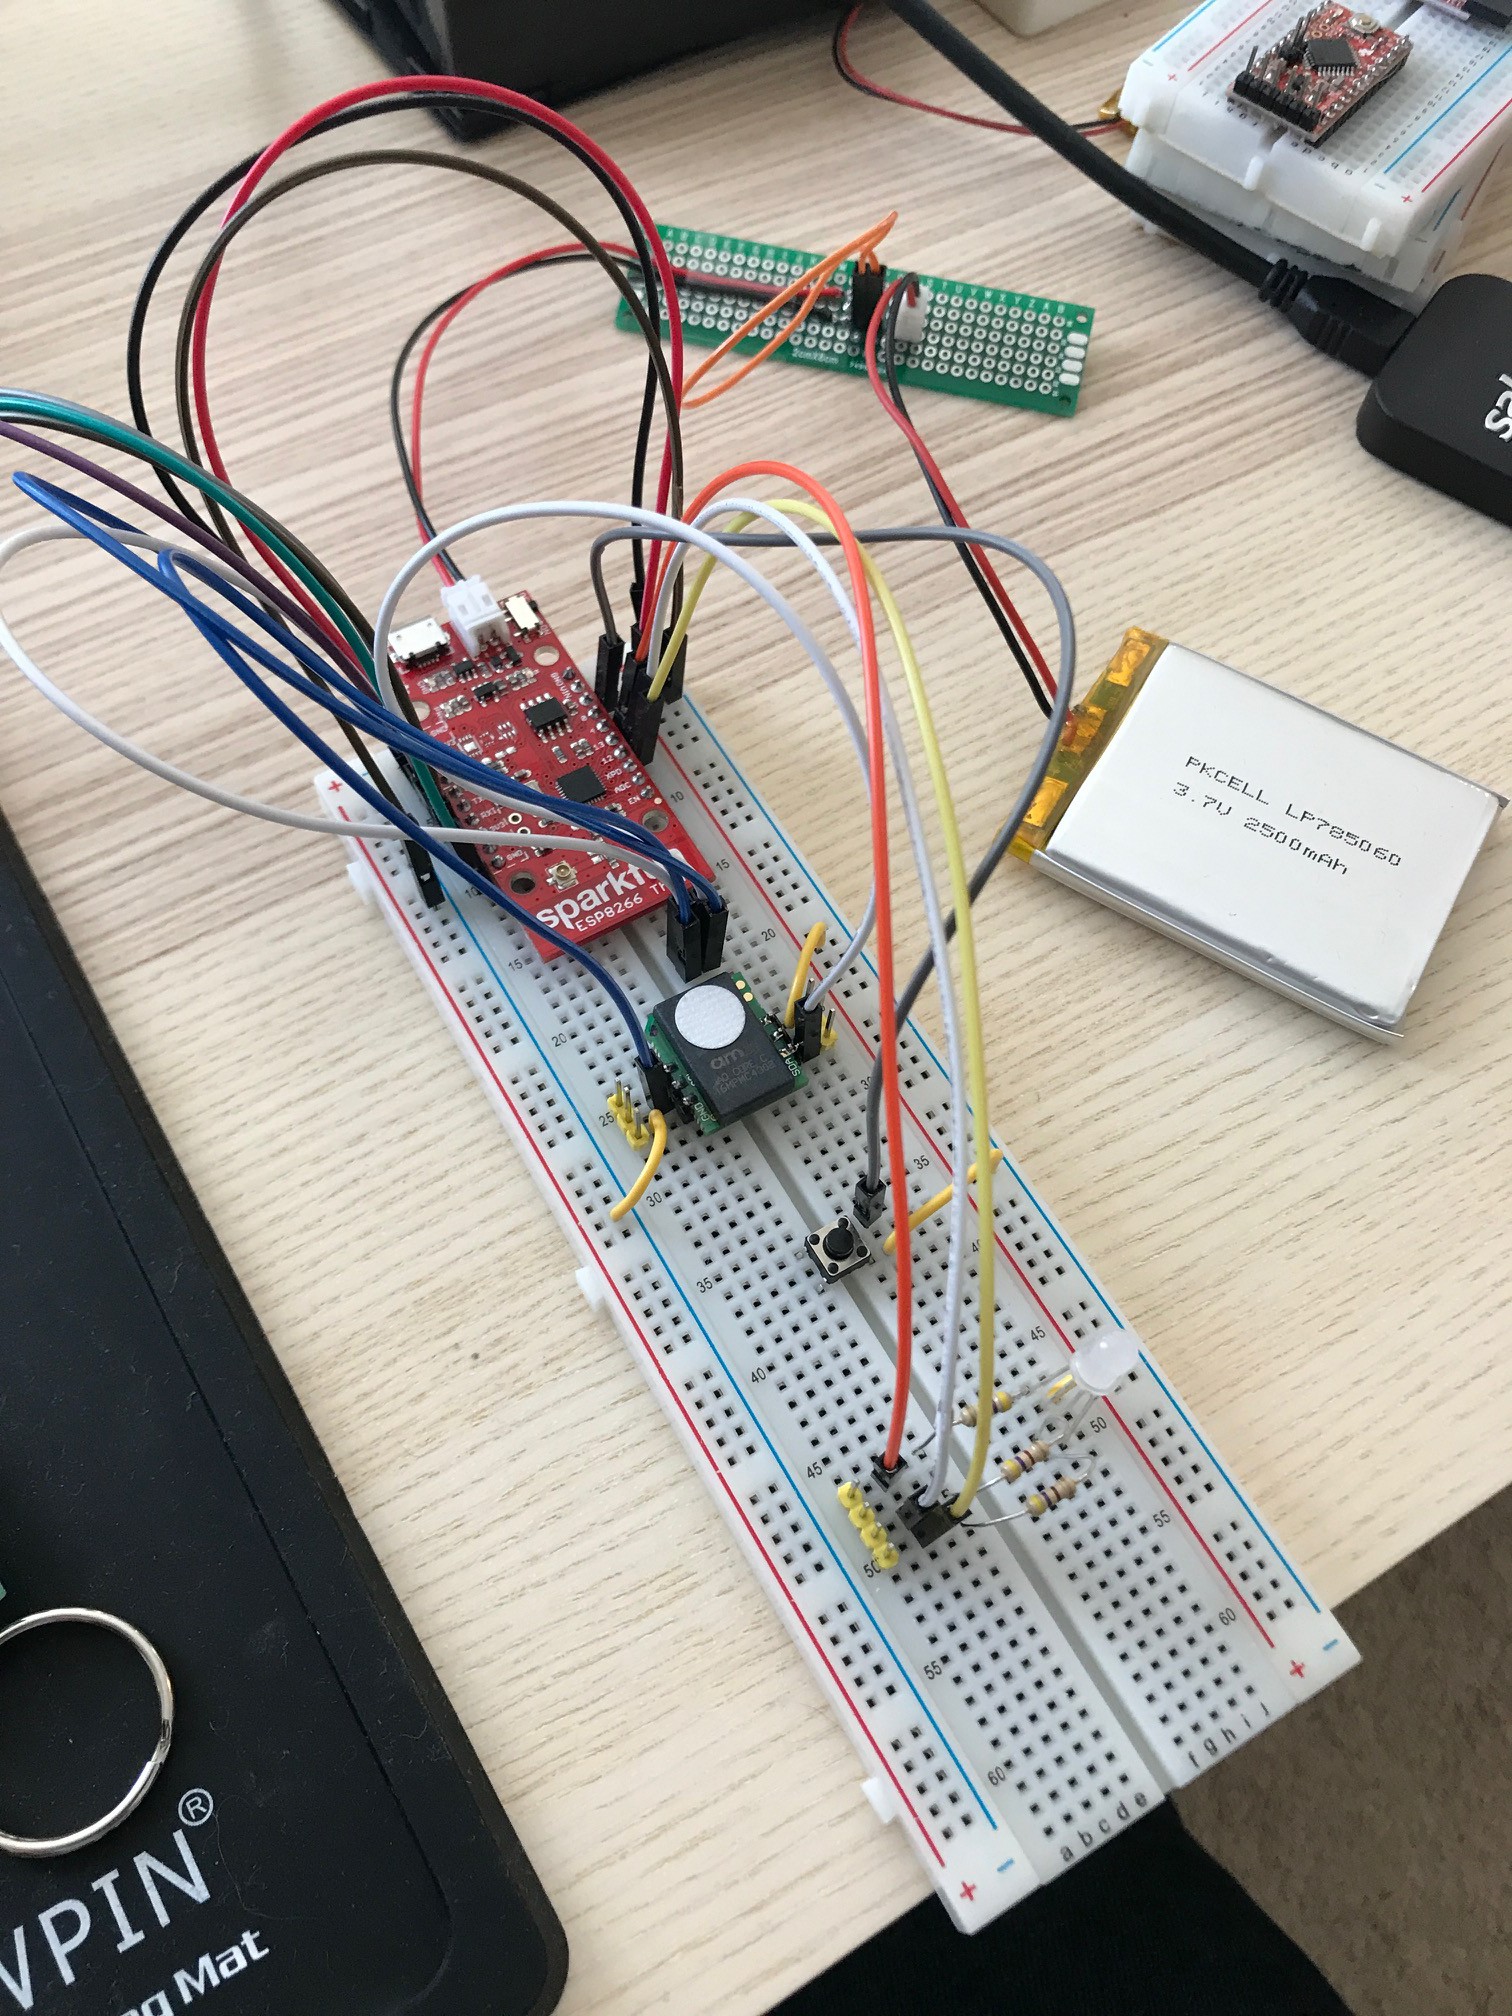
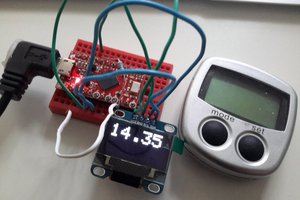
Version 2: I have switched to 3.3v 8MHZ arduino pros and dropped the MQ-2 Sensor in favor of an I2C air quality sensor called the iAQ-Core. Info about it is here: http://ams.com/eng/Products/Environmental-Sensors/Air-Quality-Sensors/iAQ-core-C
I'm still evaluating it but it seems to be a lot more sensitive than the 5v analog MQ-2.
Version 3: In my final iteration im planning on dropping the Arduinos and bluetooth all together for an ESP8266 wifi based solution.
 davedarko
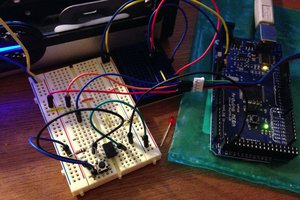
 Mike Hendricks
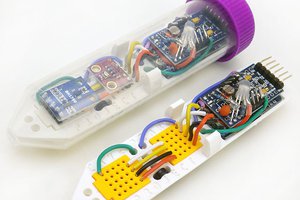
 Ed Mallon