 RobotDigg ME
According
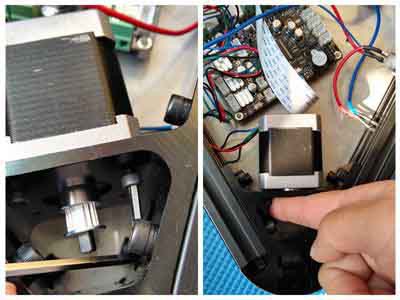
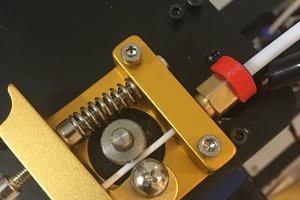
to assembling manual, the hardware installation is easy. Only we need
to use finger to rub basing on the embarrassing angle of the stepper
motor. - See more at:
http://www.robotdigg.com/news/138/RobotDigg-Kossel-3D-Printer-Kit-Tutorial#sthash.o4JGTK0X.dpuf
Although
the wire connection is a hard work for me as a greenhand, don’t worry,
it will become easier since we have upgraded version soon.
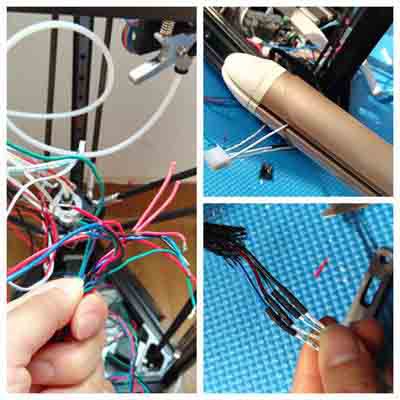
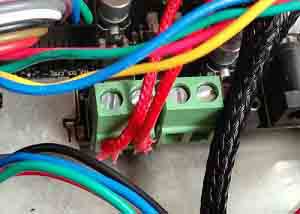
There’re some important wire plug. Just follow the instruction map.
Following wire plug may cause confusion。
1.The limiter line is two, the motherboard has three holes.
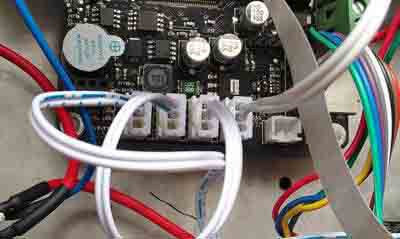
2.Switch button line three, then the hole only have two, how to connect?
The answer is to switch the button to the 12V-24V power supply hole.
Twisted blue ones together, access 12V negative hole. Red line connected
to the positive hole.
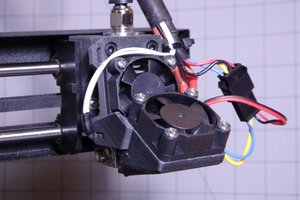
3.Print
head two red is the heating tube, then nozzle heating, regardless of
left and right.
4.The white line of the nozzle is the temperature detection line, there are 2 TEMP interface, connect E-Temp
5.There also 2 interface on the fan, connect E-Fan
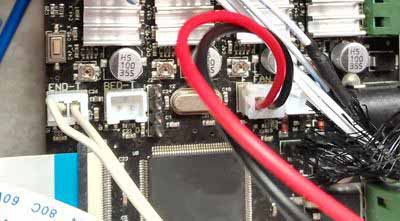
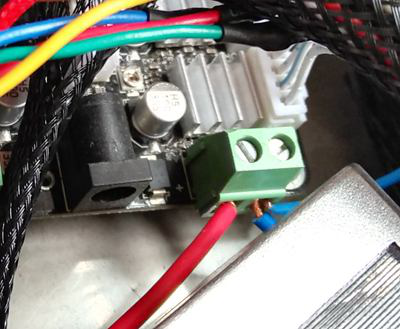
6.The power adapter does not have to be attached to the motherboard and into the hole next to the LED on the frame

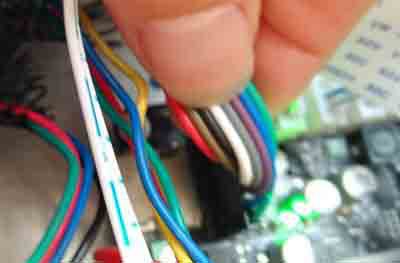
7.The order of the XYZ axis is on the screen, the left X, the right Y, the middle Z
8.Display cable, the color wire. If the card does not respond when
printing, then need to change the direction of plug.
OK,finished assembly.
Start printing.
Some may find, there is no computer interface on this krossel printer.
Yes, it need plug card for printing to keep it stability.
The plug hole is on the side of screen.
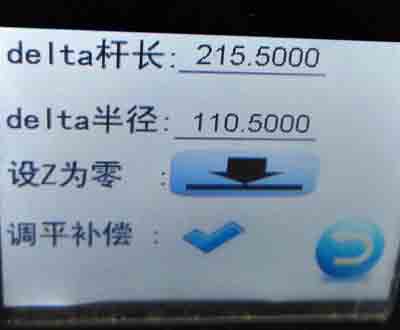
And then need to set the length of the rod and radius.
This glass diameter 22MM, then set the rod length 215.5 radius 110.5 -
See more at:
http://www.robotdigg.com/news/138/RobotDigg-Kossel-3D-Printer-Kit-Tutorial#sthash.o4JGTK0X.dpuf
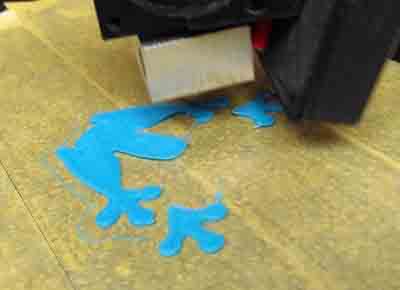
In
the process of testing the print, I thought that a big BUG was found,
the direction of the extruder and the operation panel indication were
reversed. Of course, the final proof of this problem is to modify the
parameters can be resolved.
Then I find the speed is slow, just revise the parameter speed up.
The last need to adjust is the z-axis starting position.
First perform automatic leveling, and then press the note to save the OK on the “OK” key.
On the slices of software things needless to say, try it yourself
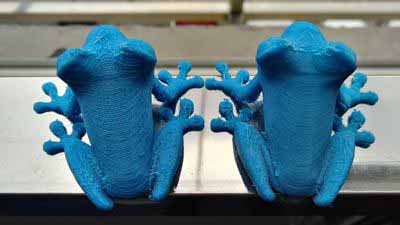
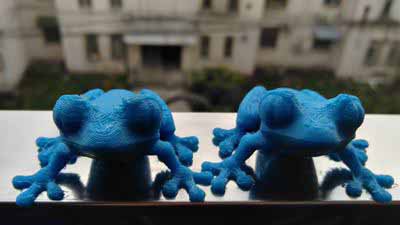
Comparison of 2 precision.
http://www.robotdigg.com/category/15/Delta-Robot-3D-Printer
Welcome to add me to communicate more:
Linkedin: Ashley Liu, robotdigg
asliu@robotdigg.com
skype:robotdogg
whatsapp:8615021958504
 U.S. Water Rockets
 Malte Schrader
 Al Williams