0%
0%
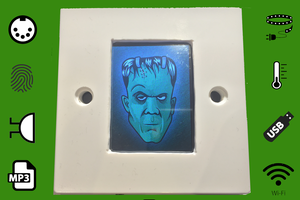
DIY Complete Philips Hue Home Automation
Philips Hue is nice but expensive... now there is a cheaper way.
 marius.motea
Become a Hackaday.io member
Already have an account? Log in.
Just one more thing
To make the experience fit your profile, pick a username and tell us what interests you.
Pick an awesome username
hackaday.io/
Your profile's URL: hackaday.io/username. Max 25 alphanumeric characters.
Pick a few interests
Projects that share your interests
People that share your interests


 Eric Moyer
Hi, this looks like a nice environment that brings many vendors together in one platform. Plus the organisation of the github looks very clean.
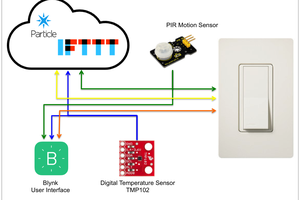
I wonder if you targeted the issue of using for a Zigbee sensor events, as The Hue API had limitations in that regard, that deCONZ solved with a websocket events notification. I started an example here https://github.com/nRFMesh/nRF52_Mesh/blob/master/raspi/conbee/conbee.py
By having a quilck look at the HueEmulator3.py I couldn't easily figure out if you actually rely on other gateways, if you rather recreate a new environment with all new Arduino devices or a mixture of both ?