0%
0%
FDM to DLP 3D Printer
Taking an old Cartesian FDM printer and modifying with a DLP projector to turn it into a resin 3D printer.
 Brandon Langdon
Become a Hackaday.io member
Already have an account? Log in.
Just one more thing
To make the experience fit your profile, pick a username and tell us what interests you.
Pick an awesome username
hackaday.io/
Your profile's URL: hackaday.io/username. Max 25 alphanumeric characters.
Pick a few interests
Projects that share your interests
People that share your interests
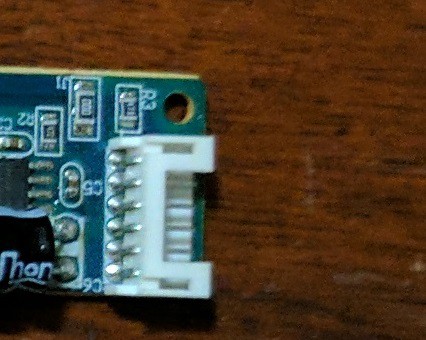
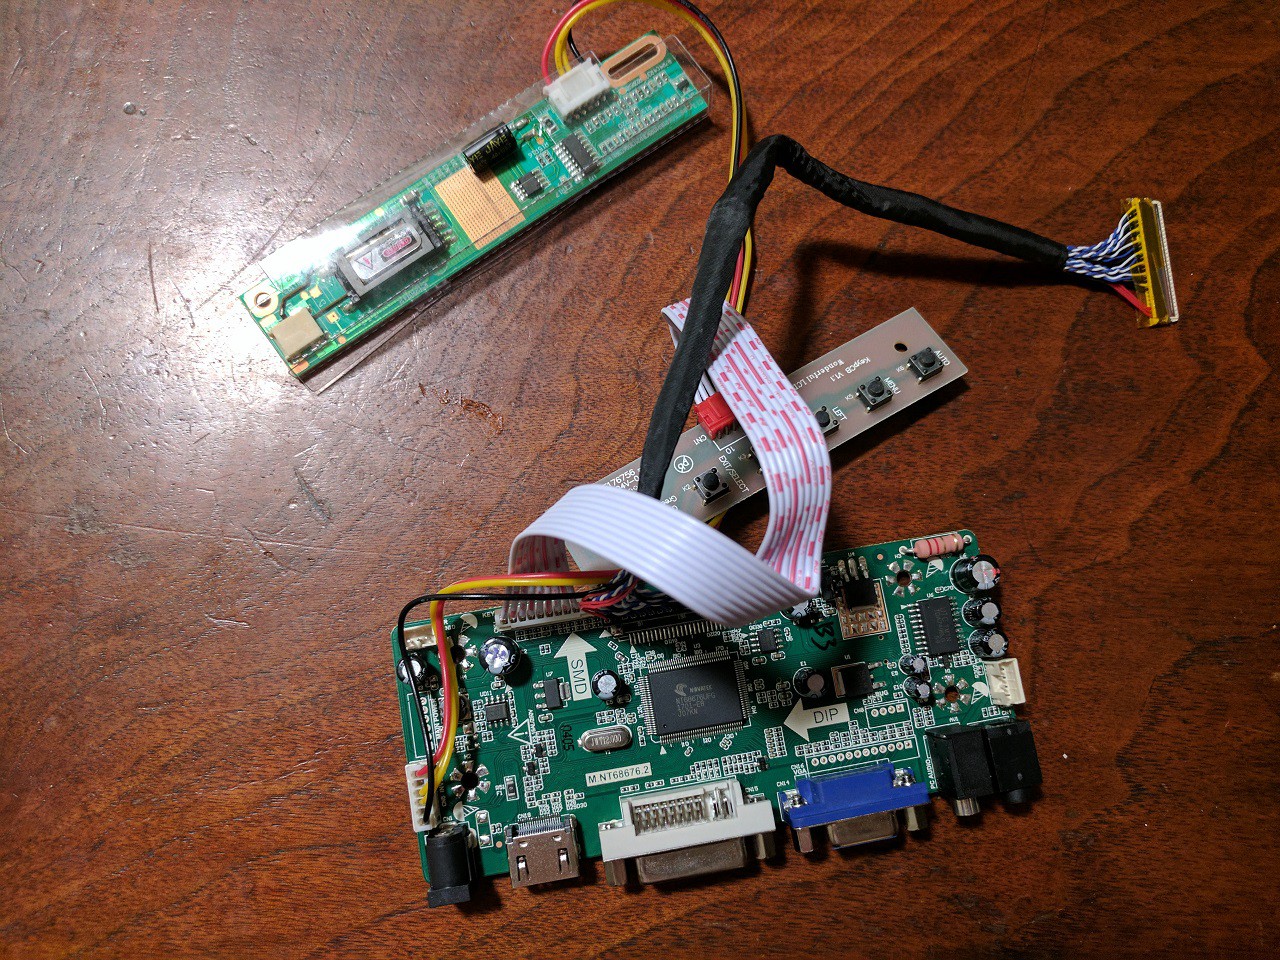 If one is to want to change the panel a new board will need to be ordered for that screen unless they happen to be the exact same connector. Irritatingly there isn't much of a consistent connector from panel to panel so one always needs to plan ahead for this.
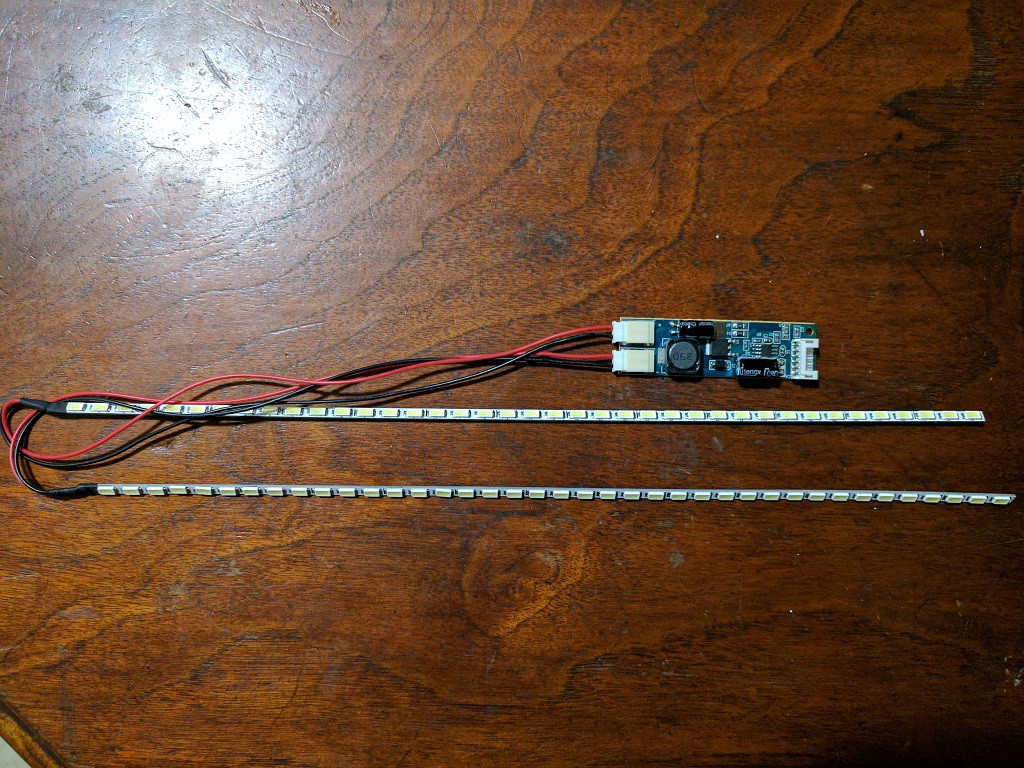
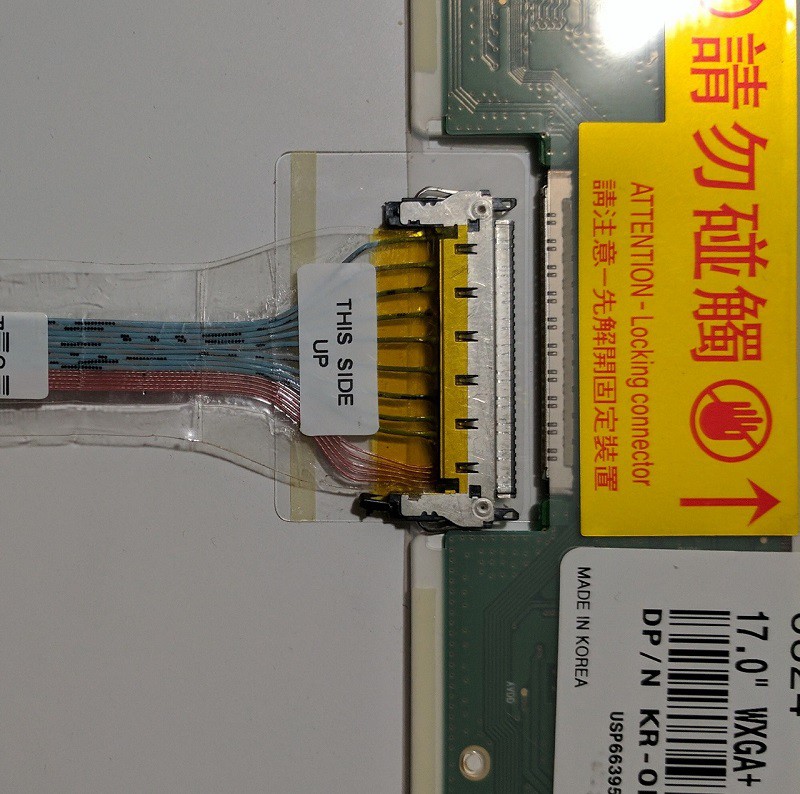 Comparison to the new adapter to manufacturer (top to bottom). Note the position of, what I assume, is power (in red/orange and copper,)and the more numerous data signal wires. I think I will add my own label before installing to always keep track on the position.
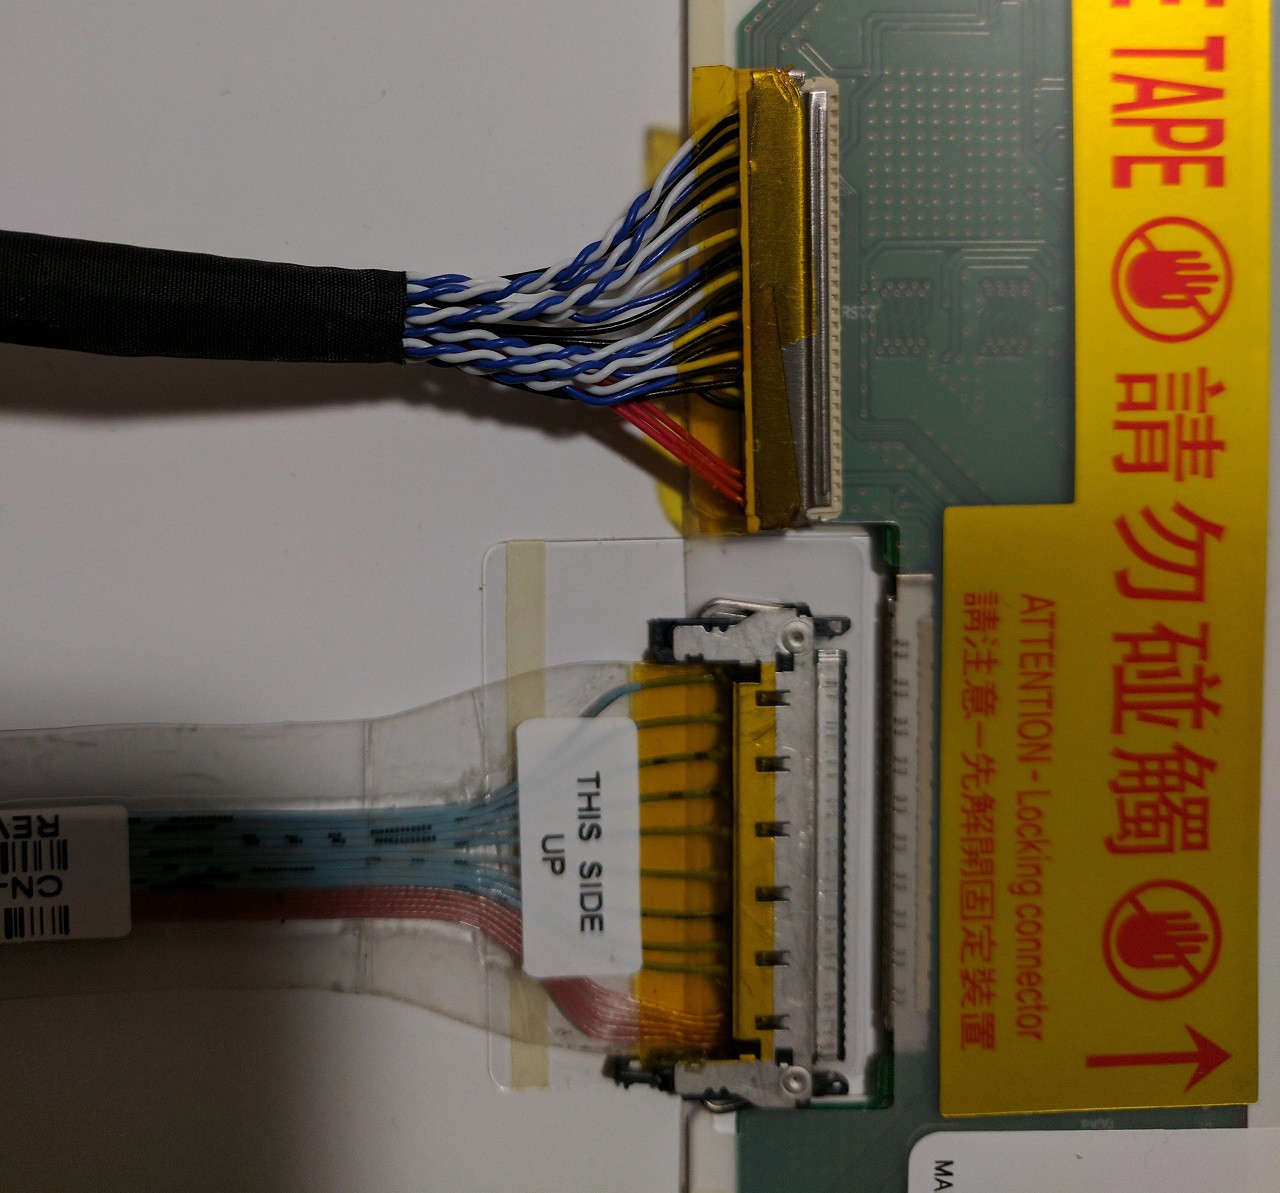 A permanent marker is also useful for making an asymmetric mark that crosses from the cable and onto the connector (digitally drawn as example).
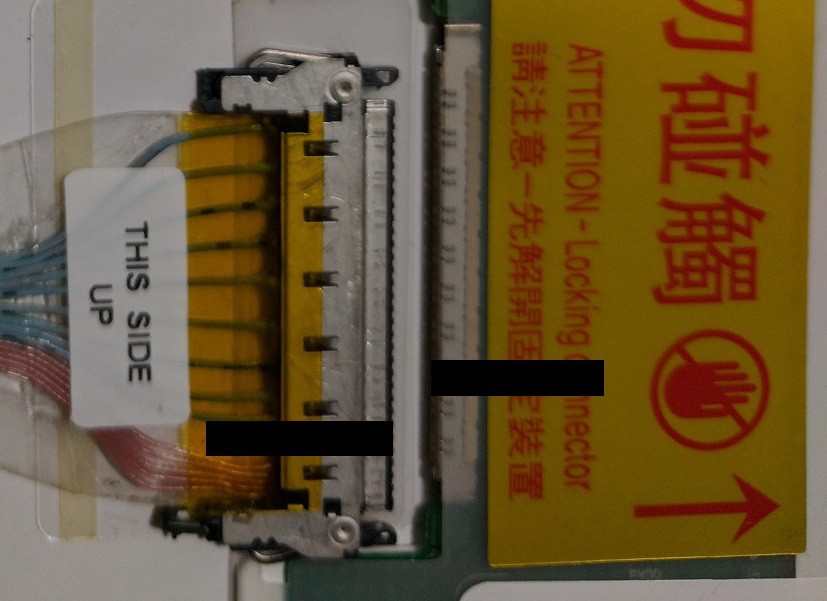


 Malte Schrader
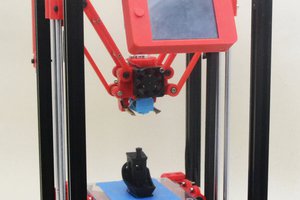
 ekaggrat singh kalsi
 Eviscerate Core
3D printing is very popular nowadays. I am also a student and still learning how to do 3D sublimation printing at professional level, and your article help me a lot.