 Juan M. Casillas
(Sorry, Automatic Google Translation)
Raspberry PI + Arduino = TwichDrone
Introduction
English readers note: This blog entry in English, but I provide a " README_ENGLISH.txt " with the installation procedure in english. Also see the section " For the Impatient " to learn how to boot the Raspberry with the custom image. For any question, feel free to contact me. See the video of the drone working at the bottom of the page.
If you want to skip the whole roll and have the drone running as soon as possible go to the section " For the Impatient "It is in English, but it is well understood.Although I recommend that you read everything and do an installation from scratch.You can see the video of the drone running at the end of the entrance.
Well I've been trying to integrate a raspberry pi with an arduino ... and since I've been playing RainbowSix for a while, I thought ... and why do not we make a drone of those that use the characters to look for the position? So I decided to start the project ... TwichDrone !. For those who have not played RainbowSix, I explain briefly: players when they attack have an initial phase to locate the target, and they use a radio controlled cars to locate it. To handle it join a mobile device that could be a phone or a tablet. Twich (one of the characters) has a somewhat special one that launches downloads with a taser. This is the look you have in the game:
Obviously, the drone is not going to give downloads (because I have not put, things as they are, hehe). The pint that has it physically is this, so that you have an idea of what I want to implement:
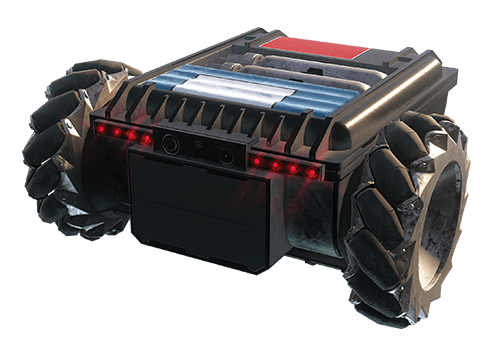 |
| The Drone of Twich "really" |
As you see in the model, the drone is powered by two engines and has wheels that allow it to move sideways. It also has "infrared" leds and a camera system. In my implementation I will not use this type of wheels, because they are very expensive and the idea is that it is cheap to build. On the other hand, we are not going to use the infrared illuminators either (although it would have been easy to have a few LEDs). And of course, it does not give electric shocks.
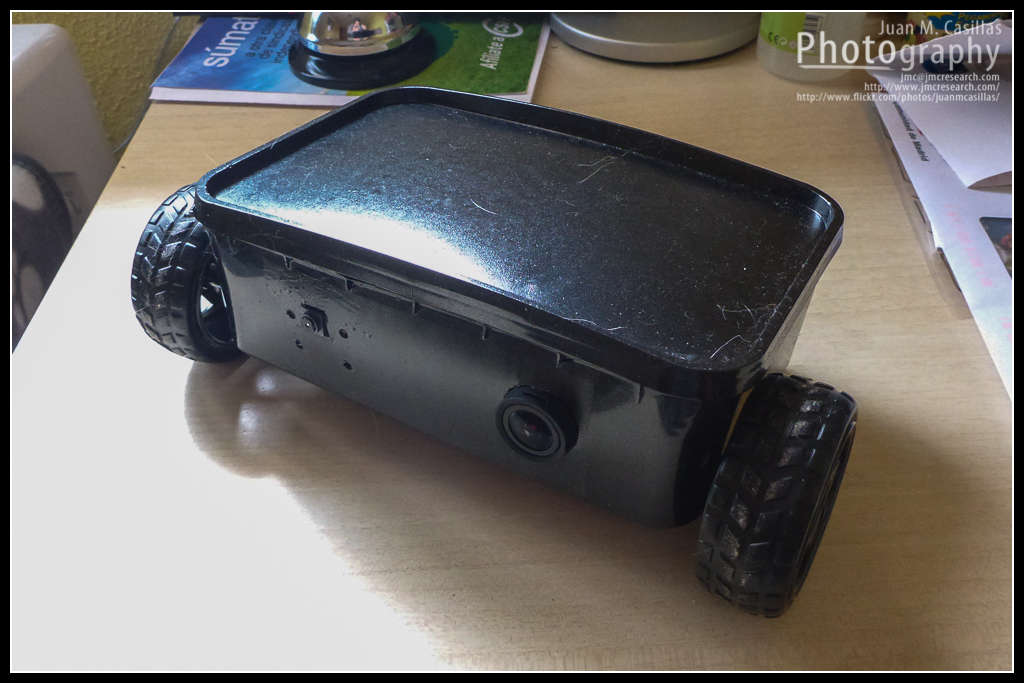 |
| Our TwichDrone. Close enough! |
For the Impatient
This section explains how you get your TwichDrone up and running quickly. I recommend that you read all the documentation, if you are english reader, start with README_ENGLISH.txt file. If you're brave enough, let's start. Remember you need: Arduino UNO, Raspberry Pi 3 Model B, 2 DC motors, and a battery. Optional to GoPro3.
1. Set ARDUINO.
You need to install Nanpy Firmware in your arduino. Follow these steps:
- Download ARDUINO IDE for your platform. Install it.
- Download the Nanny Code and prepare the sketch. Issue these commands.
- Git clone https://github.com/nanpy/nanpy-firmware.git
Cd nanpy-firmware
Cp sample_cfg.h Nanpy / cfg.sh - Connect the Arduino UNO via USB to your computer. If using a clone with a CH340 / CH341 usb2serial, see the blog for the required drivers for your platform (Linux works, mac & windows need drivers).
- Copy Nanpy directory under your "sketchbook" Arduino IDE directory, start your Arduino IDE, open Sketchbook / Nanpy, select the right board (Arduino UNO) and "Upload". Done.
2. Mount the hardware.
- See below " Block Diagram "
- See below " Part III Hardware Assembly "
You should mount the motors with the right polarity (see photos) and build a custom wiring to power the raspberry. Then, mount everything into the desired platform, connect all the things.
3. Download raspberry image.
I prepared the raspberry, with everything working. Just download the TwichDrone_Raspberry_Image to your disk, and burn it into the SD. Yo will ned at least 4.4 GB free, only the 8GB card will do the trick.
Run the following command (check directories and sd device)
Gzip -dc TwichDrone_Raspberry.img.gz | Dd of = / dev / yoursdcardhere
4. Configure your GOPRO (if you are planning to use it)
The image comes with the following settings:
AP_SSID: TwichDrone01
AP_IP: 192.168.2.1
AP_PASSWD: rainbow6
GOPROWIFI_SSID: GOPROR6
GOPROWIFI_PASSWD:...
 Md. Khairul Alam
 kutluhan_aktar
 Scott Bragg
 Dan Shaurette