 Frederic
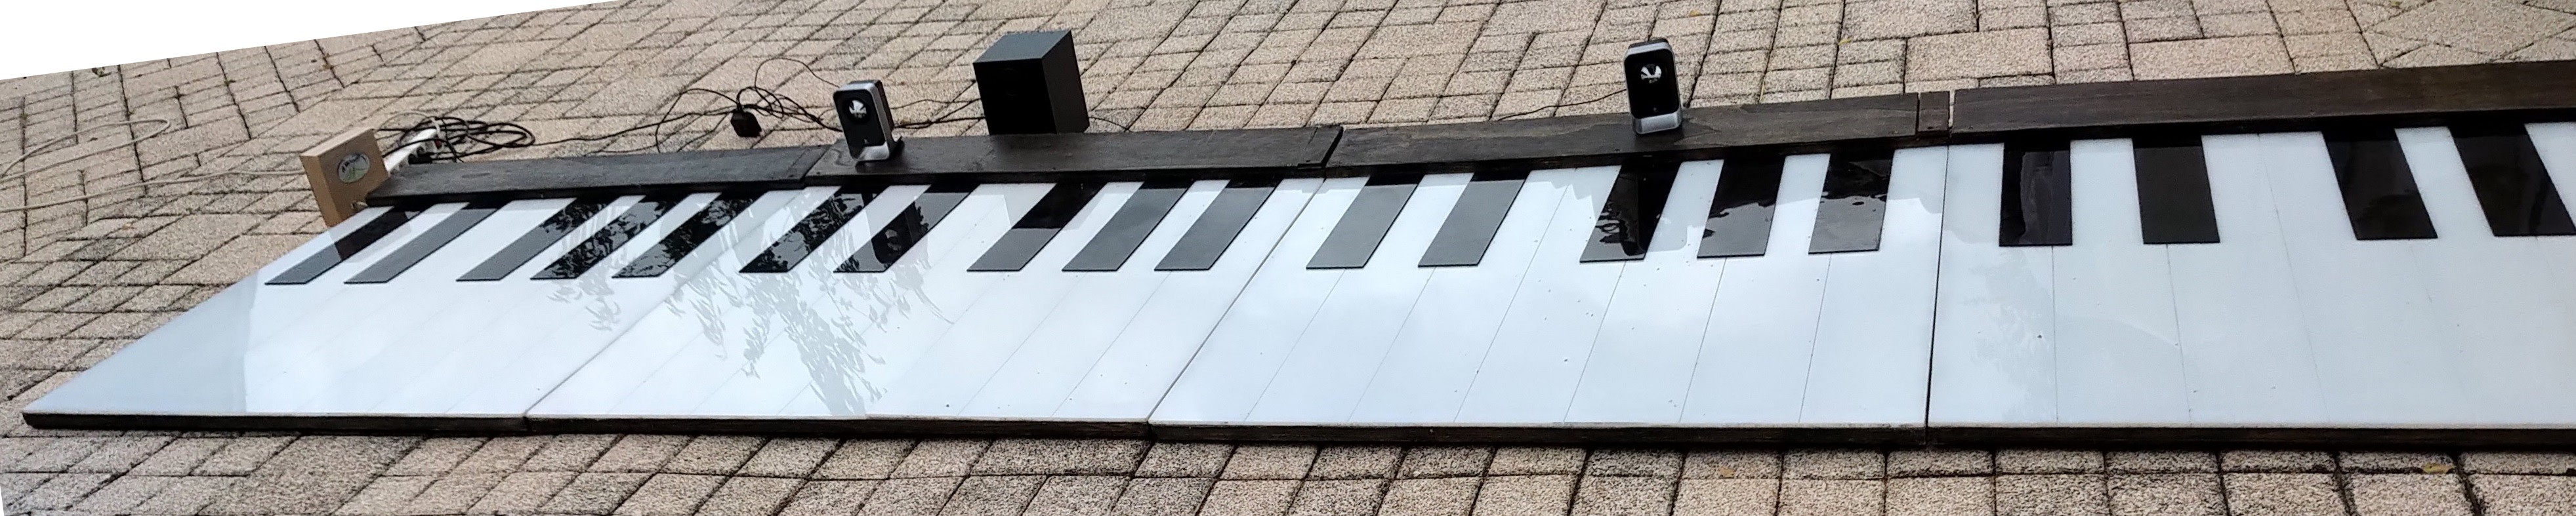
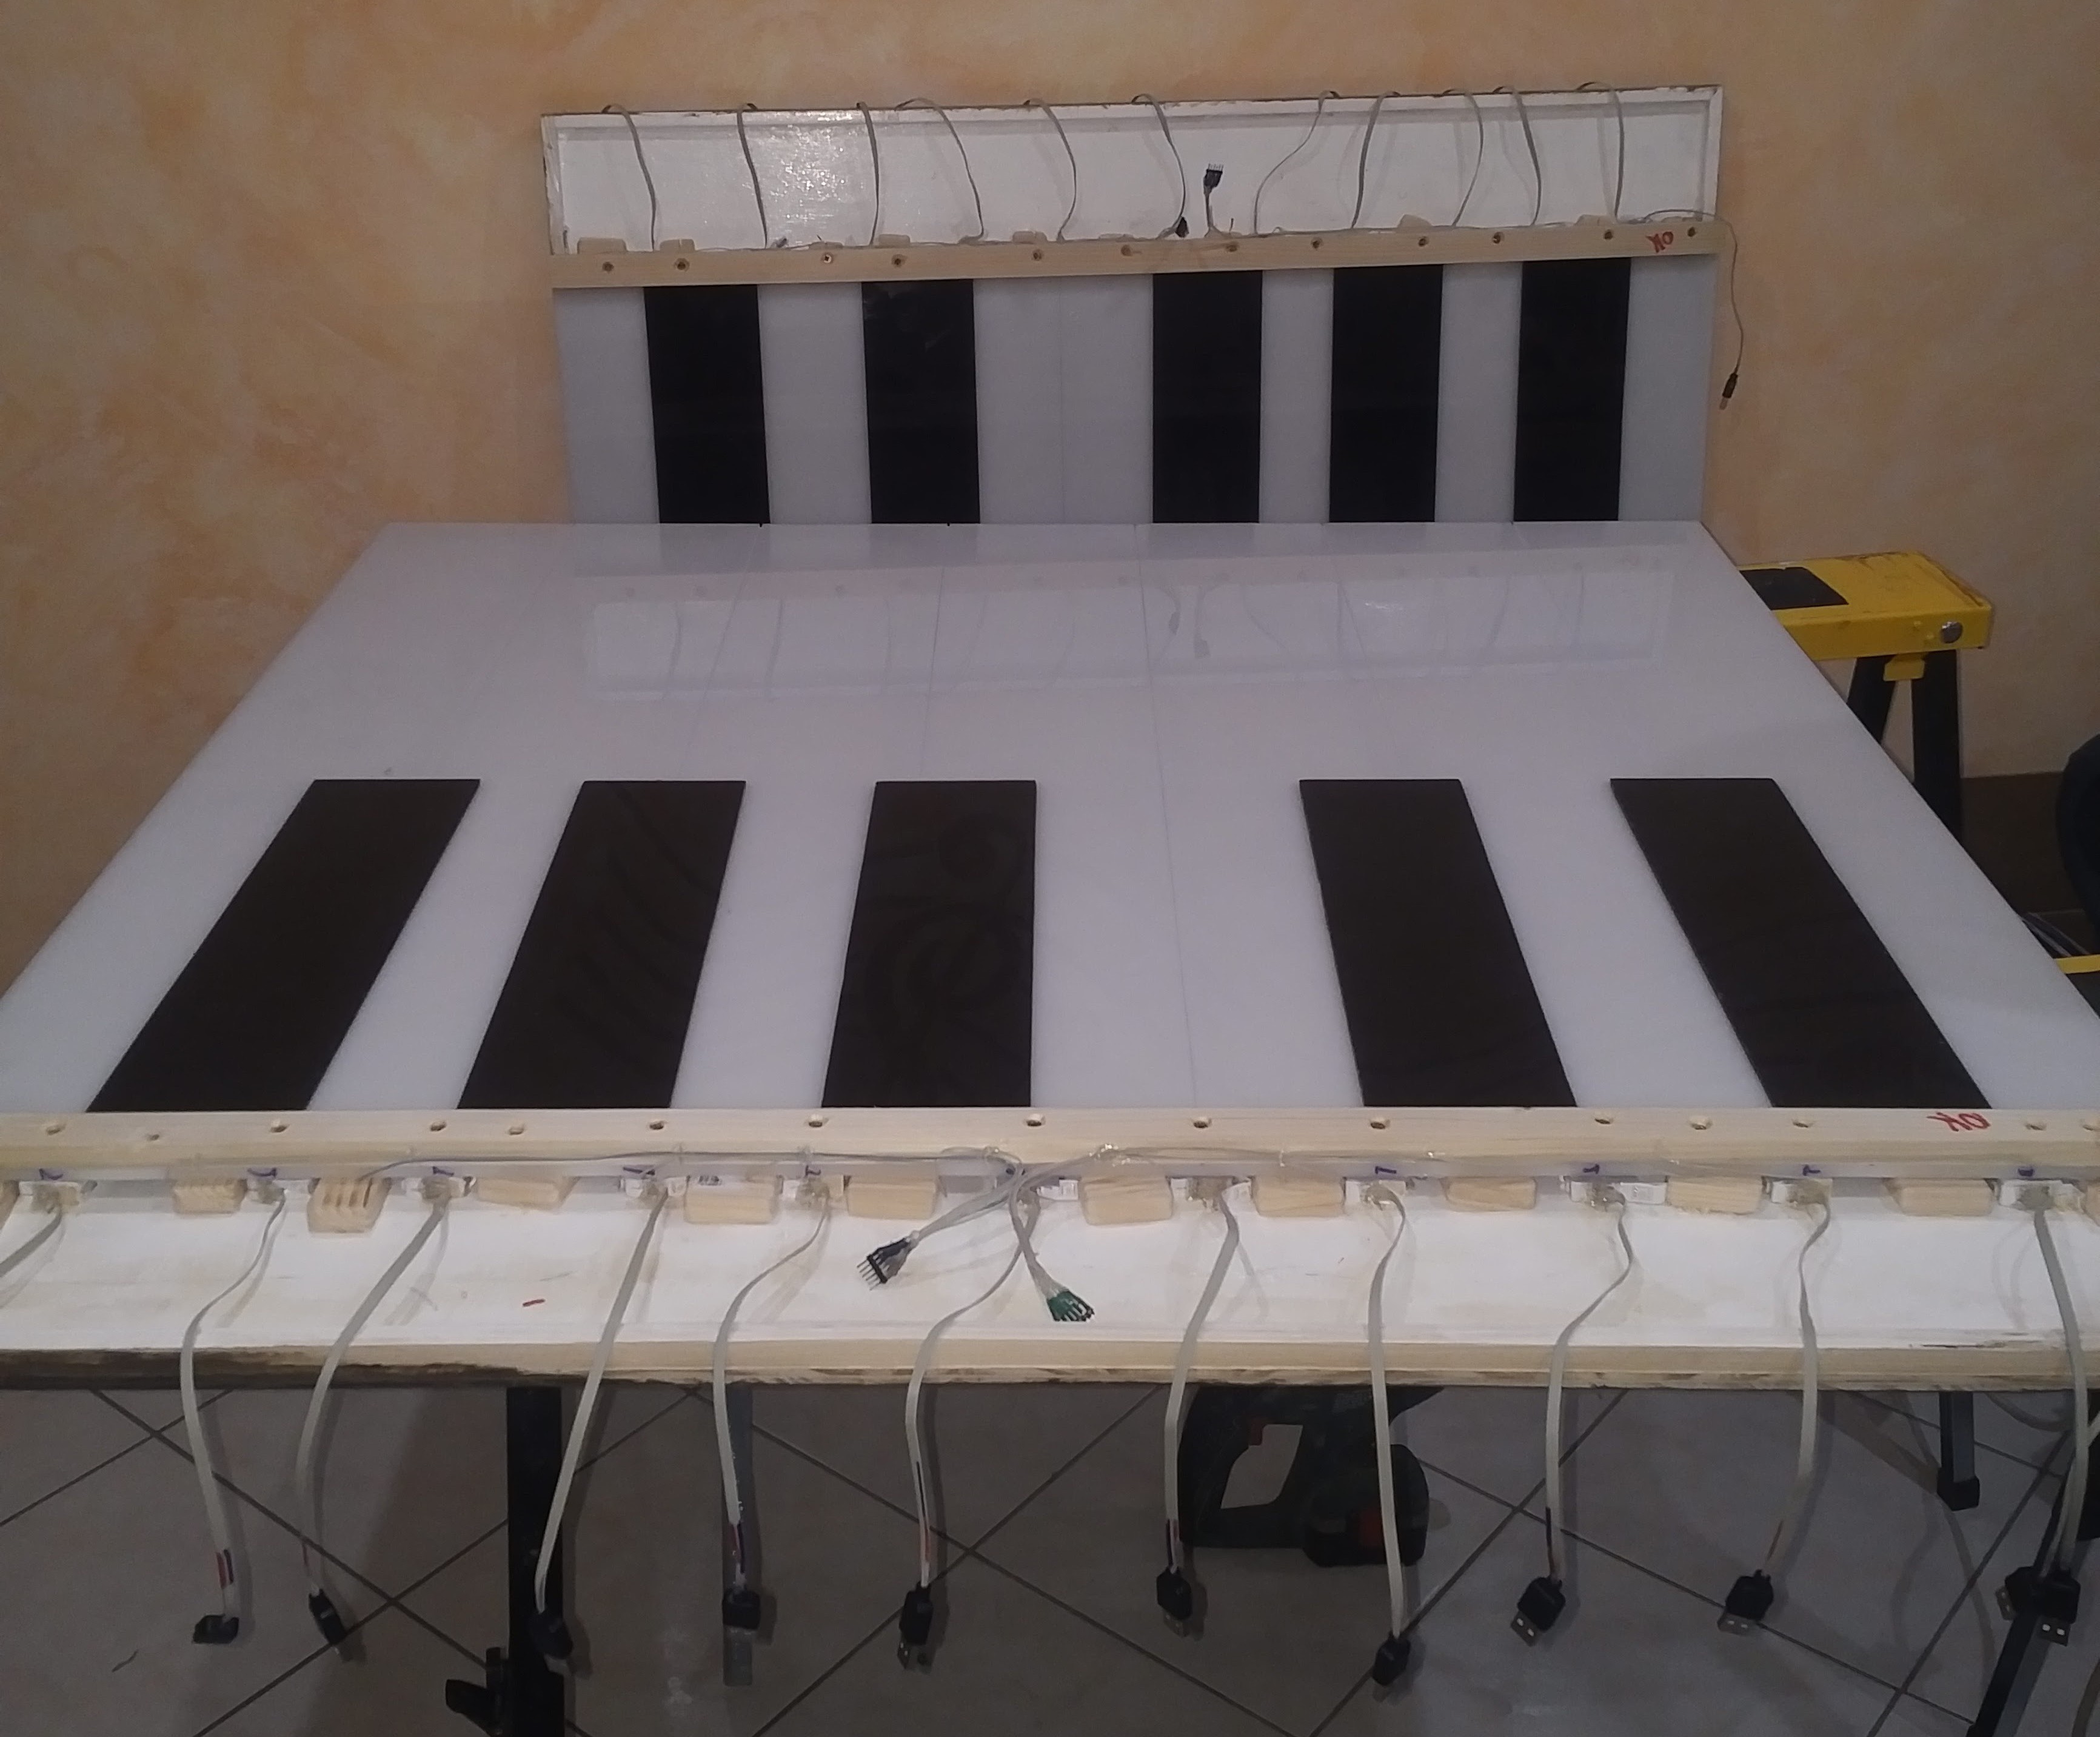
They were plenty of challenges with this piano.
I wanted all bullet ticked:
- Cheap
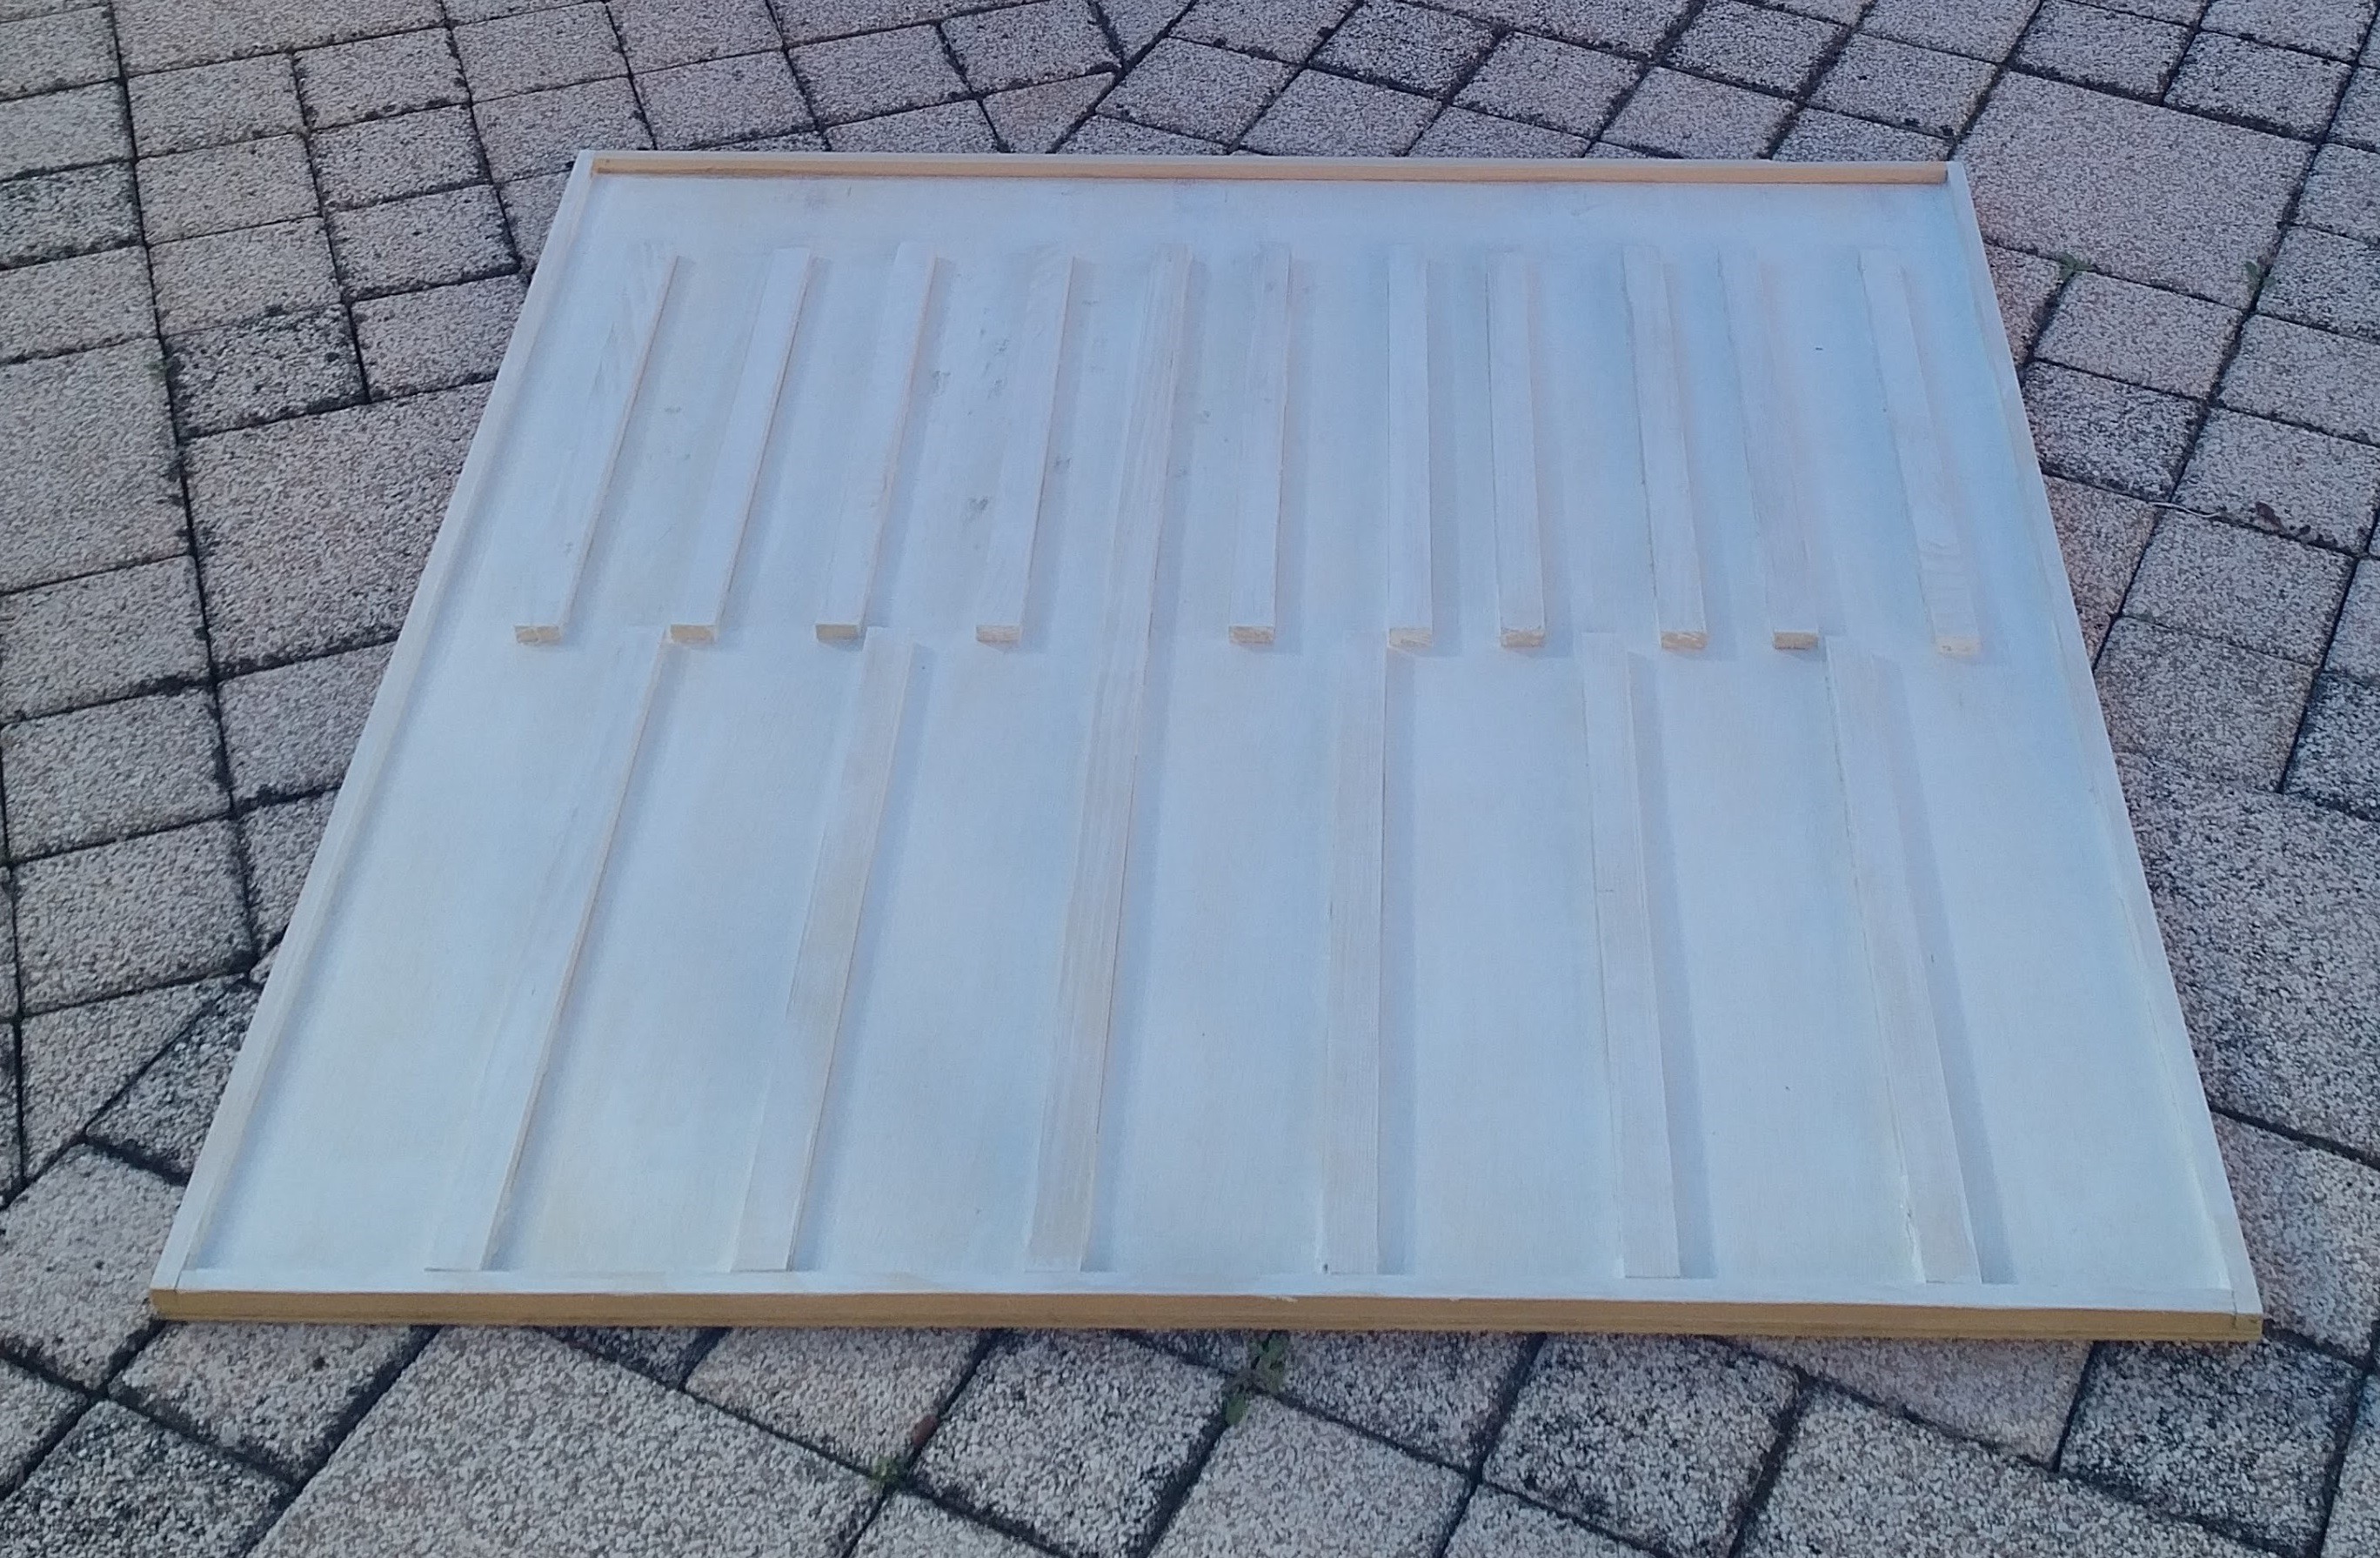
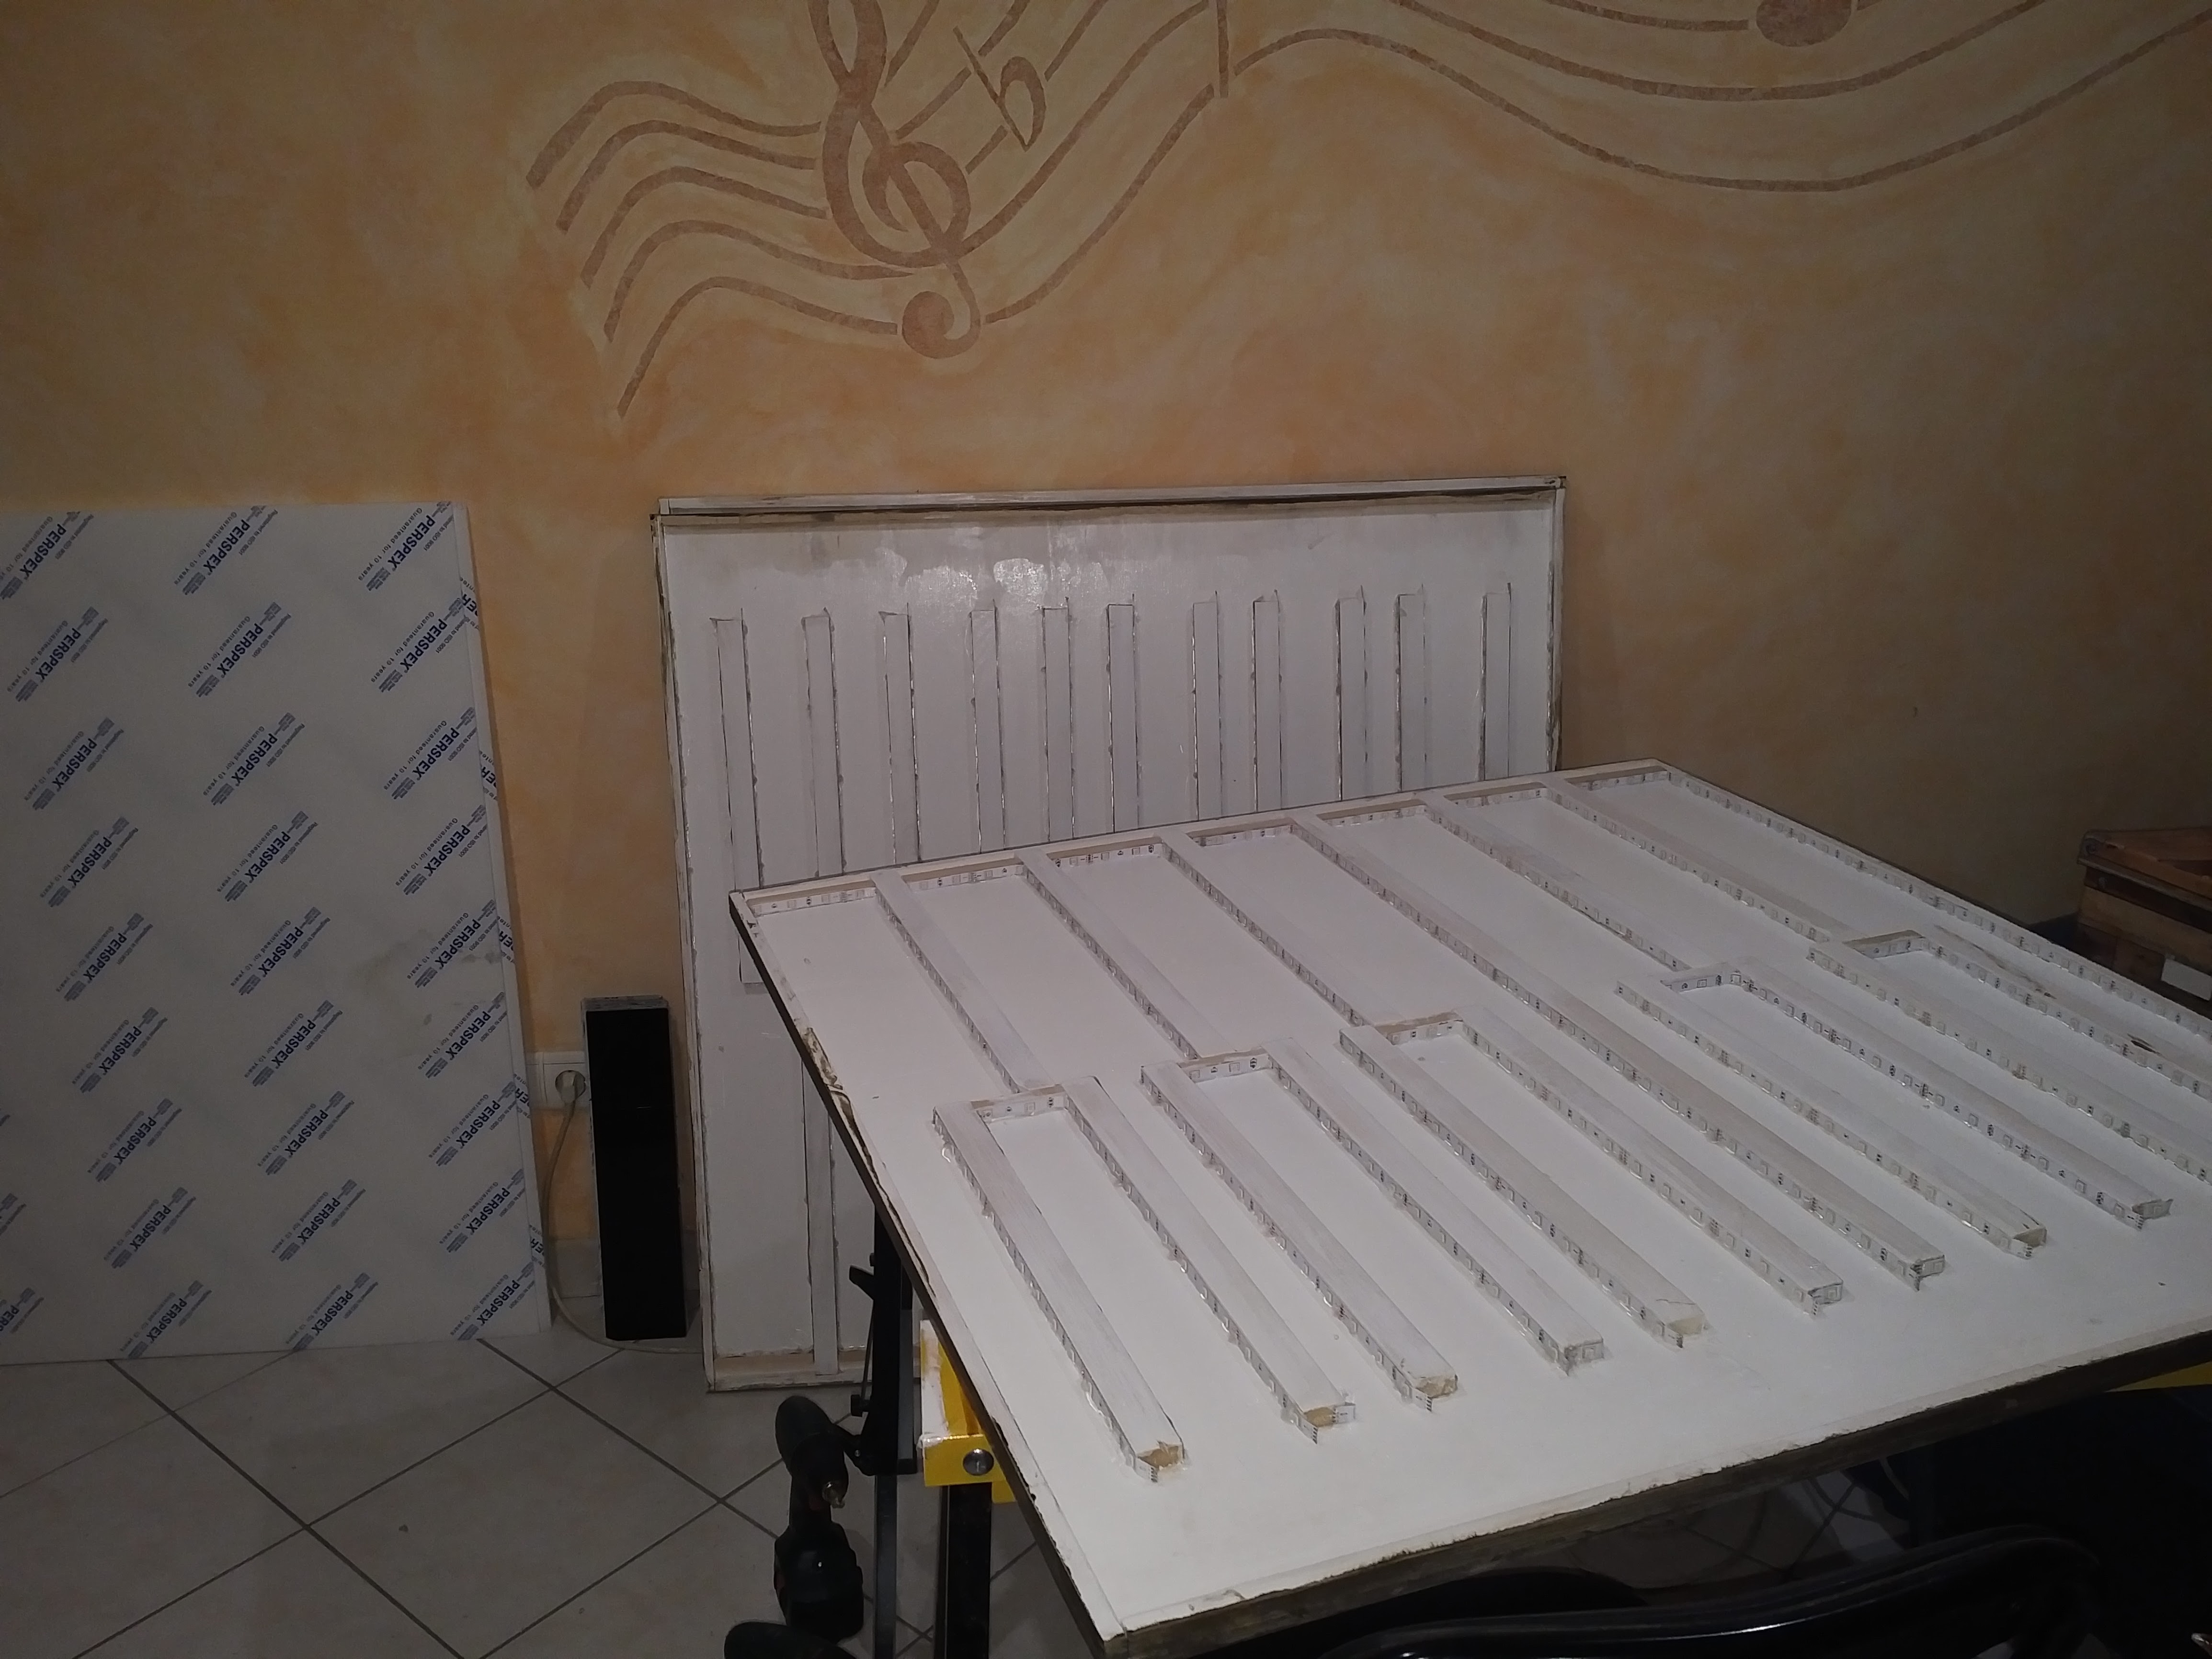
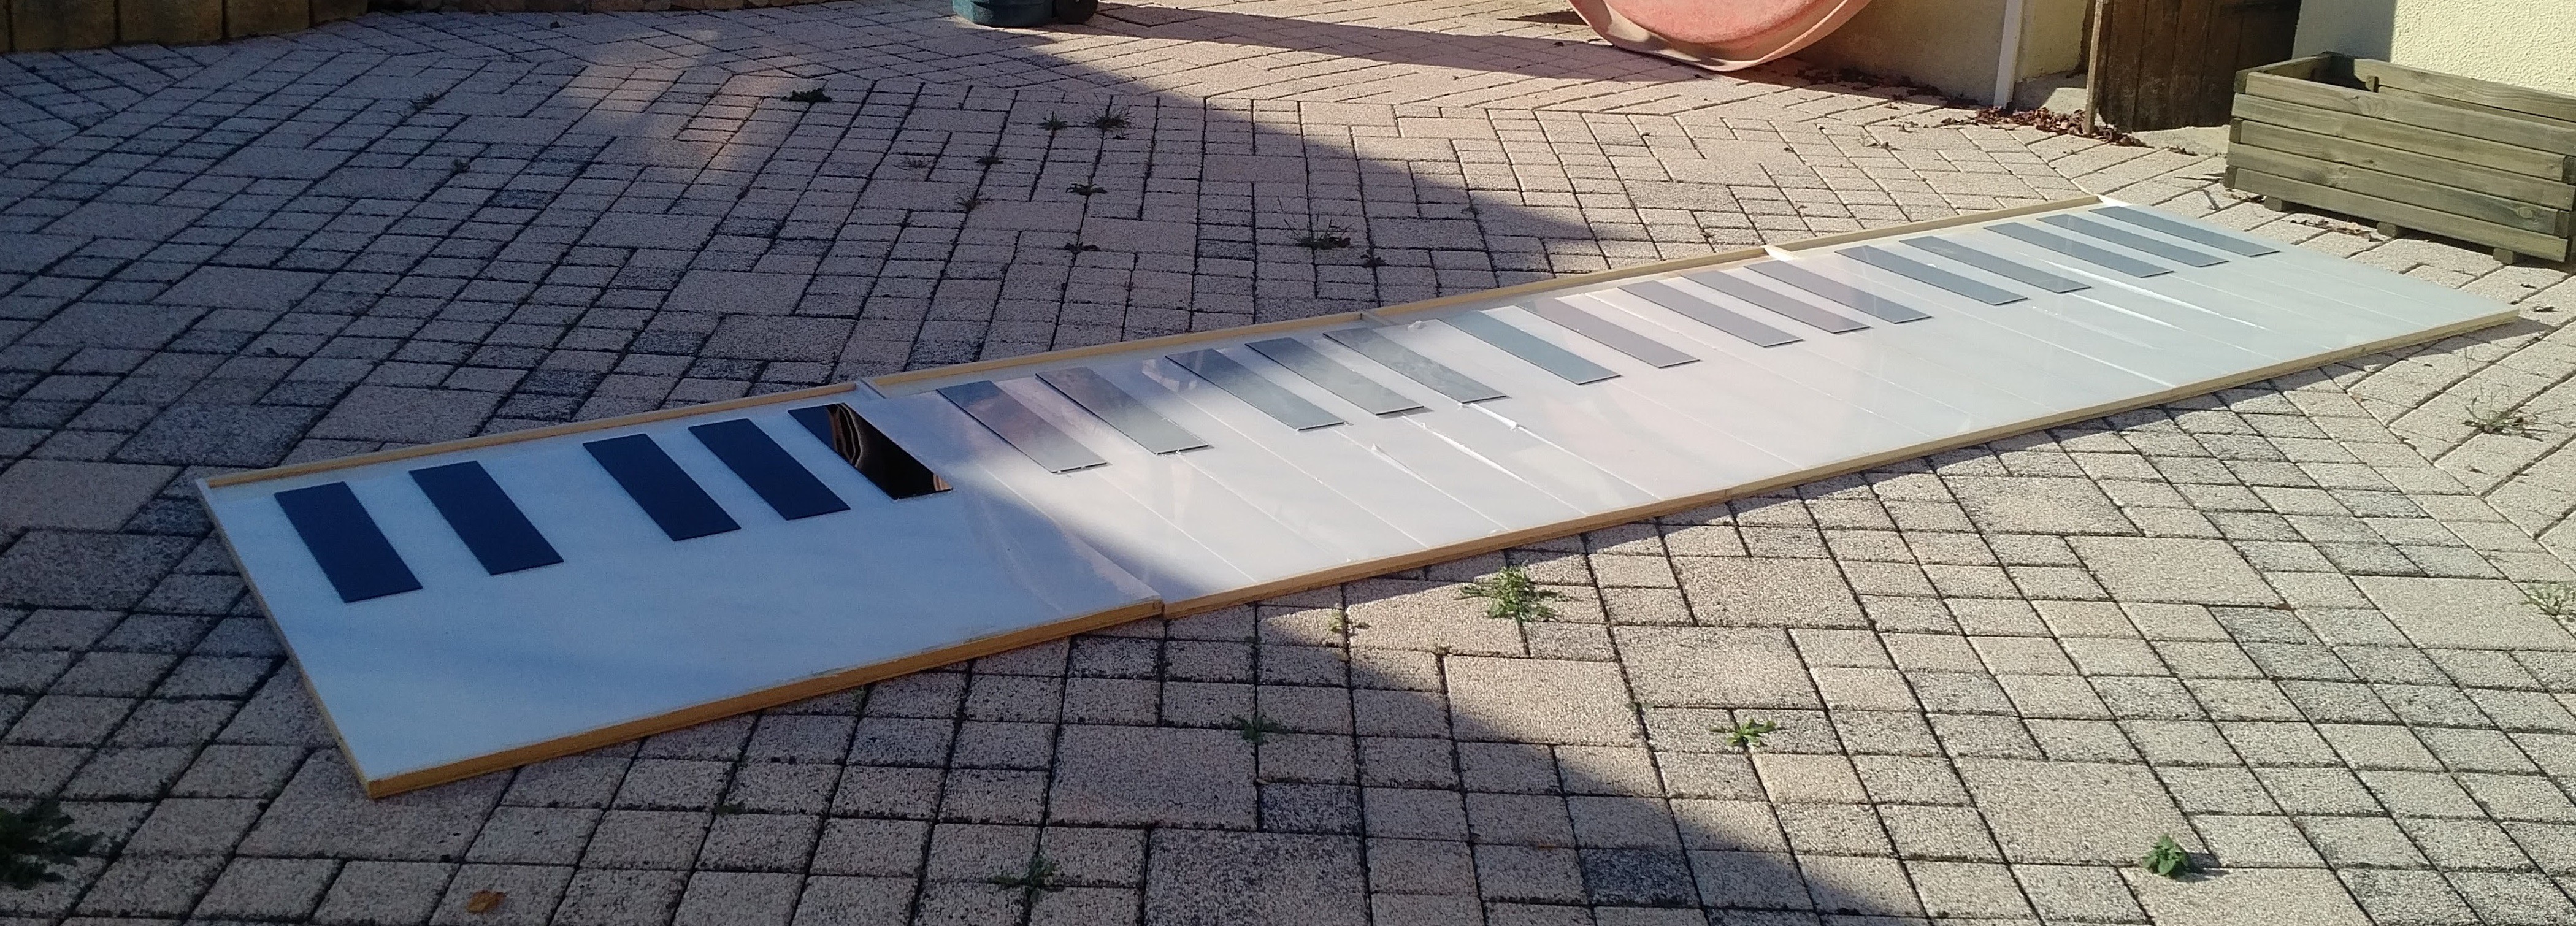
- Big but could fit in a car (from 1 to 8 meters long)
- Expandable (from 1 to 8 octaves now)
- Strong (it's for kids, even if adults love to play too)
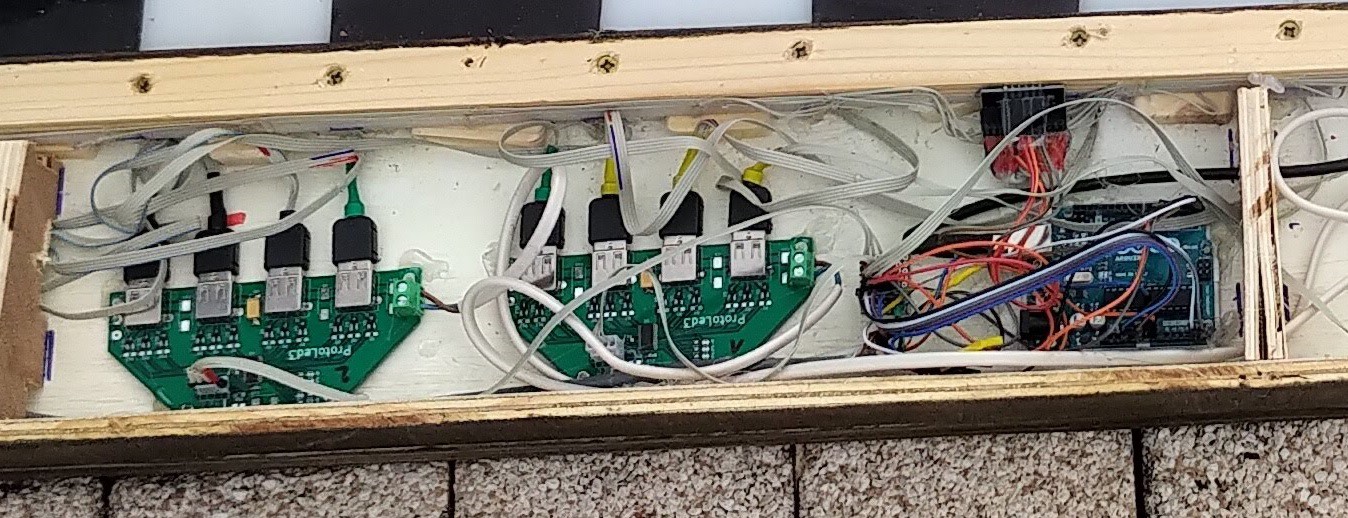
- No moving parts (same reason as above)
- Easy to use.


 Tom Buck
 David Scholten
 T. B. Trzepacz
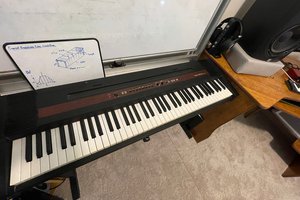
 ronald
HI, any more updates on this project? your photo album entry on 4/17/202 is 404 not found. is there another way to access the photos?
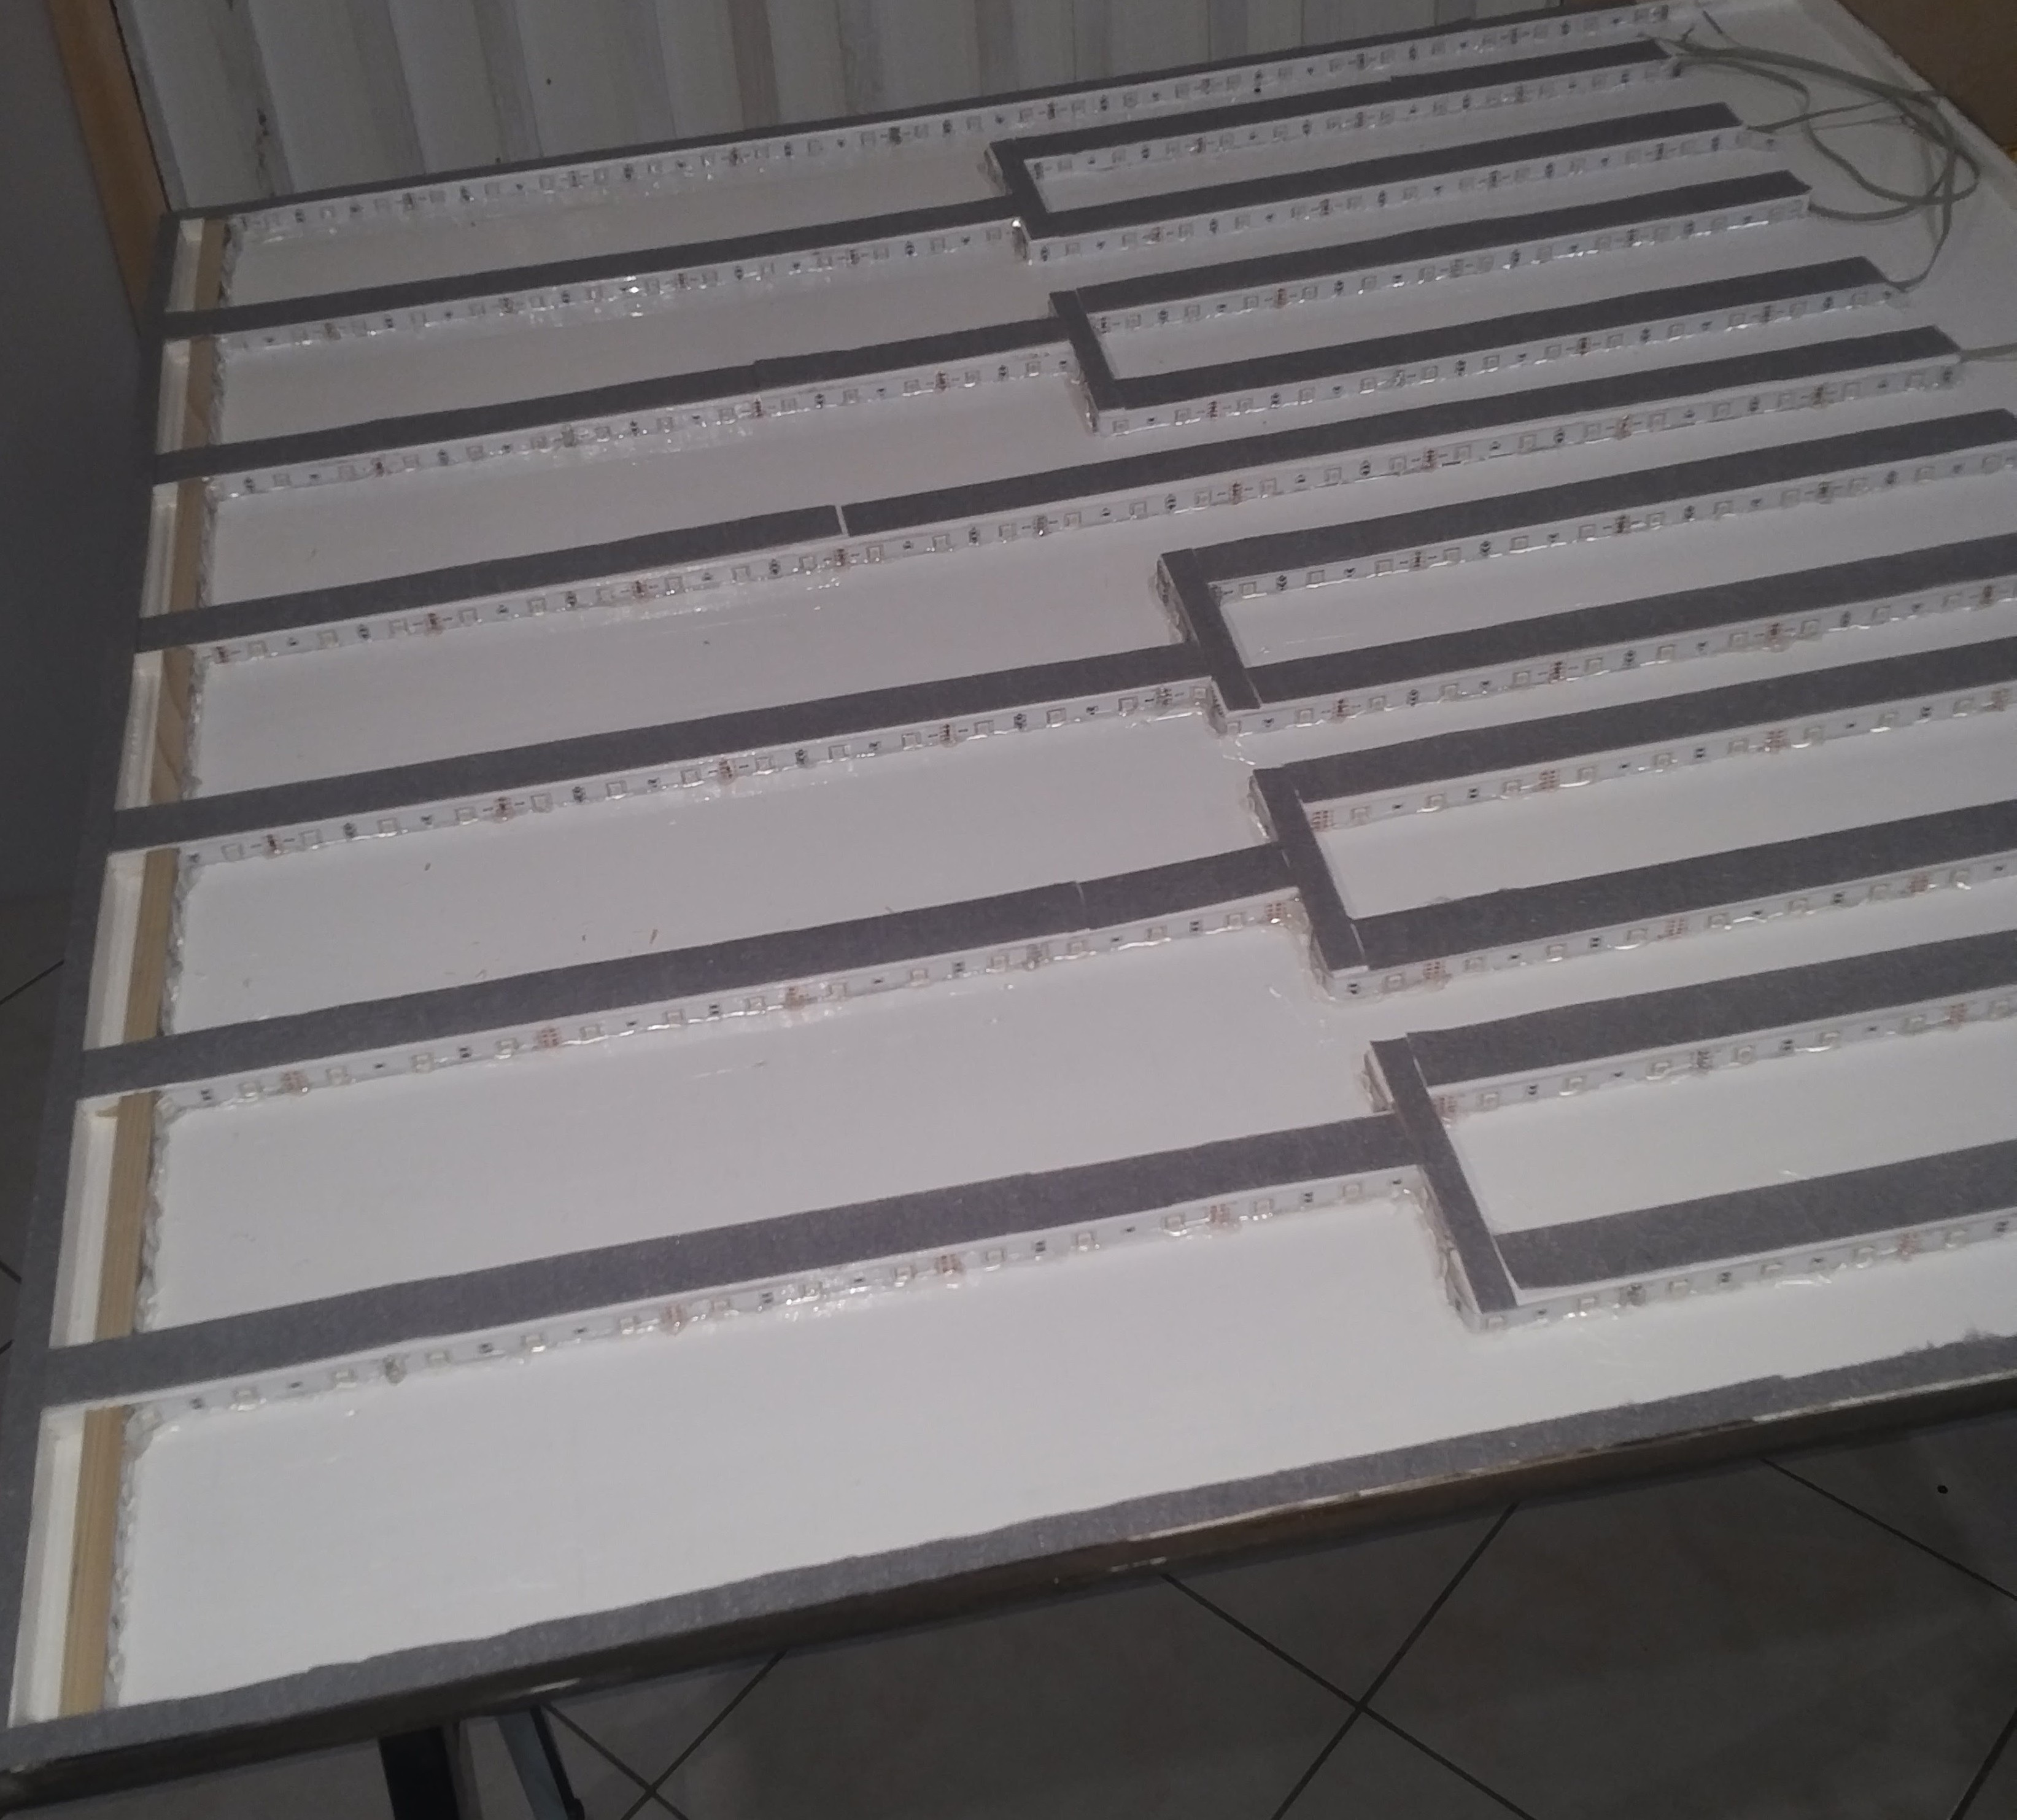
looking to build for a college dance production, but i want to build and test the electronics first before buying the plexi.. does this just generate MIDI out, and i need to have a sound engine, or is sound generated in the mega arduino and i just need an audio out to amp/speaker.
your response and tips are greatly appreciated.