 hackaday
Continuing from the desciption:
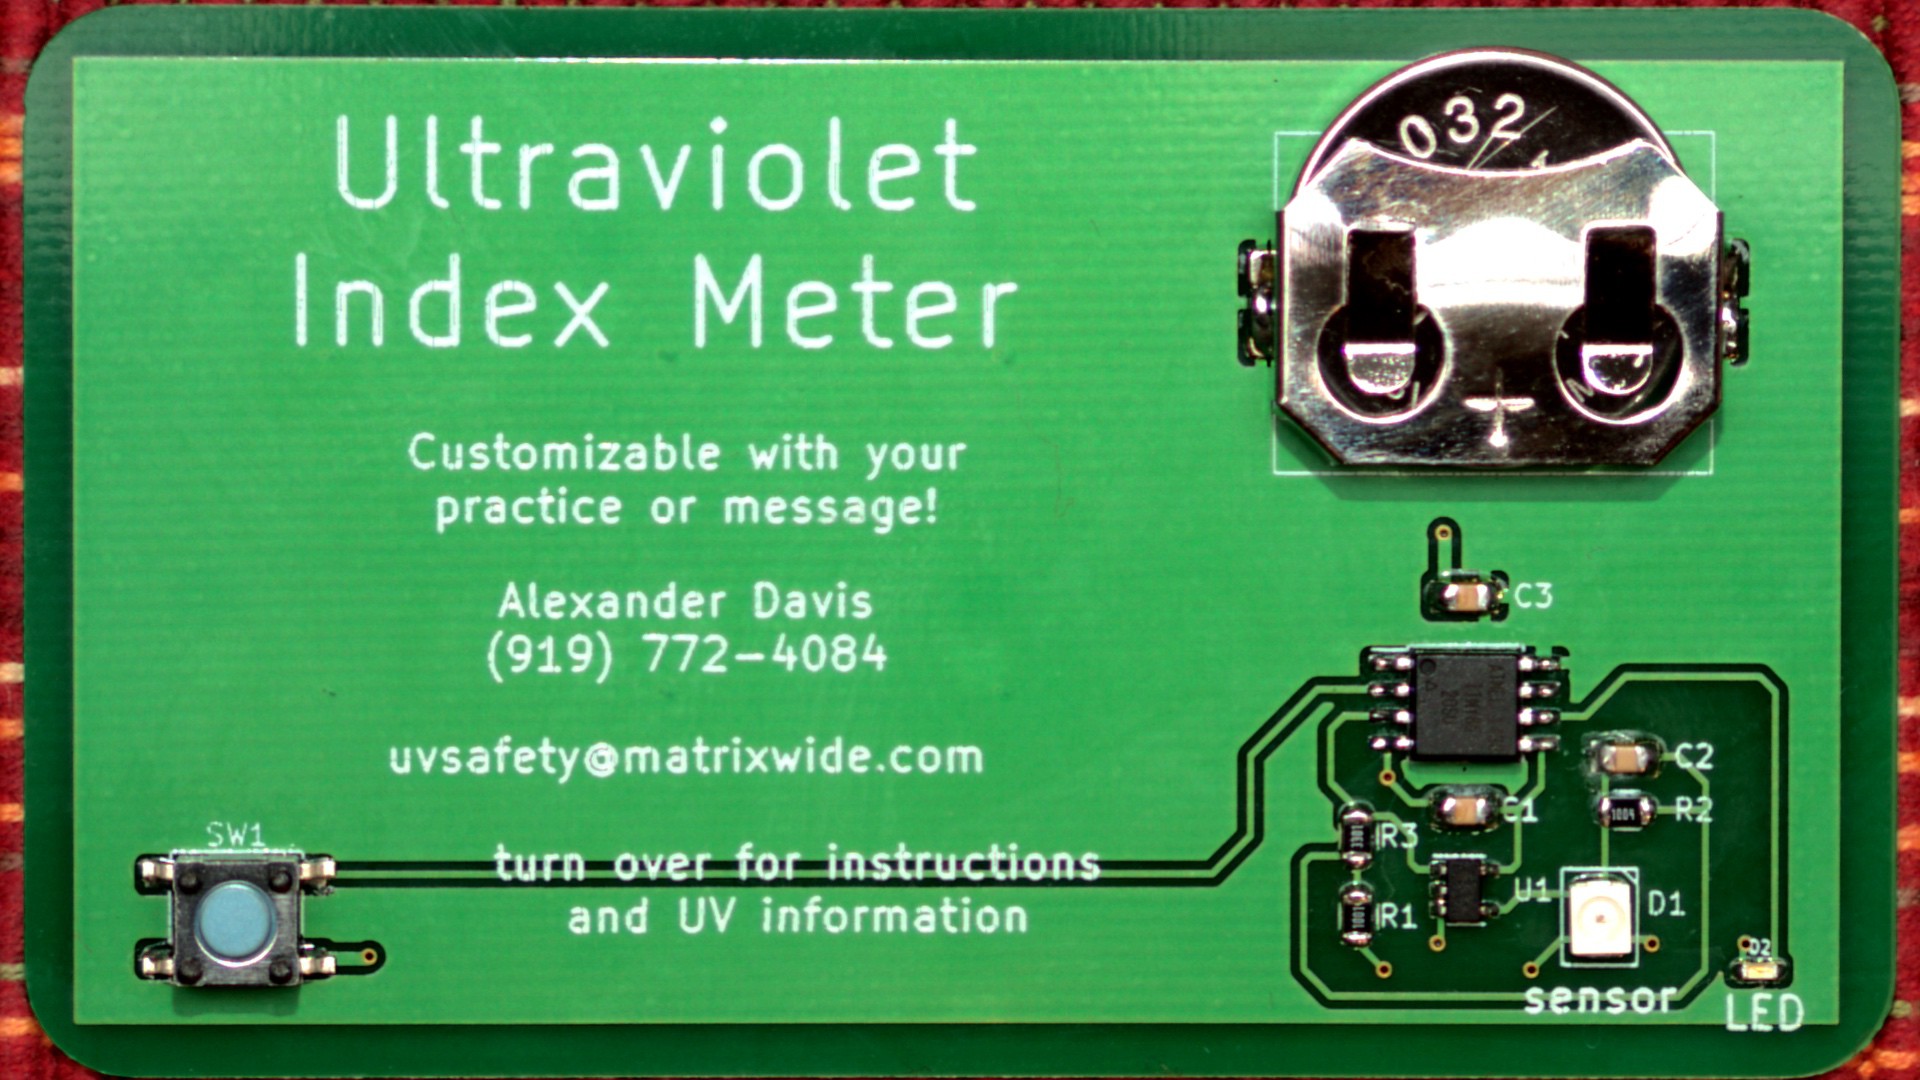
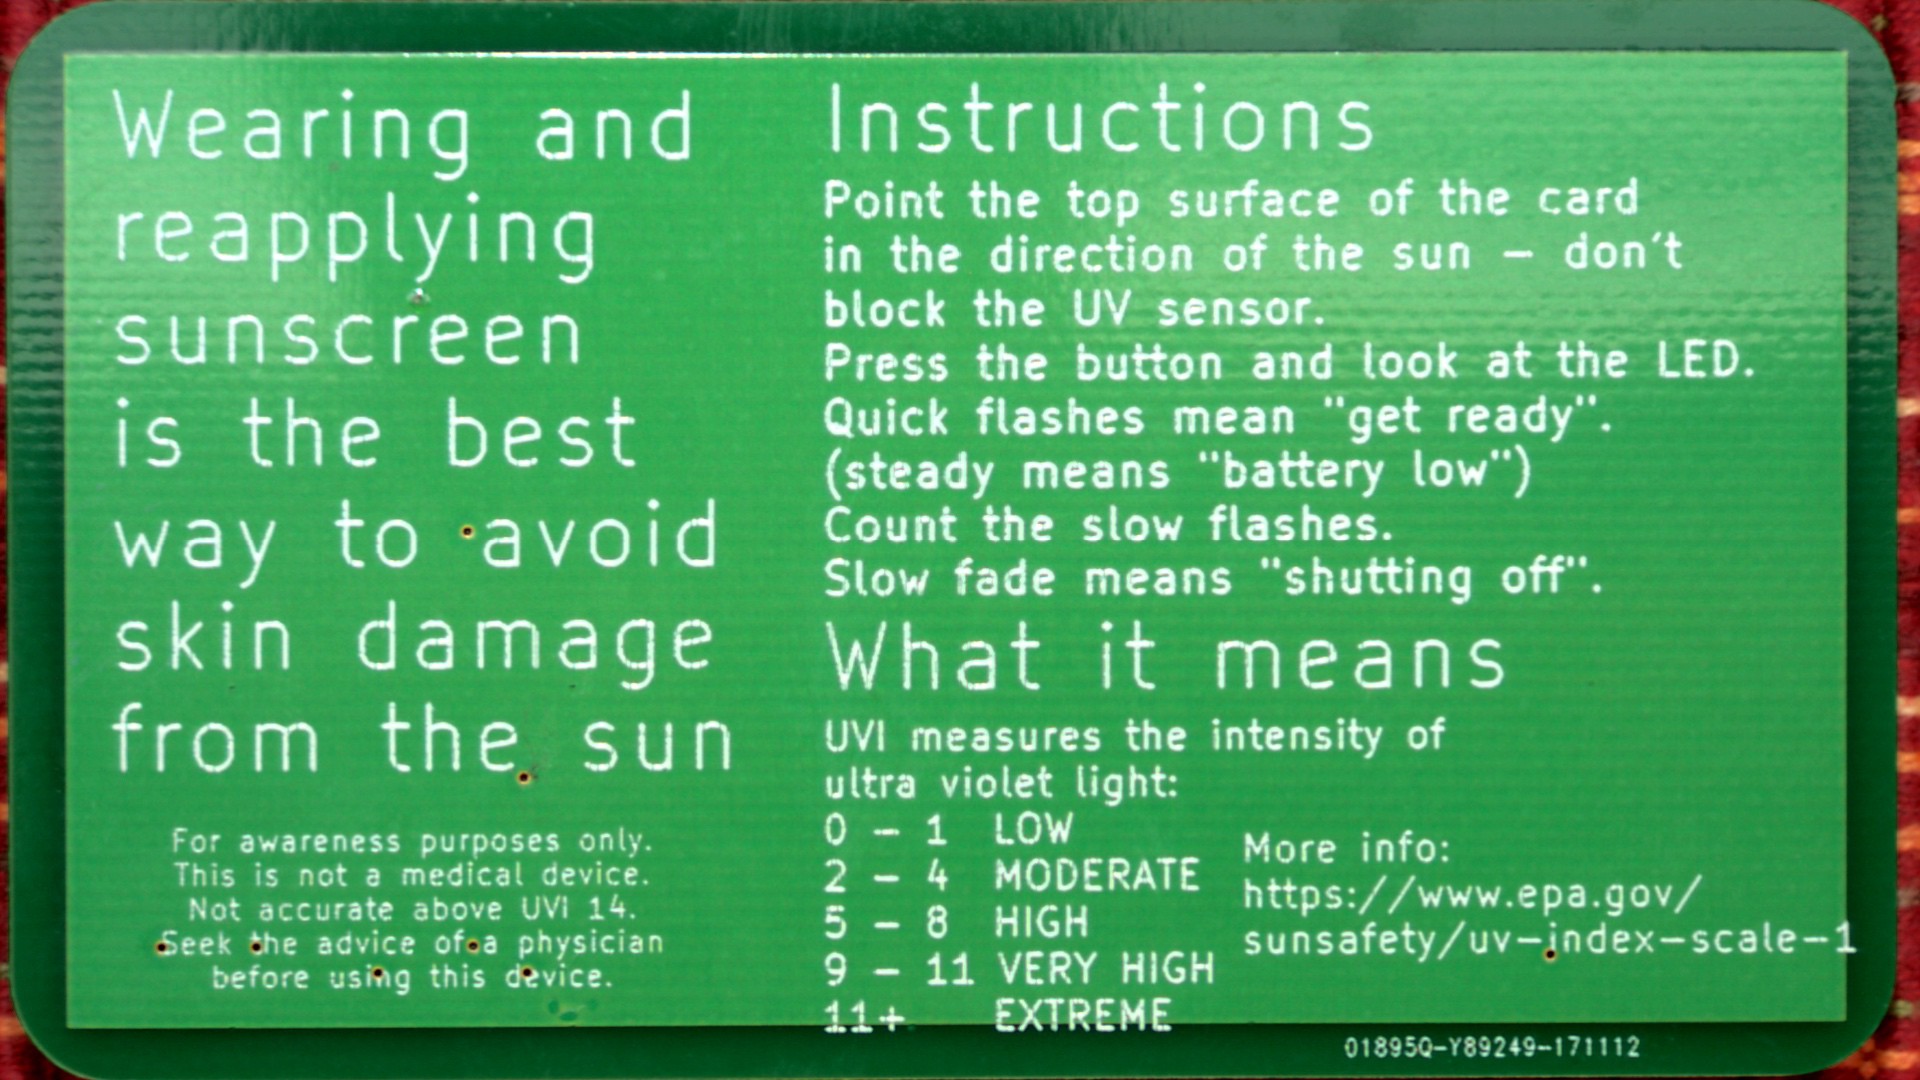
This version just takes a reading, flashes out the rounded-up UVI on the LED, and then goes back to sleep.
A side-view, 350 mca, true-green LED was chosen for maximum visibility in full sunlight. Side-view is used as the user is to hold the card top facing the sun, so they will be able to see the LED easier when in that orientation.
0.8mm PCB thickness was chosen, as half the usaul 1.6mm seemed about right for durability vs. weight.
A regular 2032 20mm metal coin cell holder was chosen as they are pretty cheap on aliexpress and relatively smooth so you can pocket the card without snags. I'd considered some designs which just used clever inside cuts to make front and back contacts for the battery, but decided a standard holder would be easier and more reliable.
It's hoped the card can be done cheaply enough to be a purchased by physicians as a free hand-out to patients. We will also pursue drug makers to offer it as a "freebie" during their drug sales calls to physician practices. The biggest constraint on cost is the UV sensor. It's over $5 in small quantities from ROITHNER LASERTECHNIK GmbH. Somehow the Chinese sellers are doing full breakouts for like $2, so hopefully the Roithner people can do a better deal should we get to the 1000 pcs range. It is possible the Chinese sellers have copied the sensor. I have both genuine and aliexpress diodes and find they agree in terms of readings, so who knows. If Chinese sensors must be used then a testing rig will be built to check diodes for accuracy.
 Sander van de Bor
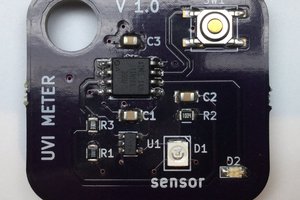
 Timo Hyvönen
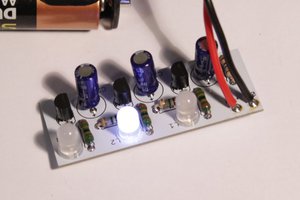
 Yann Guidon / YGDES
Nice project! Are you planning on releasing the source files ?