Close
0%
0%

Light my Cargo Bike

Adding addressable LED string to a cargo bike to be more visible in the dark.

Similar projects worth following
Make your bike more visible in the dark with a LED string show. Your kids will love it. It's easy to make an even simpler to use. Connect the controller to the LED string and plug in the USB power bank.
Technically, there's not much to it. The power bank supplies current to a 3V3 buck converter. The buck converter powers an STM32 Blue pill which outputs data to the WS2812B LED string.

Firmware

How I did it

Thanks to Roger Clark's WS2812B LED example for providing code for the LED string.  The number of LEDs in that example has been changed from 30 to 300.  Uploading code to the Blue Pill is done easily using the Arduino IDE. 

You'll need to add Dan Drawn's package_STM32duino_index.json to the Arduino Boards Manager.  STMicroelectronics released official support for the STM32 on Arduino.  Unluckily they also call their core "STM32Duino".  This core is used by PlatformIO.  It's very confusing.  Moreover, the cores are not 100% compatible. 

This example will not work with ST's STM32Duino core.  So don't try to build it on PlatformIO.  You can find instructions here if you don't have experience yet with the Blue Pill in the Arduino IDE.

How I would do it now

The Adafruit_NeoPixel library supports the STM32.  The strandtest example using the STM32 bluepill and output on A8 worked flawlessly.  You can build it immediately on PlatformIO, no hassle with Arduino IDE and its cumbersome library setup or boards manager required.
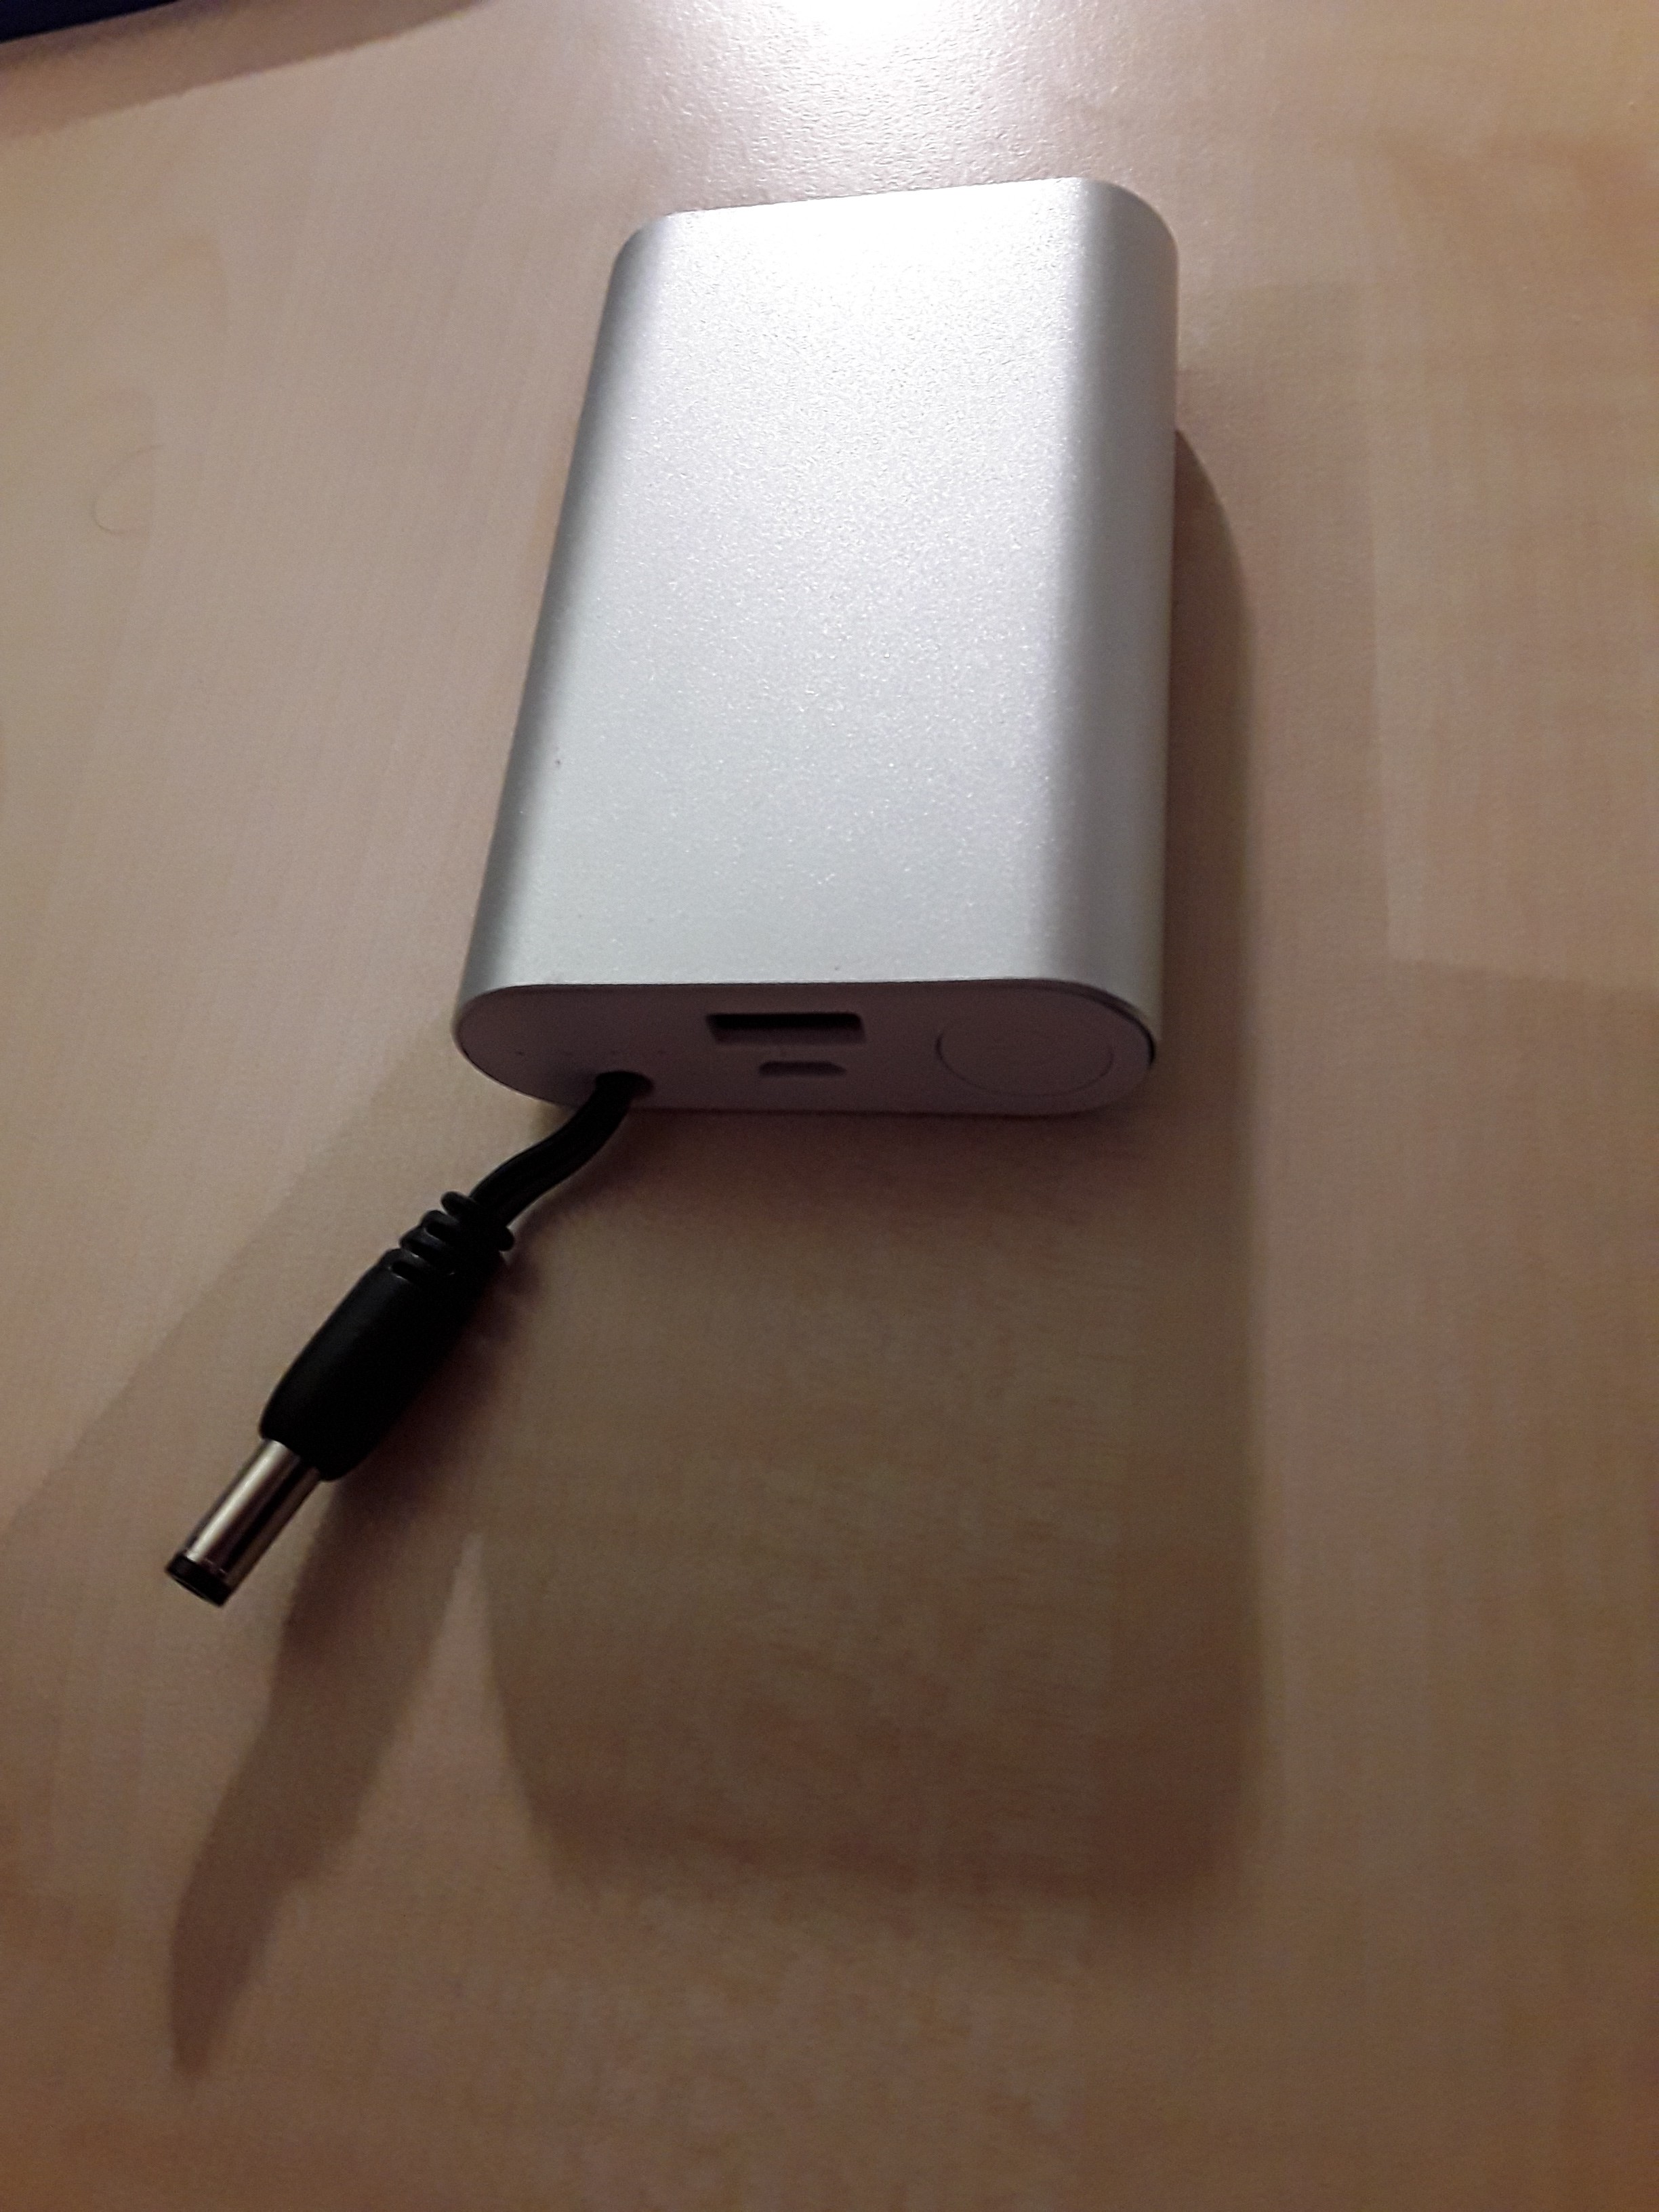
Power supply

The power consumption strongly depends on the power supply voltage.

Power supply voltagePower supply currentPower
2.5V0.5A1.25W
3V1.10A3.30W
3.3V1.35A4.46W
5V3.10A15.50W

The USB power bank goes into current protection mode when driving the LED string directly at 5V.

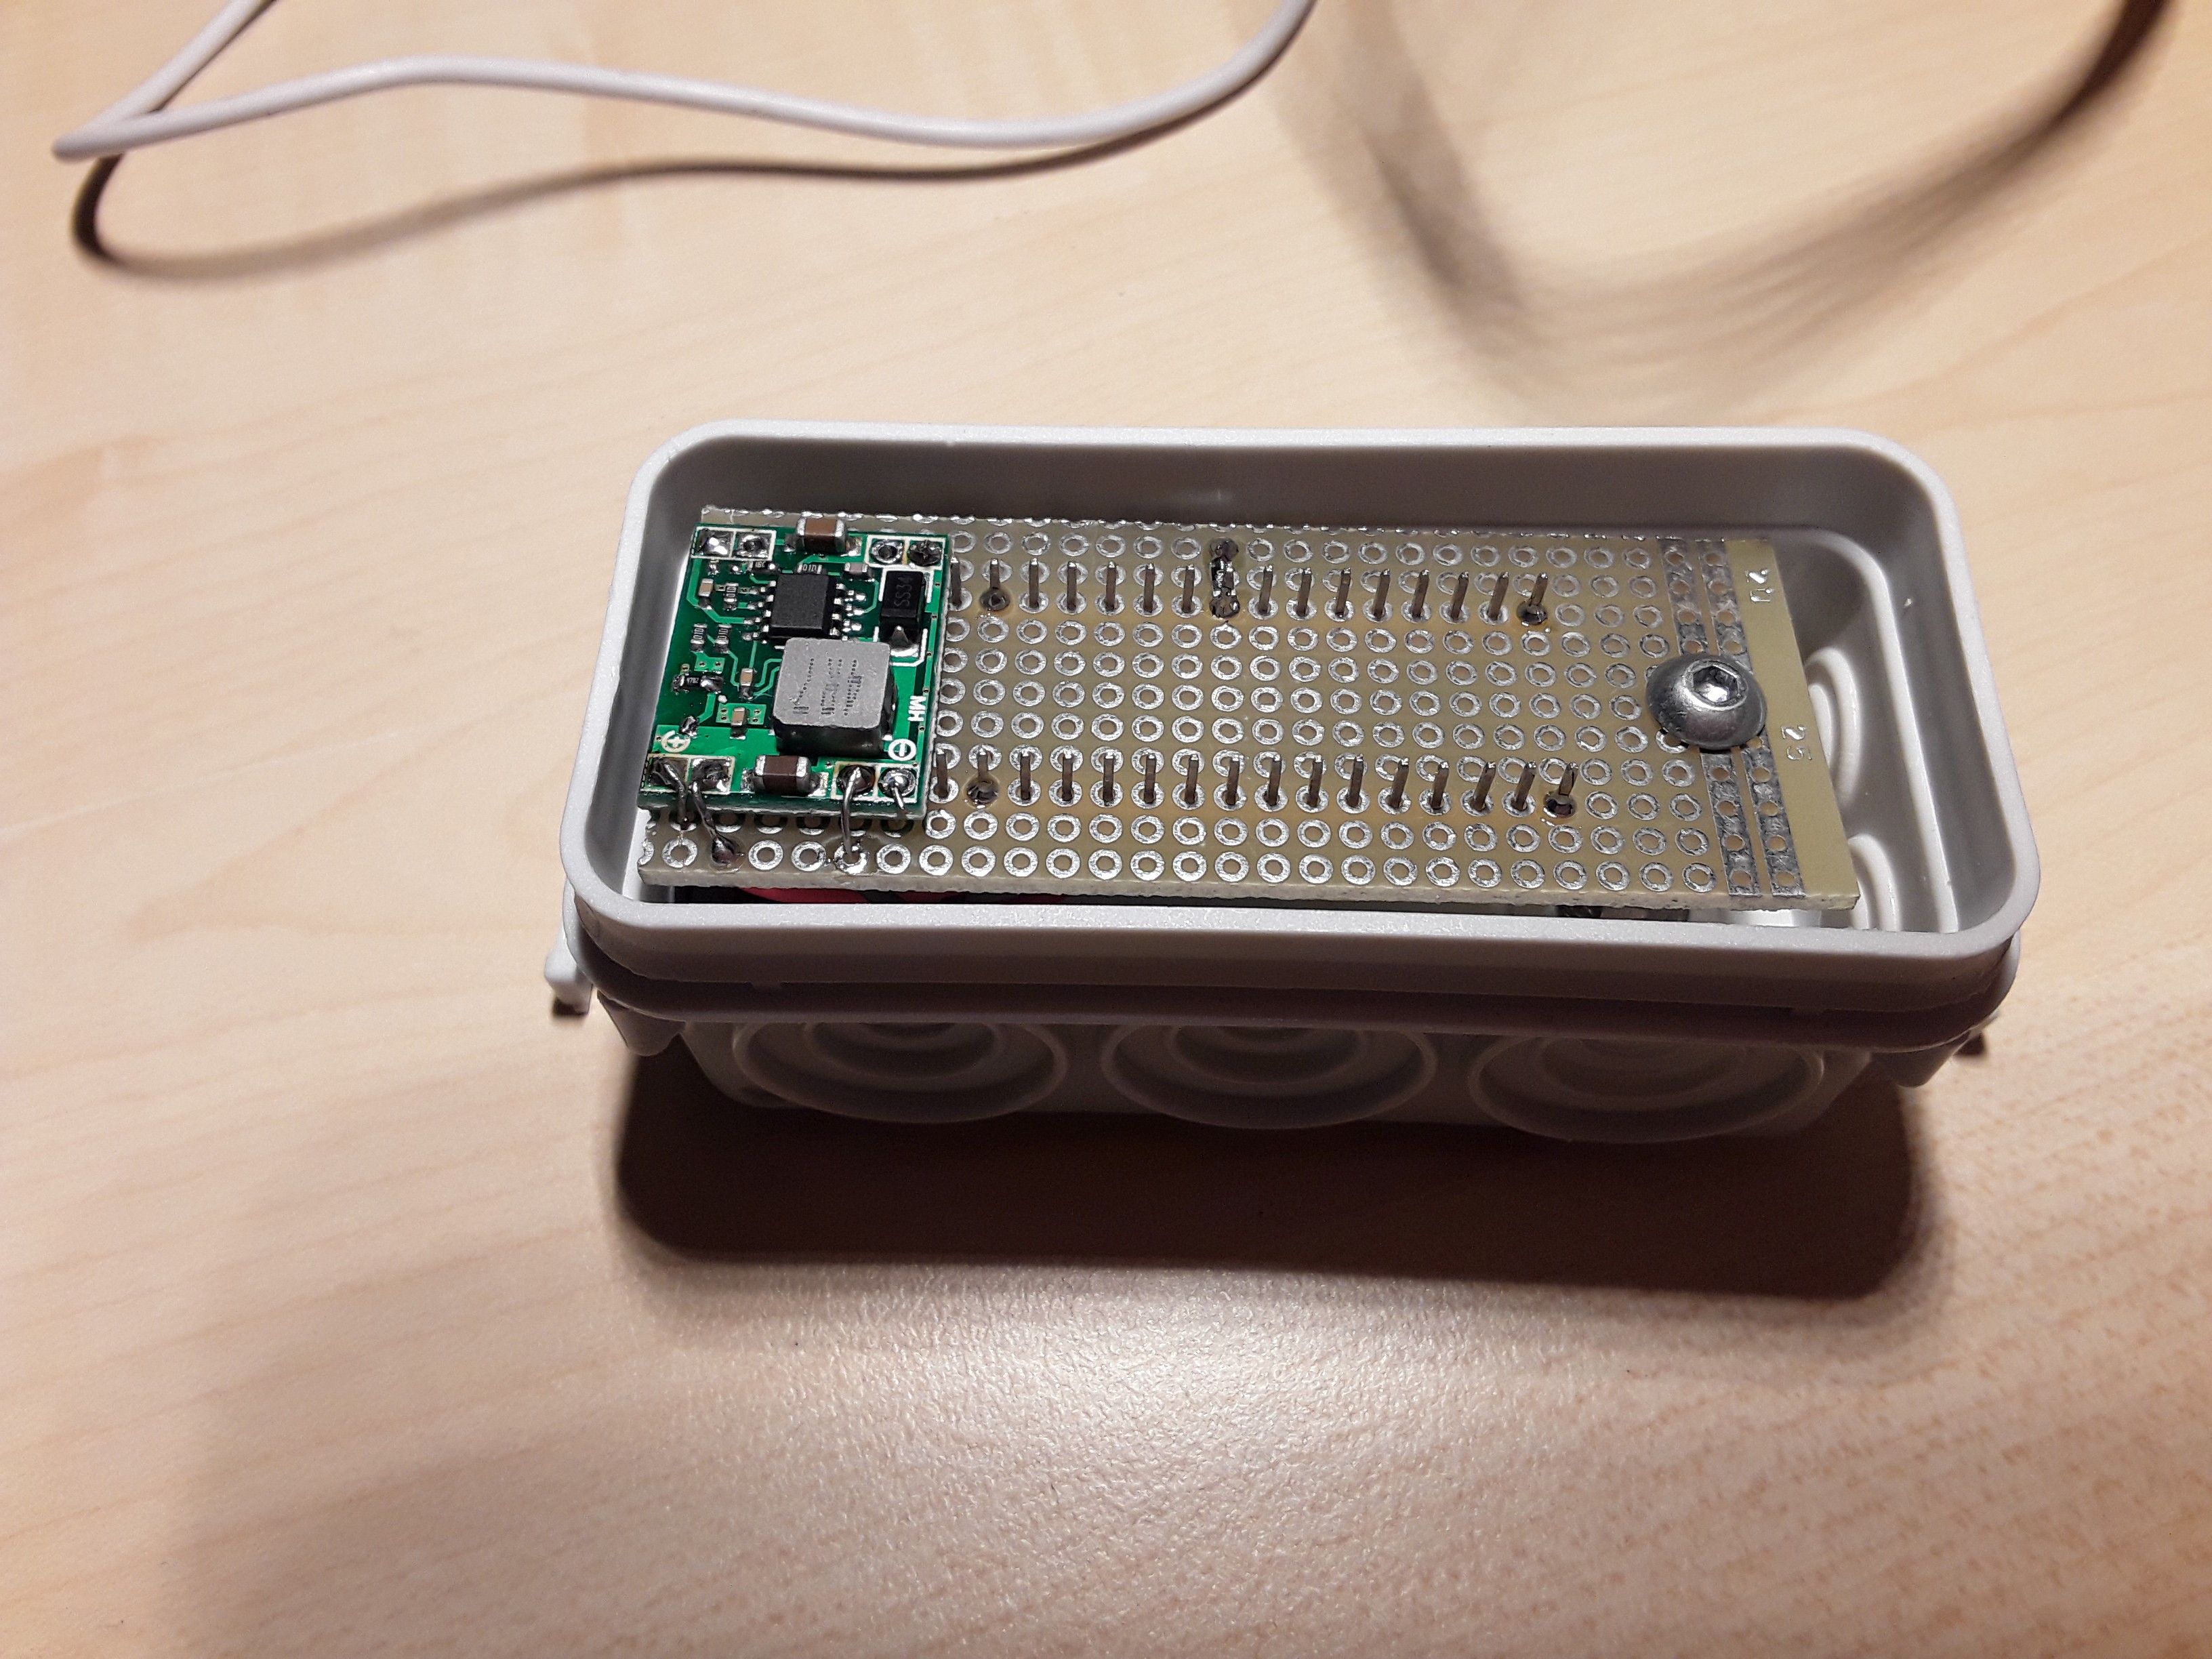
The power bank will be connected to a 3.3V buck converter.  This will reduce the power consumption to 4.5W.  The LEDs will not shine so bright, but they're still bright enough.
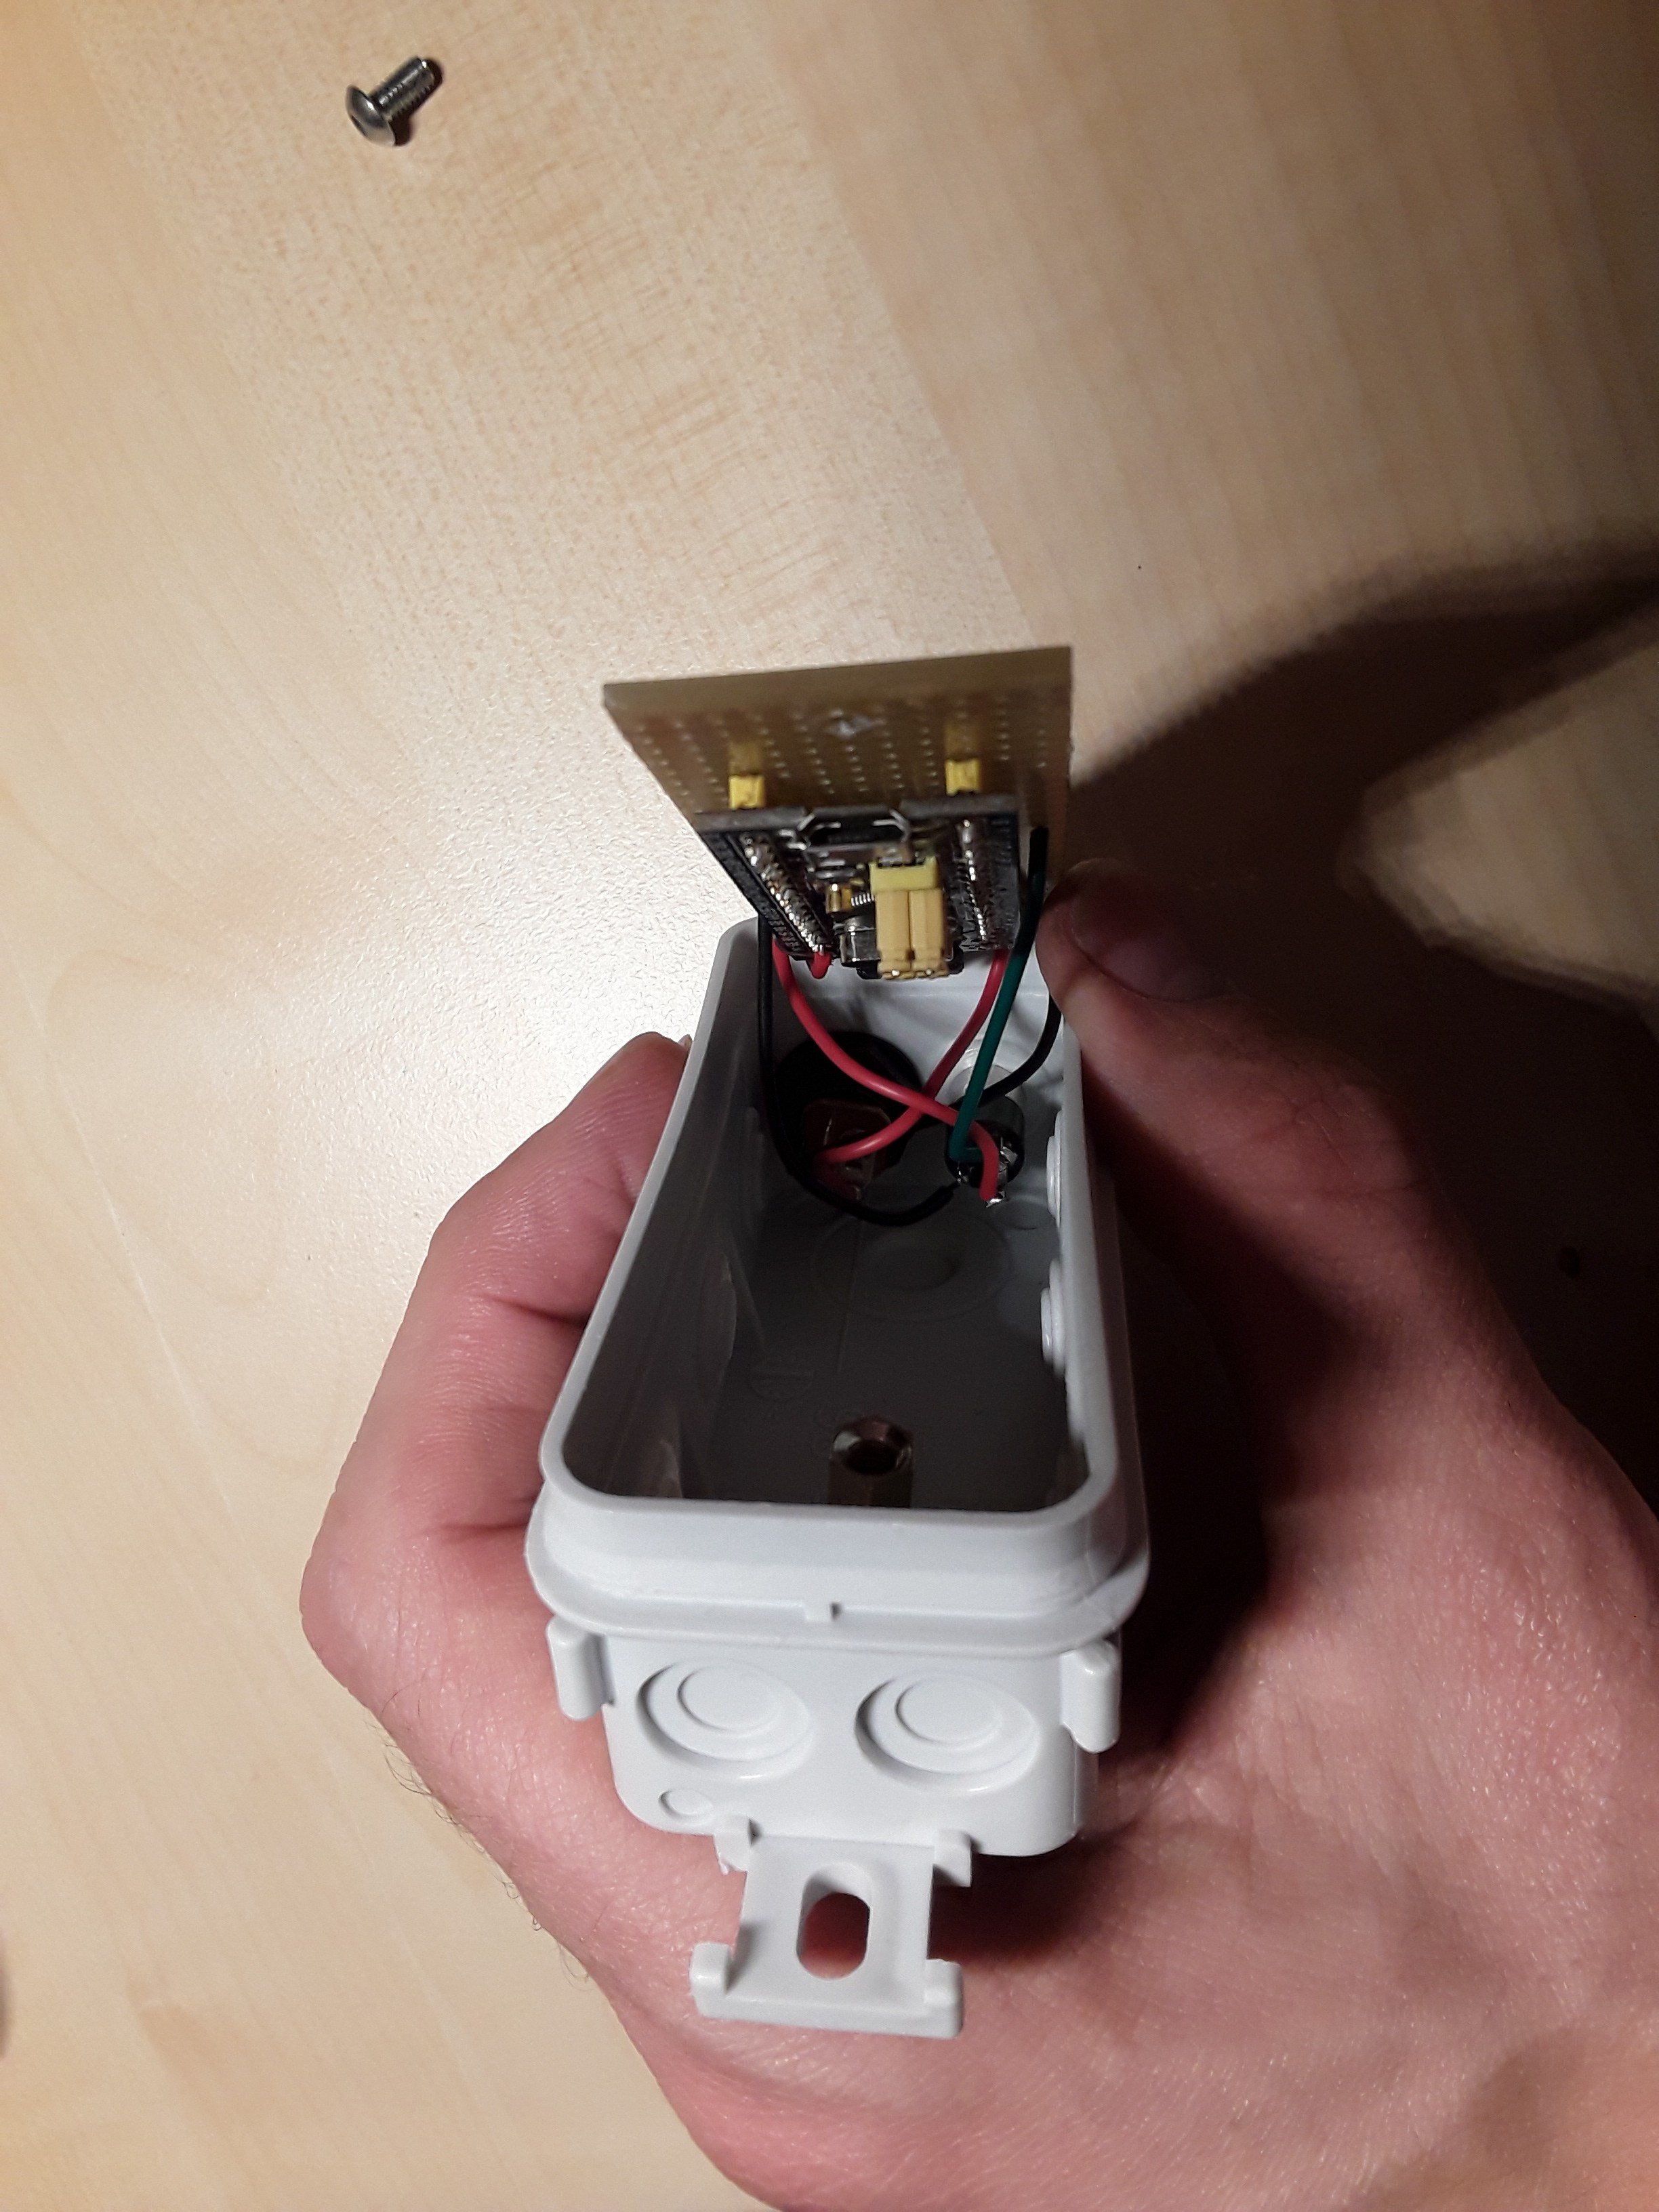
Housing

There probably are no cheaper and water-proof housing than junction boxes.  They have cutouts which make it easier to mount connectors in the walls.

  • 1 × €1.64/pce, Blue pill STM32F013 development board
  • 1 × €19.21/pce, WS2812B LED string: 60LEDs/m, 5m, IP65
  • 1 × Hot glue Applied with a glue gun
  • 1 × piece of perfboard
  • 2 × screw M4x8

View all 11 components

  • Two years later...

    Christoph Tack11/18/2017 at 19:35 0 comments

    Audio jacks are cheap and are easy to get, but for long time connections, these are not recommended.  When the audio jack of the LED string is not fully plugged in (less than 1mm left), it makes a short circuit between tip and sleeve.  When it's fully plugged in, it only takes a small pull to bring it back to the short circuit condition.  Luckily the power bank is short circuit protected and goes into auto-shutdown.

    The TRS-audio jack connectors to connect the LED strings together have been replaced by USB connectors.  I recovered USB cables from broken keyboards, mice and some USB-A extension leads.  So I didn't have to solder wires directly to the USB connectors.  Black UV-resistant tie wraps prevent the connectors from accidentally being disconnected.

    The TRS-audio jack on the junction box didn't like the mistreatment by my children.  This connection has been replaced by a sturdy 4-pin M12 connector.  These connectors are relatively expensive.  Luckily I could recover some from electronic scrap.

View project log

  • 1
    Making the 10000mAh USB power bank

    You could simply buy an USB power bank if you wanted to.  However, they are overpriced most of the times and you have no idea about the quality of the cells.  The cell type used here has been tested thoroughly by independent consumers.

    At nkon.nl, you can order the Samsung cells with solder lips.  These lips can then be soldered to the power bank case kit.  It provides a more reliable contact than the provided springs.  The shell of the power bank case kit is conductive.  Make sure you won't create short circuits upon sliding the outer shell over the power bank.

    I added a DC jack to power devices.  It's more reliable than the built-in USB A connector.

    Only put in cells that you just ordered or have been recovered from the same laptop battery pack.  Their cell voltage should be nearly equal.  Measure it.

    Try out the power bank before you close it.  Once closed, the power bank case kit can't be reopened without damage.

  • 2
    Electronics

    Saw the perfboard to size with an iron saw and drill a hole in it so that it can be fixed inside the controller box.

    See how you can arrange the buck module and Blue Pill best on the perboard.  I had to remove a few pins from the Blue Pill to make it work.

    Set the voltage of the buck controller to 3V3 and connect it to the 5V pin of the Blue Pill.  Solder a 220ohm resistor to pin A7 from the Blue Pill.  This will be the data pin.  Don't forget to connect GND...

  • 3
    Controller box

    Make two holes in the side, one for the power jack and one for the audio jack.  Make another hole in the bottom to mount the perfboard on.  

    Mount the M4 spacer, solder the connectors to the electronics.

    Check your work by connecting it to the LED string before closing the box.

View all 6 instructions

Enjoy this project?

Share

Discussions

L.A wrote 12/15/2022 at 15:50 point

Nice project!

Thank you, this is where I found the information on which lib to use for driving WS2812B leds with STM32 blue pill ! Useful! NeoPixel lib works right!

  Are you sure? yes | no

Similar Projects

Does this project spark your interest?

Become a member to follow this project and never miss any updates