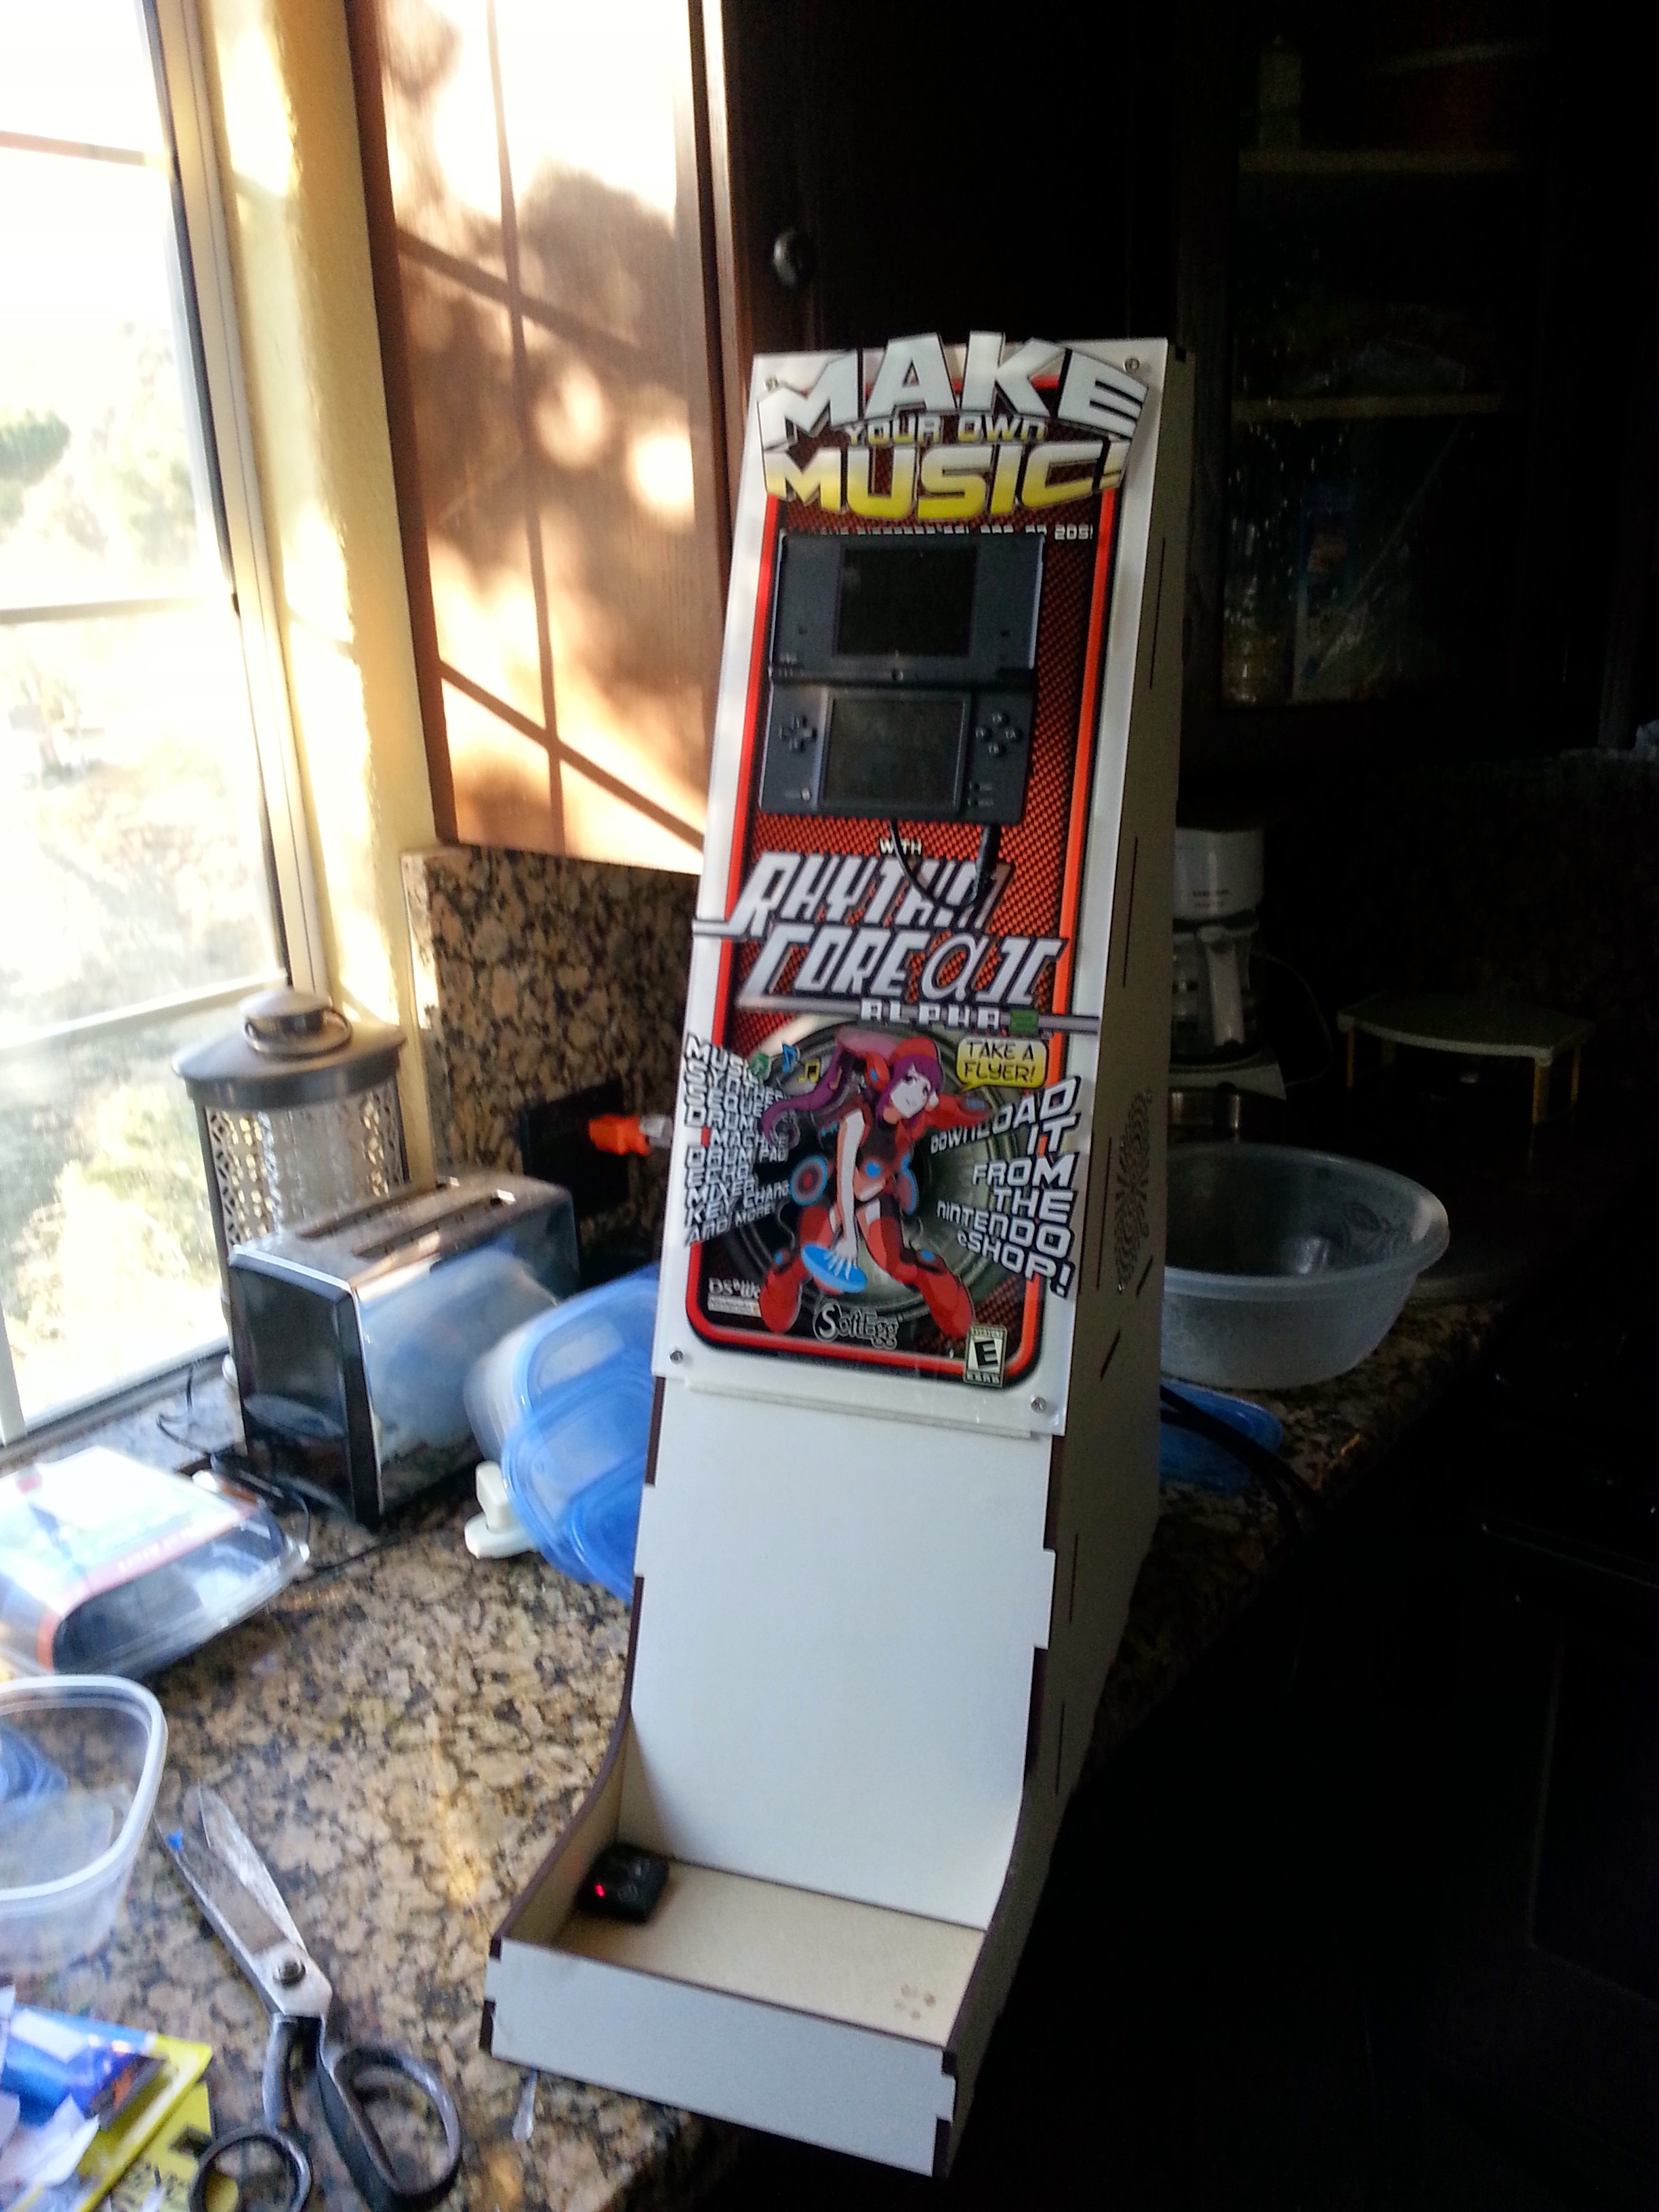
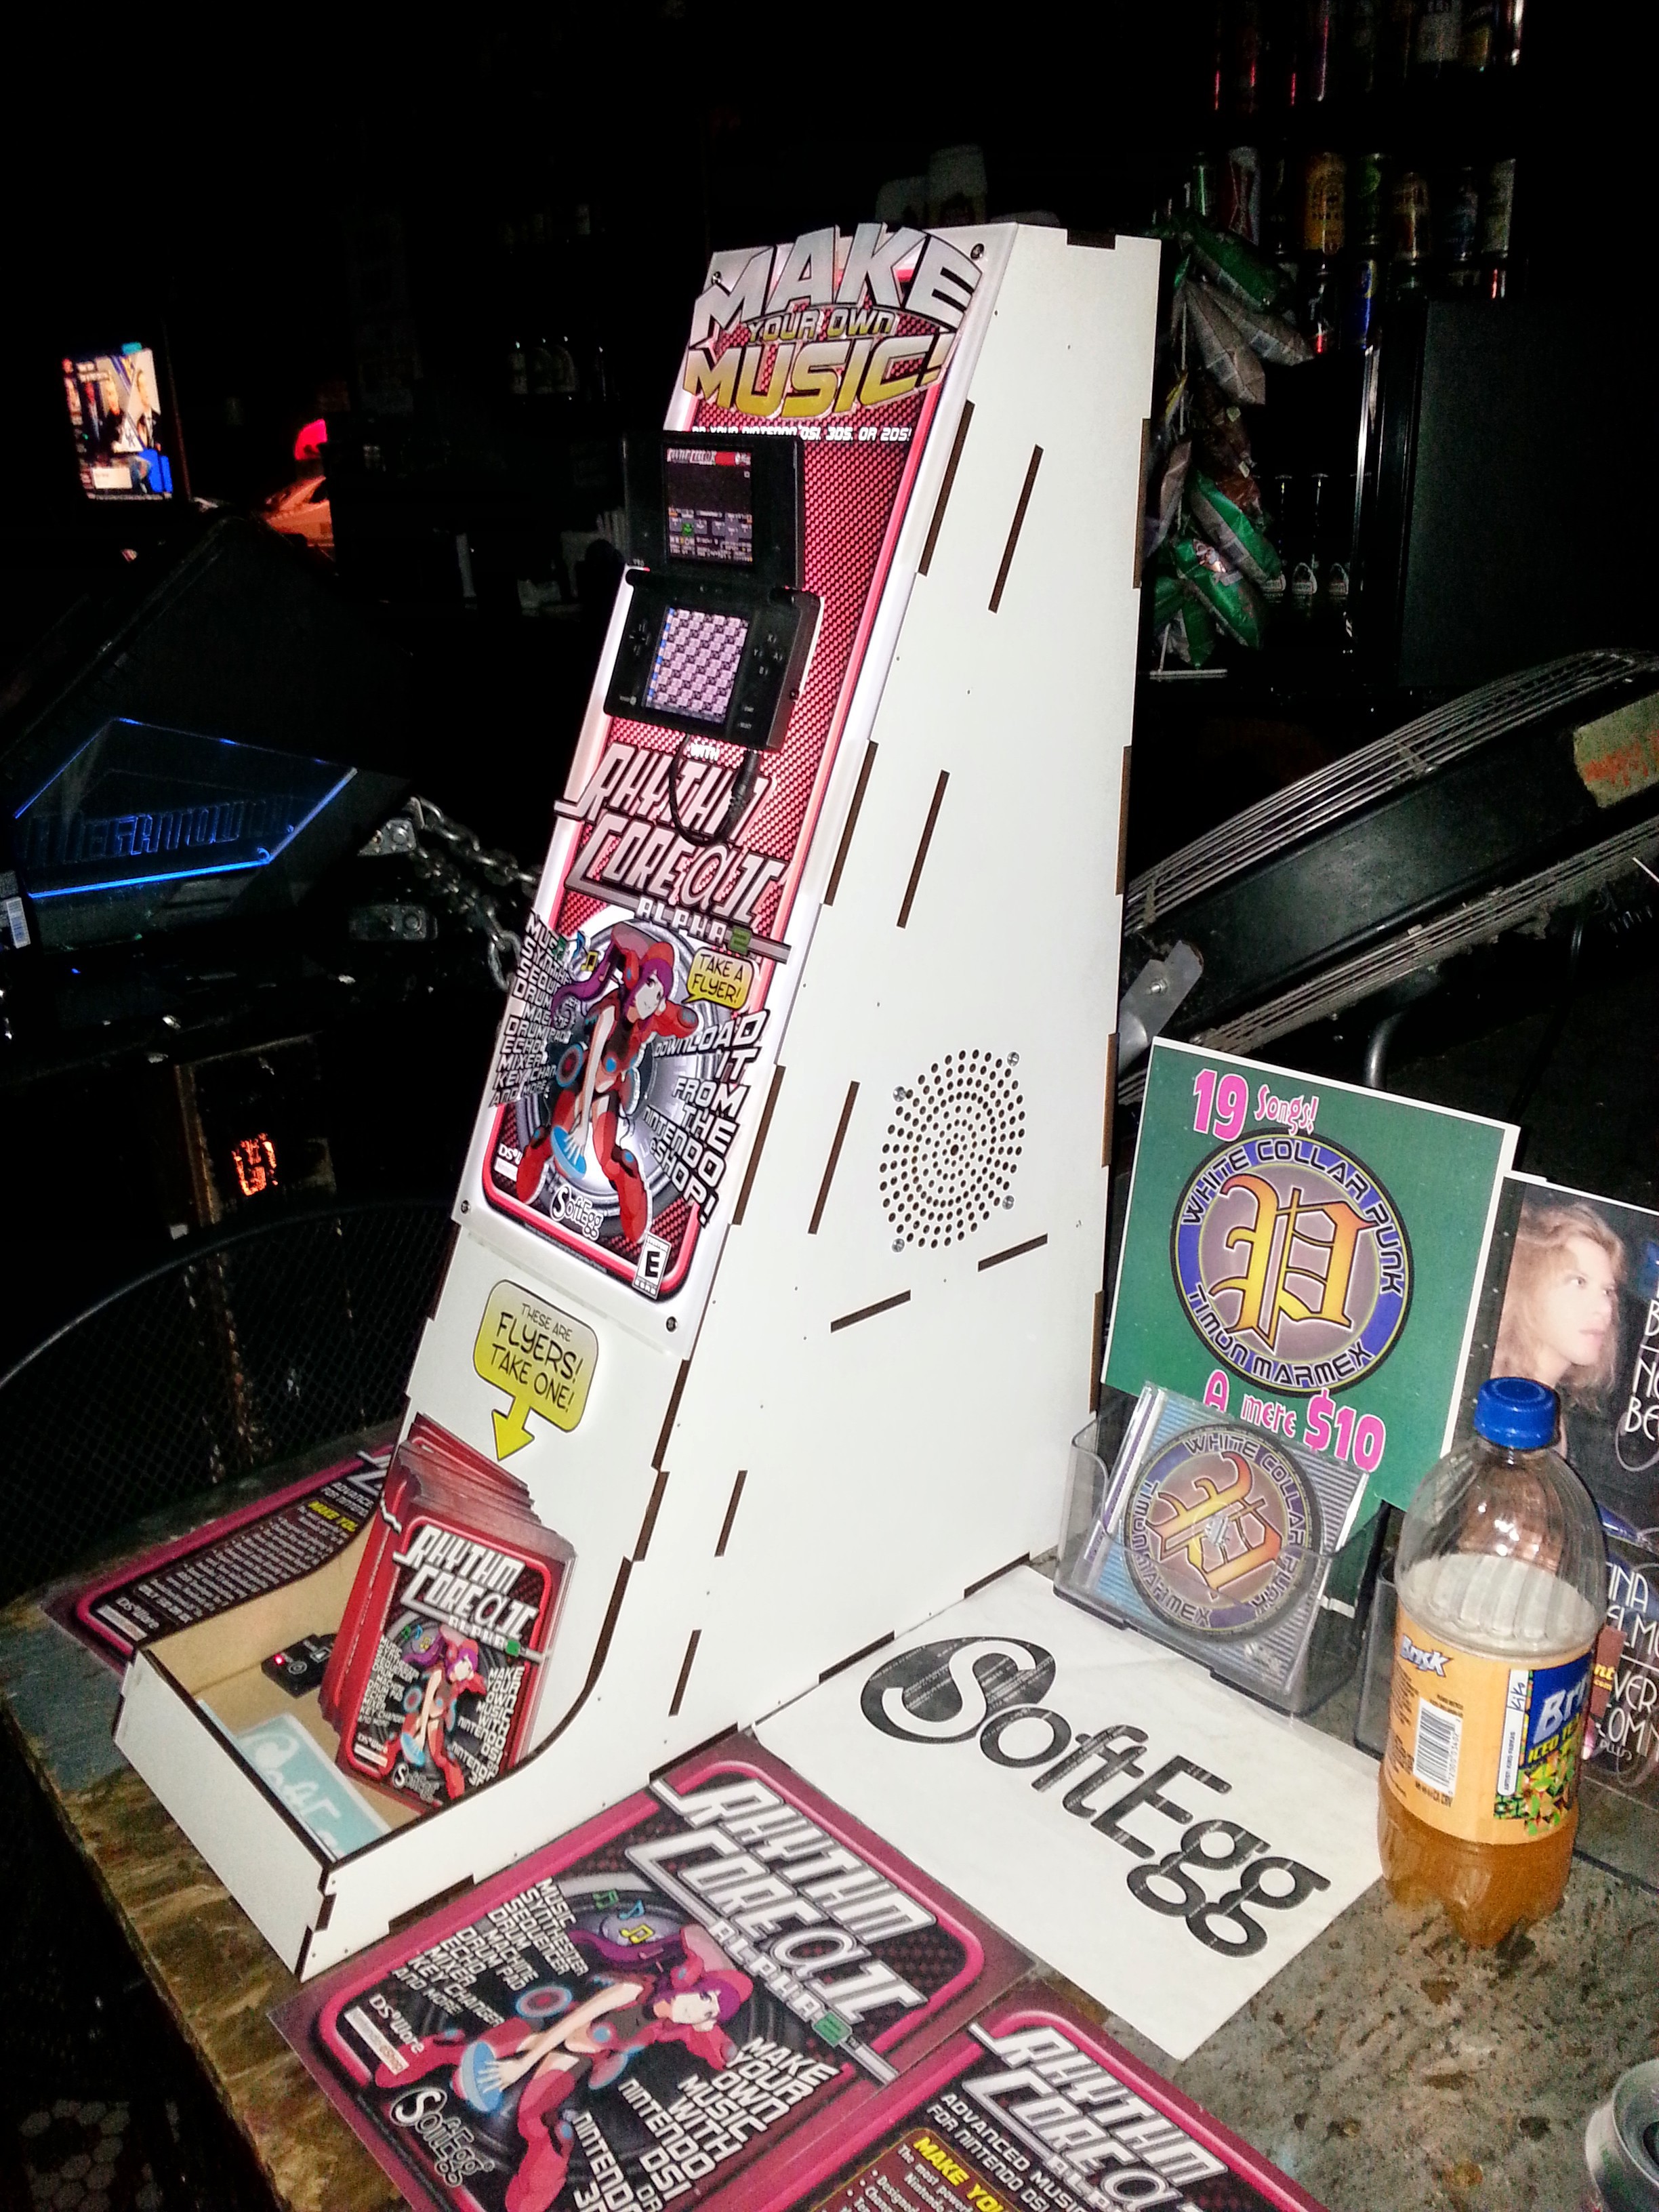
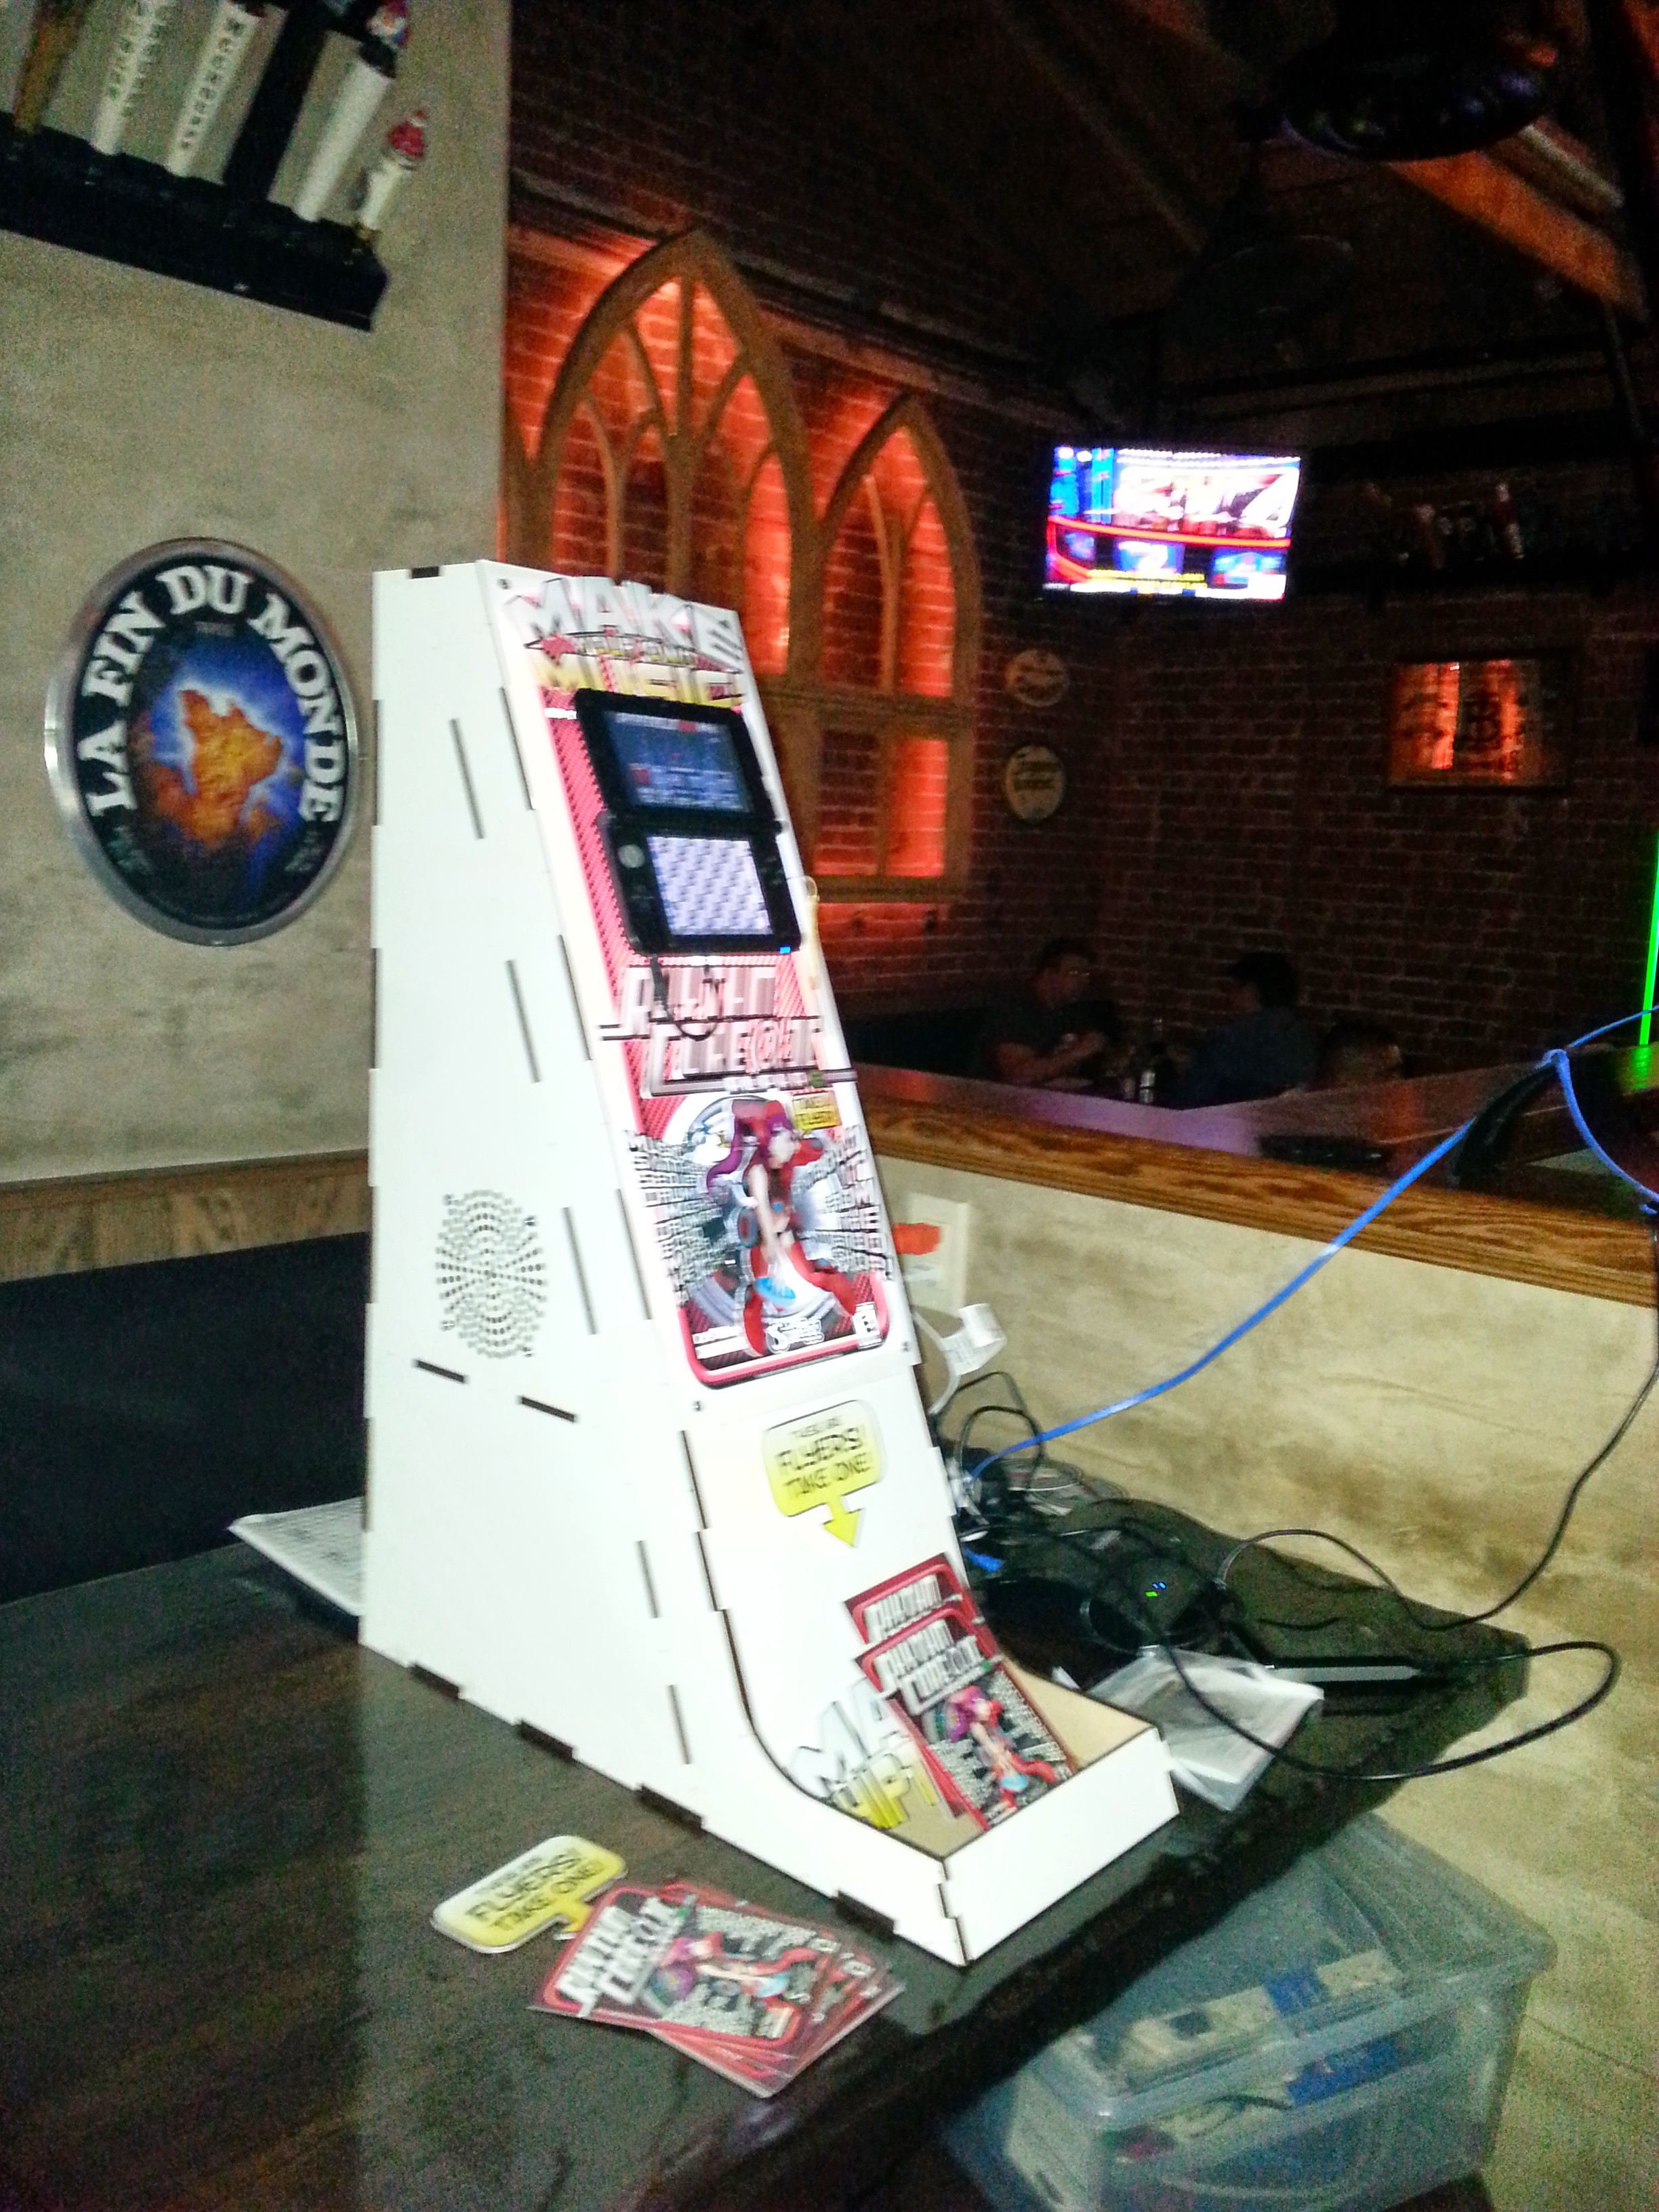
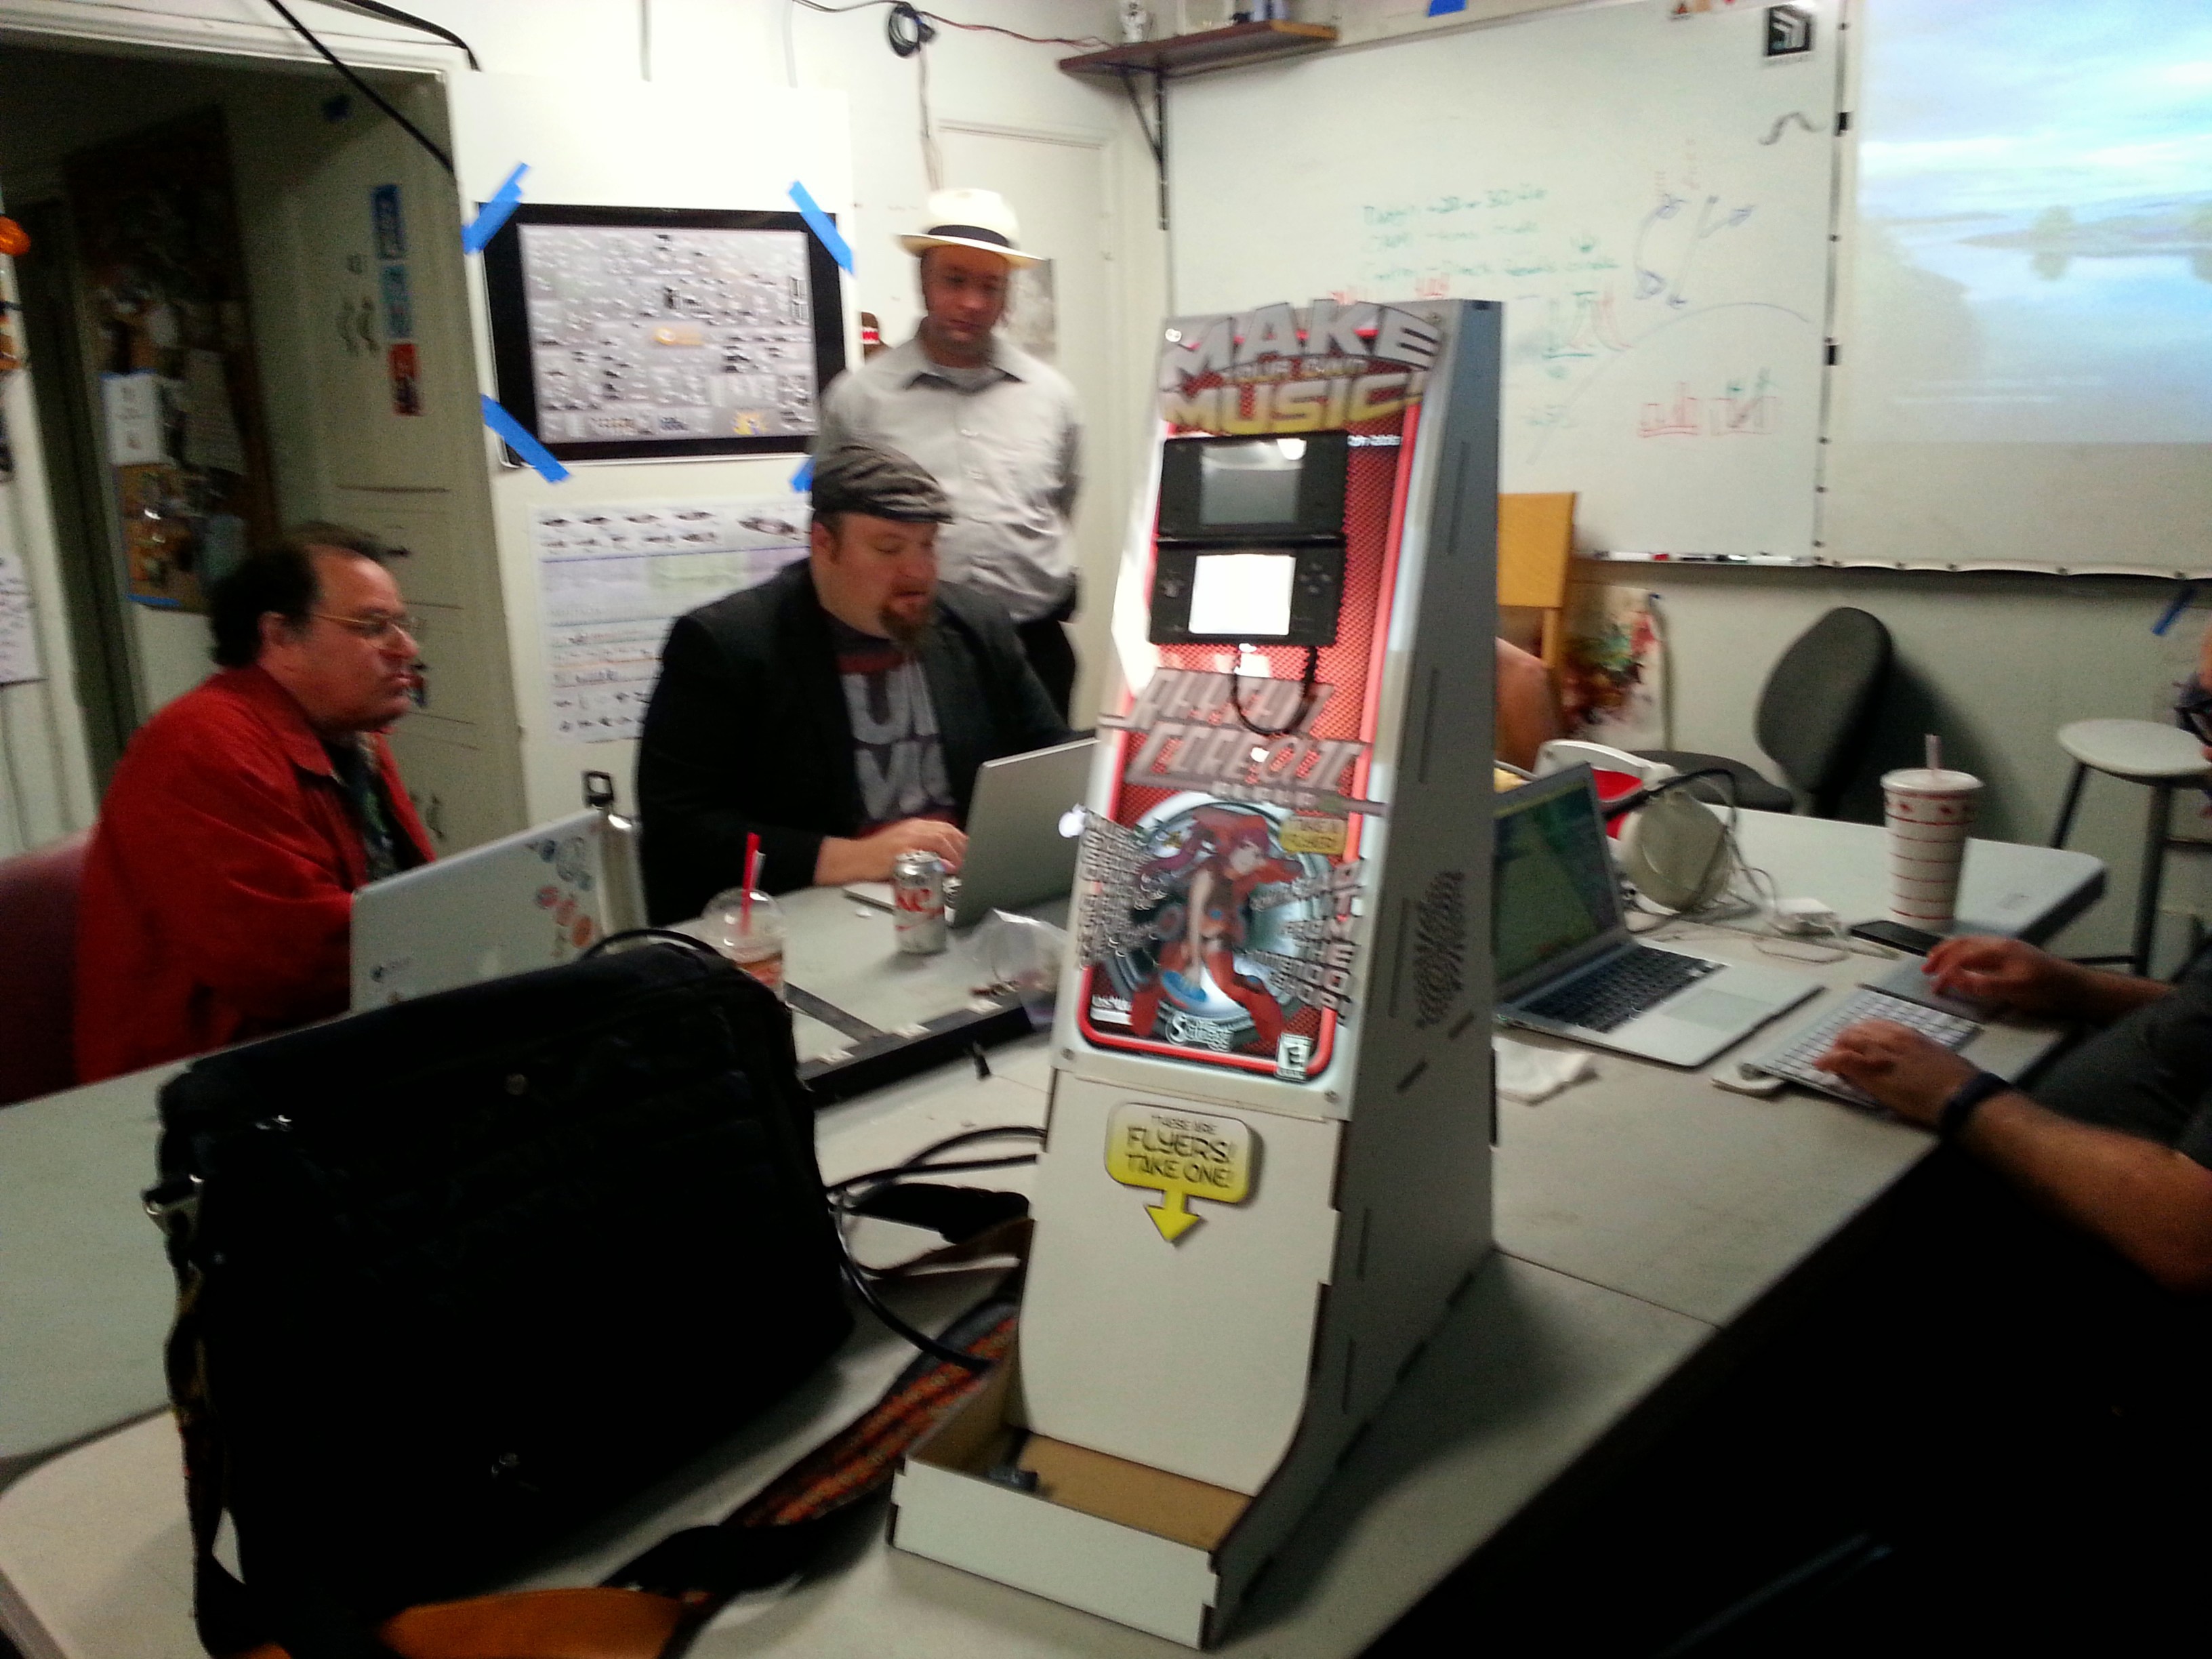
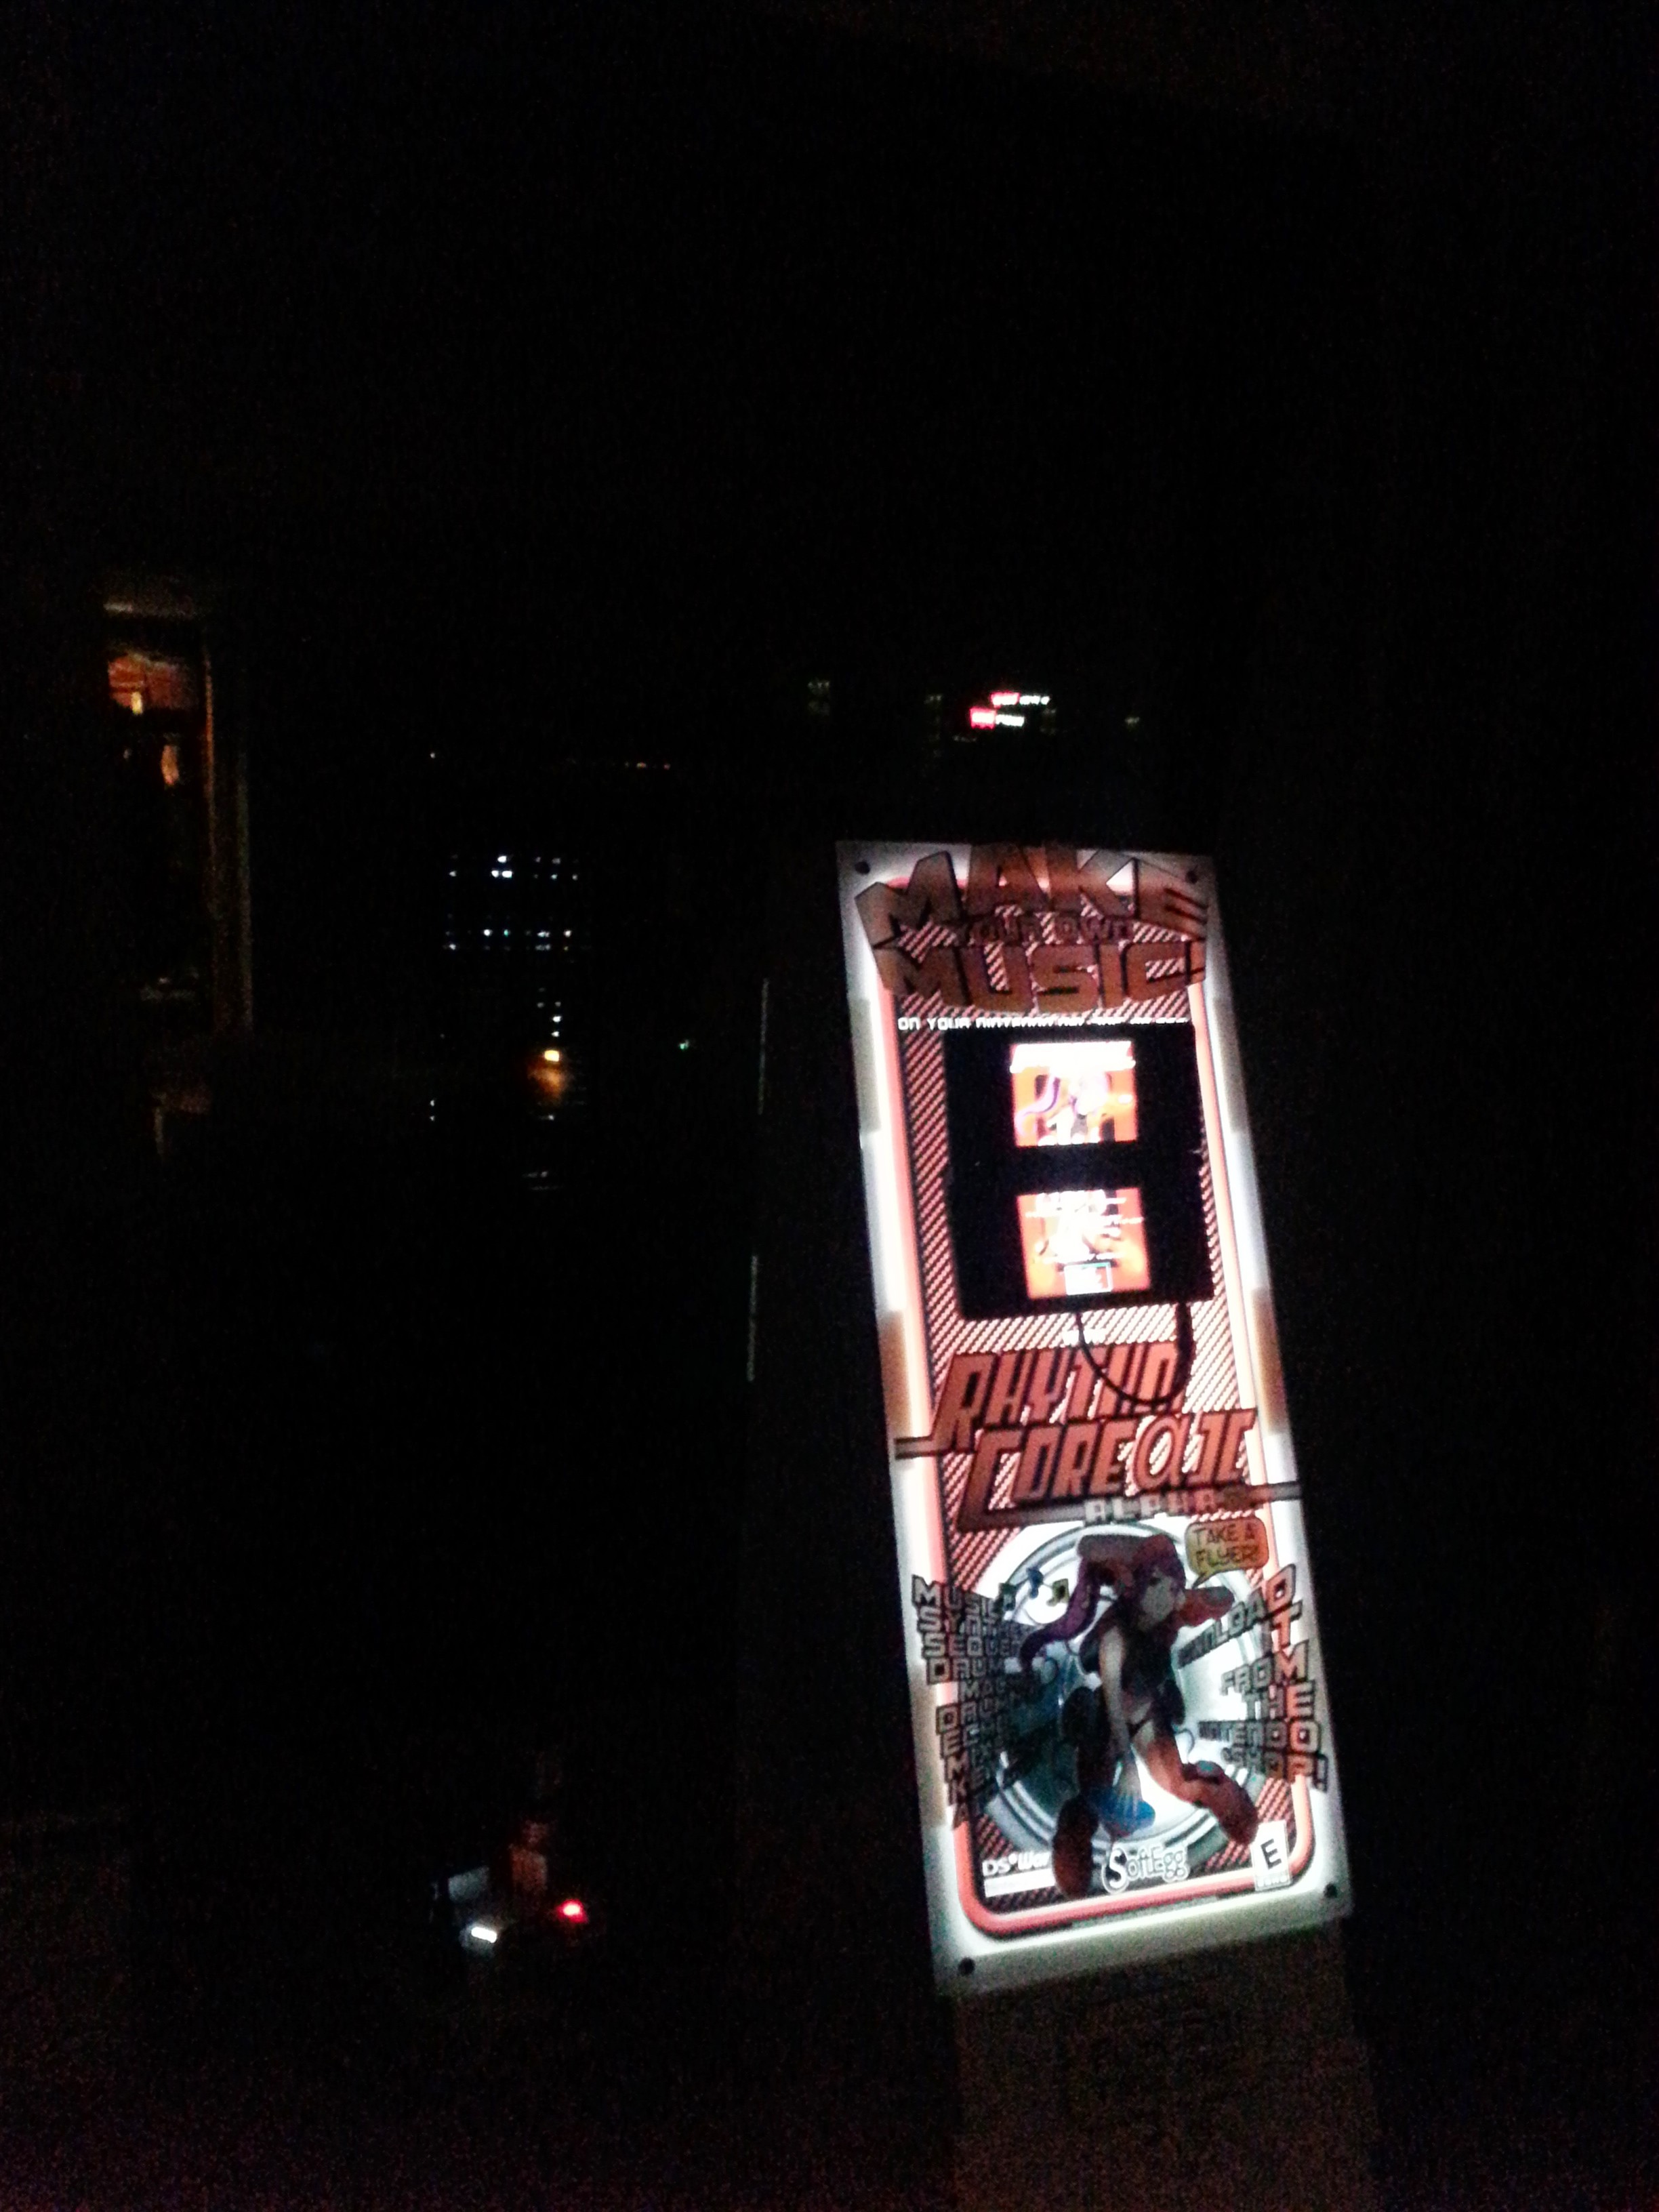
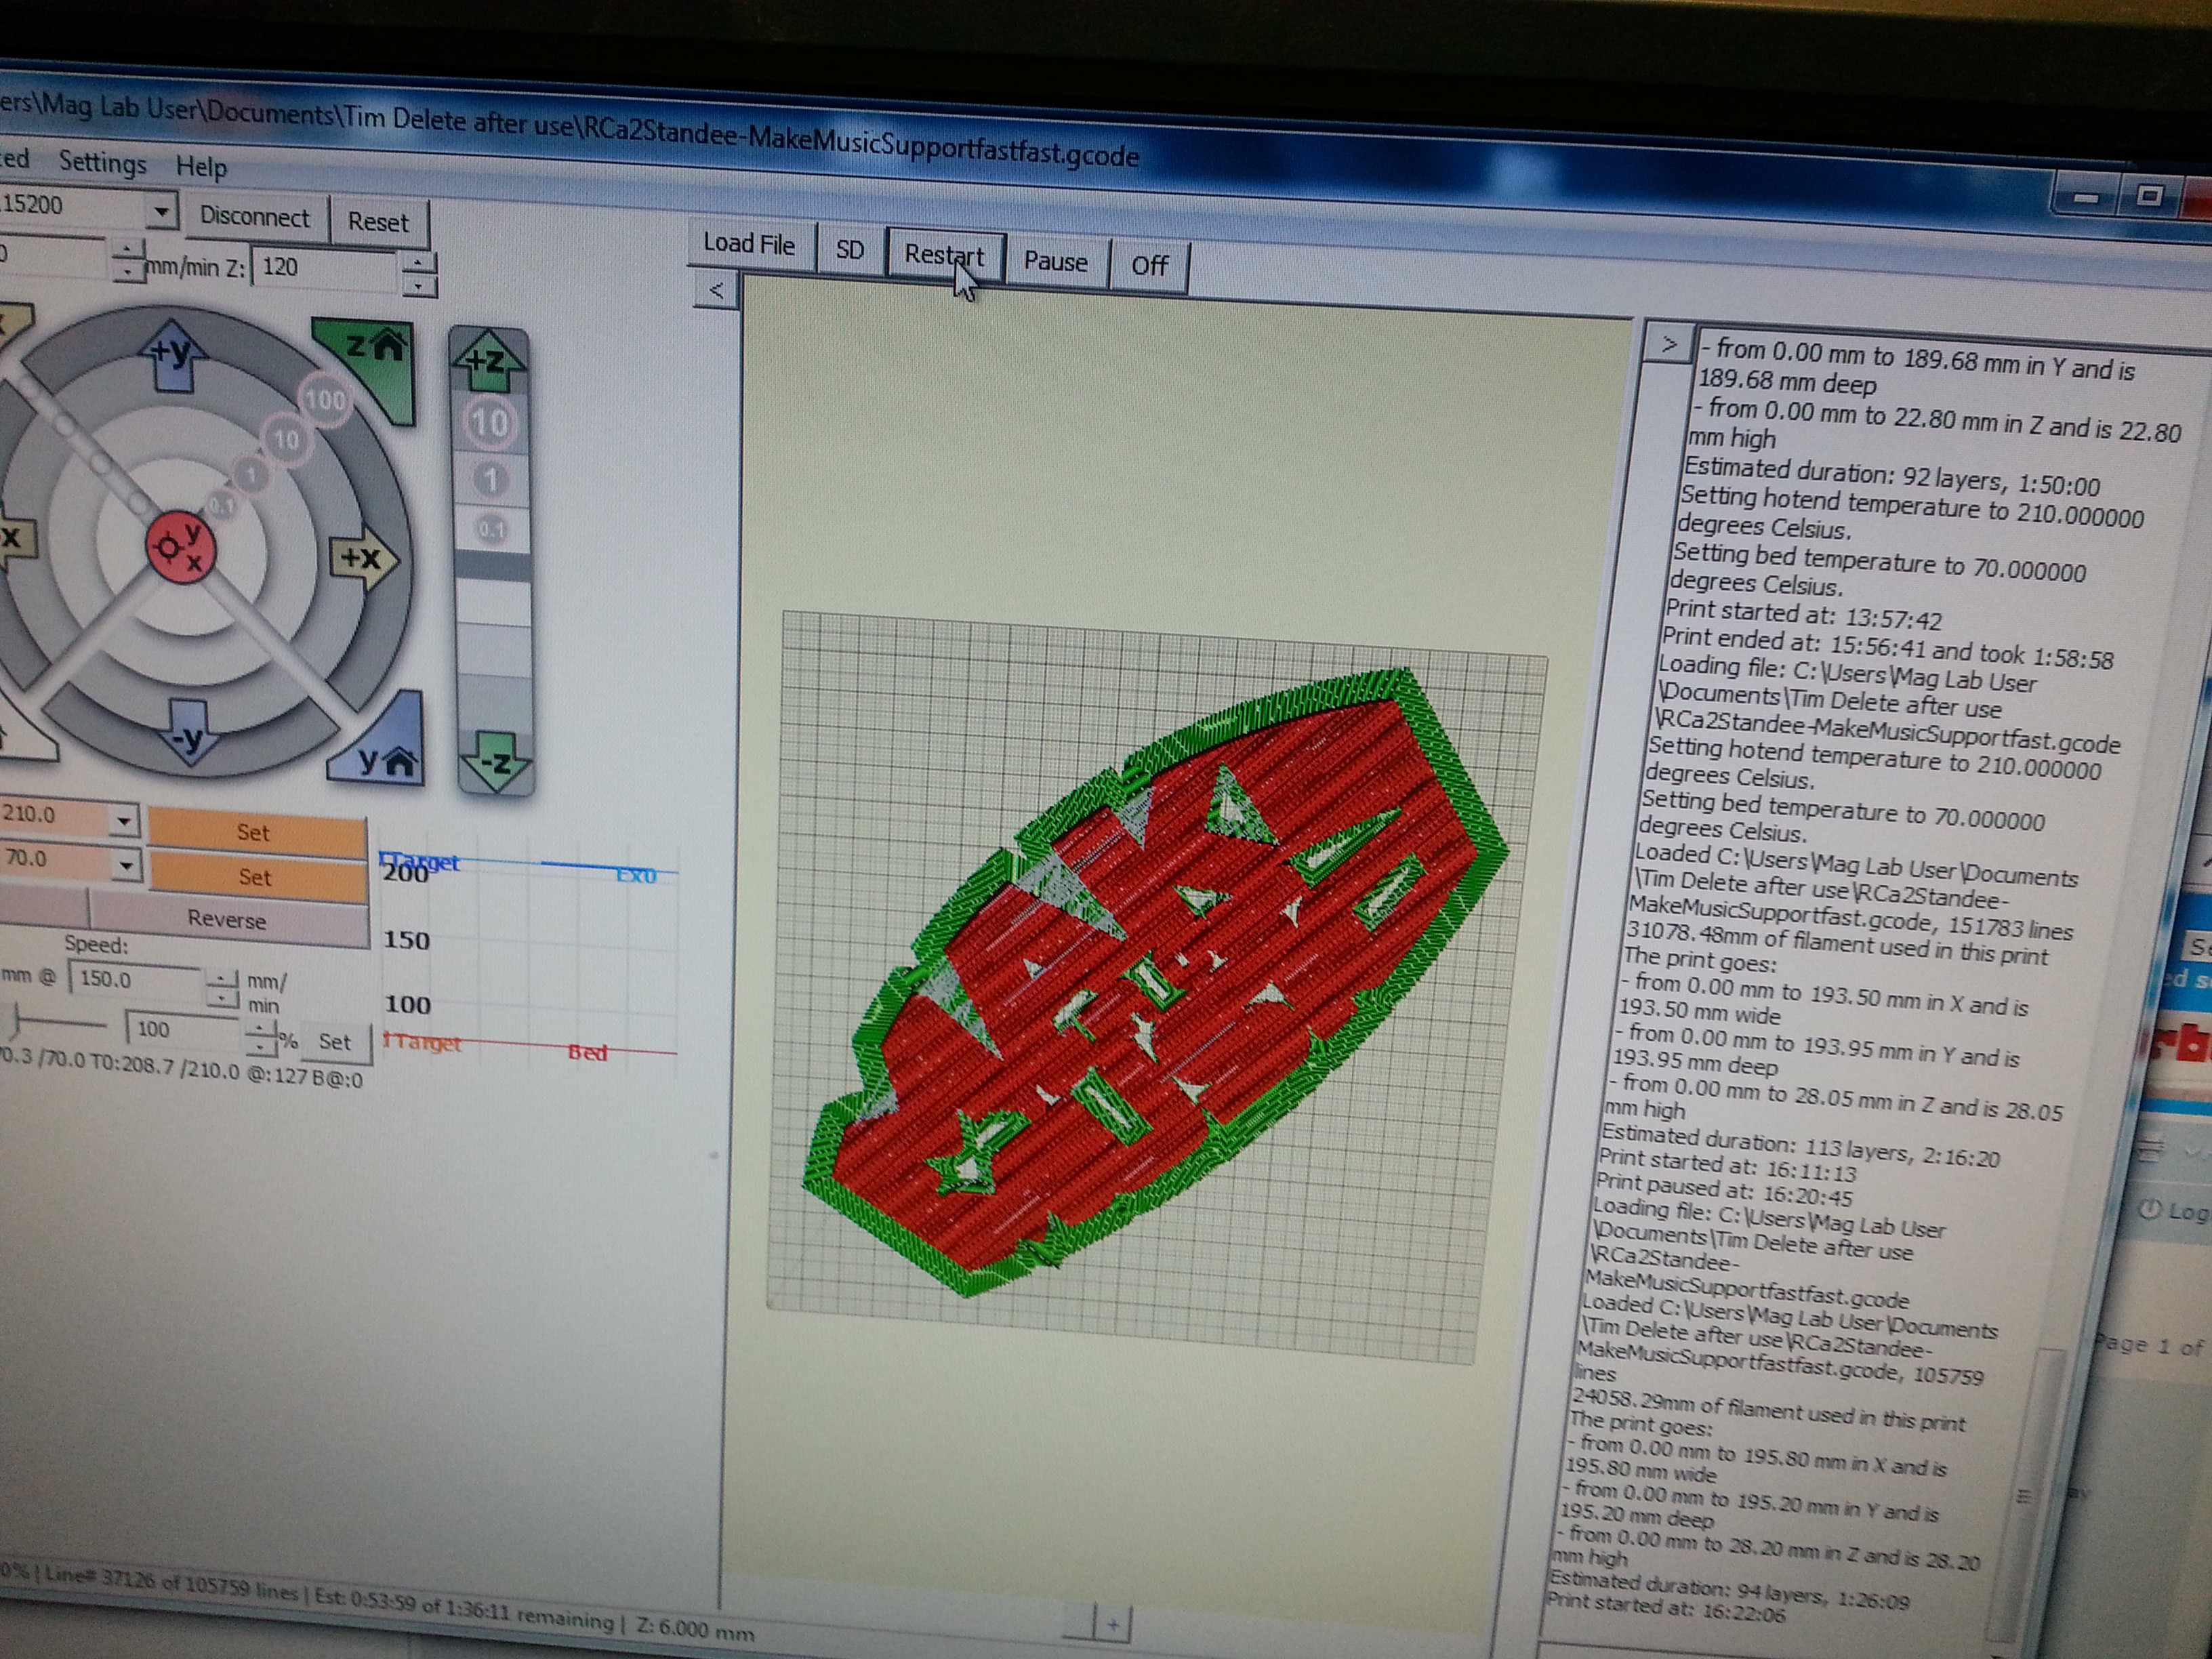
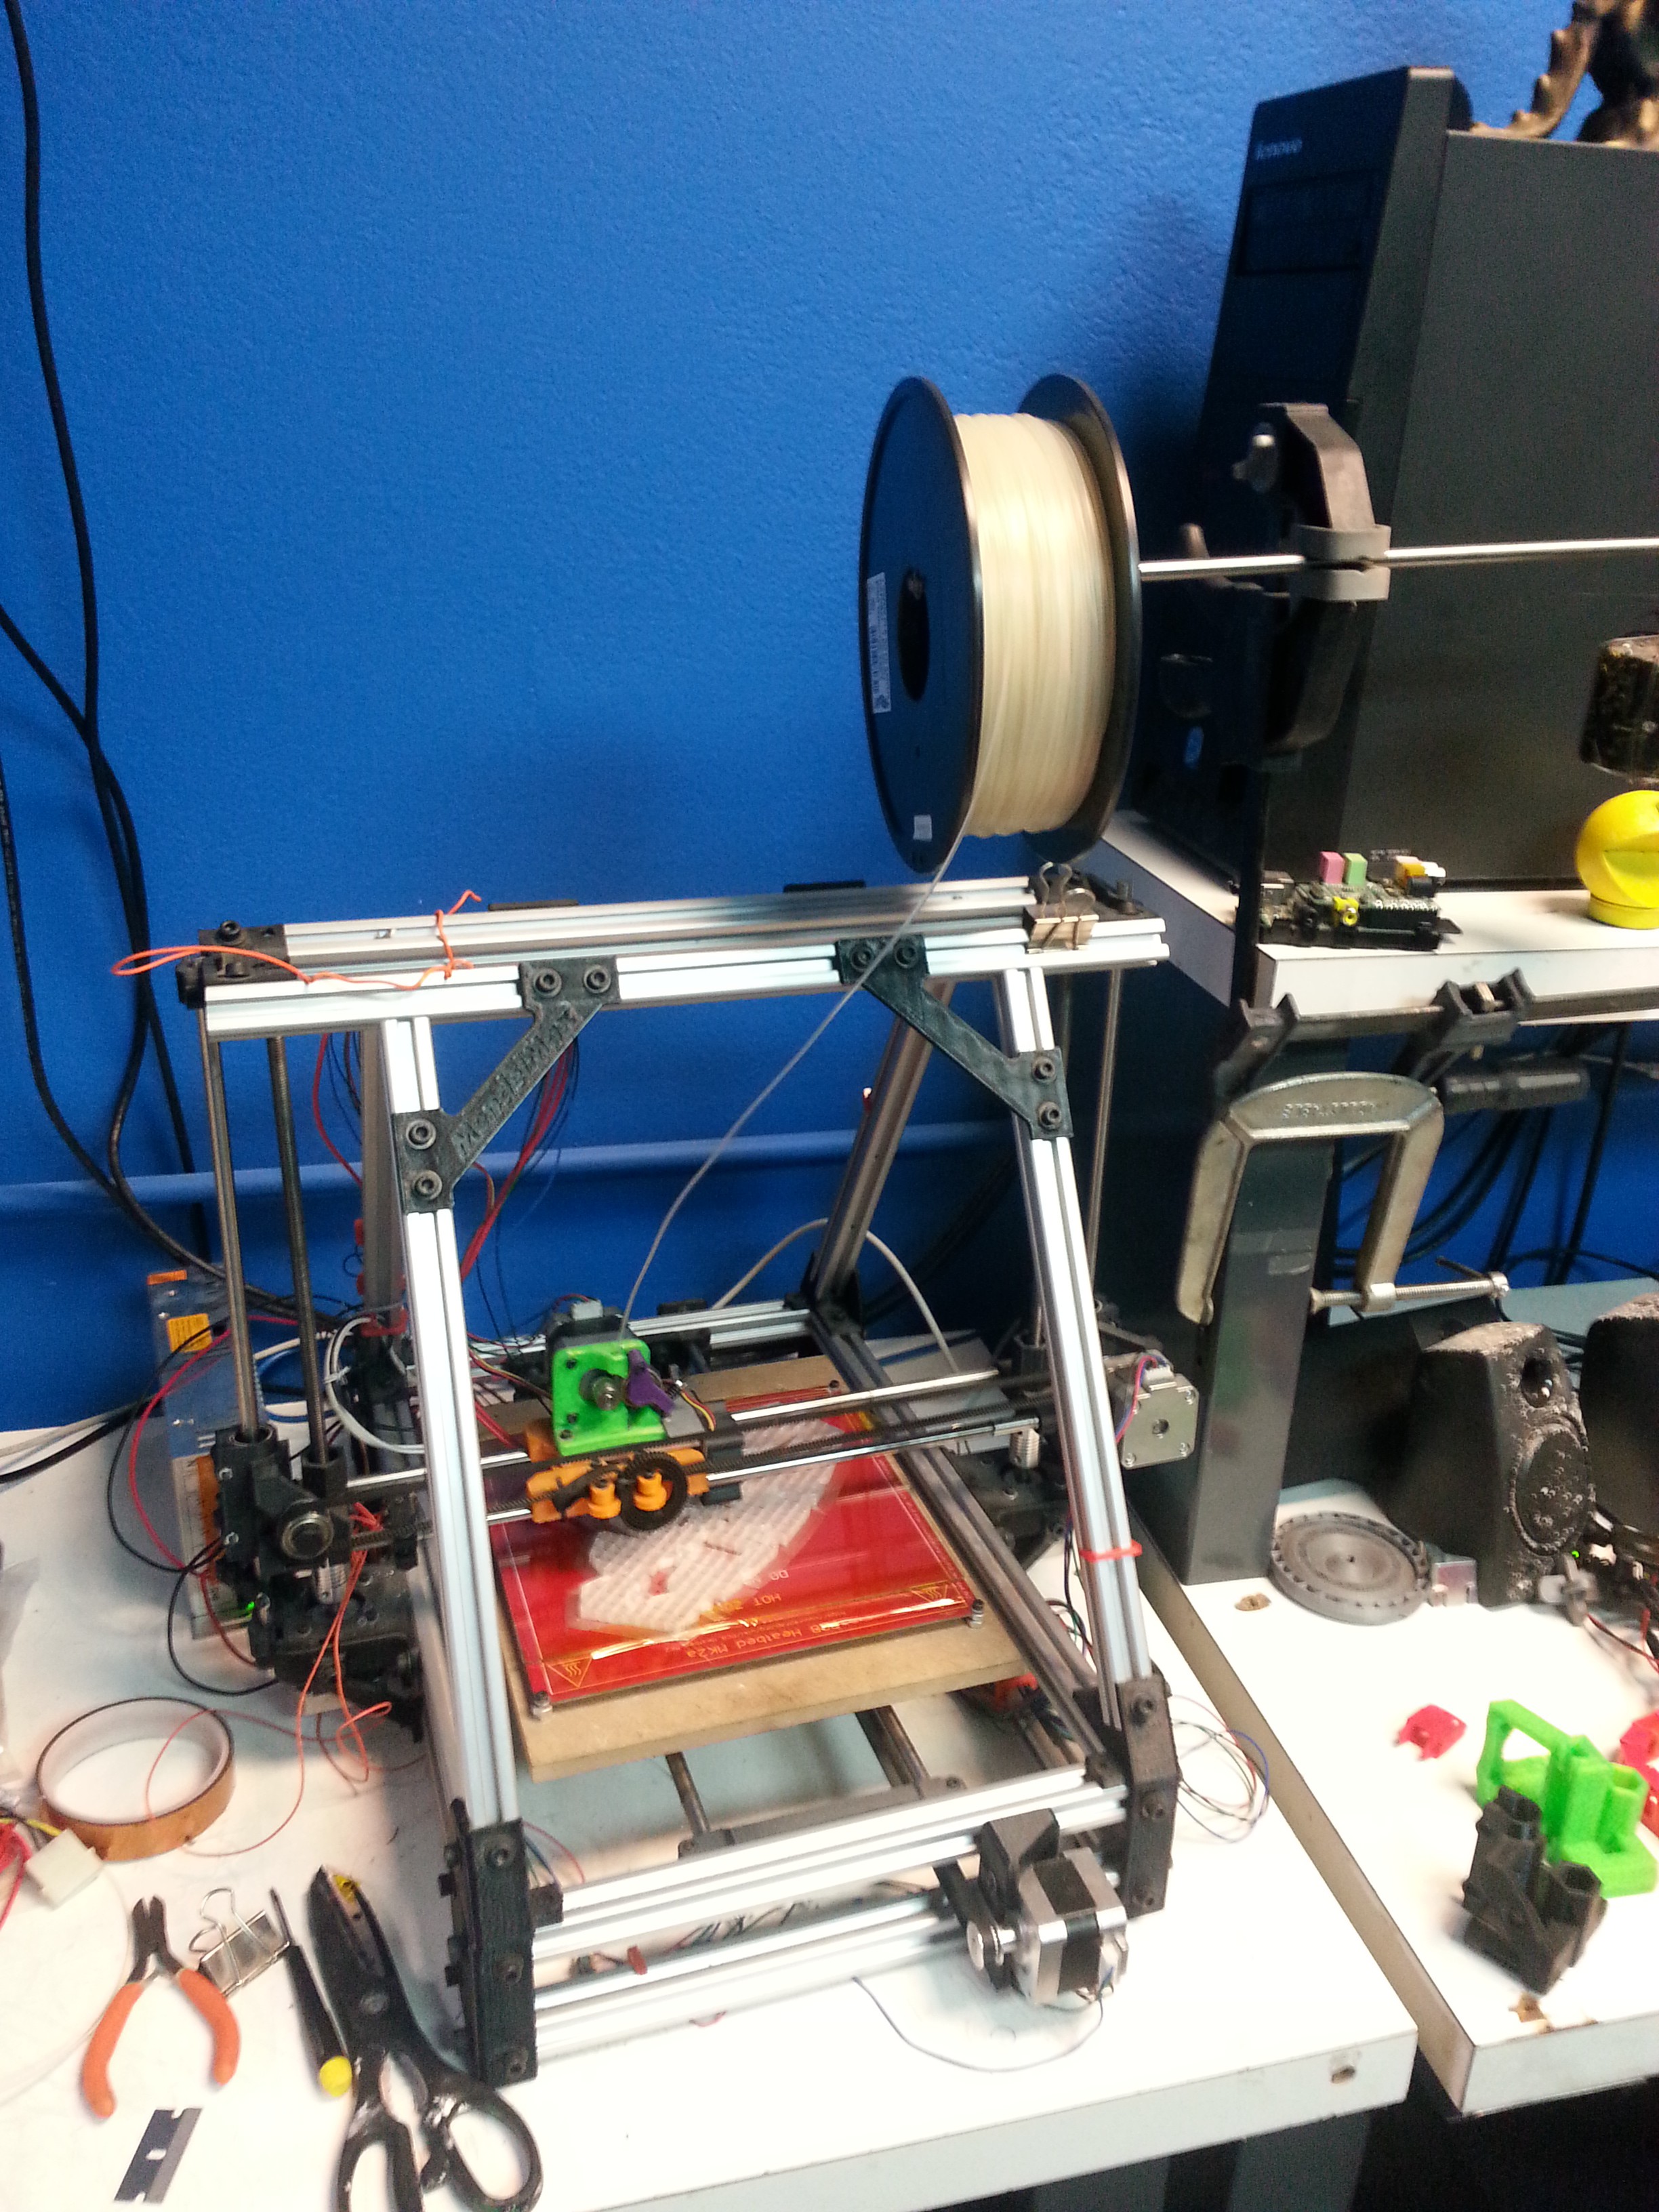
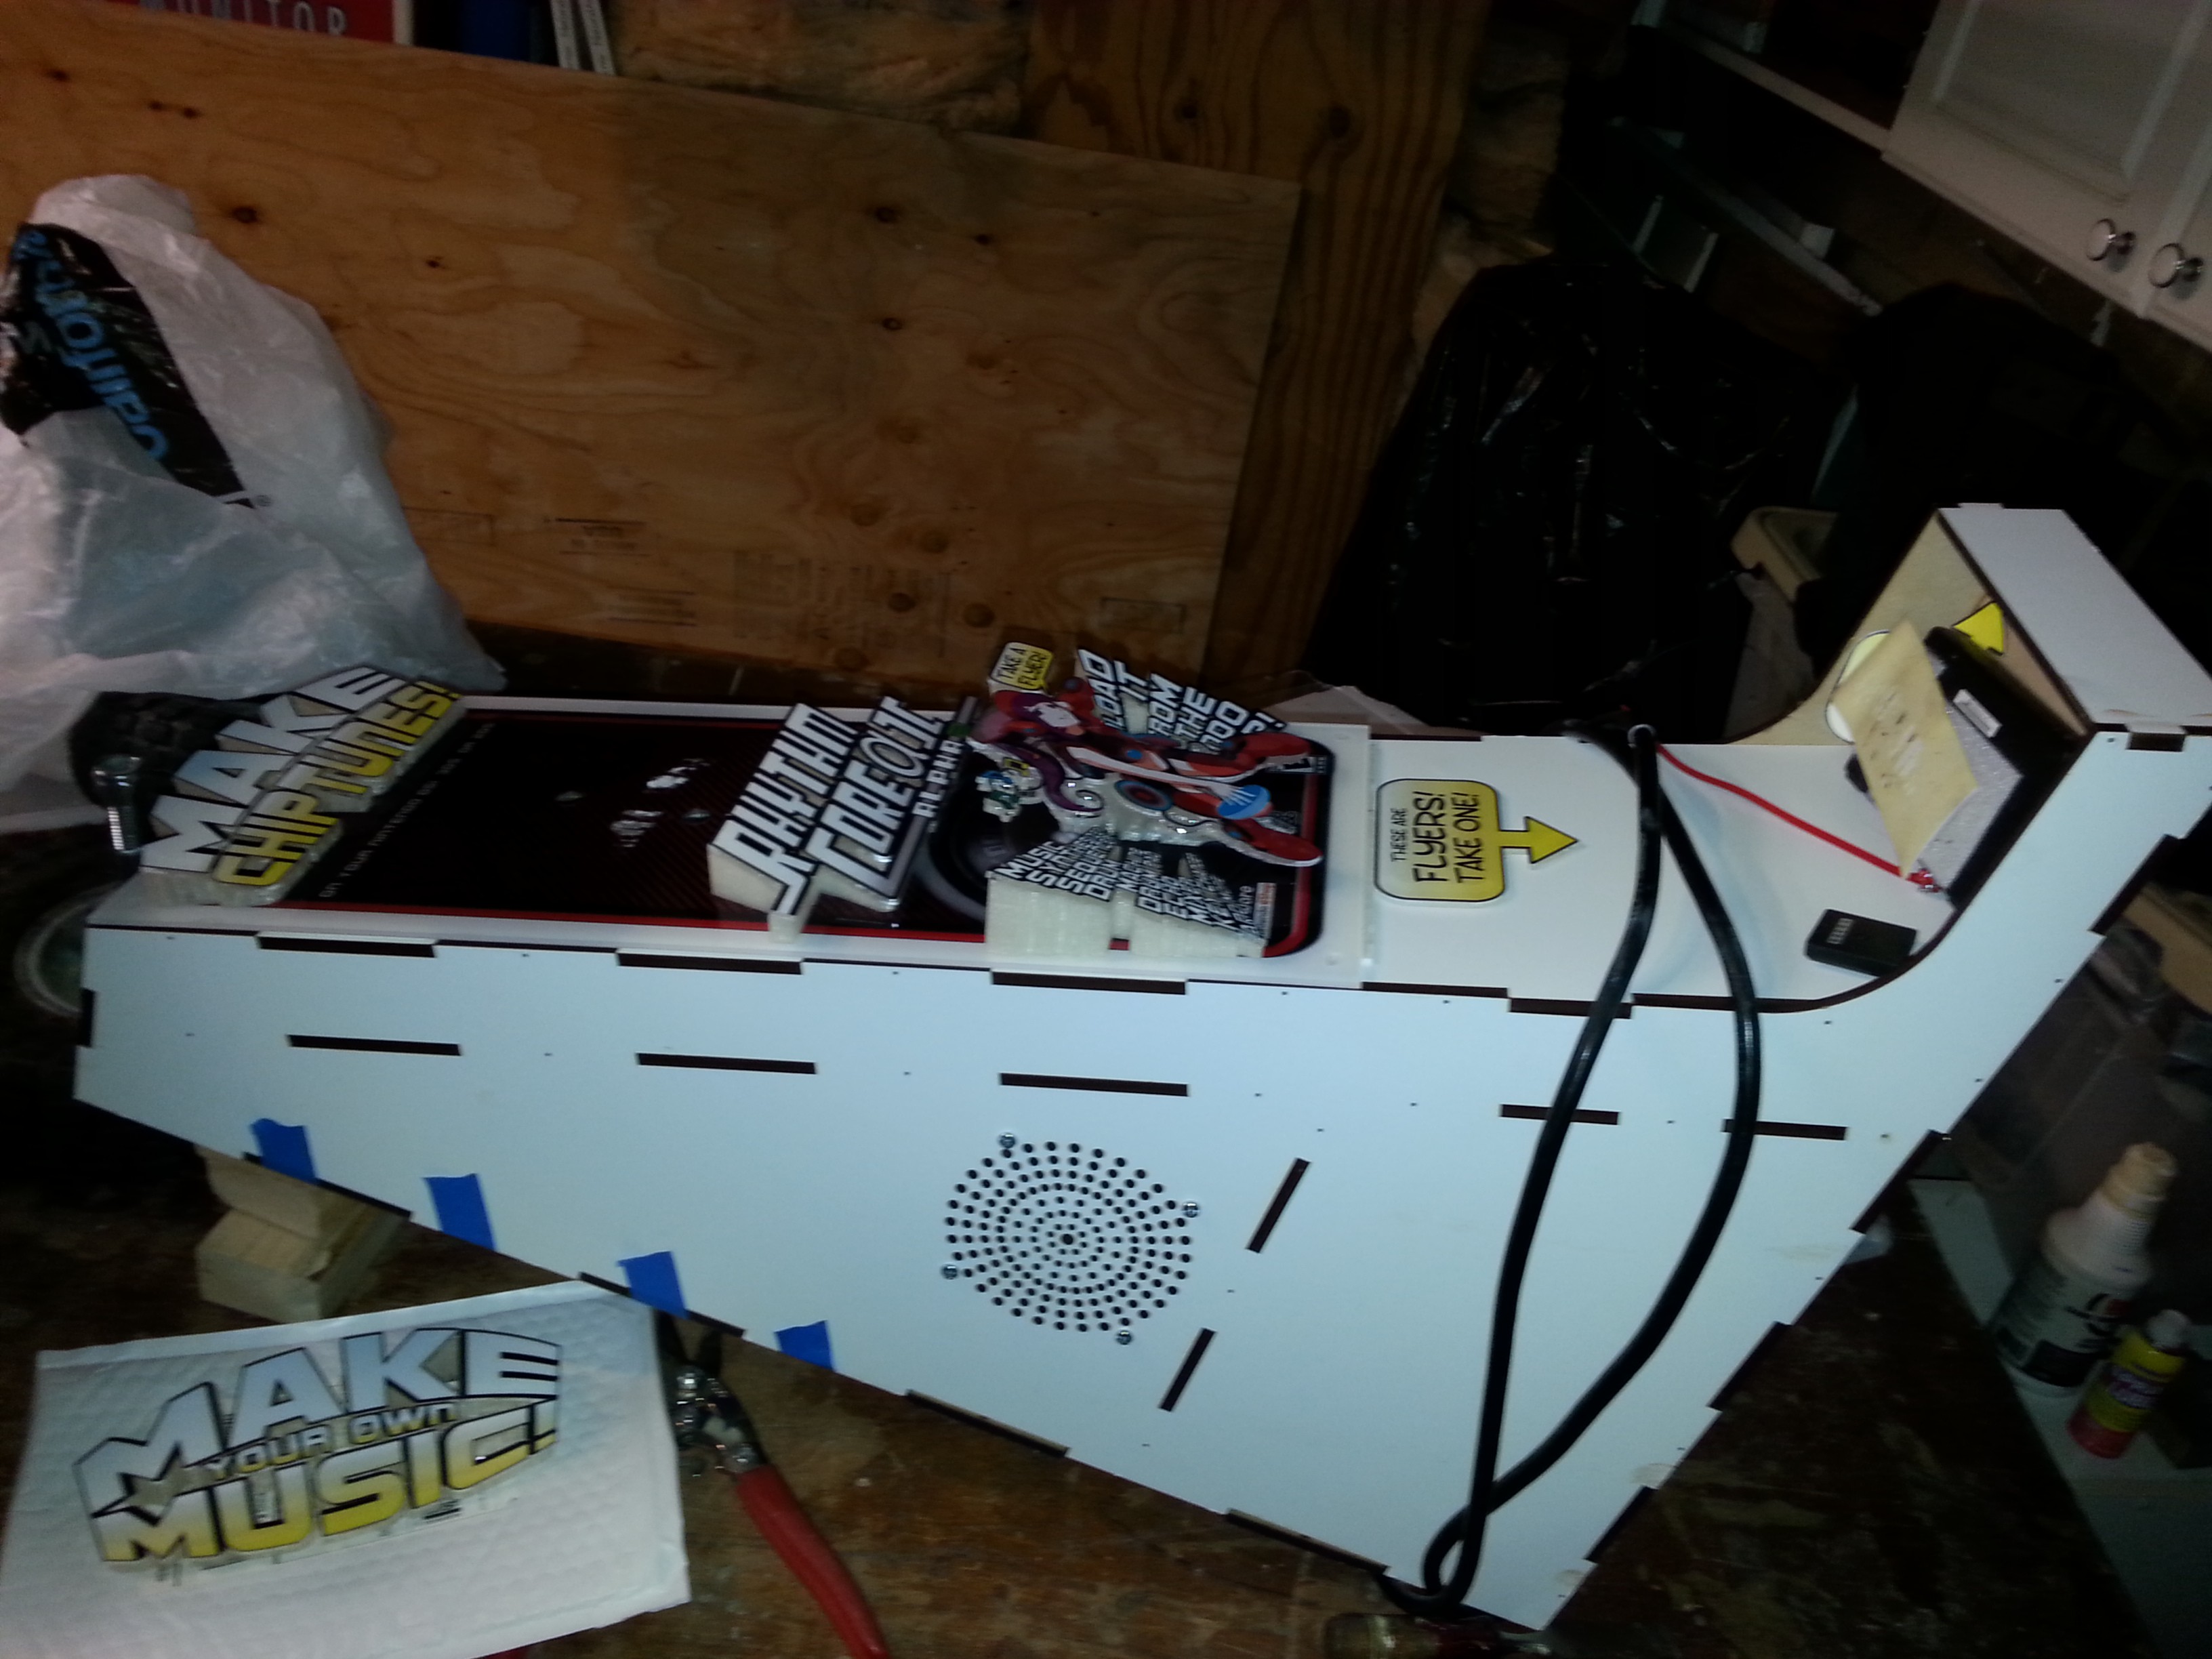
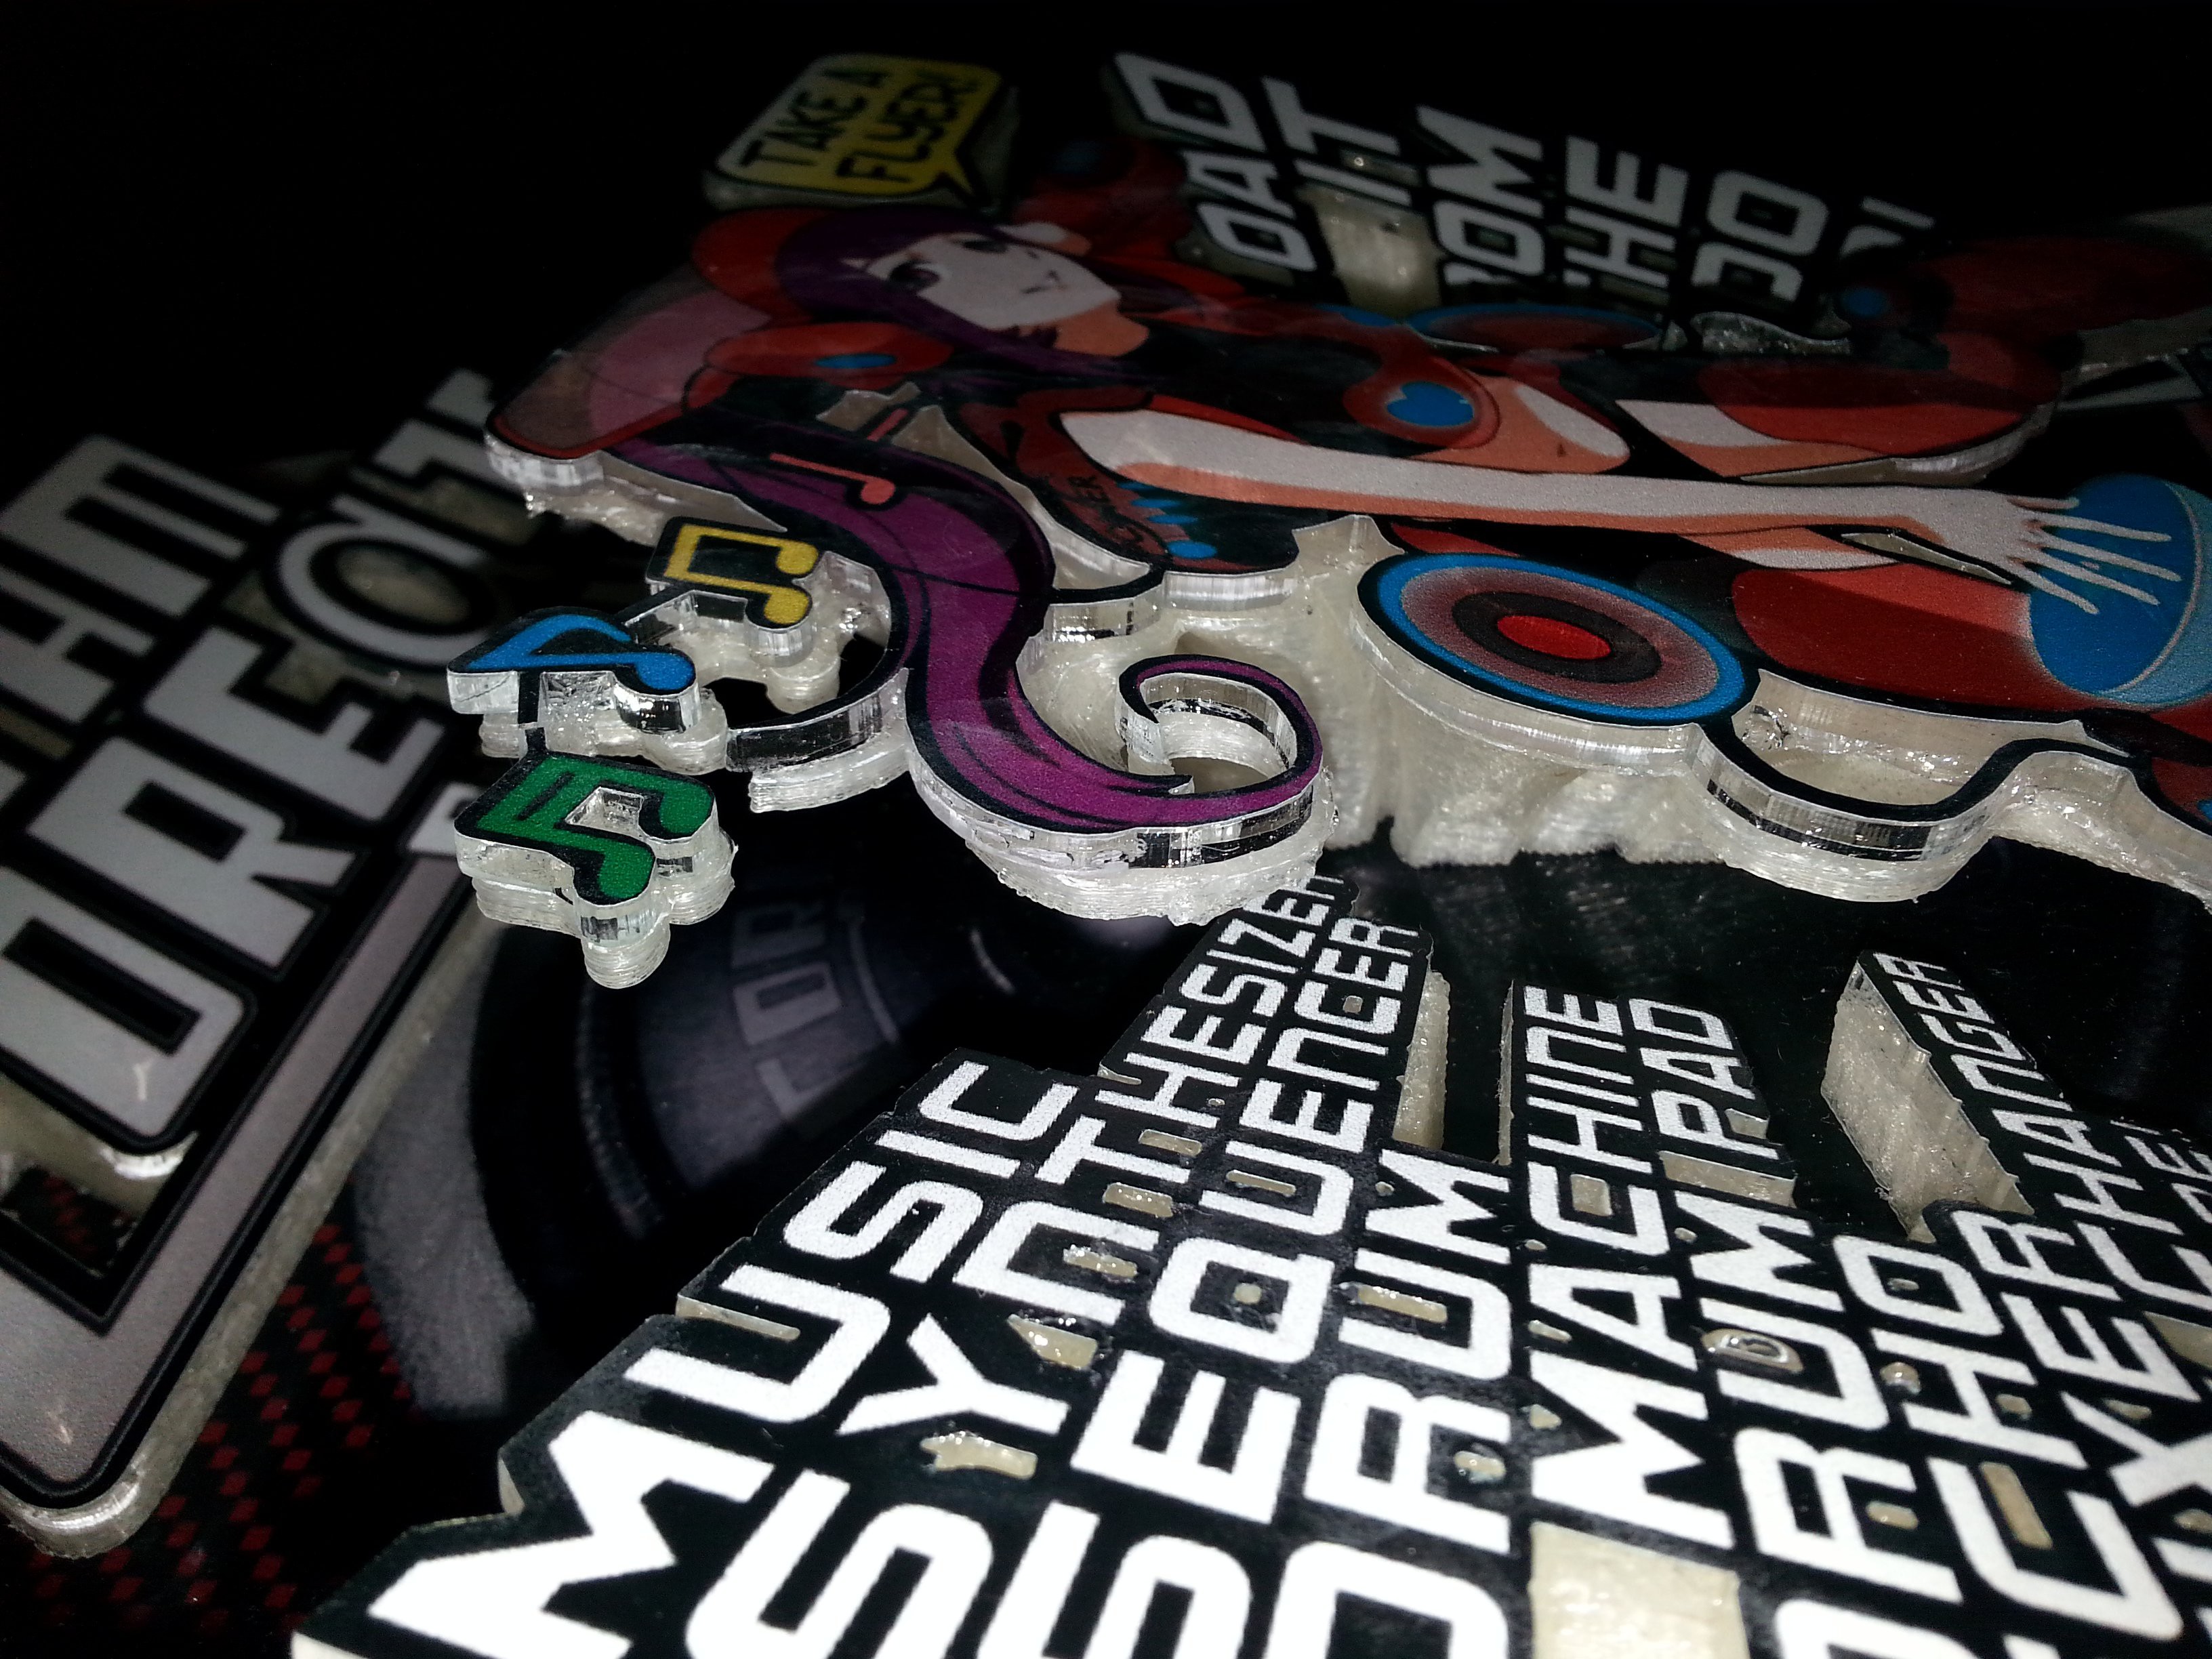
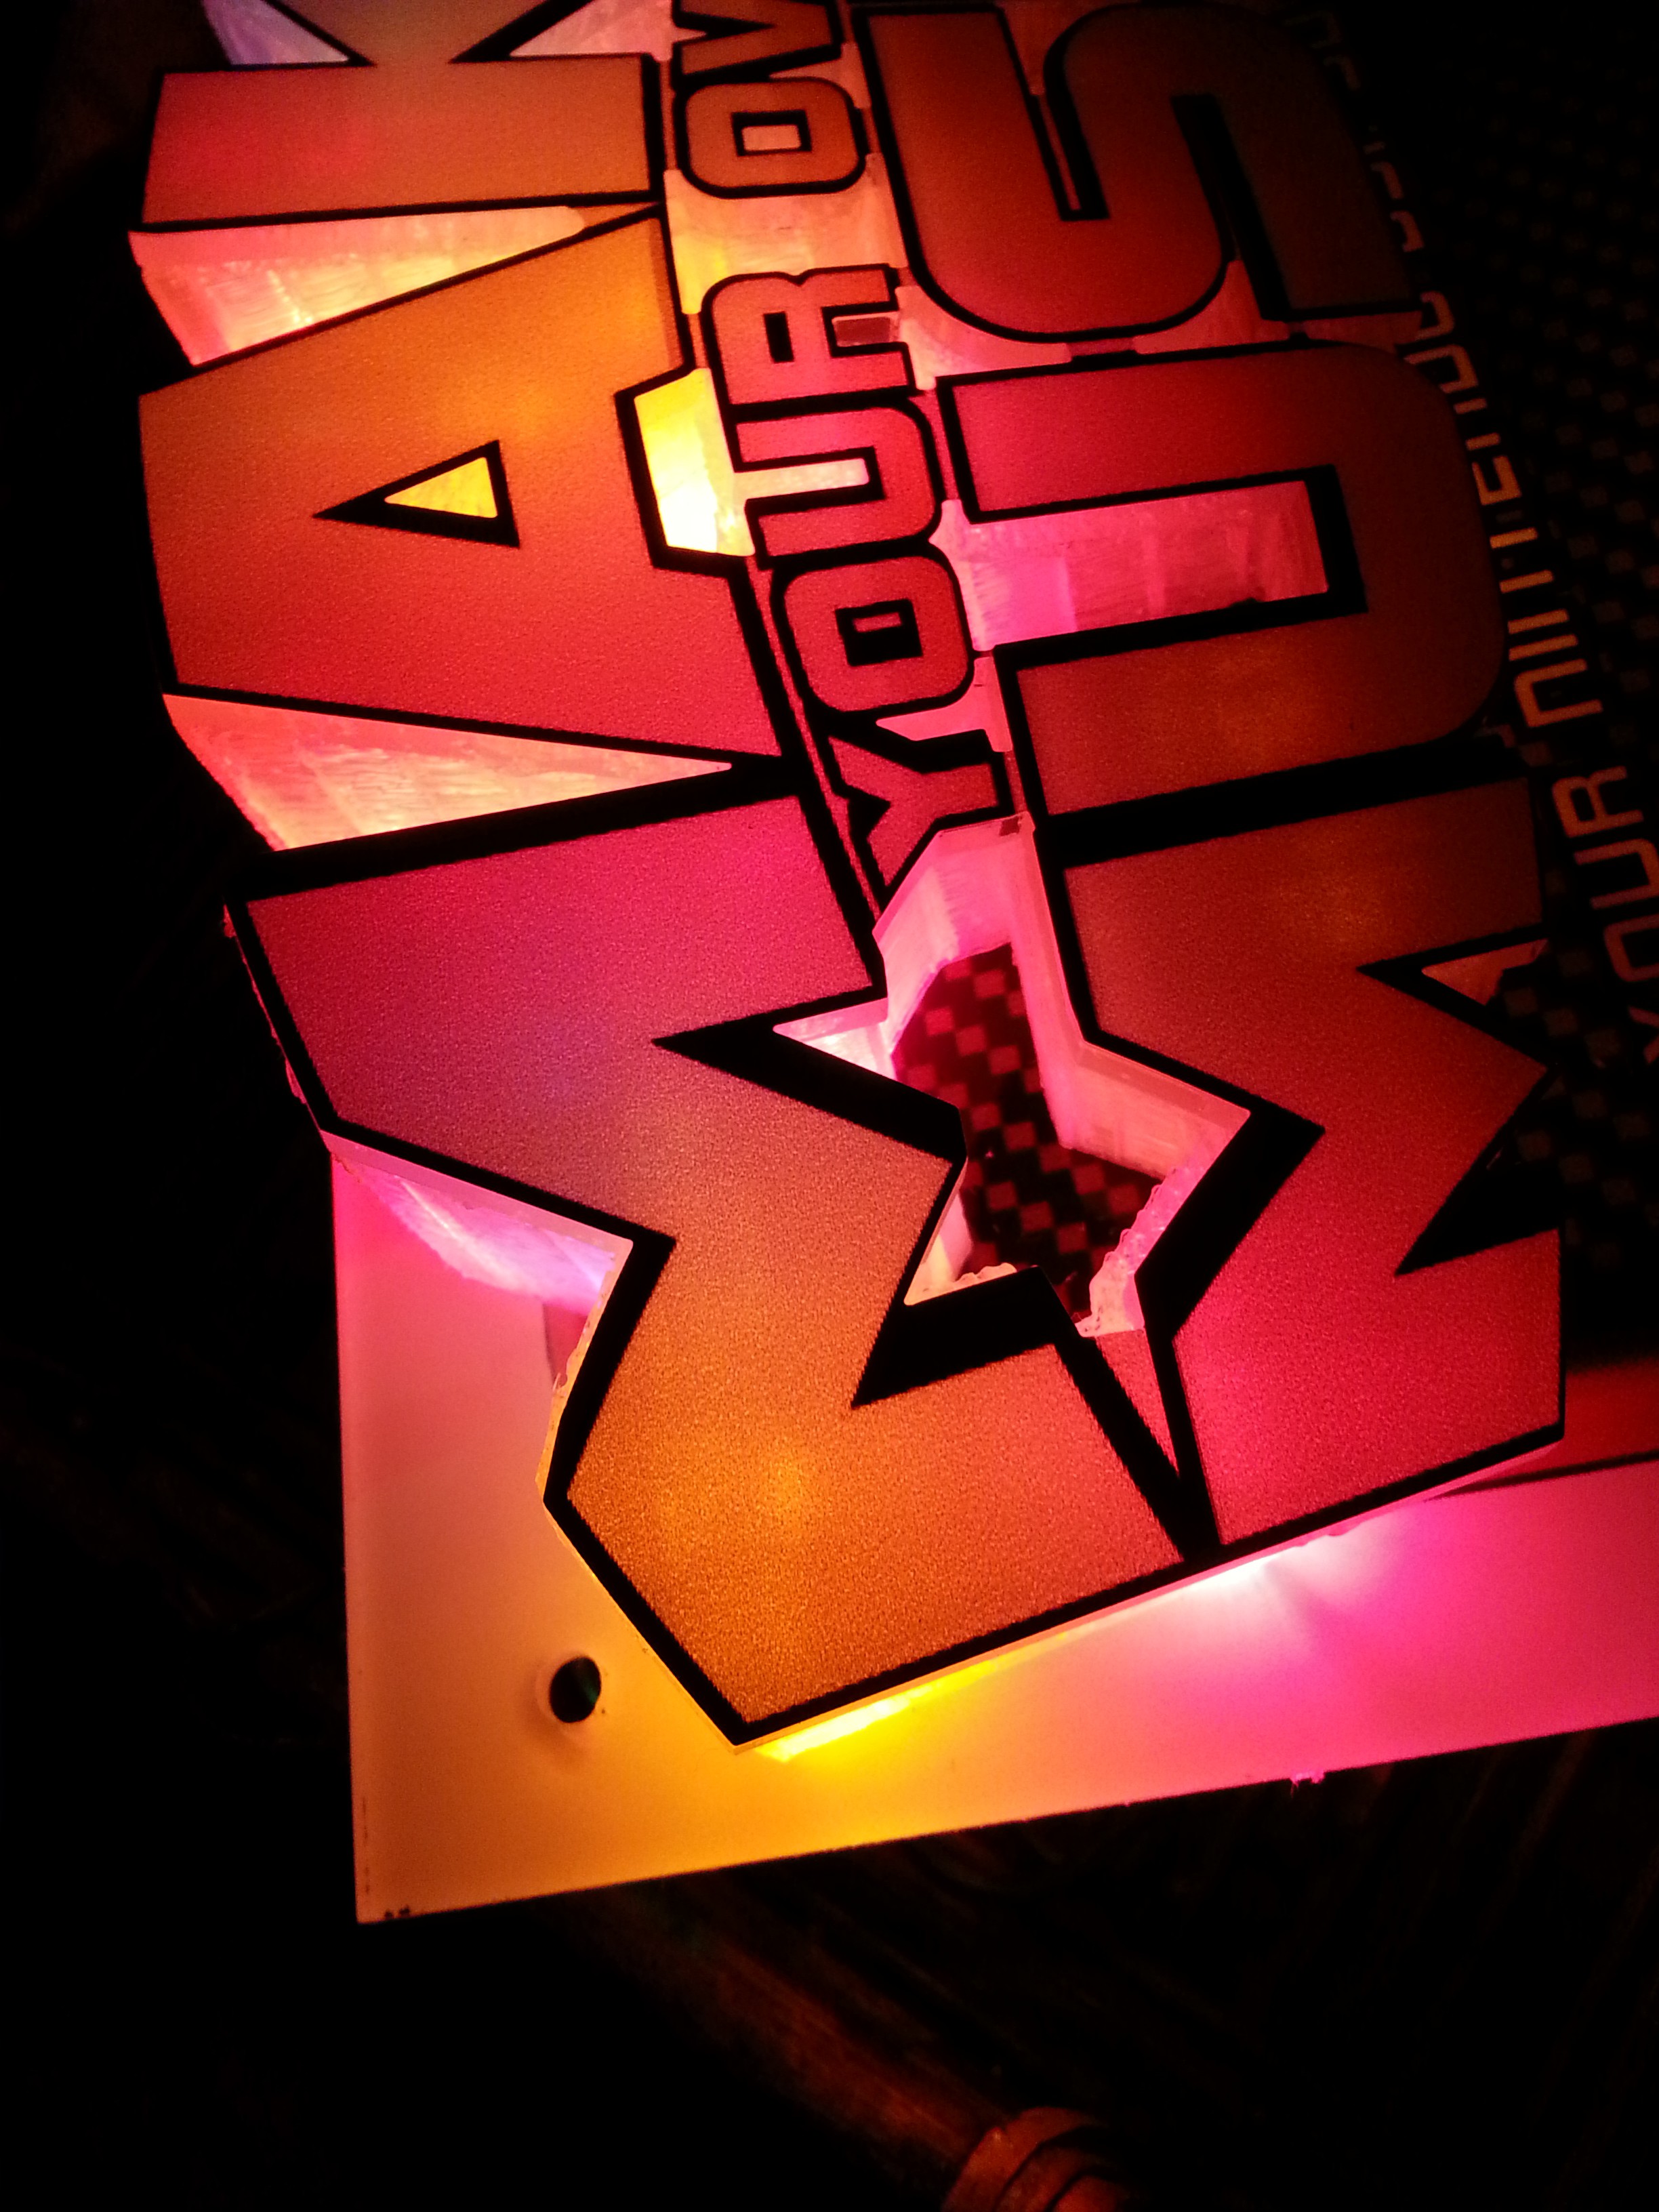
Lighted 3D display stand and amplifier with a real Nintendo DSi. Made with laser cut acrylic and fiberboard, lit with christmas lights.
To make the experience fit your profile, pick a username and tell us what interests you.
We found and based on your interests.
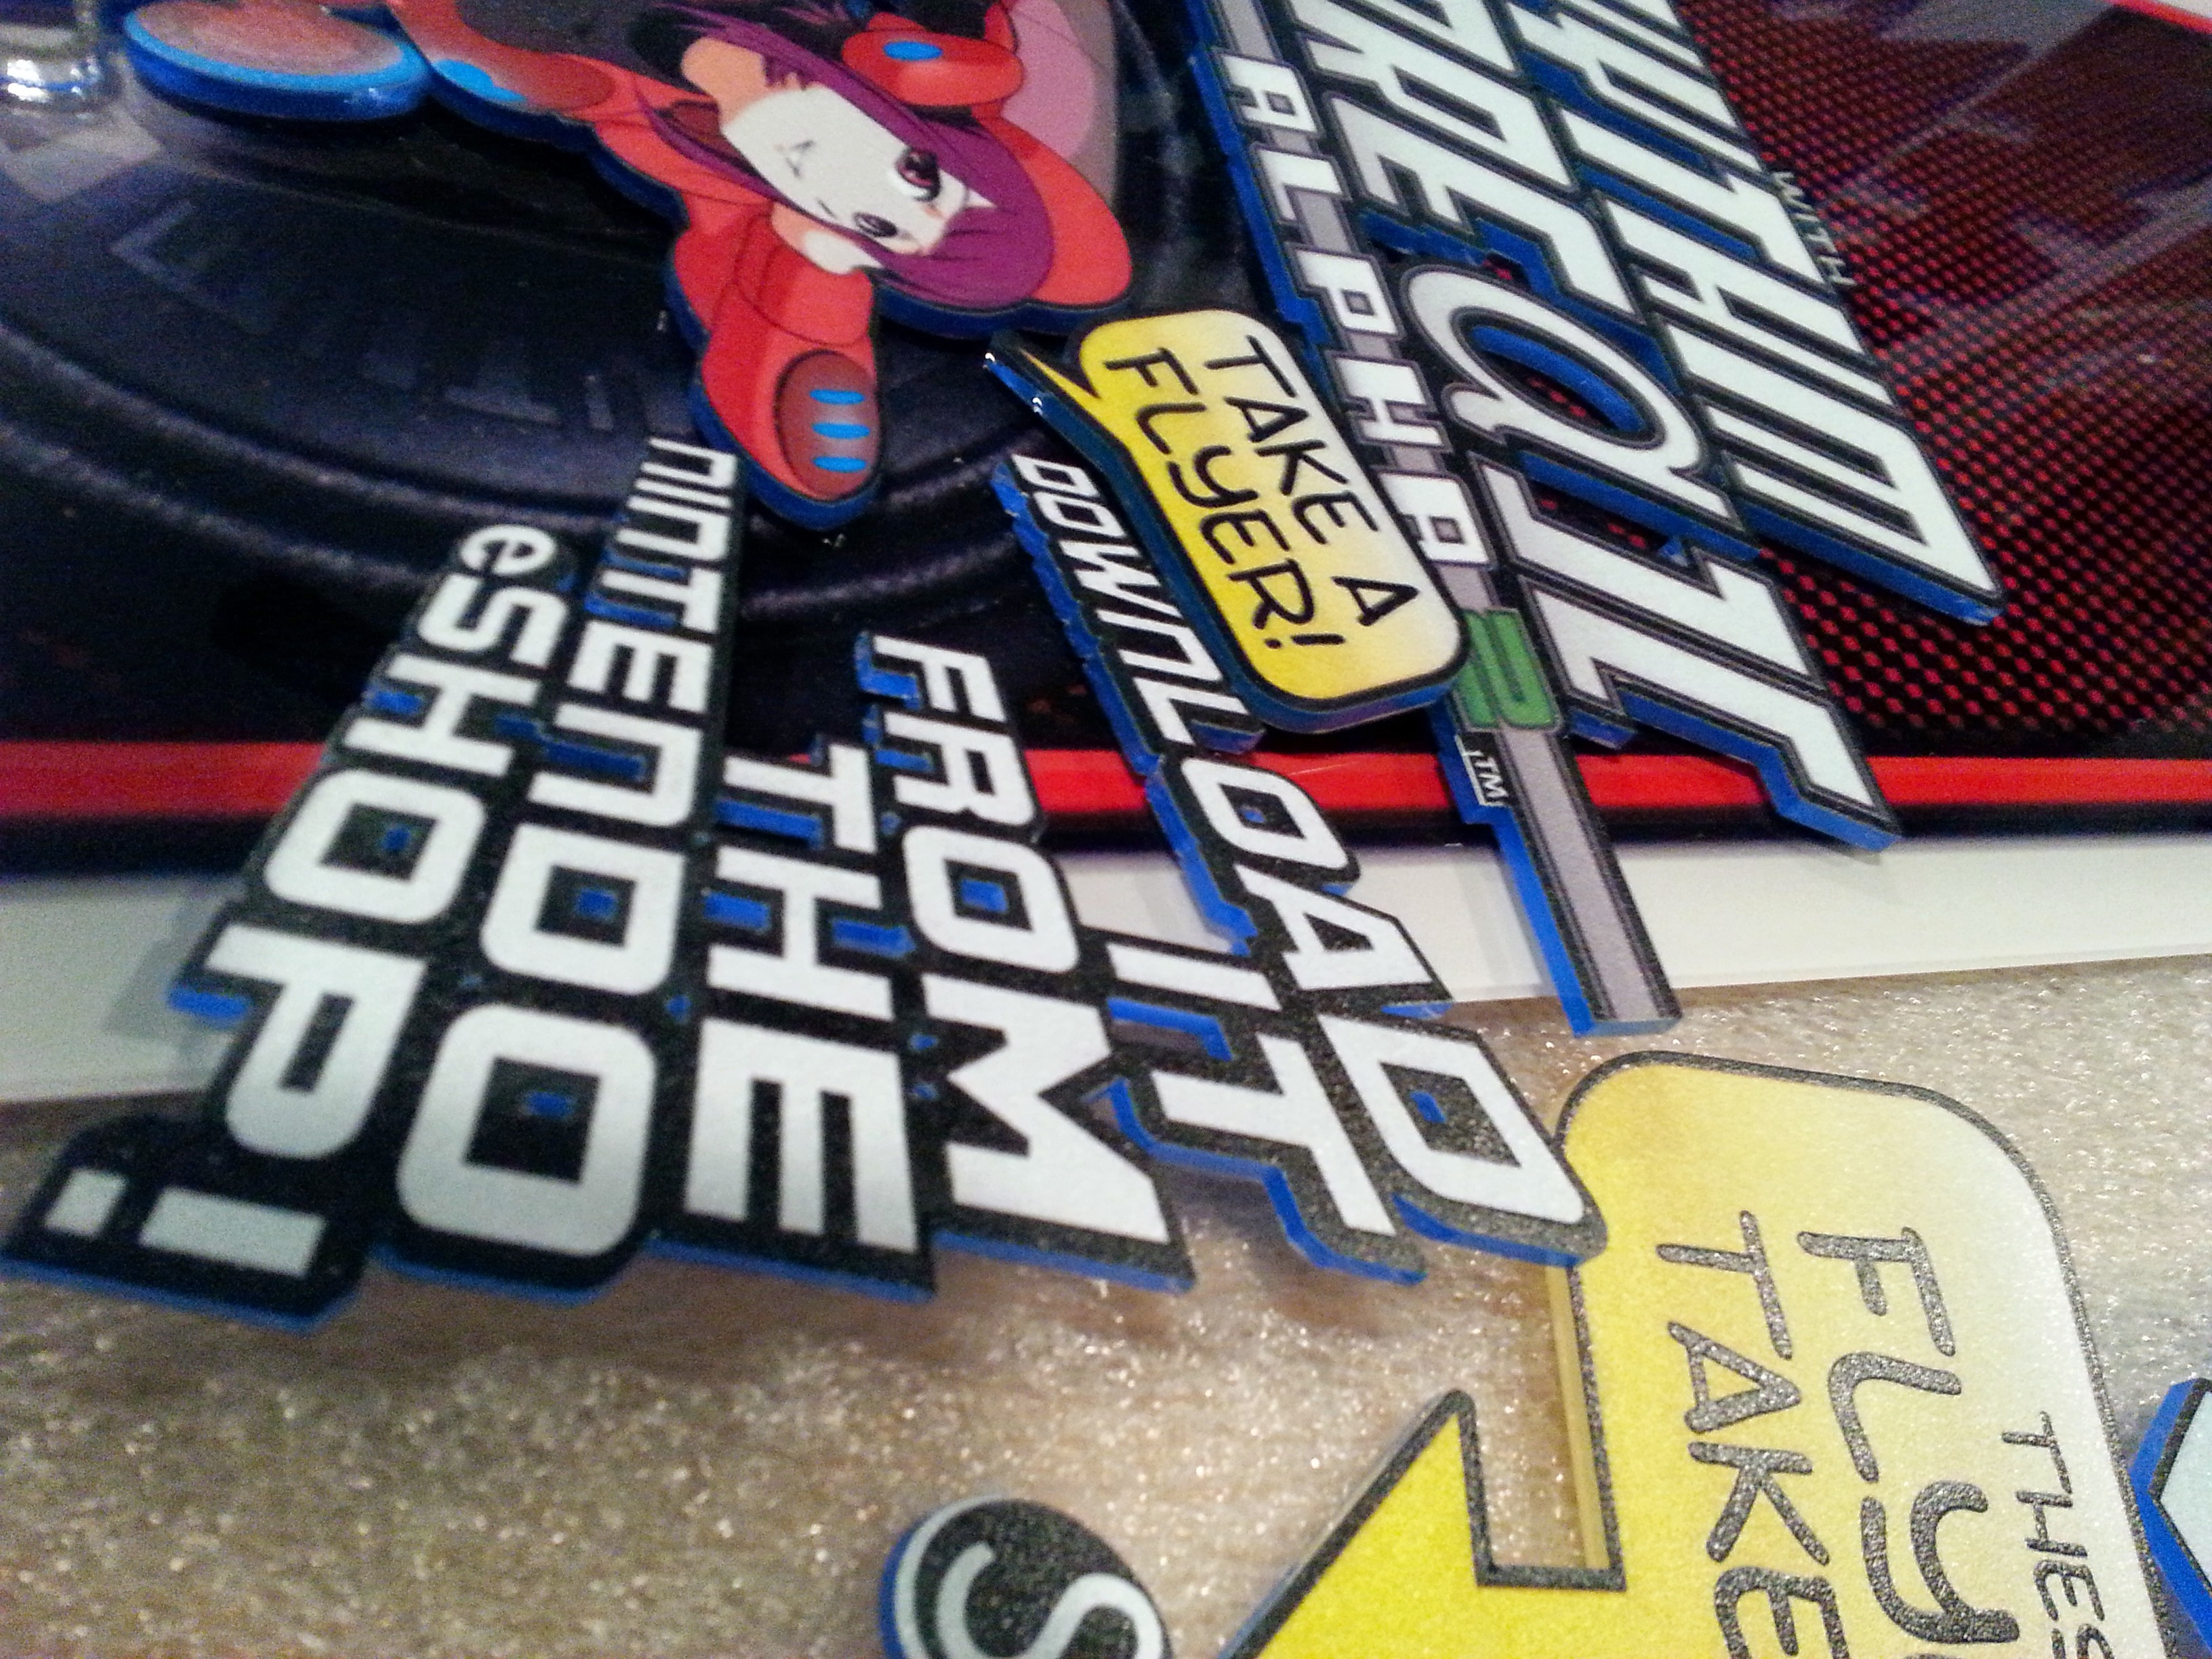
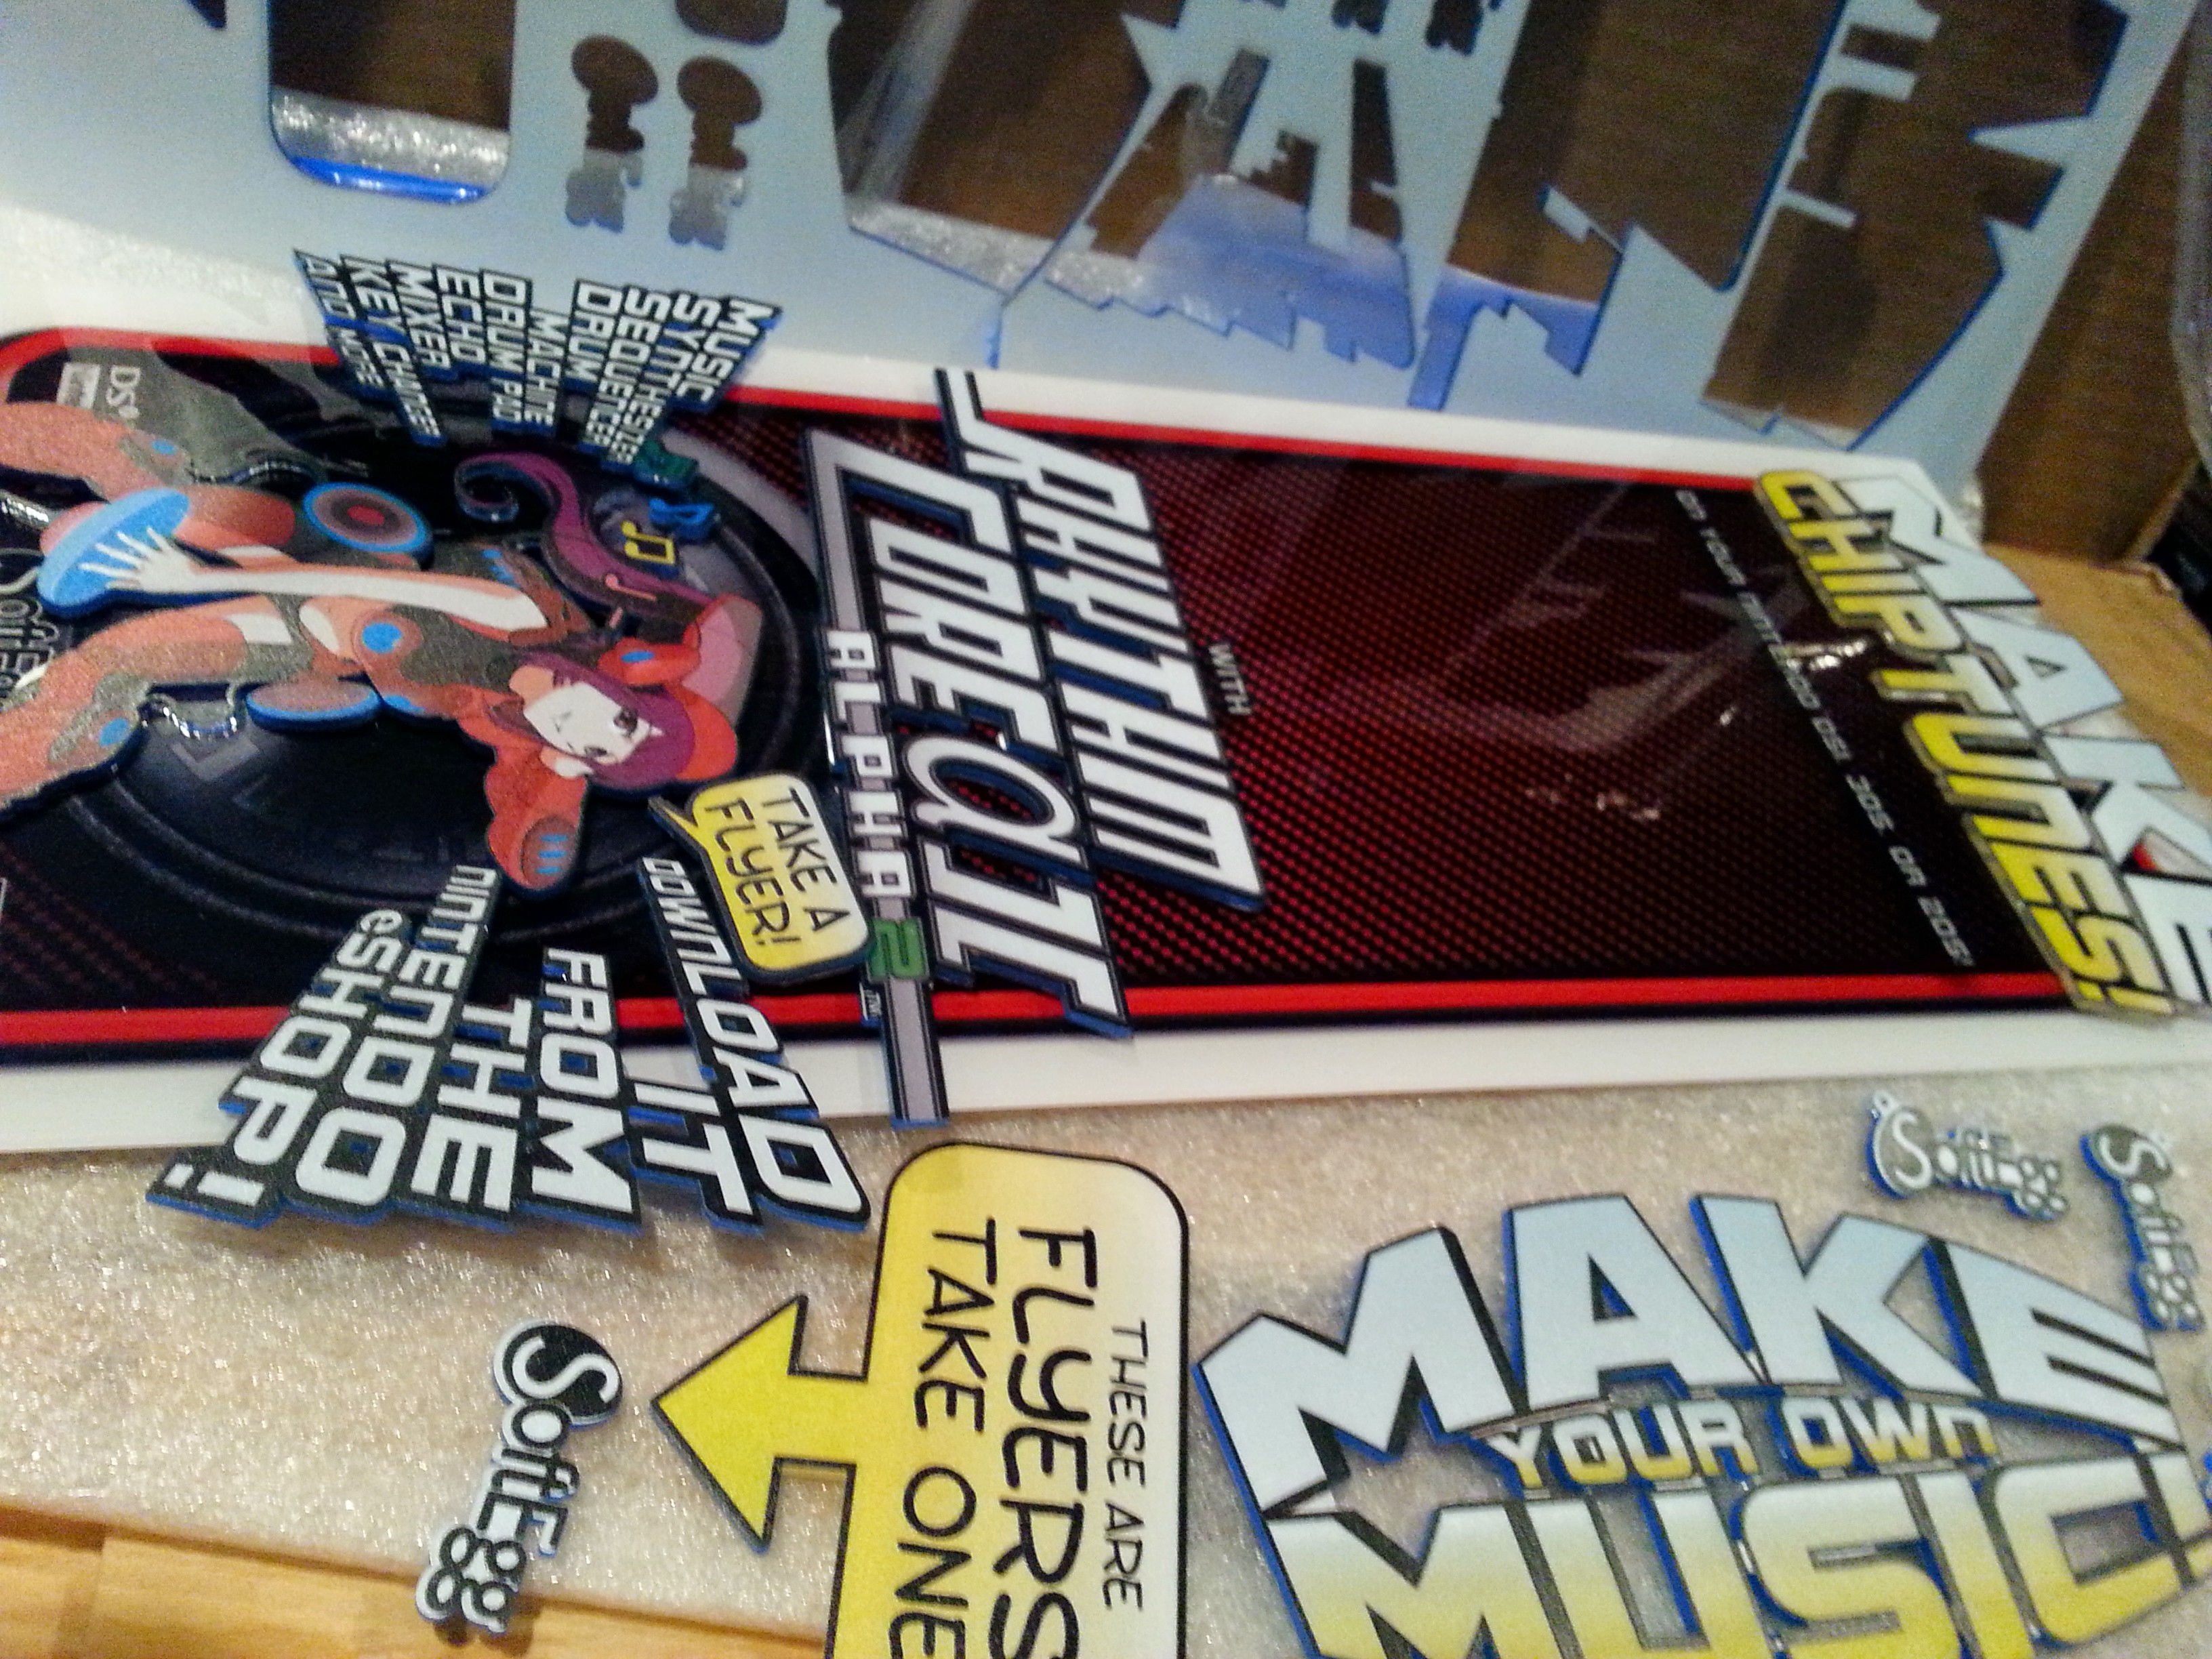
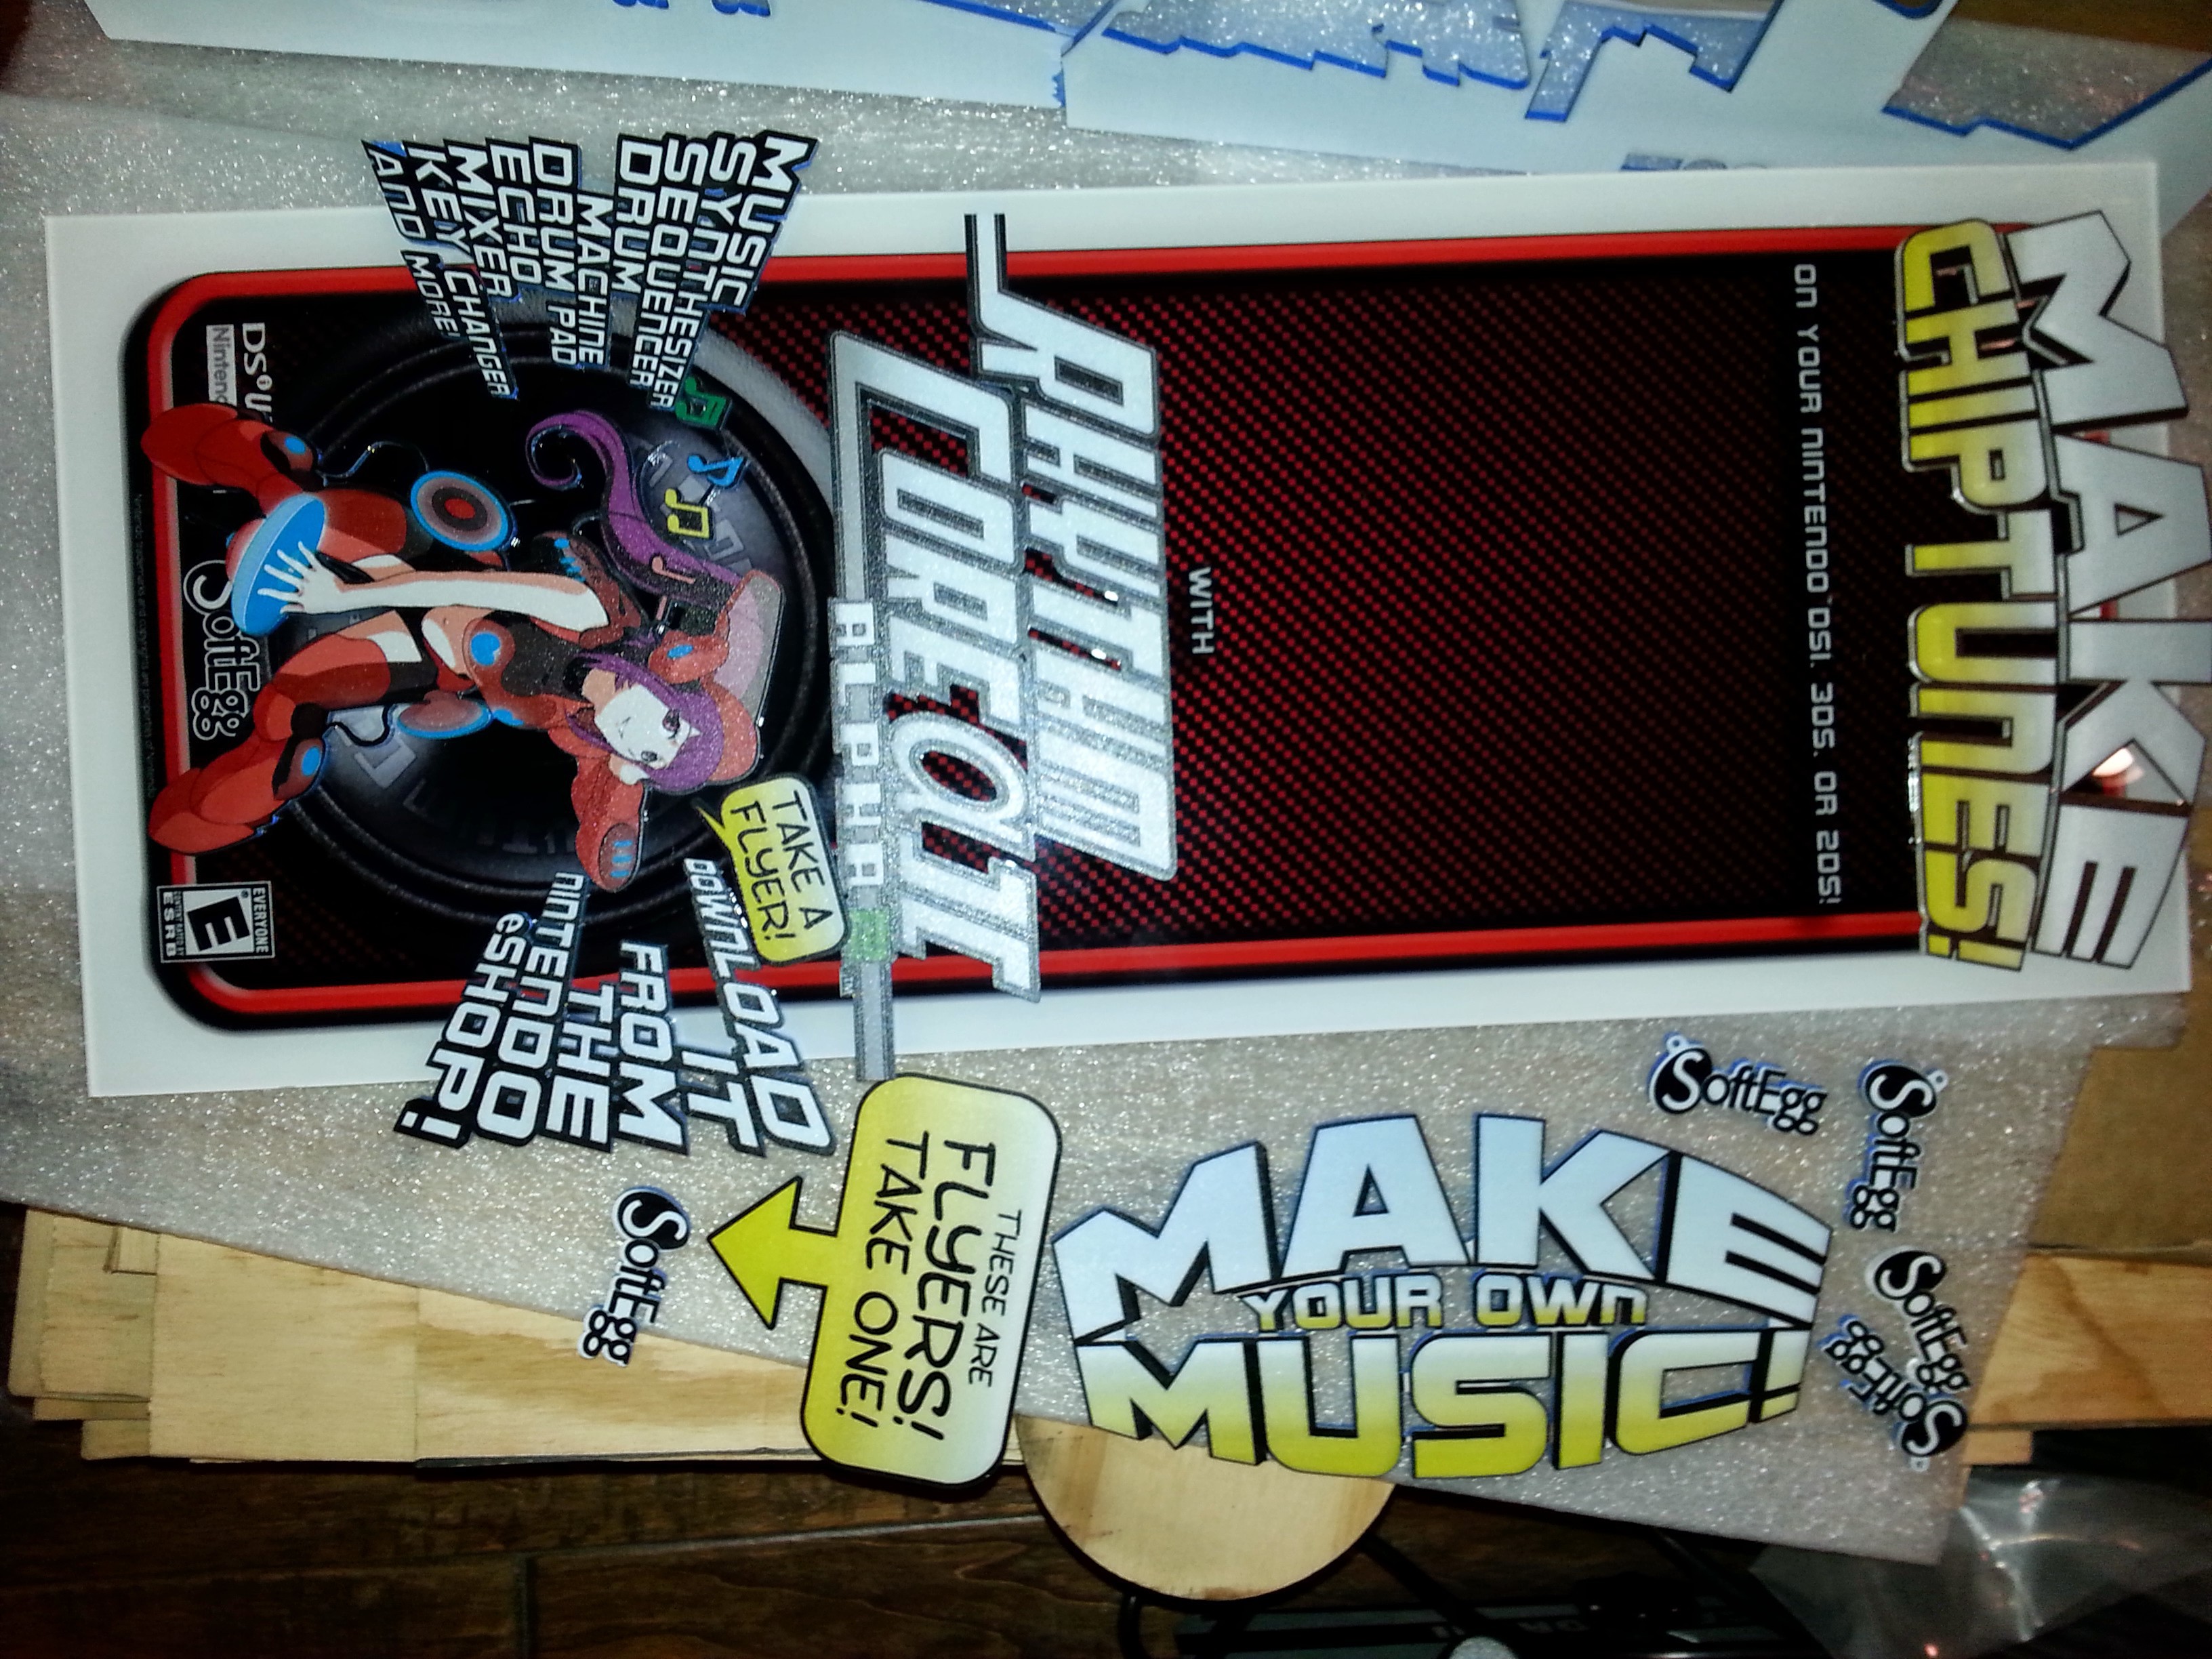
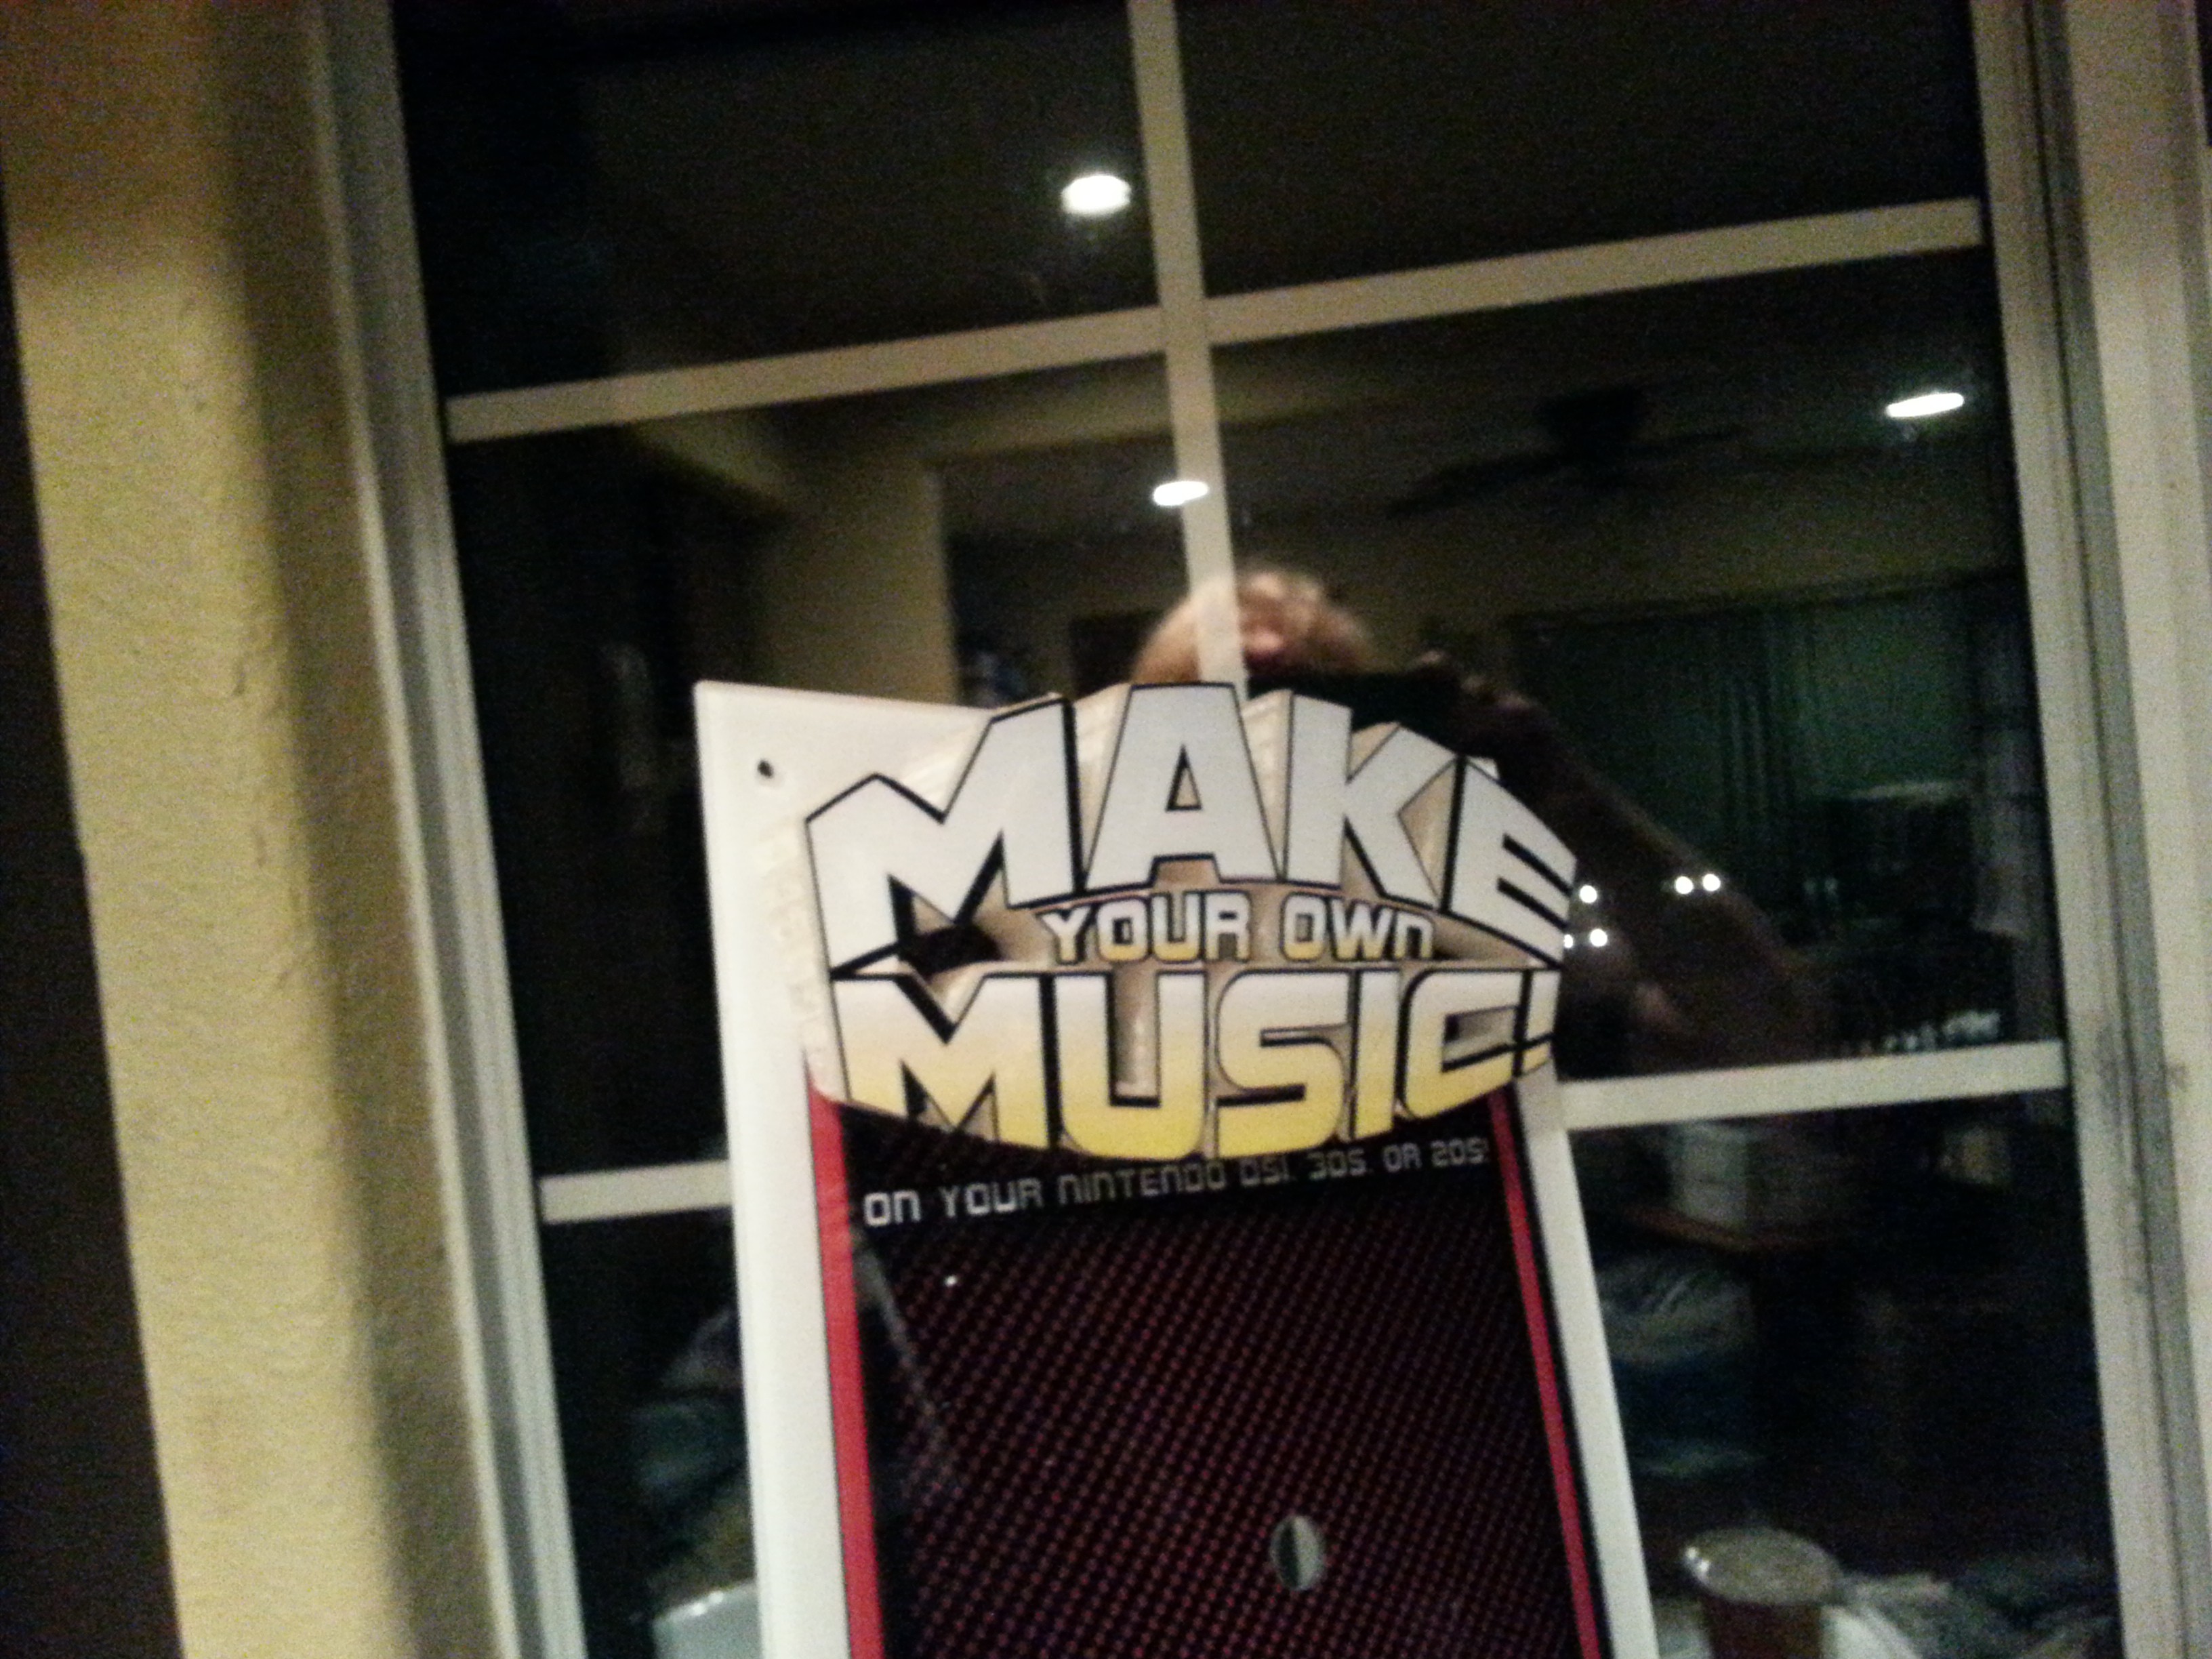
I've actually continued on this project. First, I got all of the foreground elements printed on acrylic sheet by a professional printer. That cost $$$. I used Signs.com. Despite much online chat consultation, they failed to print my registration marks, and added an extra white background. They didn't respond to any inquiries about that, so I guess I have to live with it.

Then I had all the foreground elements laser cut out of the sheet. Thanks to Diego and Metal at Deezmaker for letting me use their laser cutter!


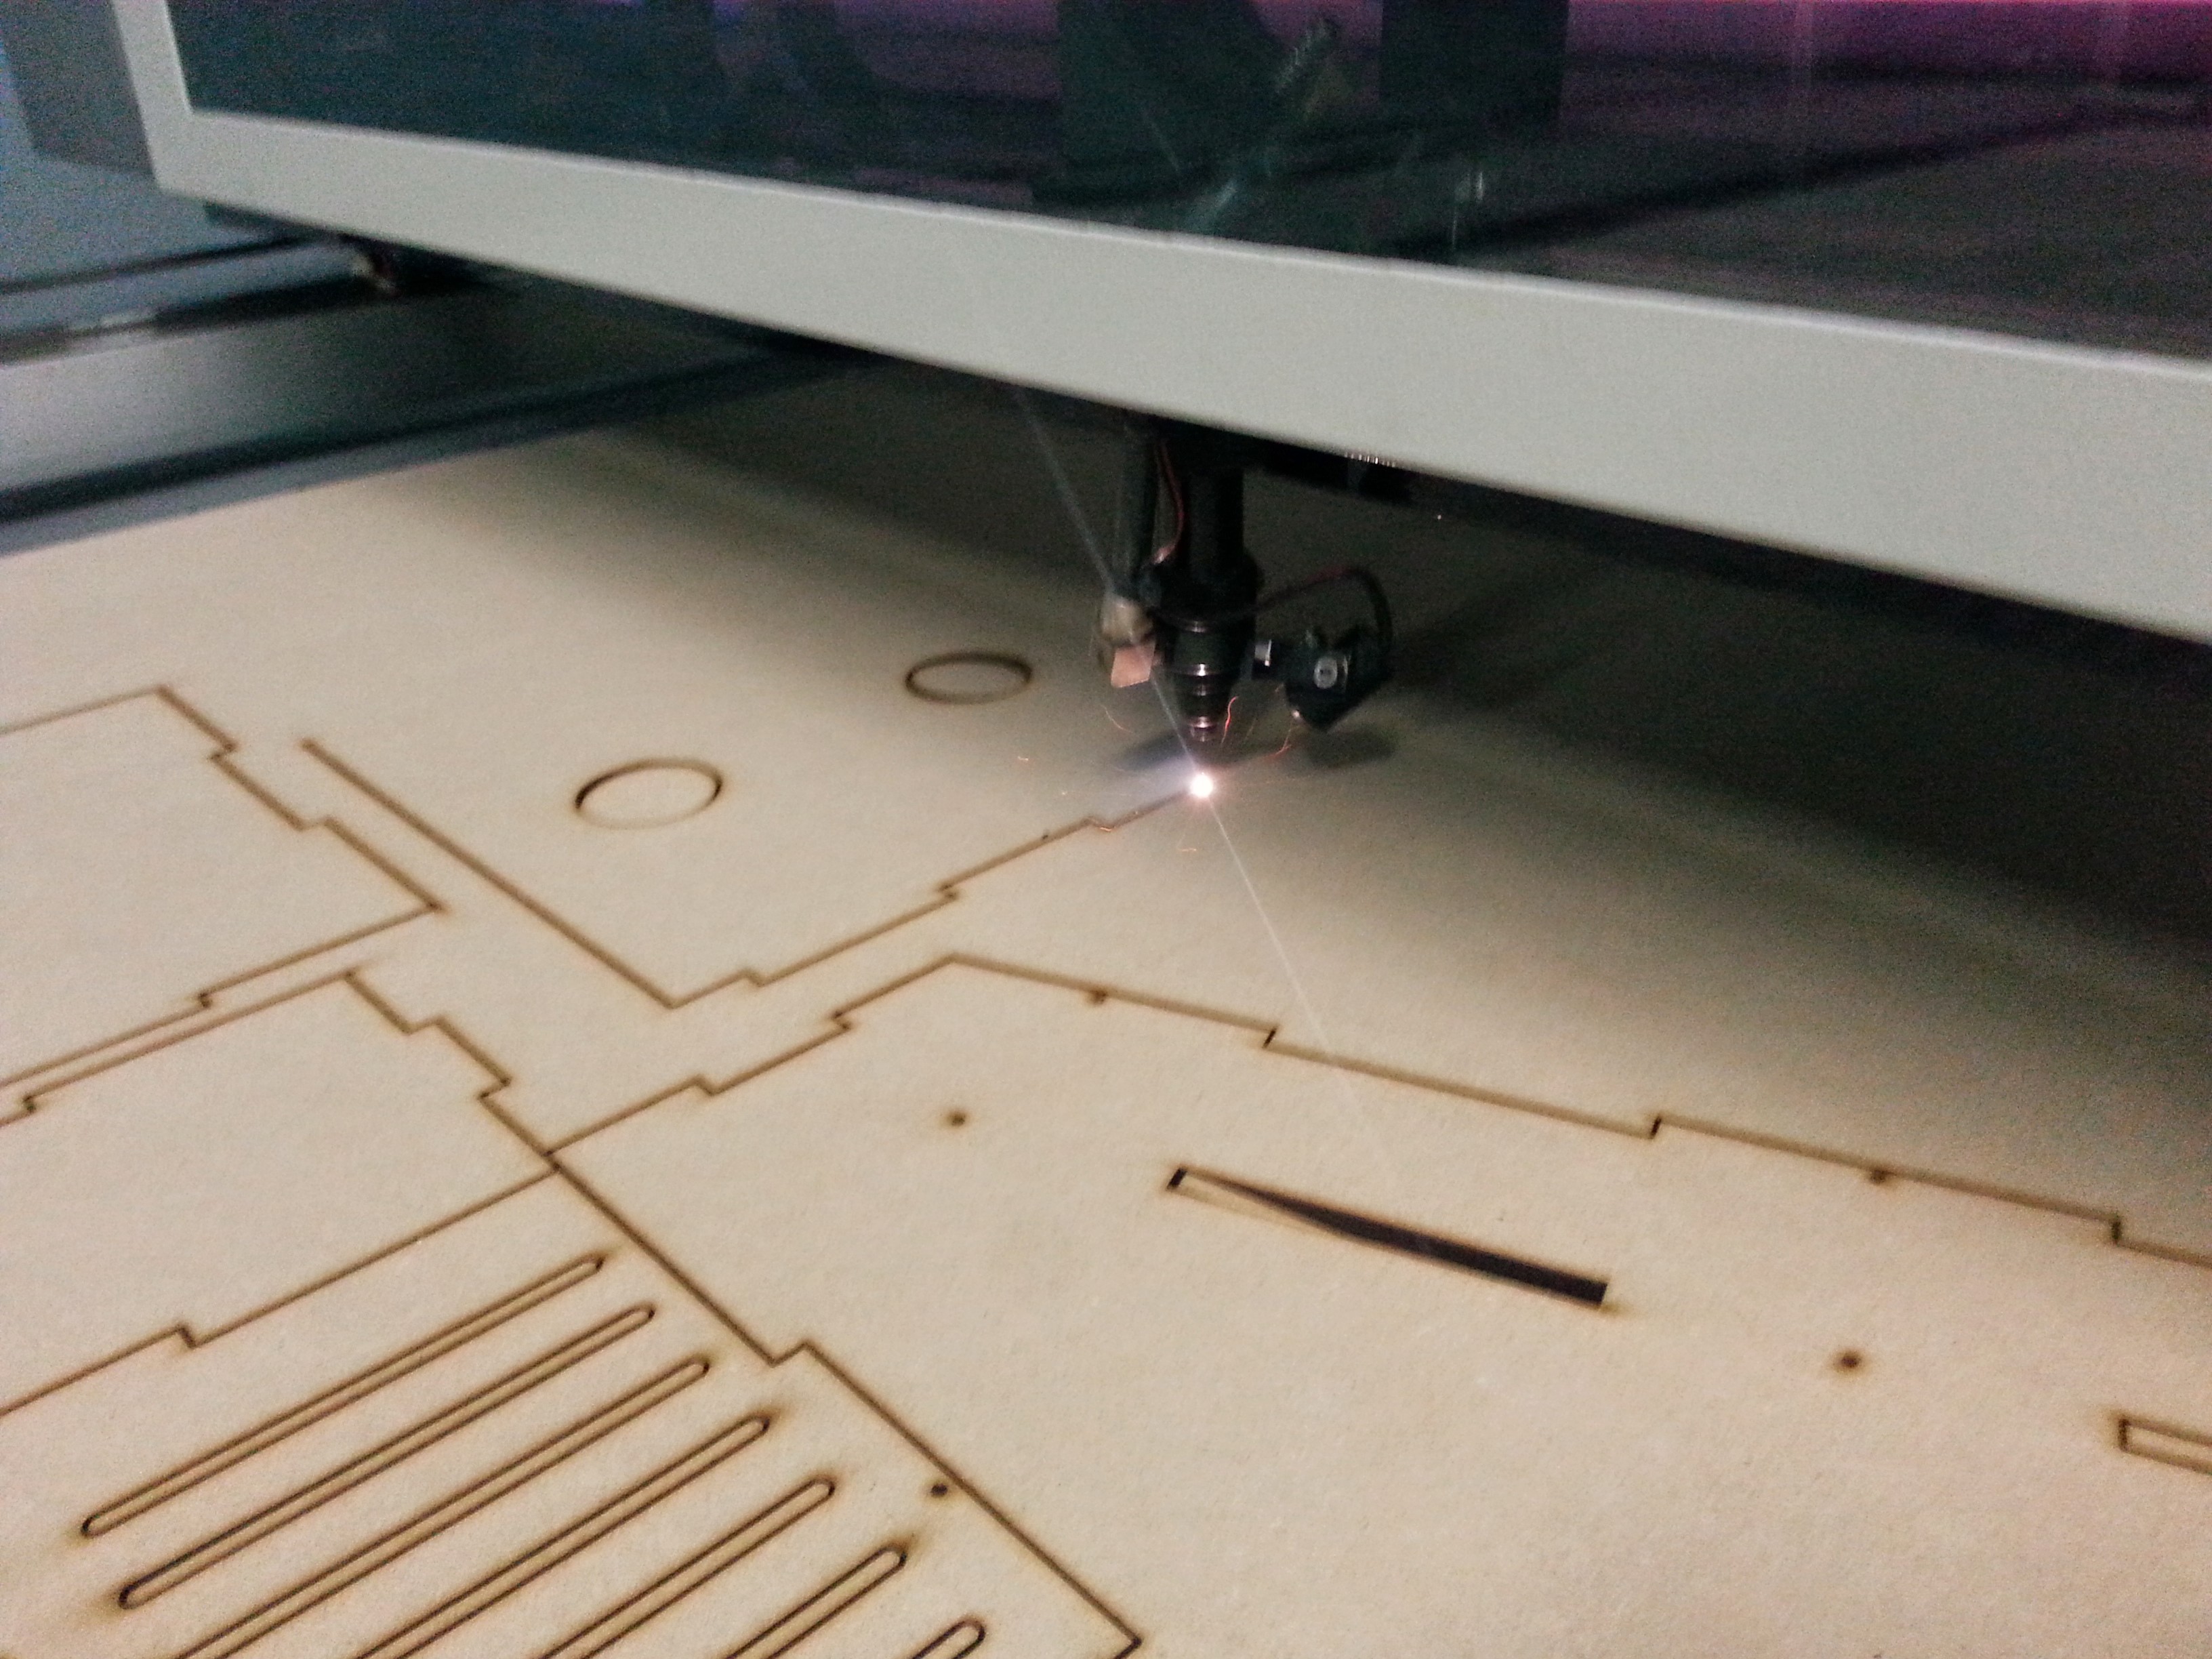
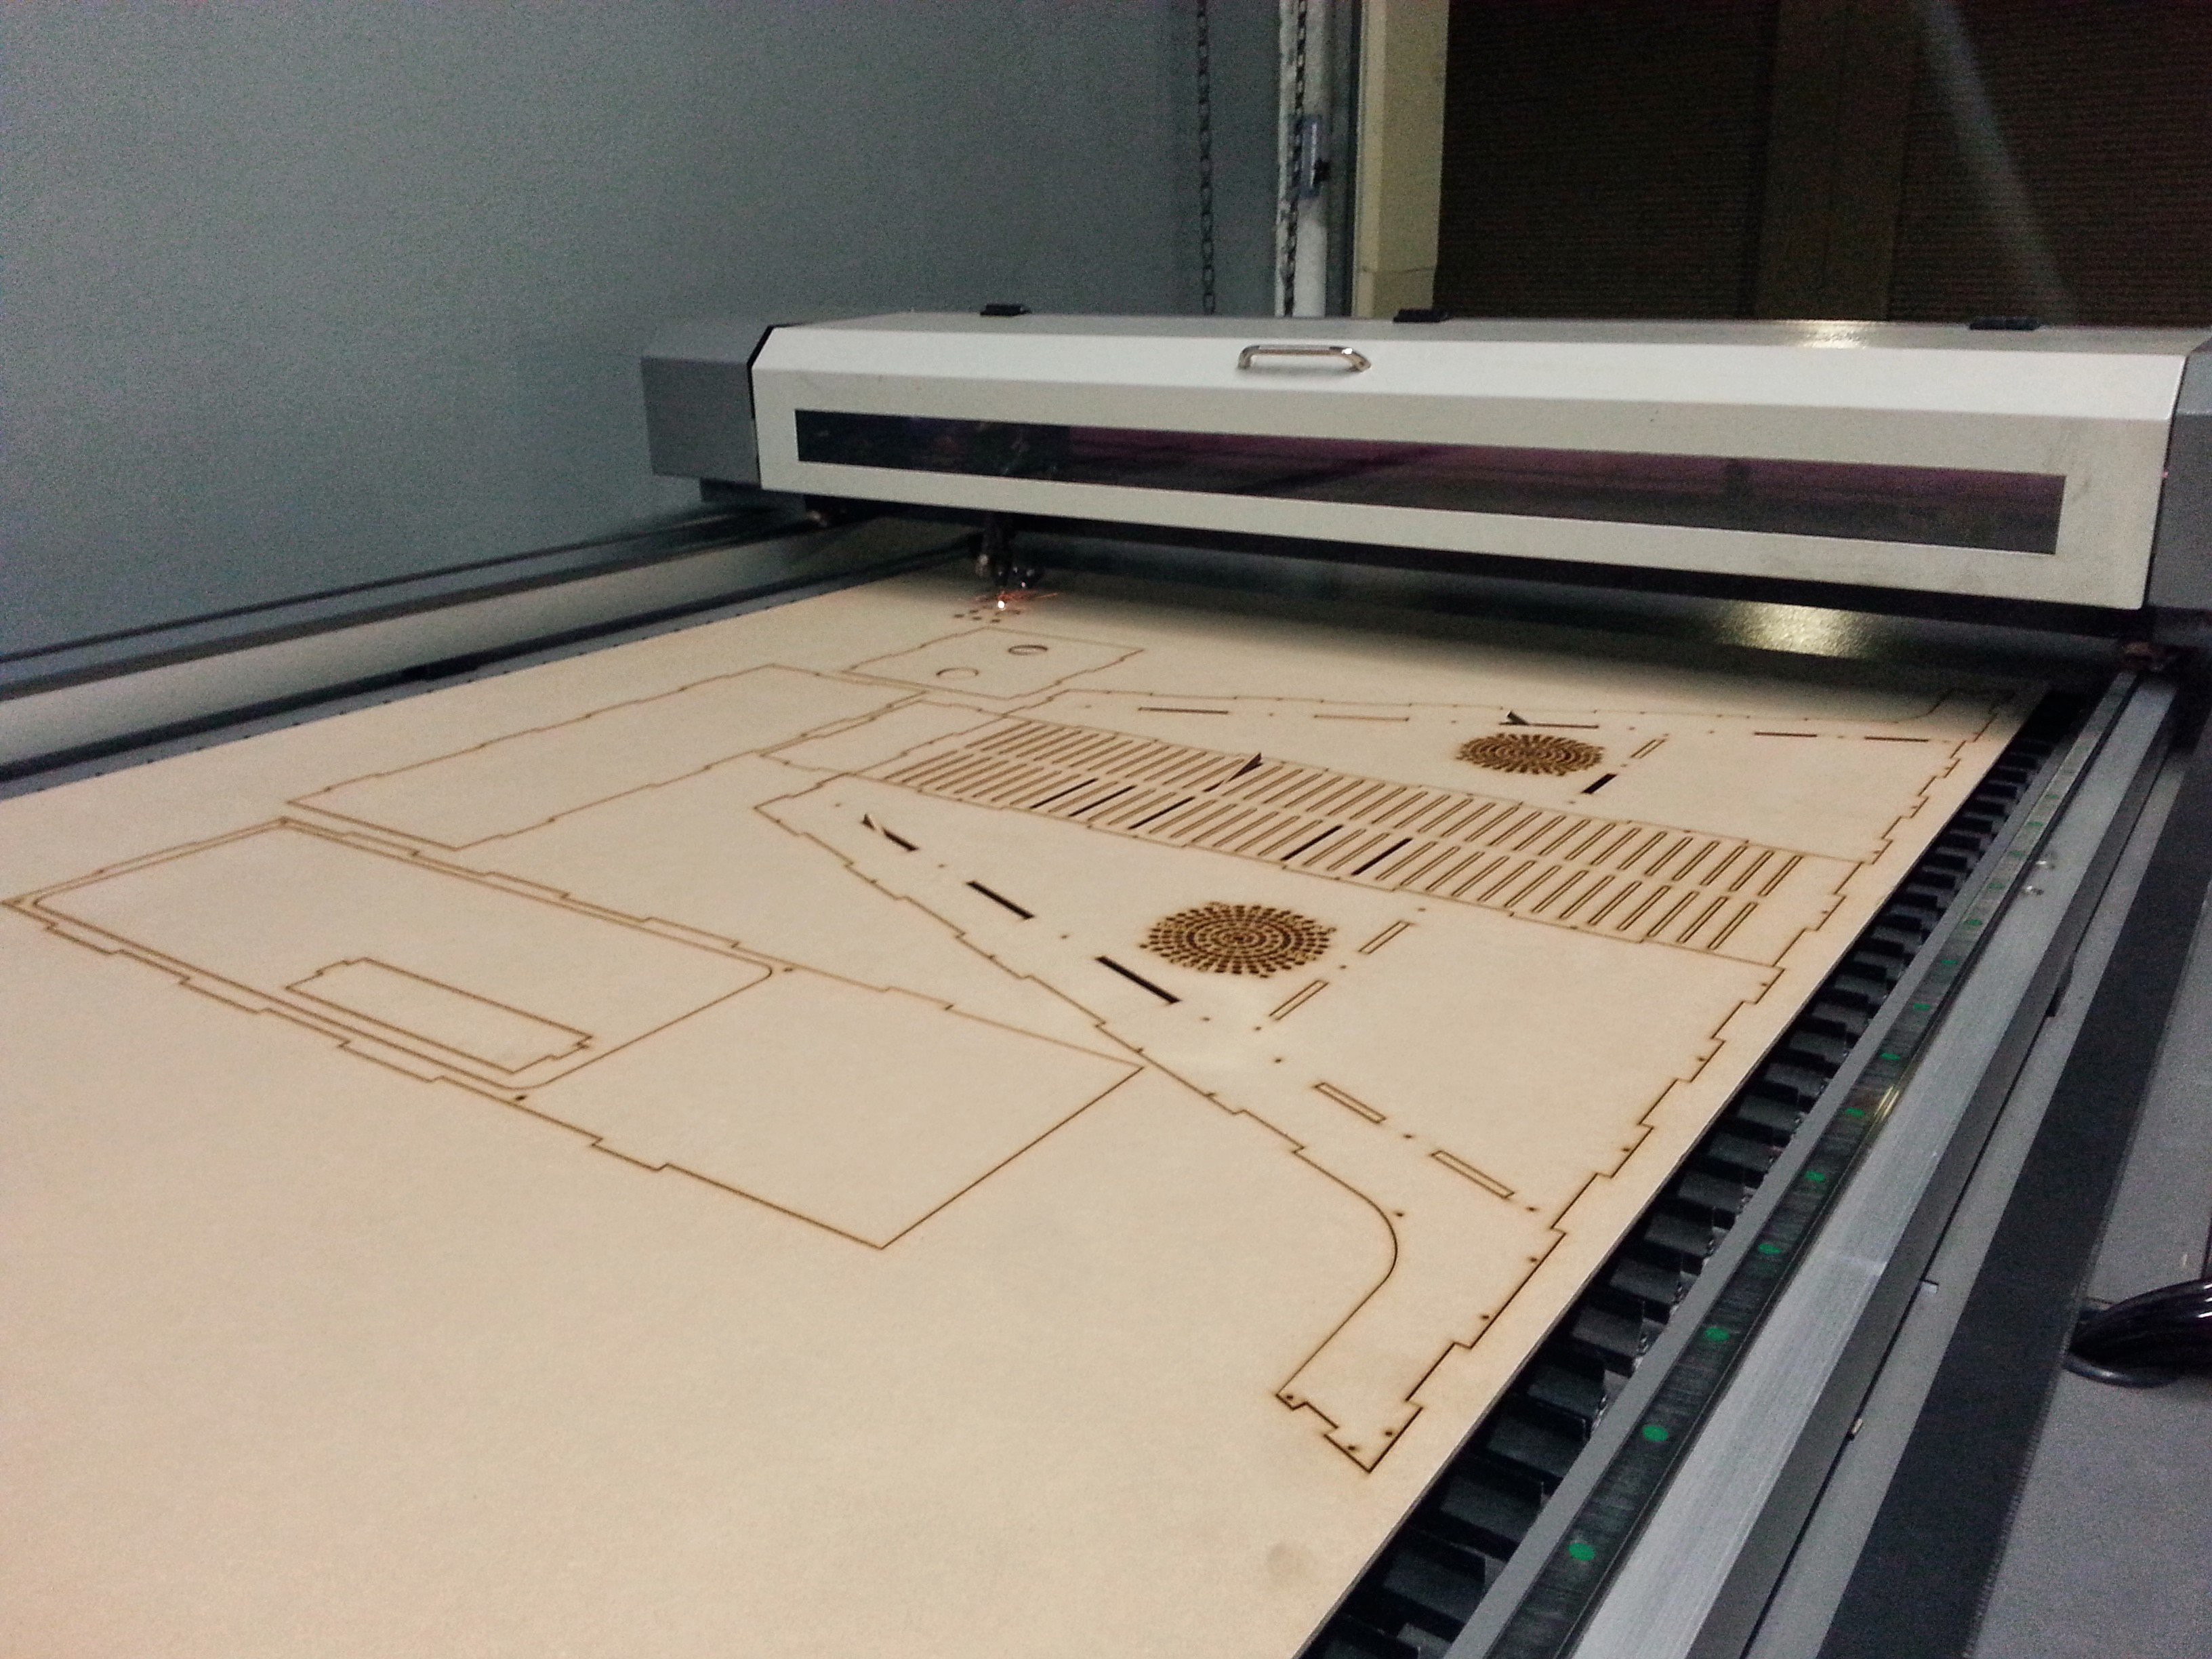
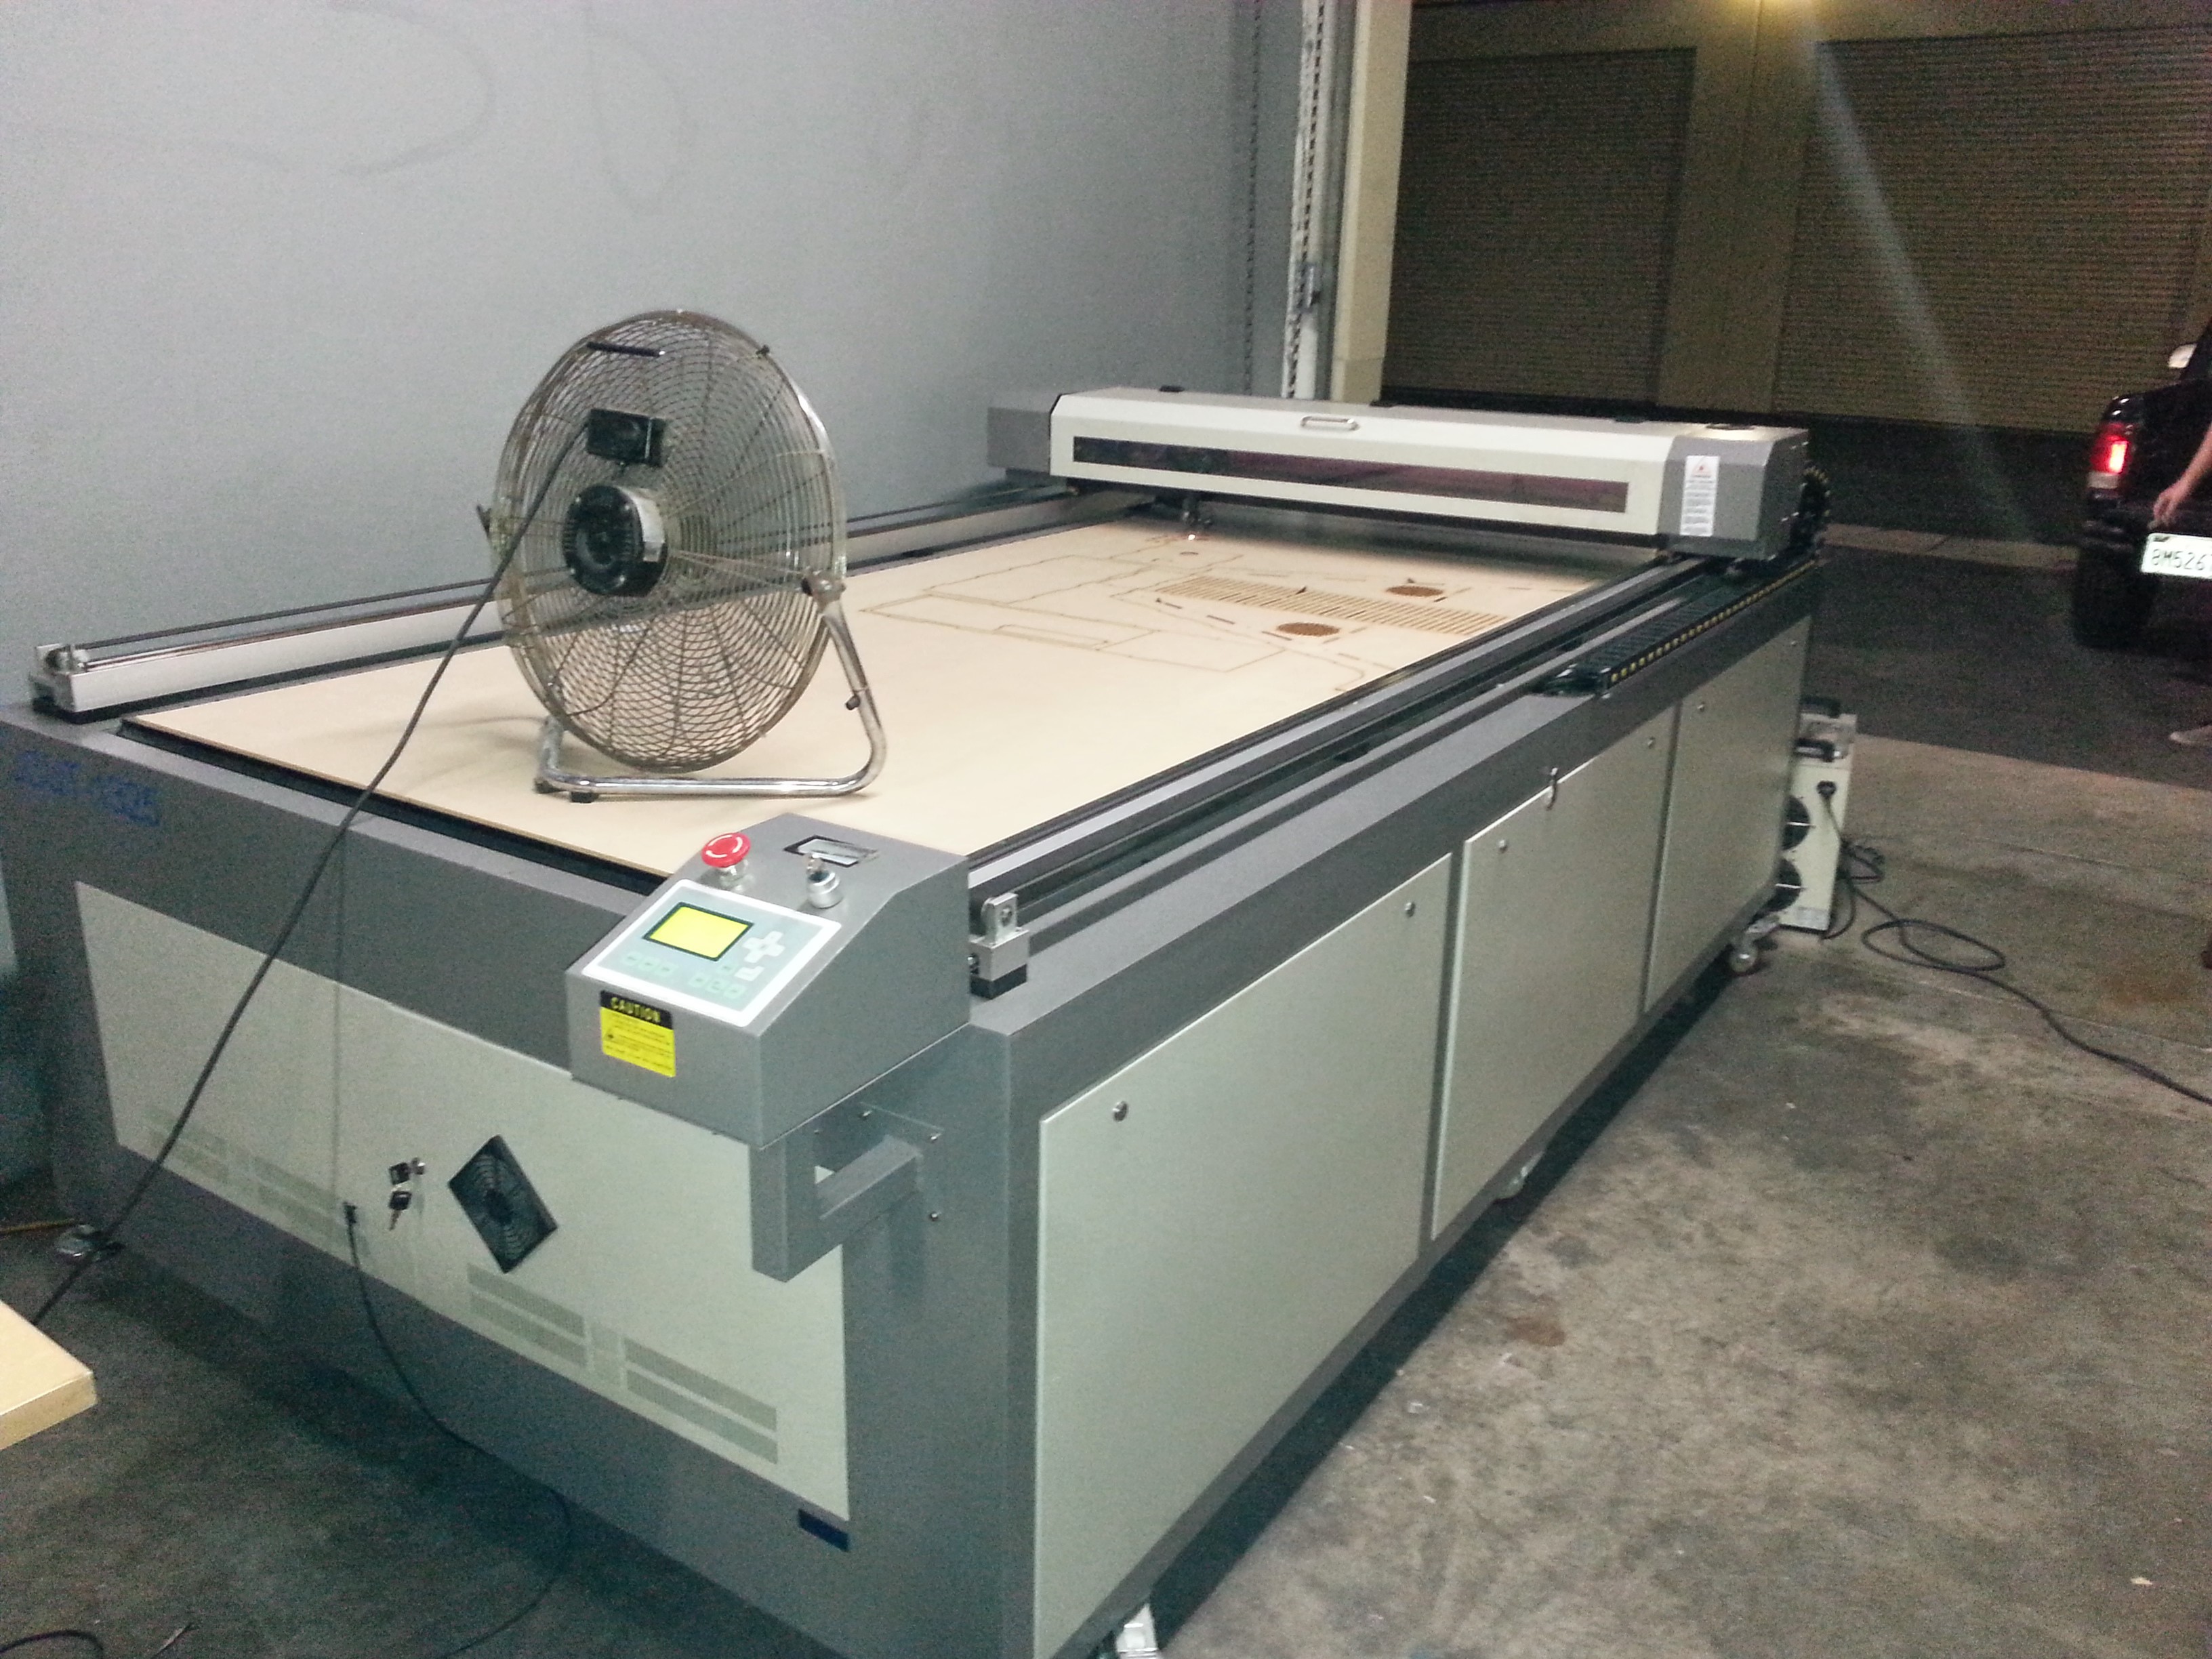
Now, I needed a new light box to mount everything on, and I wanted something better than the glued MDF boards I used before. I tried to do 1/8" plywood using the laser cutter at Deezmaker, but it tended to flame up and make a lot of smoke, and the cutter was too small to cut the pieces completely in their full size, so I had to abandon that idea.
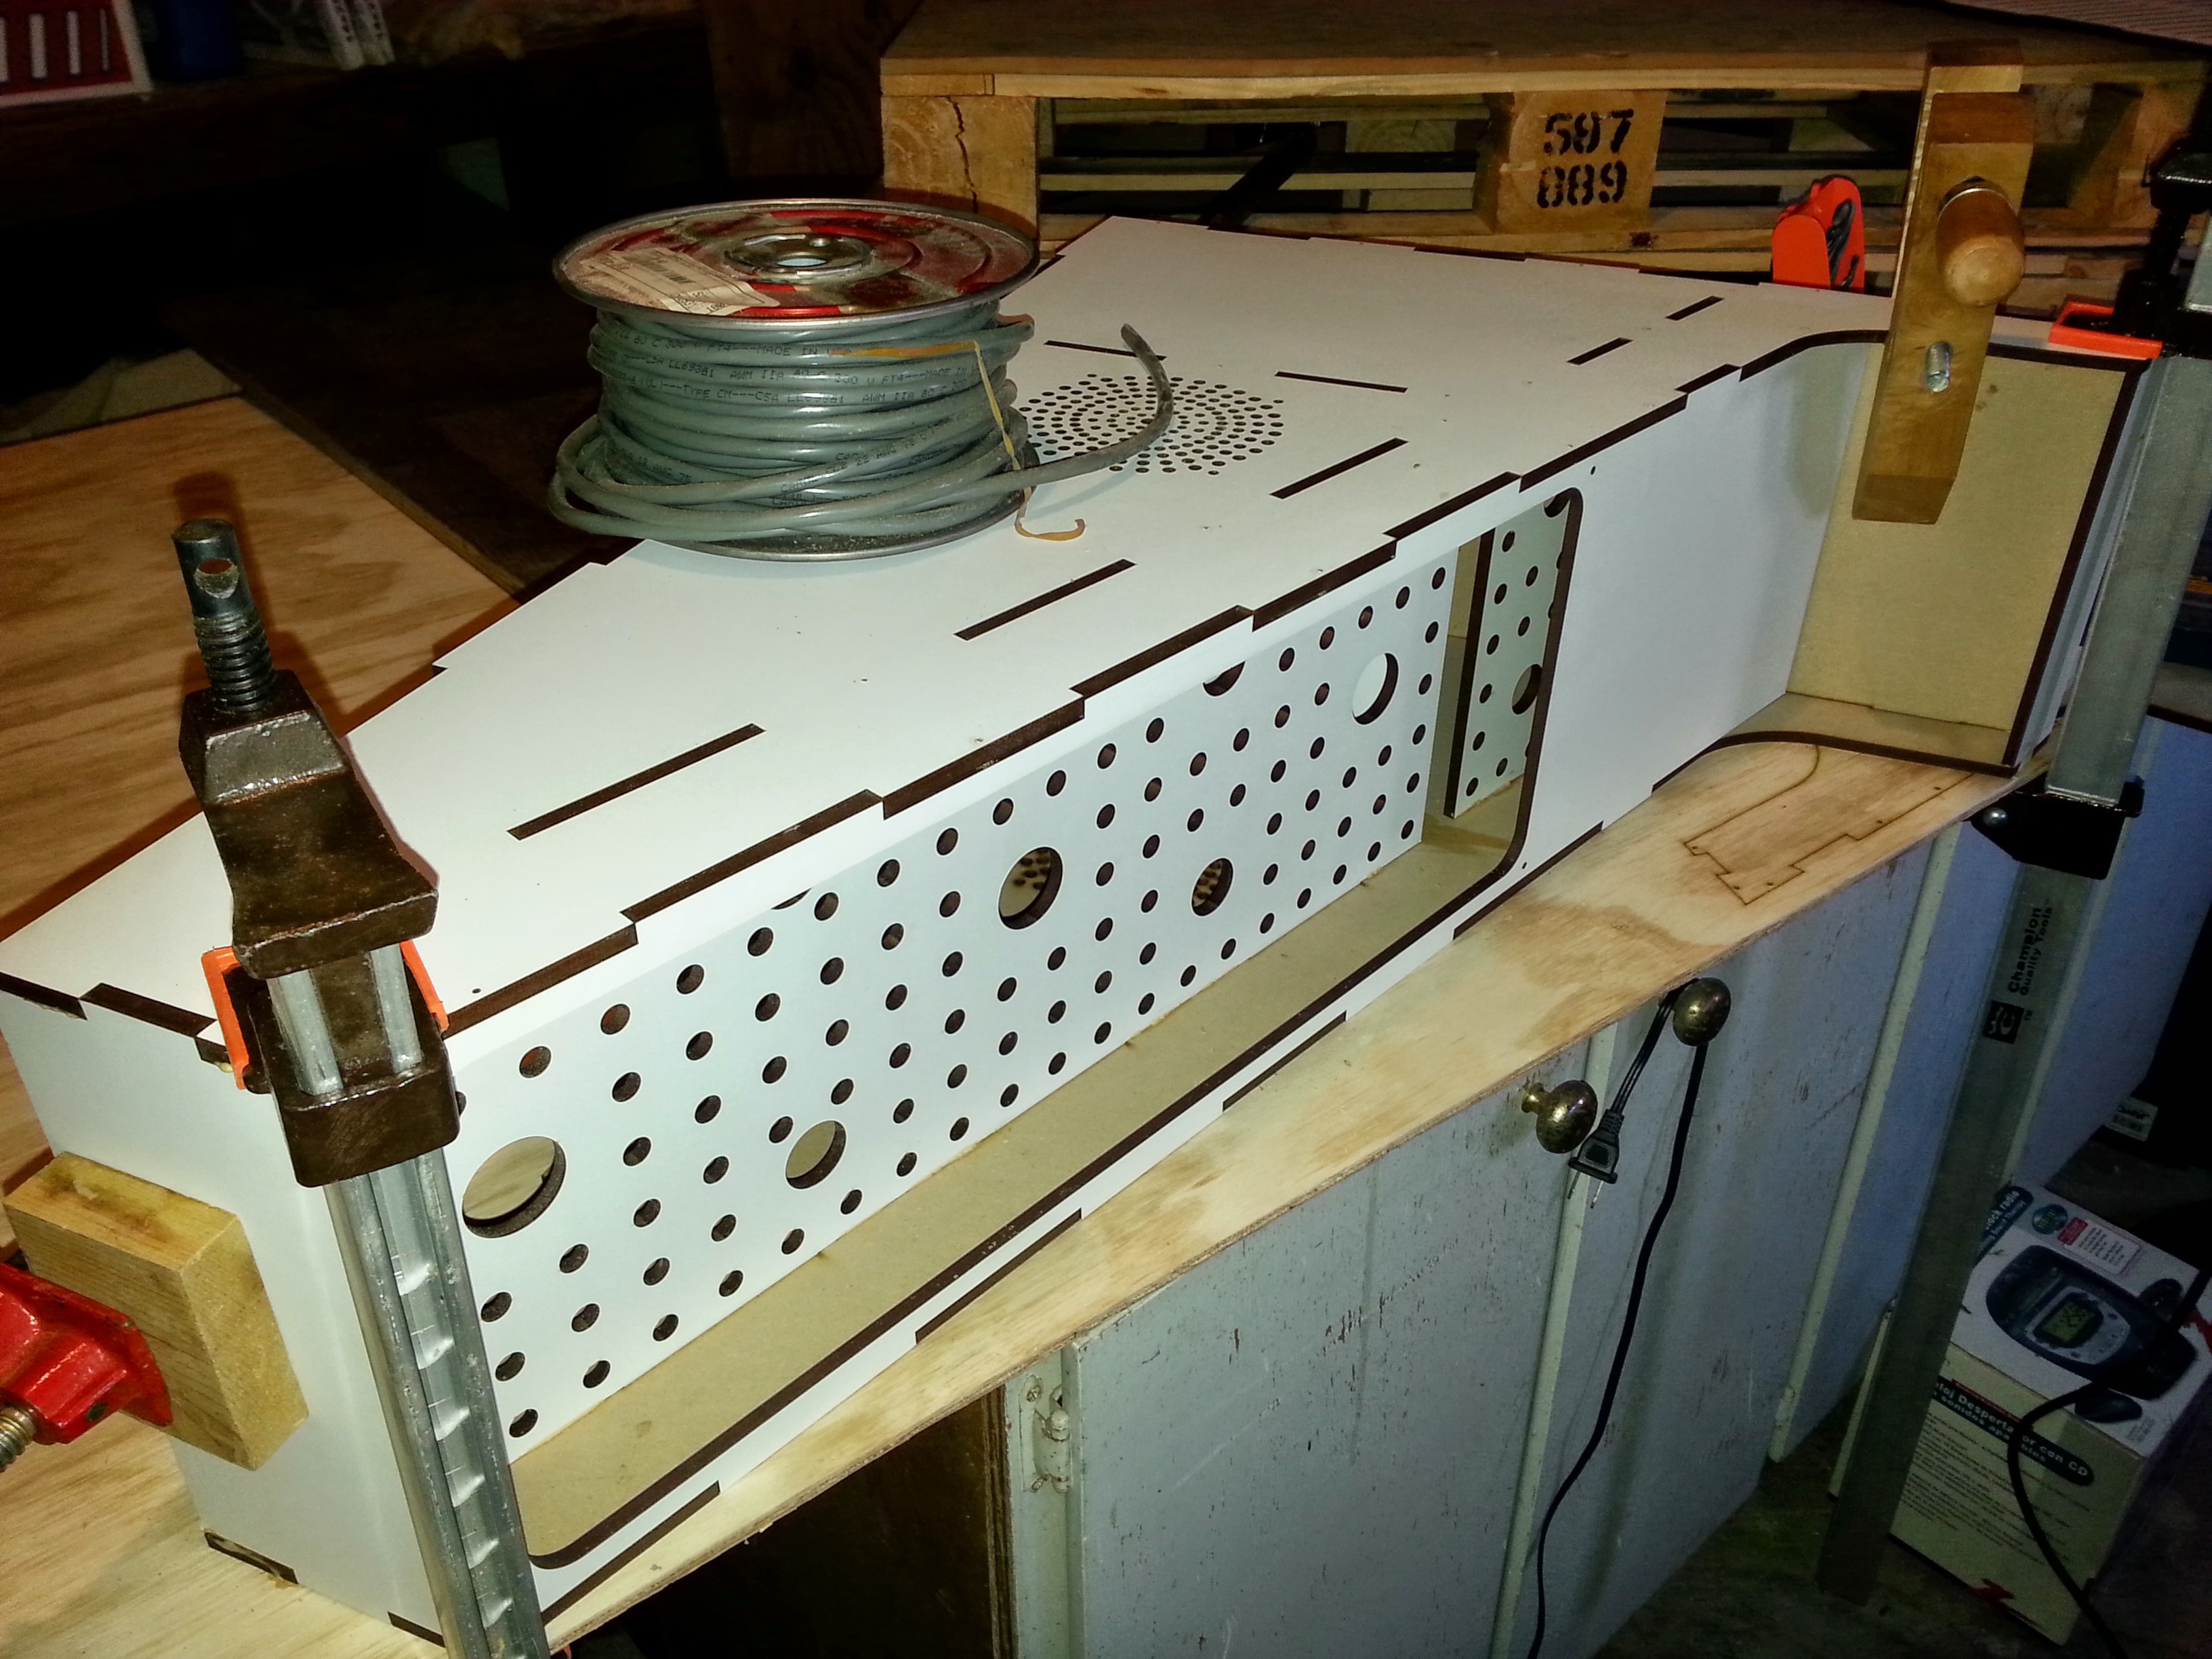
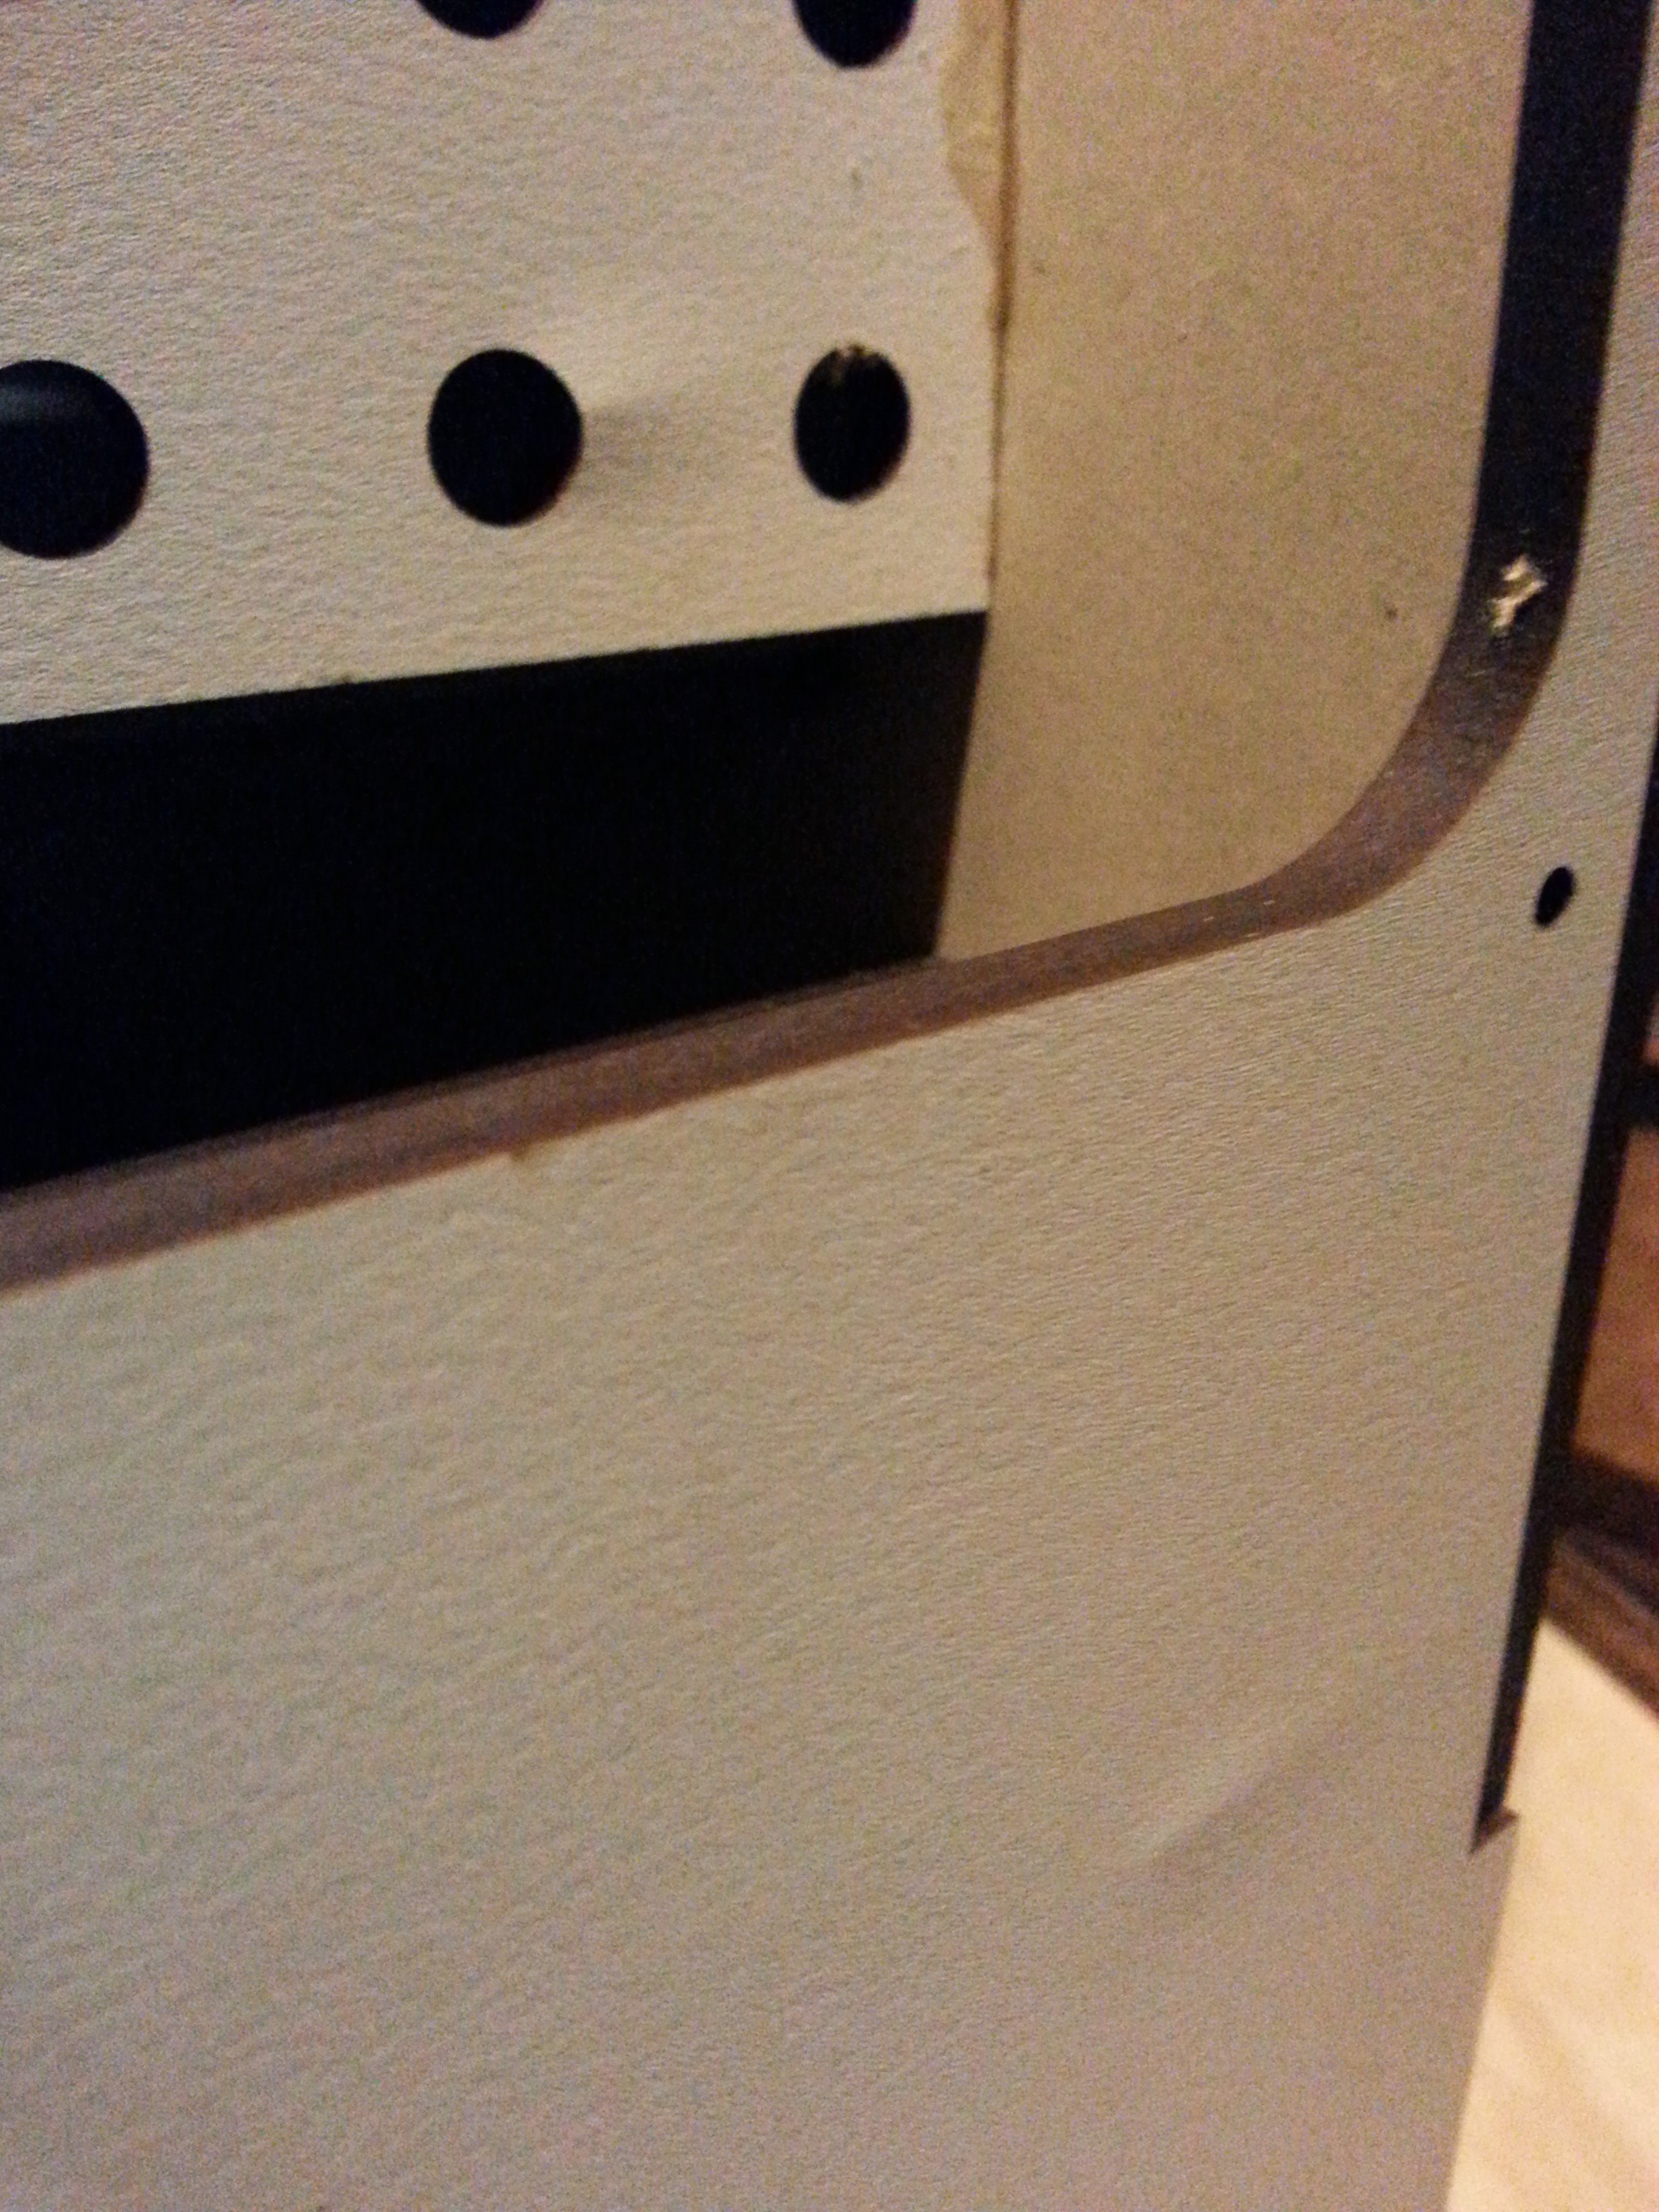
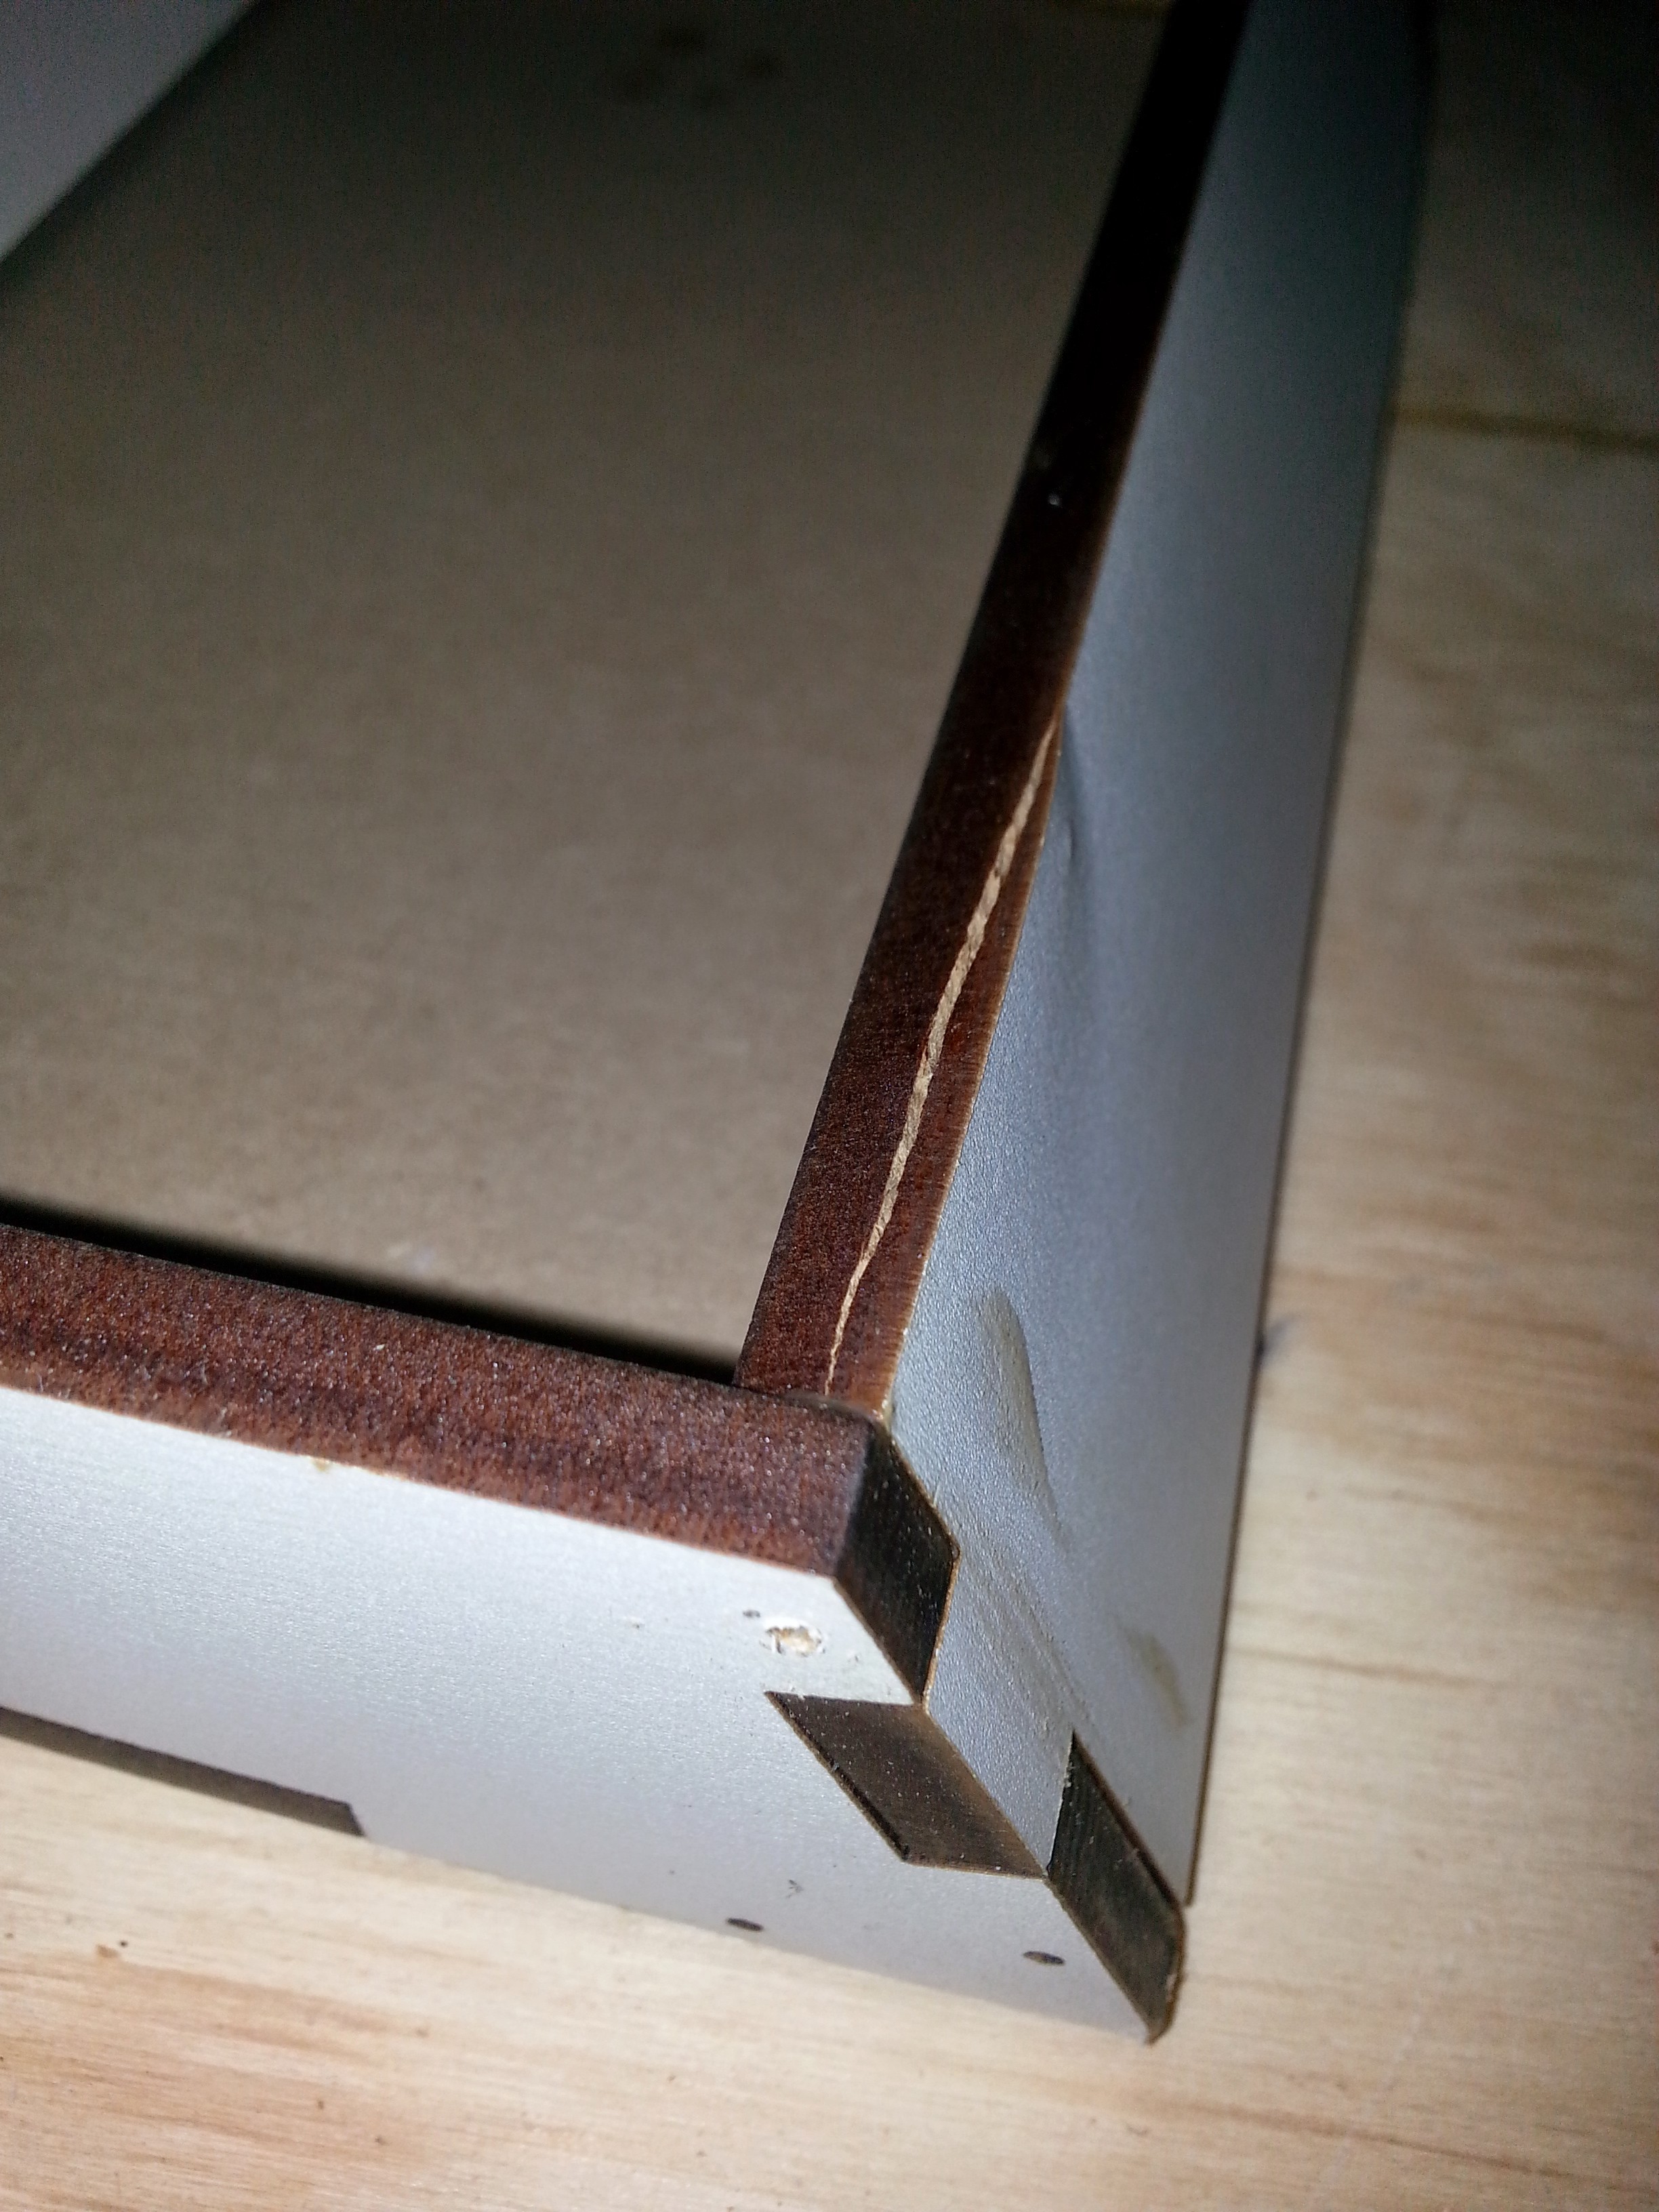
I was very lucky that Plasma at the Plasmatorium near 23b Shop Hackerspace in Fullerton was willing to help me out with his giant 4'x8' laser cutter! It made short work of the whole thing. First we tried the plywood again, but Plasma was unsatisfied with that, so we moved to 1/8" vinyl coated MDF. Not as sturdy as plywood (don't try to drive nails or screws in the sides!) but it looks swell and cuts great on the laser!


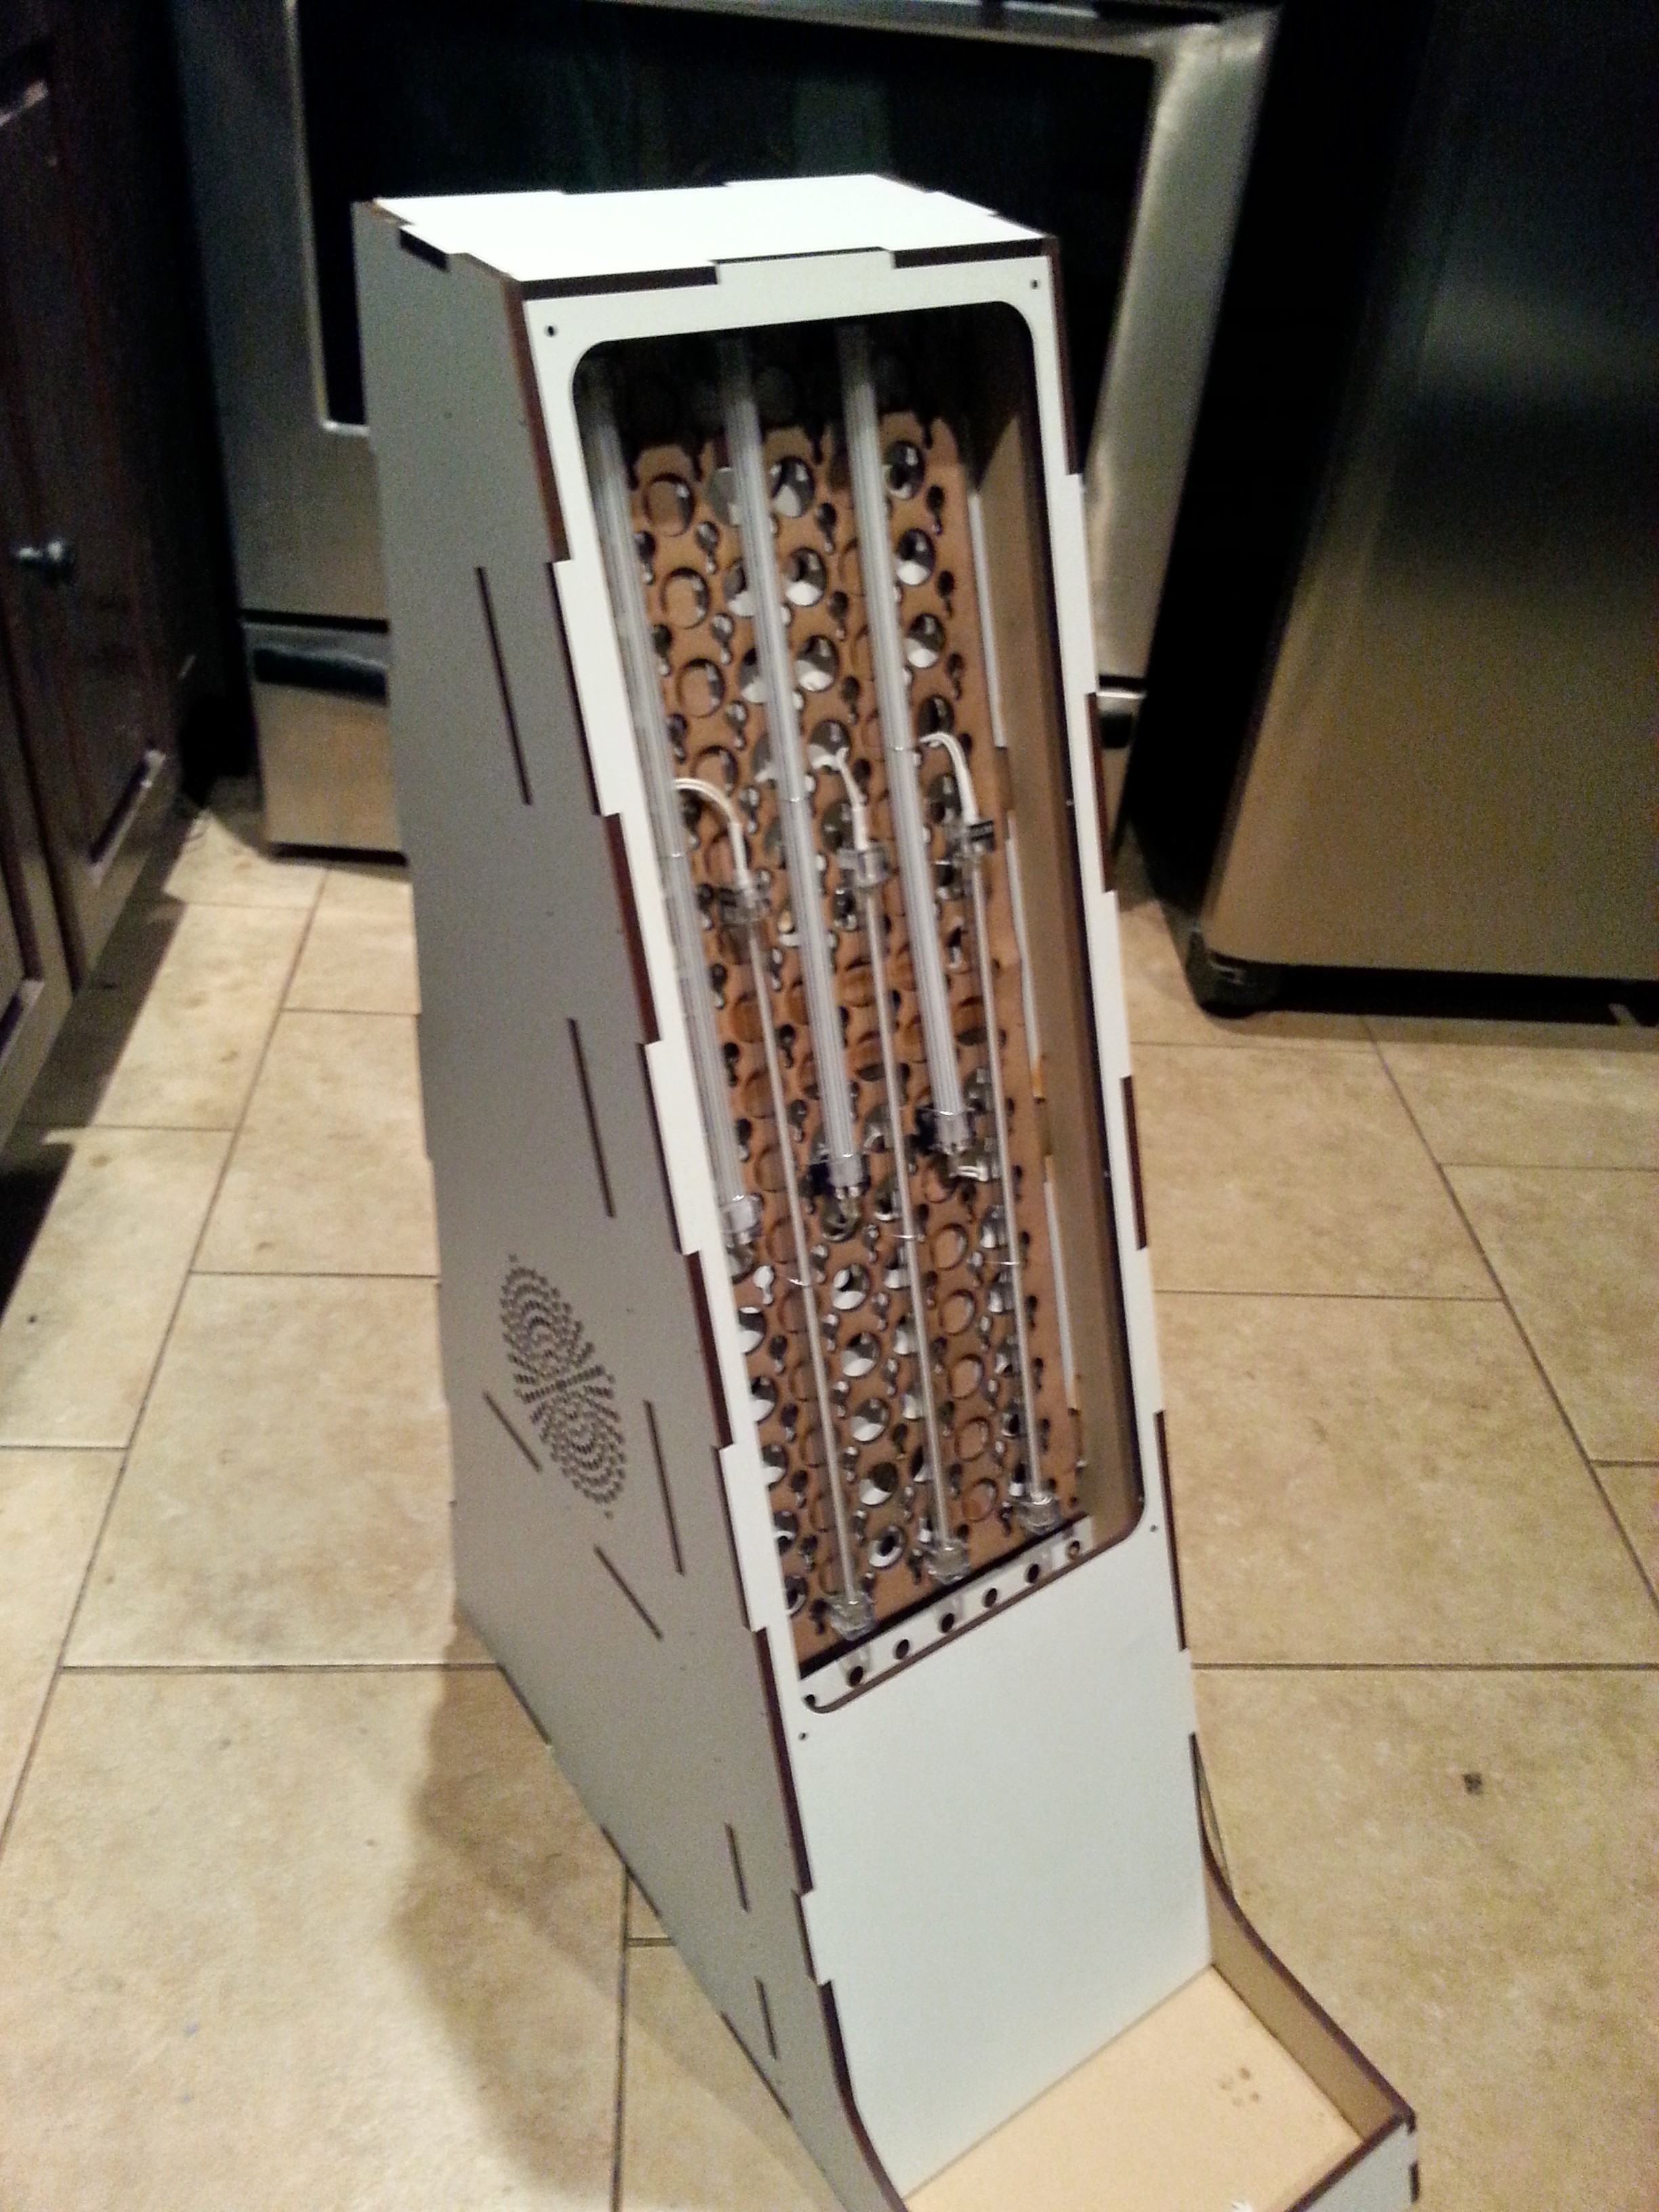
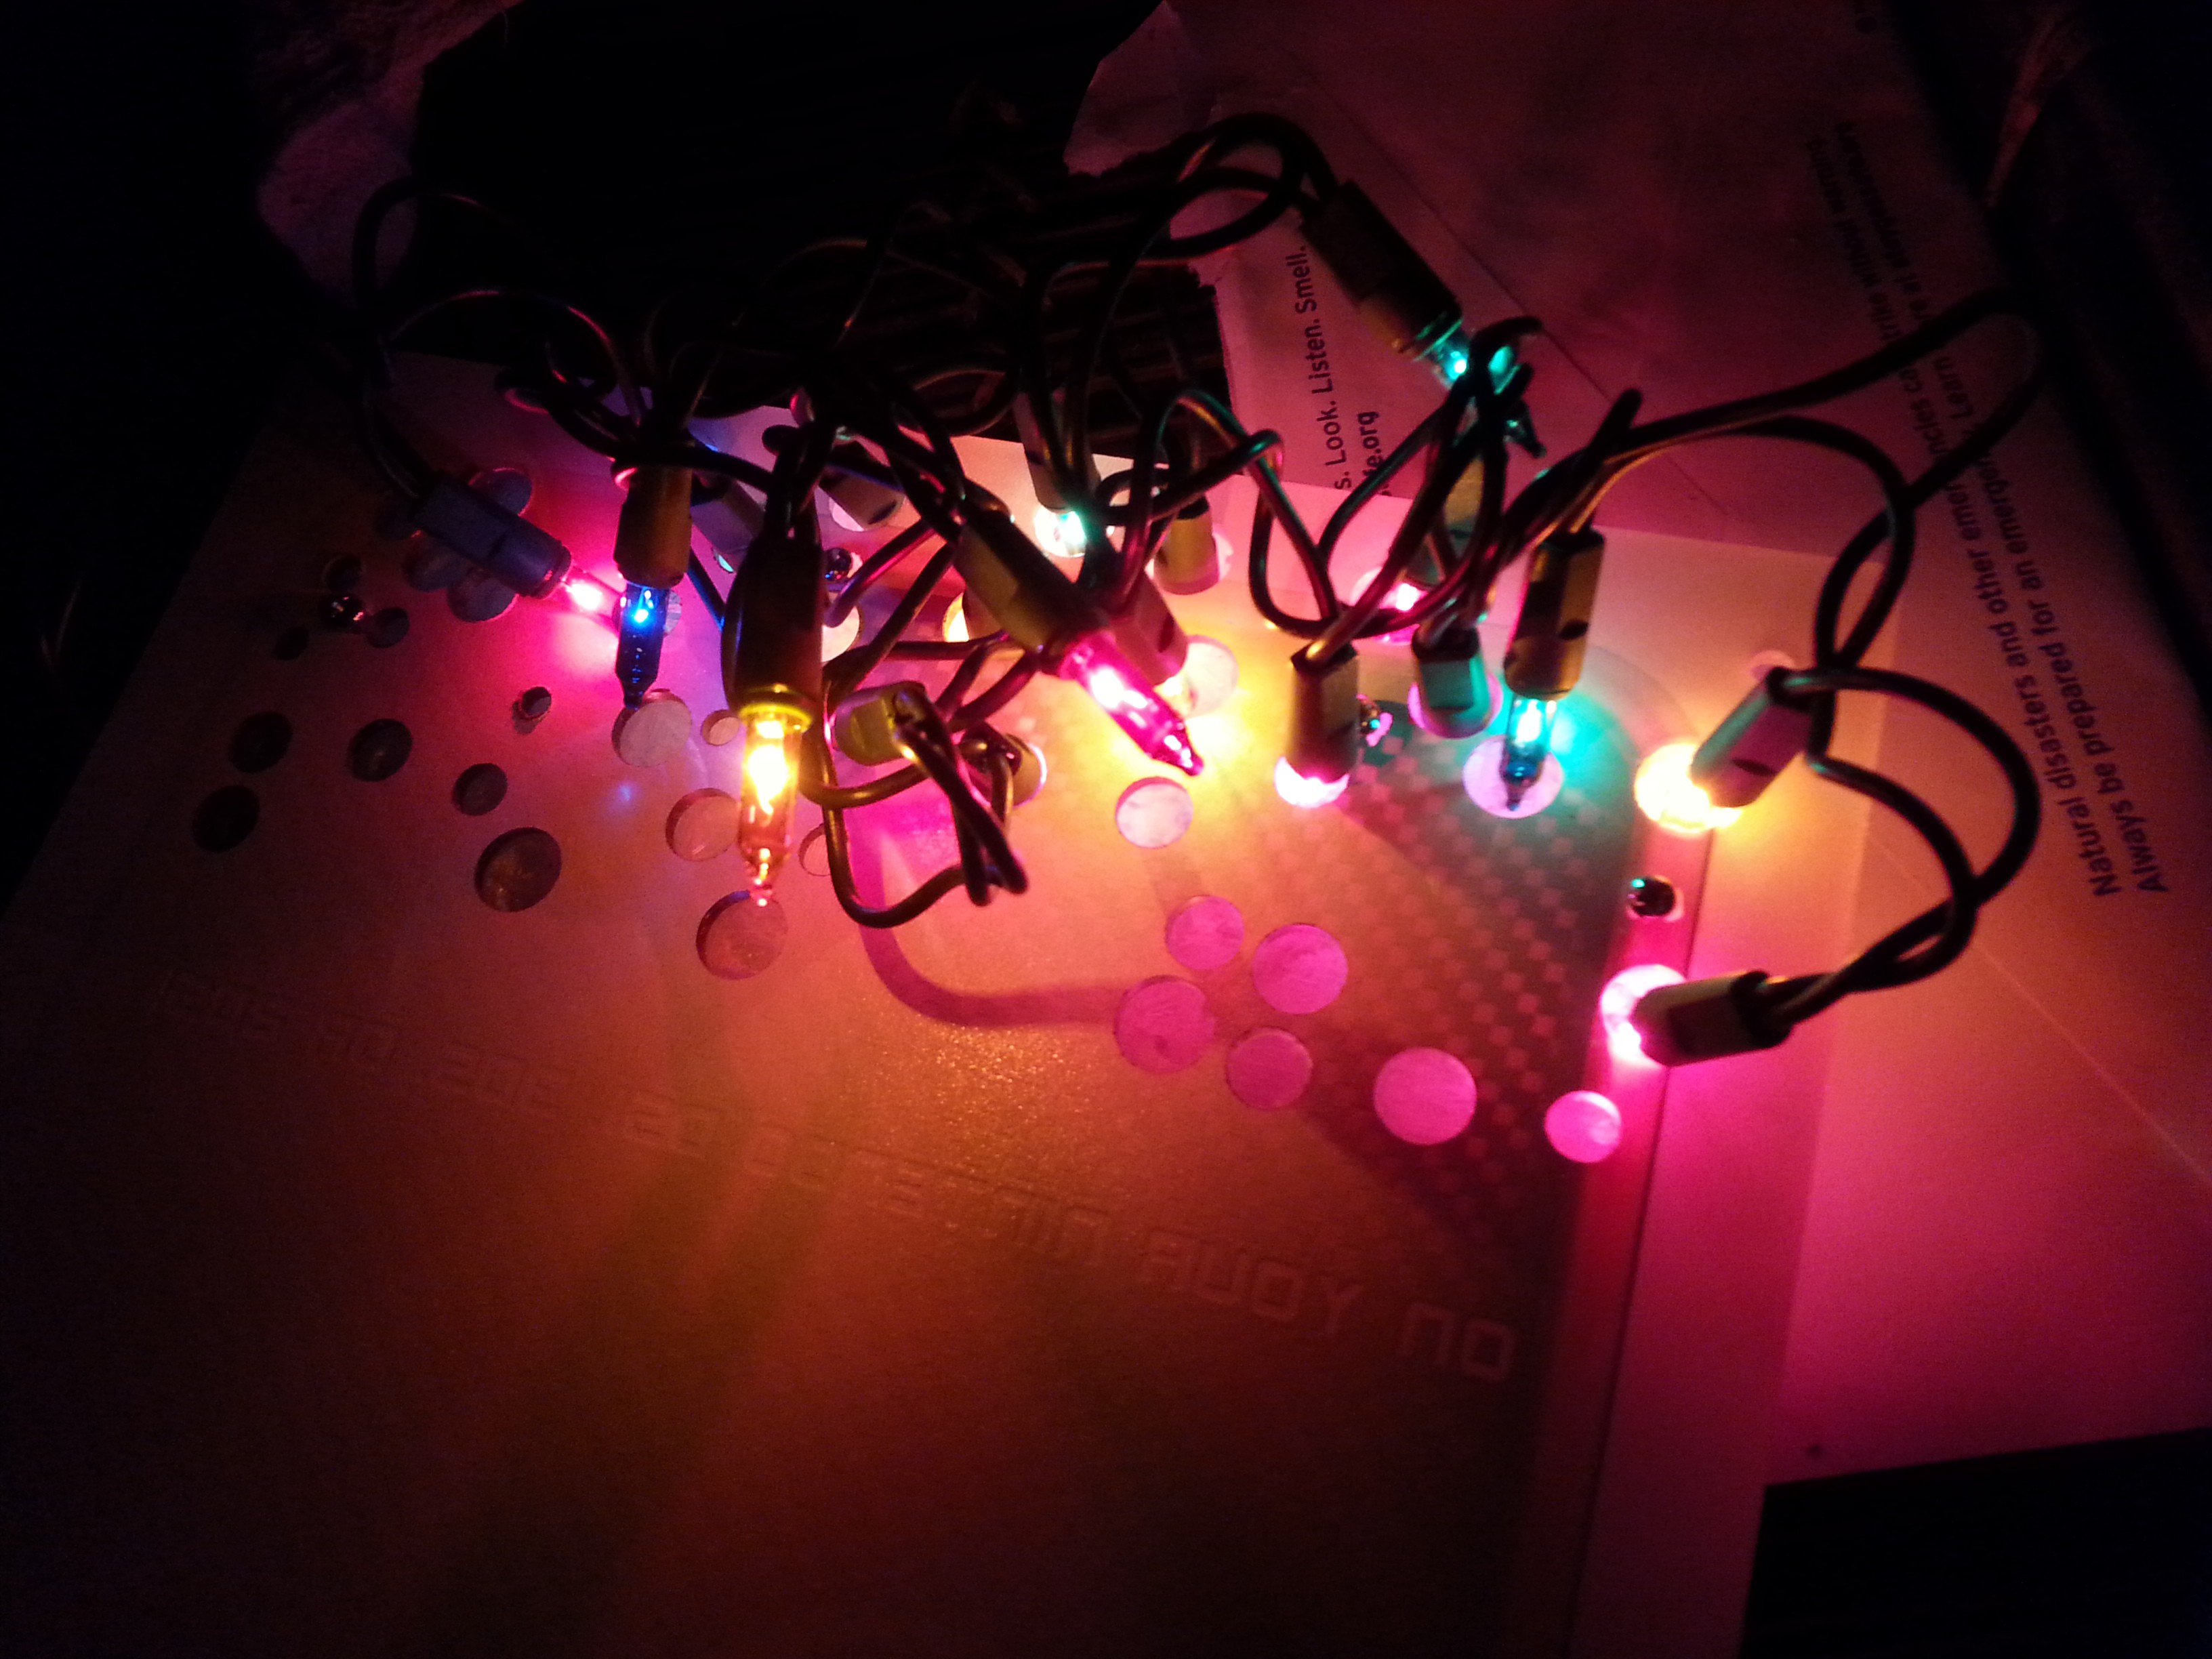
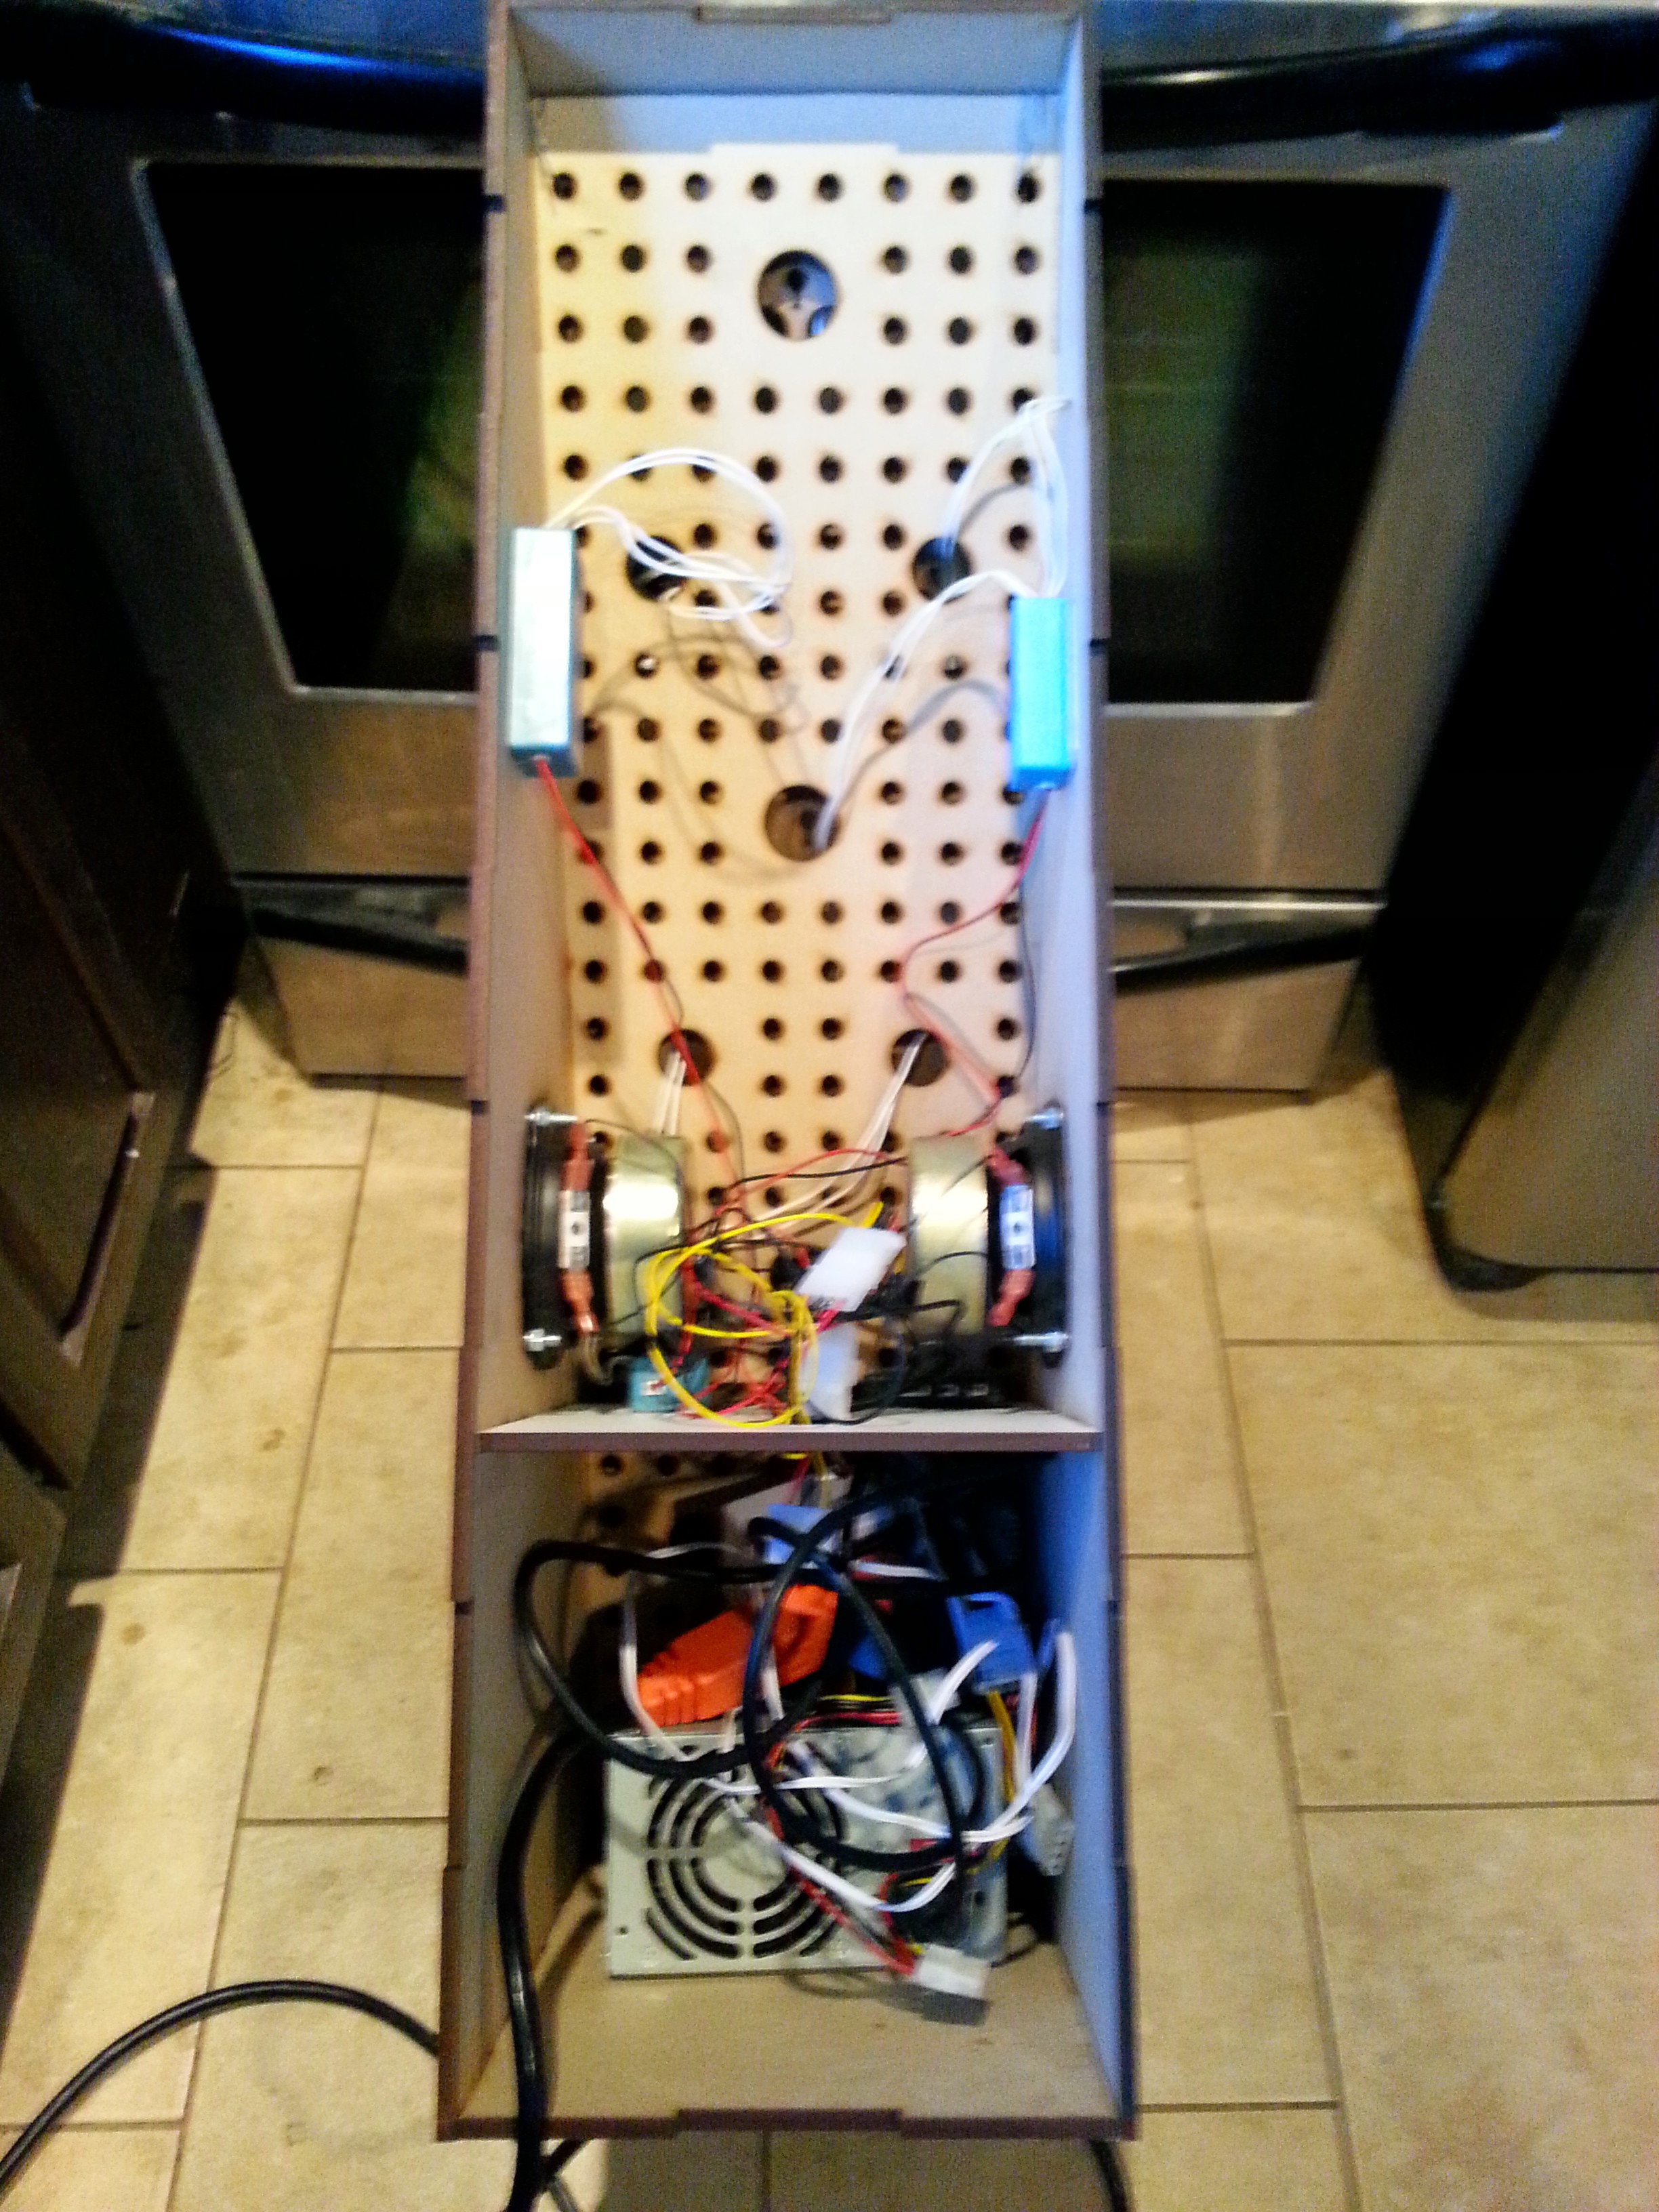
Finally, the whole lightbox was together... now we have to put lights on it! Although I had made a whole new light plane for the box, it was easiest just to take the already wired plane from the old box and wire it in place. The backlights were originally christmas tree lights; I was supposed to use the blinky ones but they didn't fit in the holes! They were hot and not very bright, so I switched to PC mod kit CFL tubes powered by an old PC power supply hidden in the case.
The speakers were also added at this point... again, salvaged from the previous version of the display stand.
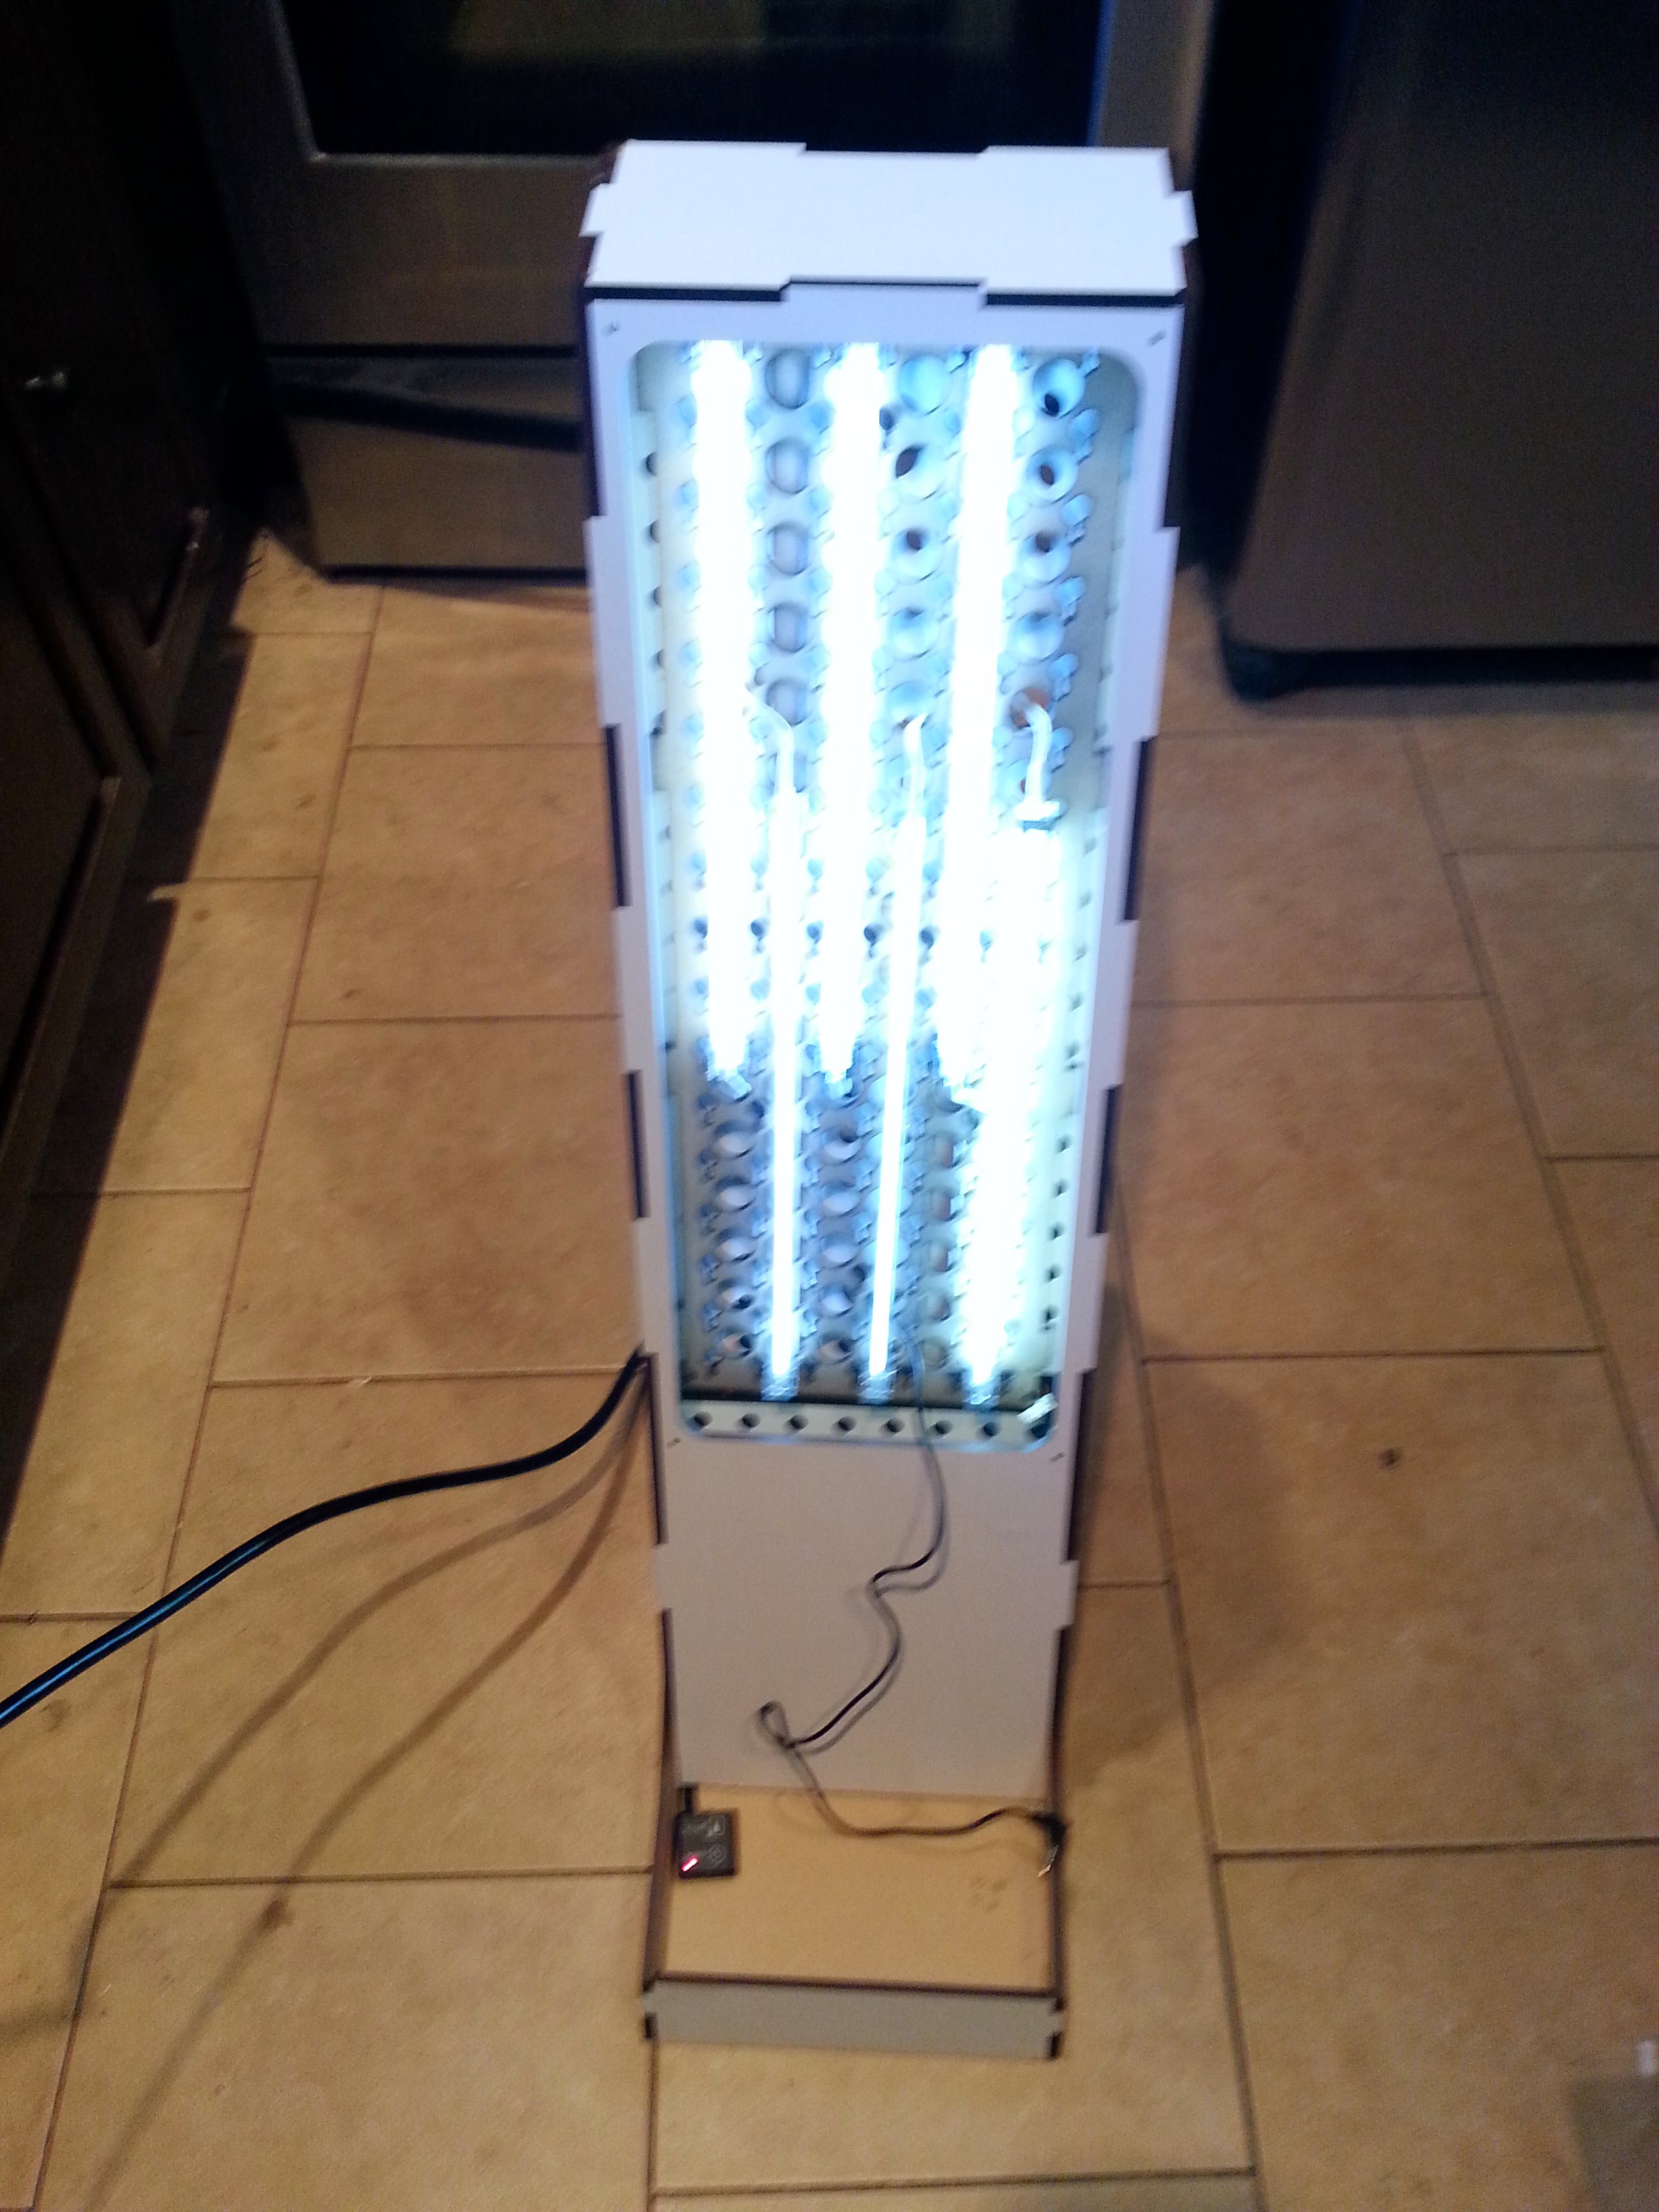
Let there be light!

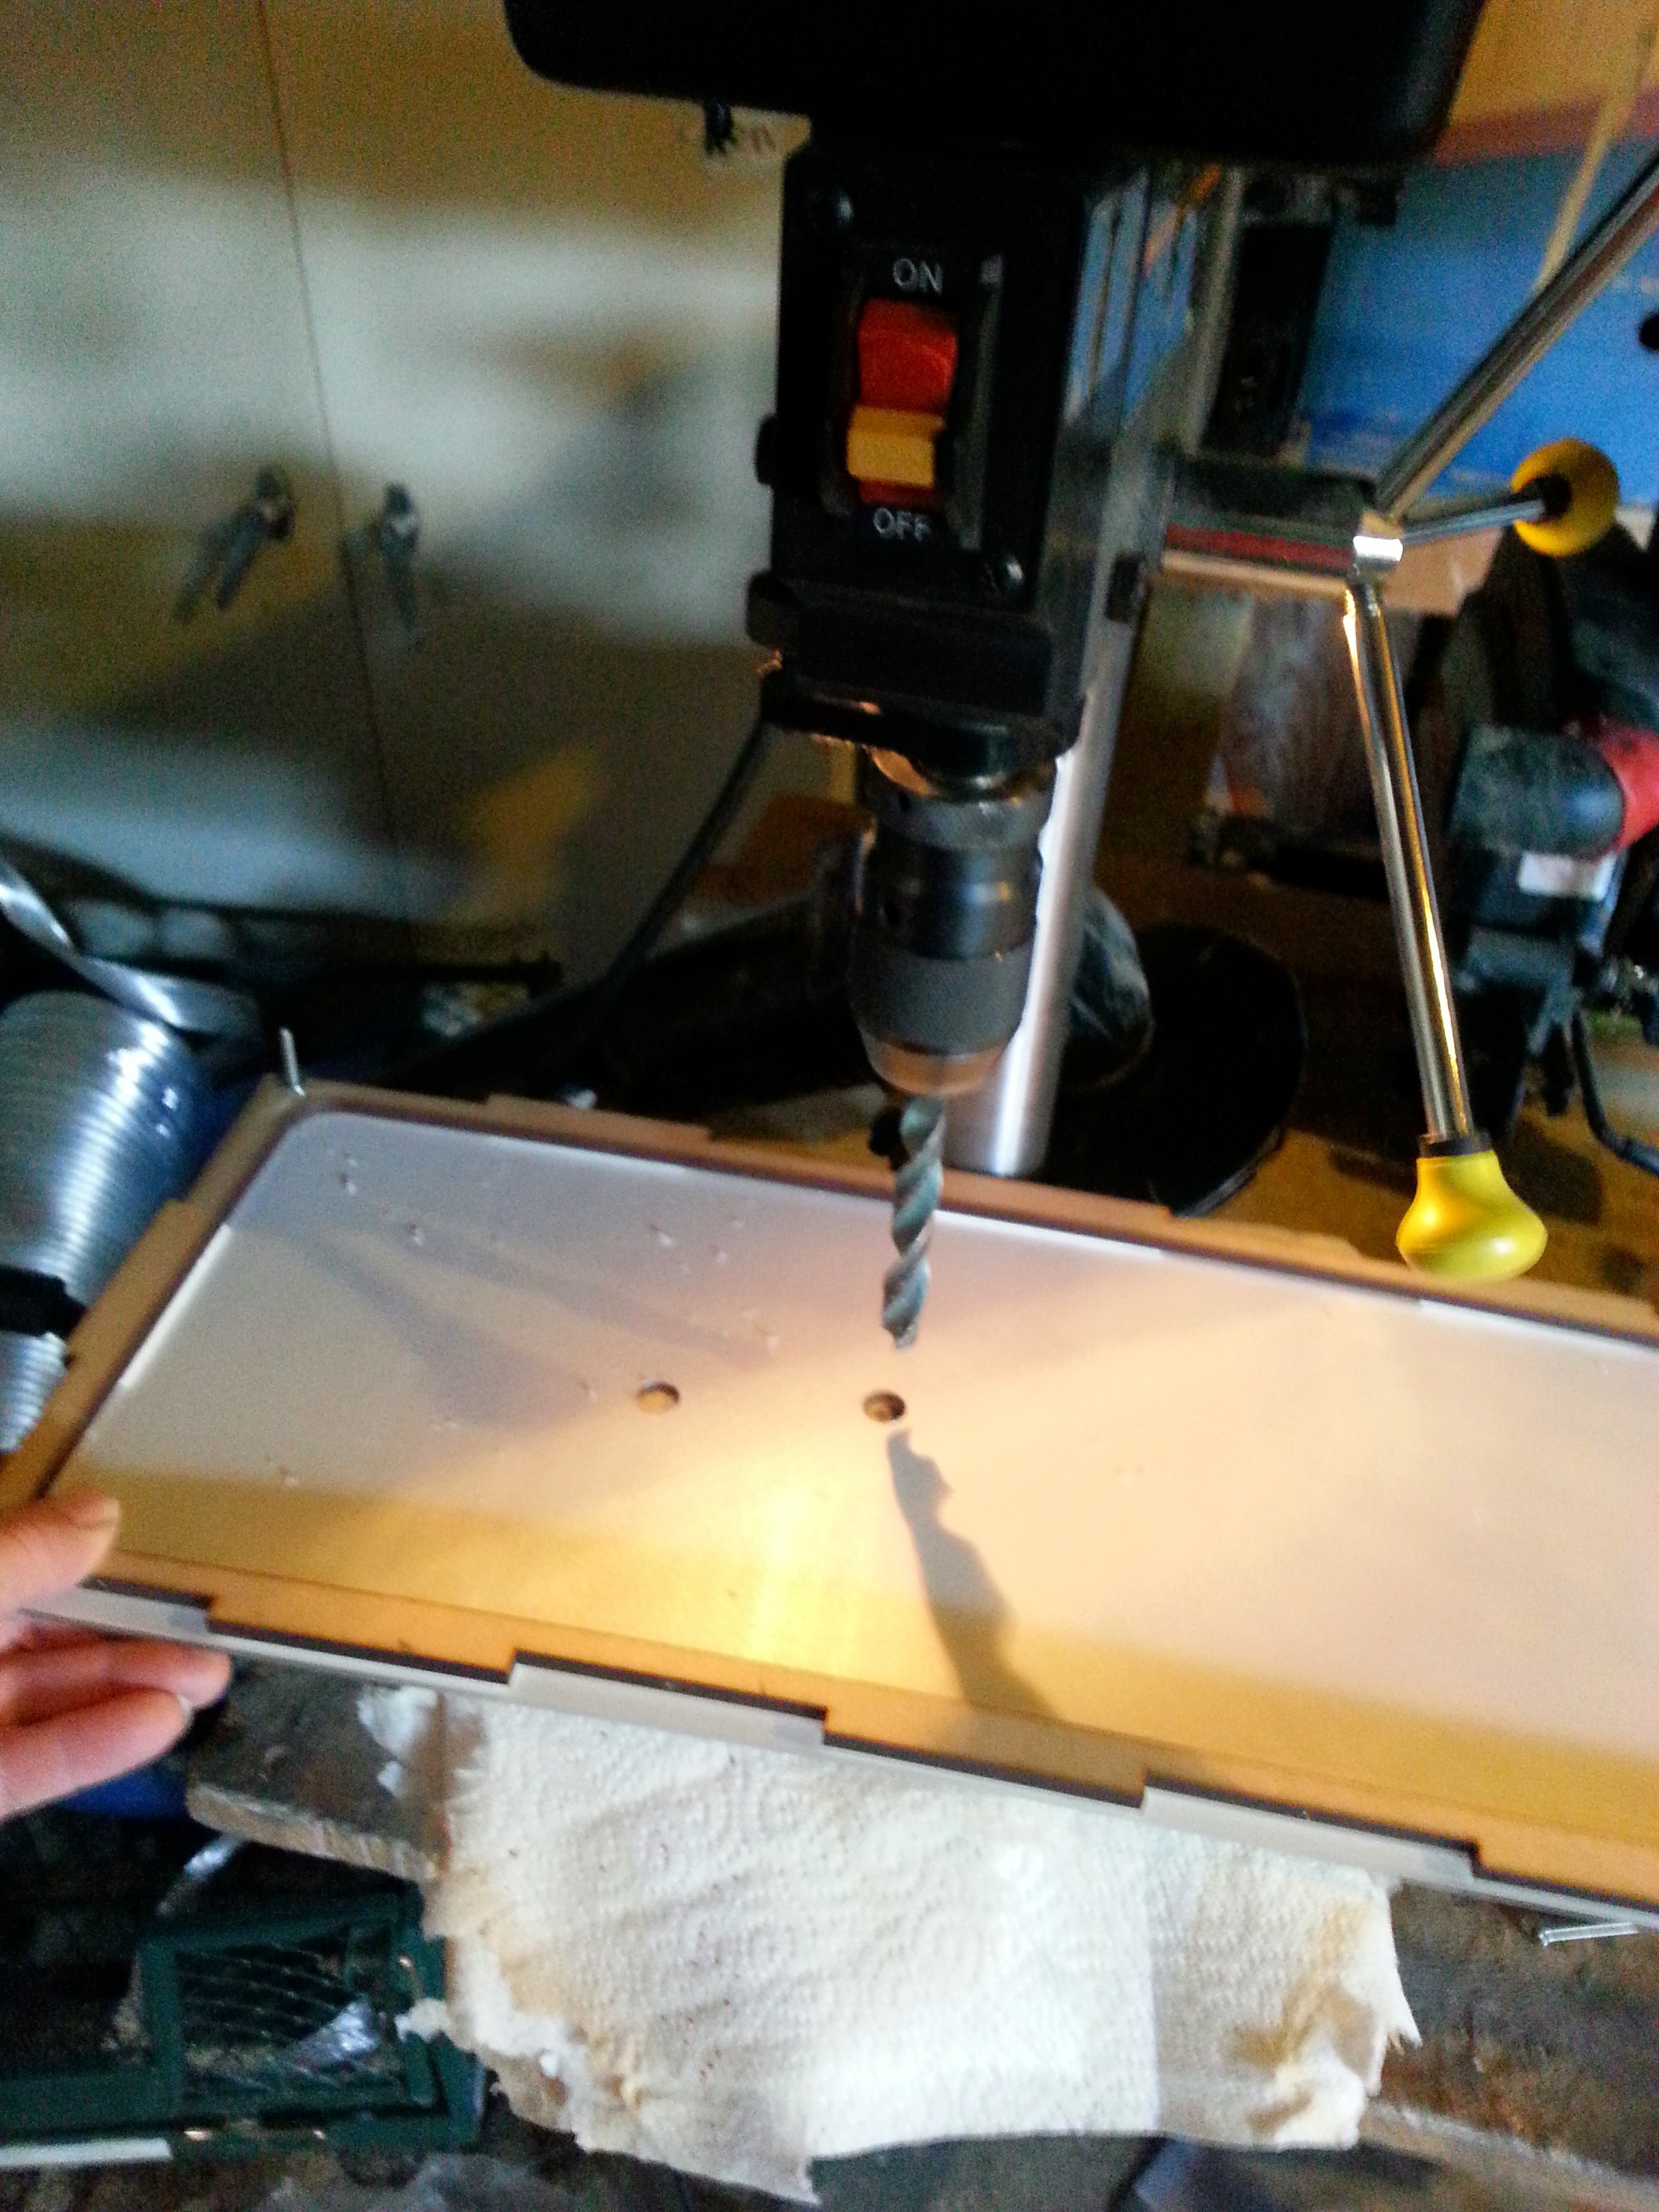
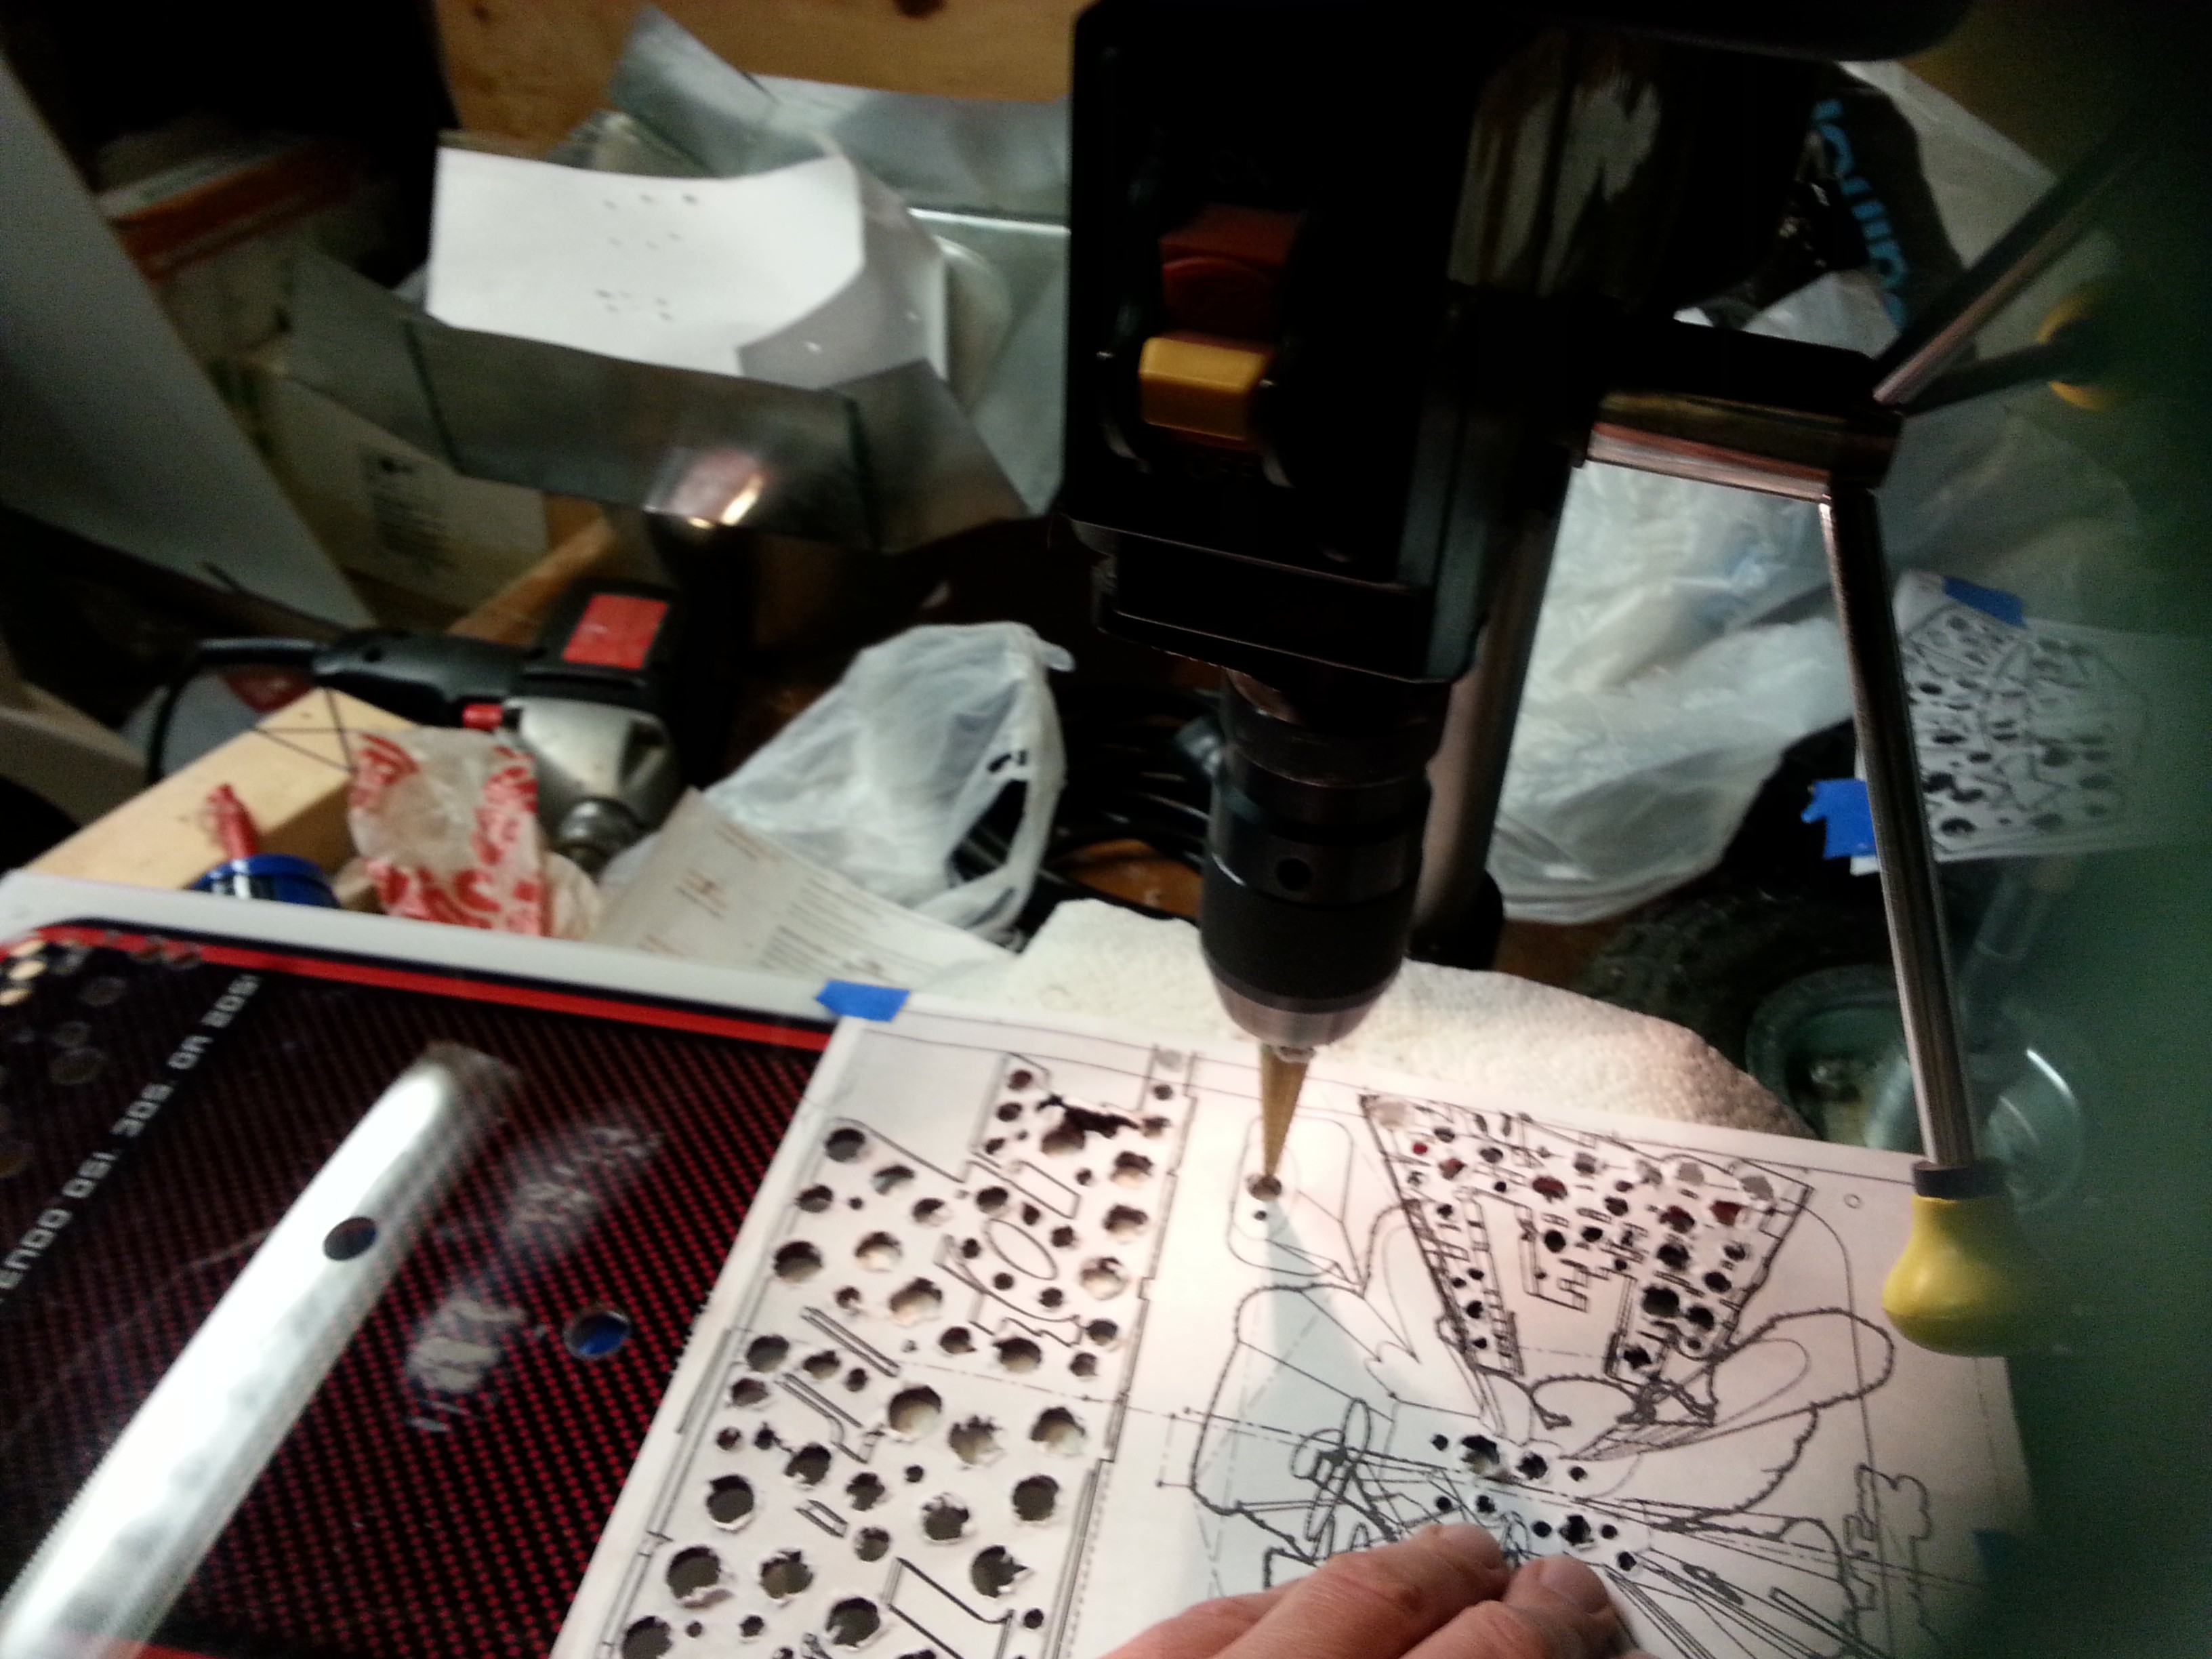
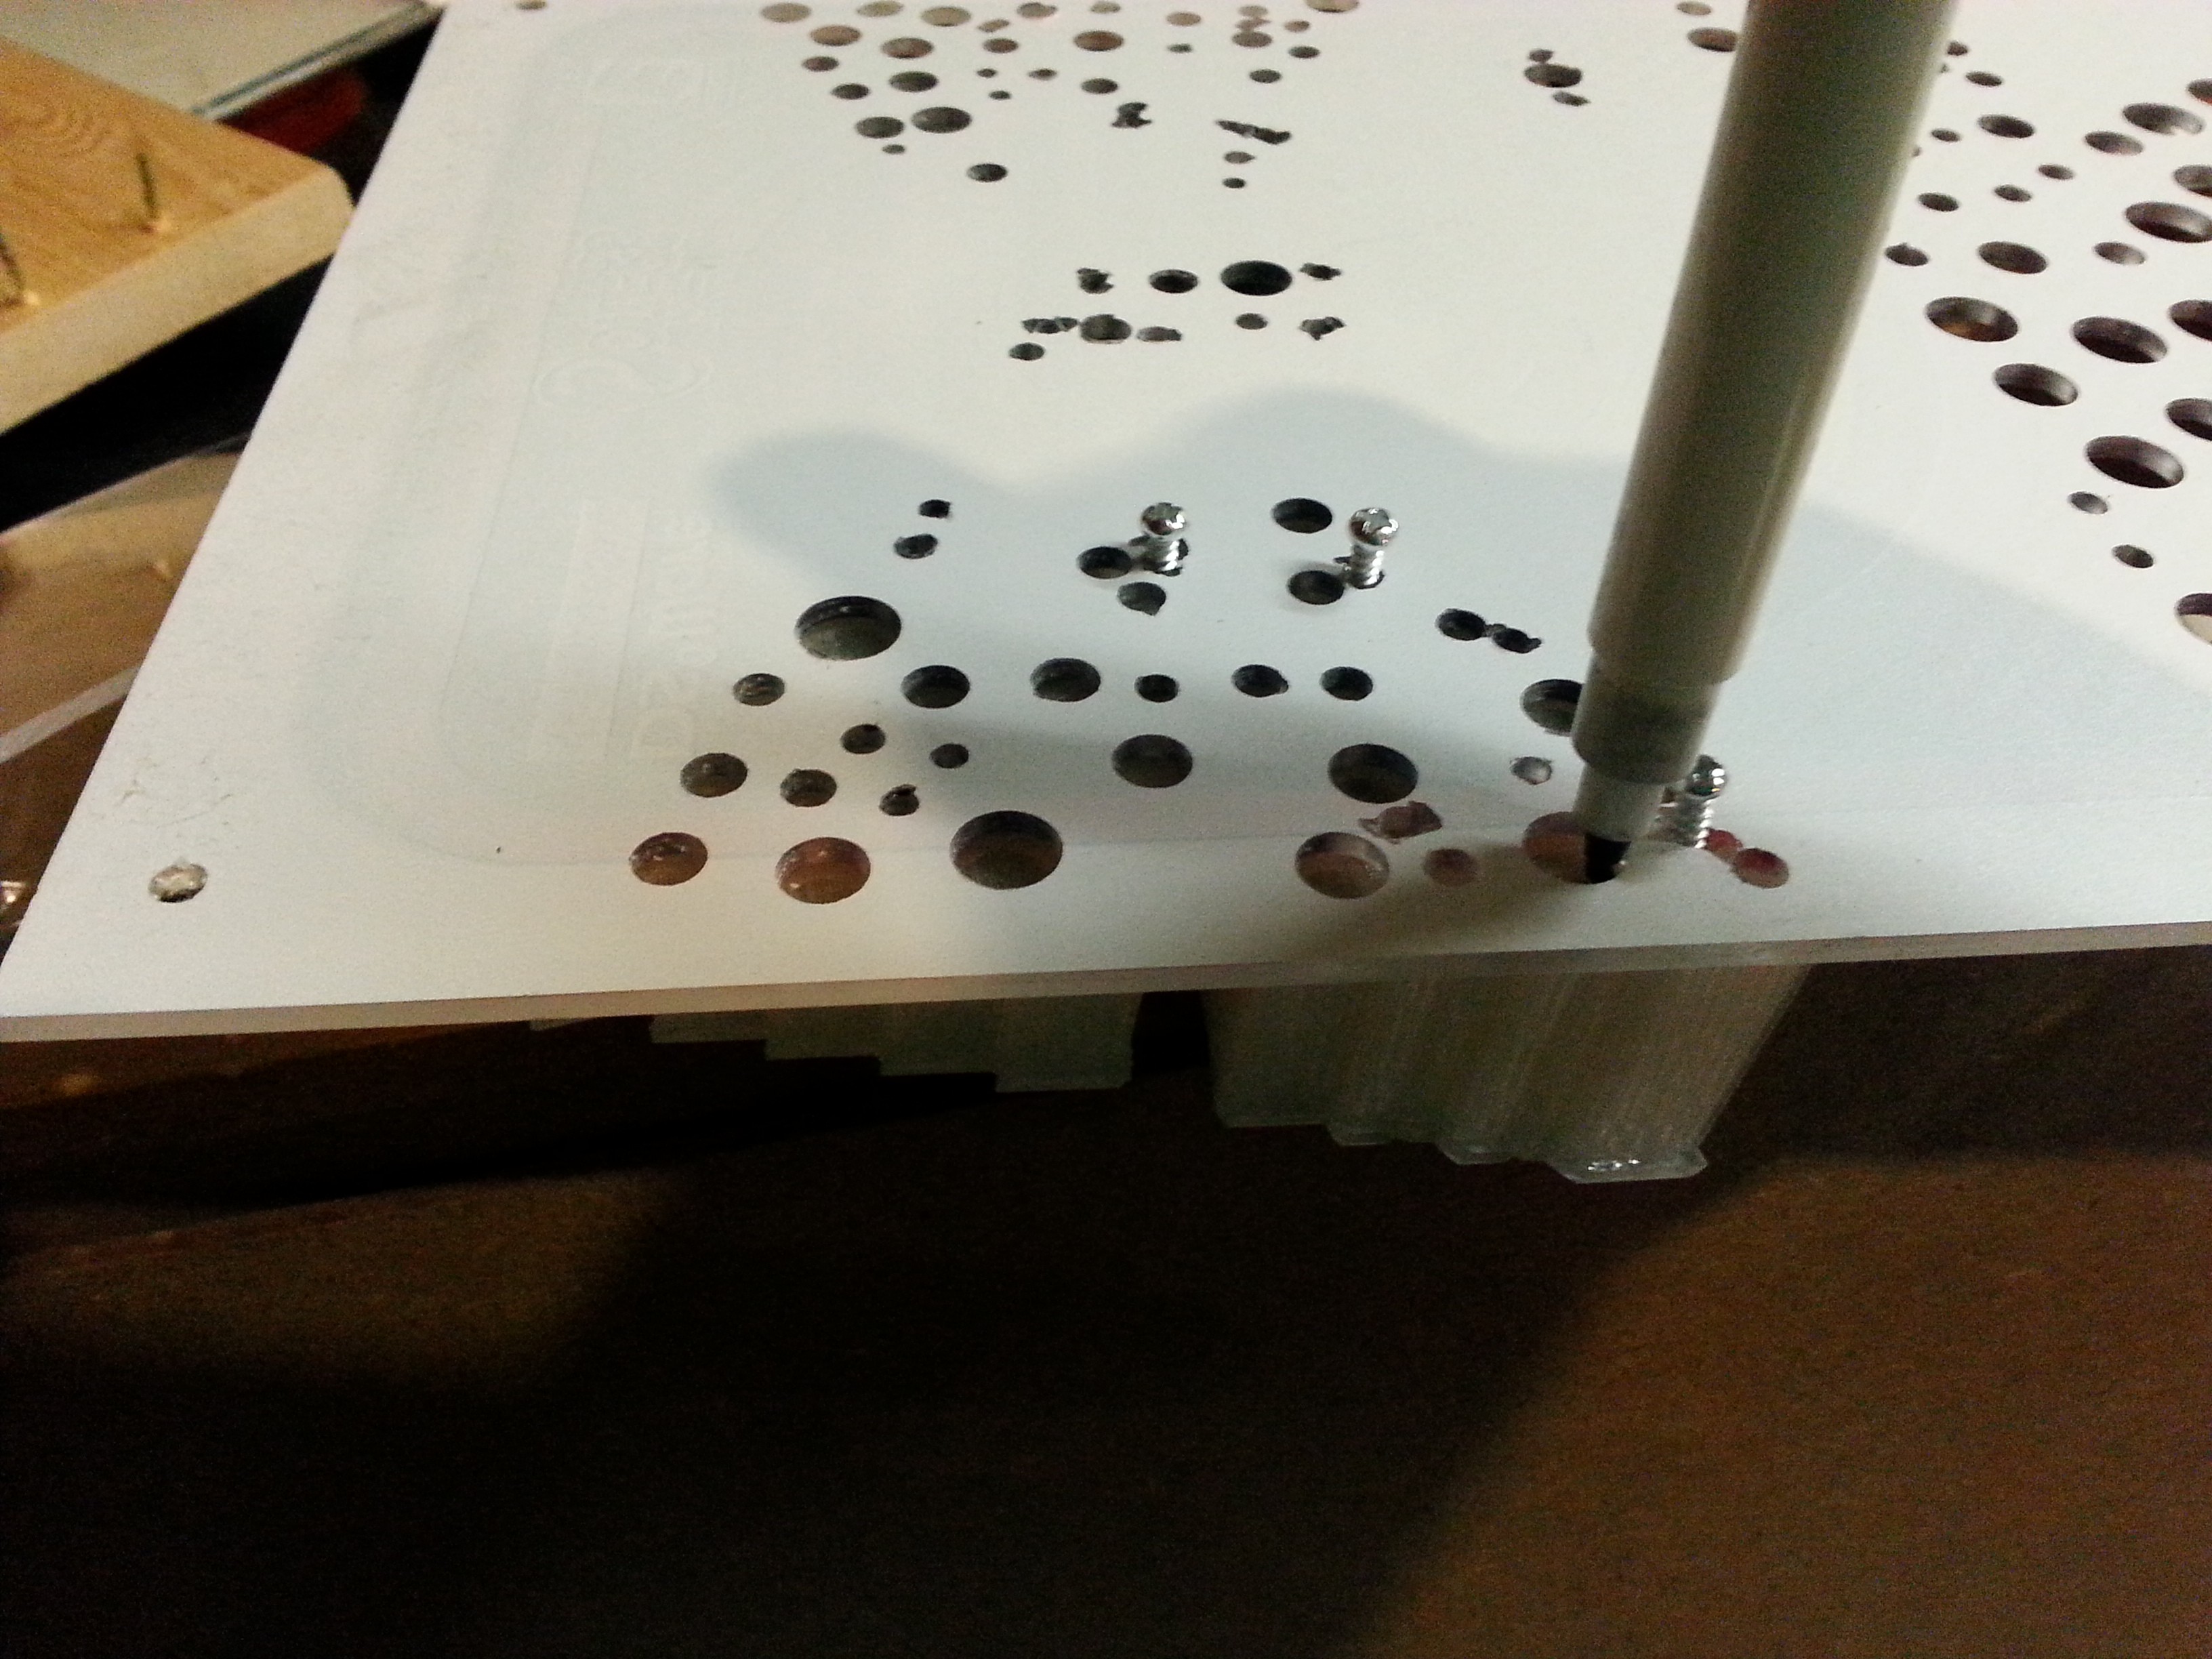
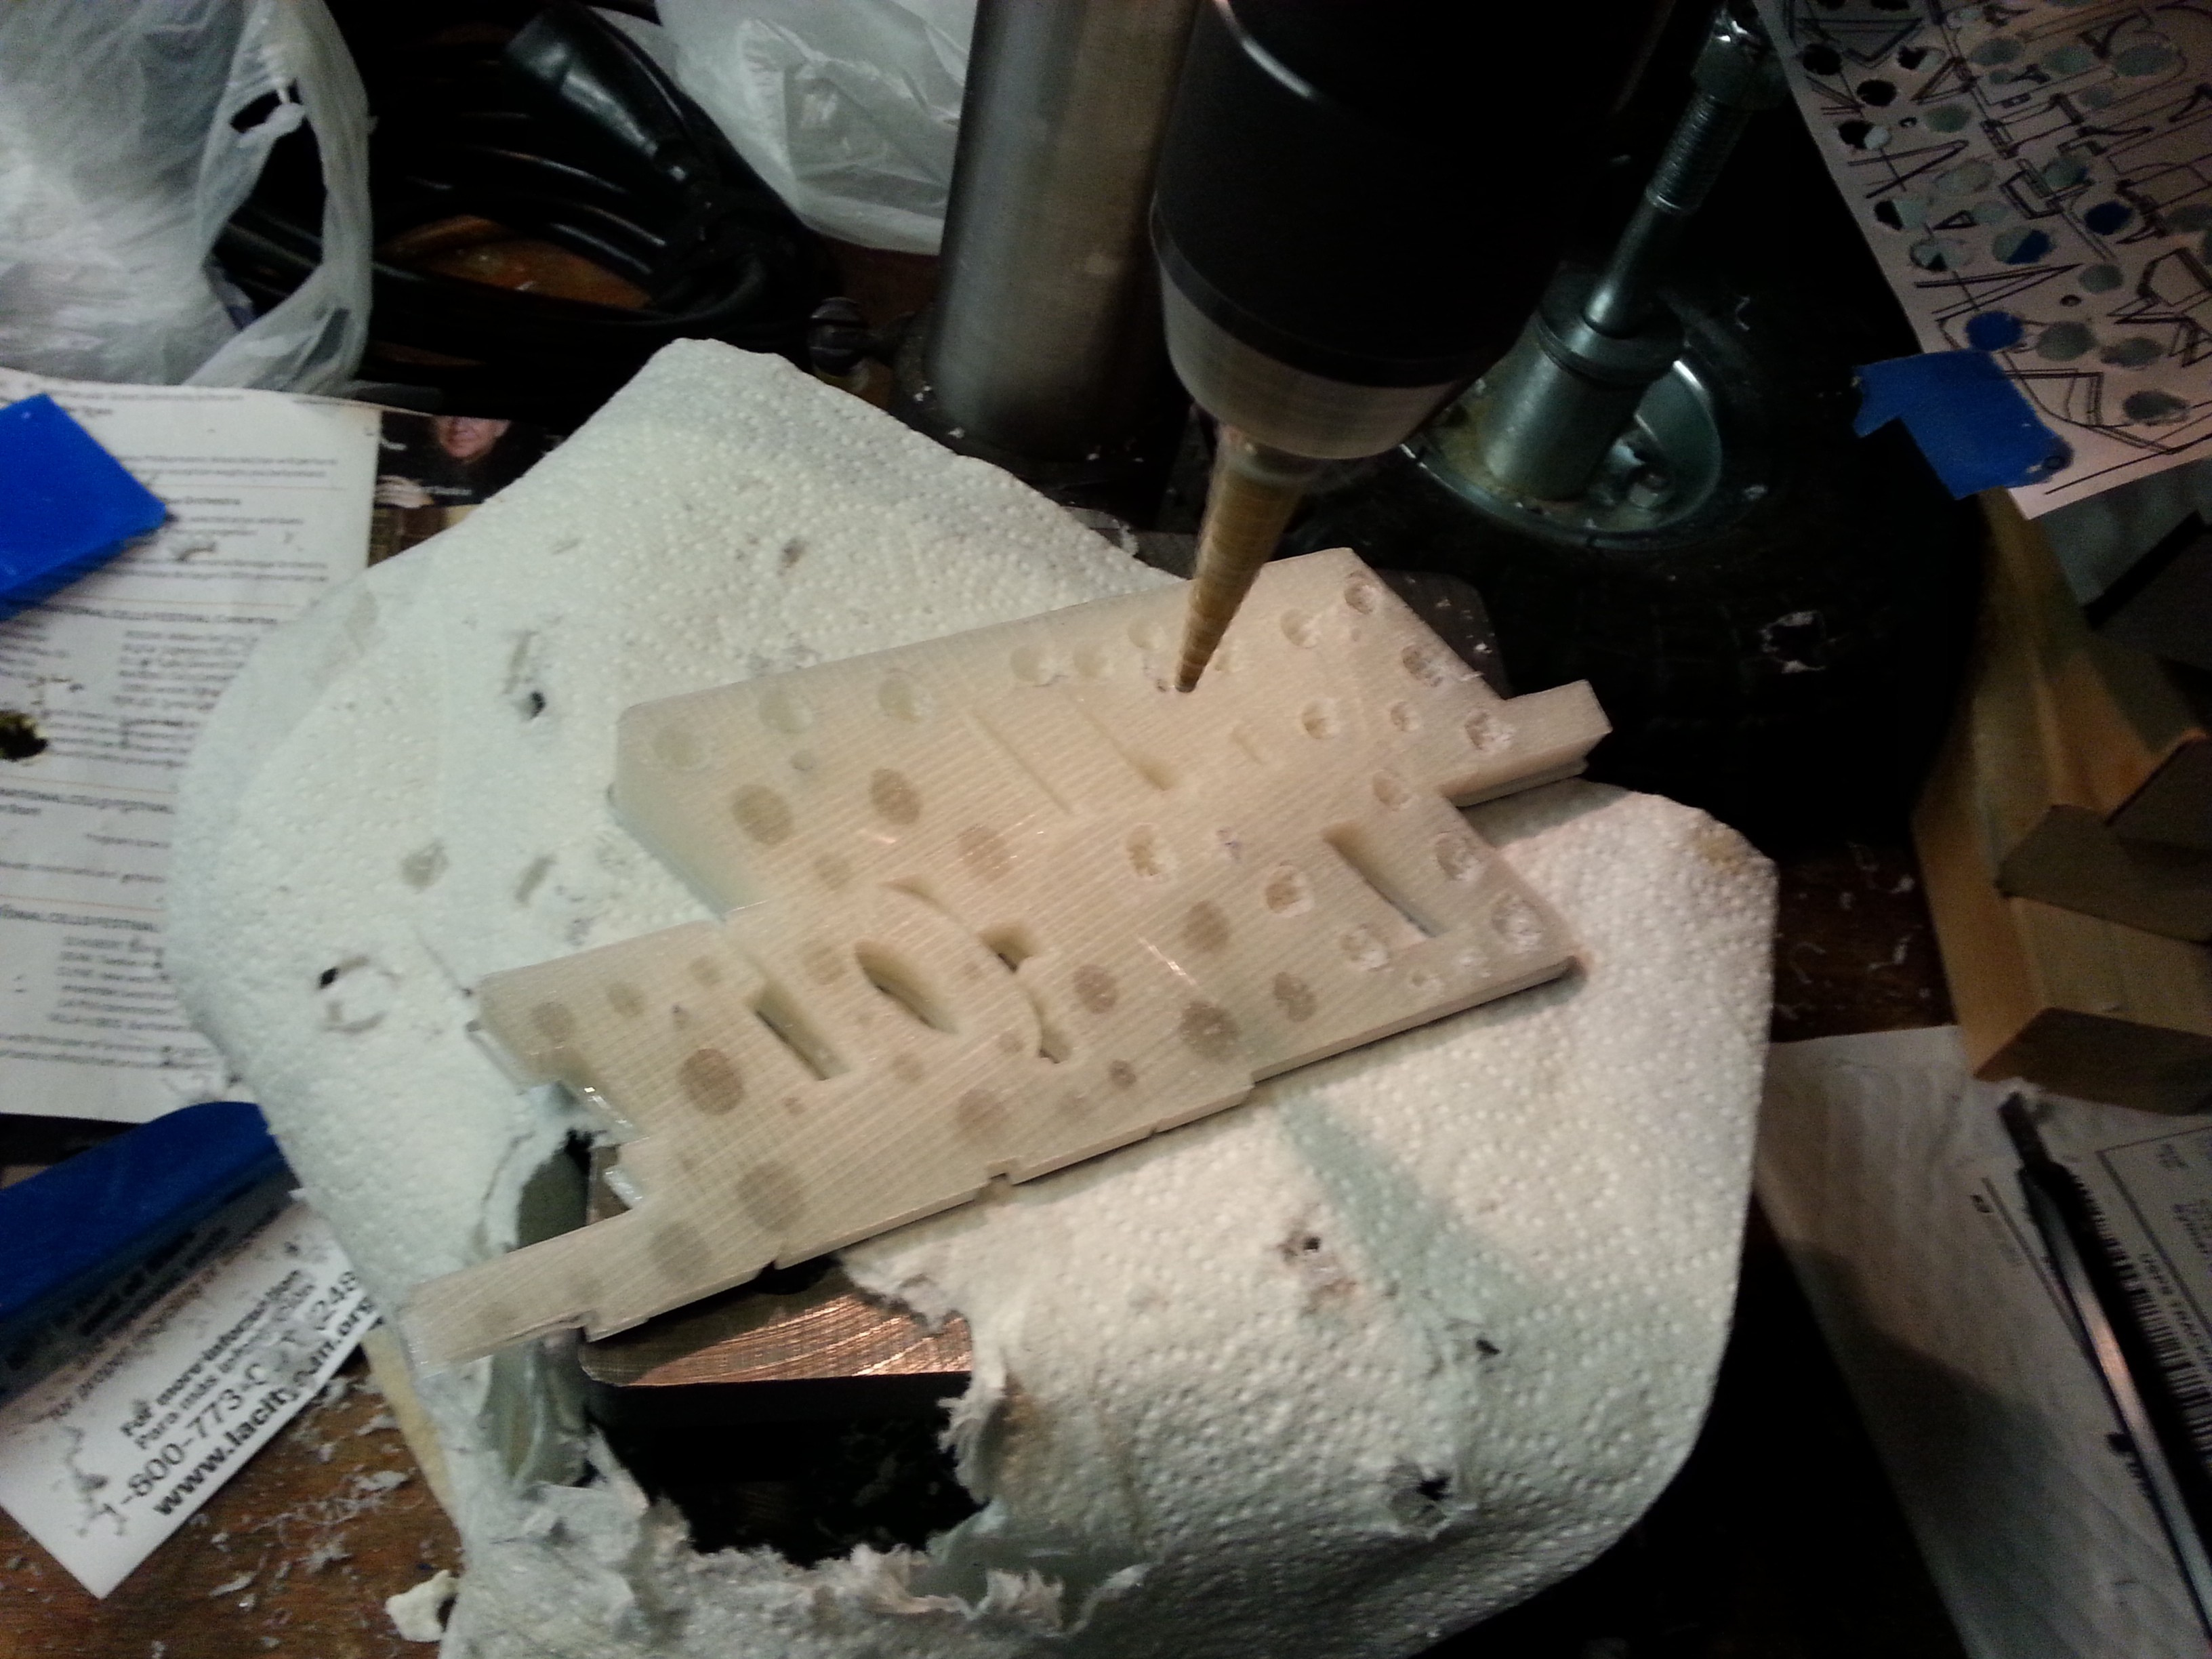
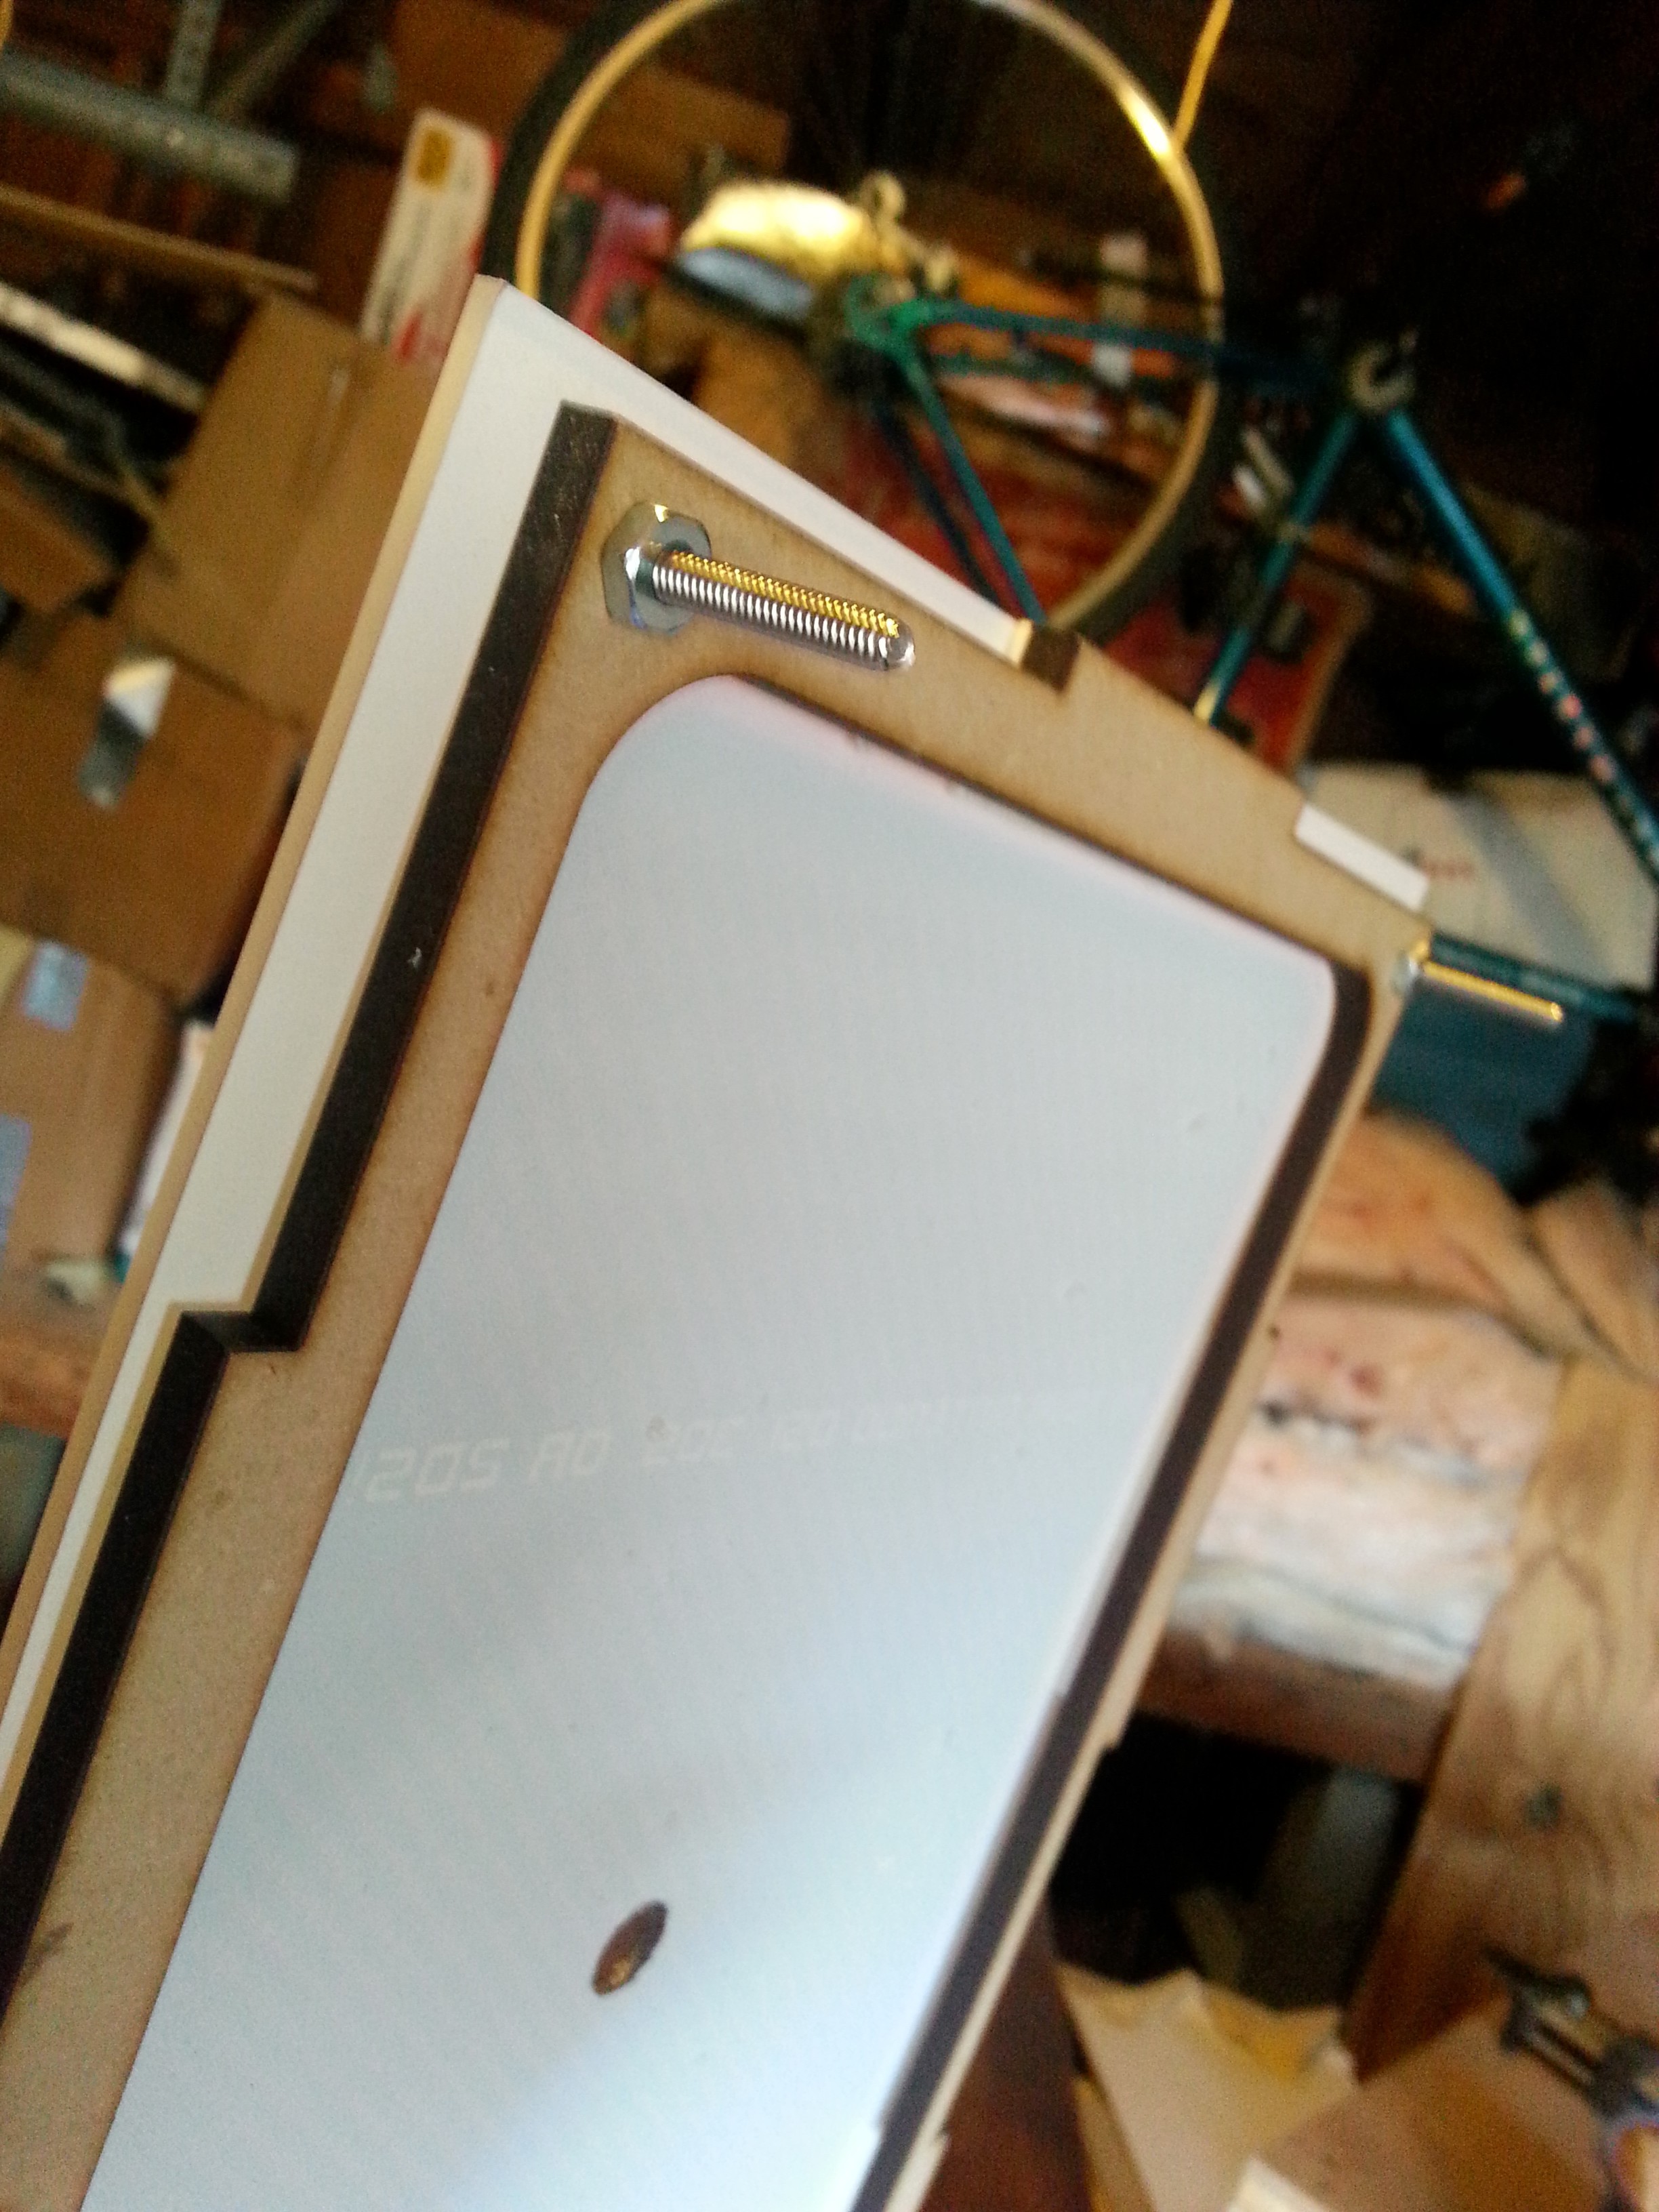
The printed acrylic backplate was attached to the frame using foam double sided tape and then screw holes were drilled and screws added. The foam tape would cause me a lot of trouble later...


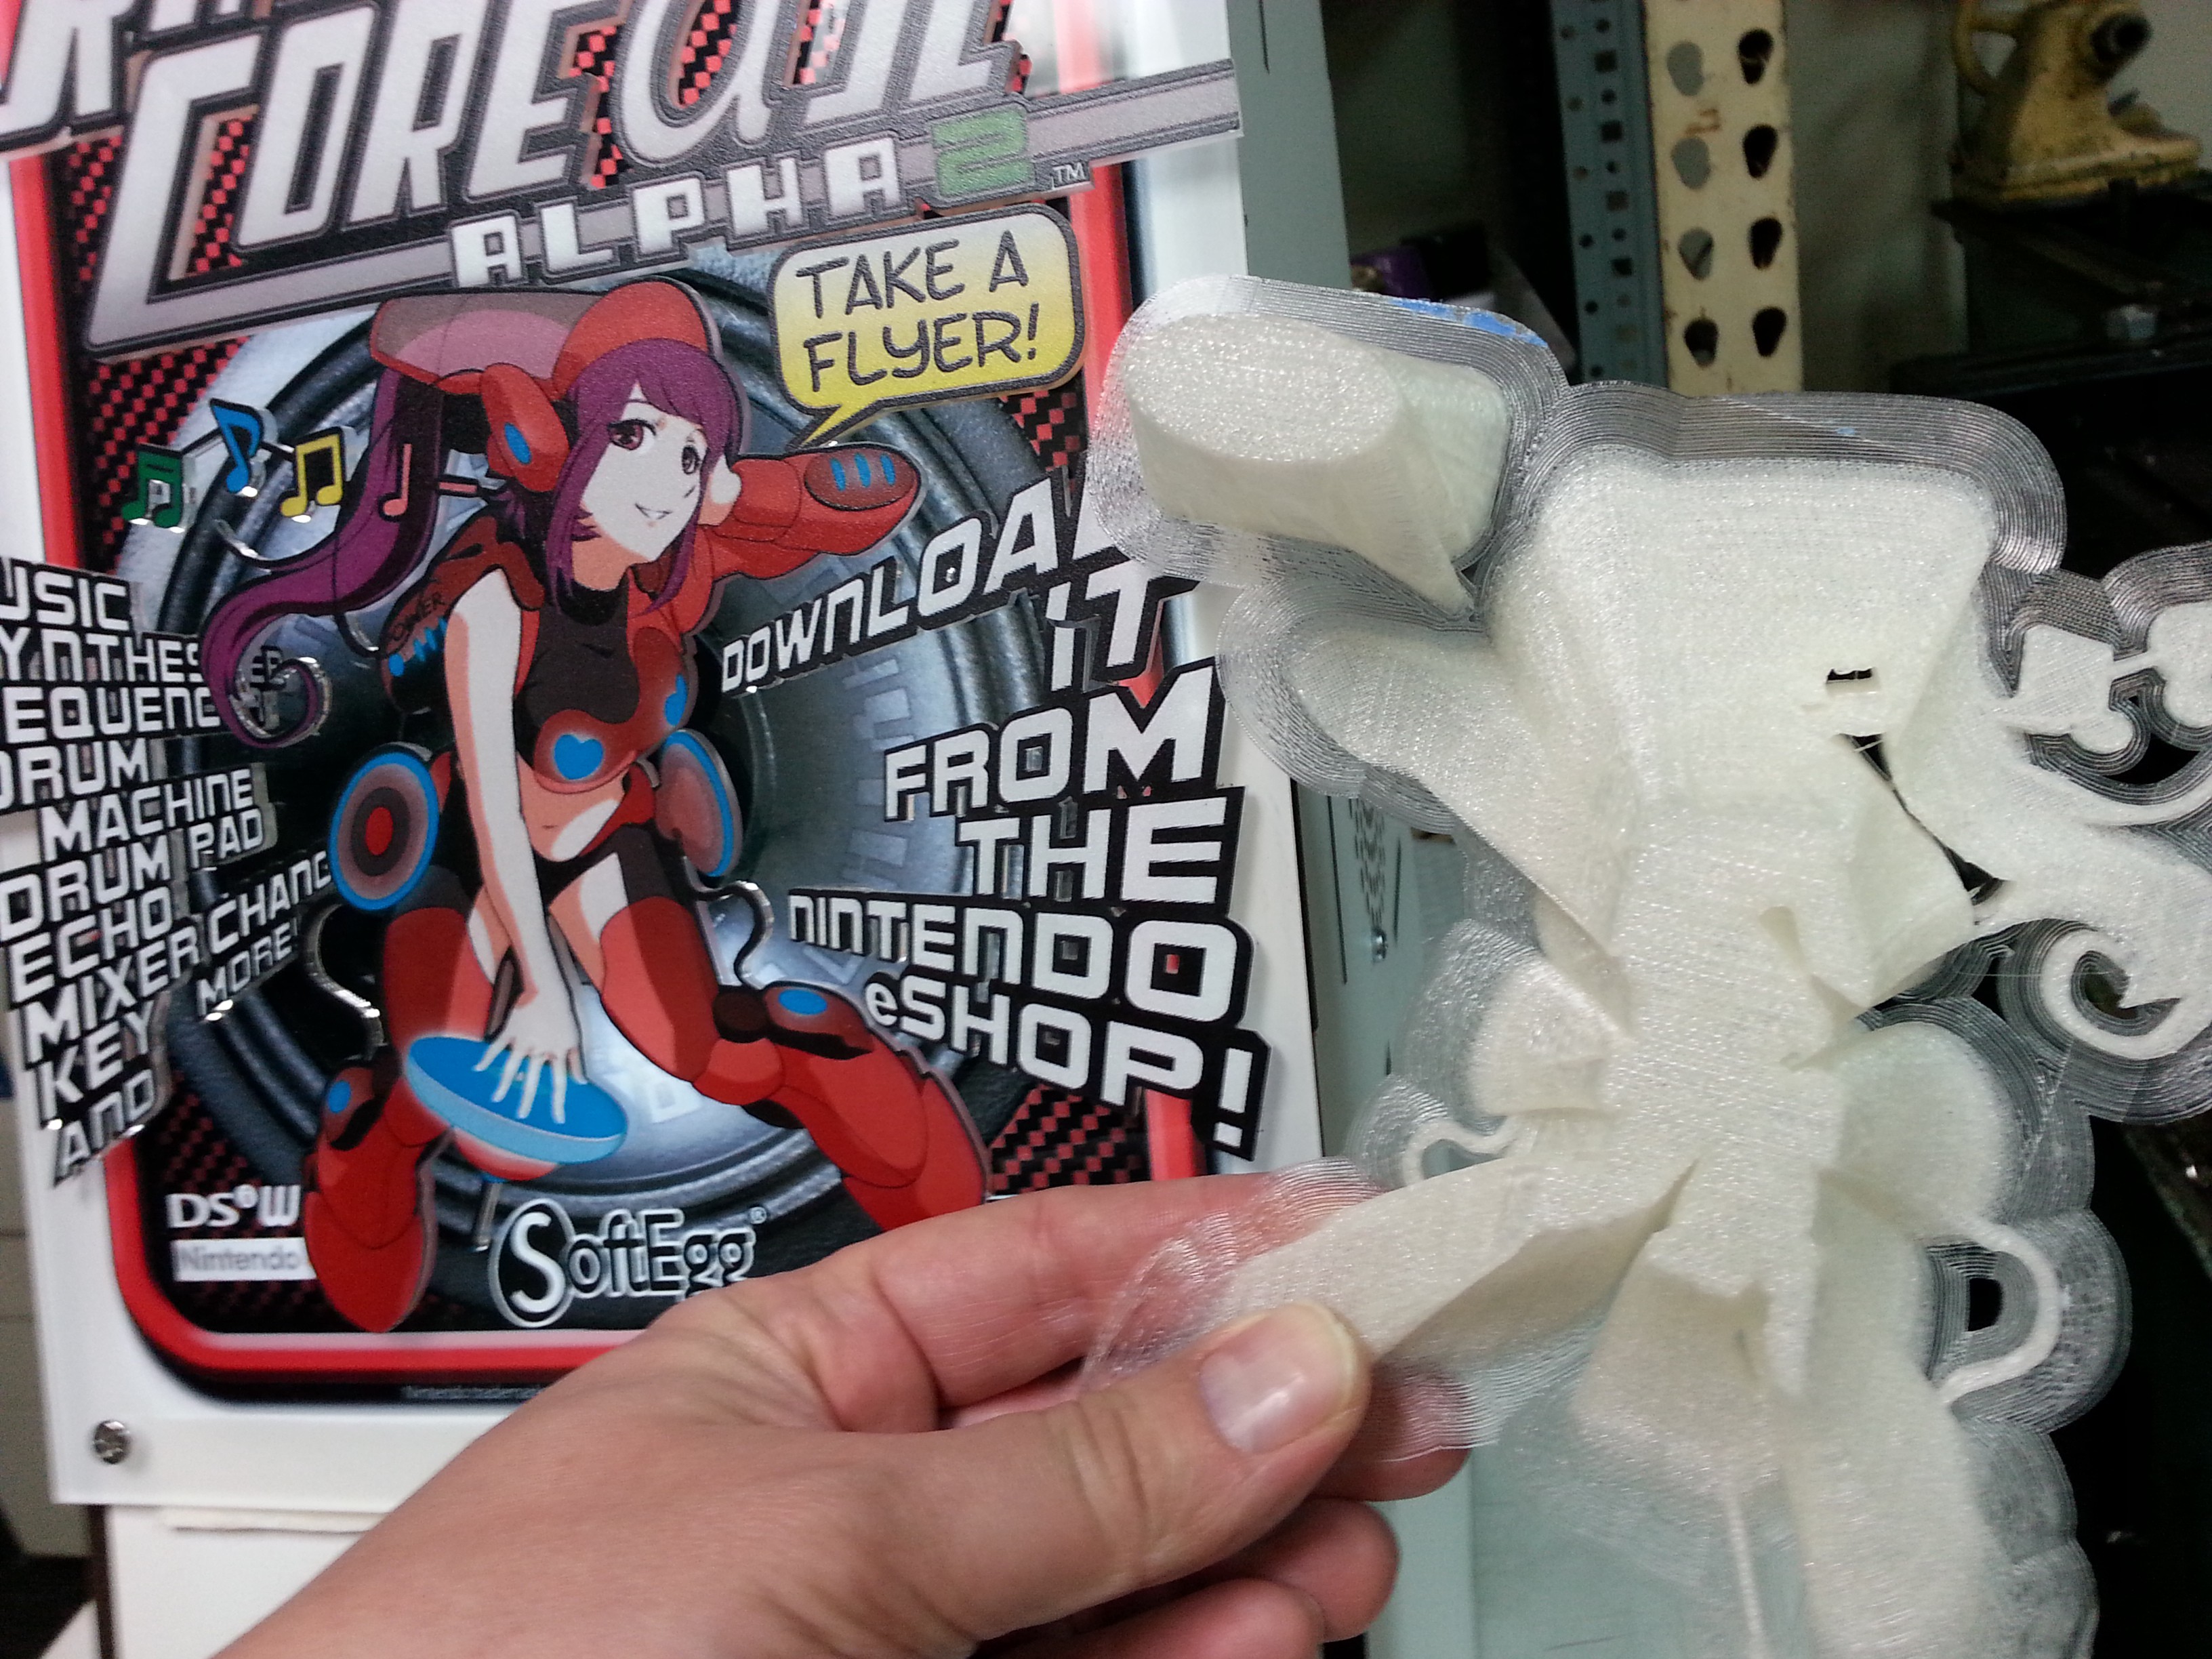
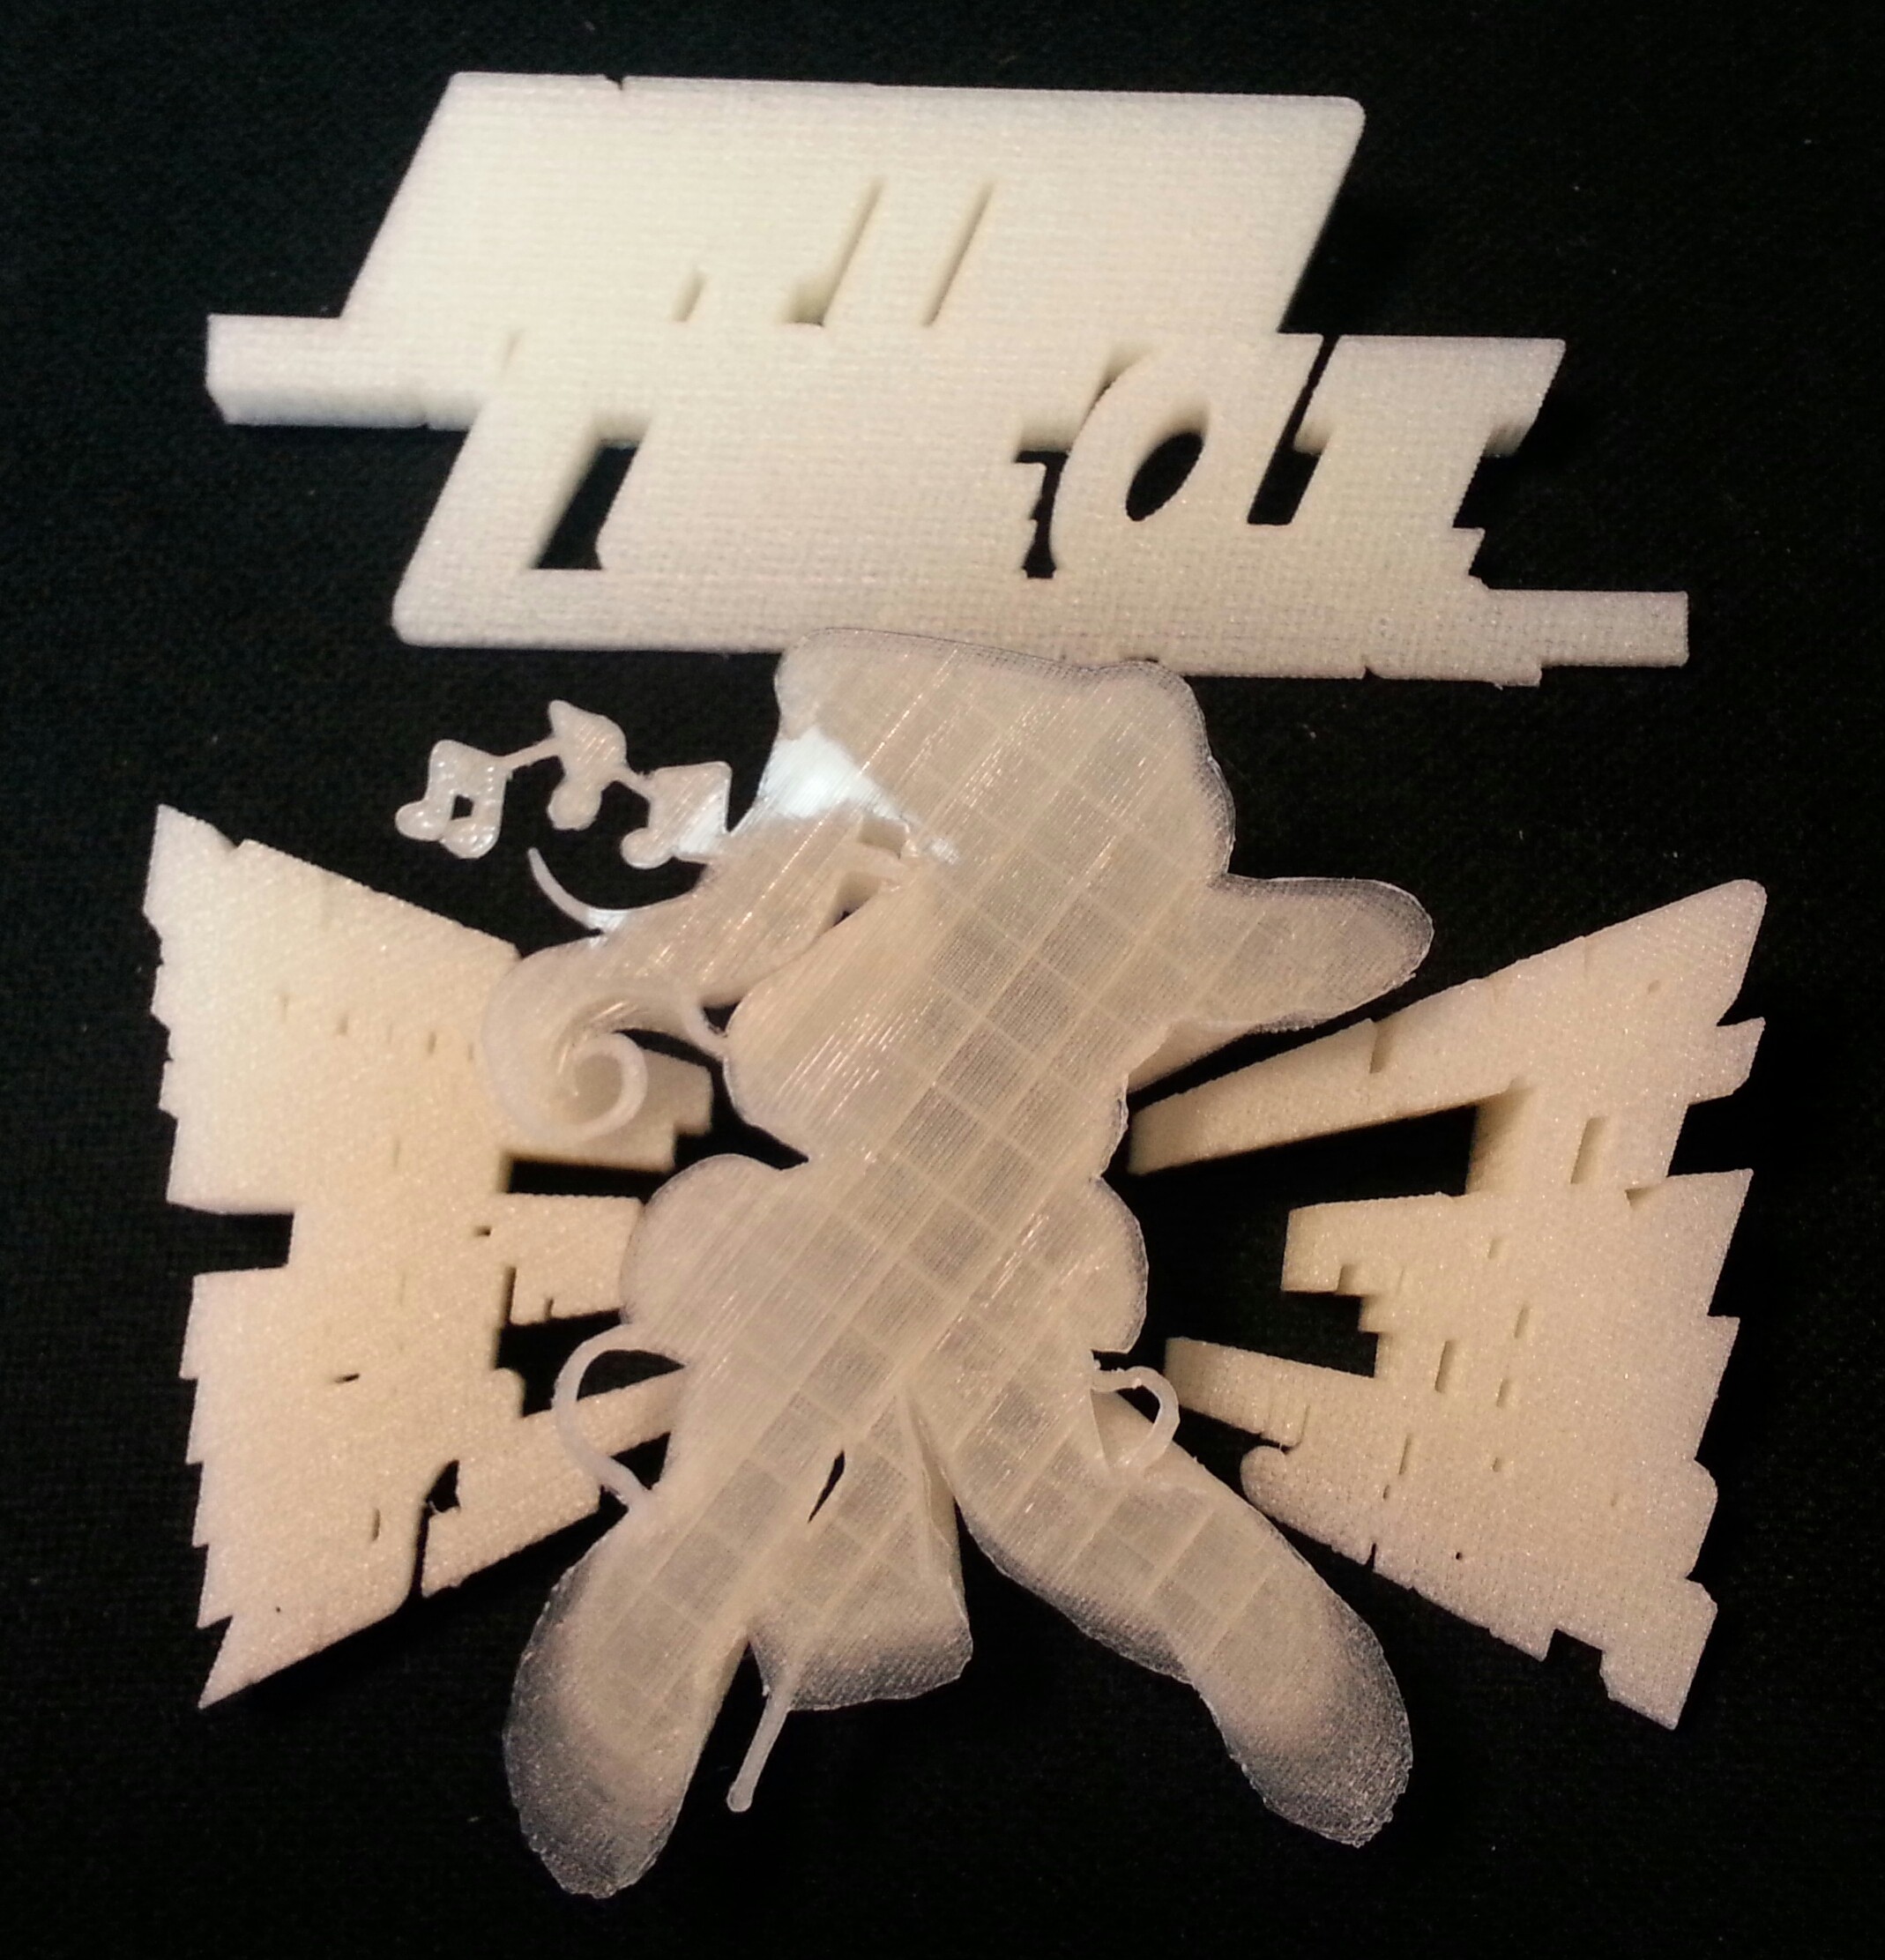
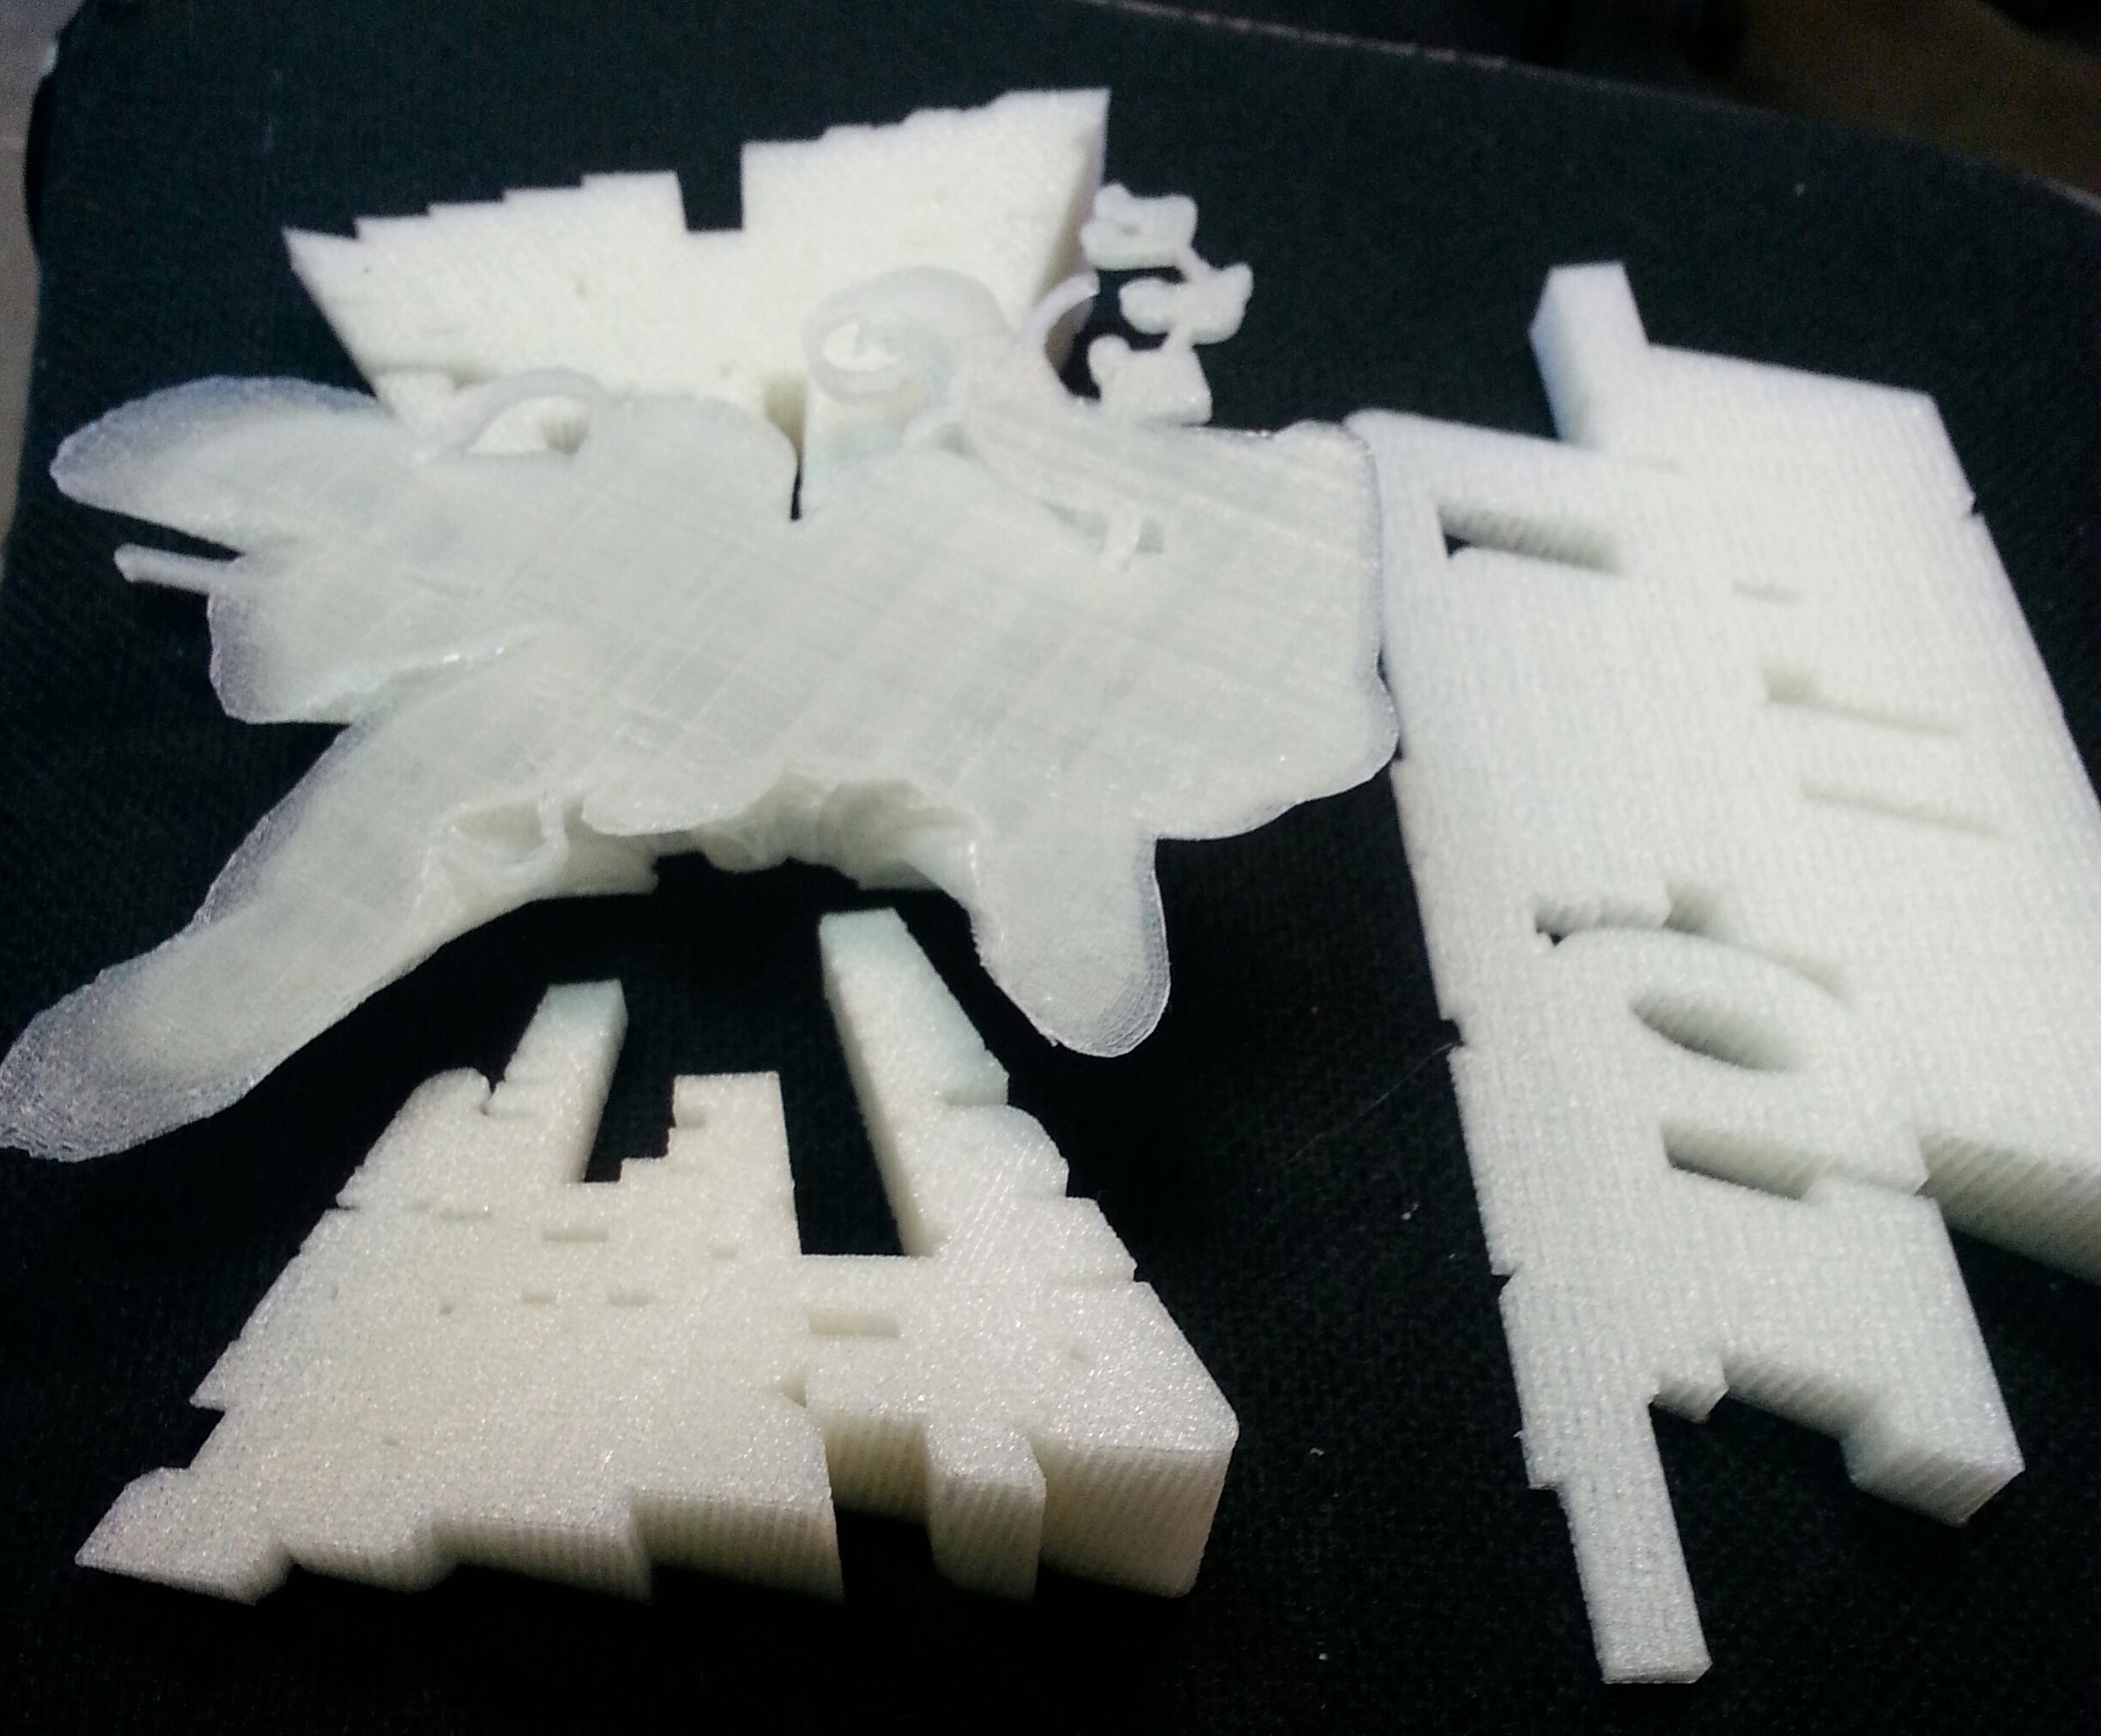
Because of thermal compression as the 3d printed objects cool, they come out slightly smaller than the target, which leads to some not-so-great edges. But you work with what you have...


Create an account to leave a comment. Already have an account? Log In.
Become a member to follow this project and never miss any updates
About Us Contact Hackaday.io Give Feedback Terms of Use Privacy Policy Hackaday API Do not sell or share my personal information