-
1Step 1
Getting Started
If you're re-creating the propellers for Goliath, the shape has already been created and the g-code is available in the rotor design github repository.
If you're making your own design, here's a brief overview of what's needed to create your own g-code. Note that the following steps are intended for a propeller that is 36" in diameter, 8" wide and 2" deep. If your propeller dimensions are different, you'll have to adjust accordingly.
- Design the propeller using your own tools or you can use the code contained in the repository. The critical data needed is the airfoil aerodynamic data and airfoil orientation at various chords.
- Using a CAD program, create a 3D model of the propeller/rotor using the inputs from your propeller design. Try to transition smoothly between profiles, to avoid sharp edges
-
2Step 2
Preparing the Material Blanks for the Router
Cut the Foam Pieces
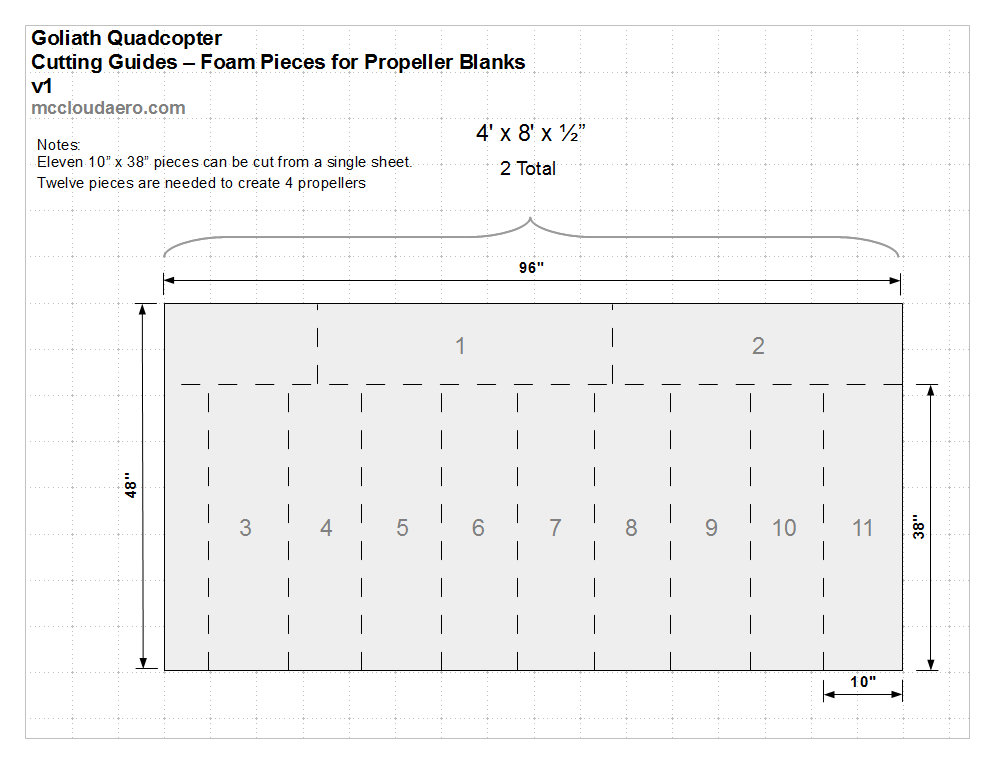
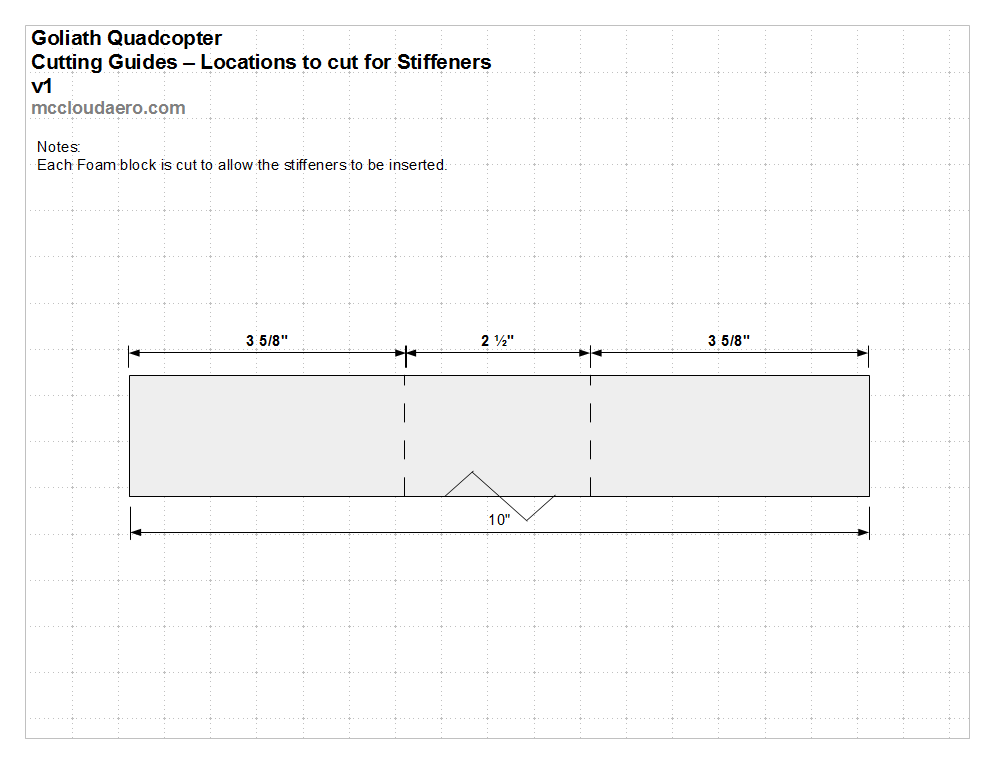
Cut the foam sheet to sizes needed to build up the foam block. The propellers for Goliath use 10" x 38" pieces. To get the most out of the material use the cutting guides.
![]()
![]()
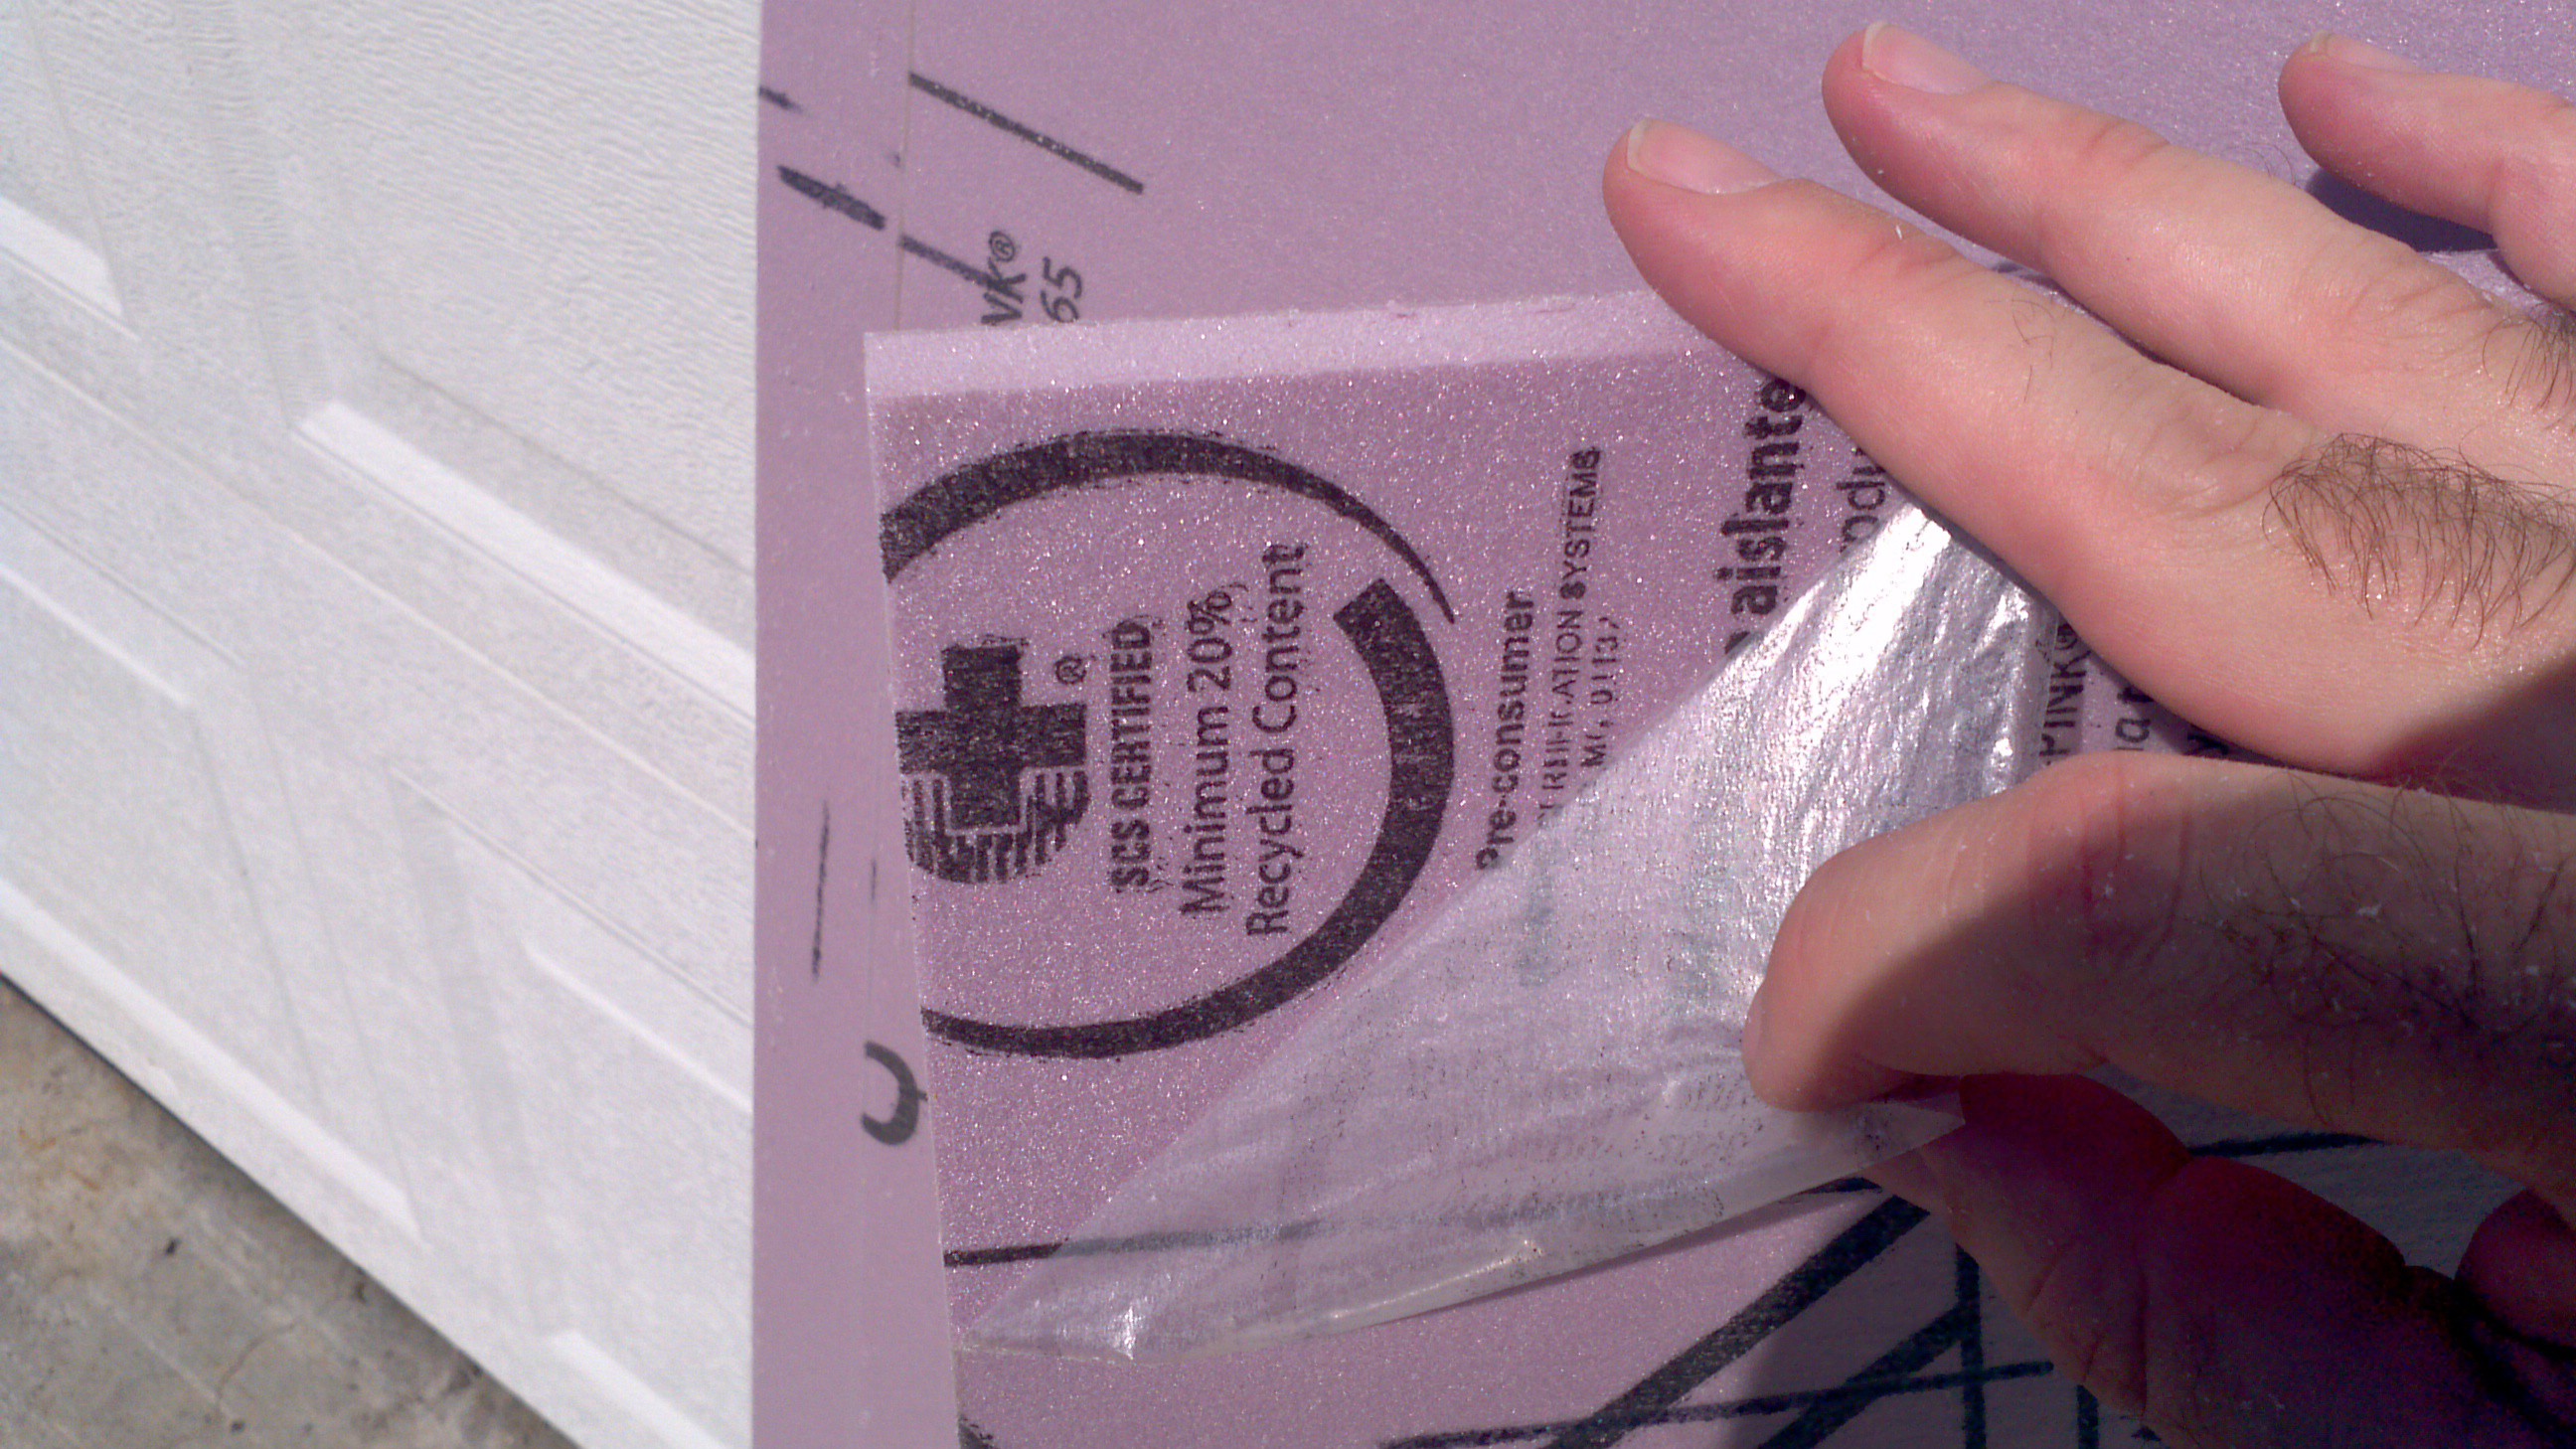
Peel off the coating on both sides of all the pieces
![]()
Glue the Foam Pieces Together
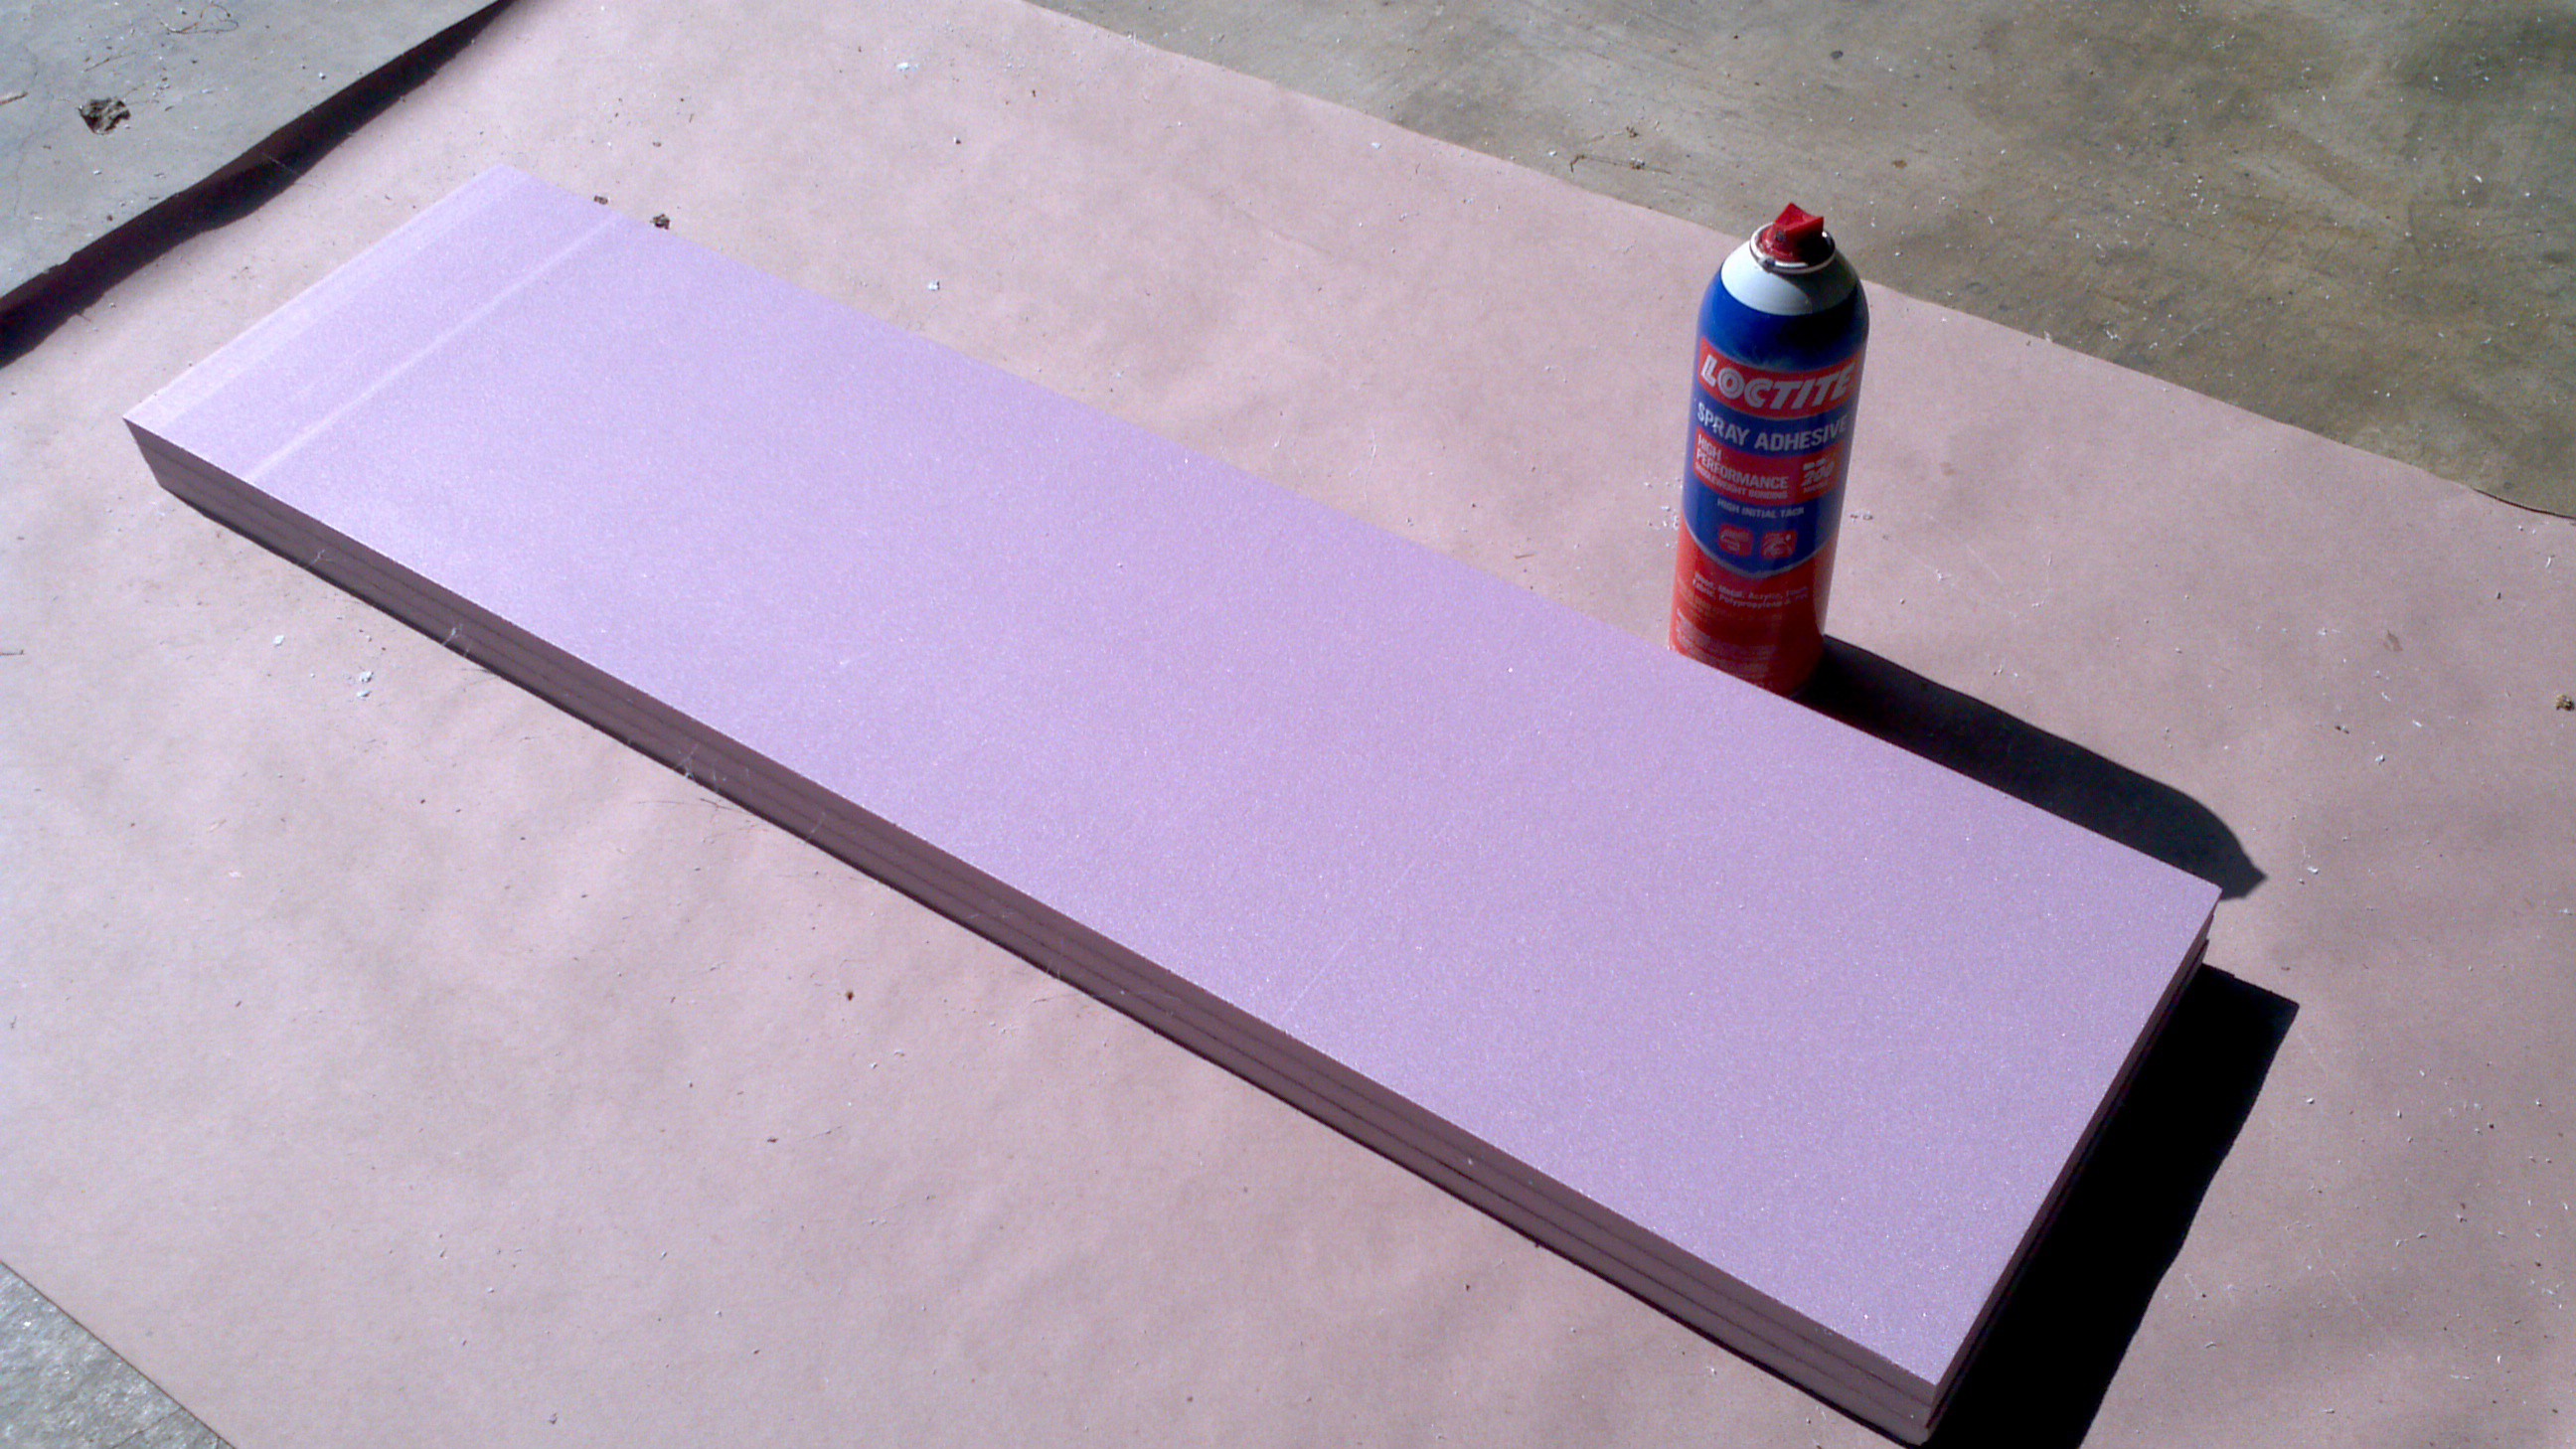
Find a flat surface to lay the foam pieces on top of. To keep the foam block clean and to catch the over spray, lay down something to work on ( I typically use red rosin paper). Using the spray adhesive, glue the sheets together to make the foam block. To get the best bond, Loctite recommends spraying a medium coat on both surfaces, letting them sit for a minute, then press the two pieces together. A total of 3 pieces are used to create one foam block.
![]()
Cut the Stiffeners
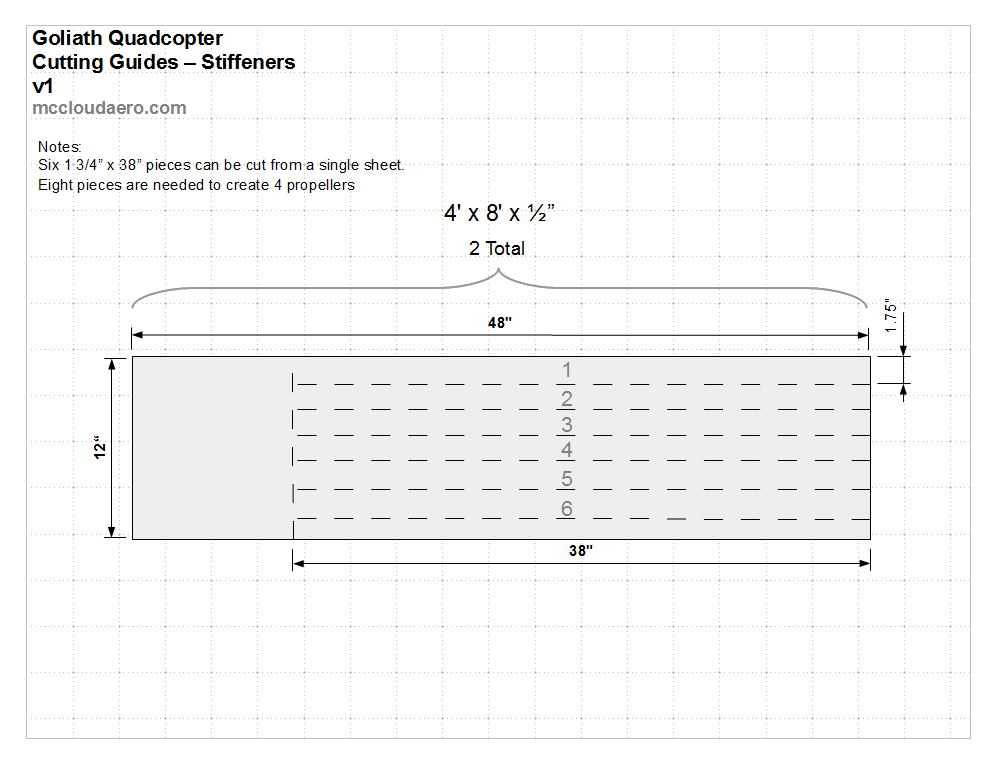
Cut the birch plywood to create the stiffeners. They should be as long as the block and as wide as the foam block is tall. For Goliath, these stiffeners are 1 3/4" x 38". (Yes 3 times 1/2" does not equal 1 3/4", ask Dow or Owens Corning) Two stiffeners are used in each foam block. If you're using a table saw it can be a little tricky to cut the really thin plywood since it wants to slid under the fence.
![]()
Add the Stiffeners to the Foam Block
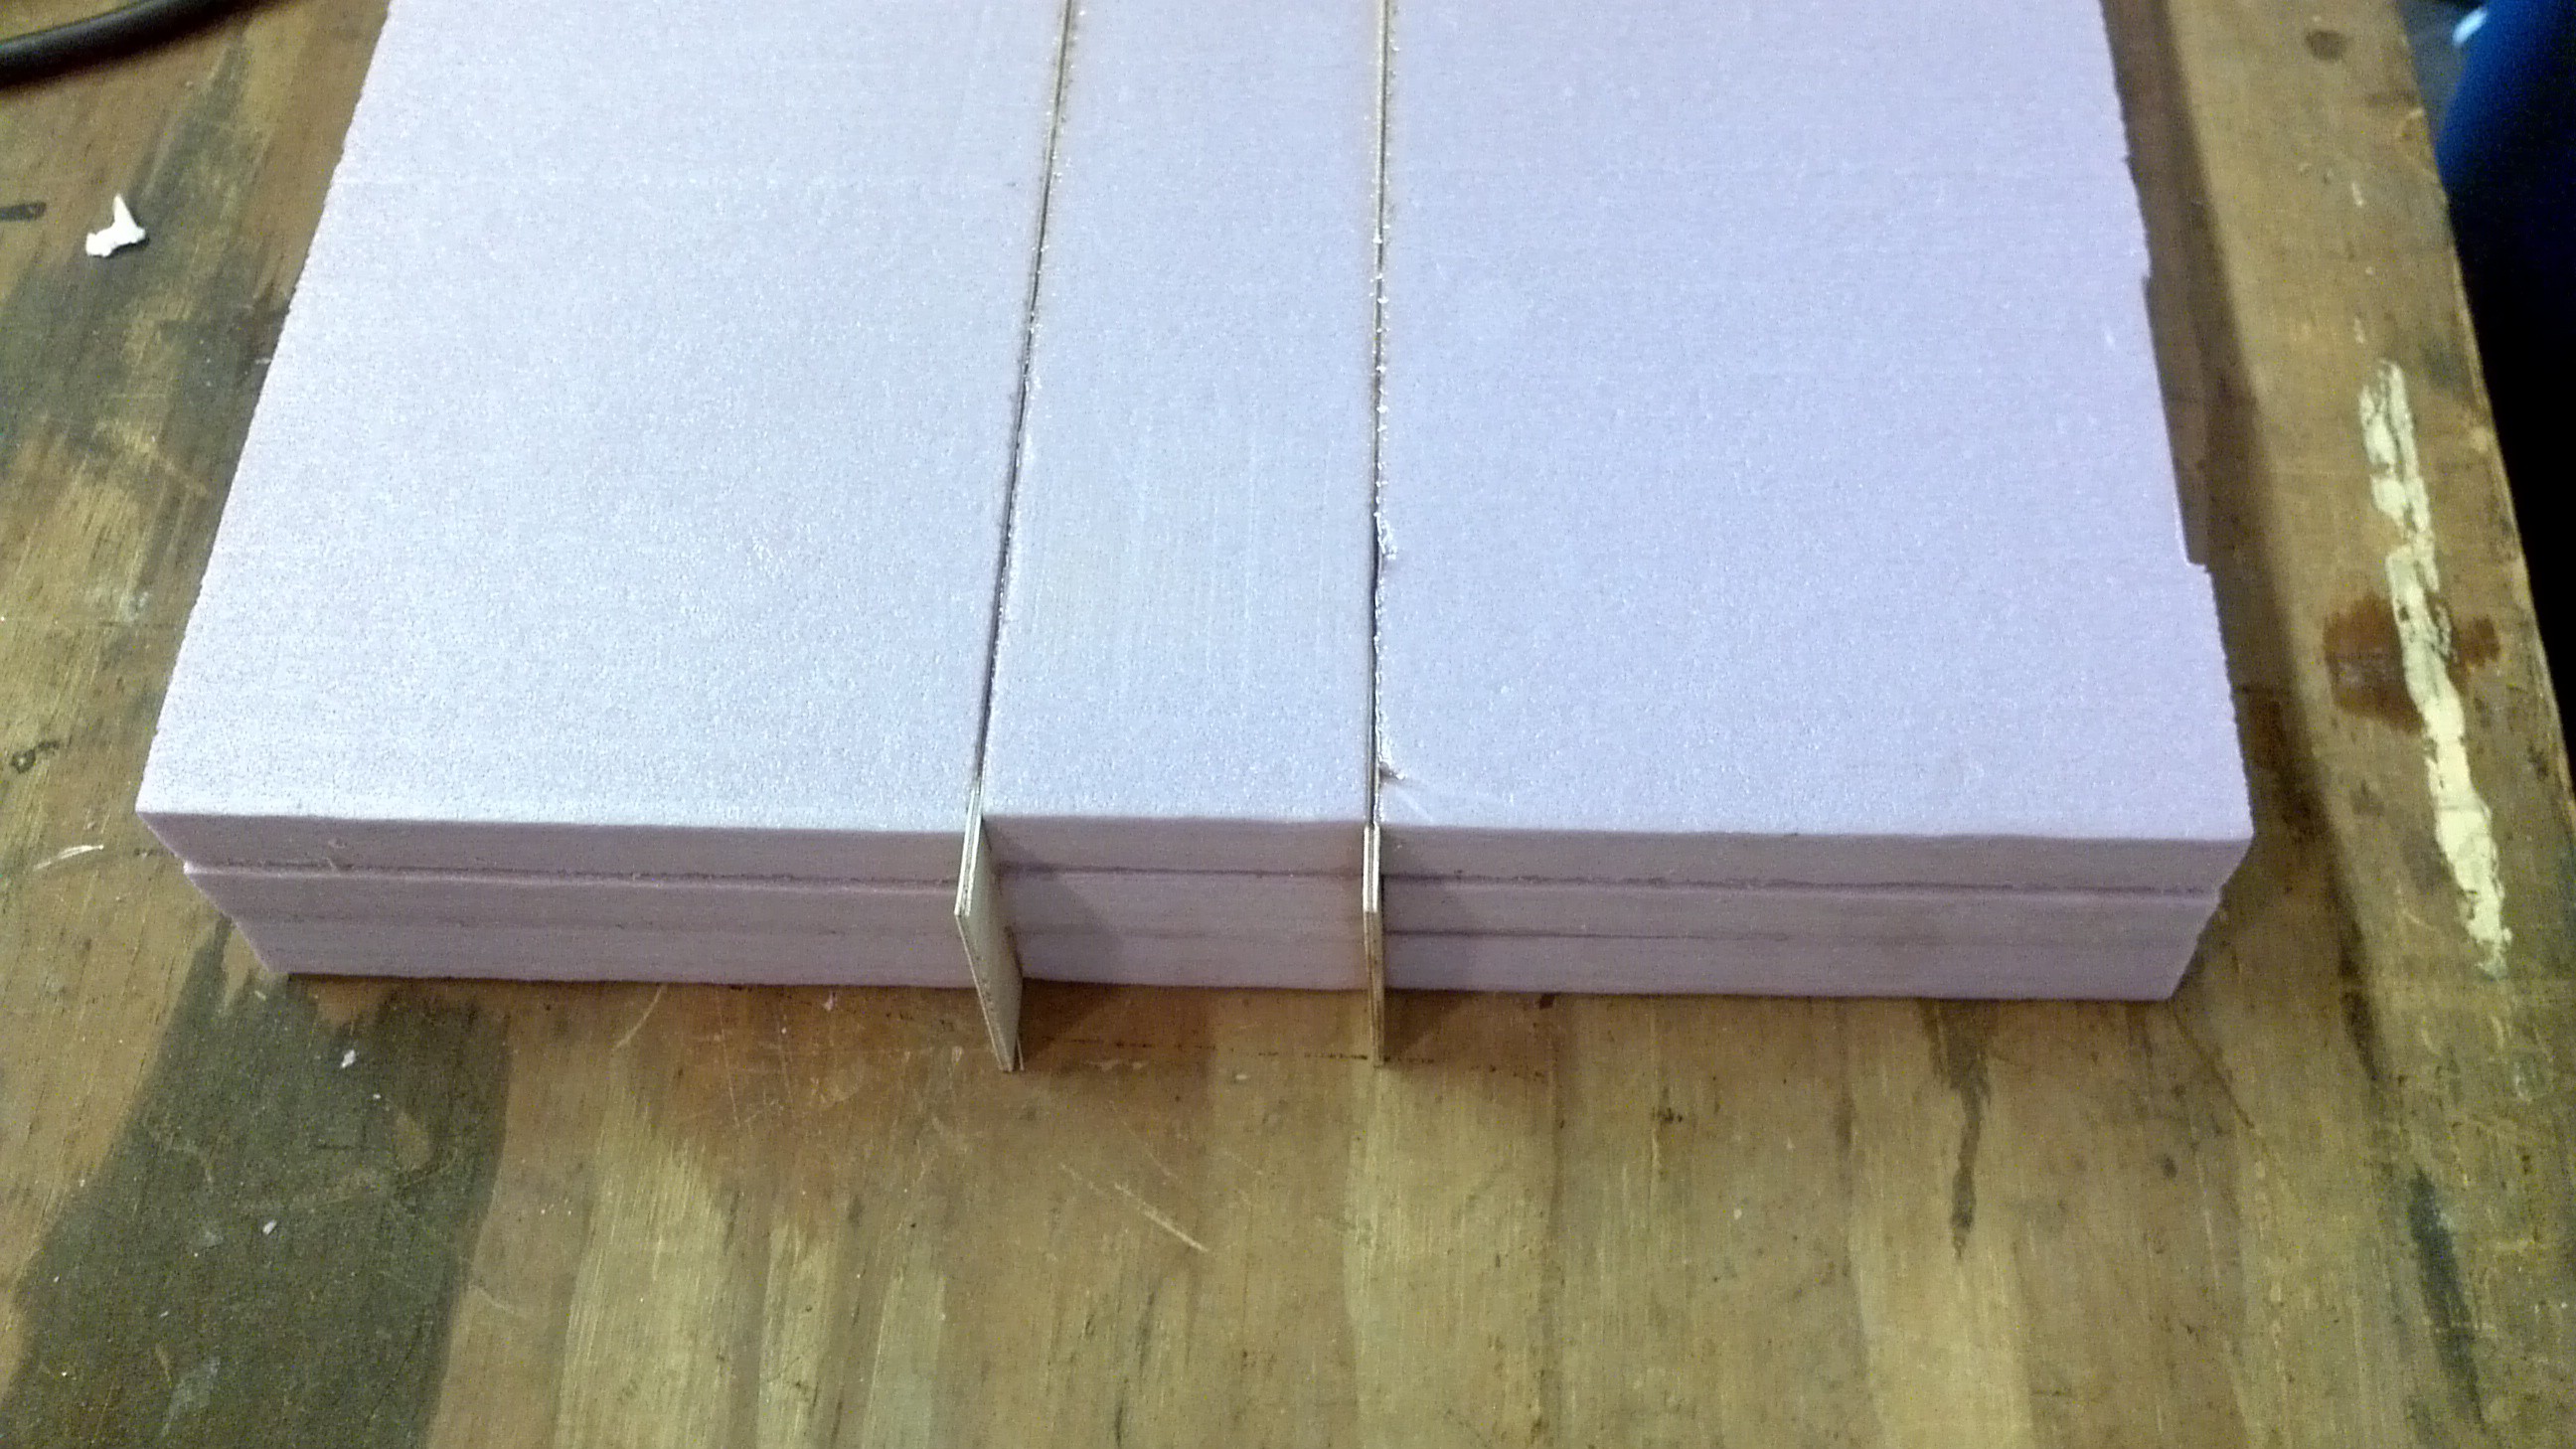
Cut the foam blocks where the plywood stiffeners will be added.
![]()
Using the epoxy join the foam block back together with the stiffeners inserted.
![]()
-
3Step 3
Cut the Propeller Blank
Tools: CNC Router with 1/2" and 1/4" router bits (flat)
A) Attach the Block and prep the router
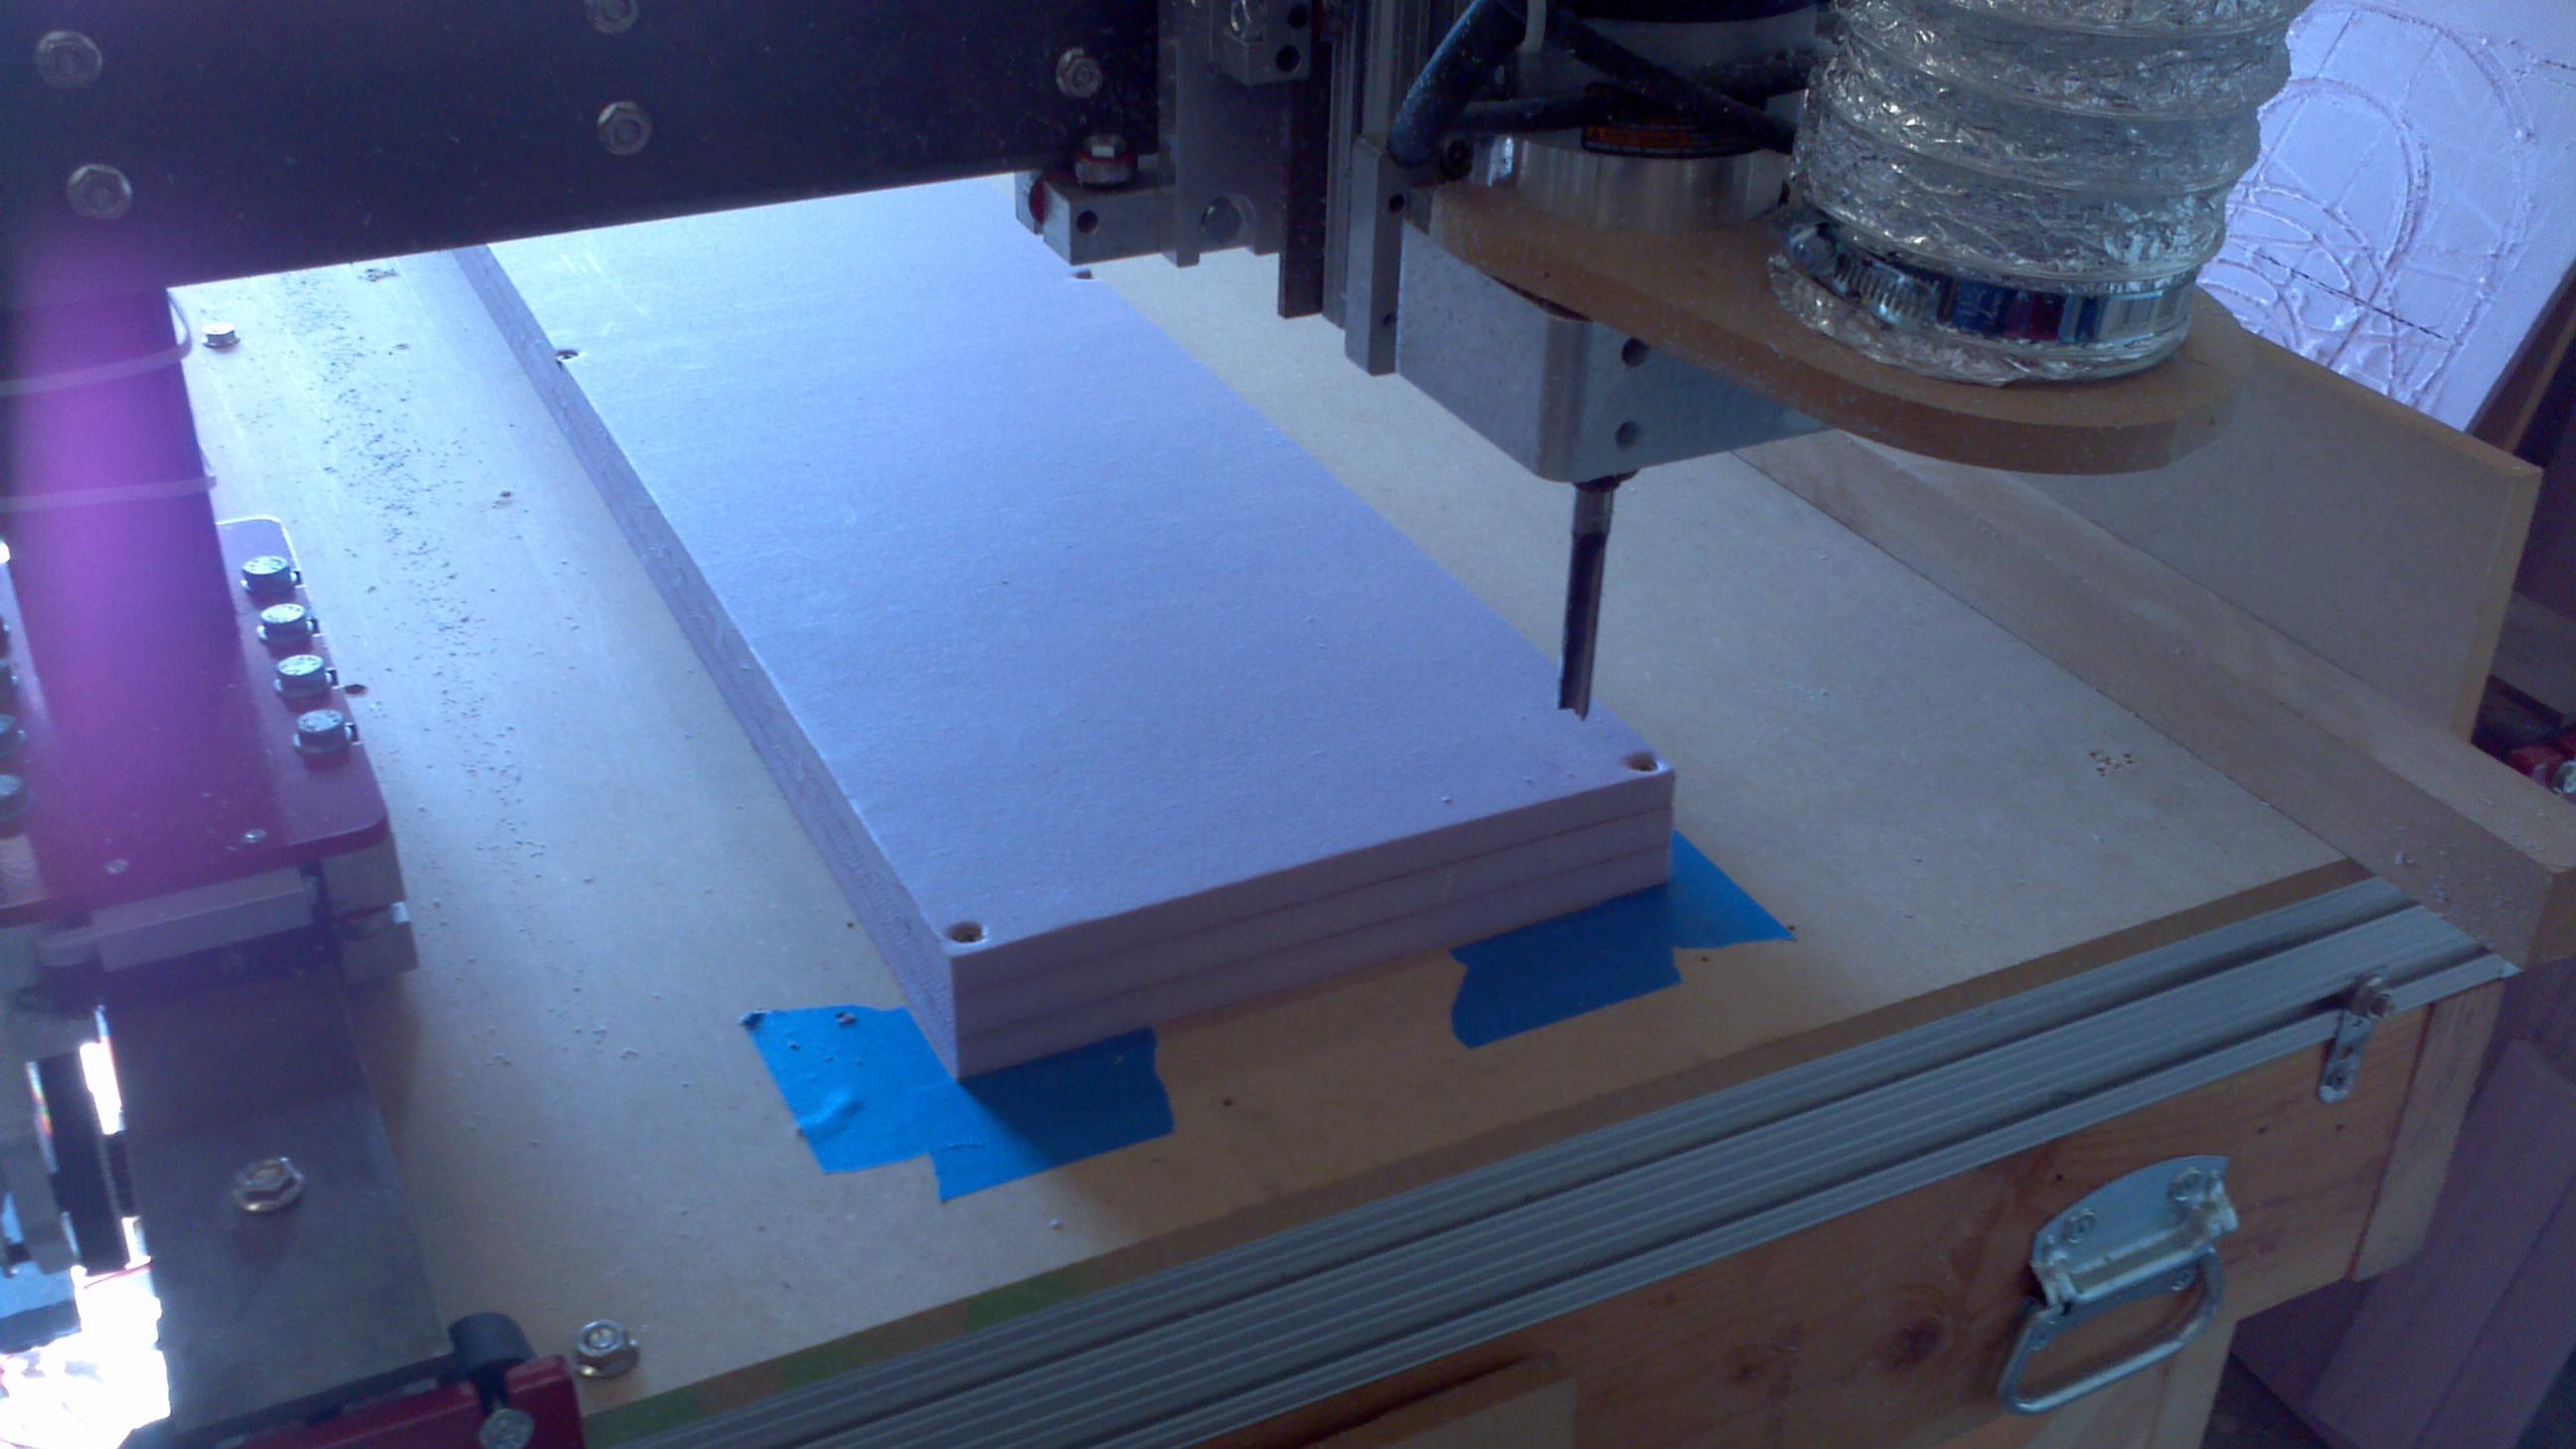
Attach the blank to the spoilboard. When cutting with the half inch bit, there is an extra 3/4" on each side of the block, but make sure any screws stay within the 3/4" margin. Six screws are sufficient to hold down the foam, one in each corner and one in the middle of the each of long sides. Because of the margin, you don't have to mount the block perfectly square, but get it reasonably aligned, so you don't hit a screw. Since I'm doing at least four of these, I used painters tape on the spoilboard to do the alignment.
![]()
B) Make sure you have the 1/2" bit in the router and set the zero point for the router. The g-code for the propellers on the repository assume the top of the material is at z=0. From the starting corner (shown) the edges are at x = -1 and y=-1 respectively.
C) Run the router using the g-code for top, rough code.
![]()
-
4Step 4
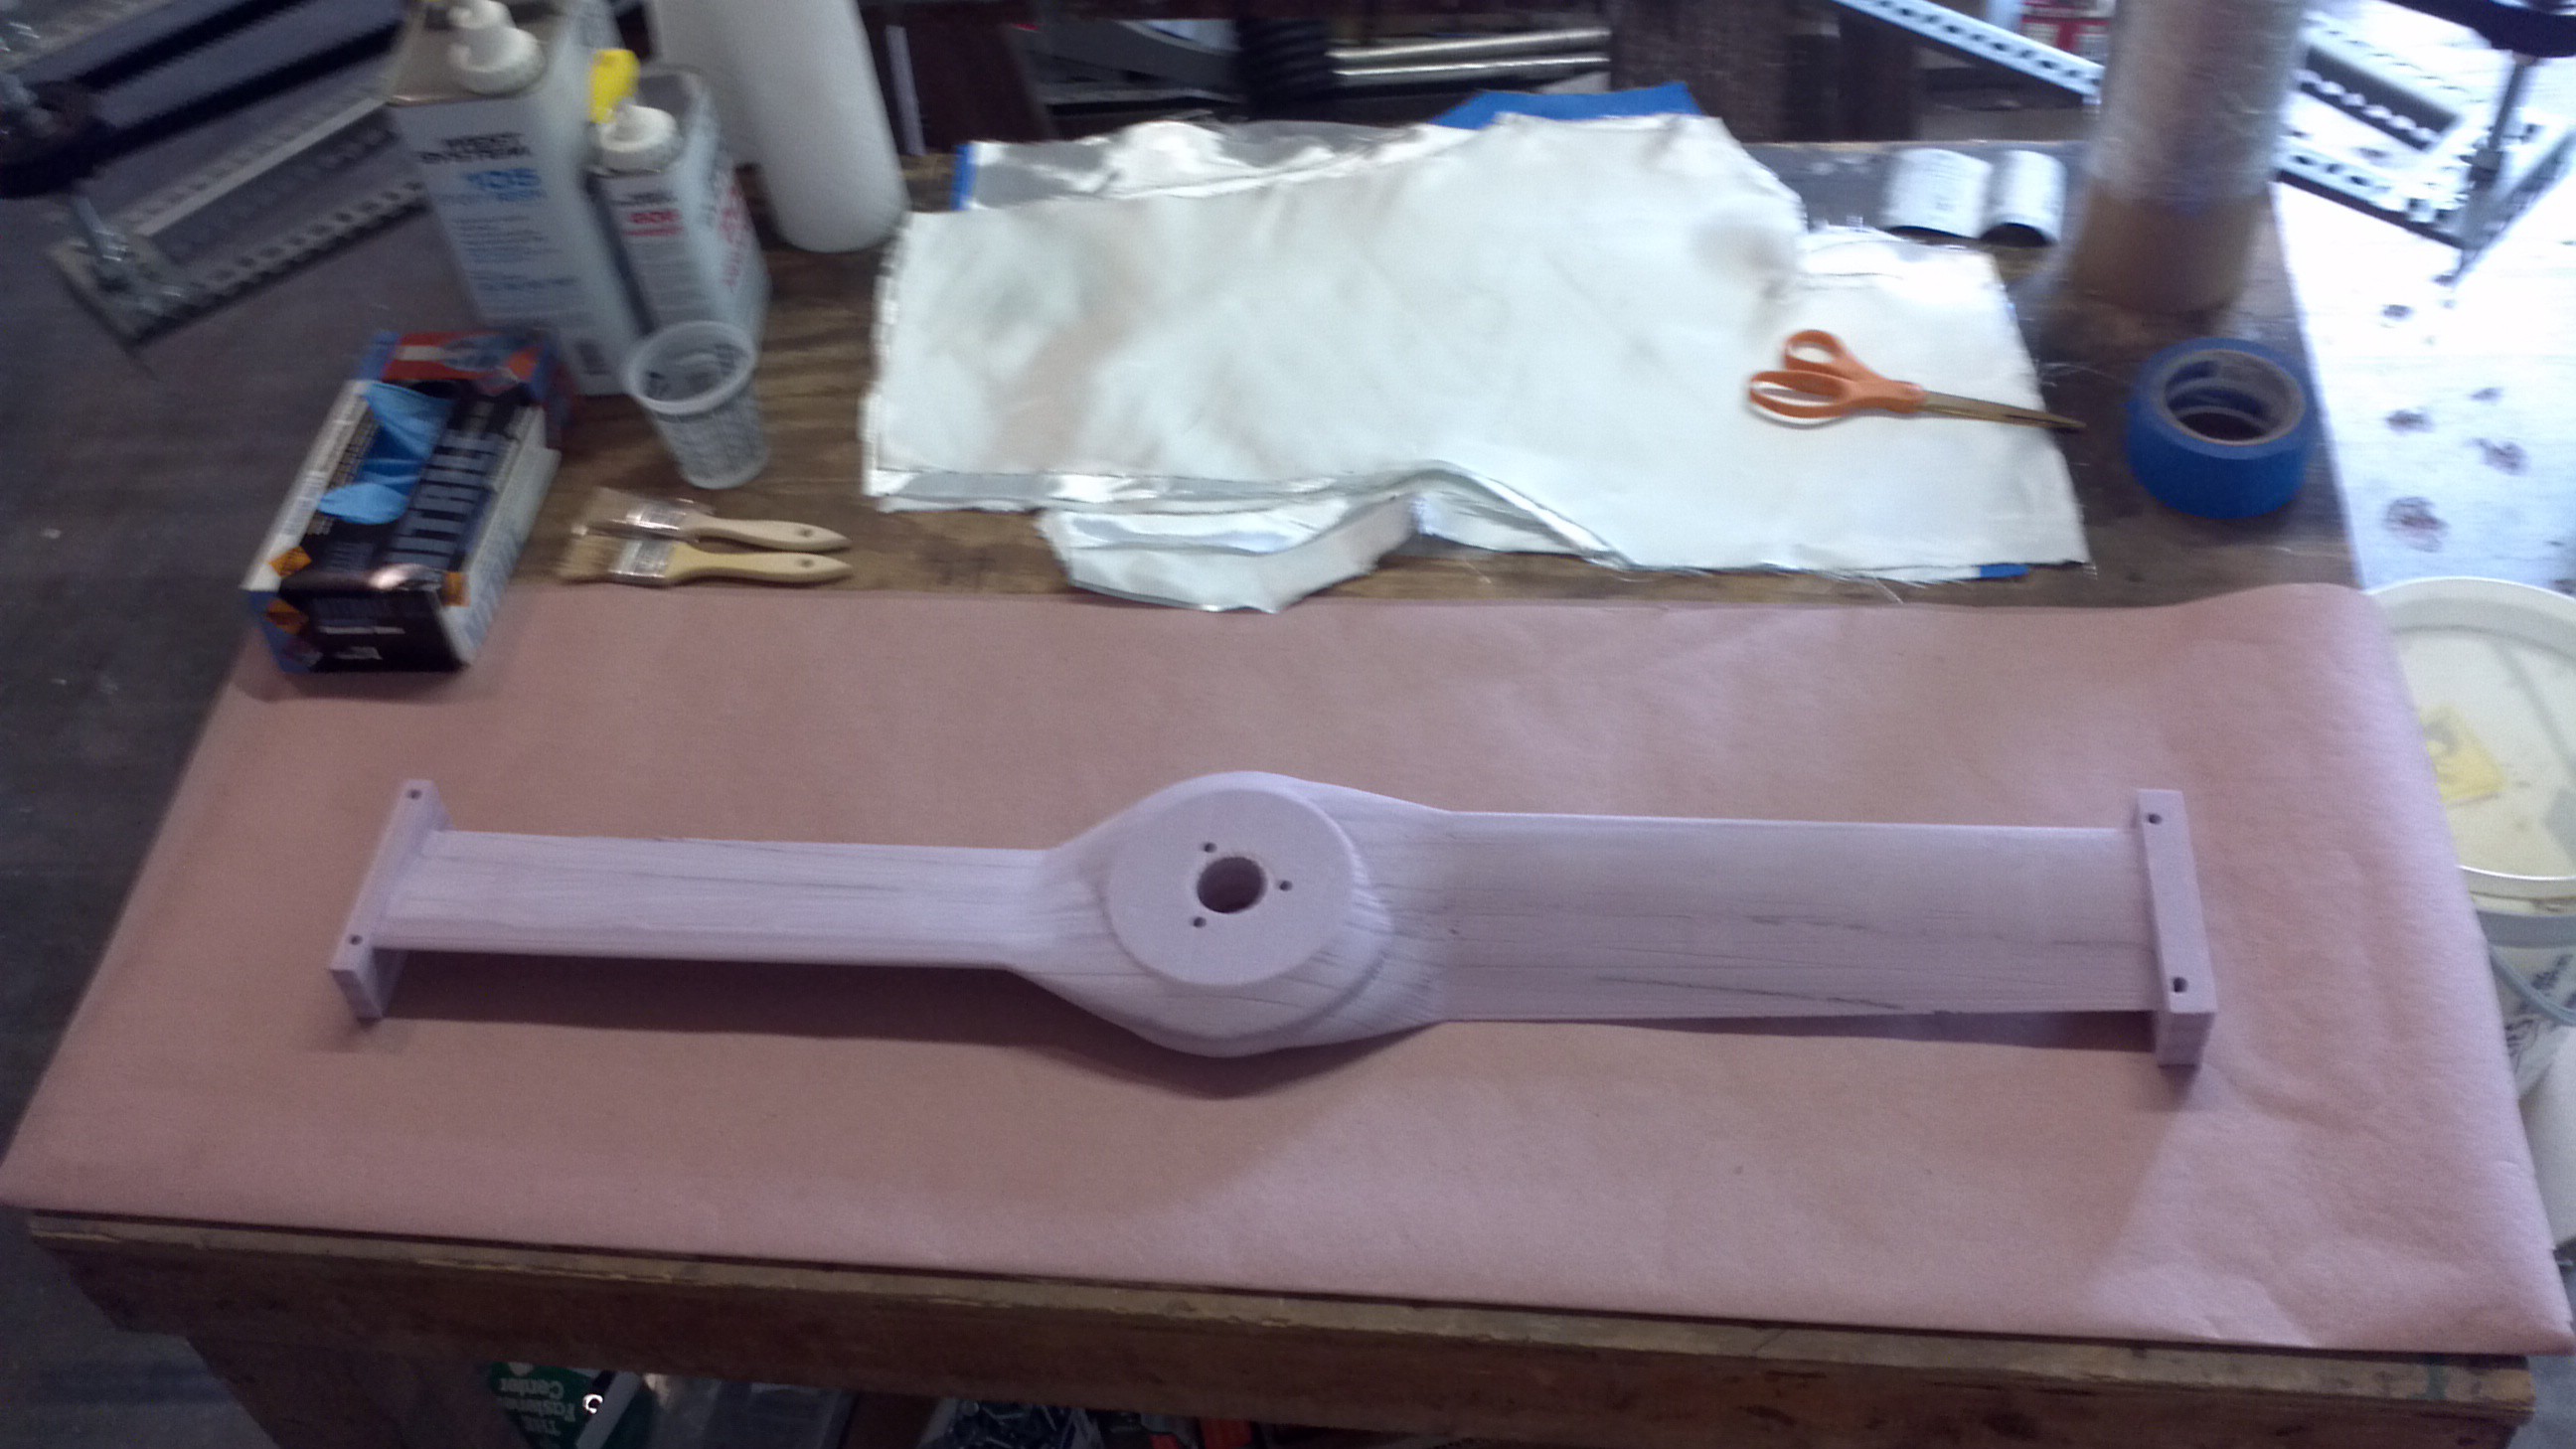
Prep the Foam Blank for adding the composite layer
![]()
Inexpensive Composite Propellers/Rotors
How to make inexpensive propellers using mostly hardware store materials and a CNC router
 Peter McCloud


Discussions
Become a Hackaday.io Member
Create an account to leave a comment. Already have an account? Log In.