 jorisplusplus
Coilgun mark 1 has some defects:
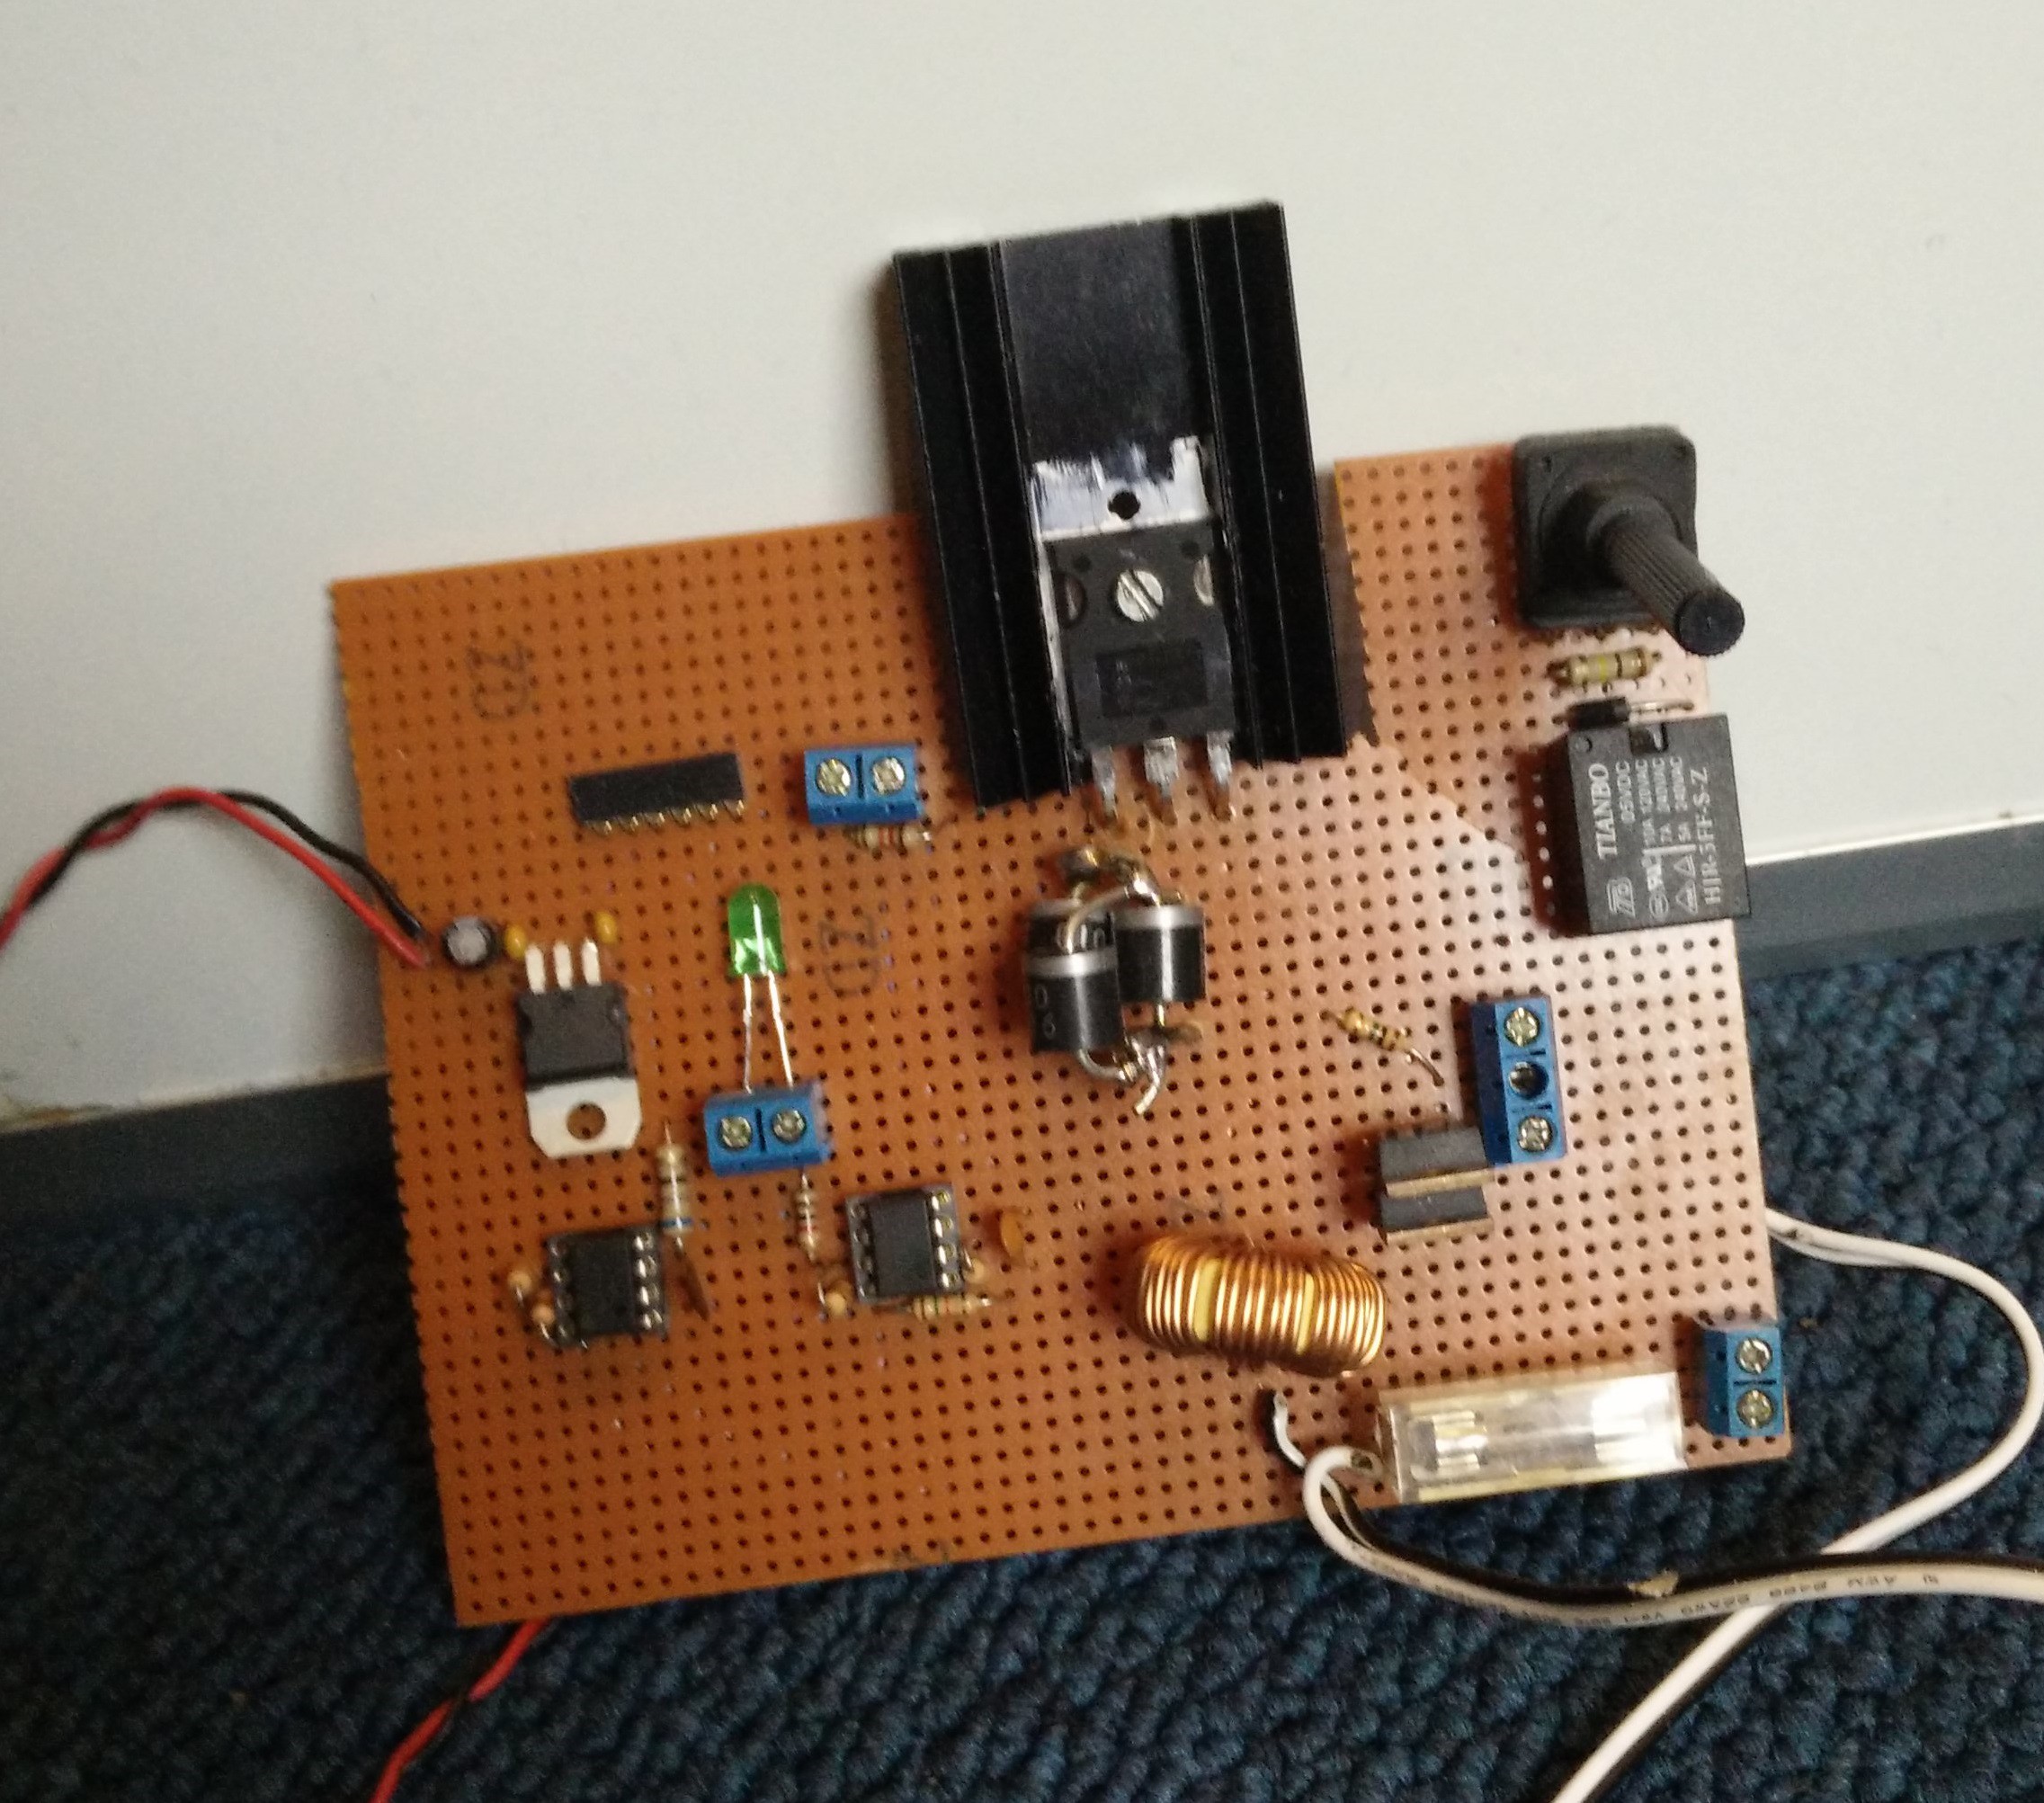
-The PCB it too big
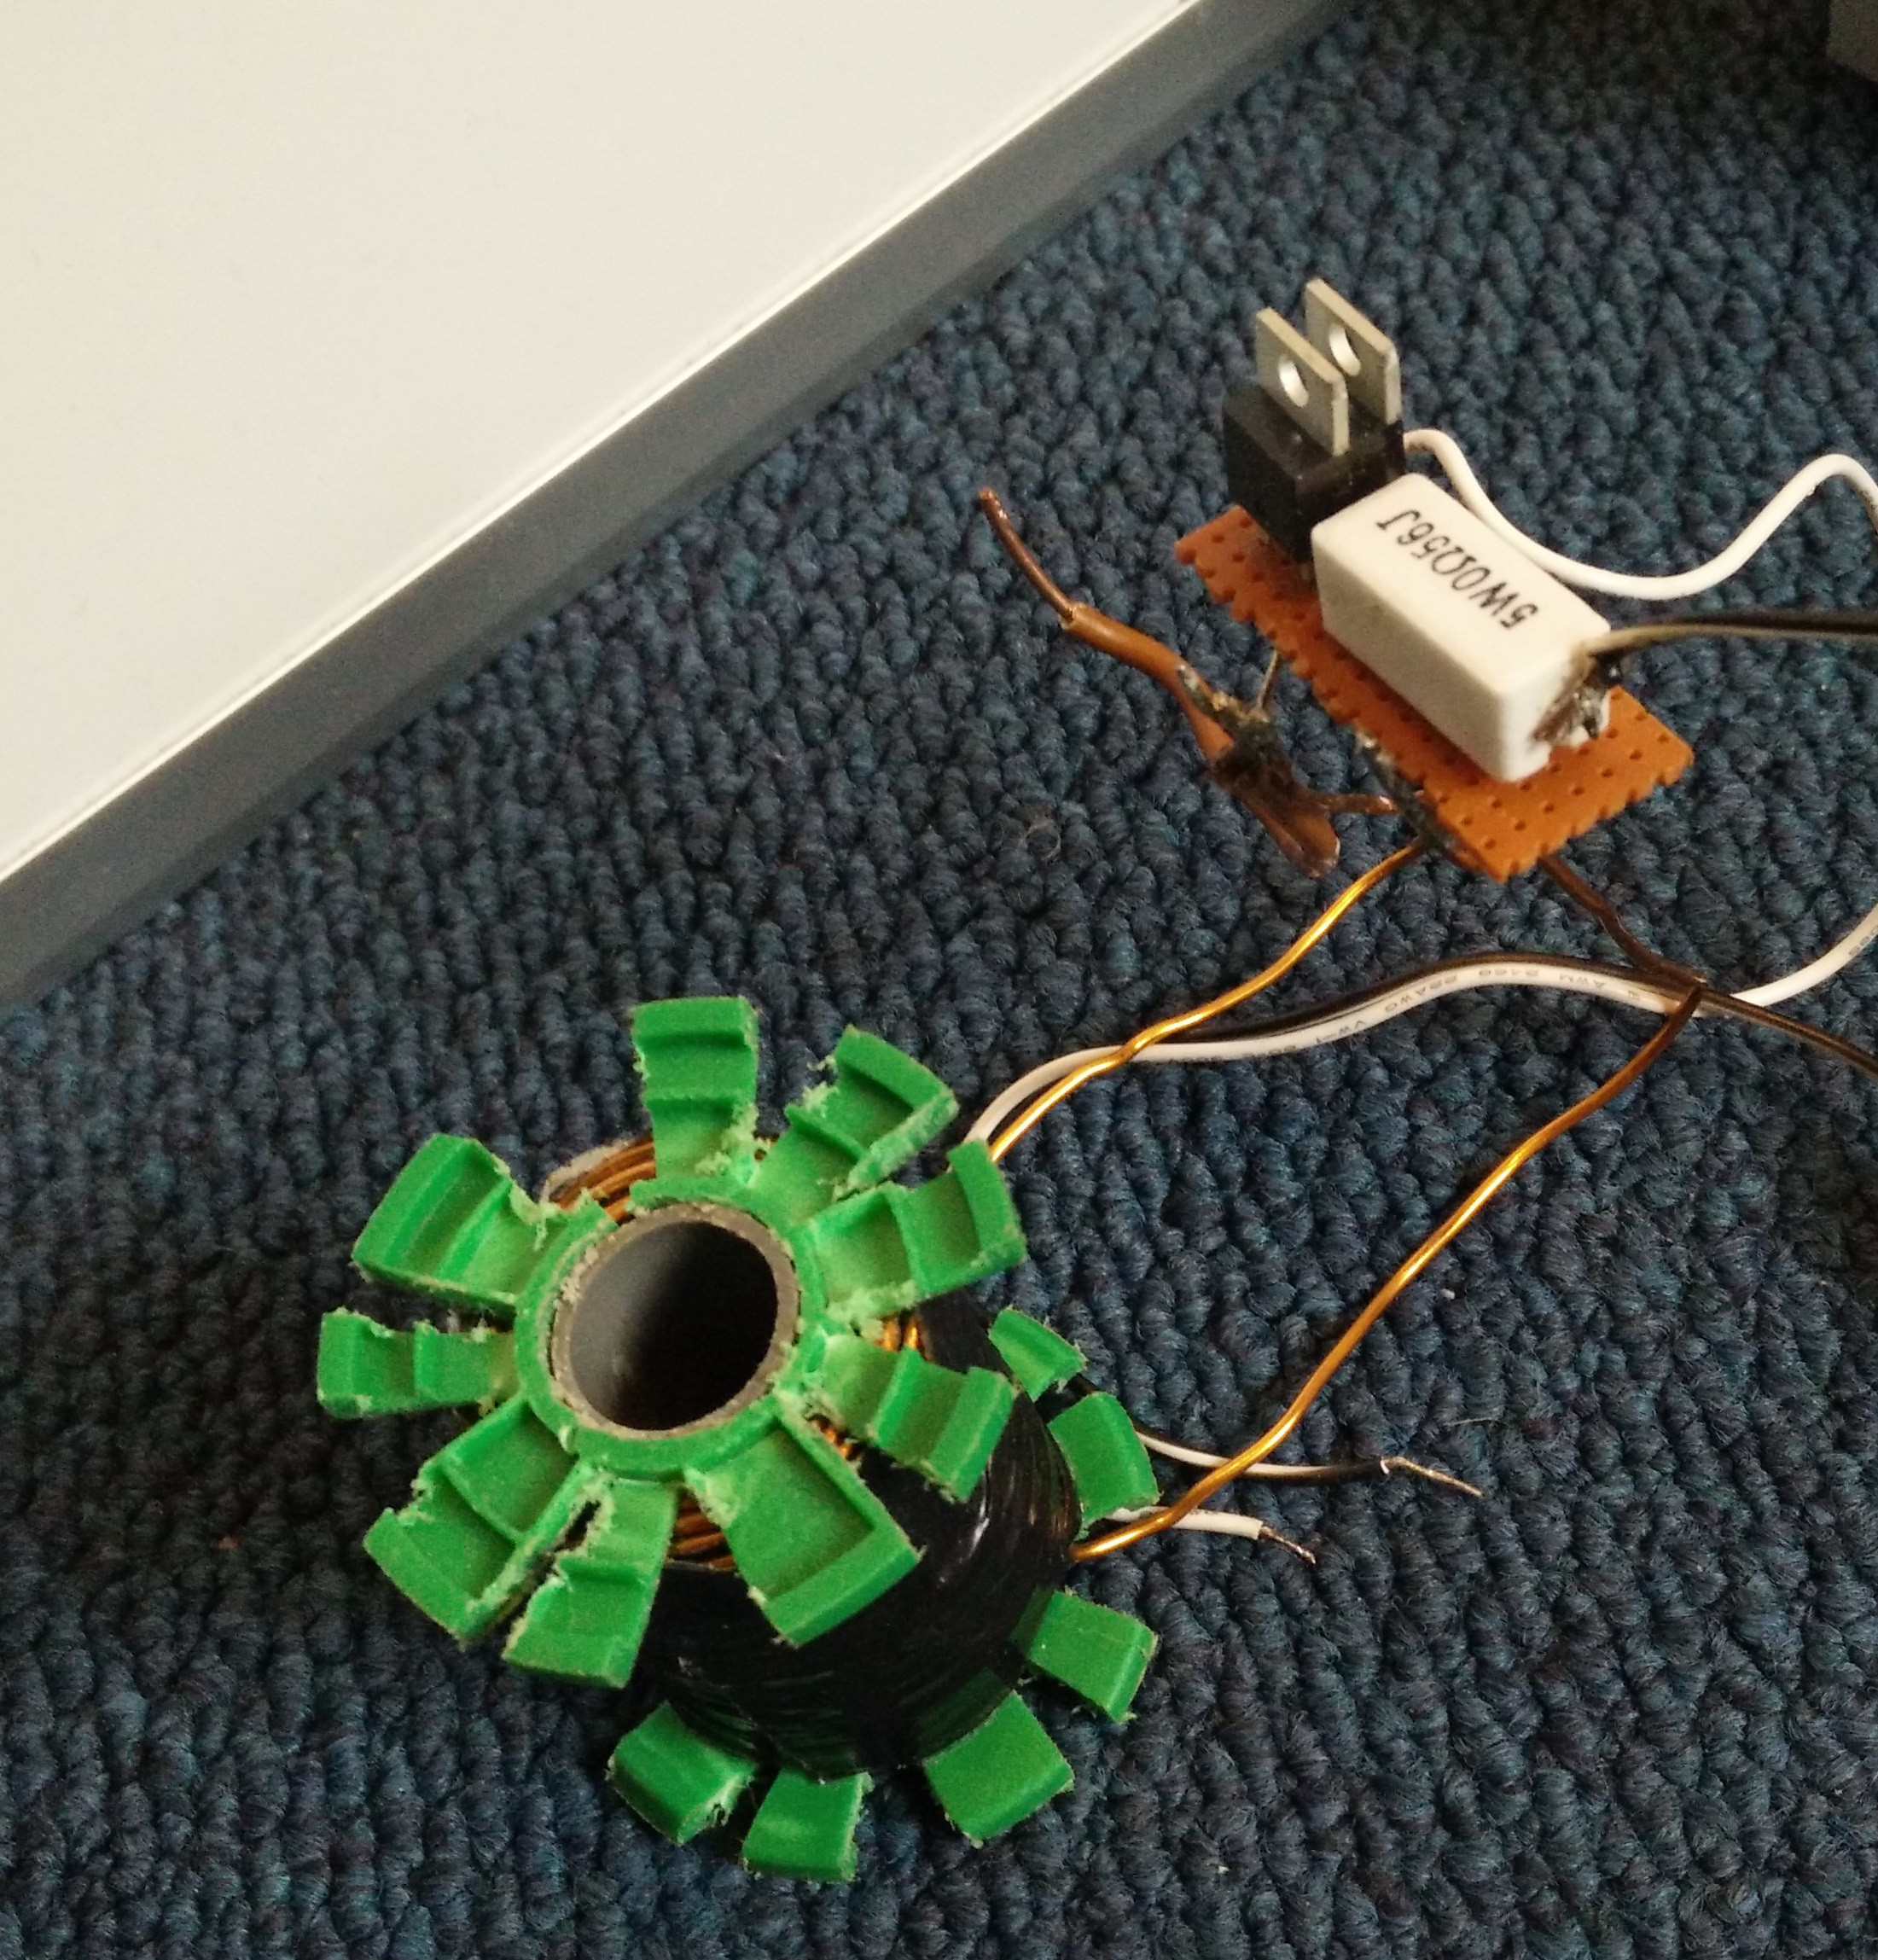
-Coil has too many turns
-Barrel is too wide
-Voltage cutoff is fried
The mark2 should address the previous issues and have some add features like:
-Recording of voltage level when firing
-Wireless read out
-Store multiple shots
and more
During my other projects I have accumaleted a good amount of extra components. For this project I want to add as many of those components and spend as little as possible.
Current list:
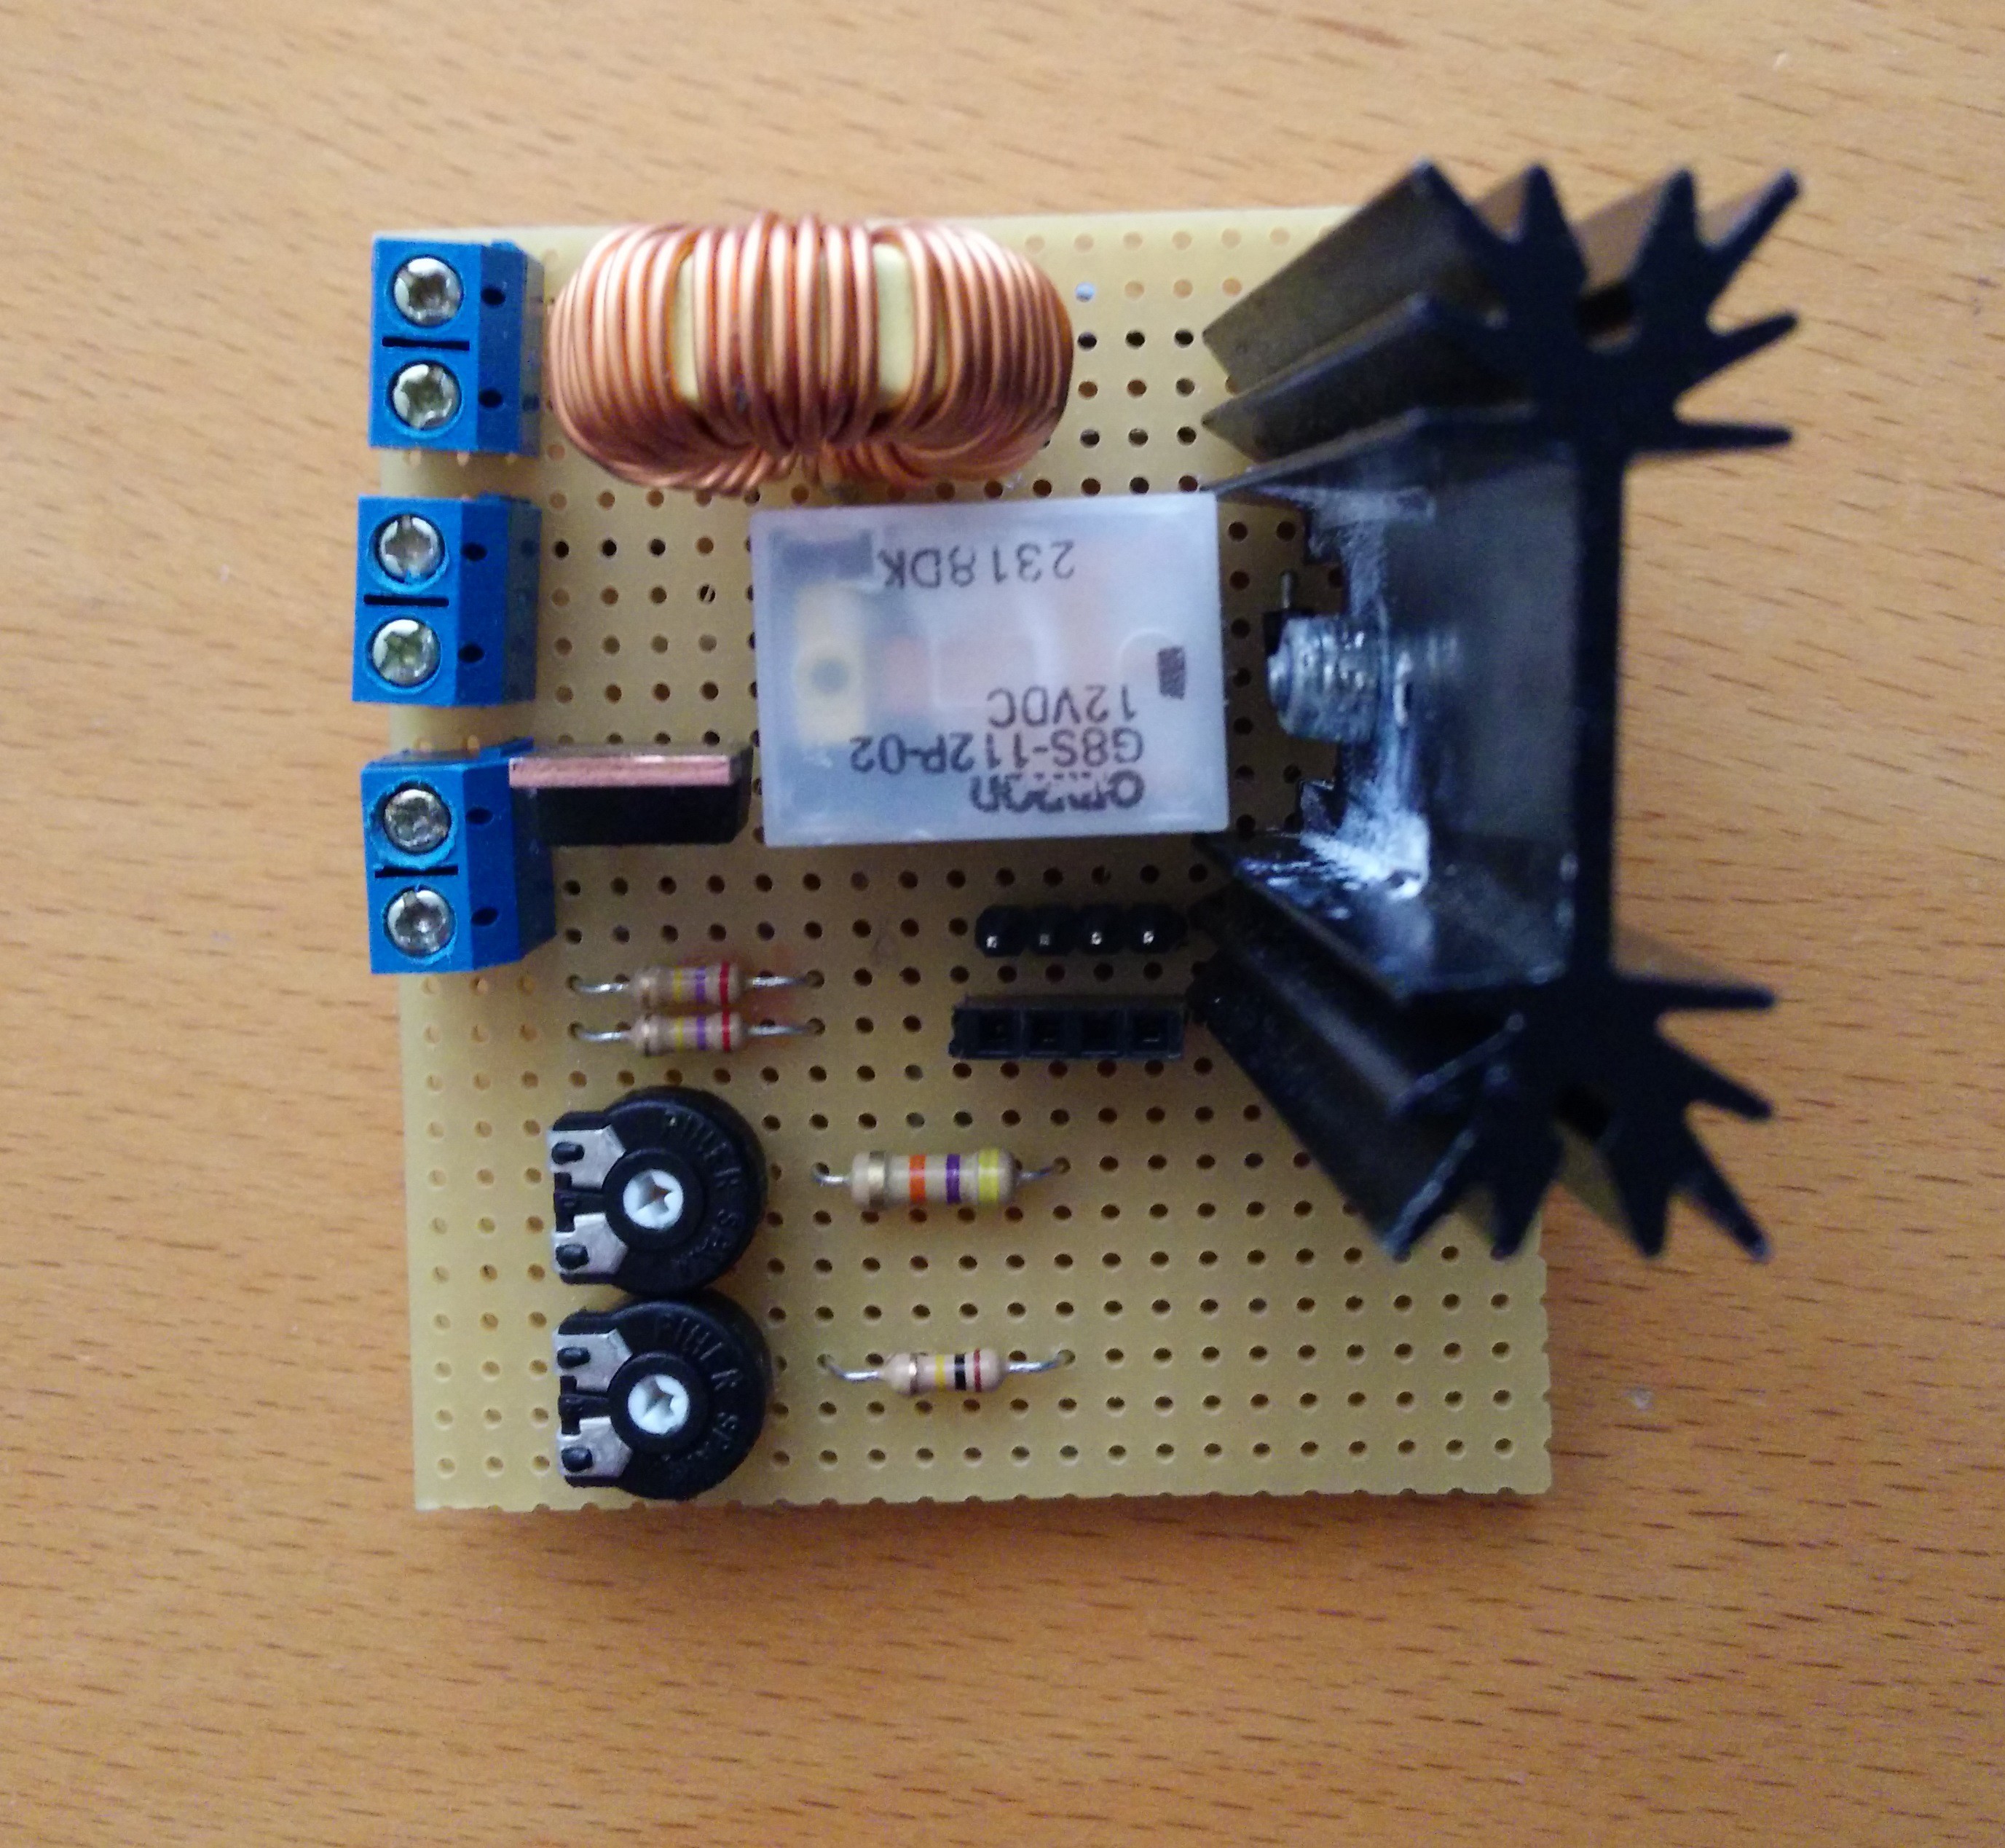
-PIC18F452 for the brains
-ESP8266 for wireless transmission
-24LC256 for storage of fire data
-HD44780 display
-Lots of buttons for control
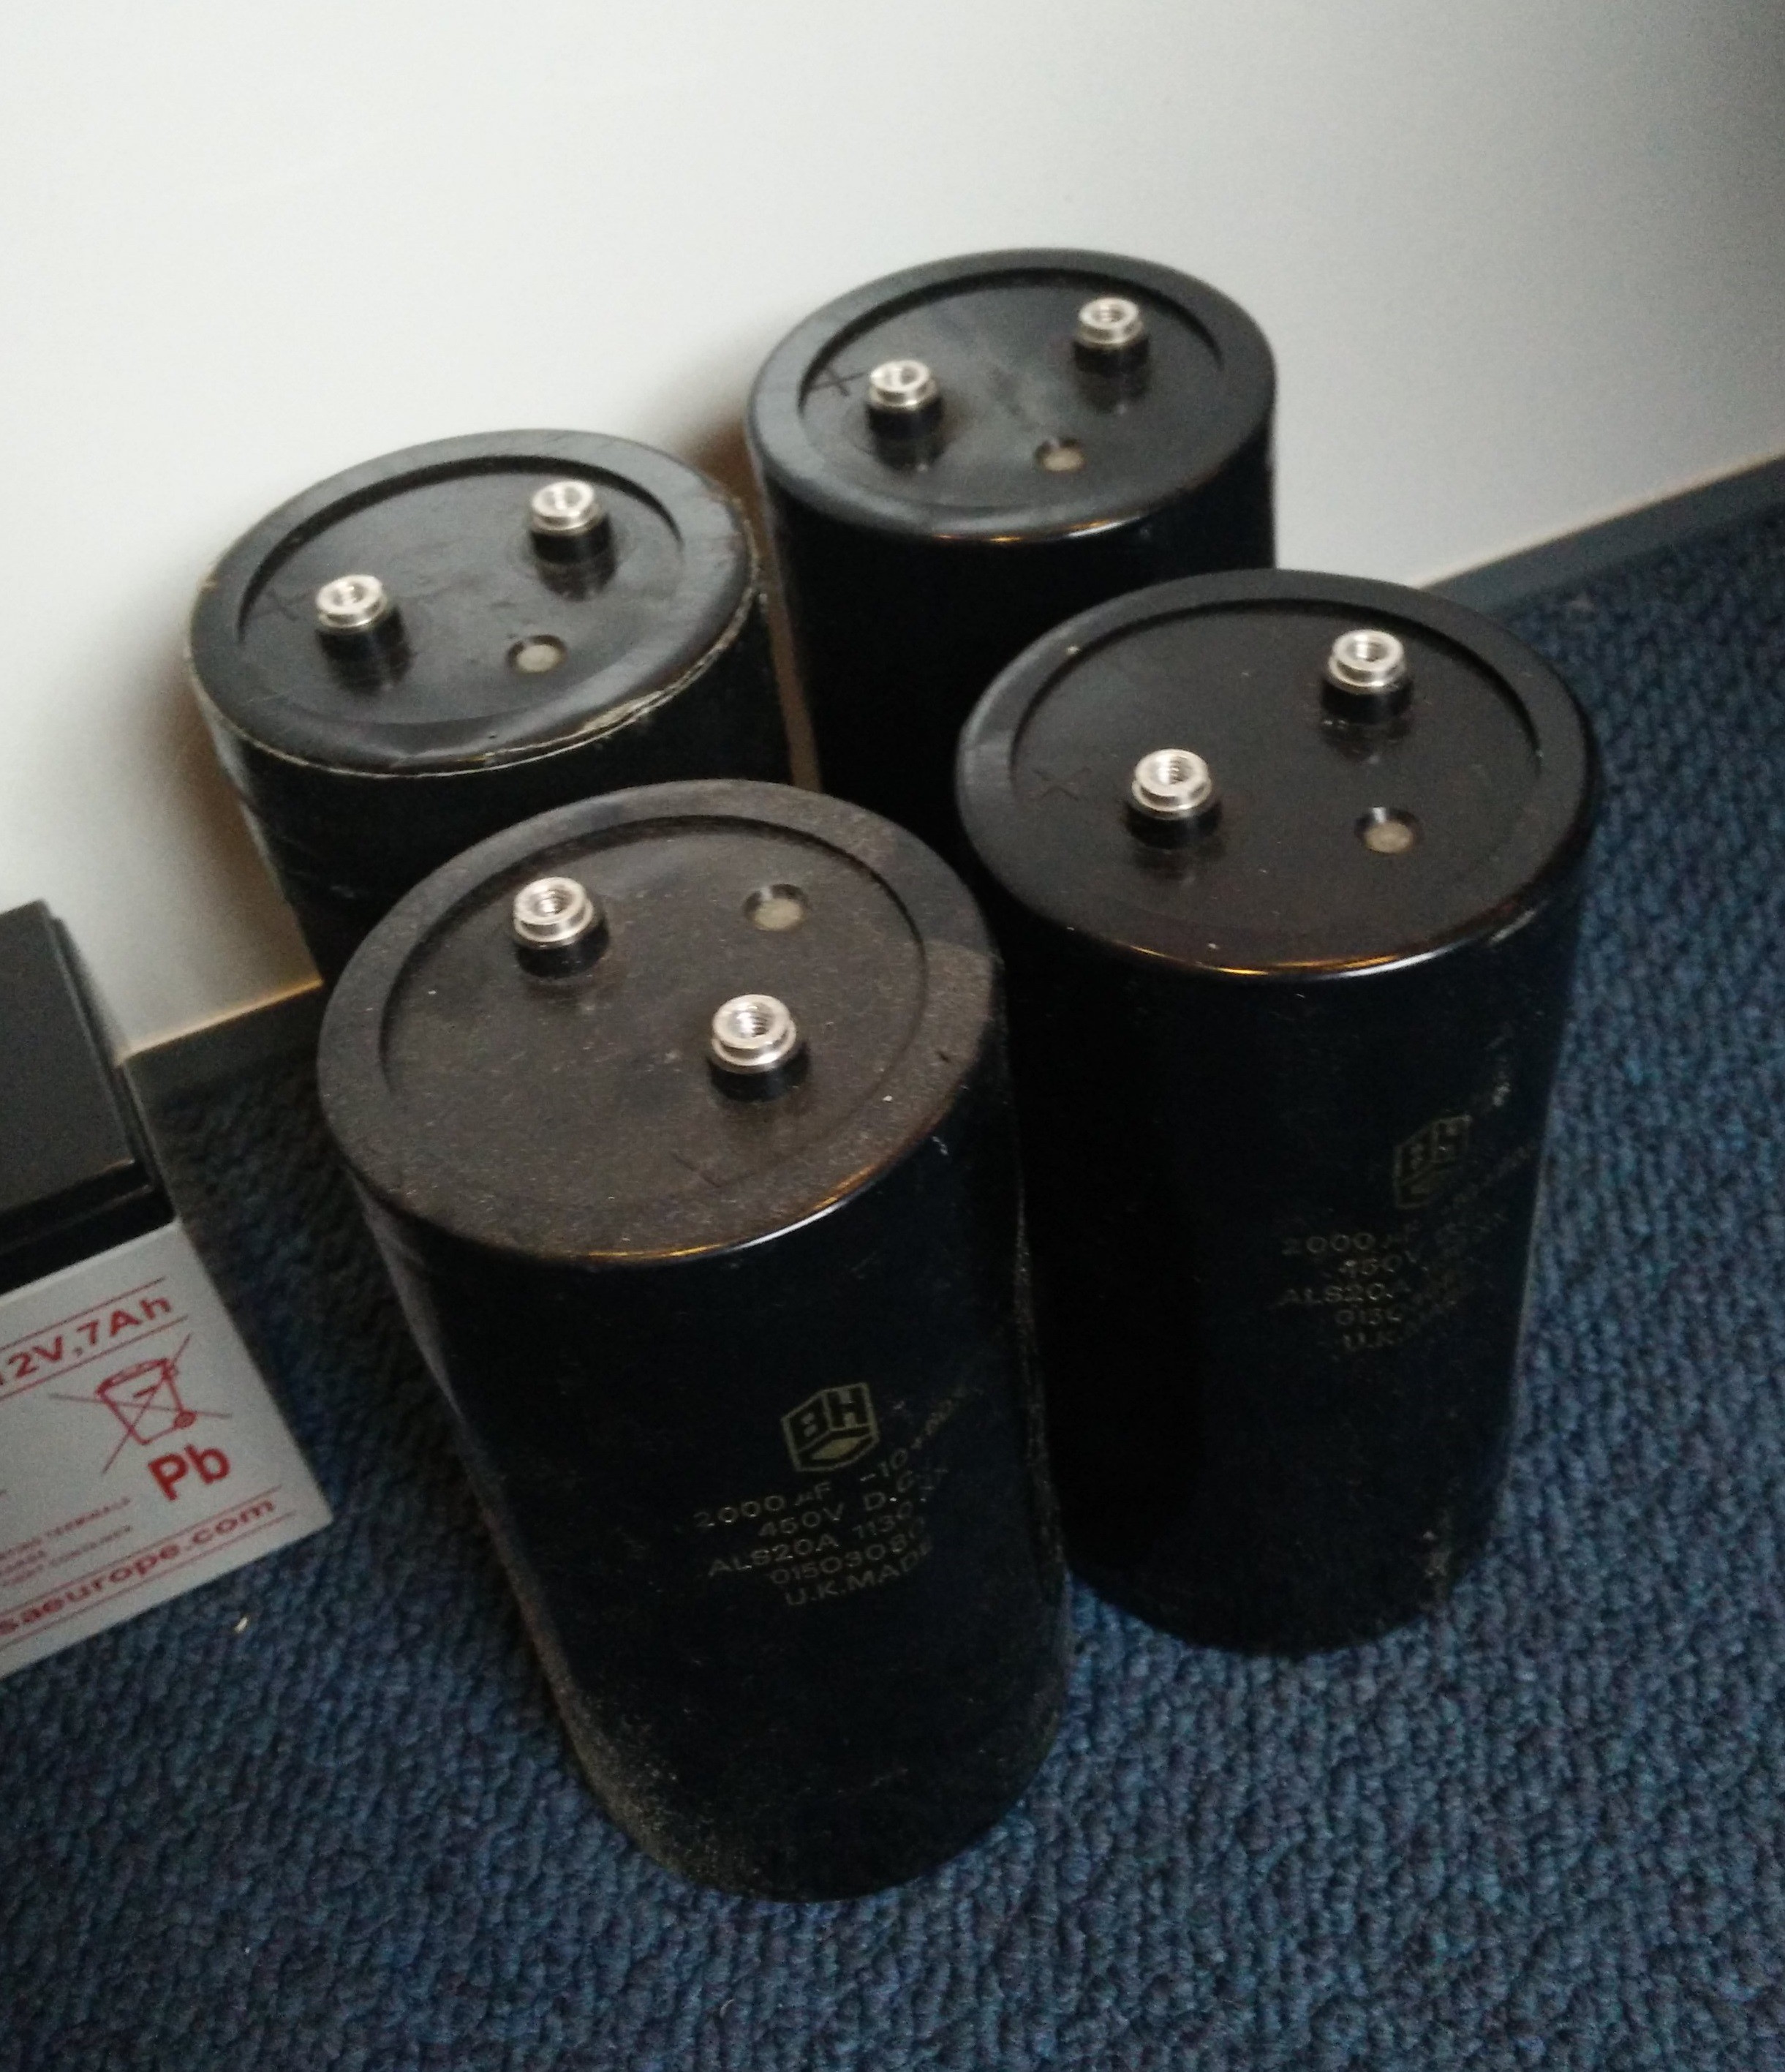
-12V 7AH battery
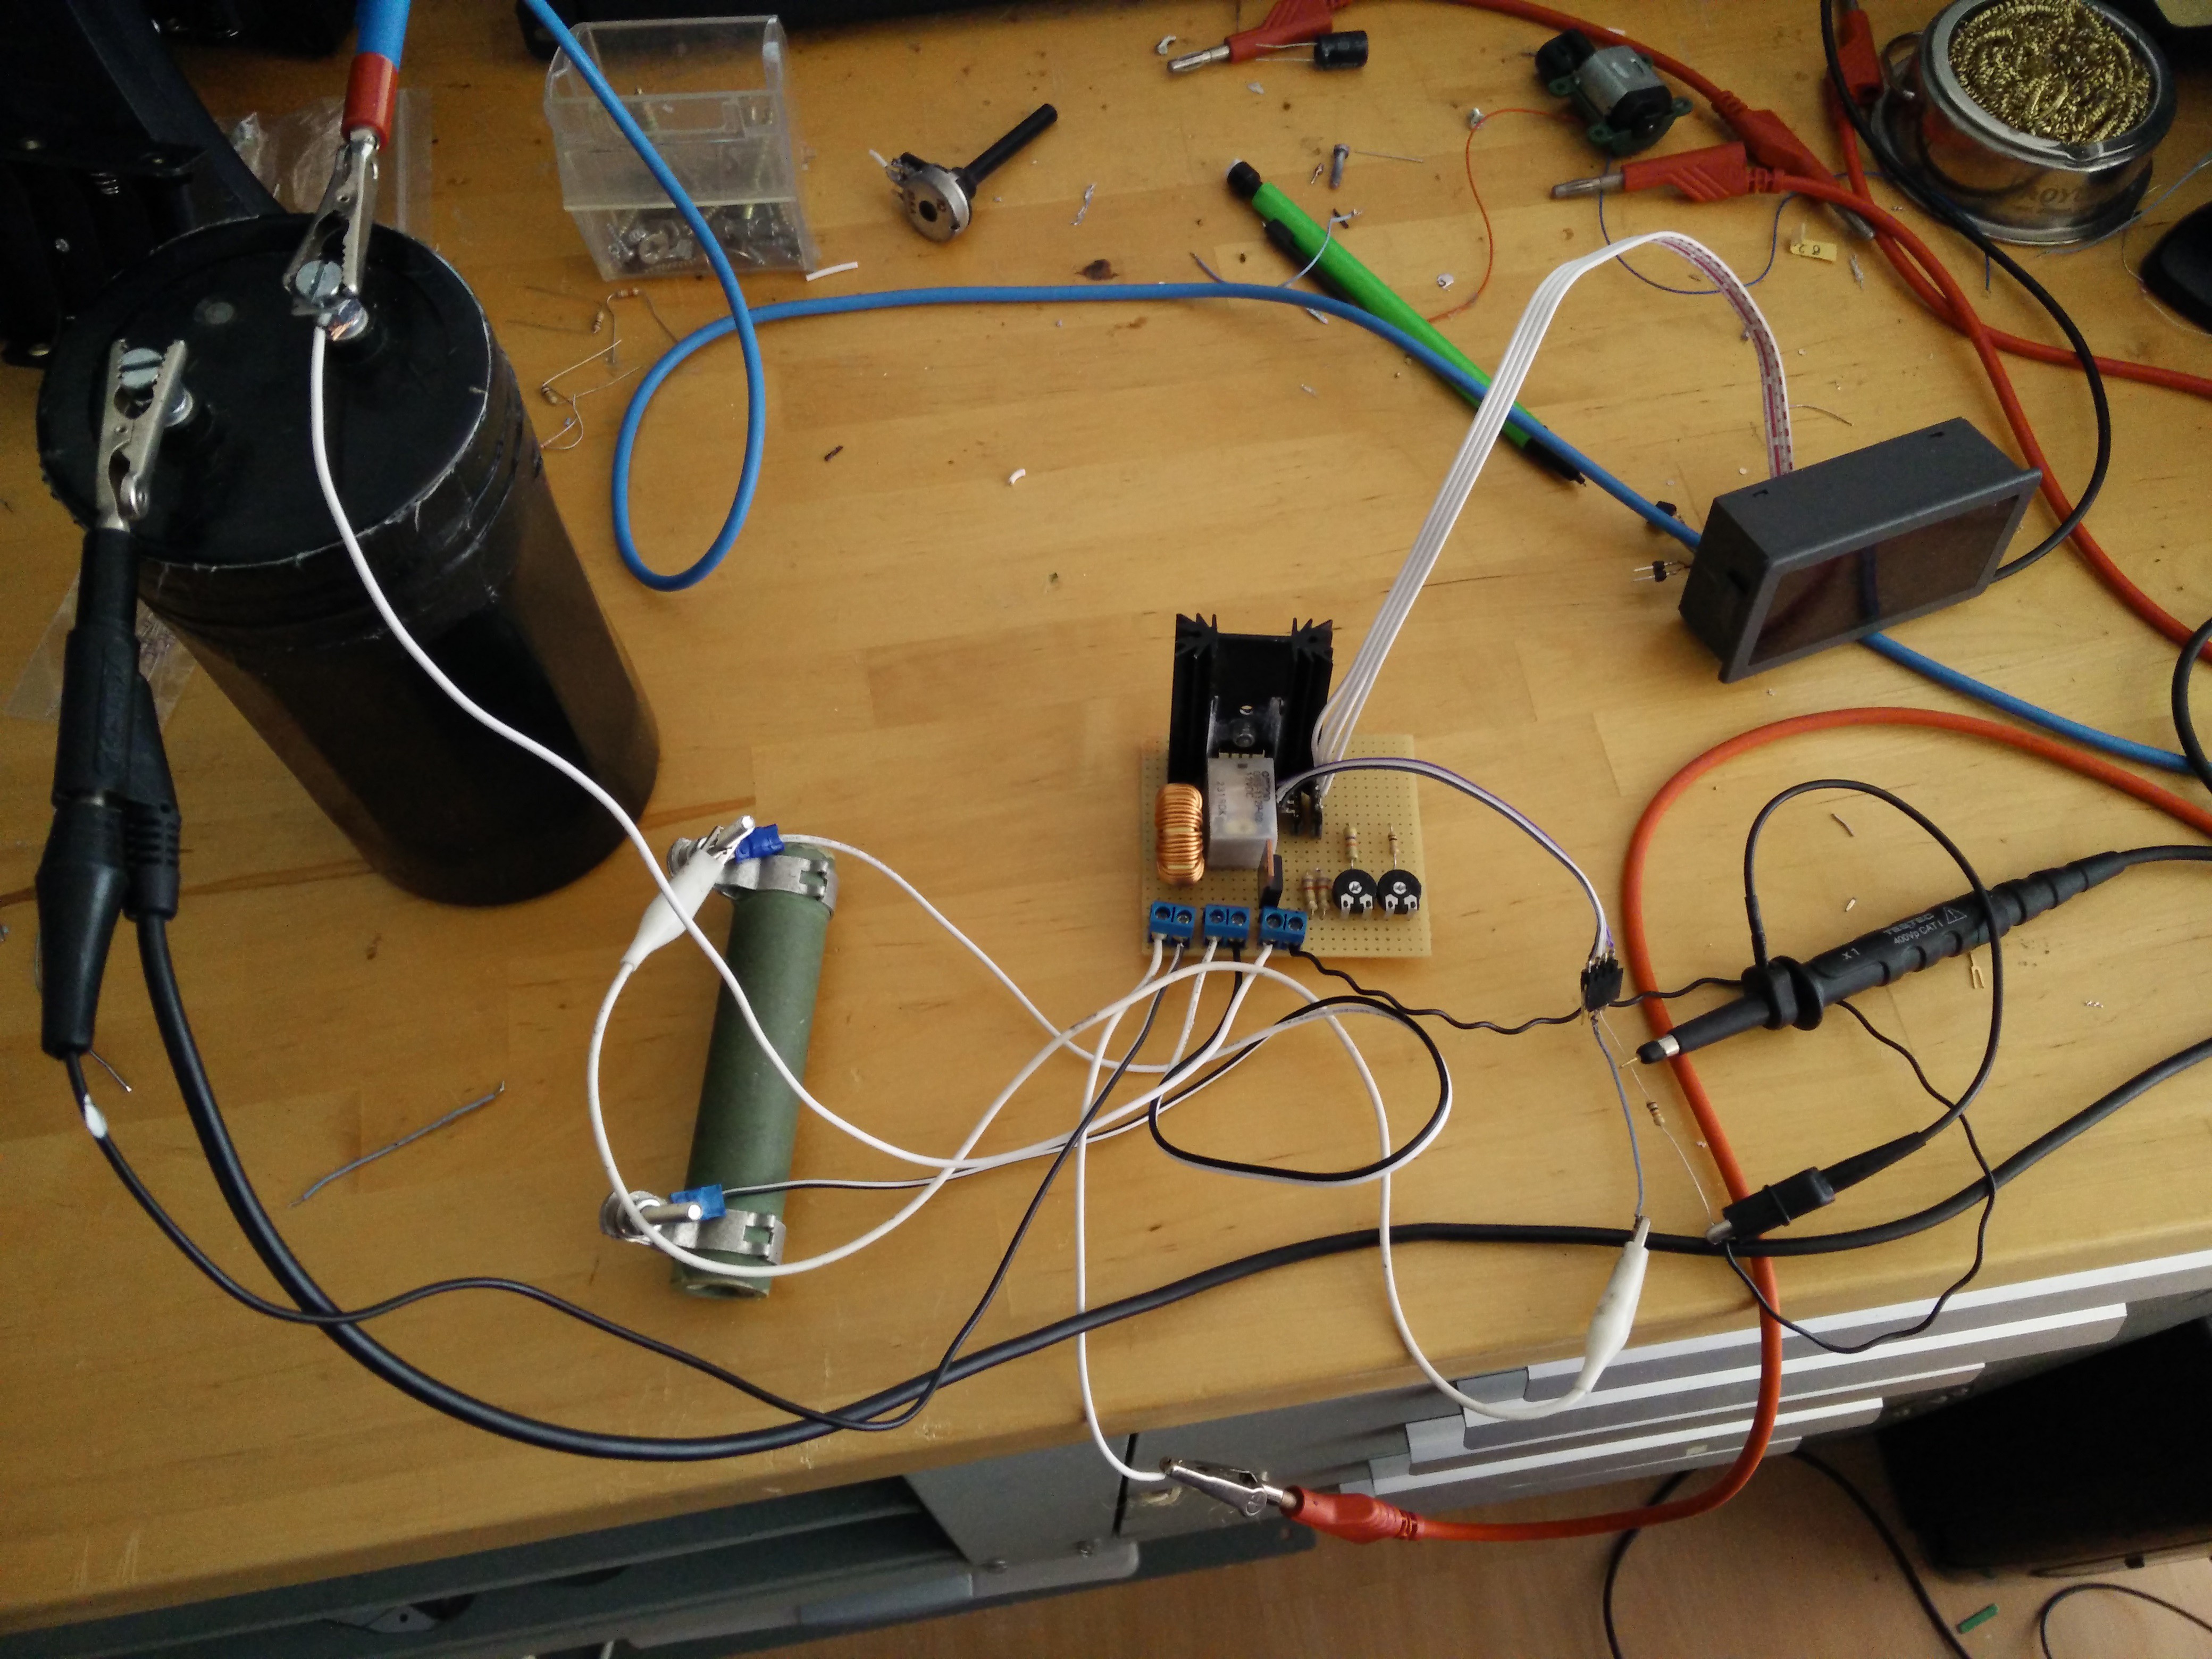
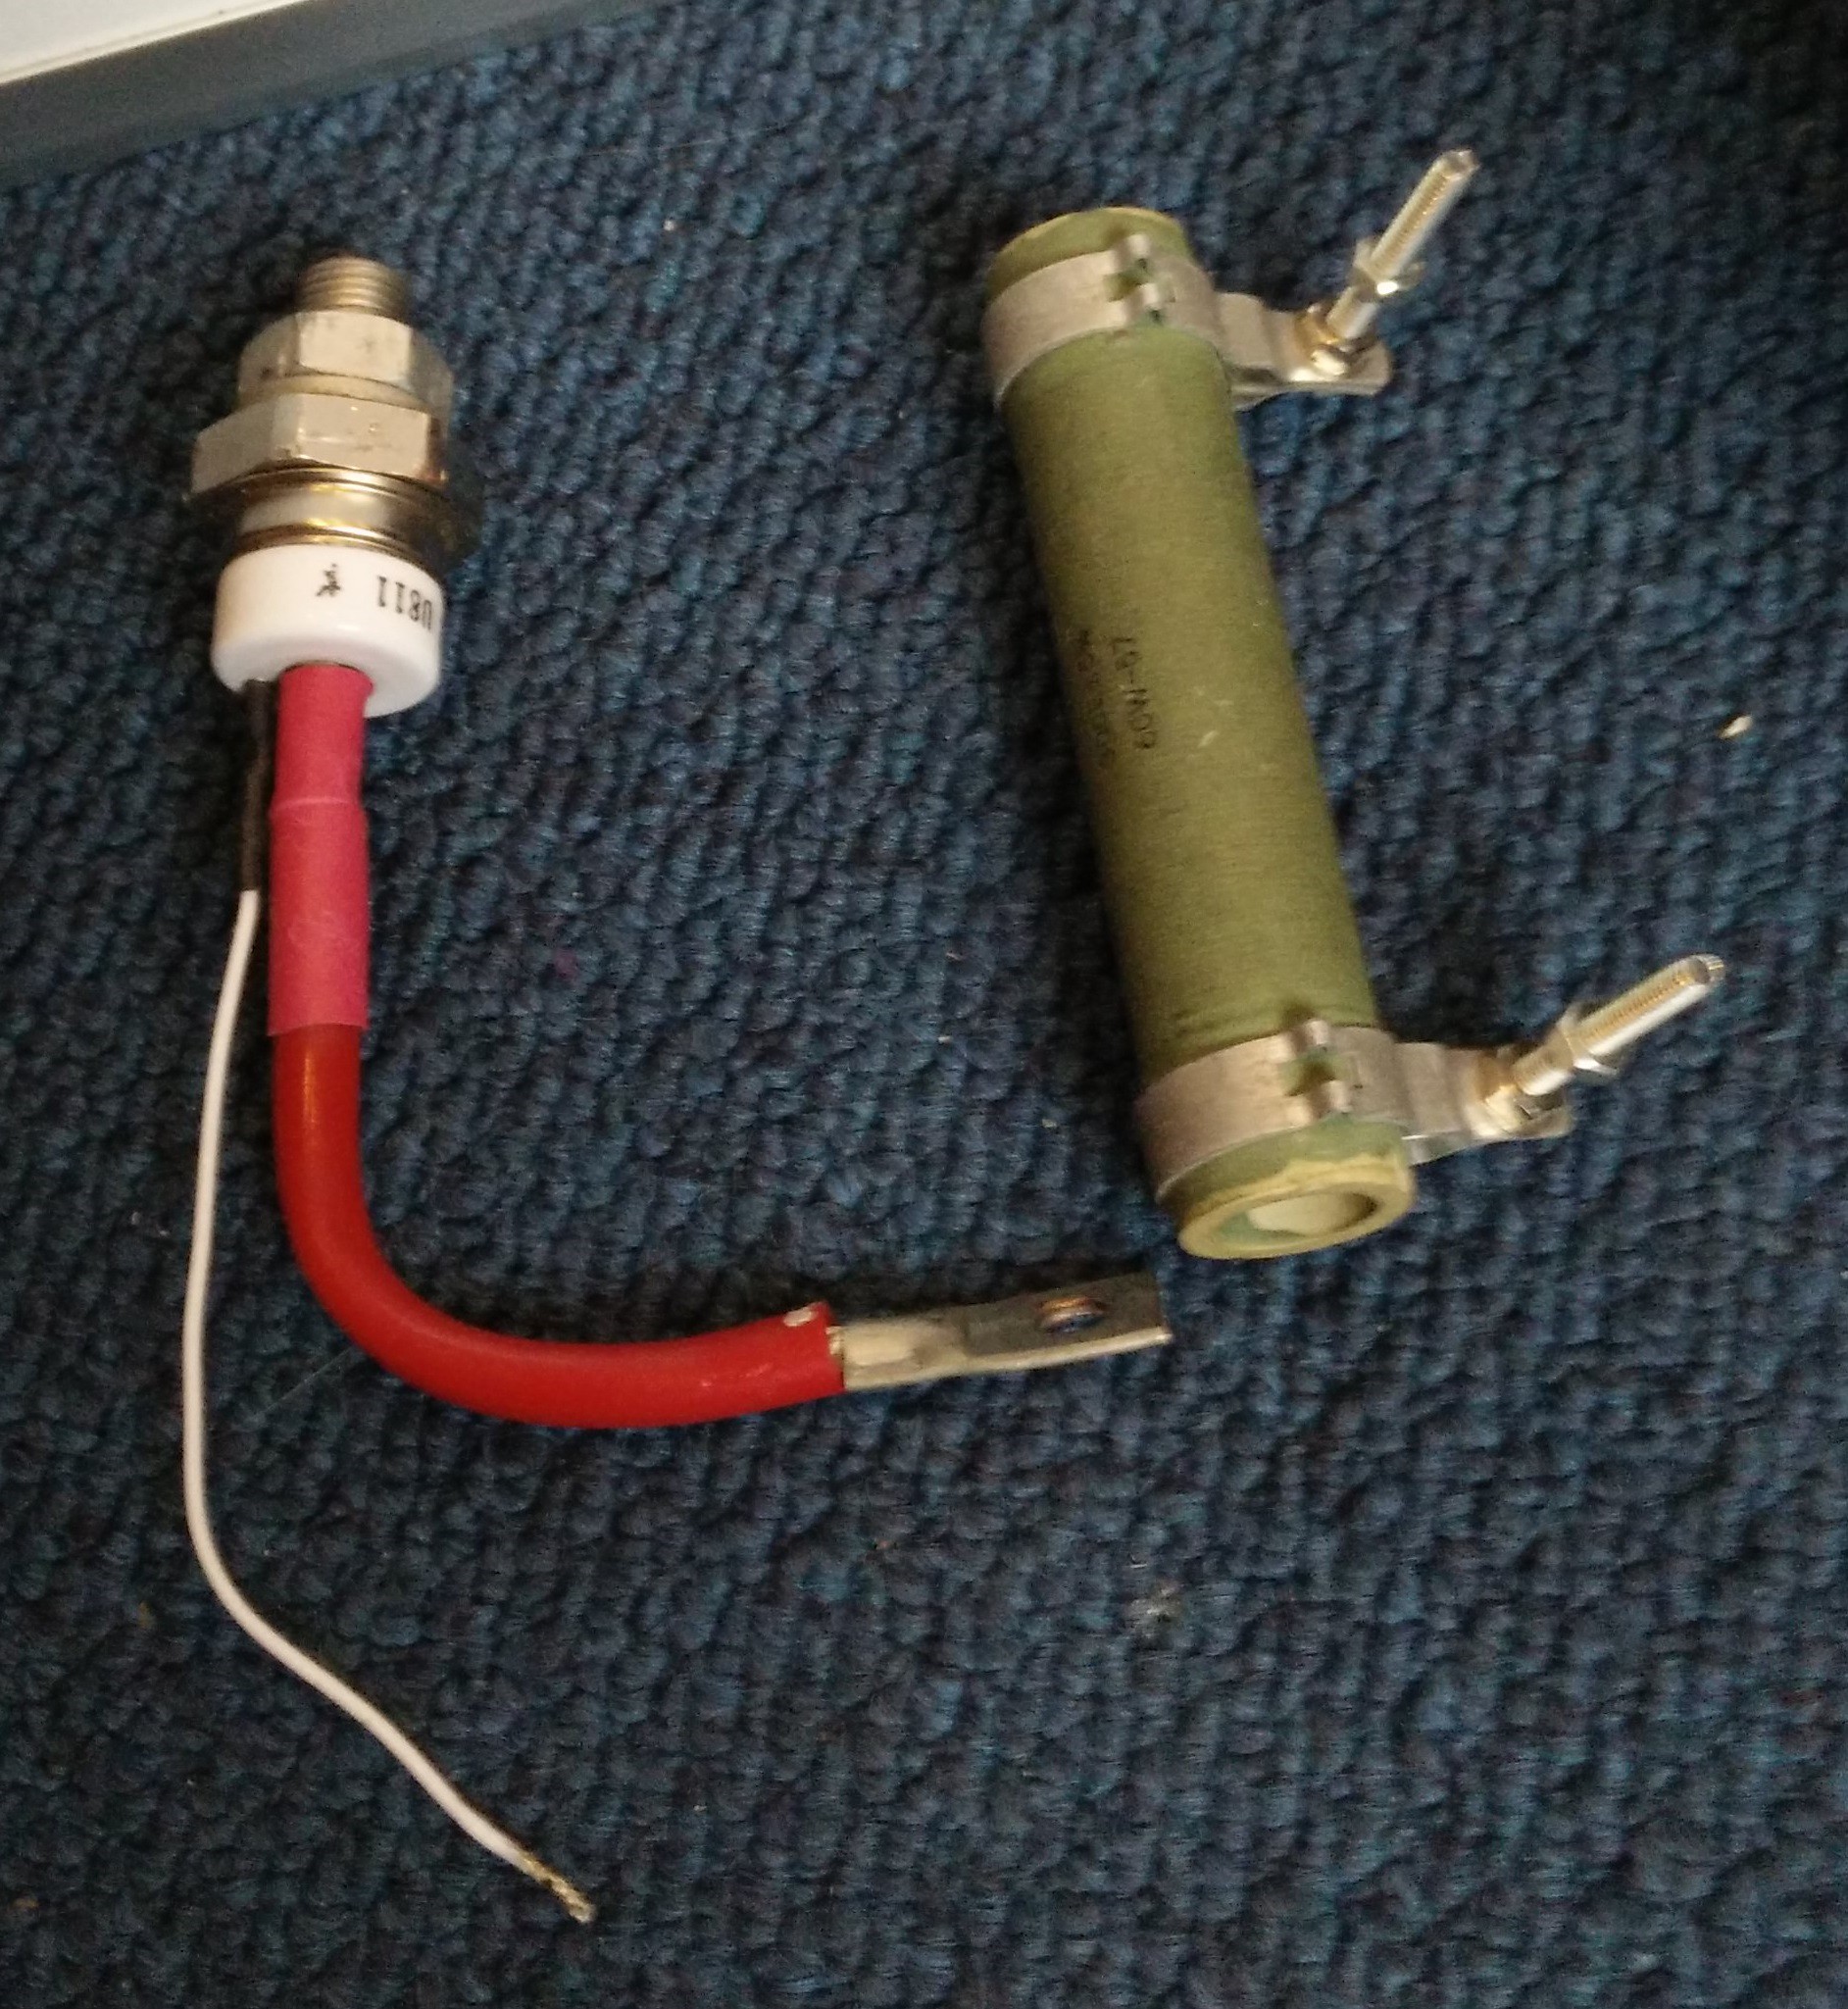
-4x 2000uF 450V caps
-Thyristor 600V 30A
0%
0%
Overengineered coilgun
A coilgun that has too many features.
Become a Hackaday.io member
Already have an account? Log in.
Just one more thing
To make the experience fit your profile, pick a username and tell us what interests you.
Pick an awesome username
hackaday.io/
Your profile's URL: hackaday.io/username. Max 25 alphanumeric characters.
Pick a few interests
Projects that share your interests
People that share your interests


 SUF
SUF
 sky-guided
 Nathaniel VerLee