--
0%
0%
3D scanner
Takes 3D surface scans at close range. It is simple to construct as it uses off the shelf hardware and software.
Become a Hackaday.io member
Already have an account? Log in.
Just one more thing
To make the experience fit your profile, pick a username and tell us what interests you.
Pick an awesome username
hackaday.io/
Your profile's URL: hackaday.io/username. Max 25 alphanumeric characters.
Pick a few interests
Projects that share your interests
People that share your interests


 mariusstrom
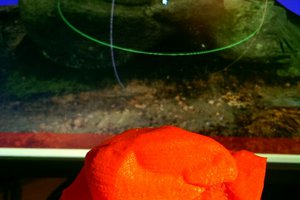
 Daniel R. Dugan
 Greg Zumwalt
I don’t suppose there is a similar way to digitize buildings, without needing the random dot patterns?
Also, why does the data from the Pi Zeros have to go to the “cloud”? Surely any recent PC can handle the work.