Close
0%
0%

Relief Printing Press

A basic Gutenberg-style printing press for letterpress/relief prints

Similar projects worth following

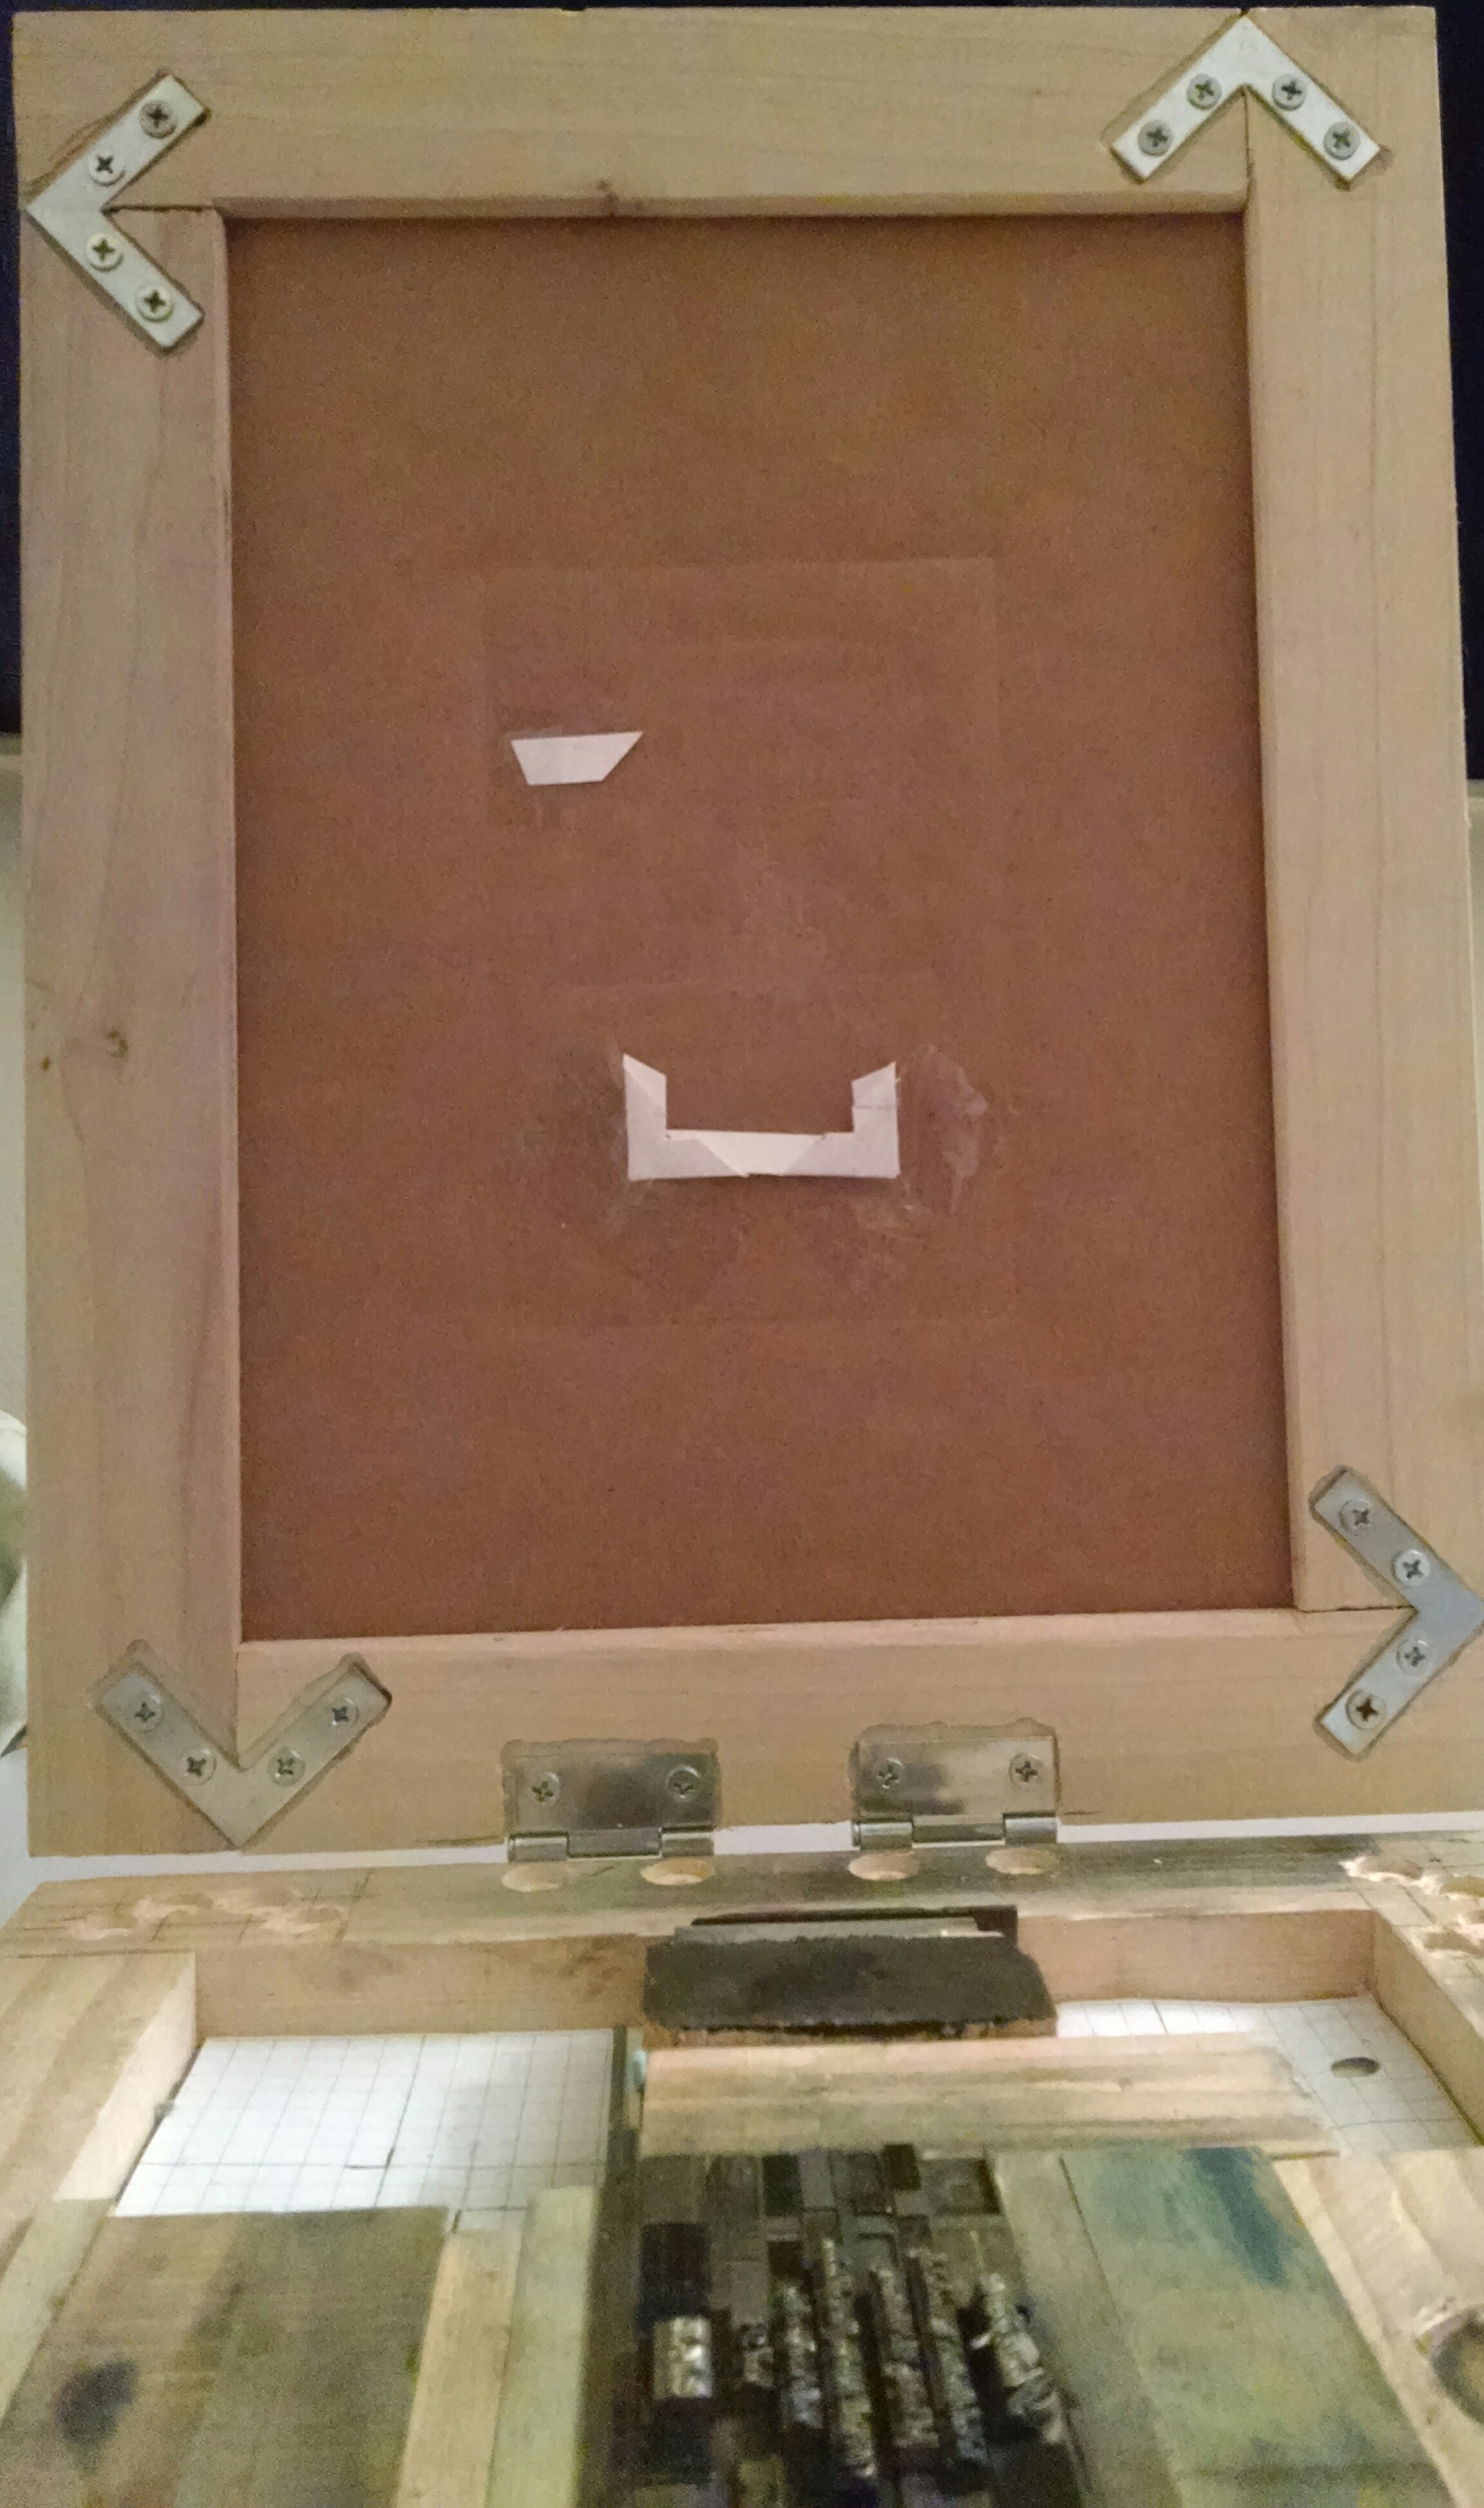
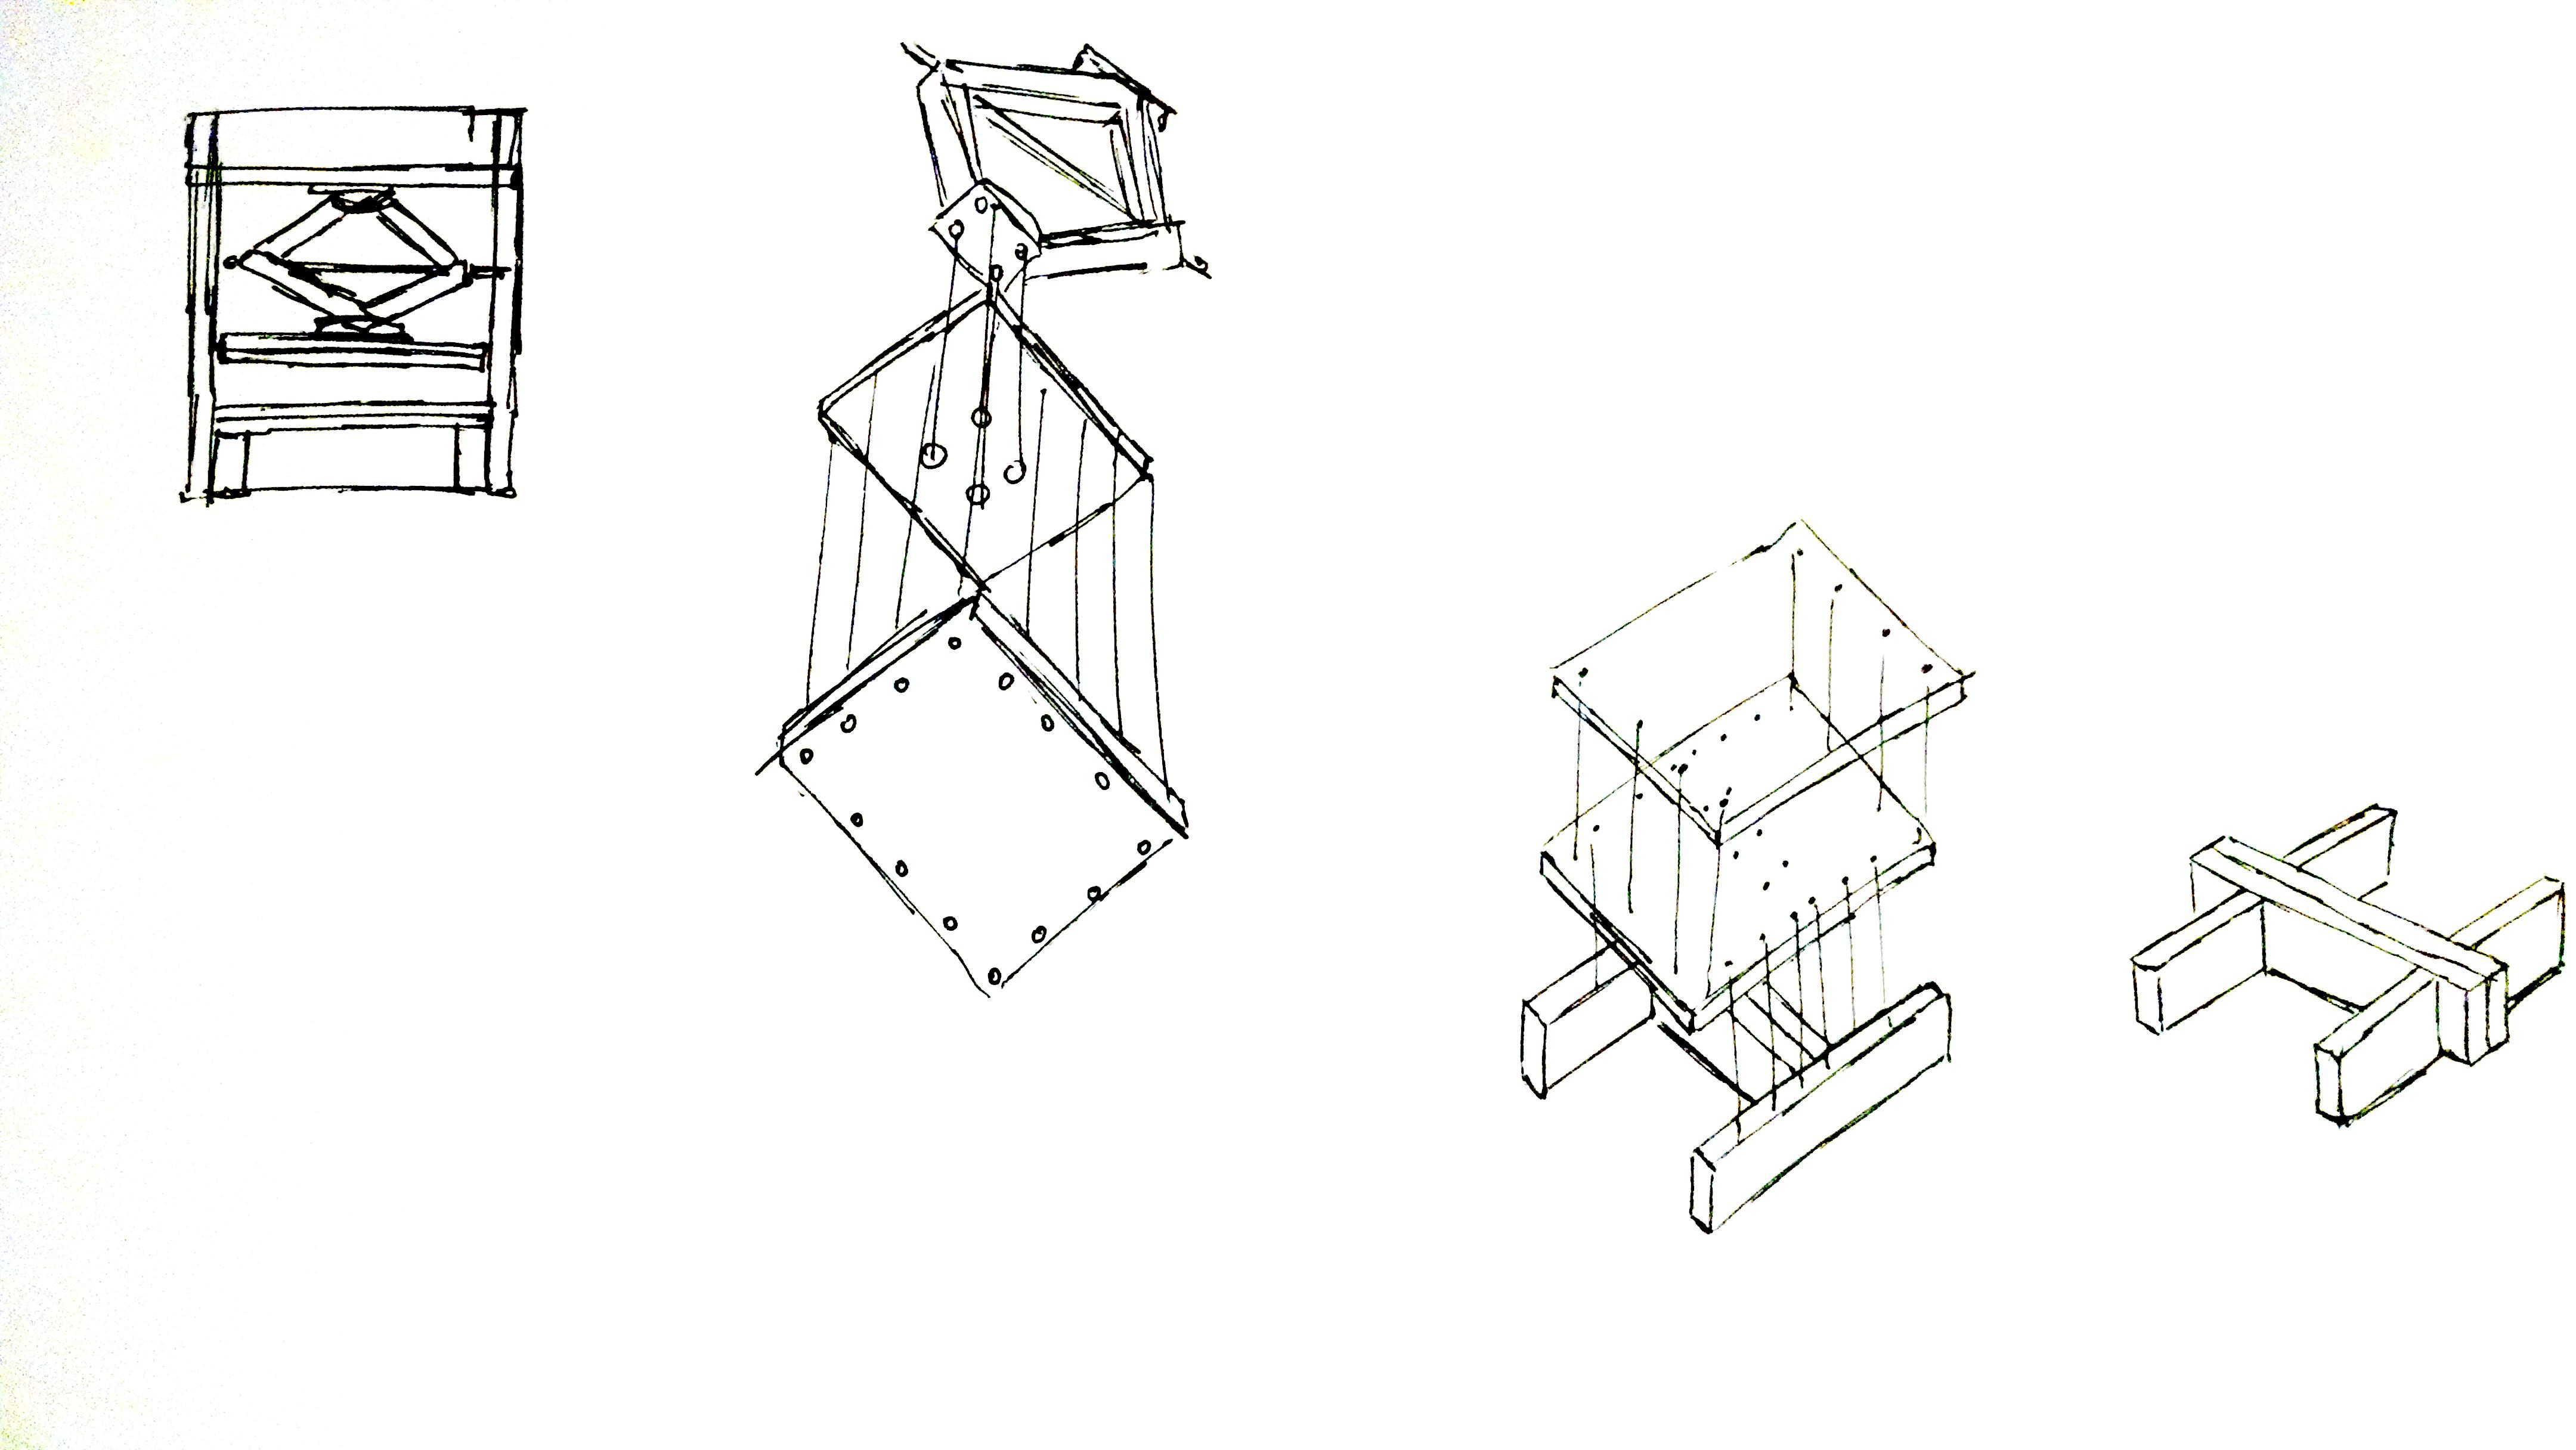
I've been tossing around the ideas for this press in my head for several years now. I have a few letterpress fonts purchased from eBay that I use, usually with a linoleum carving, every year for holiday cards. With my wedding coming up (requiring a few dozen invitation sets), I decided it was time to step up from the C-clamp I've been using as a small rudimentary press, and finally build something more reliable. Over the years, I've spent many hours looking over different press designs and what limited DIY tutorials are available. My end design isn't far removed from the original Gutenberg press, and I even found myself looking back to his original work for inspiration on how to solve some basic problems.

  • 1 × 2x4 8 foot 2x4 board
  • 1 × 1" plywood Half sheet of plywood, half-inch or thicker
  • 4 × Steel angle 1.5-inch steel angle, around 30 inches long
  • 1 × Scissor Jack Scissor jack
  • 10 × Bolts 3/8" bolts

View all 7 components

  • Finishing up

    techav01/23/2015 at 06:16 0 comments

    Assembly complete! The first few test impressions were noticeably cleaner than with my previous methods, but made it very obvious that I was going to need something to help with registration. I looked back through the different ways that various presses have solved this issue and what I needed was a tympan.

    A tympan is usually made from oiled paper or sometimes cloth stretched over a frame. Gauge pins are pierced through the tympan to hold the stock in place for printing, and additional packing can be placed between the tympan and the platen to produce an even impression.

    I already had a make-shift chase built from a frame of 1x2" boards mounted on 1" plywood (since I lack proper lockup furniture, having a base was essential). A strip of 1/4" board ended up being exactly type-high when stacked on my chase. This meant that I would have to route channels for L-brackets to hold the tympan frame together. Unfortunately, the best I could find as far as screws to hold the frame together were M4-6 machine screws that didn't sit flush in the L-brackets. So, I routed the L-bracket channels (rather poorly with a Dremel) in the tympan frame, and drilled holes in the chase frame so everything could sit flat. For tympan paper, I just used plain brown heavy paper I use for miscellaneous projects.

    In lieu of gauge pins, I made some corners out of heavy paper. I'm thinking that for my purposes, some of those scrapbooker's photo corners would work well, since that's essentially what I made.

    The end result feels a little hacked-together, but I'm impressed with how well it works. I didn't have any problems with alignment, and for deeper impressions, I can add packing to the back side of the tympan paper (I've found paper shop towels work really well).

    Now, to find a place to store the press ...

  • Proper tools for the job, etc

    techav01/06/2015 at 21:22 0 comments

    This is definitely not something I would try again without a drill press. I'm in an apartment with only access to a cordless drill, so of course the mounting holes for the vertical brackets didn't drill straight. It took quite a bit of work to get the bolts through the second piece of steel, and I severely damaged the threads on a bolt in the process. It was at this point that I realized the steel I had wouldn't work, and I had to dismantle it.

    In an attempt to keep costs down, I had grabbed flat steel instead of angles. I suspected I'd have problems with the flats being too flimsy, but for half the cost of the angles, I thought I'd give it a shot. It was too flimsy.

    I was excited to see that the angle steel alternated slots and round holes, instead of just a row of round holes like the flat steel. Surely this would solve my problem with the not-quite-straight bolt holes through the top/bottom horizontal bars ... or not. The slotted holes in the angle were 1/16" smaller than the round holes; the bolts didn't fit. Dremel to the rescue! Very few problems getting the bolts through the newly-expanded holes.

    Almost starting to look like a press, now.

  • Add Thrice, Measure Twice, Cut Once

    techav01/02/2015 at 09:18 0 comments

    One of these days I will learn to double-check my math before diving into a project. "Measure twice, cut once" doesn't help any if you've added wrong to begin with. My plan was to have a 24"x24" bed with the bottom support sticking out two inches on either side, to give a place for the vertical braces to attach. But then I cut the 2x4 to 26" lengths instead of 28". I'm just going to run with it as-is, instead of buying a new board and re-doing it. It won't be as clean, but it will still work just fine. I'll turn around the angle steel, and cut small channels for it in the press bed. The platen will have to be about 23" wide, but that's not a problem.

  • Beginnings

    techav12/30/2014 at 08:17 0 comments

    This is an idea I've been toying with for around five years now. I've drawn and redrawn my plans a number of times, but never bothered to actually sit down and build the thing. I'm getting married in a few months, and it's time to start printing invitations. Given that I'll be printing a larger number of impressions than I normally do (and my own stubborn insistence that the invitations be neater than my normal work), I think it's time I finally build a press.

    The more popular instrument for exerting the pressure of the press is currently a bottle jack. Alternately, I've seen veneer screw presses used. A bottle jack will rather effortlessly build up sufficient pressure, but it isn't without its drawbacks. A bottle jack requires some ingenuity in attaching it to the top brace of the press, and generally requires some bungie cords to raise the platen after the impression is made. A veneer screw is my preferred tool, but is not something I can source locally, and I'd rather get on with building while I'm still on holiday. So, I'm thinking I'll use a scissor jack. Harbor Freight has a scissor jack intended for levelling camping trailers. It has mounting holes on top and bottom, so I shouldn't have to come up with anything special to install it, and best of all, it's on sale this week.

    The foot of the press will be a 2x4 doubled over in the middle with feet extending for support. The base will be a couple of sheets of plywood. Platen likewise will also be a couple of sheets of plywood cut just smaller than the base. For vertical supports, I'm debating between threaded rods and steel angles. Either should work just as well, so I'll probably go with whichever is cheaper. The top bar of the press will be three 2x4 boards - two standing and one laying under. I think this arrangement for the top bar will be my best bet for withstanding the pressure of the jack.

View all 4 project logs

Enjoy this project?

Share

Discussions

Similar Projects

Does this project spark your interest?

Become a member to follow this project and never miss any updates