0%
0%
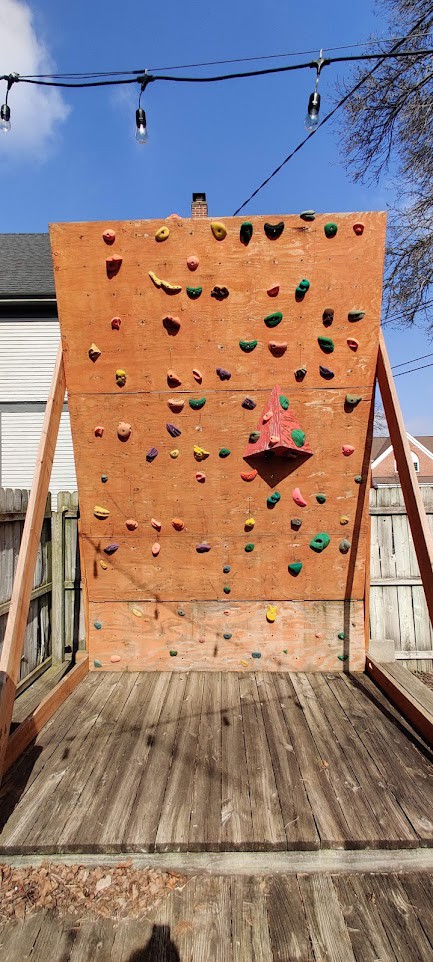
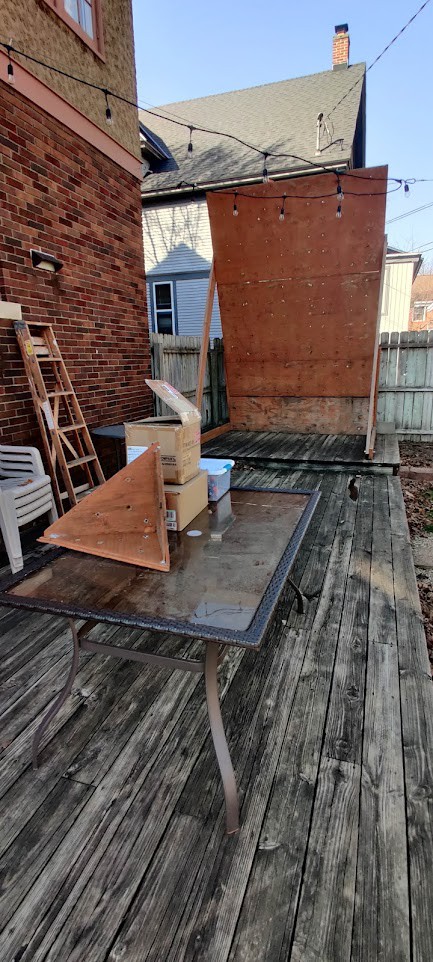
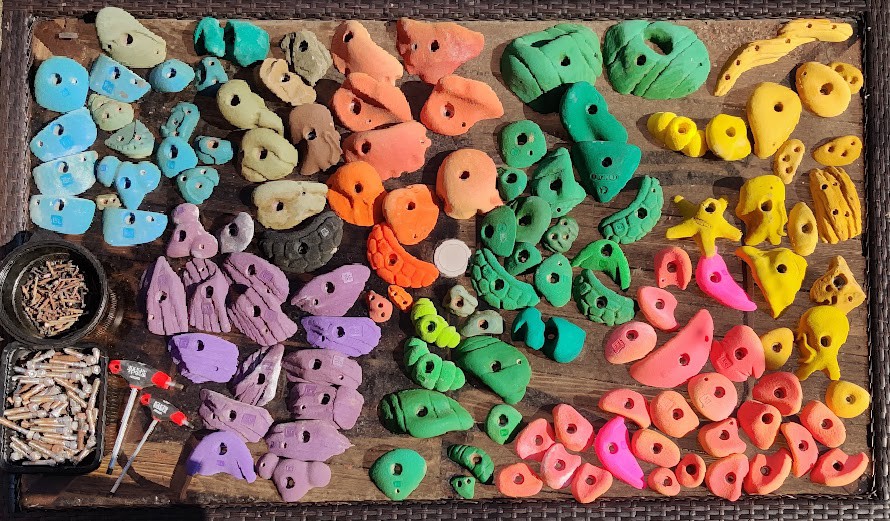
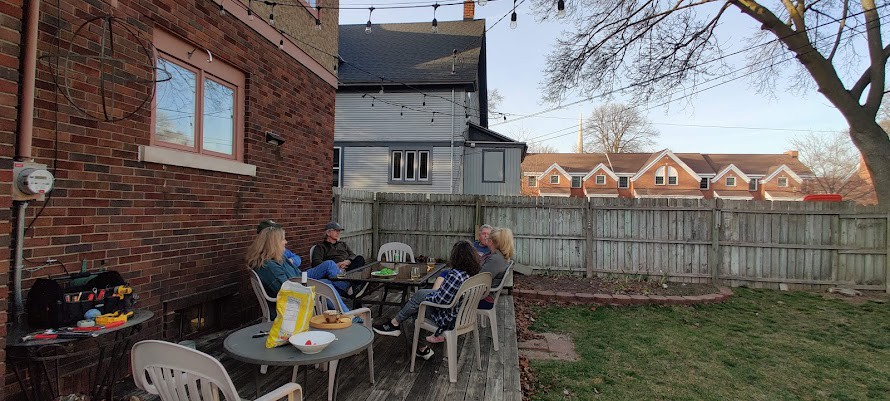
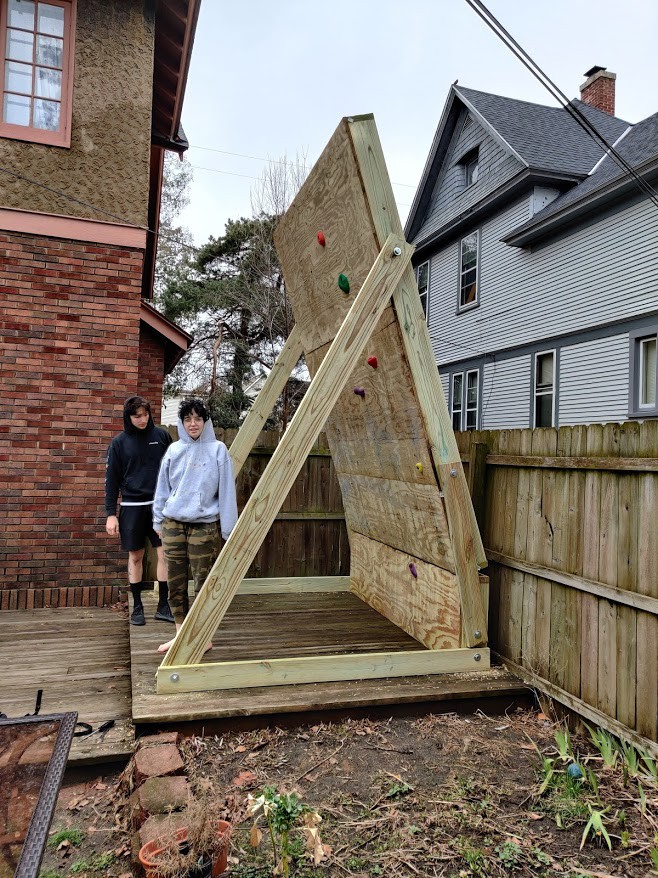
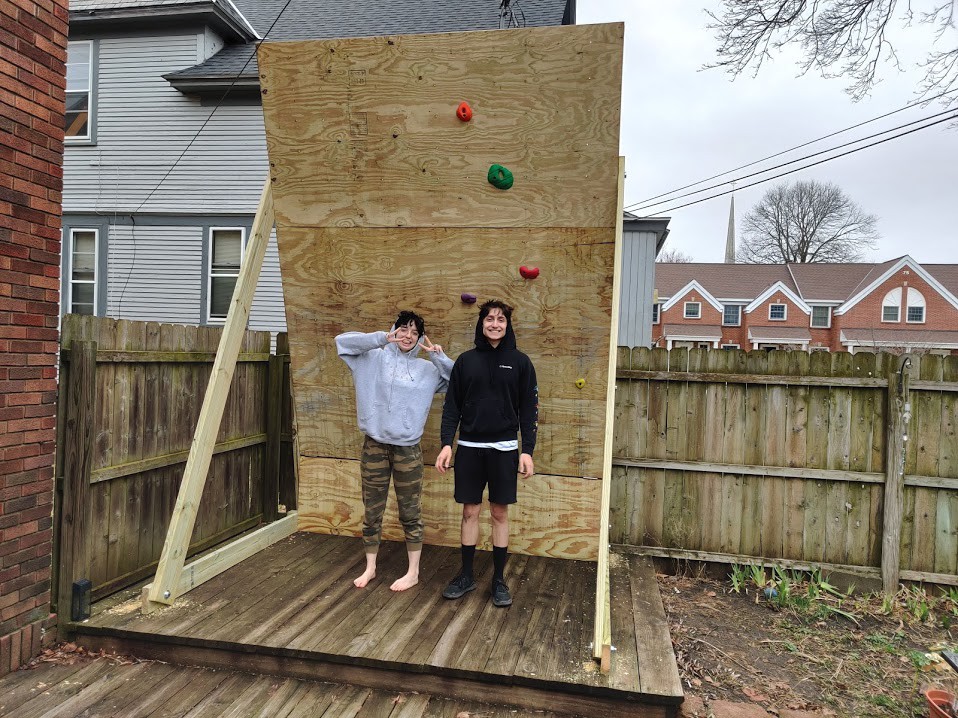
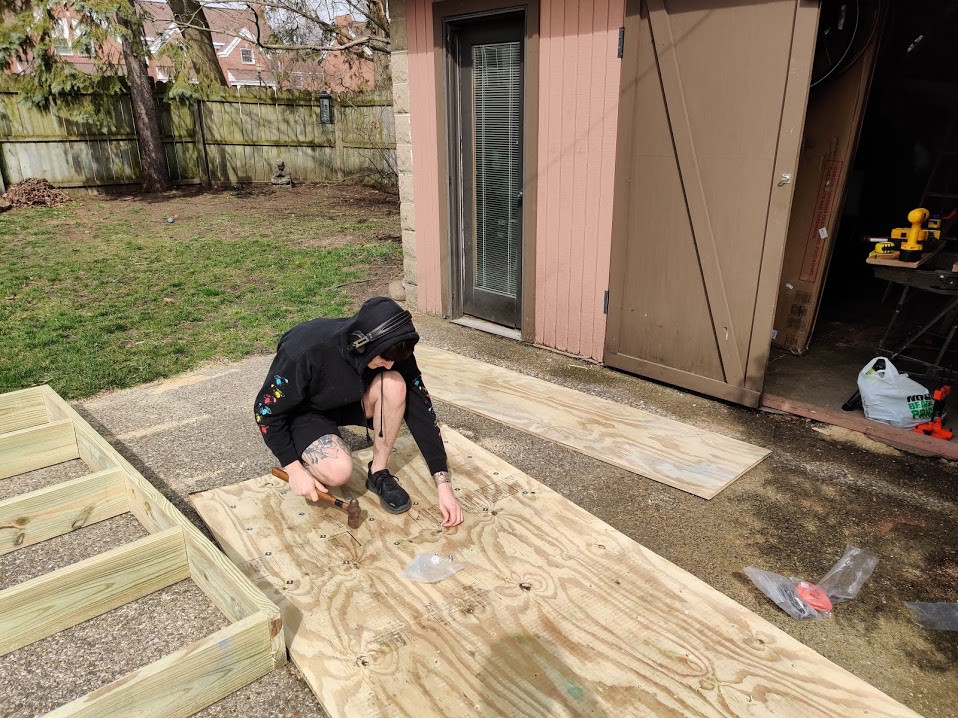
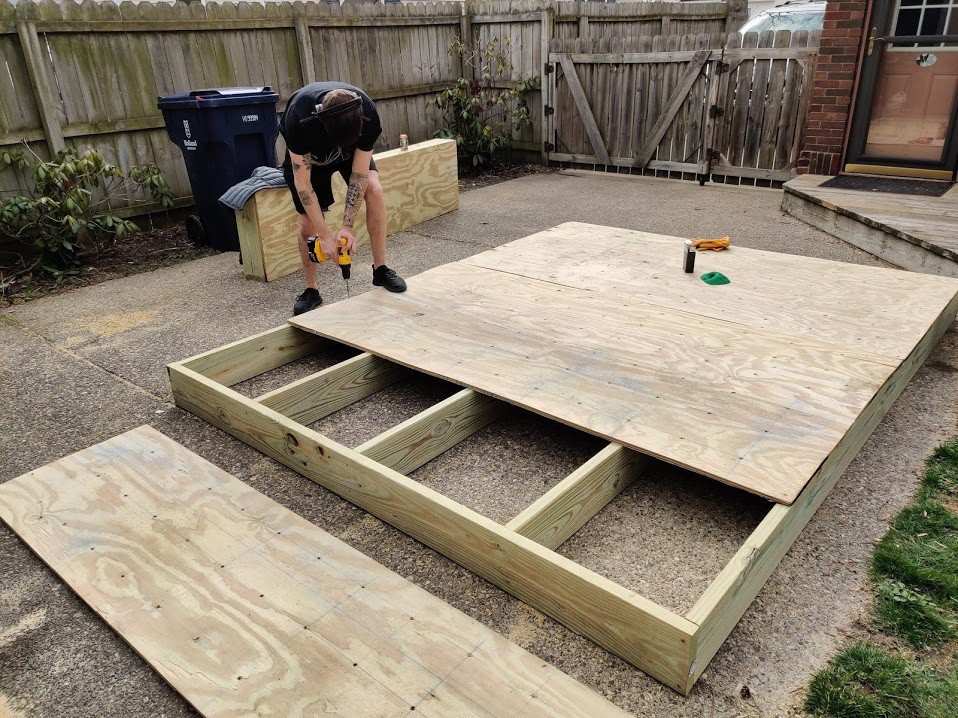
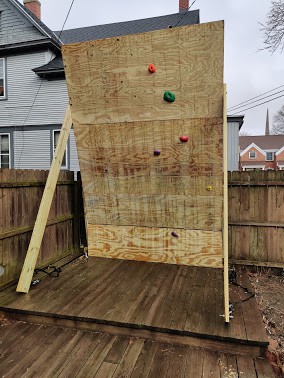
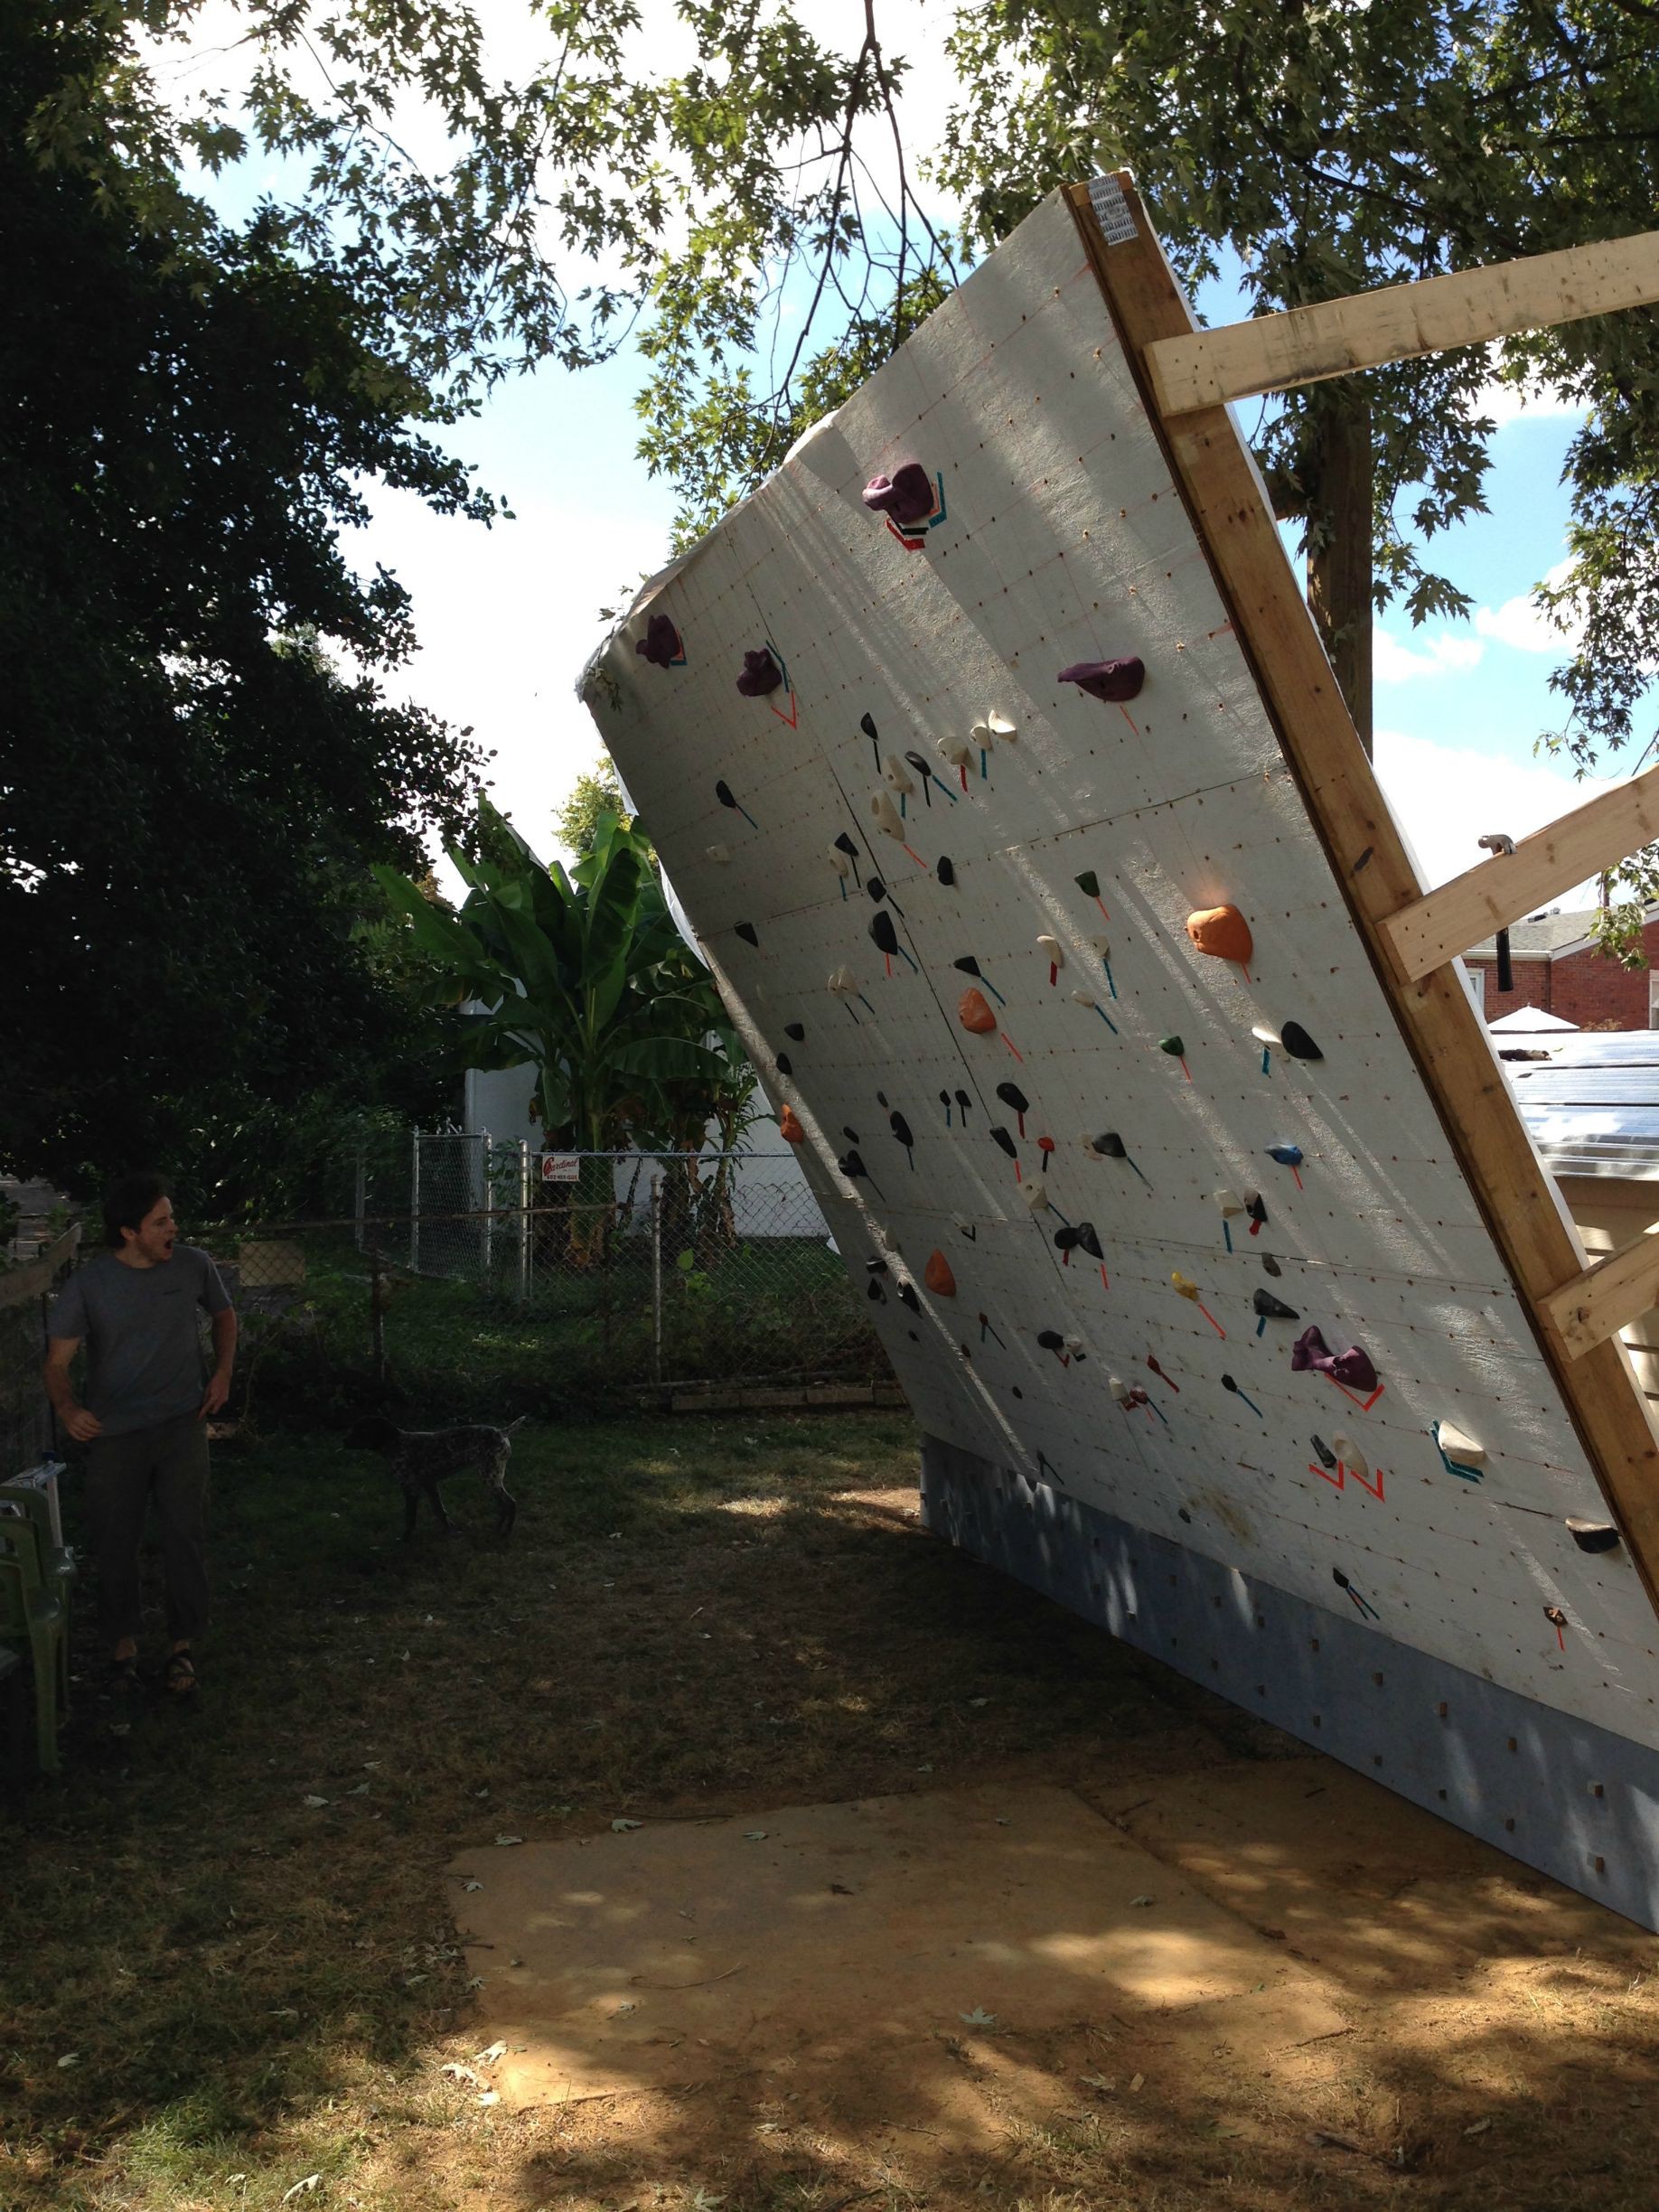
Backyard Woody Climbing Wall
What do you do when a pandemic hits, and your climbing gym closes? Why, make your own, of course.
 Pete Hoffswell
Become a Hackaday.io member
Already have an account? Log in.
Just one more thing
To make the experience fit your profile, pick a username and tell us what interests you.
Pick an awesome username
hackaday.io/
Your profile's URL: hackaday.io/username. Max 25 alphanumeric characters.
Pick a few interests
Projects that share your interests
People that share your interests


 David Tucker
 techav
 Geoff Nicholson
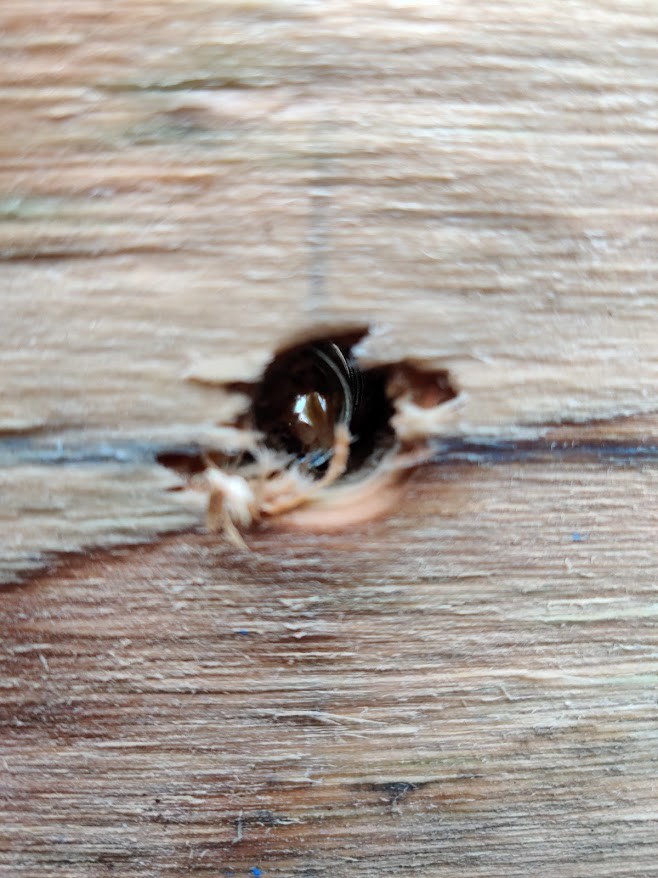
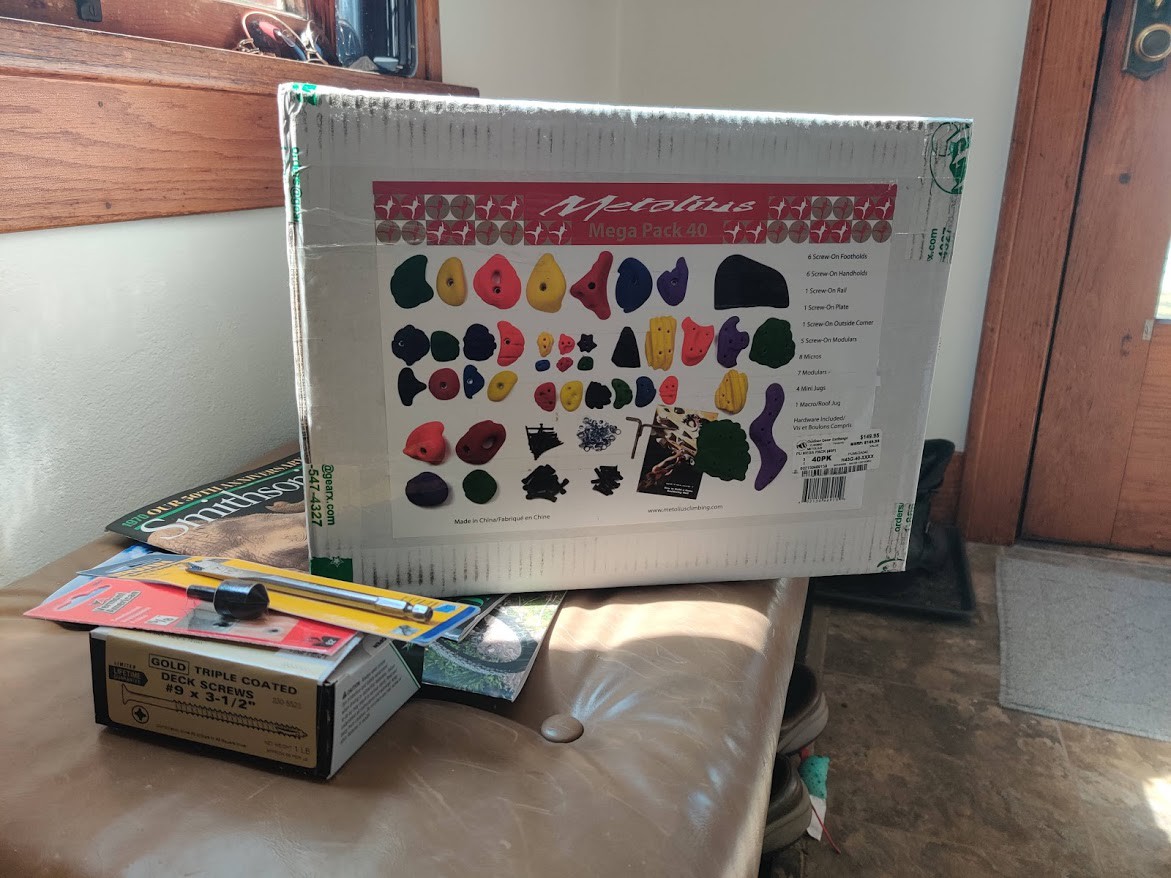
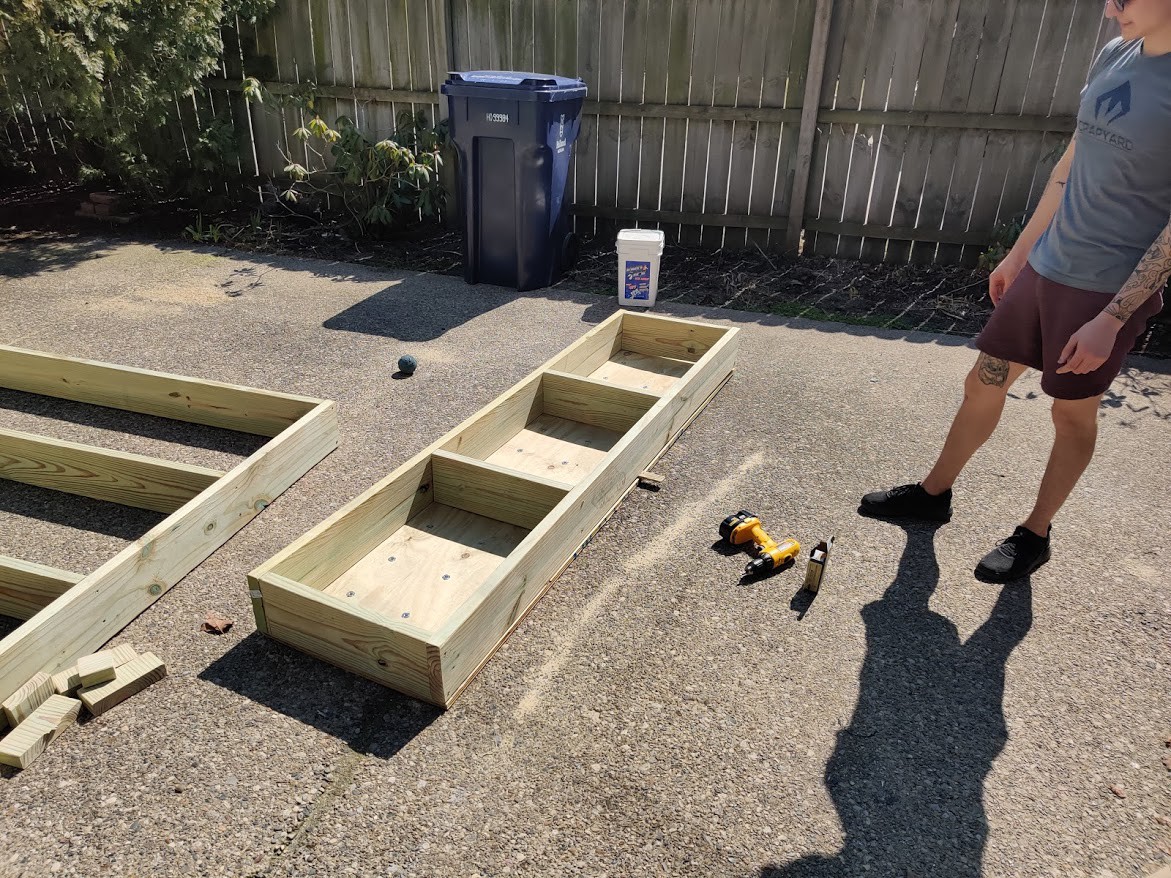
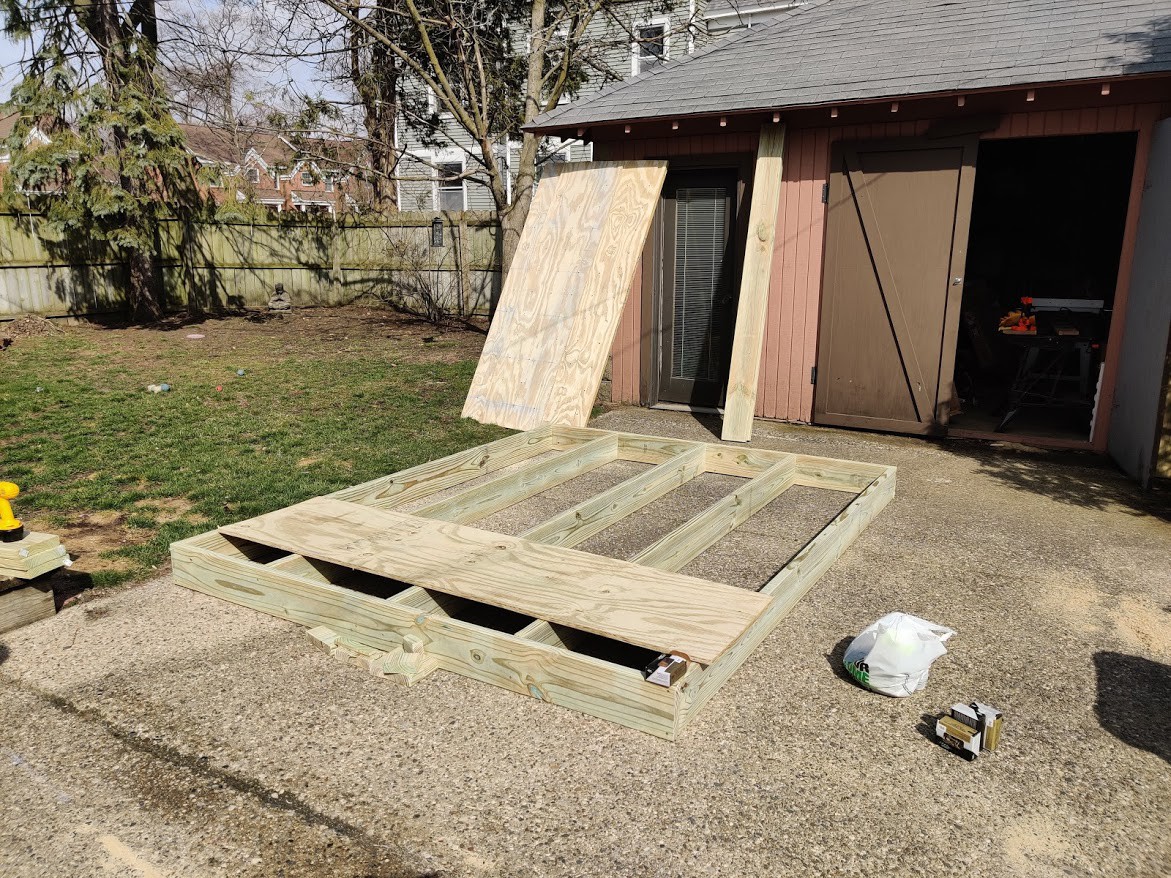
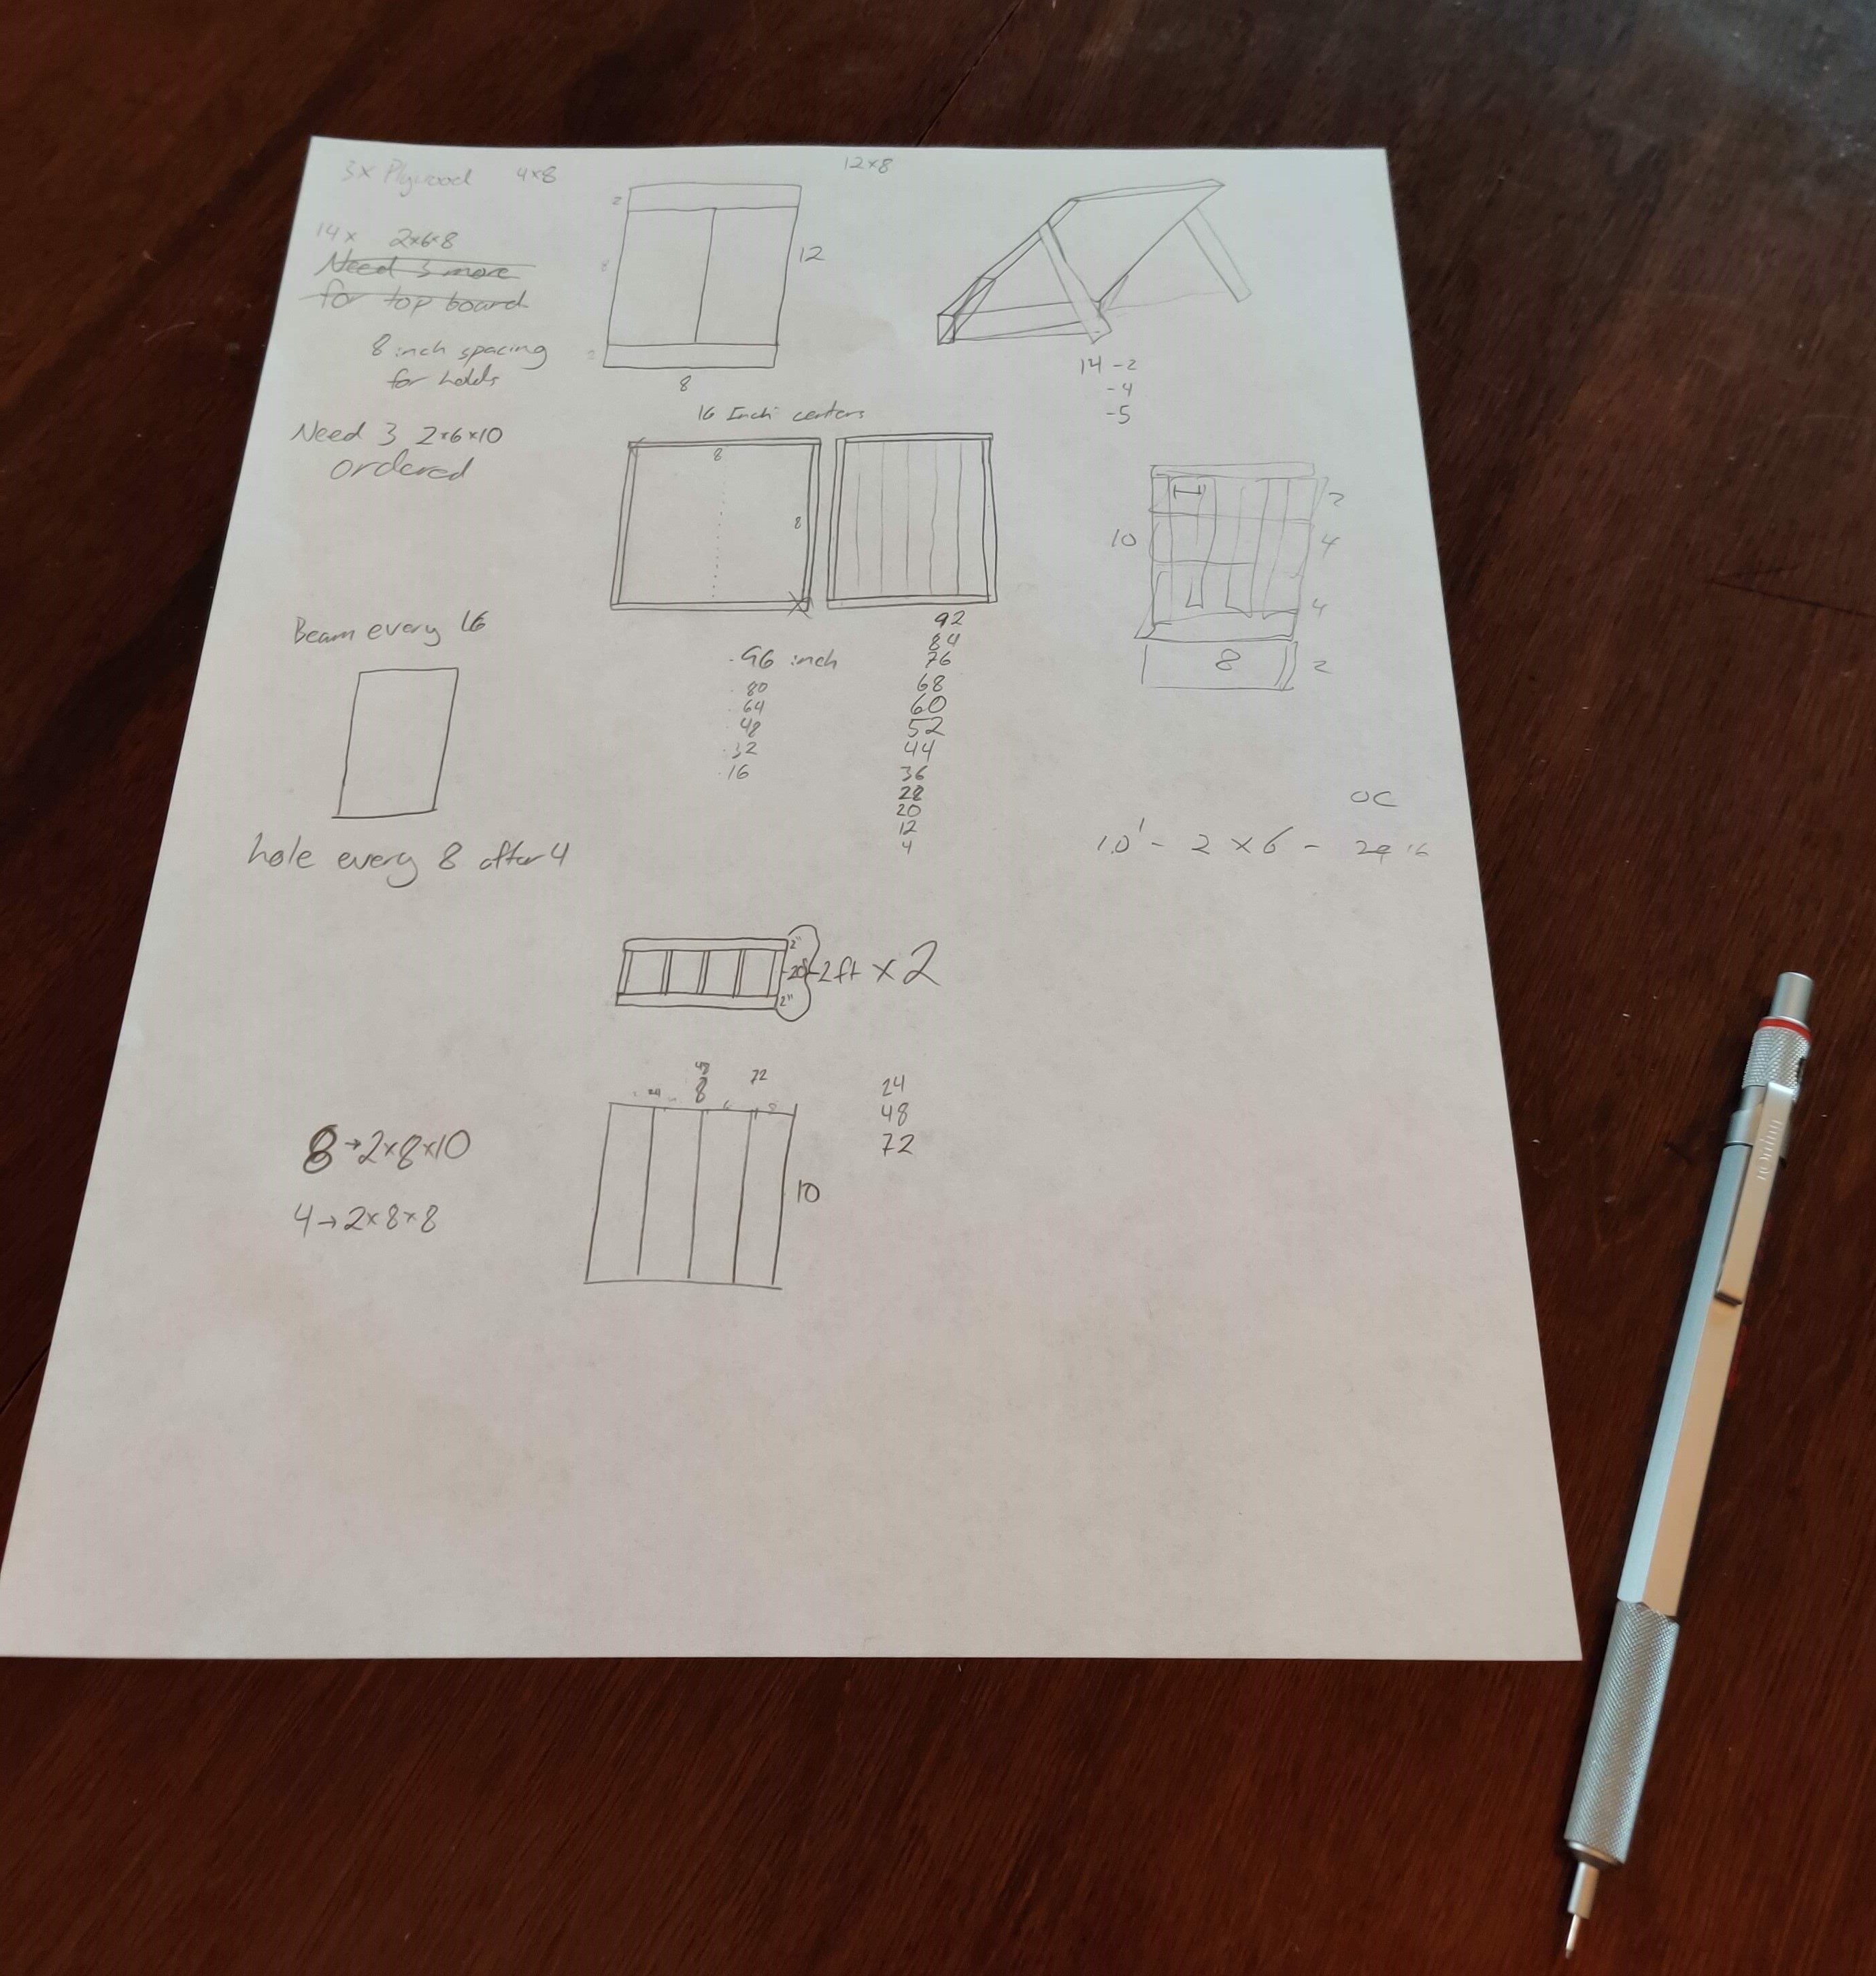
Looks awesome! You've inspired me to do the same thing. I've got the lumber and hardware, and now that I'm about to start putting the frame together I have a question: Given that you cut the 4x8 in half, you then have 10' for the height of the plywood, did you trim your 2"x8"x10' pieces by 3" each? If so, did that feel optimal, or could you have preferred a 3" shorter kickerboard? Obviously this will have an impact on the T-nut holes I'm about to drill. Really appreciate any insights! Cheerio Rufus