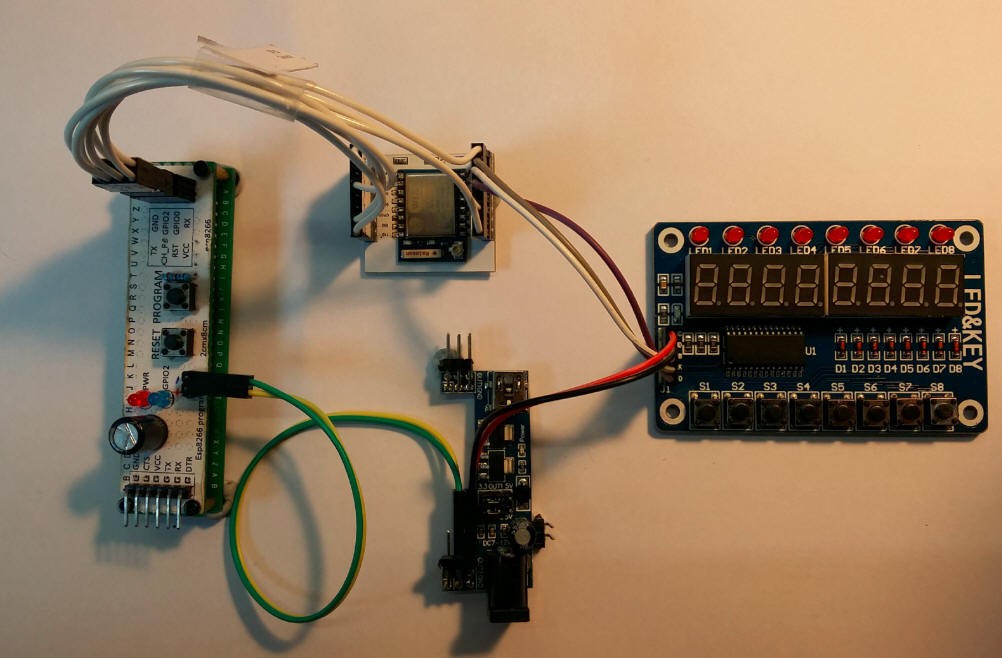
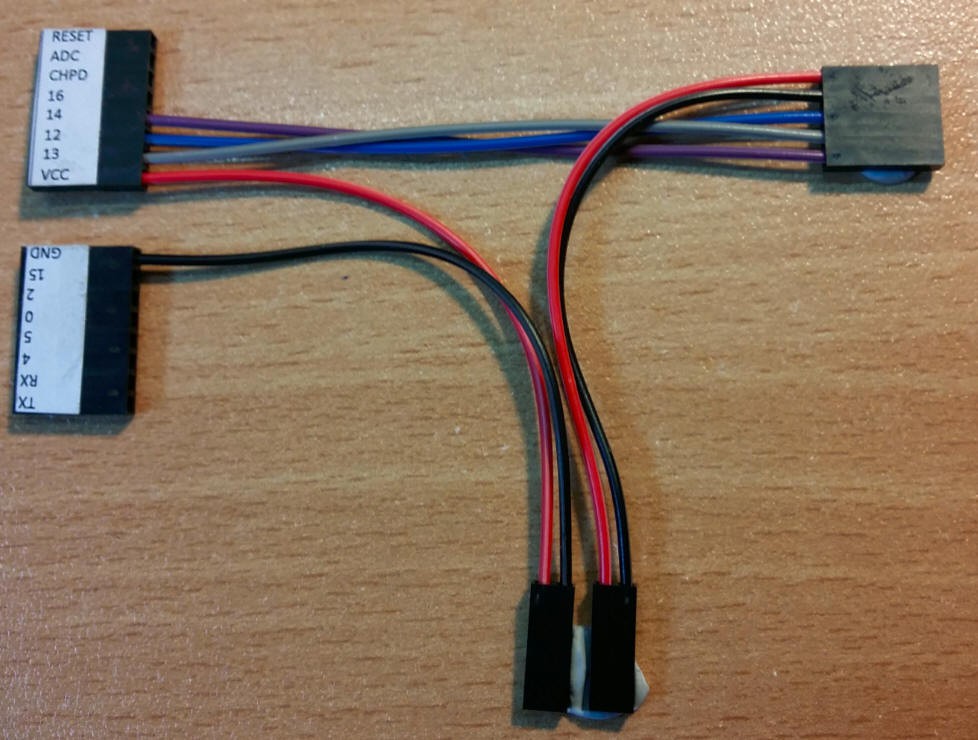
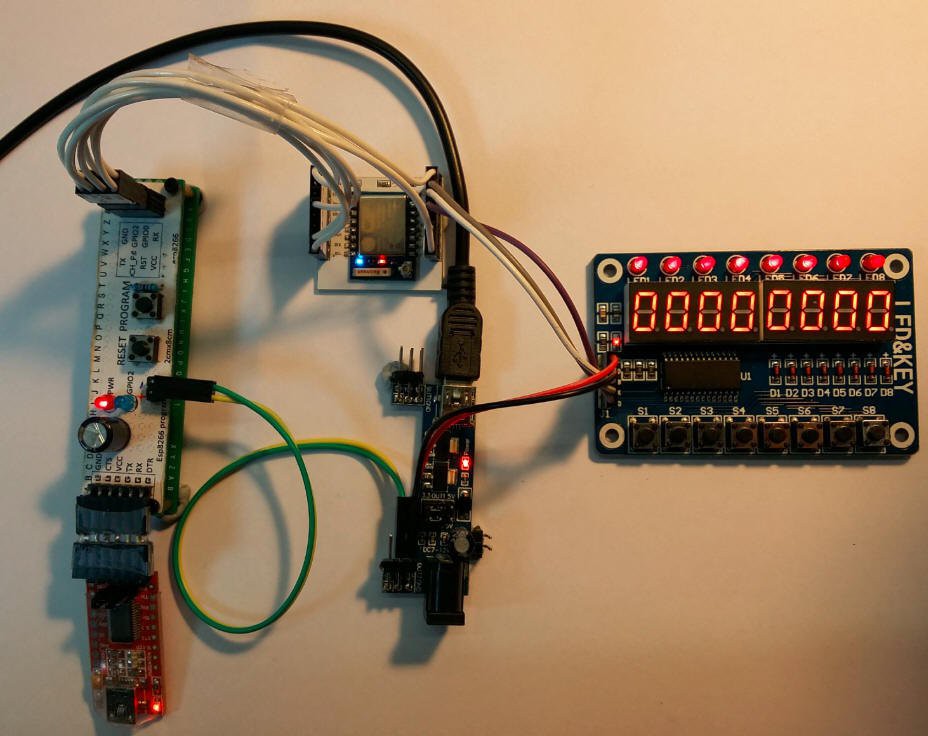
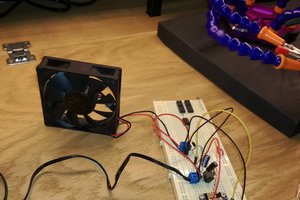
I'm going to use the details section to contain the code used
There are three main modules, and these are all placed in the standard user directory that the ESP 8266 SDK uses for building code.
tm1638.h
#include "c_types.h"
#include "user_interface.h"
#include "ets_sys.h"
#include "gpio.h"

//You will have to     os_intr_lock();      os_intr_unlock();

void tm1638OutBuffer( uint8_t * buffer, uint16_t length );
void tm1638OutByte( uint8_t data );


// 7 segment BITMAP for hex numbers
const uint16_t NUMBER_FONT[] = {
  0b00111111, // 0
  0b00000110, // 1
  0b01011011, // 2
  0b01001111, // 3
  0b01100110, // 4
  0b01101101, // 5
  0b01111101, // 6
  0b00000111, // 7
  0b01111111, // 8
  0b01101111, // 9
  0b01110111, // A
  0b01111100, // B
  0b00111001, // C
  0b01011110, // D
  0b01111001, // E
  0b01110001  // F
};

const uint16_t MINUS = 0b01000000;

// Bitmap for an Error String
const uint16_t  ERROR_DATA[] = {
  0b01111001, // E
  0b01010000, // r
  0b01010000, // r
  0b01011100, // o
  0b01010000, // r
  0,
  0,
  0
};

// 7 Segment Bitmap for the ASCI Character set..  Note that this starts at ascii position 32, but
// the array starts at 0 so you need to subtract the difference from the key.
const uint16_t FONT_DEFAULT[] = {
  0b00000000, // (32)  <space>
  0b10000110, // (33)    !
  0b00100010, // (34)    "
  0b01111110, // (35)    #
  0b01101101, // (36)    $
  0b00000000, // (37)    %
  0b00000000, // (38)    &
  0b00000010, // (39)    '
  0b00110000, // (40)    (
  0b00000110, // (41)    )
  0b01100011, // (42)    *
  0b00000000, // (43)    +
  0b00000100, // (44)    ,
  0b01000000, // (45)    -
  0b10000000, // (46)    .
  0b01010010, // (47)    /
  0b00111111, // (48)    0
  0b00000110, // (49)    1
  0b01011011, // (50)    2
  0b01001111, // (51)    3
  0b01100110, // (52)    4
  0b01101101, // (53)    5
  0b01111101, // (54)    6
  0b00100111, // (55)    7
  0b01111111, // (56)    8
  0b01101111, // (57)    9
  0b00000000, // (58)    :
  0b00000000, // (59)    ;
  0b00000000, // (60)    <
  0b01001000, // (61)    =
  0b00000000, // (62)    >
  0b01010011, // (63)    ?
  0b01011111, // (64)    @
  0b01110111, // (65)    A
  0b01111111, // (66)    B
  0b00111001, // (67)    C
  0b00111111, // (68)    D
  0b01111001, // (69)    E
  0b01110001, // (70)    F
  0b00111101, // (71)    G
  0b01110110, // (72)    H
  0b00000110, // (73)    I
  0b00011111, // (74)    J
  0b01101001, // (75)    K
  0b00111000, // (76)    L
  0b00010101, // (77)    M
  0b00110111, // (78)    N
  0b00111111, // (79)    O
  0b01110011, // (80)    P
  0b01100111, // (81)    Q
  0b00110001, // (82)    R
  0b01101101, // (83)    S
  0b01111000, // (84)    T
  0b00111110, // (85)    U
  0b00101010, // (86)    V
  0b00011101, // (87)    W
  0b01110110, // (88)    X
  0b01101110, // (89)    Y
  0b01011011, // (90)    Z
  0b00111001, // (91)    [
  0b01100100, // (92)    \
  0b00001111, // (93)    ]
  0b00000000, // (94)    ^
  0b00001000, // (95)    _
  0b00100000, // (96)    `
  0b01011111, // (97)    a
  0b01111100, // (98)    b
  0b01011000, // (99)    c
  0b01011110, // (100)    d
  0b01111011, // (101)    e
  0b00110001, // (102)    f
  0b01101111, // (103)    g
  0b01110100, // (104)    h
  0b00000100, // (105)    i
  0b00001110, // (106)    j
  0b01110101, // (107)    k
  0b00110000, // (108)    l
  0b01010101, // (109)    m
  0b01010100, // (110)    n
  0b01011100, // (111)    o
  0b01110011, // (112)    p
  0b01100111, // (113)    q
  0b01010000, // (114)    r
  0b01101101, // (115)    s
  0b01111000, // (116)    t
  0b00011100, // (117)    u
  0b00101010, // (118)    v
  0b00011101, // (119)    w
  0b01110110, // (120)    x
  0b01101110, // (121)    y
  0b01000111, // (122)    z
  0b01000110, // (123)    {
  0b00000110, // (124)    |
  0b01110000, // (125)    }
  0b00000001, // (126)    ~
};
tm1636.c
#include "tm1638.h"
#include "ets_sys.h"

#include "osapi.h"

// These defines create simple shortcuts to switching IO pins on and off.
#define Set16_1 gpio_output_set(BIT16, 0, BIT16, 0);
#define Set16_0 gpio_output_set(0, BIT16, BIT16, 0);
#define Set14_1 gpio_output_set(BIT14, 0, BIT14, 0);
#define Set14_0 gpio_output_set(0, BIT14, BIT14, 0);
#define Set13_1 gpio_output_set(BIT13, 0, BIT13, 0);
#define Set13_0 gpio_output_set(0, BIT13, BIT13, 0);
#define Set12_1 gpio_output_set(BIT12, 0, BIT12, 0);  // STR
#define Set12_0 gpio_output_set(0, BIT12,...
Read more »

 Pero
Pero
 Makerfabs
 C A Fillekes
I wish I had found this project earlier, my FPGA implementation would have been easier :-) https://hackaday.io/project/182073-tm-1638-as-8-bit-memory-device-in-vhdl