 Neal D Corbett
A few months ago, the battery in my Clevo W355SS laptop stopped charging past 5%.
This wasn't a huge problem, because I usually keep it plugged in anyway.
But I thought it might be fun to try replacing the cells - and I'd seen that other people had done similar in the past.
The official battery costs about £70, and I knew I could get the cells for cheaper, so it (hopefully) wouldn't hurt to give it a go.
I would buy an official battery if I ever need to take it on a plane, but until then a duct-tape-and-hot-glue repair-job should be fine!

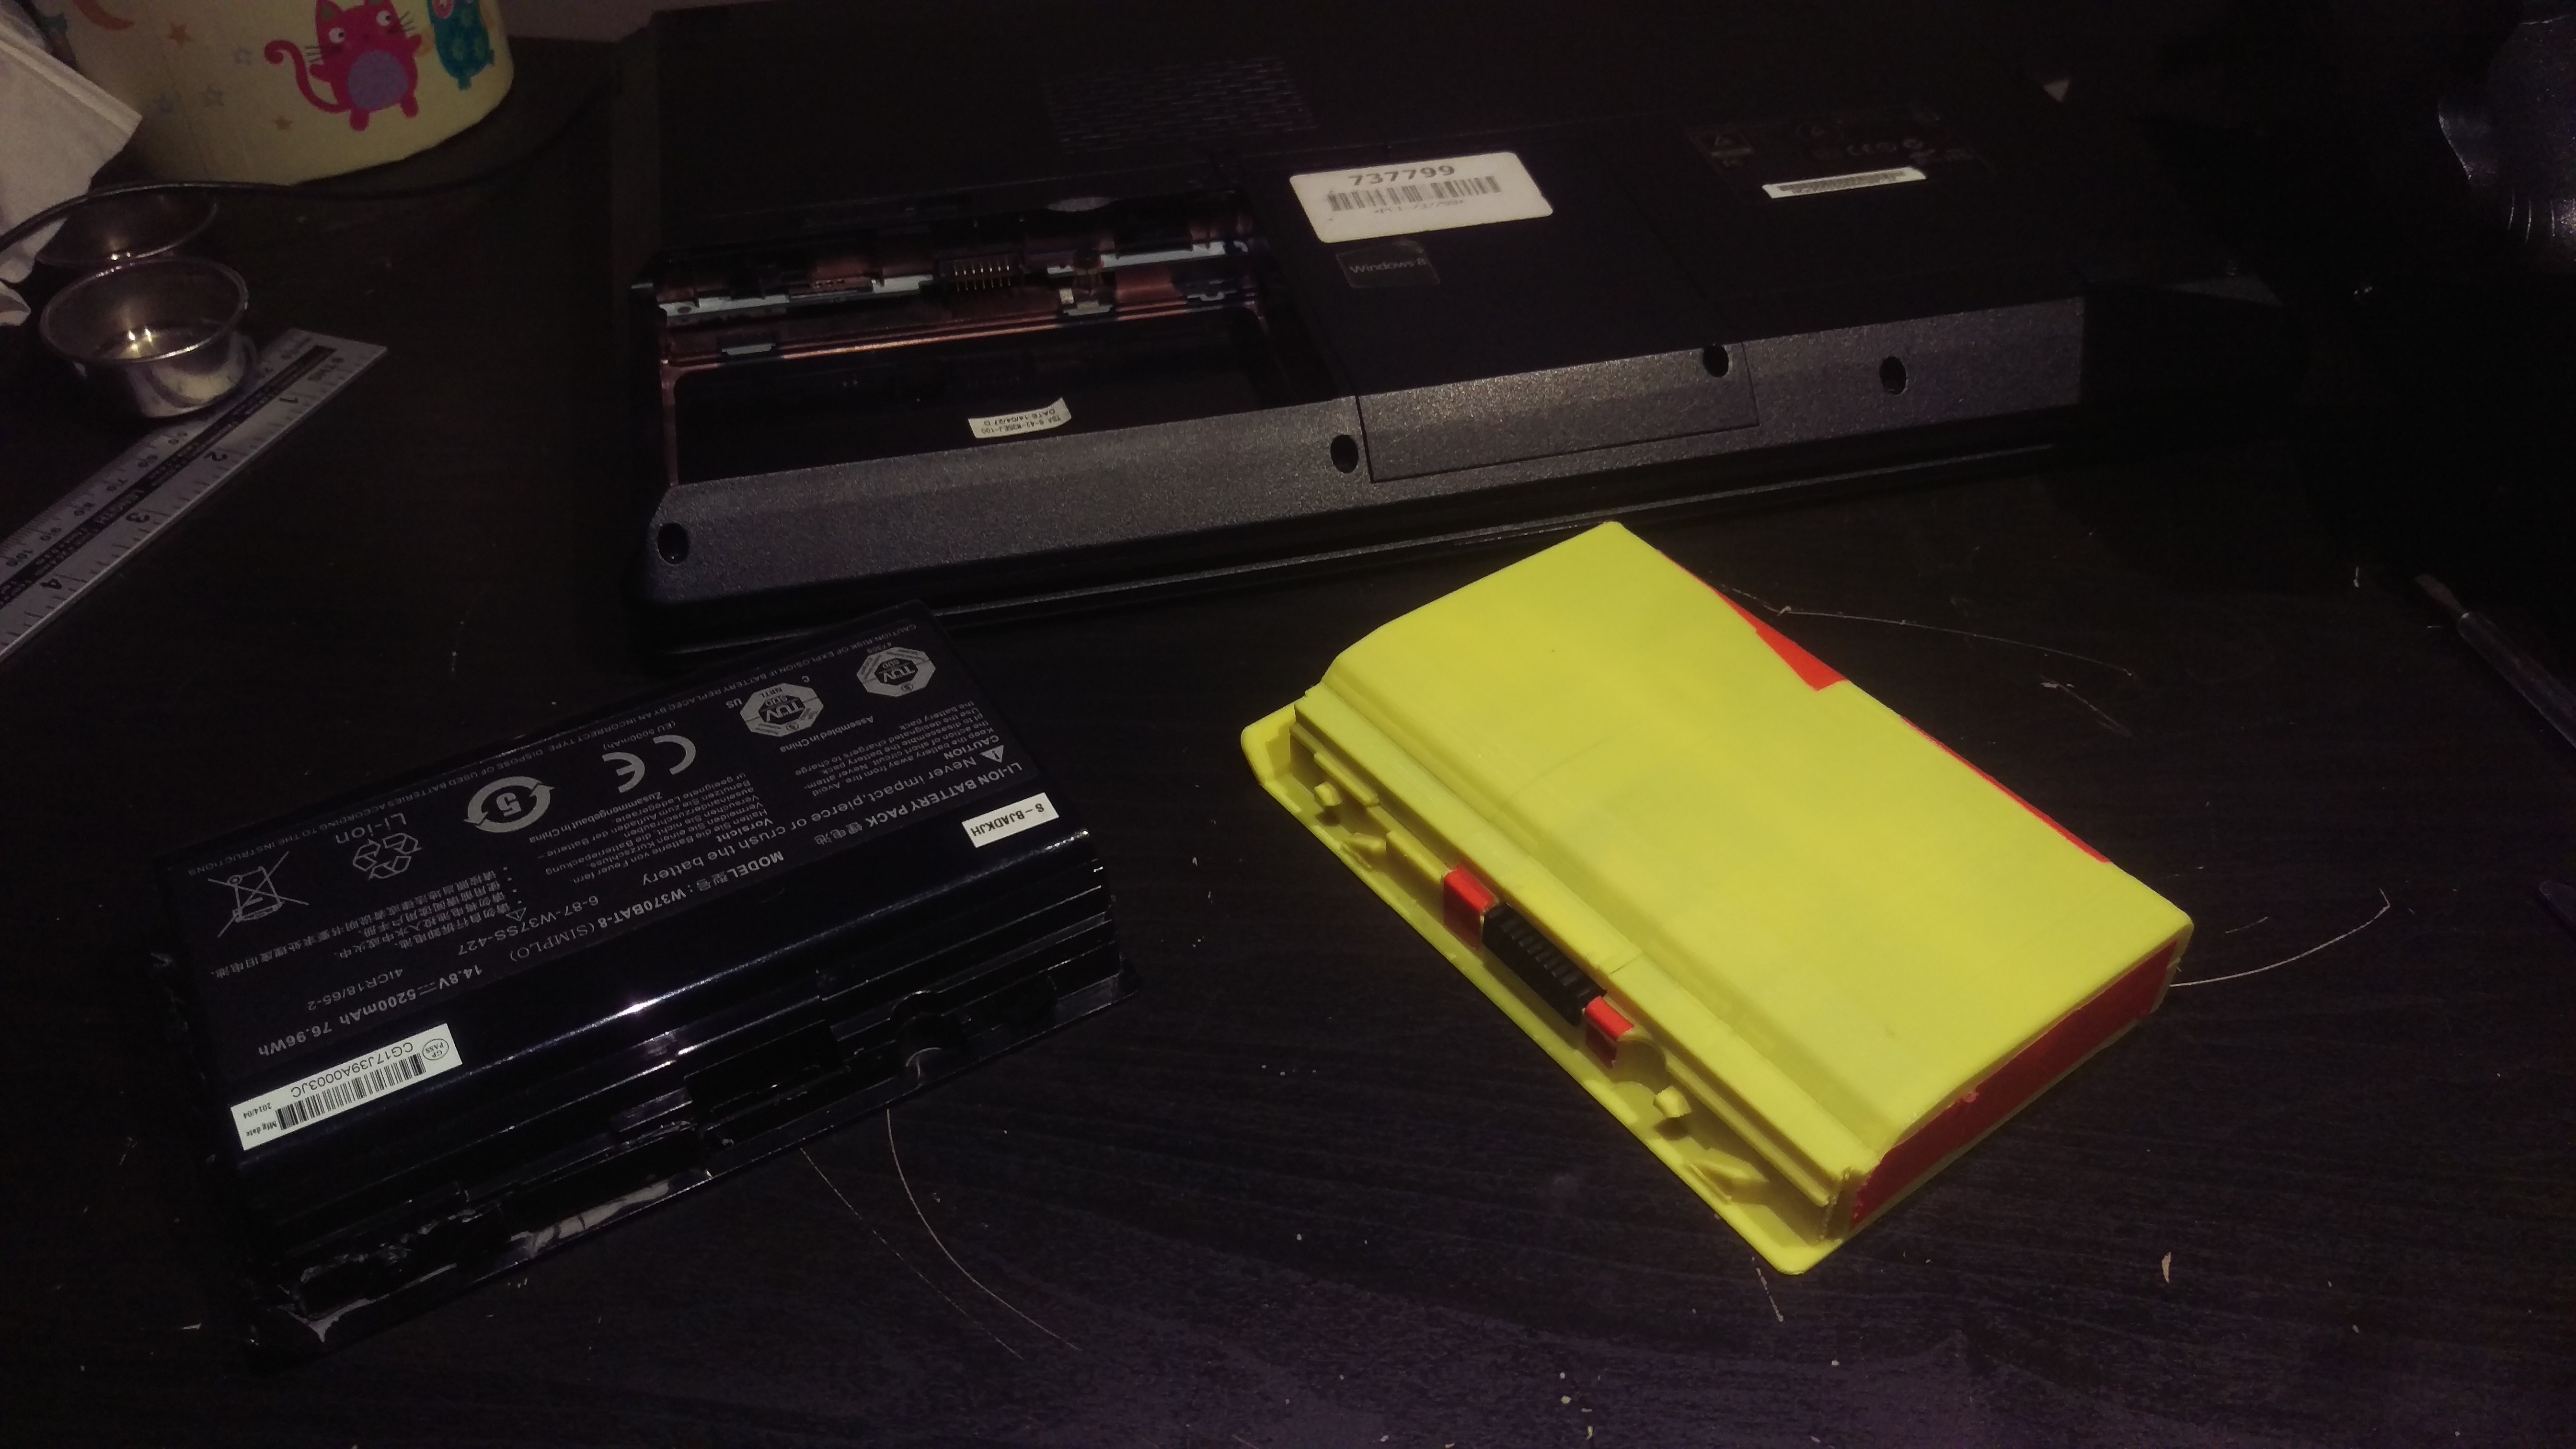
I opened up my original laptop-battery (case is top-right of photo) and removed the old dud pink cells the from the original circuit, after familiarising myself with how they were wired up.
After removing the old cells, I made sure to add insulating tape to the old cells' contacts, to avoid any short-circuiting.
I extracted the new blue cells from a cheap donor battery (case is top left) and soldered them to the original battery's electronics.
It turned out that the donor battery's cells had a smaller capacity than was marked on the battery case - 2000mAh instead of the expected 2700mAh - and that's assuming that the cell-markings aren't lying too!
I wasn't really surprised though - this was a £10 laptop-battery from eBay, after all.
It's still better than what my dud battery was giving me!
I'd initially hoped to transplant the new cells back into the old case, but the fit wasn't quite right - it kept on popping out of its slot.
The new cells seemed to be working and charging though, so I felt good about continuing the project.
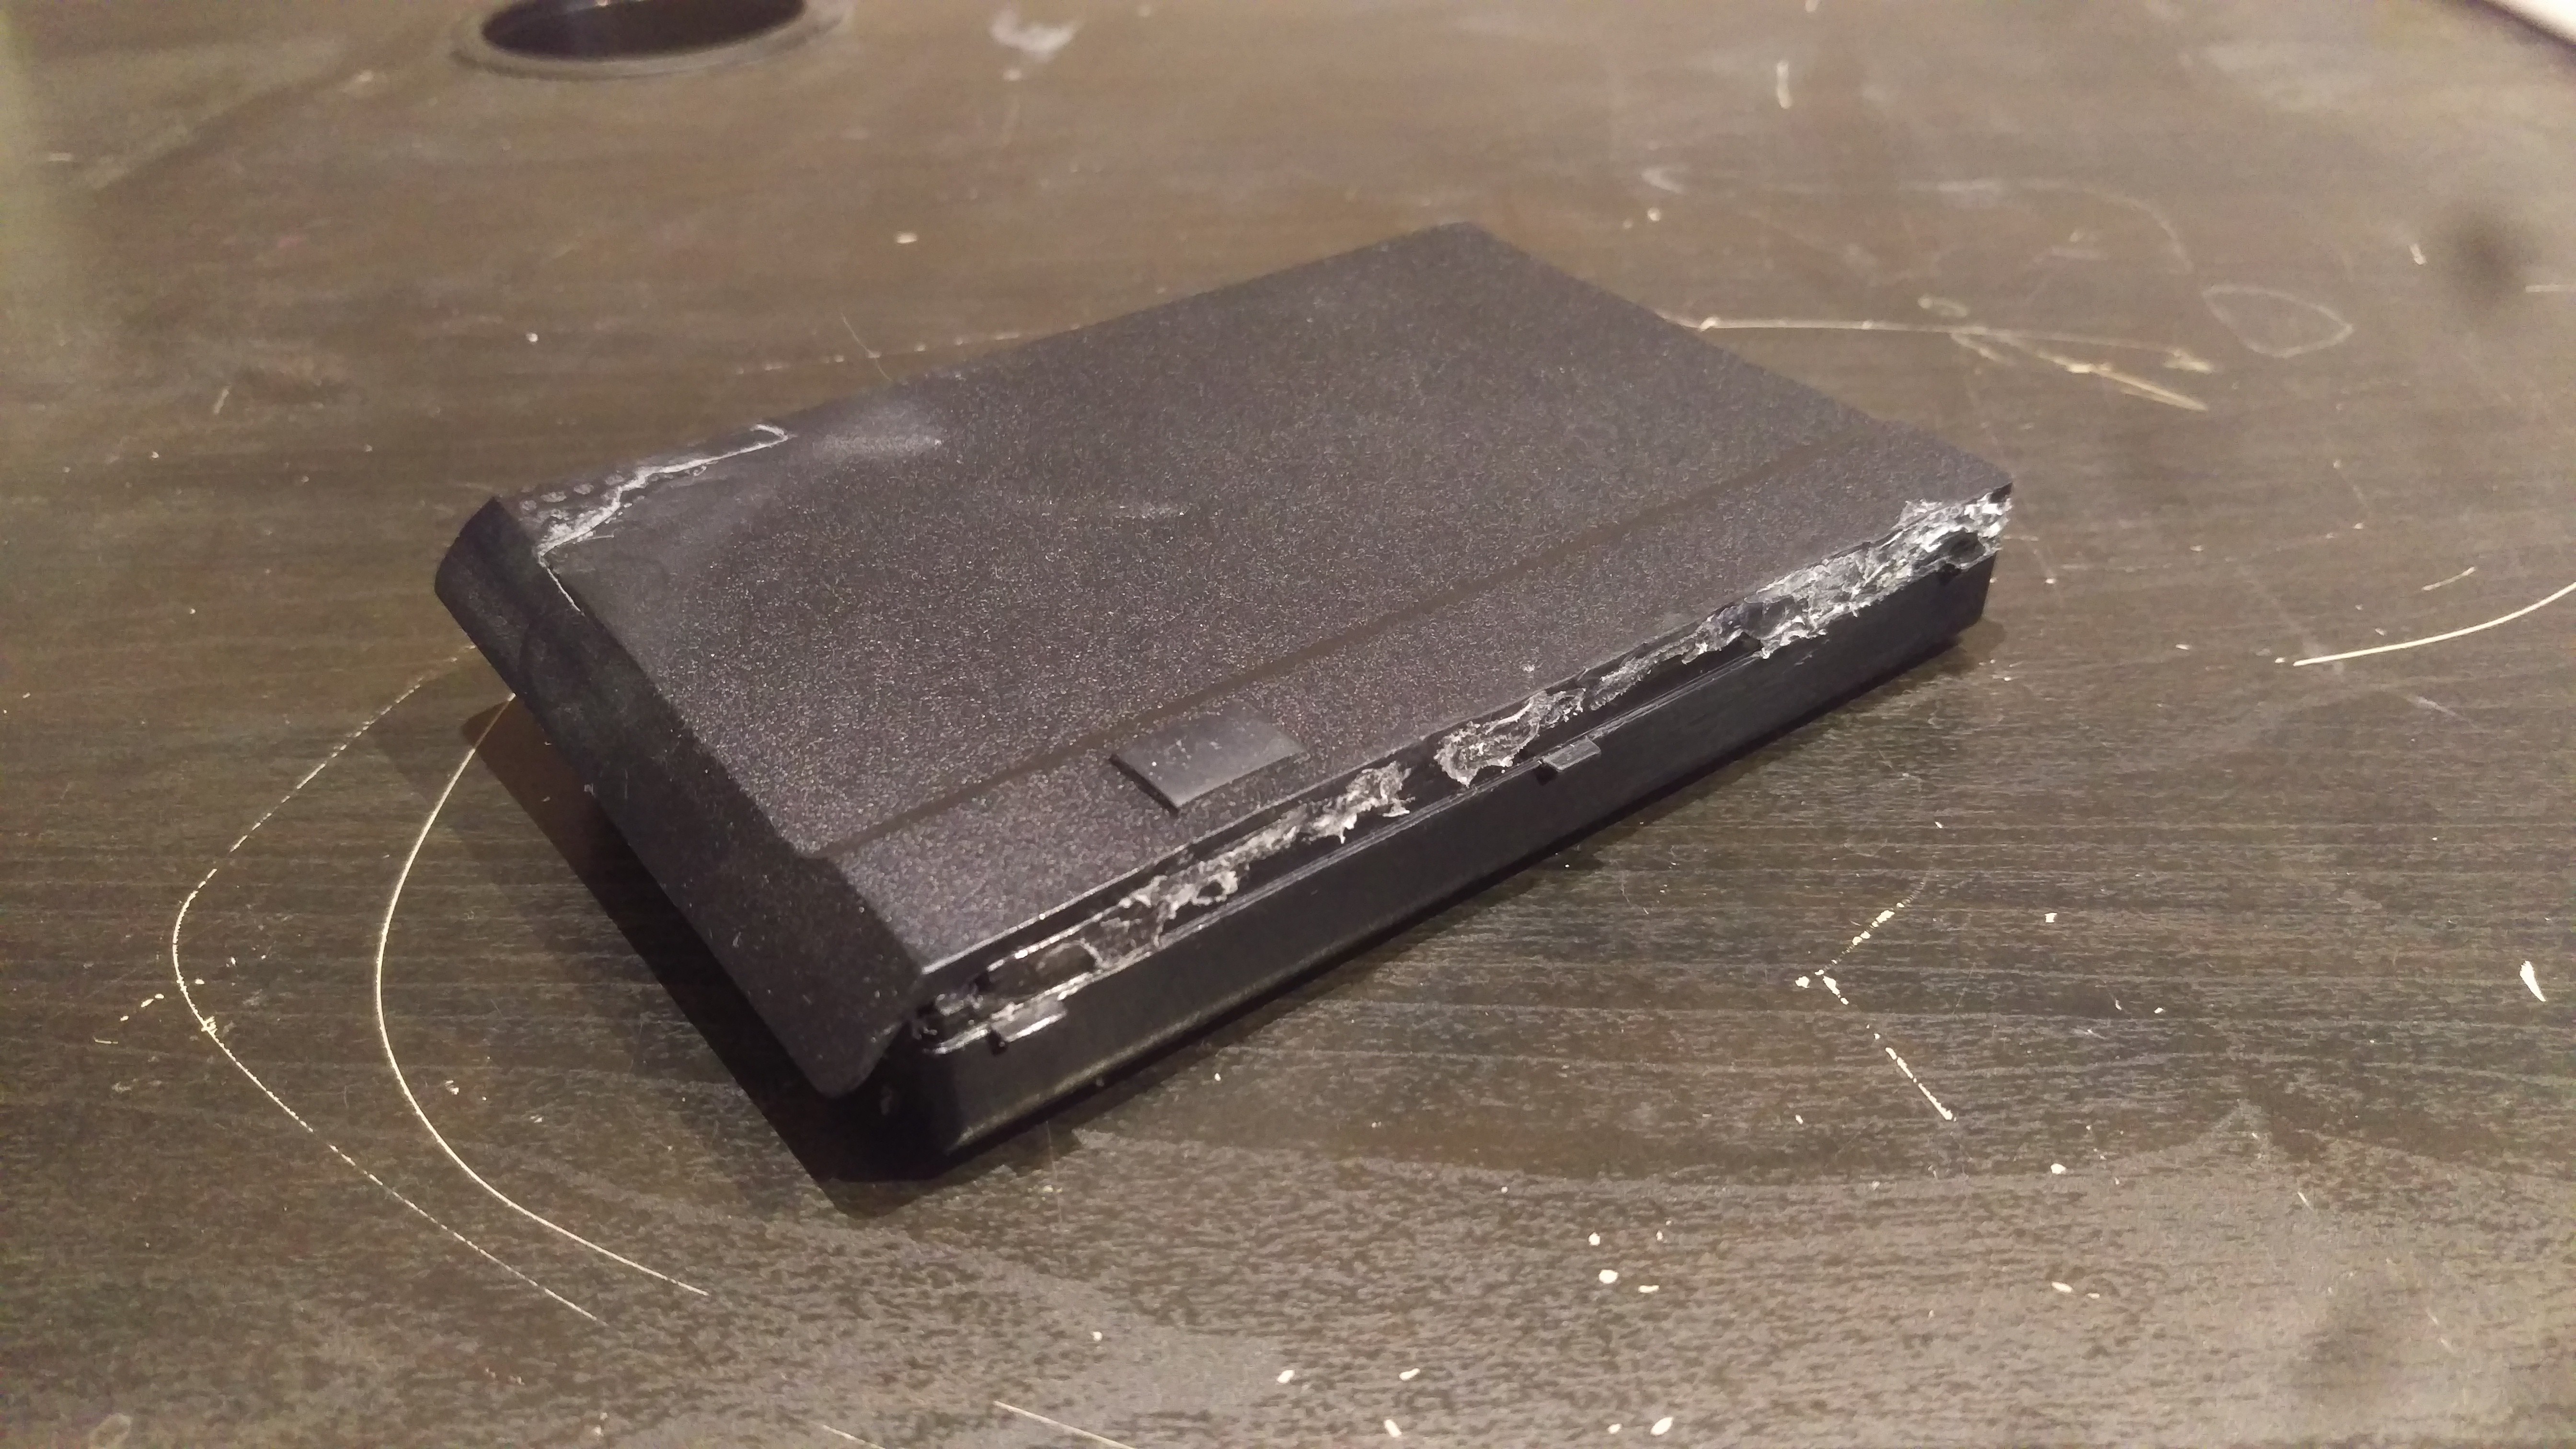
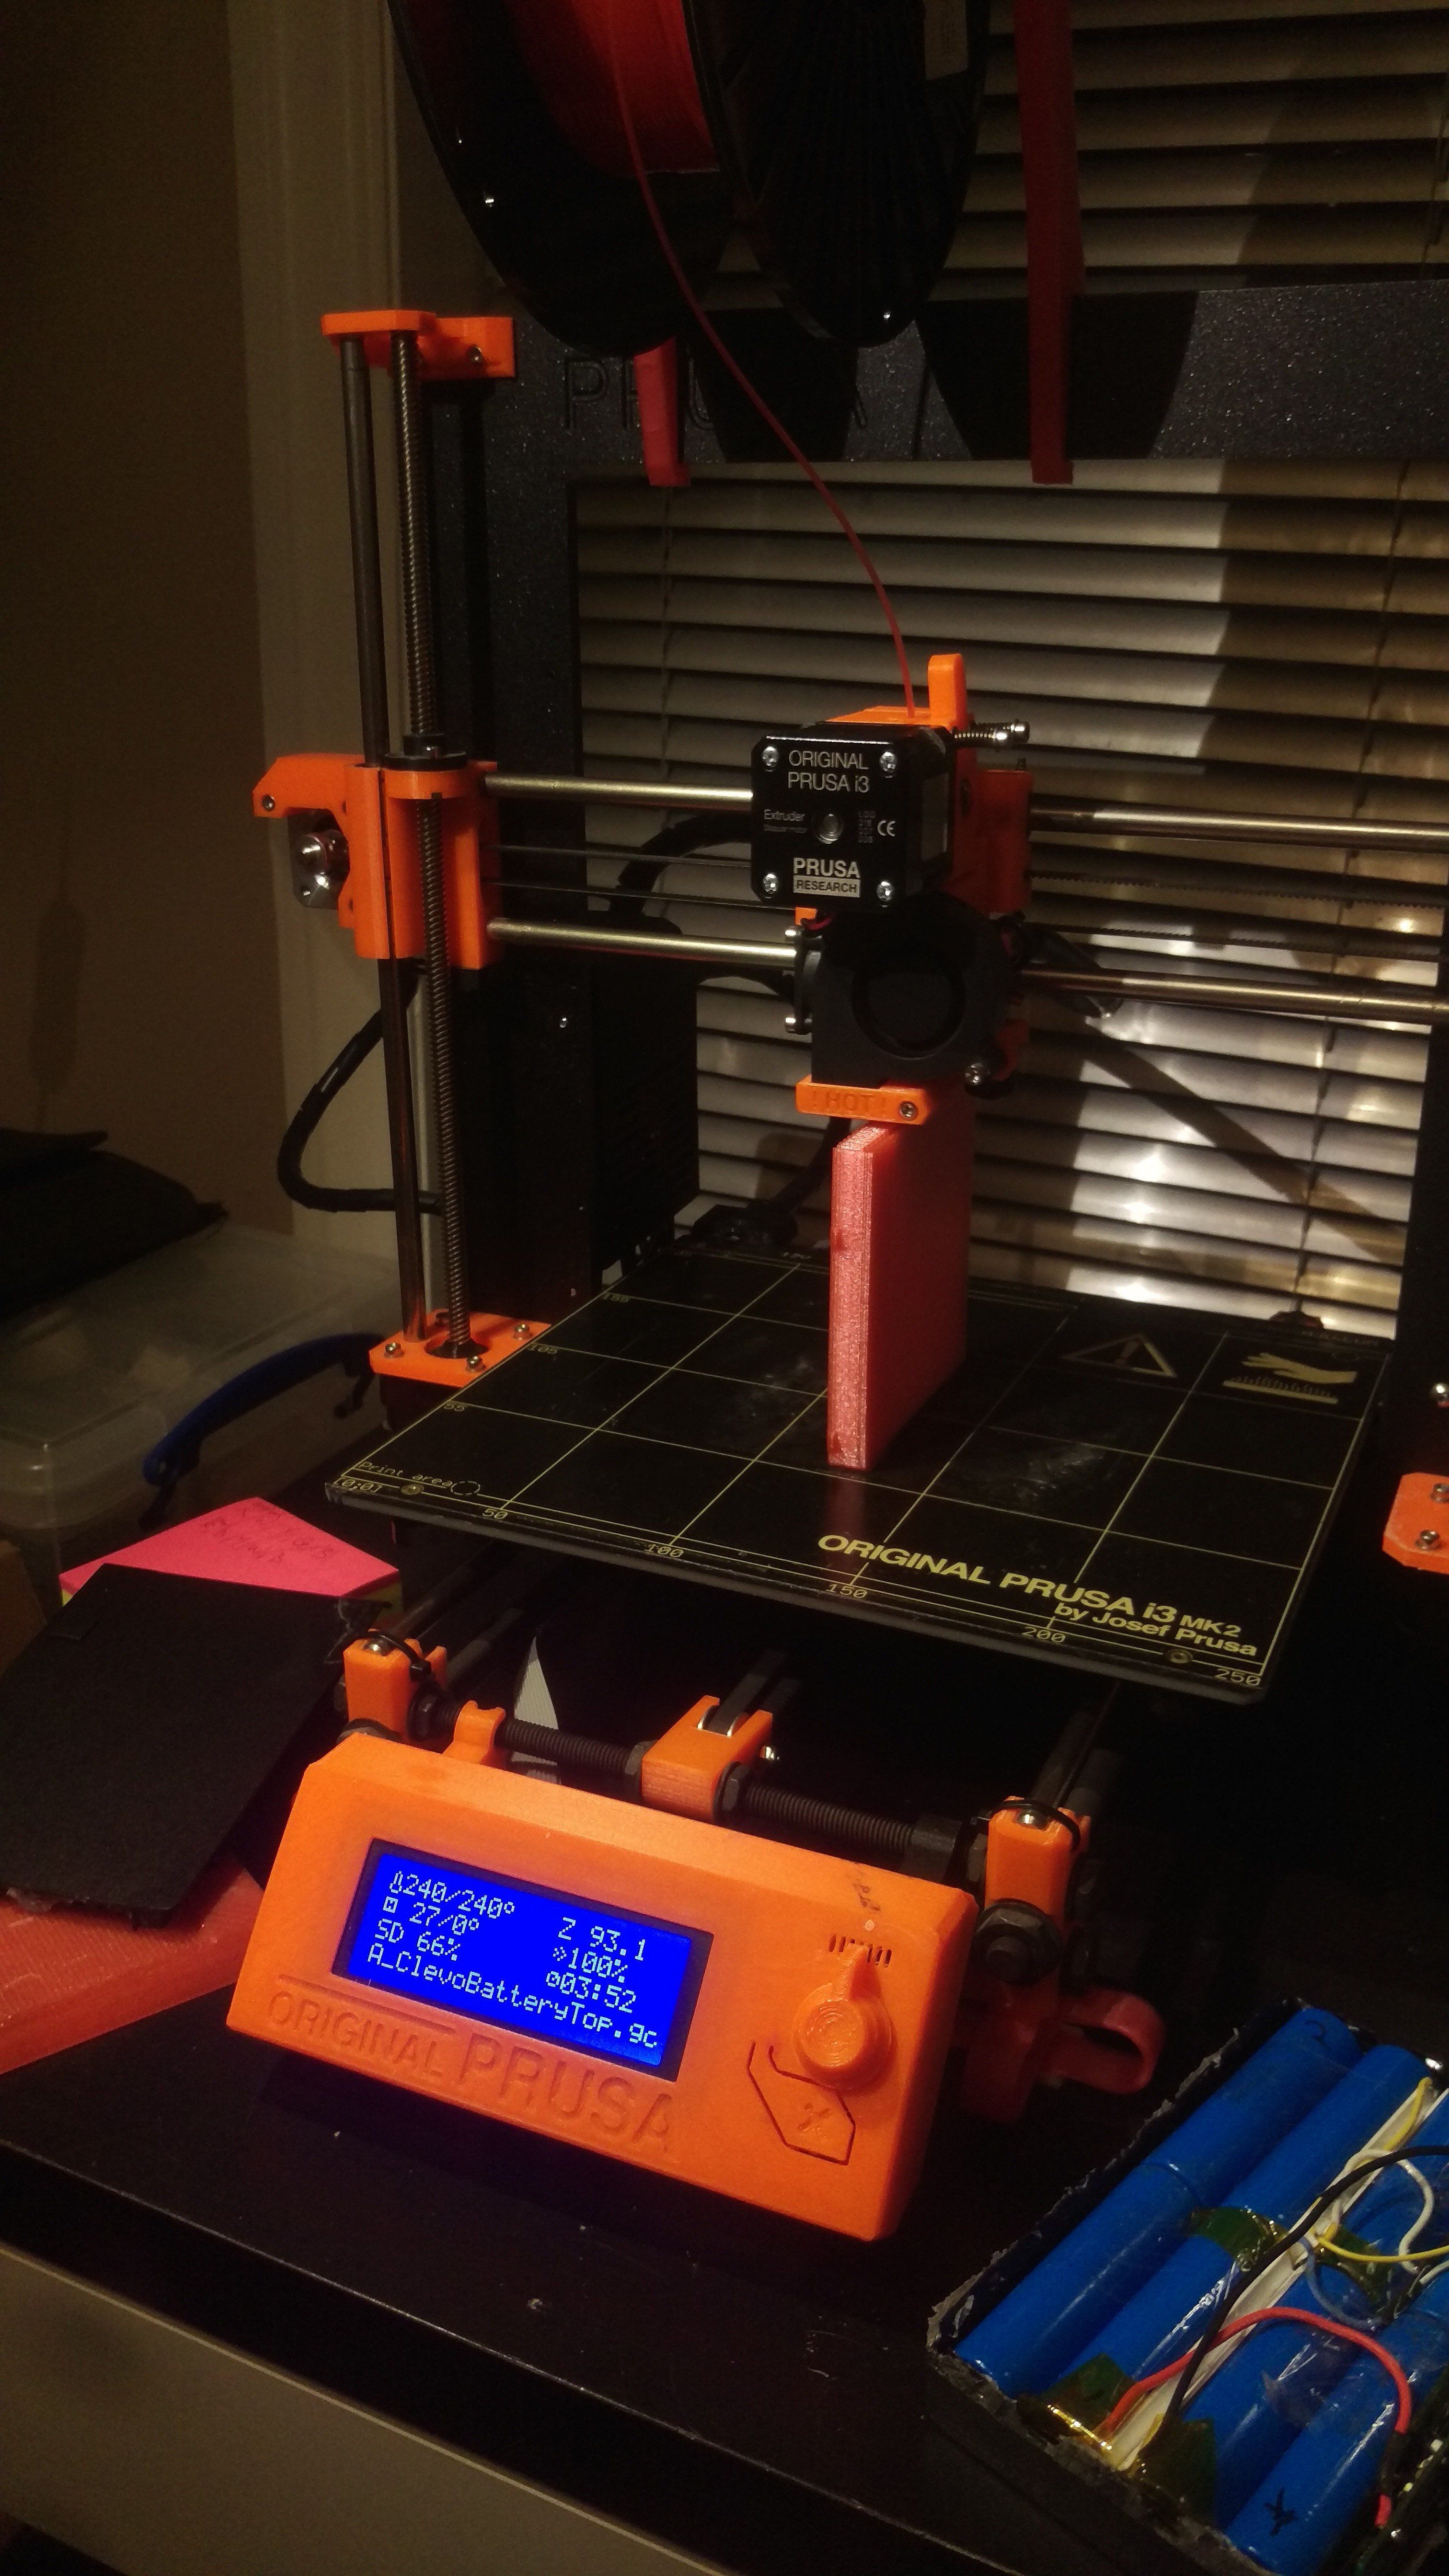
Here's the hotglue-and-hope version:

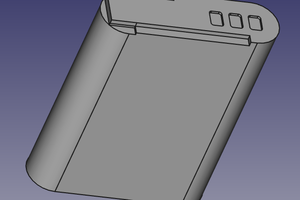
I measured the original case with my ever-useful digital calipers (recommended for any budding printed-parts makers) and replicated the shape in 3D Studio Max.
I do NOT recommend making such a complicated part in Max like I did.
It can be reworkable if you build it with a lot of boolean operations and modifiers, but it's fiddly to modify.
I've since learned how to use <A HREF="https://www.autodesk.com/products/fusion-360/overview">Fusion 360</A> (which is free to use for non-commercial use) and it is MUCH more suitable for making parts like this.
This took several iterations to get a good-enough fit - for both the top and bottom of the case.
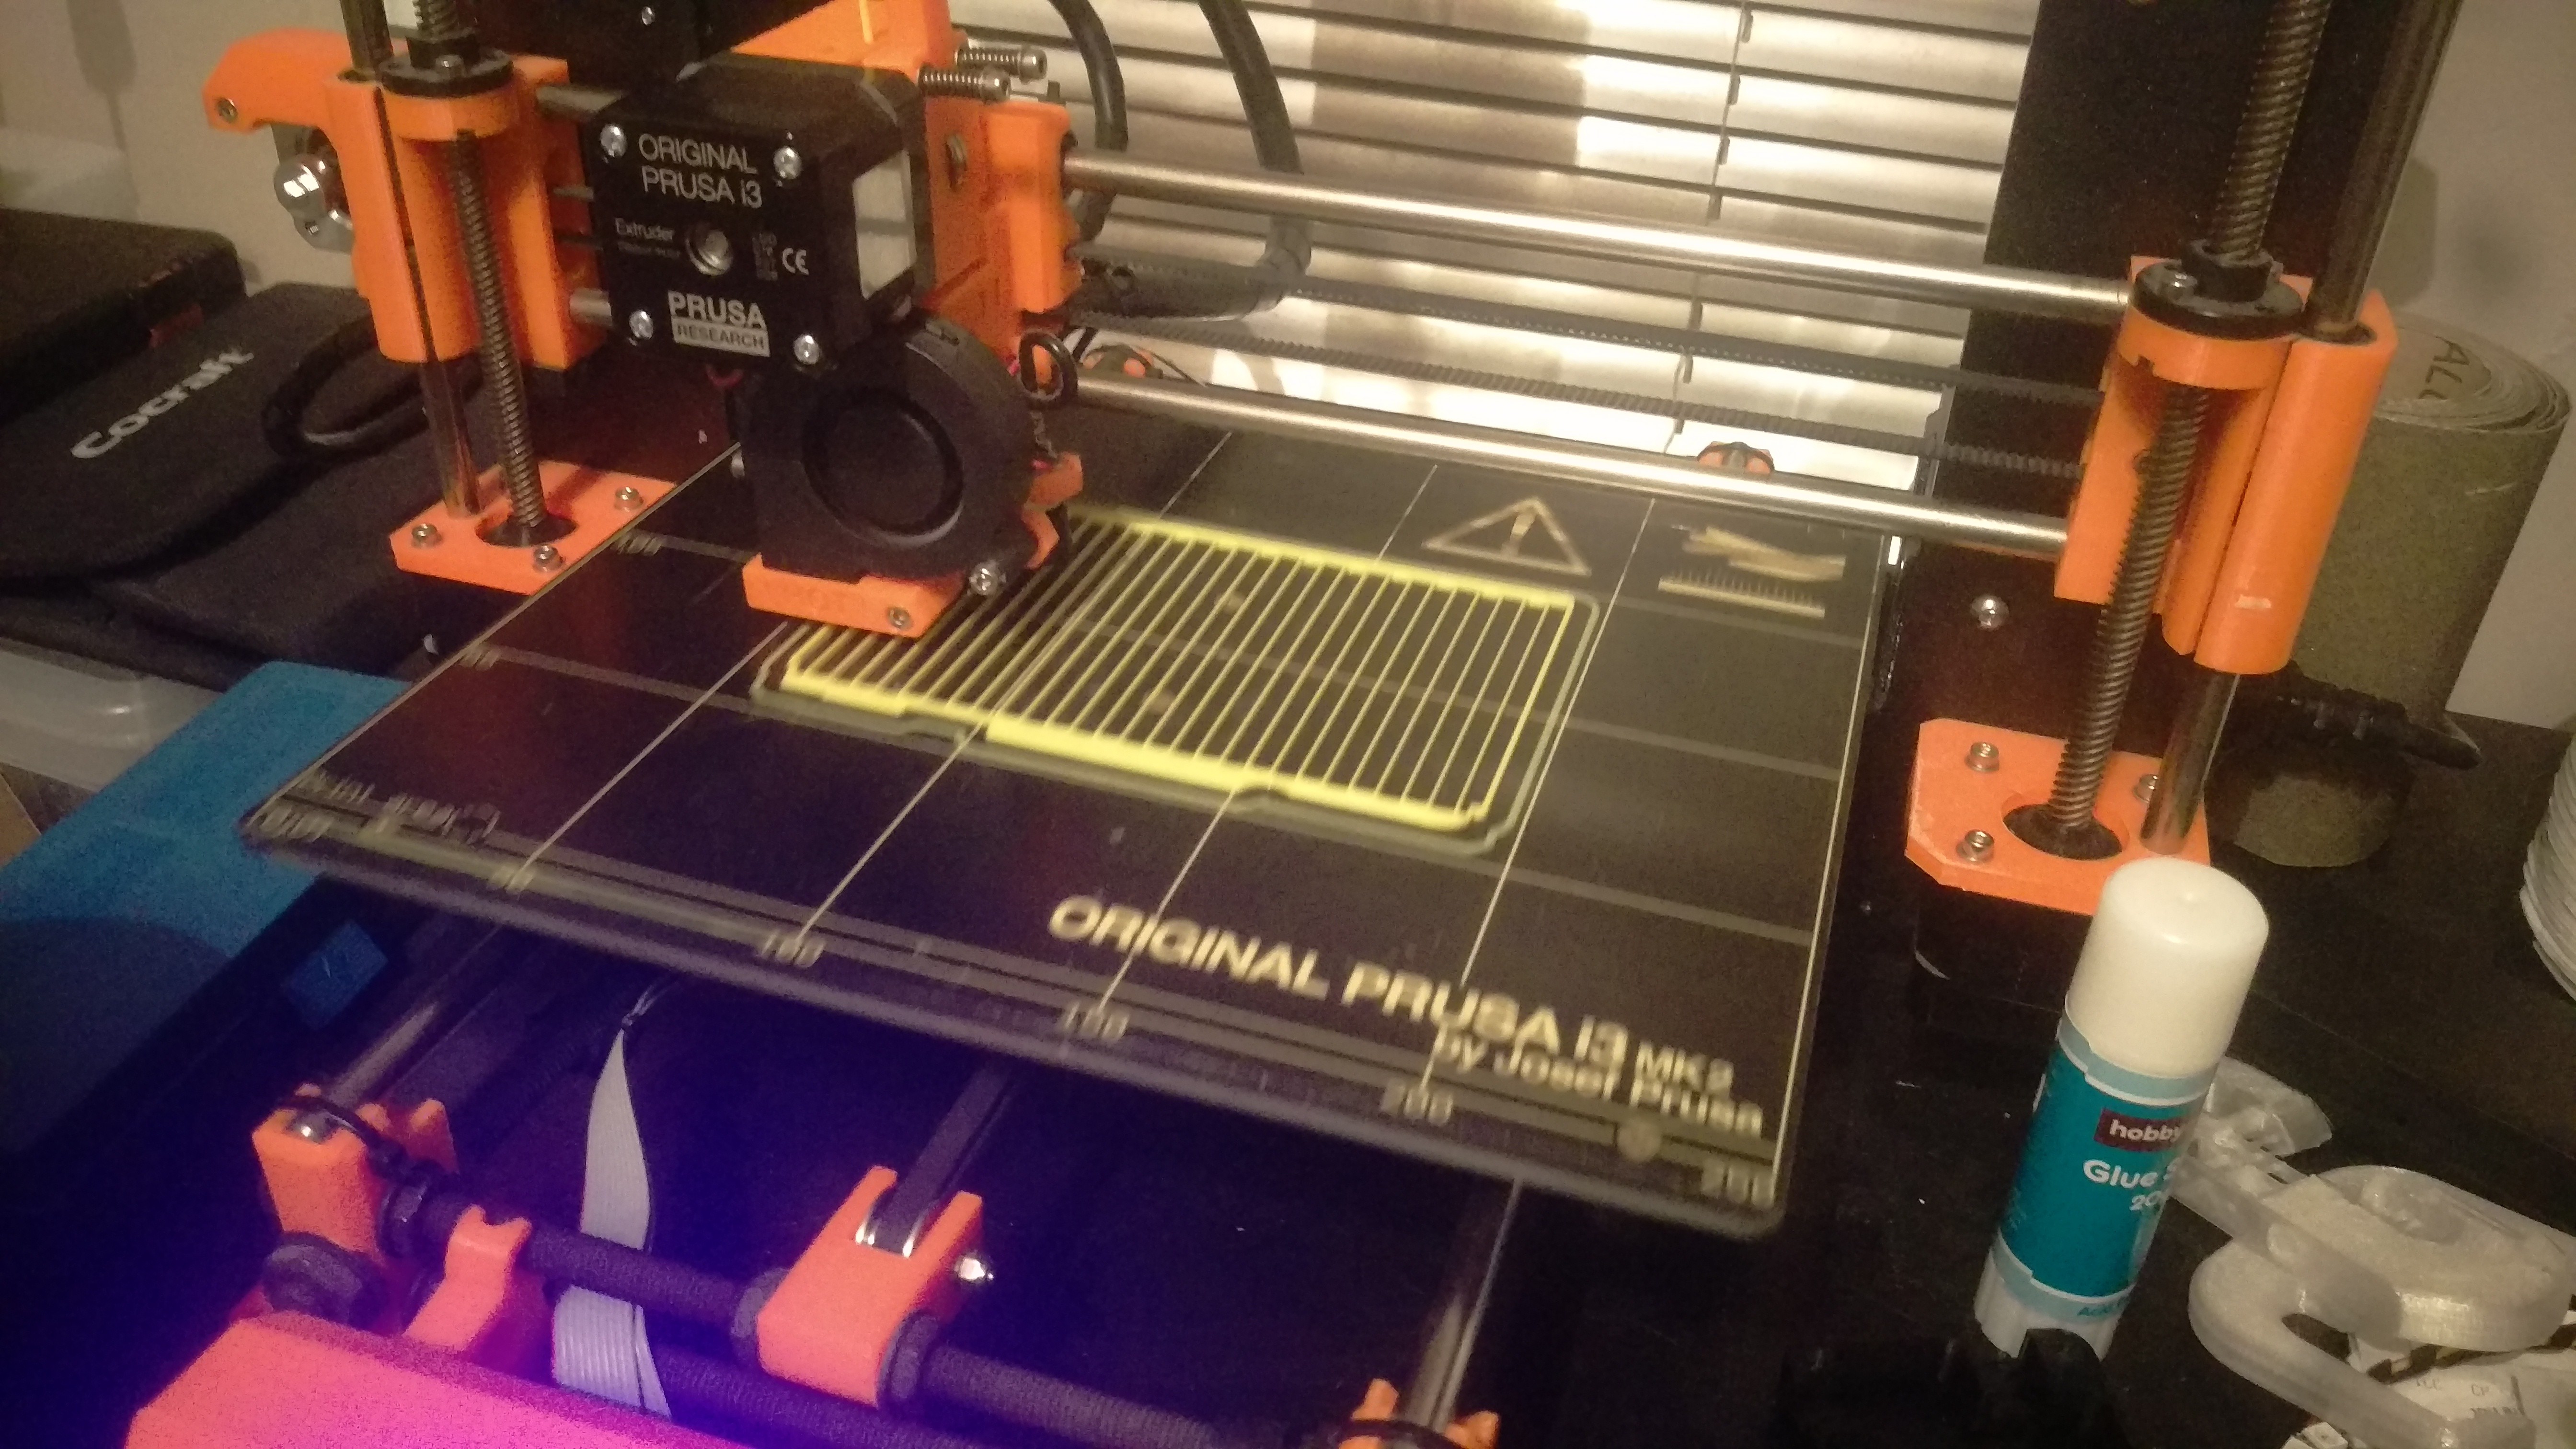
More iterations, using up my least-favourite spool of PLA:
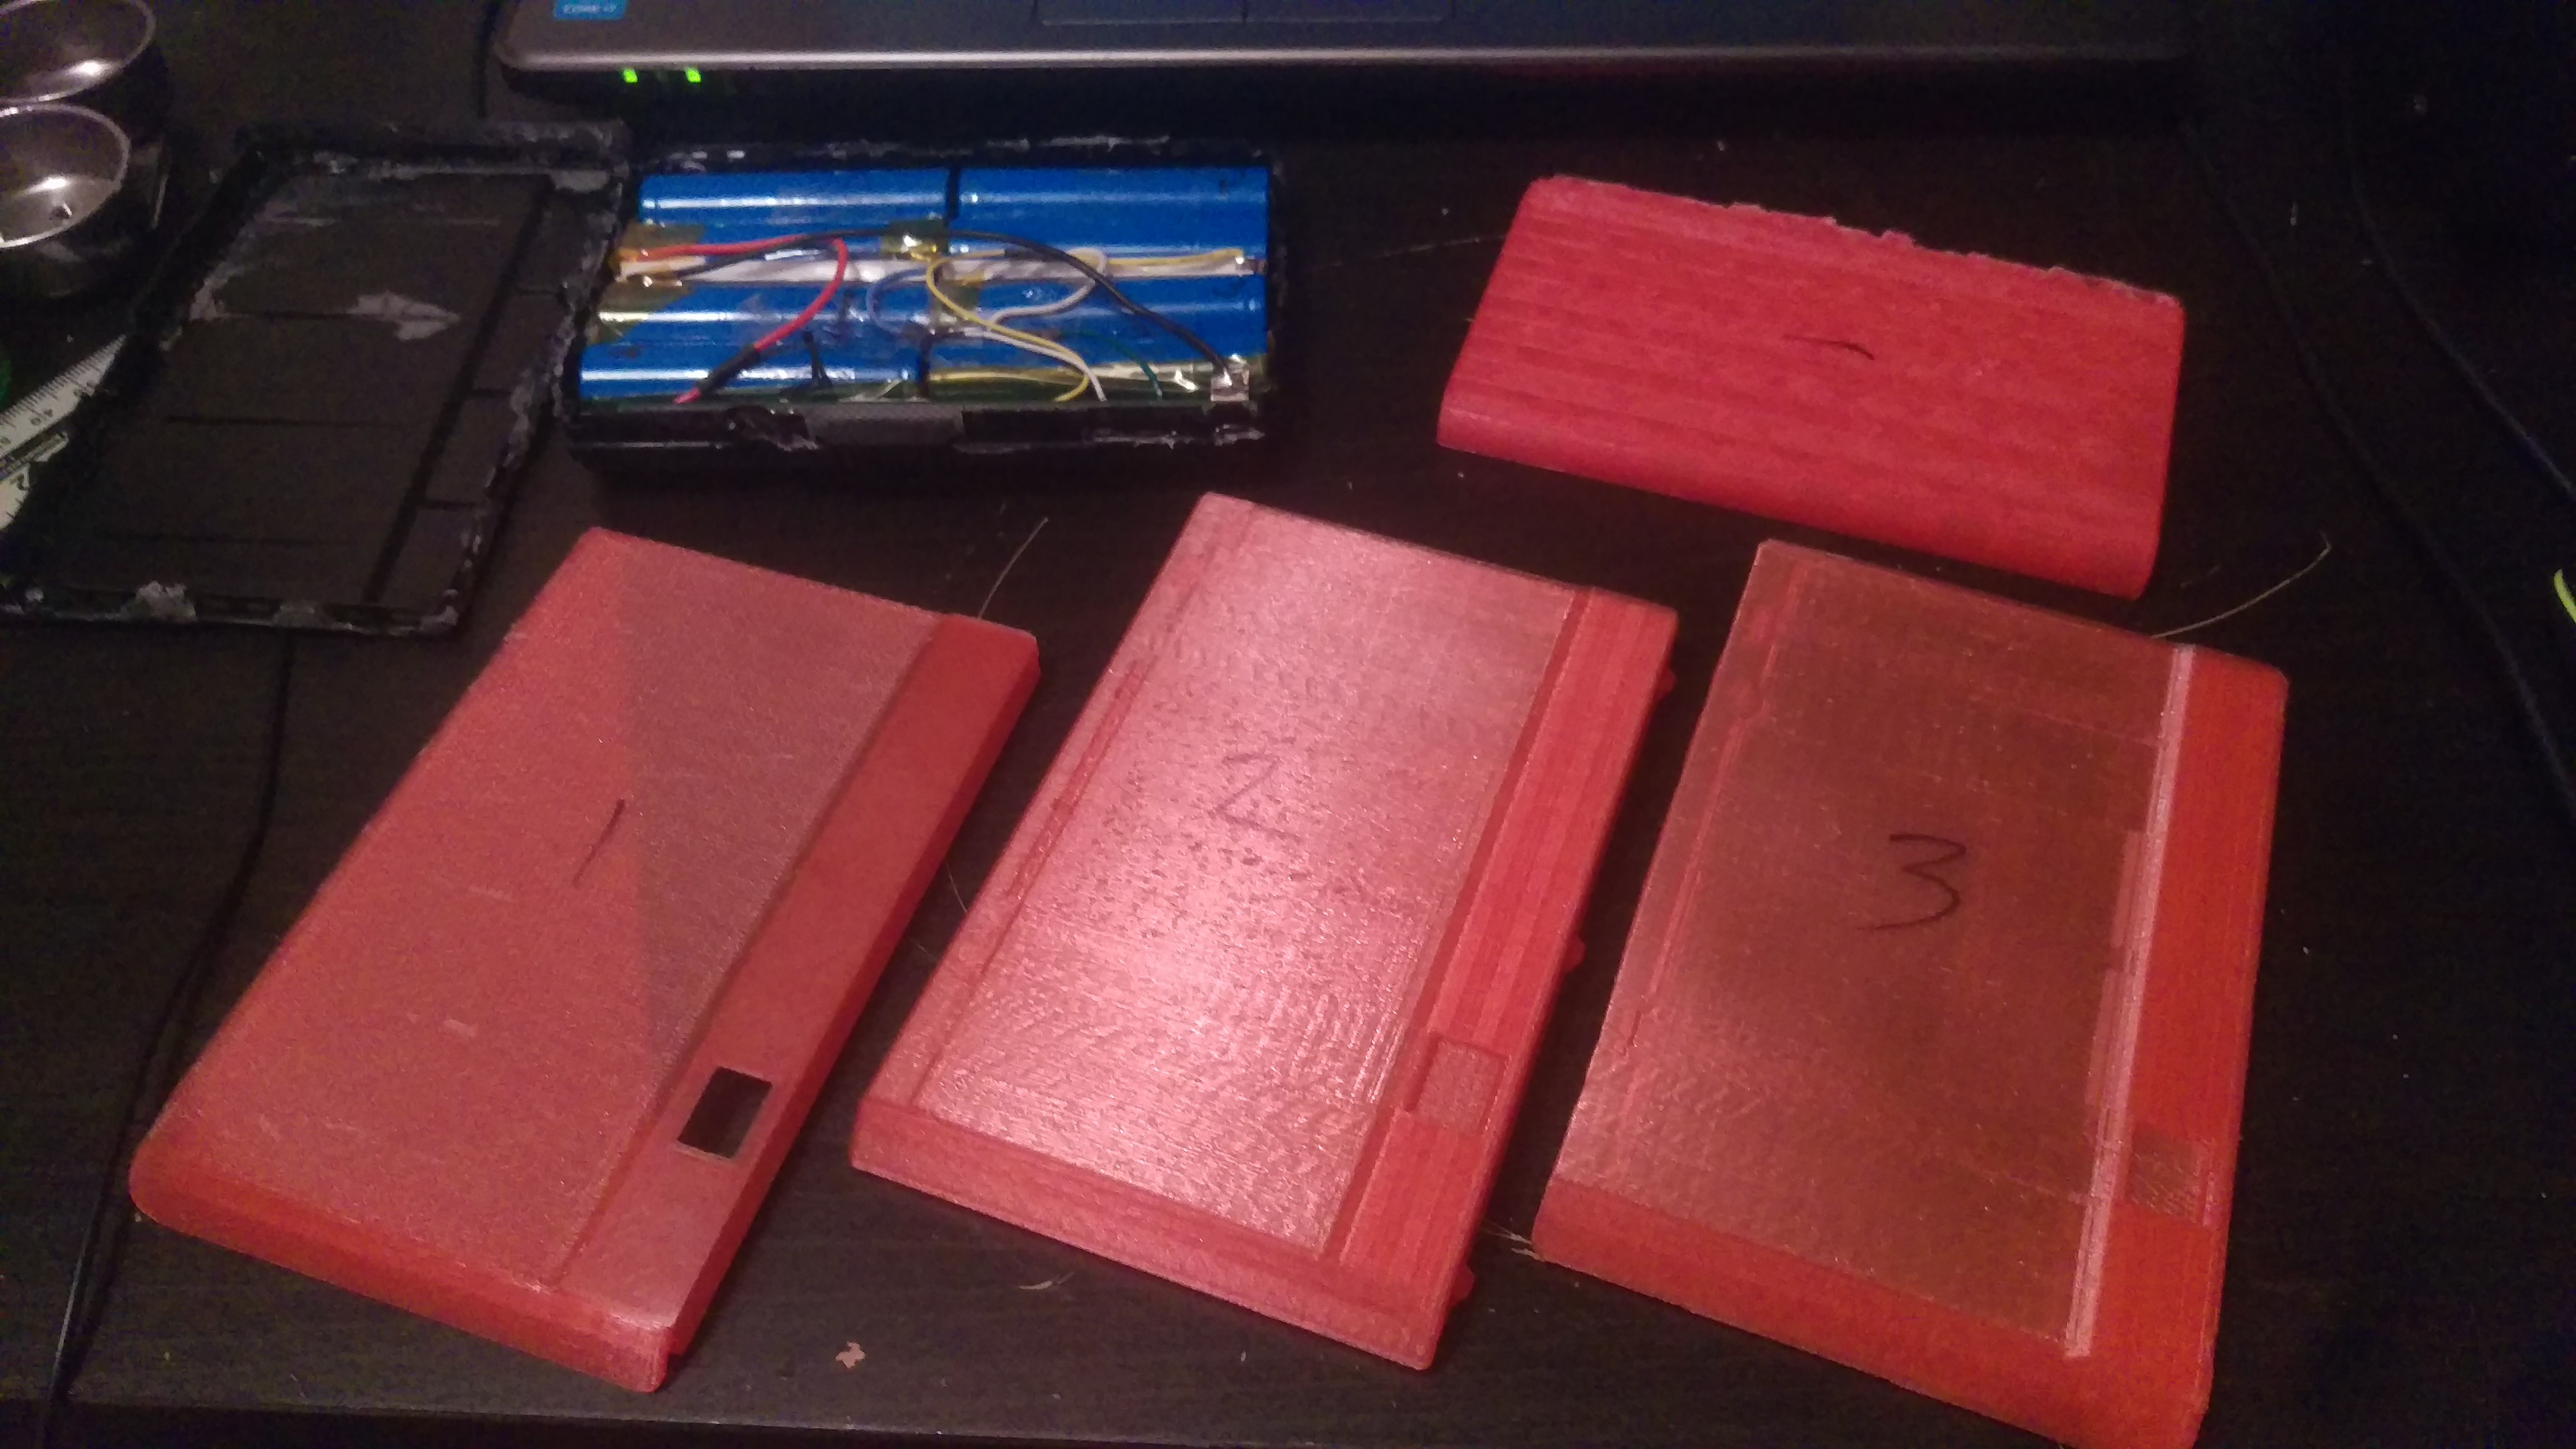
Printing the final fit-test with more cheap PLA:
Here the final assembled design, next to the original battery-case and the slot it's meant to fit into.
I didn't bother designing a clever method for clipping the two halves of the case together, because space was tight and the seam is hidden - I ended up using strips of duct-tape to hold it together.
It fits! Not perfectly, but good enough - and it stays in place when I move the laptop!
In this print, the top/bottoms of the case is were prone to delaminating, so I strengthened the interior with a few pieces of sellotape.
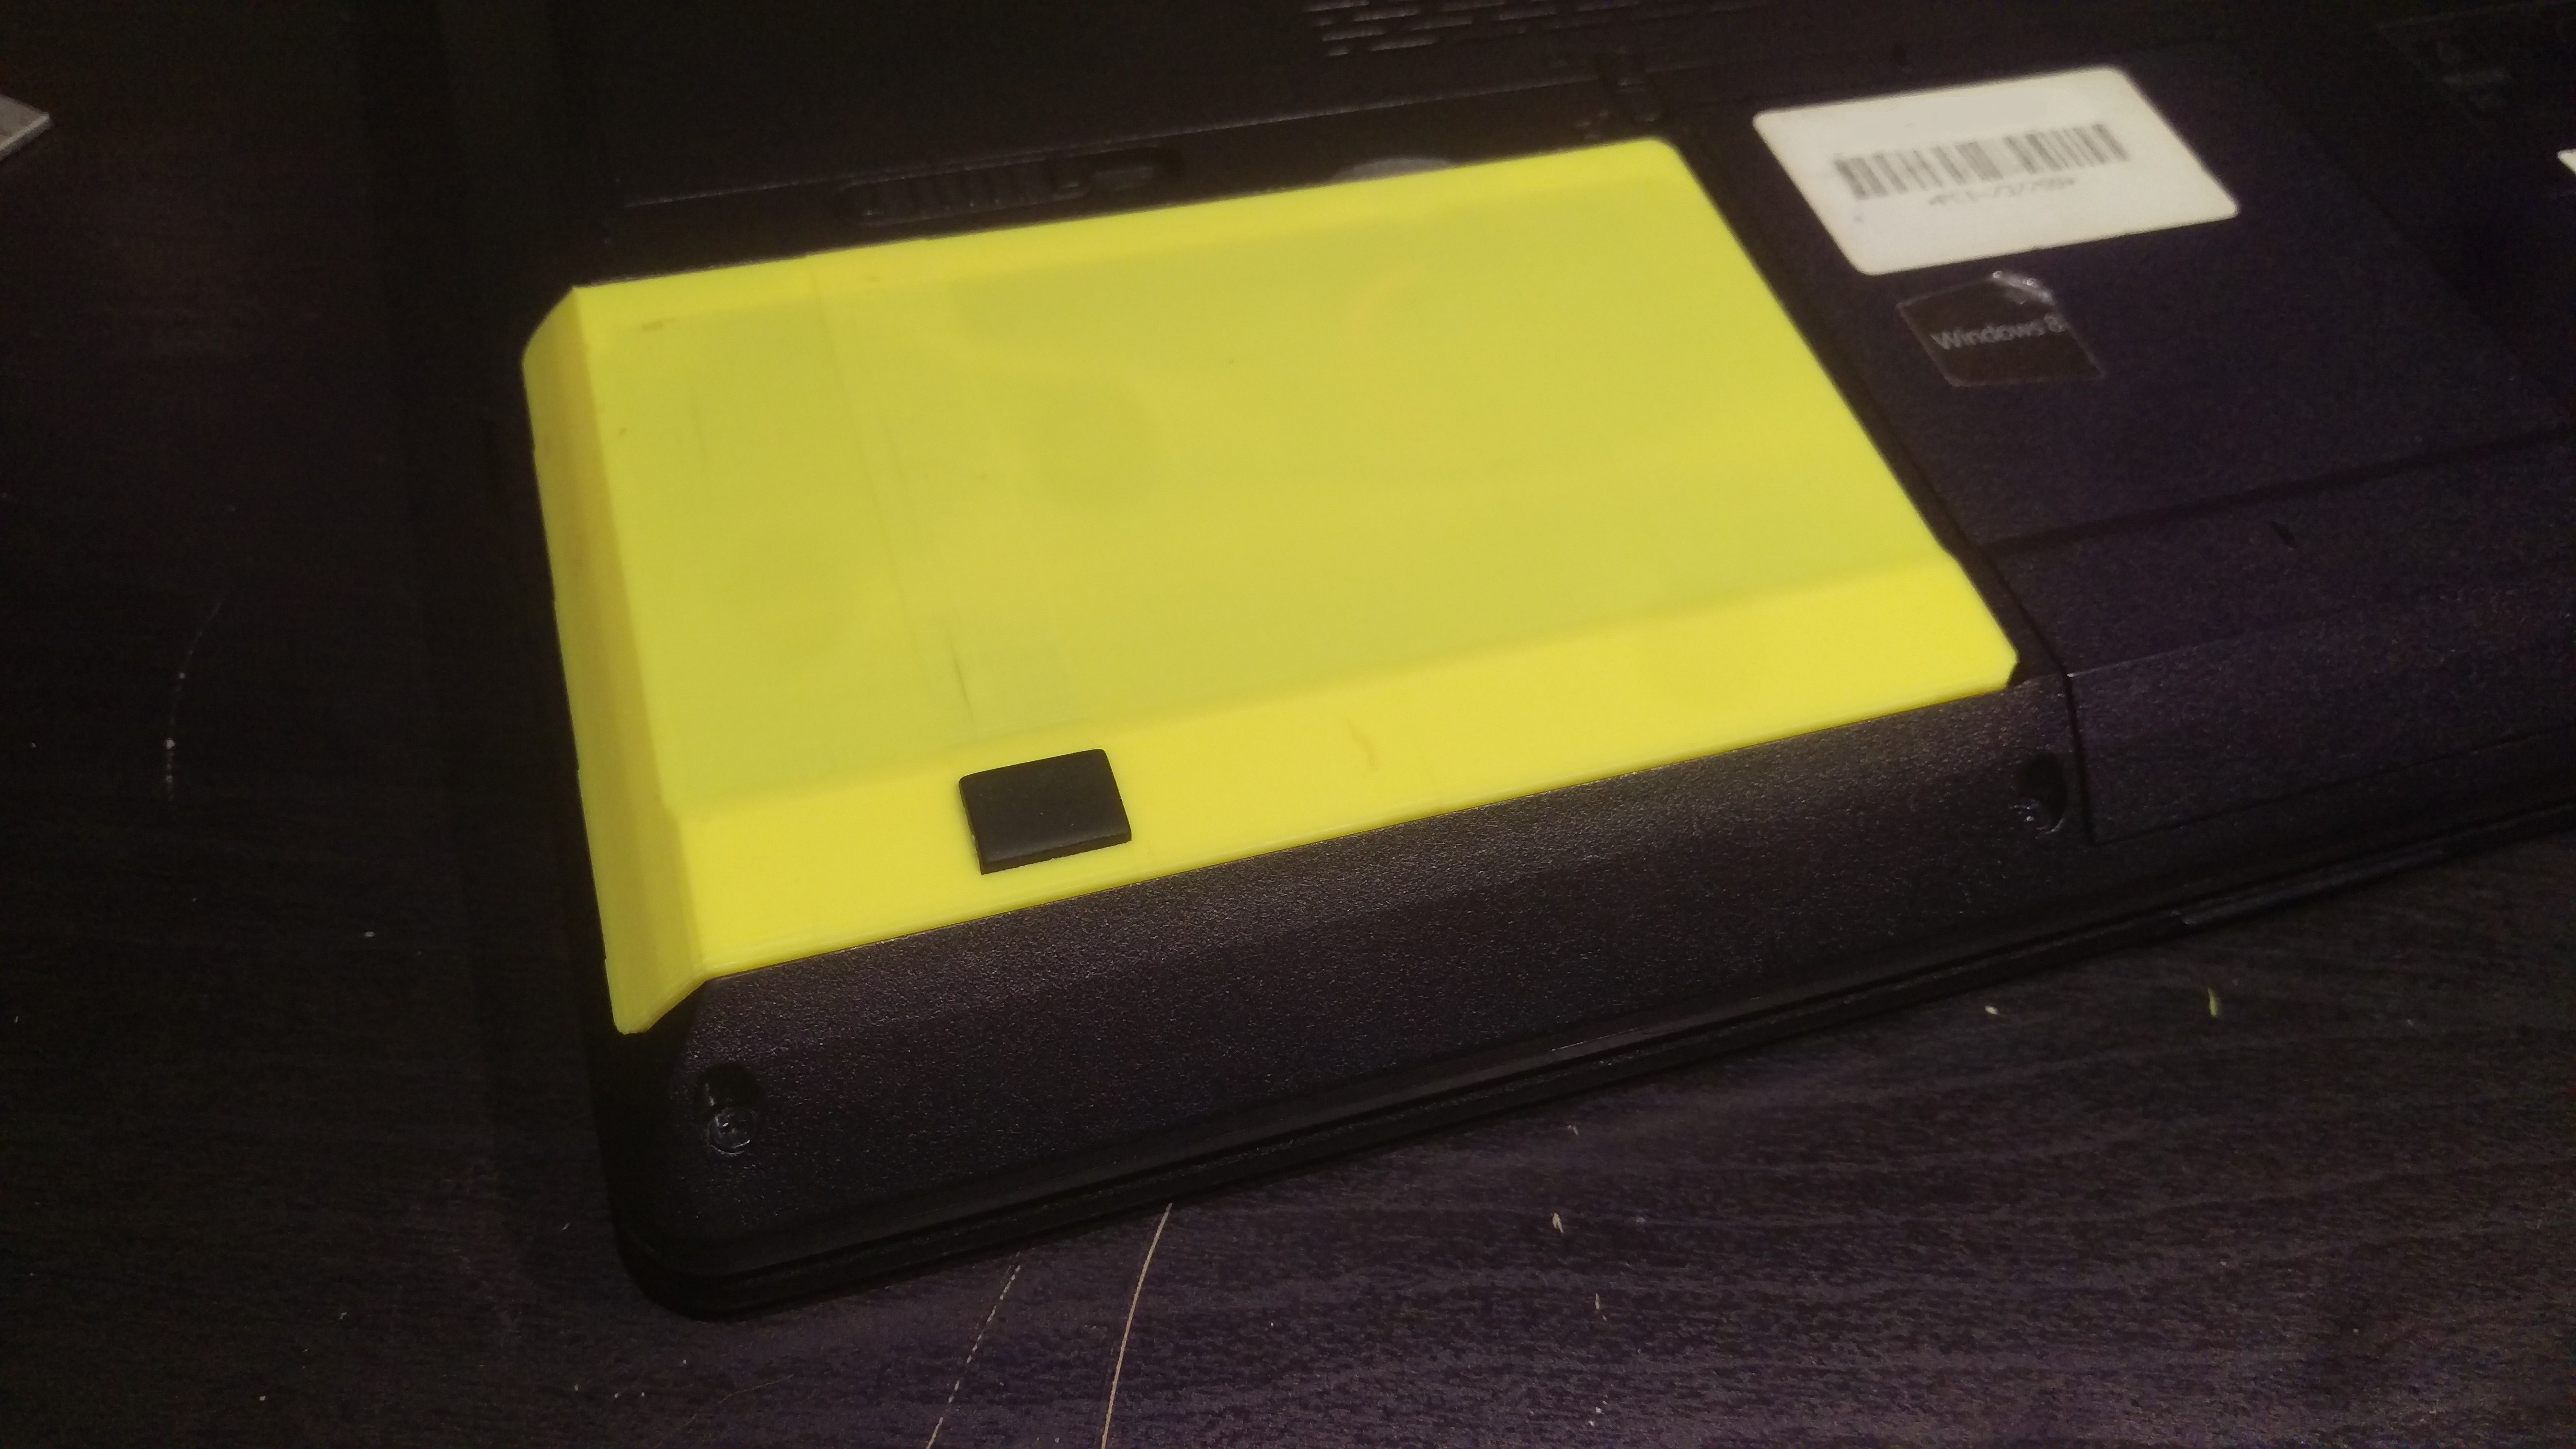
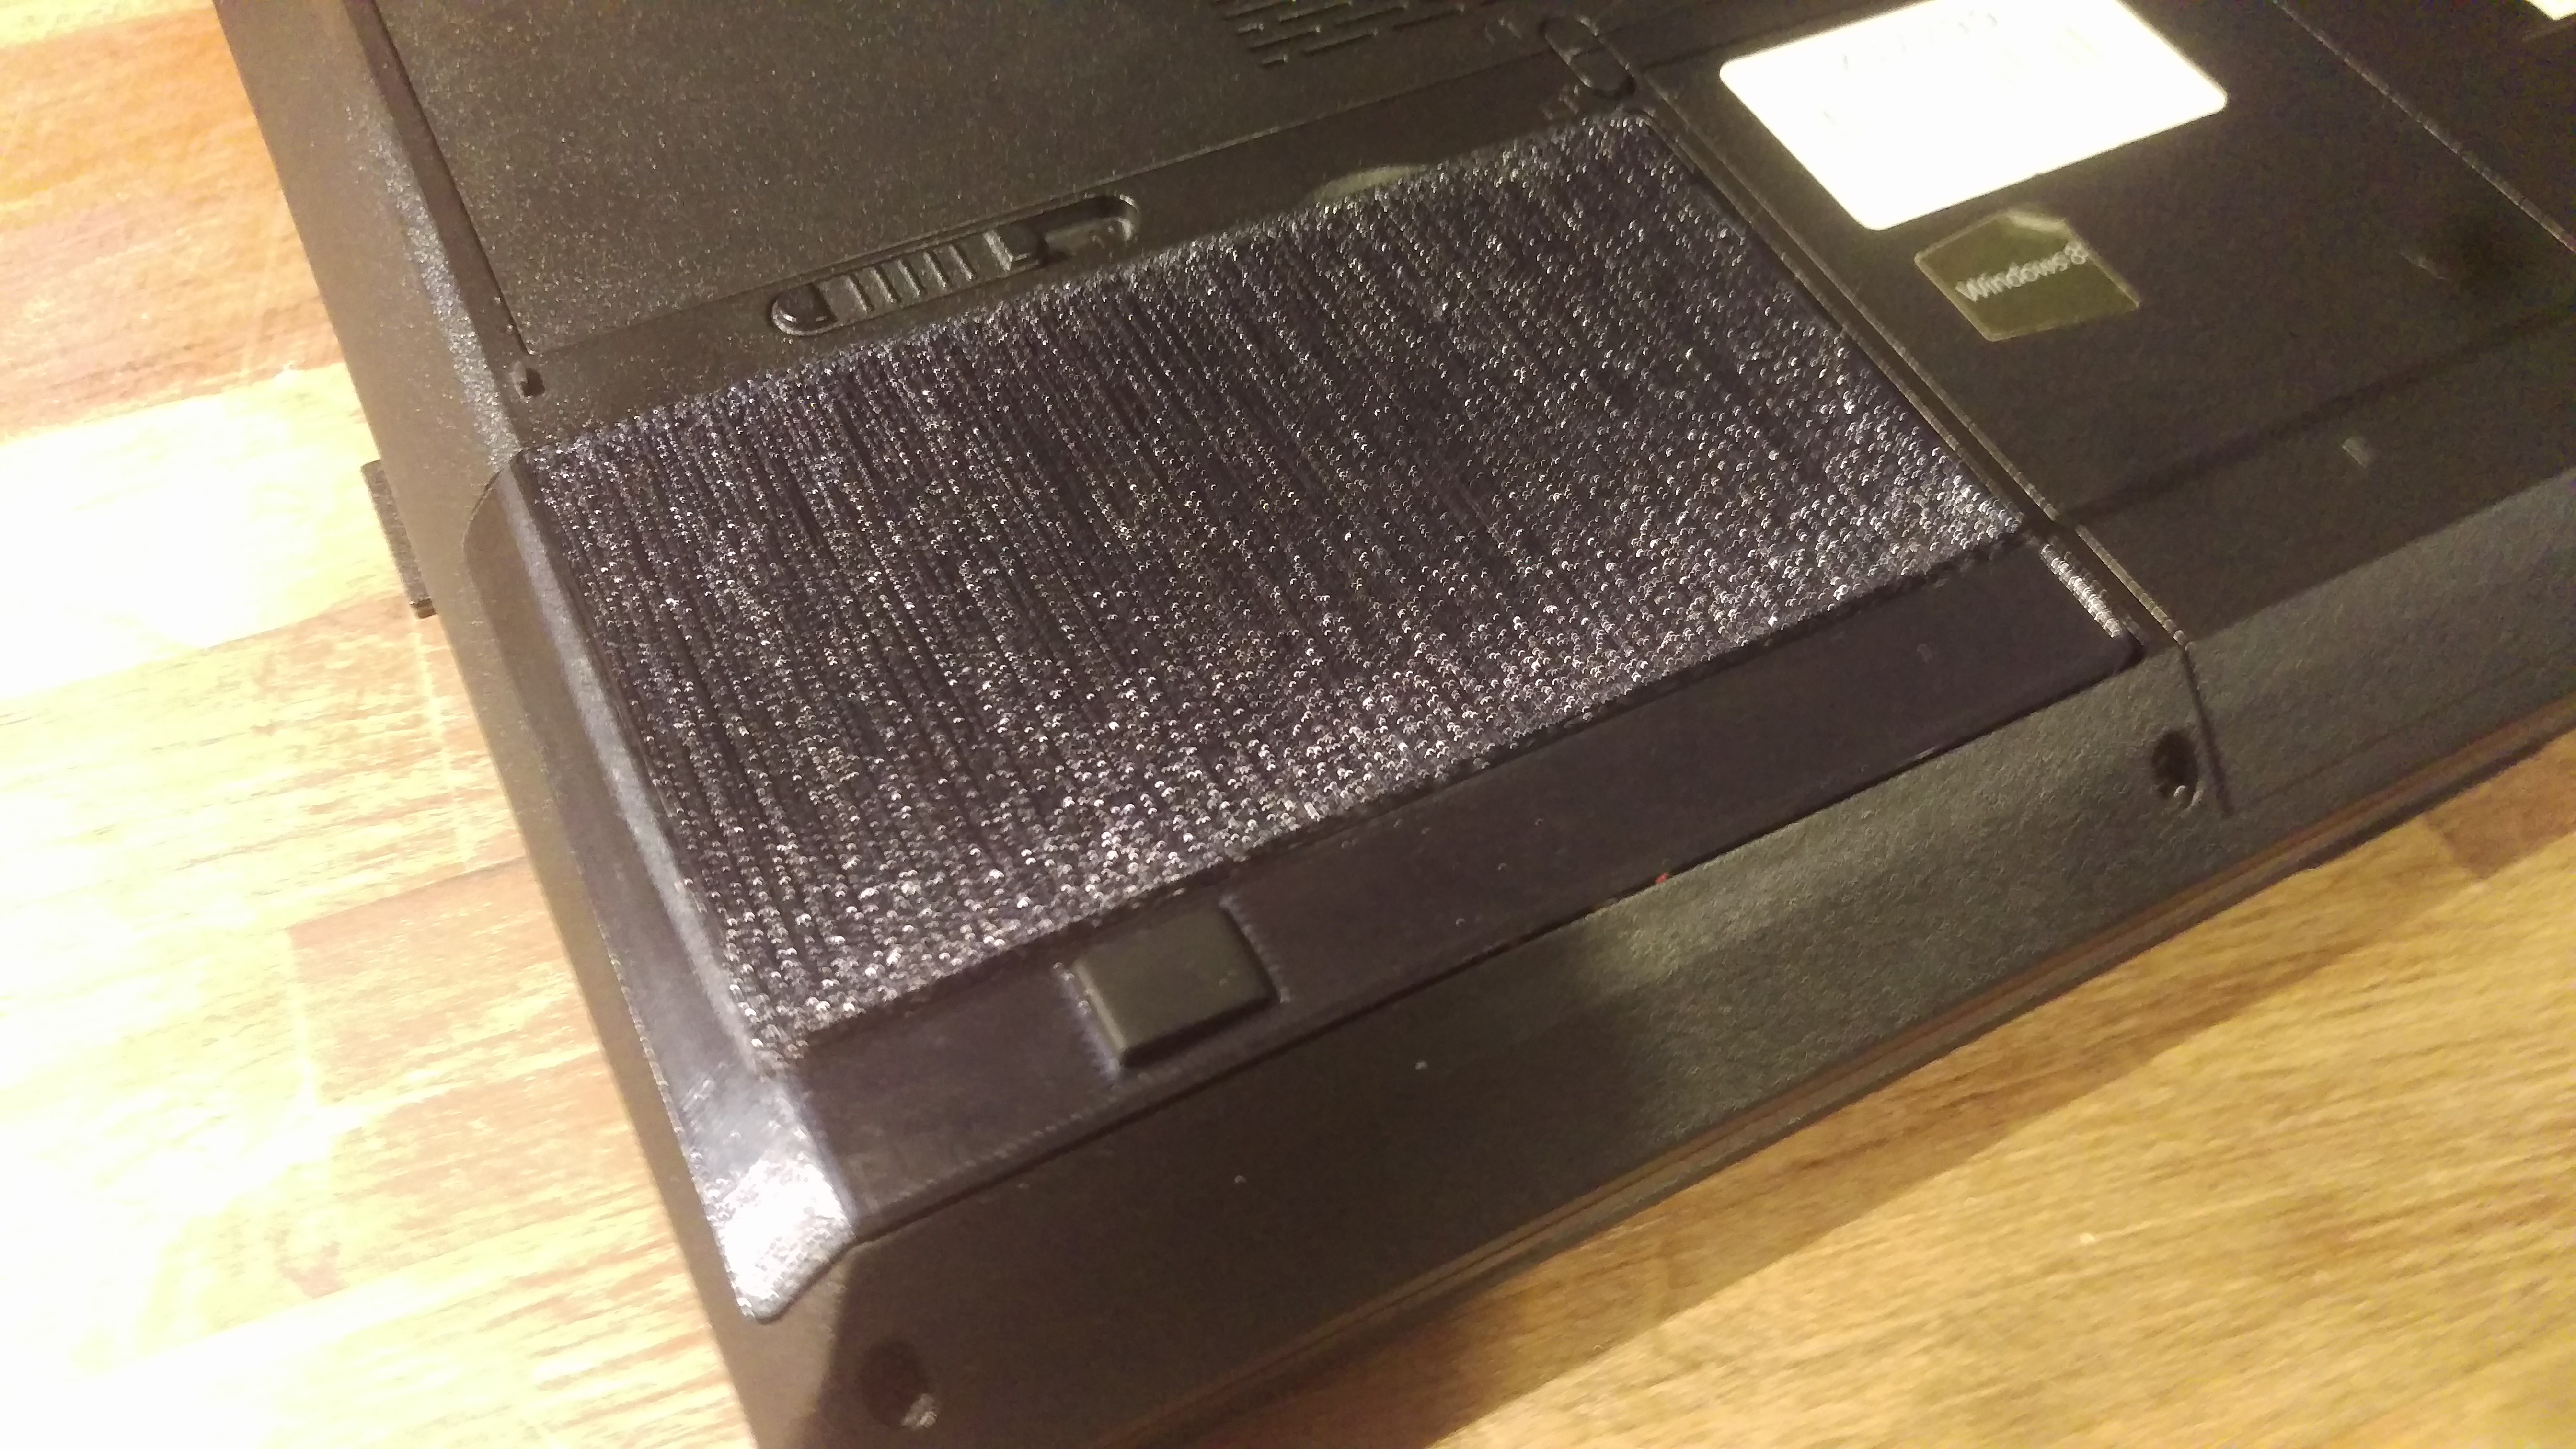
While I liked the in-your-face bright yellow, I eventually printed a final black PLA version (once my new reel of filament arrived)
 Lucas Rangit MAGASWERAN
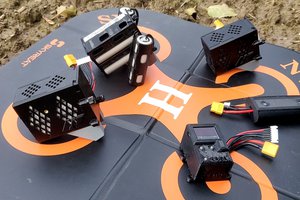
 AirCruiser
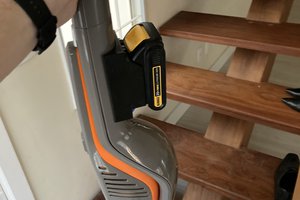
 MS-BOSS