 deʃhipu
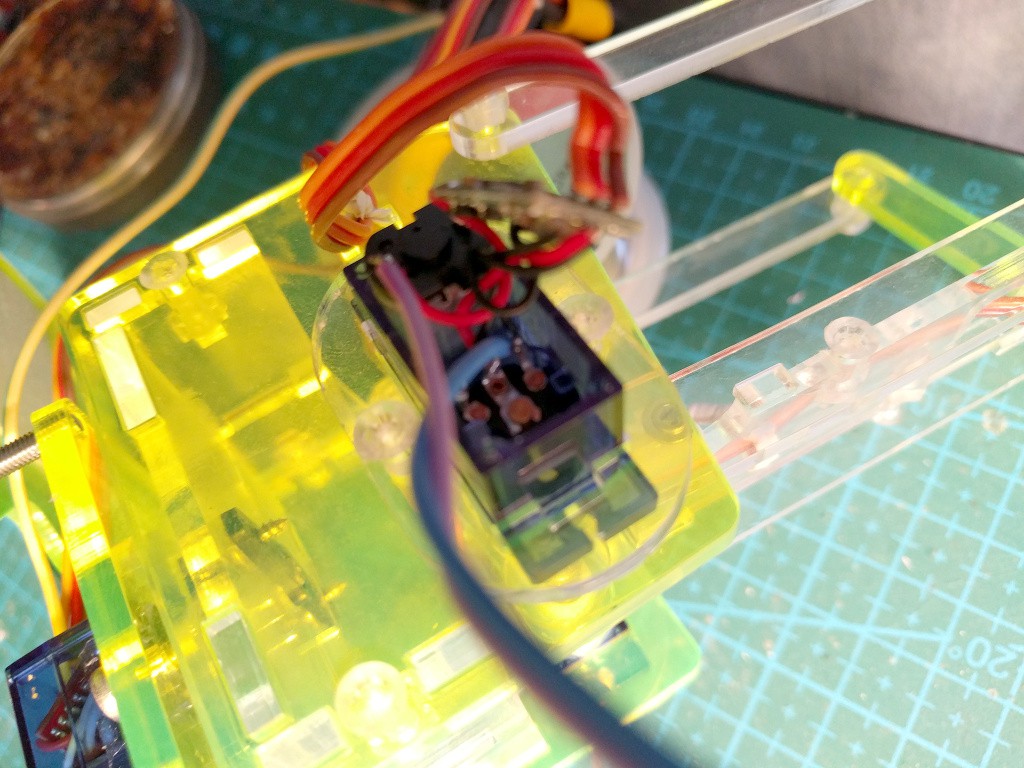
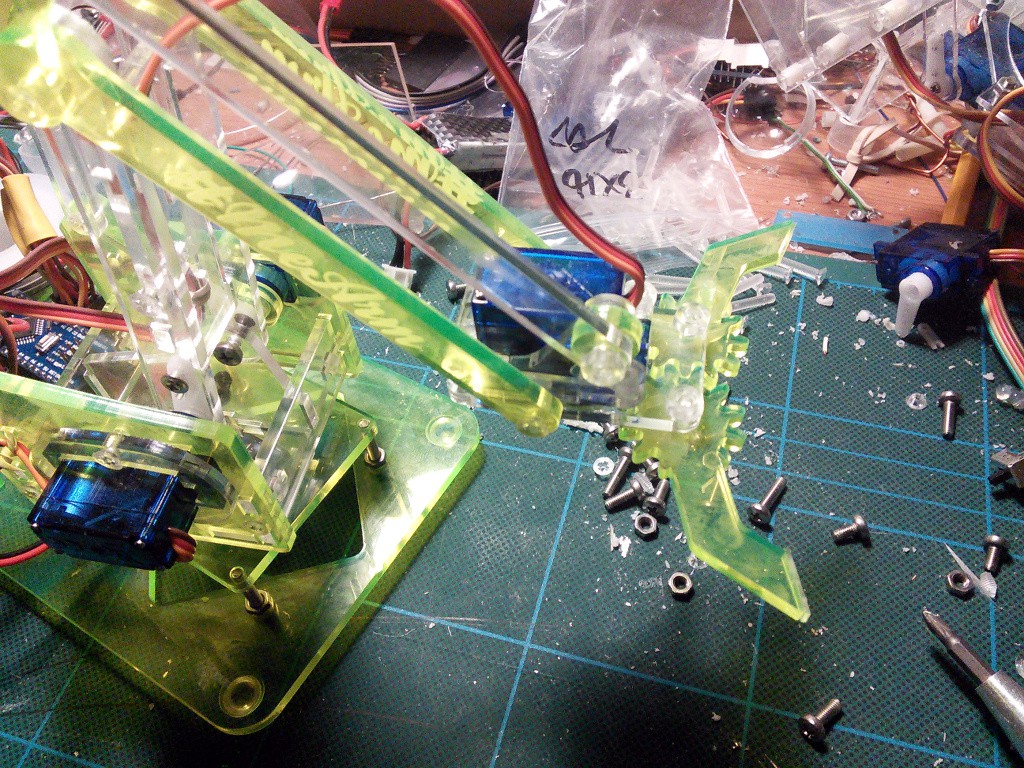
Basically I got a #MeArm, and I'm going to do stuff with it. That may involve modifying it a little, adding position and force feedback to the servos, and programming it to do cool stuff.
0%
0%
Hacking the MeArm
I've got a MeArm and I'm going to do science to it.
Become a Hackaday.io member
Already have an account? Log in.
Just one more thing
To make the experience fit your profile, pick a username and tell us what interests you.
Pick an awesome username
hackaday.io/
Your profile's URL: hackaday.io/username. Max 25 alphanumeric characters.
Pick a few interests
Projects that share your interests
People that share your interests


 Daren Schwenke
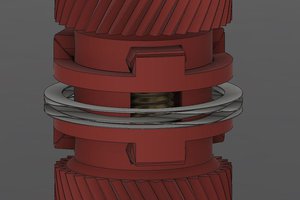
 ReidDye
 Andrew Schreiber
The plastic bolts look good too! Tapping could be laborious but I'm going to check this out!