 Jana Marie
How does it work?

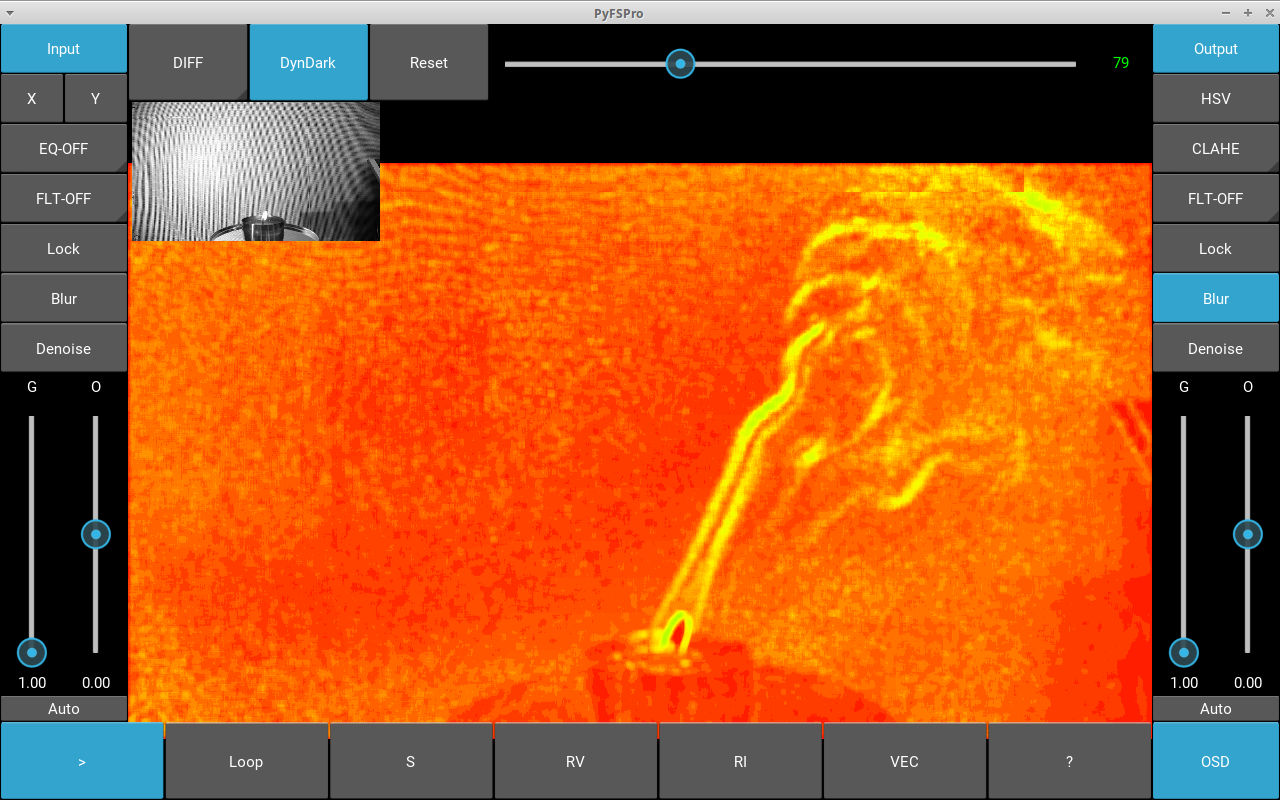
To make the density of the air visible we have to use a little trick. Dense/less dense air will change the direction of light a little bit, so the Moiré will seem to flicker a little bit, when there is dense/less dense air around.

We will amplify the visual effect of this flicker by having a non flickery comparison image and take the difference of that one with the live image from the camera.
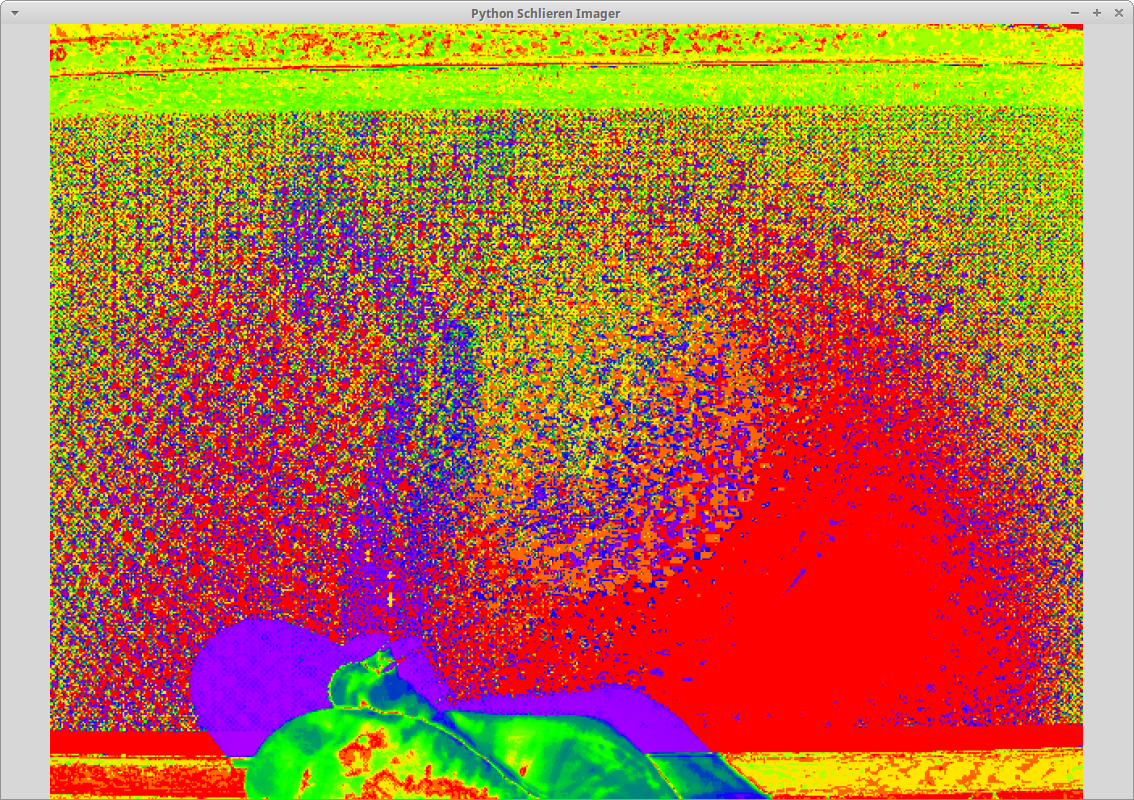
The output will be our schlieren image, the changes in the density of the Air will be very clearly visible.
Its a torch
We can change the density of air very simple by heating/colling it, for example: your Hands, igniter, torch, cold drink, soldering iron, heat gun...
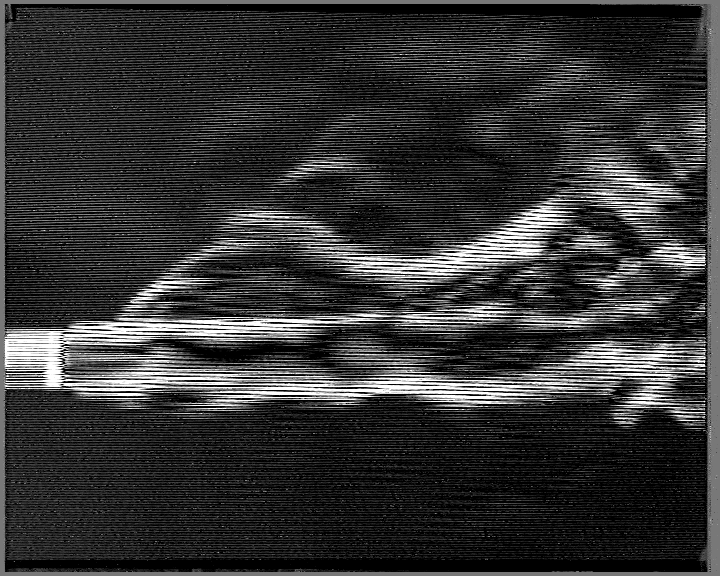
The Moiré-raster is just an image of black and white lines with a ratio of 50% and in my case with a spacing of 0.33 mm
You have to try different spacing out, to find the perfect one, its kind of try and error to get the best results, but it is worth it.

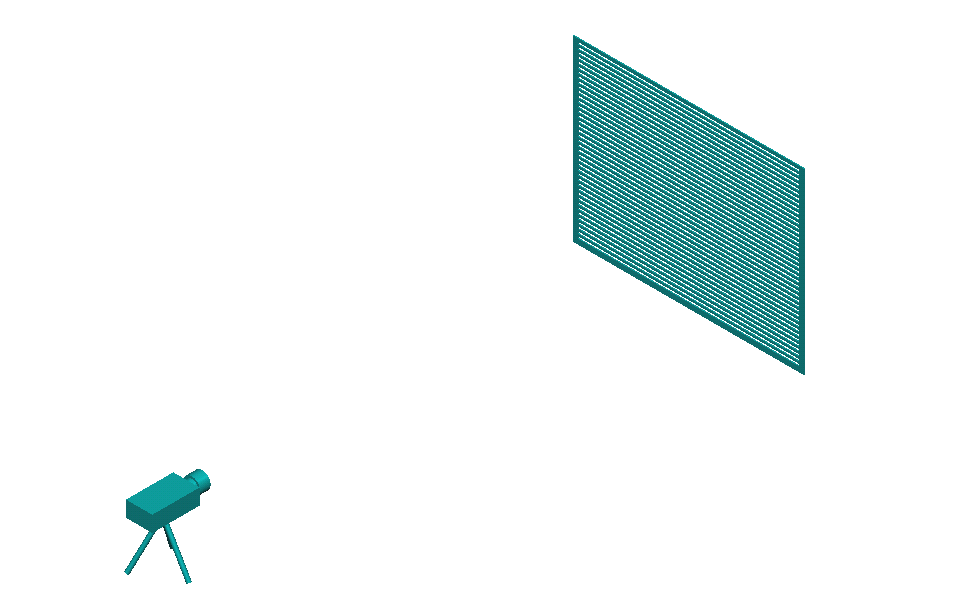
The raster-screen (Moiré)
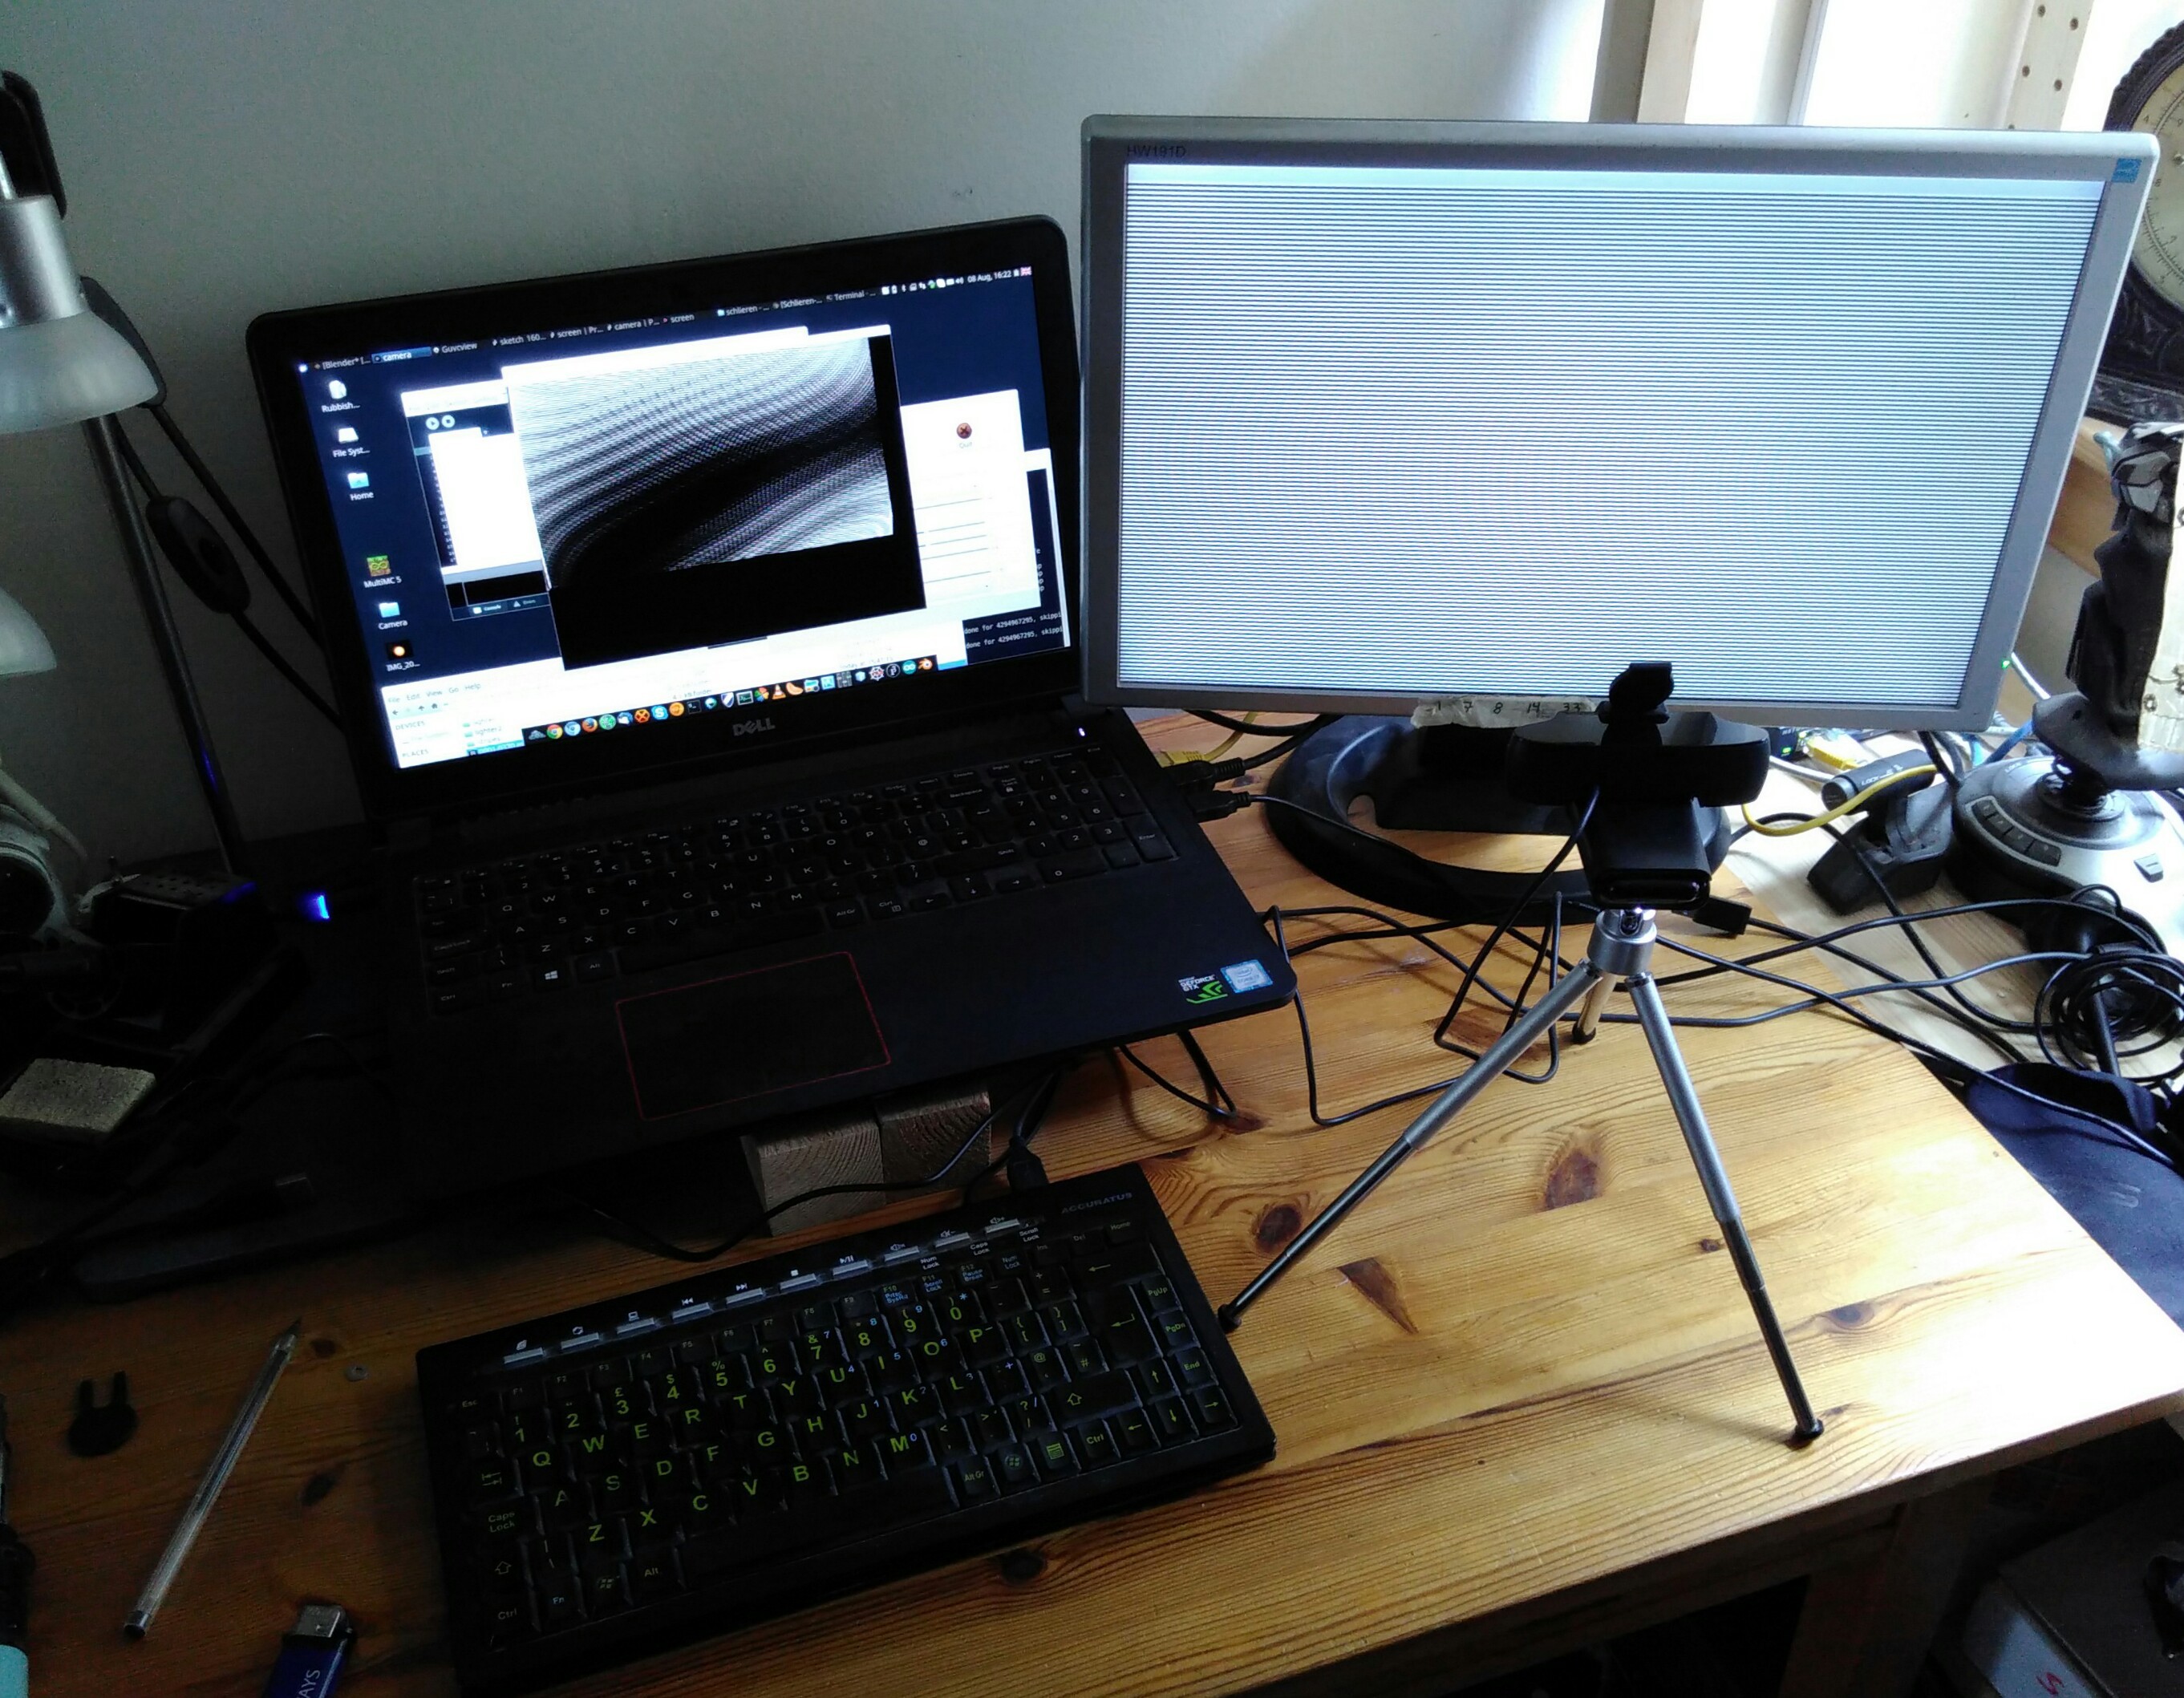
The best thing is for me was something like to have the full pattern on the camera, focused and 2 pixels height per line.

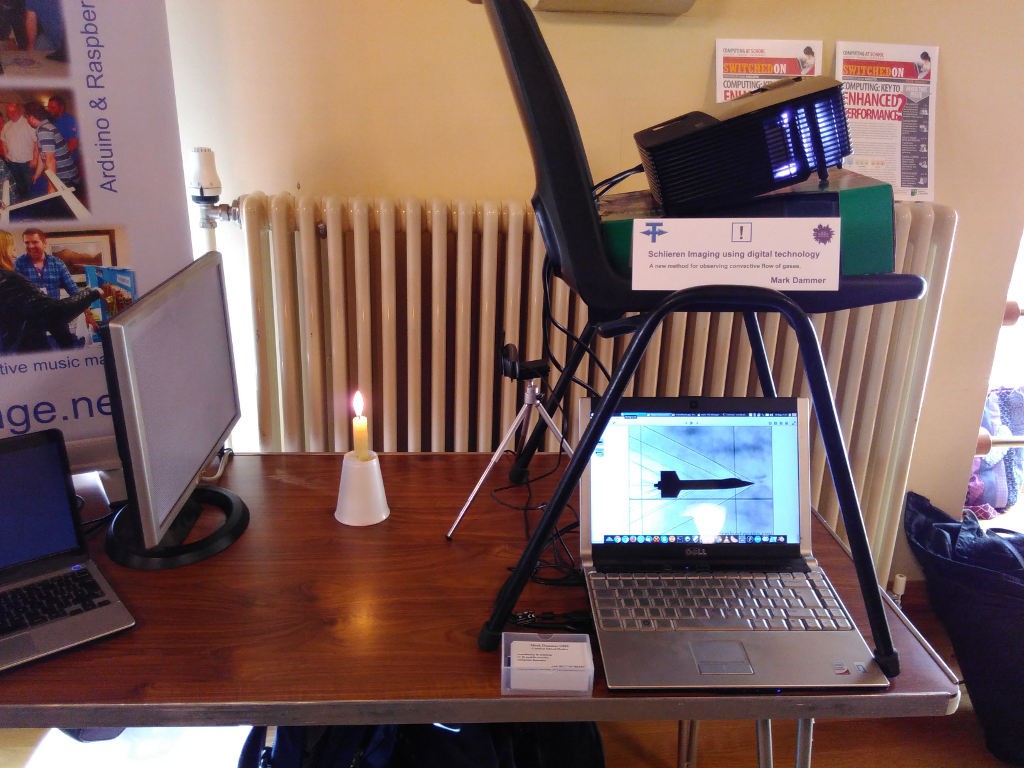
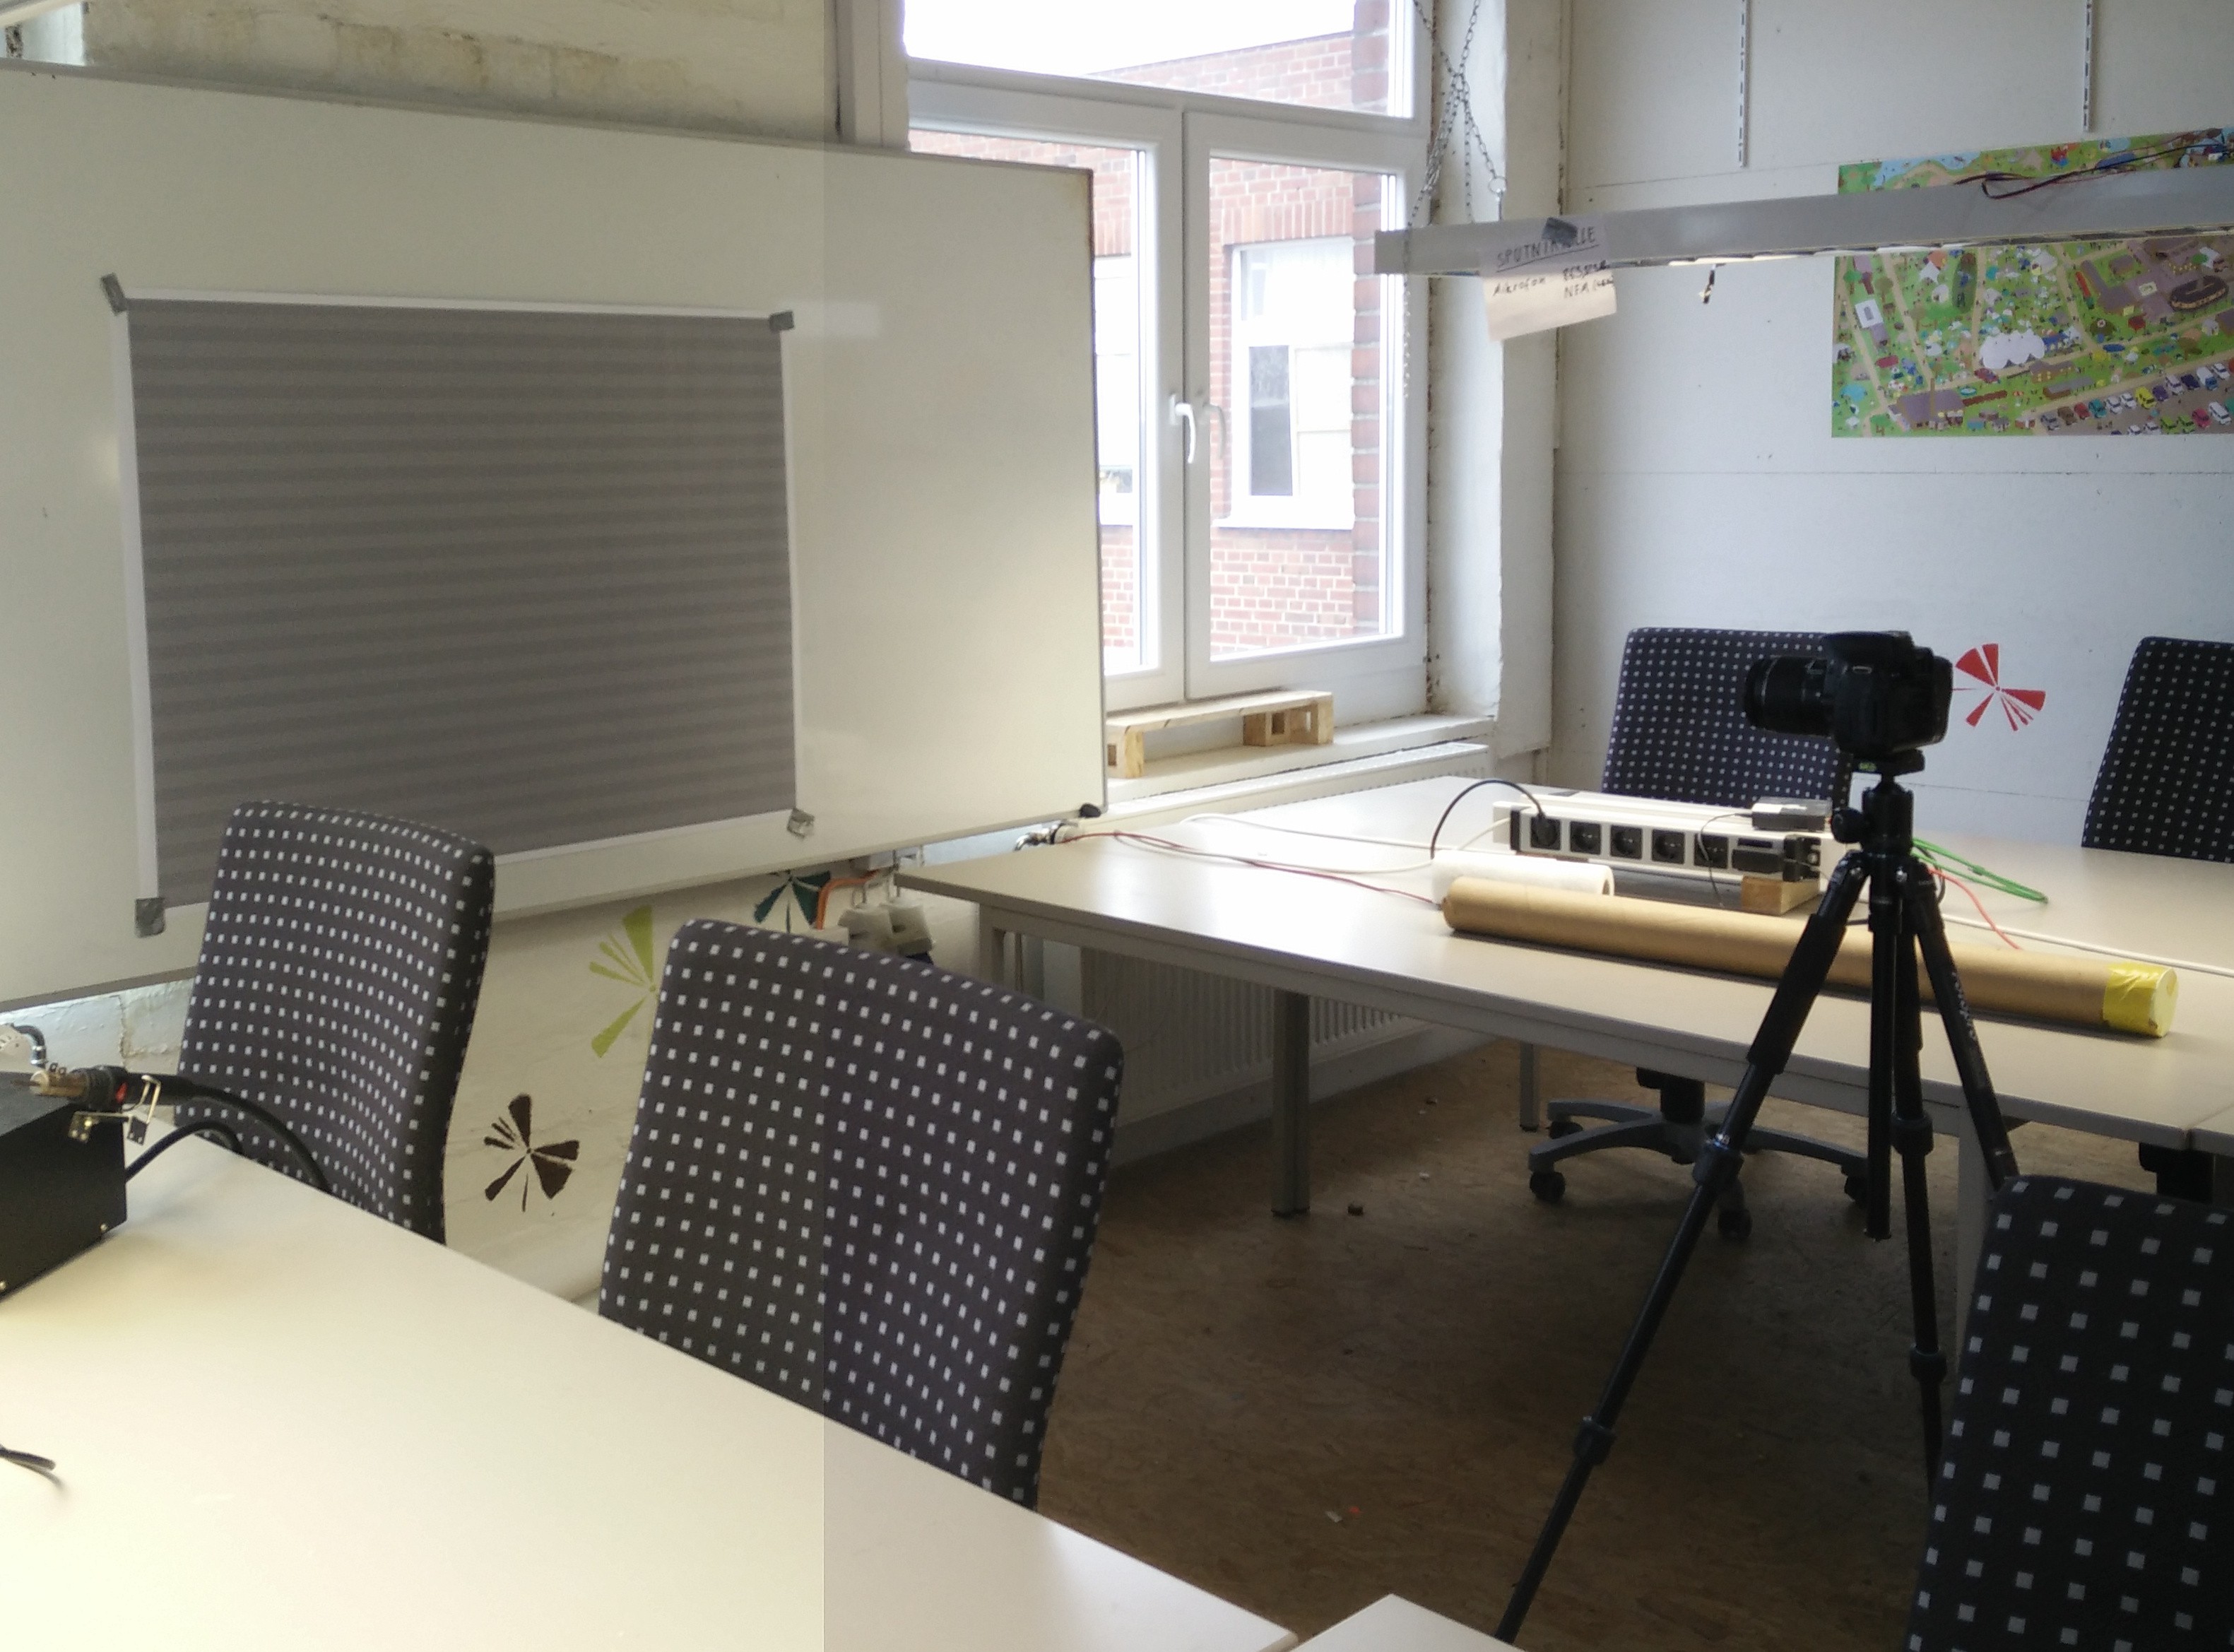
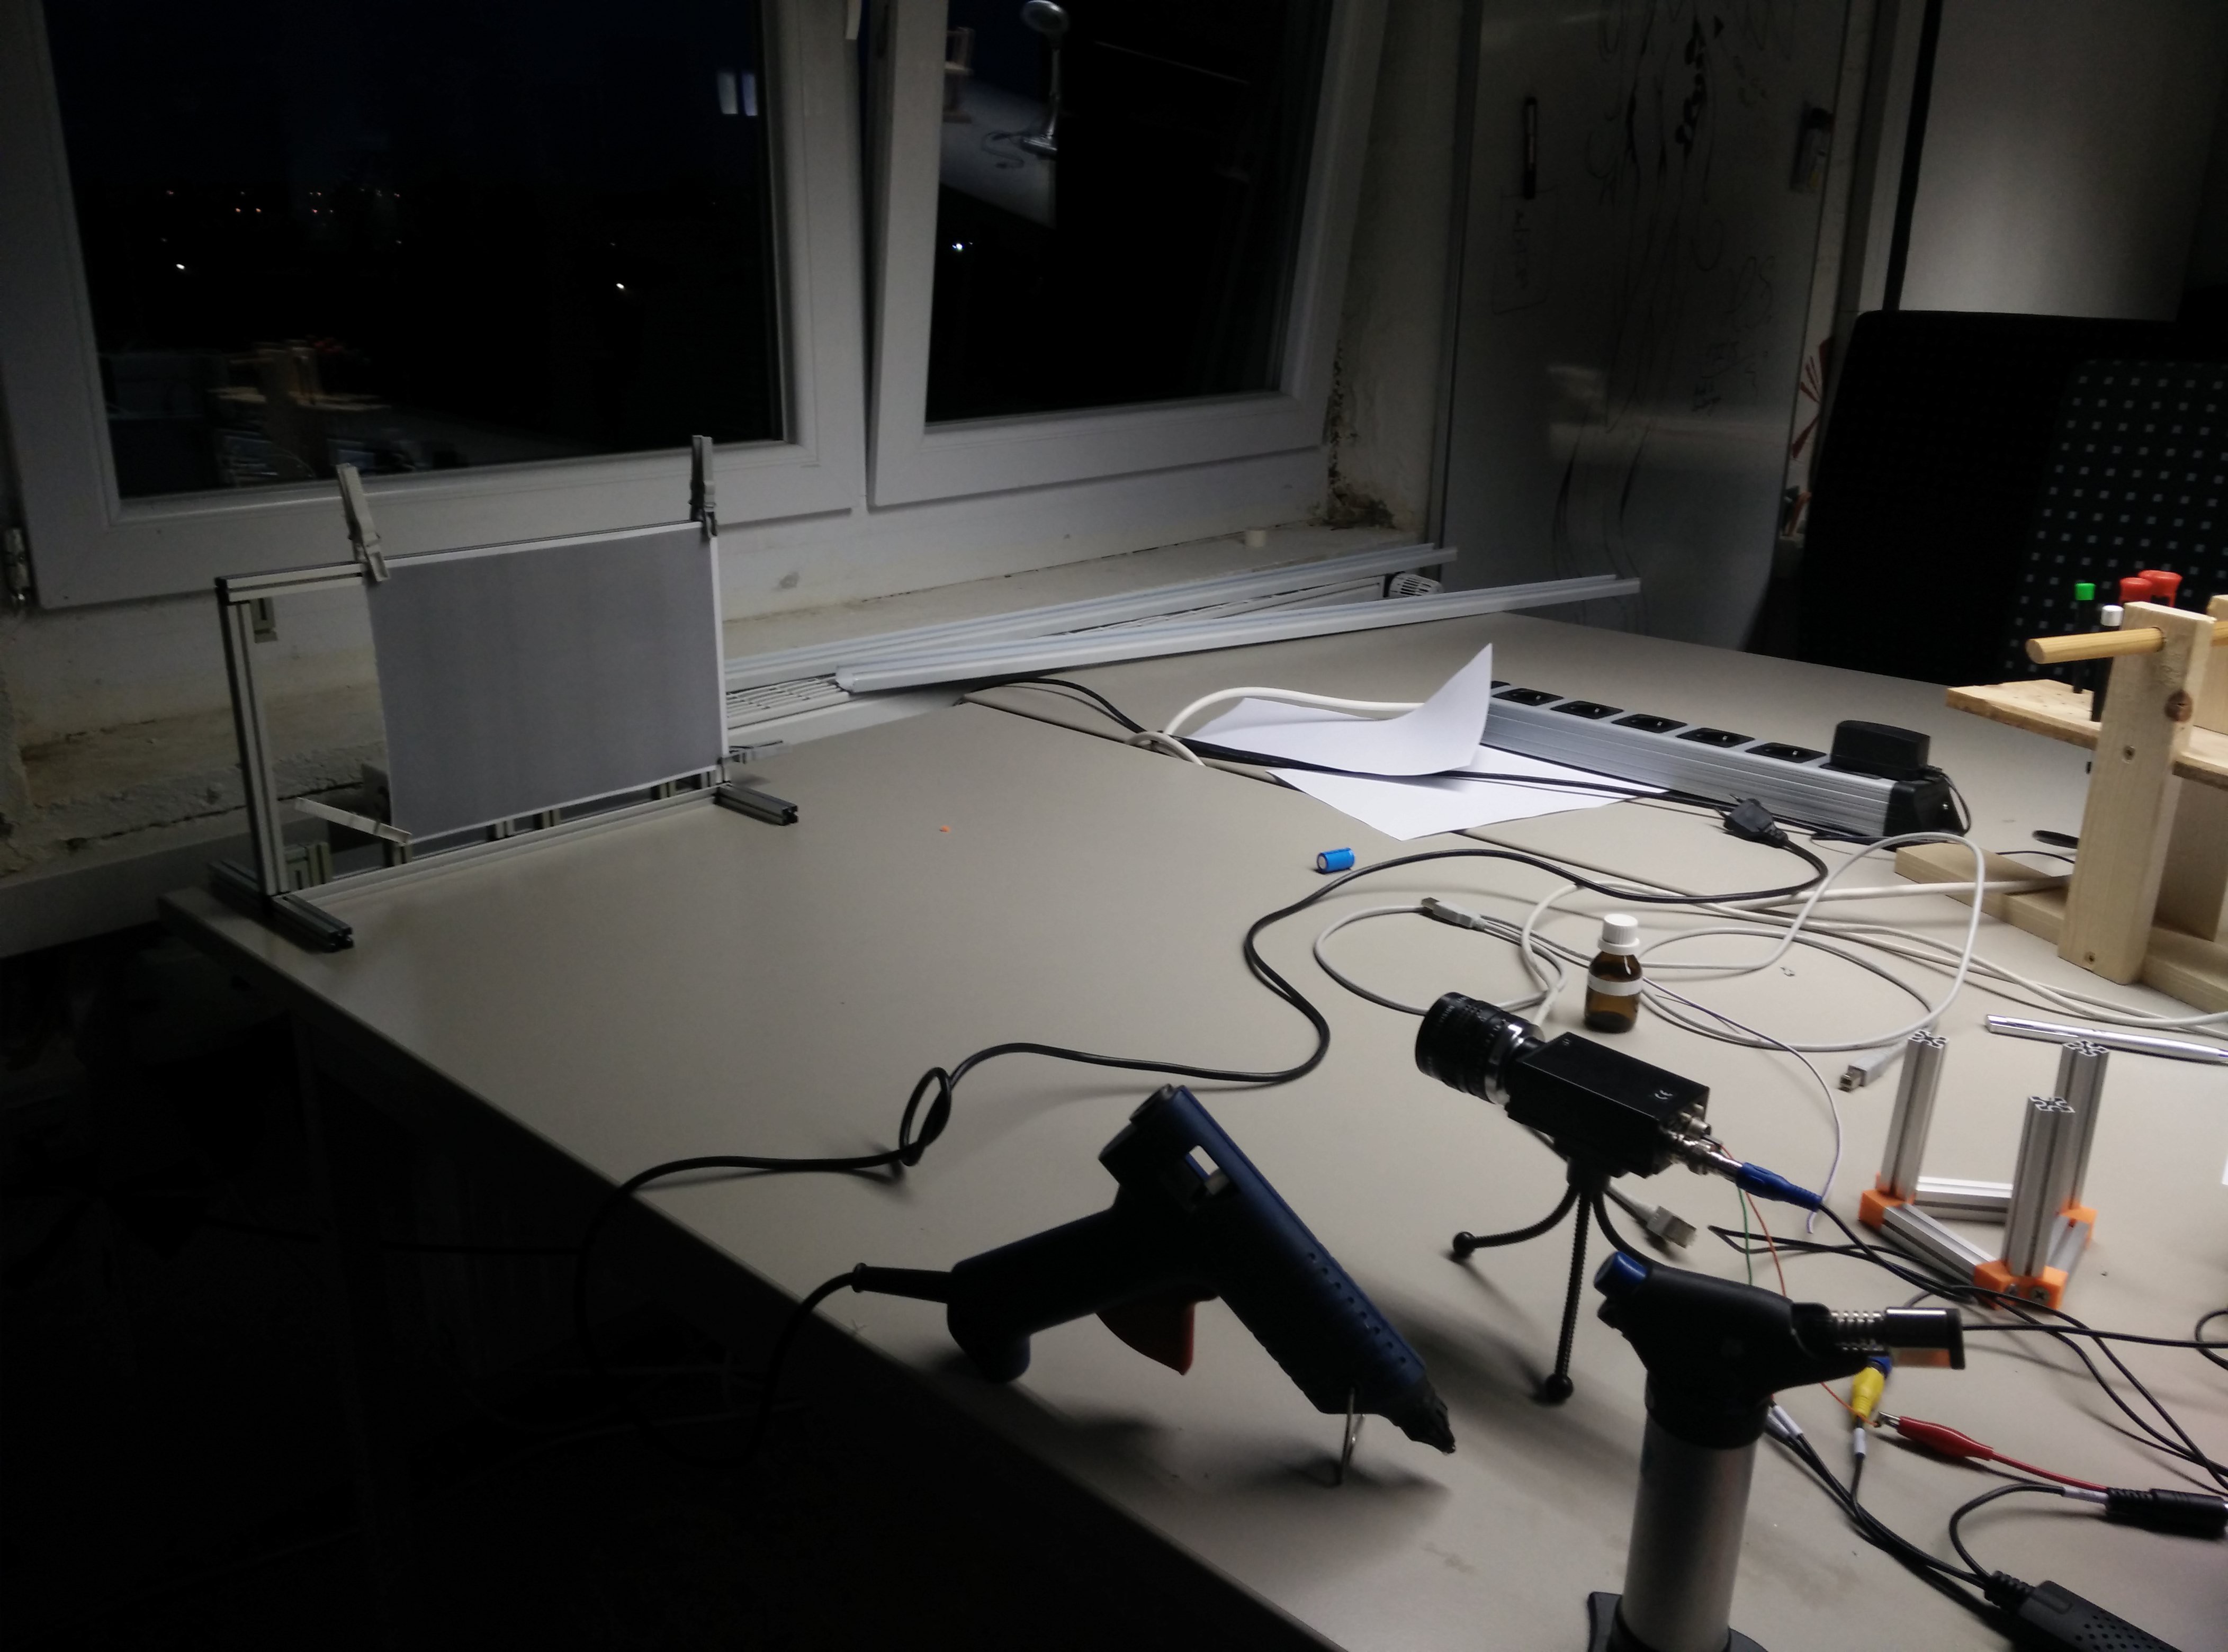
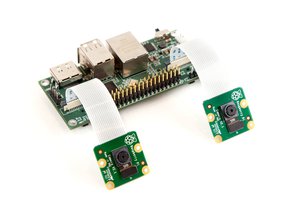
The full setup with the camera on the right and the raster-screen on the left.
 And here is my setup with a water tank, to observe the water.
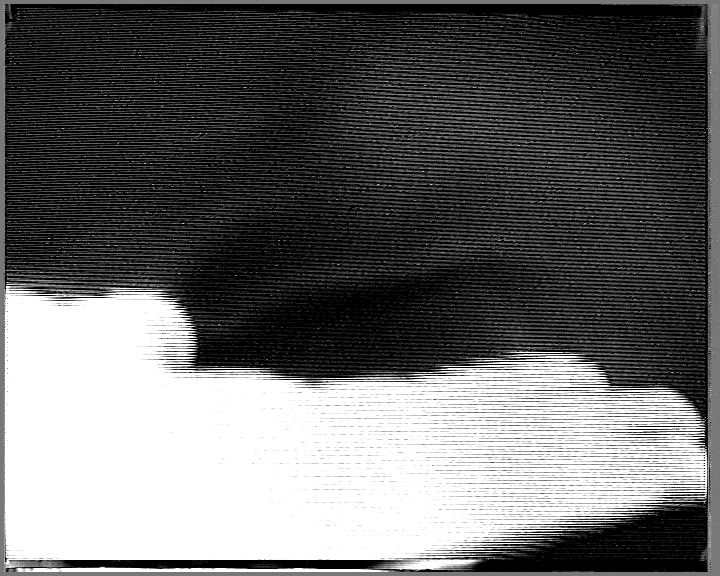
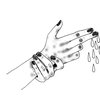
If your setup is well made, you can also detect the heat from your Hand ( the delta Temp is only 10-13°C!), here is mine.
Video results:
A torch
Here we placed a few drops of Isopropanol in a bottle and ignited it.
Now an older one, its a soldering iron, note the improvement of the image processing.
This one is the first one in HD, recorded with a DIN A0 Moiré pattern


 Eugene
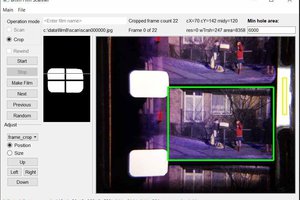
 Lars Lund Hansen
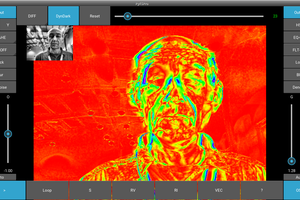
 Mark Dammer MM0DQM
Does this work for airflow visualization from a wind tunnel?