 Hendra Kusumah
Seeed Fusion PCB Assembly Service offers one-stop prototyping for PCB manufacture, PCB assembly and as a result they produce superior quality PCBs and Fast Turnkey PCBA from 7 working days. When you prototype with Seeed Fusion, they can definitely provide Free DFA and Free functional tests for you!
More details About The PCB::
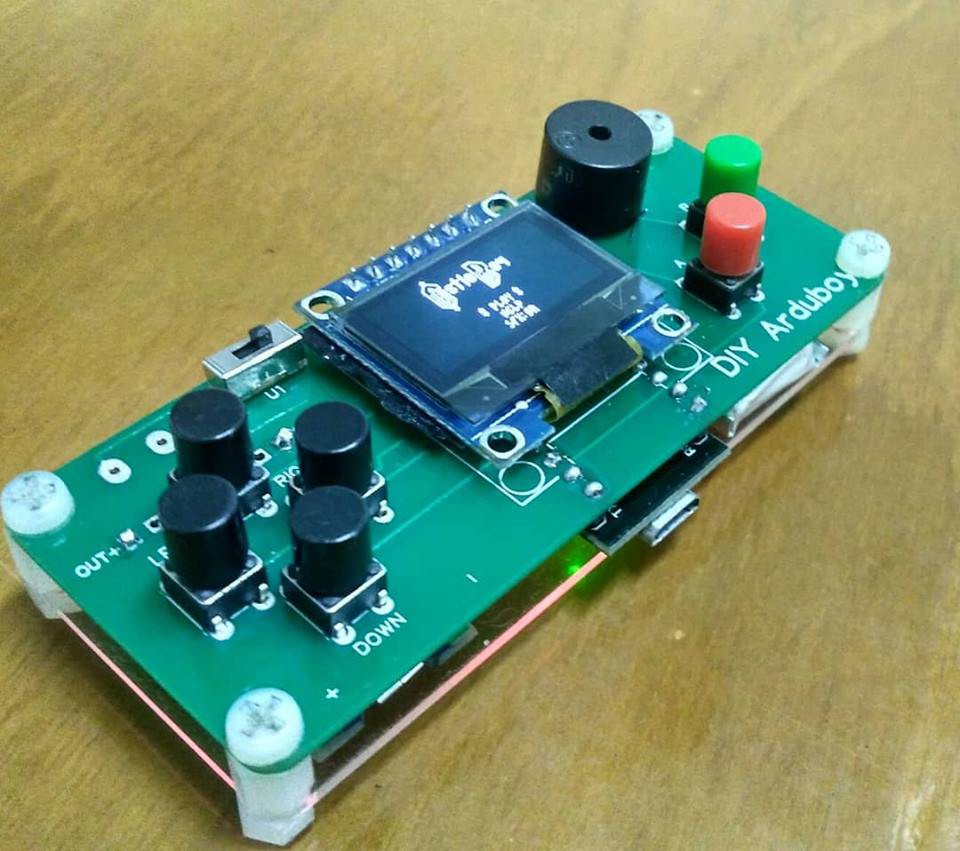
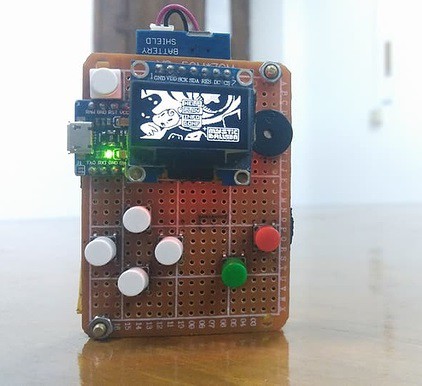
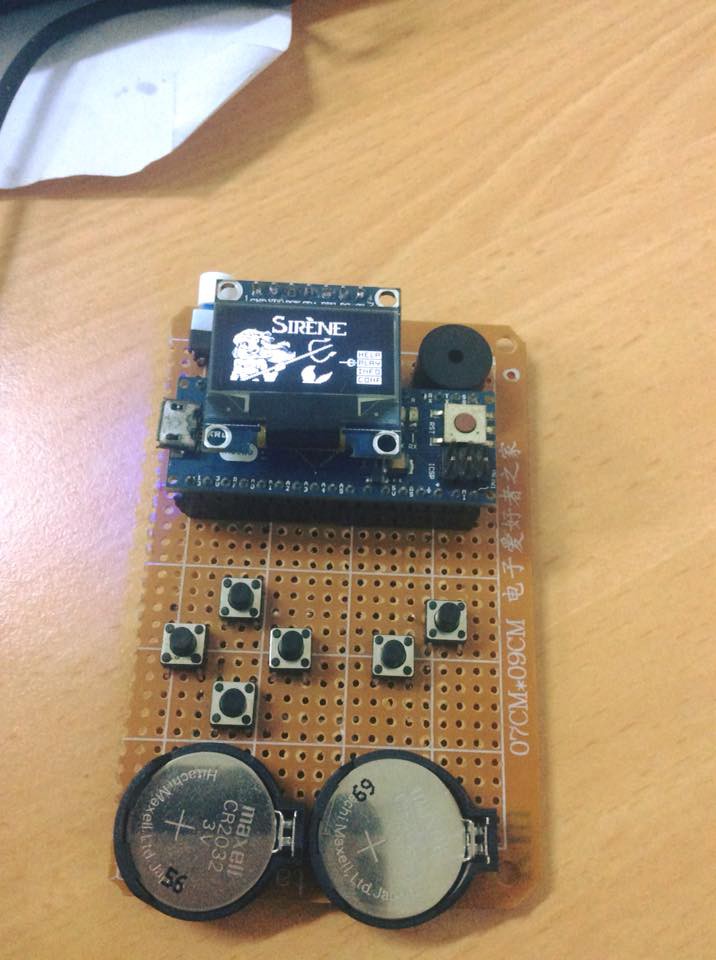
Test run the PCB and with all the components
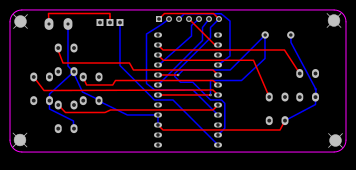
More details about the PCB in High Res, you can check tha PDF file attached below
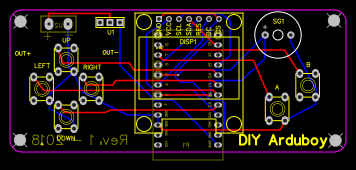
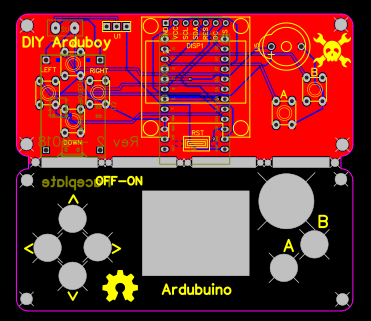
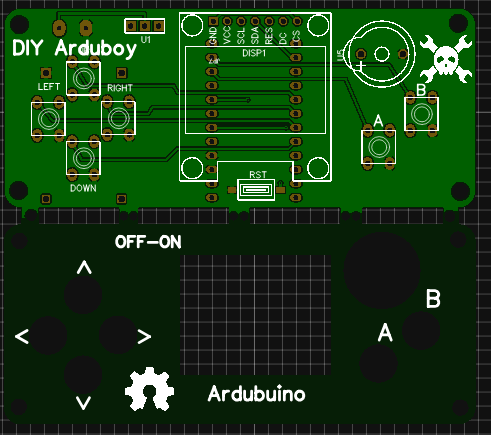
Faceplate and ardubuino PCB plan


 mbsg99
 Lithium ION
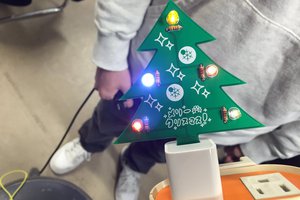
 Elecrow
can used it as midi device