While reconfiguring my NAS setup made of a ReadyNAS 104 and a ICY BOX IB-RD3640SU3, I tried to connect the external bay to my laptop to access the drives. Only a single drive was accessible when configured as JBOD. With the RAID enable, the bay register differently and a different capacity is available depending on the RAID mode. Connecting the bay to the NAS, the 4 disks are listed and accessible.
The disk bay is made of a SATA Port Multiplier. Two interface can be used, a SATA connected with the eSATA connector or a USB 3.0 connected from a USB3.0 to SATA controller. SATA port multiplier is not widely supported. Intel doesn't and it's why I can't access the 4 disks individually. A USB 3.0 interface comes handy then.
SATA Port Multiplier controller can be bought individually.
They are a couple things to look for to make the selection.
- SATA revison ( SATA II 3Gbps, SATA III 6Gbps)
- USB 3.0 Interface ( useful to access all the drive )
- RAID Feature
- JBoD support
- Storage capacity supported
- Mounting points ( 4 screws is nice )
- NCQ Support
- SMART Support
As mentioned, SATA port multiplier is not widely supported. Finding a suitable host takes a bit of research. A good start was found on Wiki SBC. The wanted features are as follow :
- Gigabit Ethernet Network connection
- Sufficient system memory RAM + Flash
- USB ( USB 3.0 would be nice )
- SATA Features
- SATA III - 6Gbps
- SATA port multiplier Frame Information Structure (FIS) based switching would be nice
Some of the SBC I have reviewed :
| Board | SATA | Comment |
| Banana Pi | SATA II | |
| BeagleBoard-X15 | SATA II - PM CBS | HDMI interface is not necessary for a NAS. Expensive SBC for a NAS. |
| Freescale i.MX 6 : armStoneA9 HummingBoard CuBox-i Inventami Nitrogen6x phyBOARD-Mira TBS 2910 Matrix Utilite Wandboard Quad | SATA II - PM CBS | Note that due to internal i.MX6 buses the Ethernet 1000Mbps interface speed is limited to 470Mbps. |
| MinnowBoard | SATA - NO PM | Intel Processor |
| OLinuXino A20 LIME2 | SATA II - NO PM | |
| Orange Pi | SATA to USB 2.0 Bridge | Limitted Bandwidth |
| ARMADA SOM ClearFog | SATA III - PM FIS | Marvel Processor, expensive |
| PC Engines APU | AMD - needs more research |
The ClearFog SBC would be nice with up to 4 SATA ports. The SBC with its enclosure is $230 making it quite expensive. A good compromise is the Linksys WRT1x00AC series featuring a Armada 385 dual core processor with WIFI AC, Gigabit Ethernet and SATA III - PM FIS. The WRT1200AC is a good trade-off between performance and price.
I found a refurbished WRT1200AC for $100 on ebay. The router is made with OpenWRT in mind. There is a good OpenWRT community for those system. Finding the right software and configuration is easy. SATA Port Multiplier support in the SATA driver must be enabled. The following Kernel configuration must be enabled : WRT1200AC : Configuration for SATA Port Multiplier.
CONFIG_SATA_PMP=yThe cost of that support is the inability to use OpenWRT default release image and install missing kernel driver ( and any dependent packages ) from OpenWRT repository. Building your own Kernel is done with the most recent update. The Kernel version is not the same thus any module required would have to be built also. In OpenWRT default release image, the Kernel has support to every package making the Kernel a little bigger but more compatible. I learn the hard way when I wanted to have Bridge Firewalling support enable : OpenWRT Bridge Firewalling.
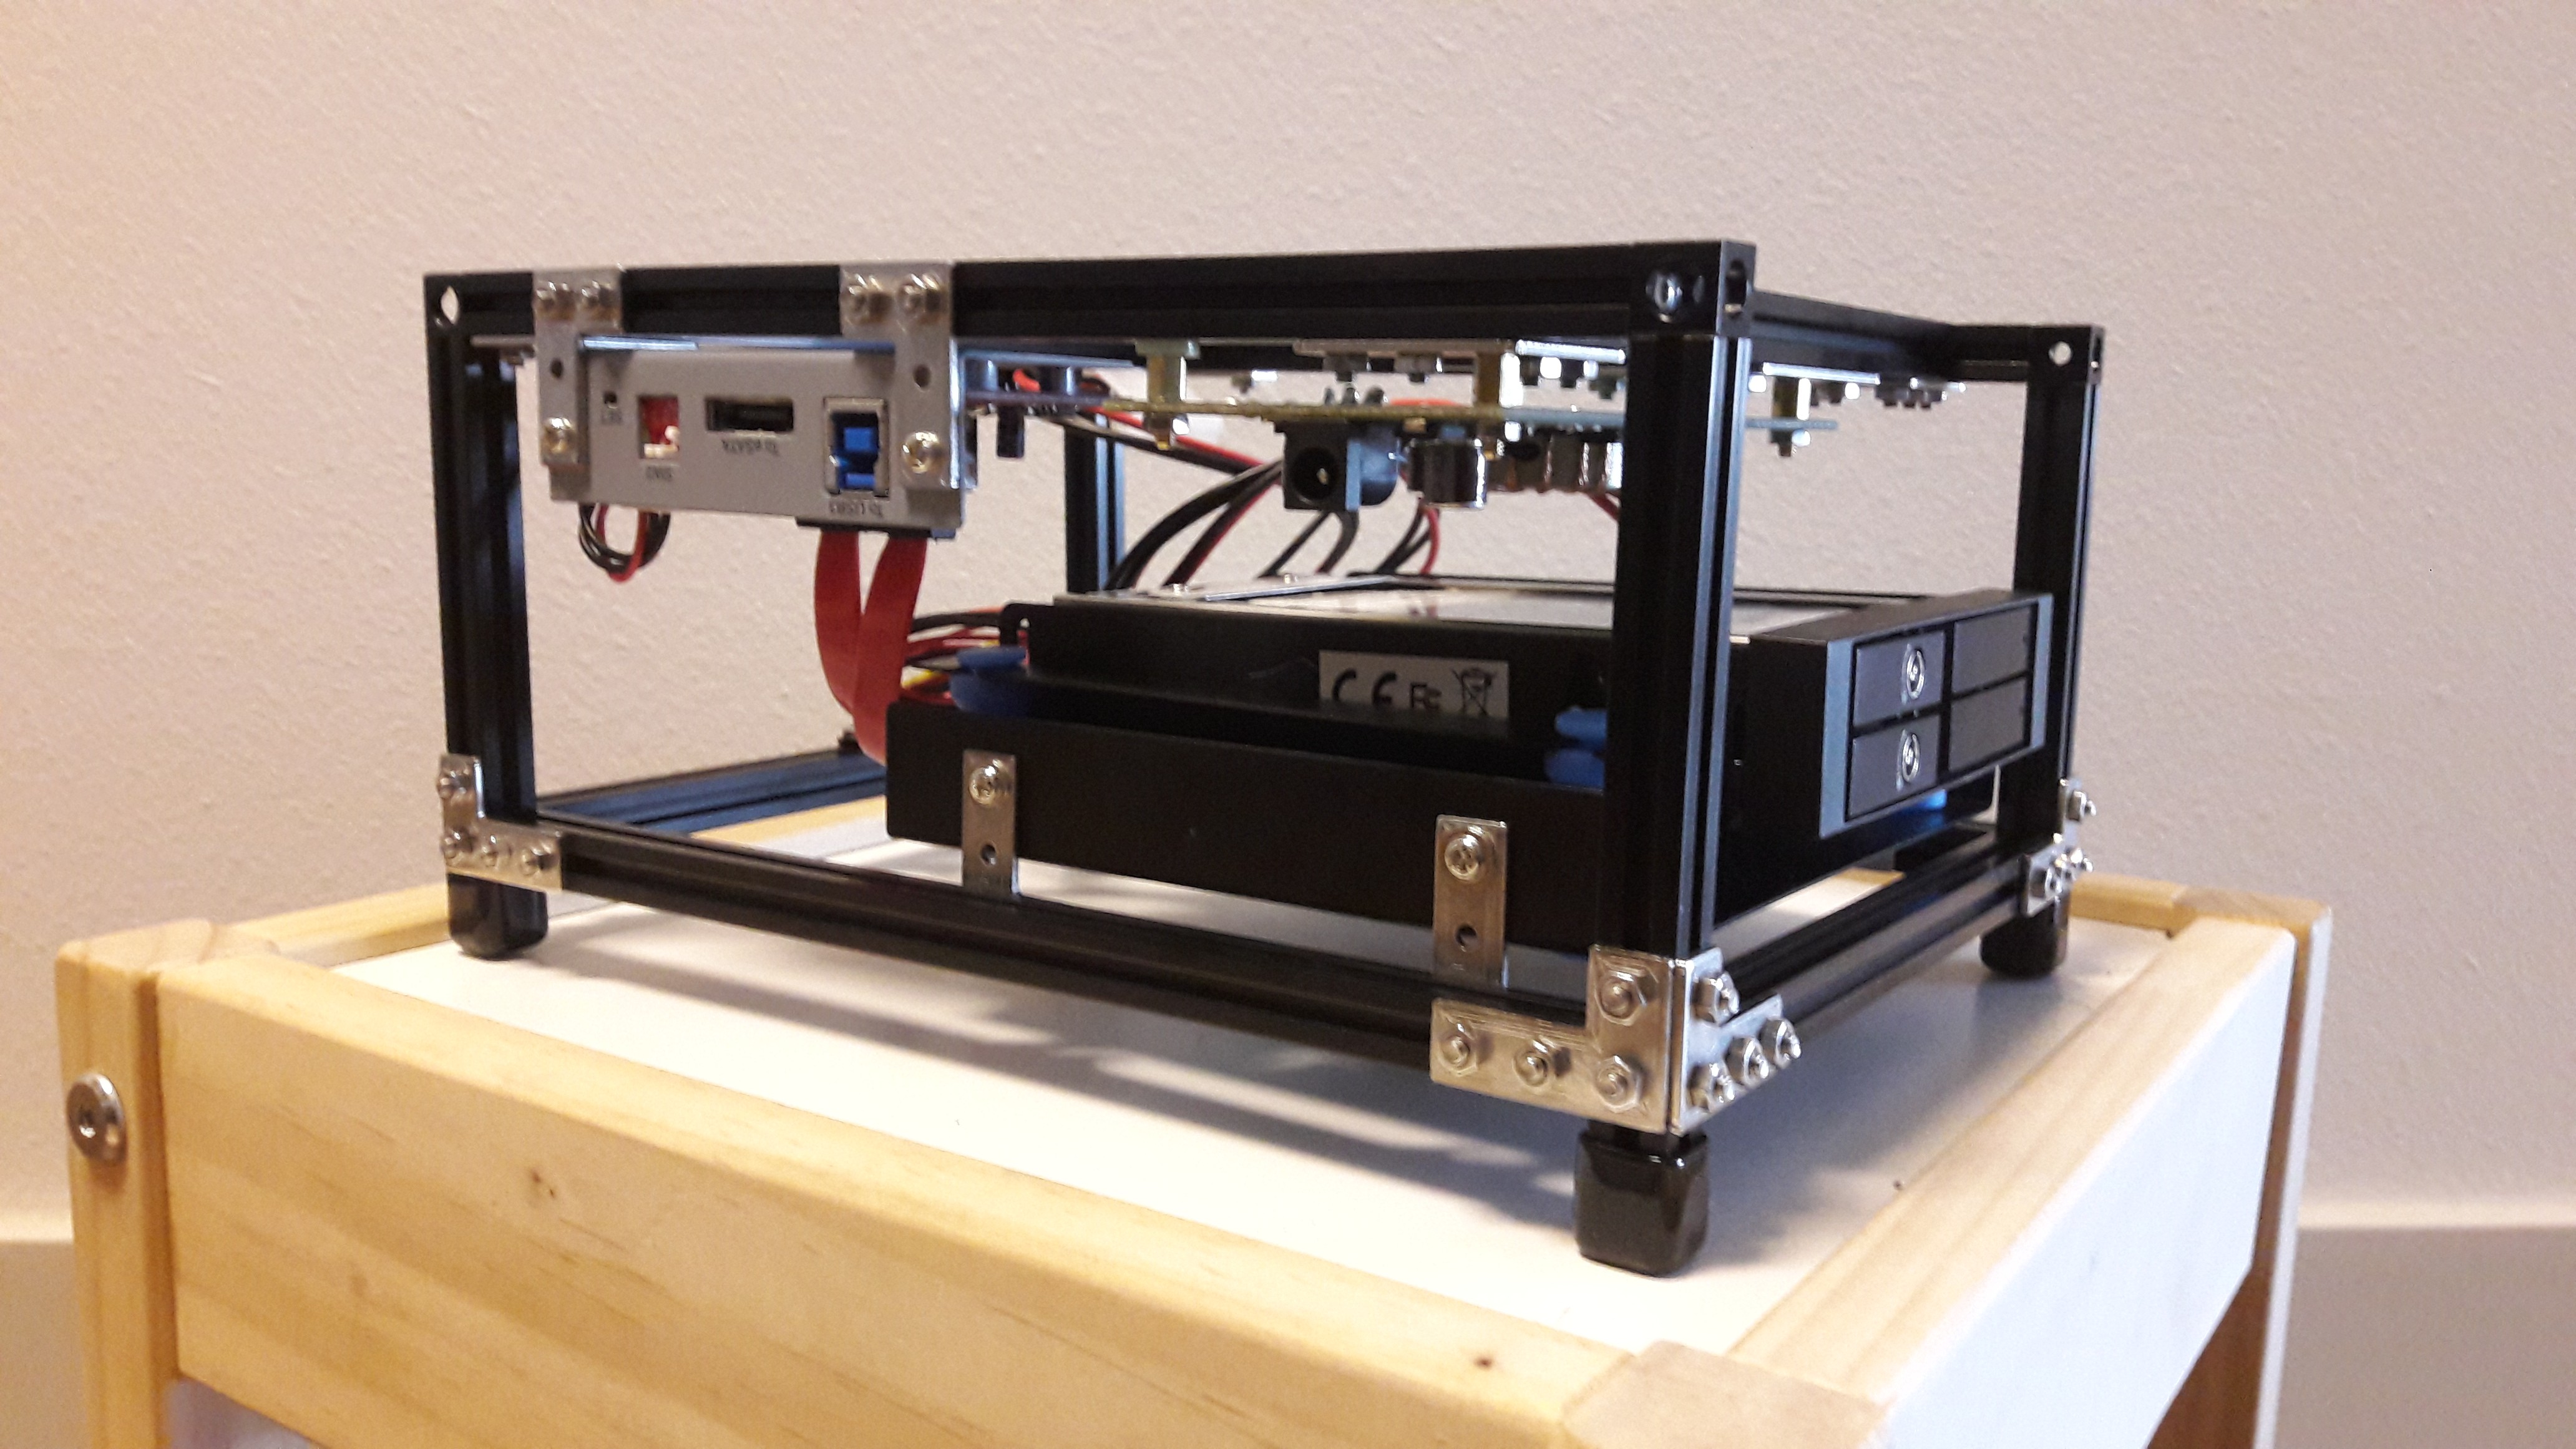
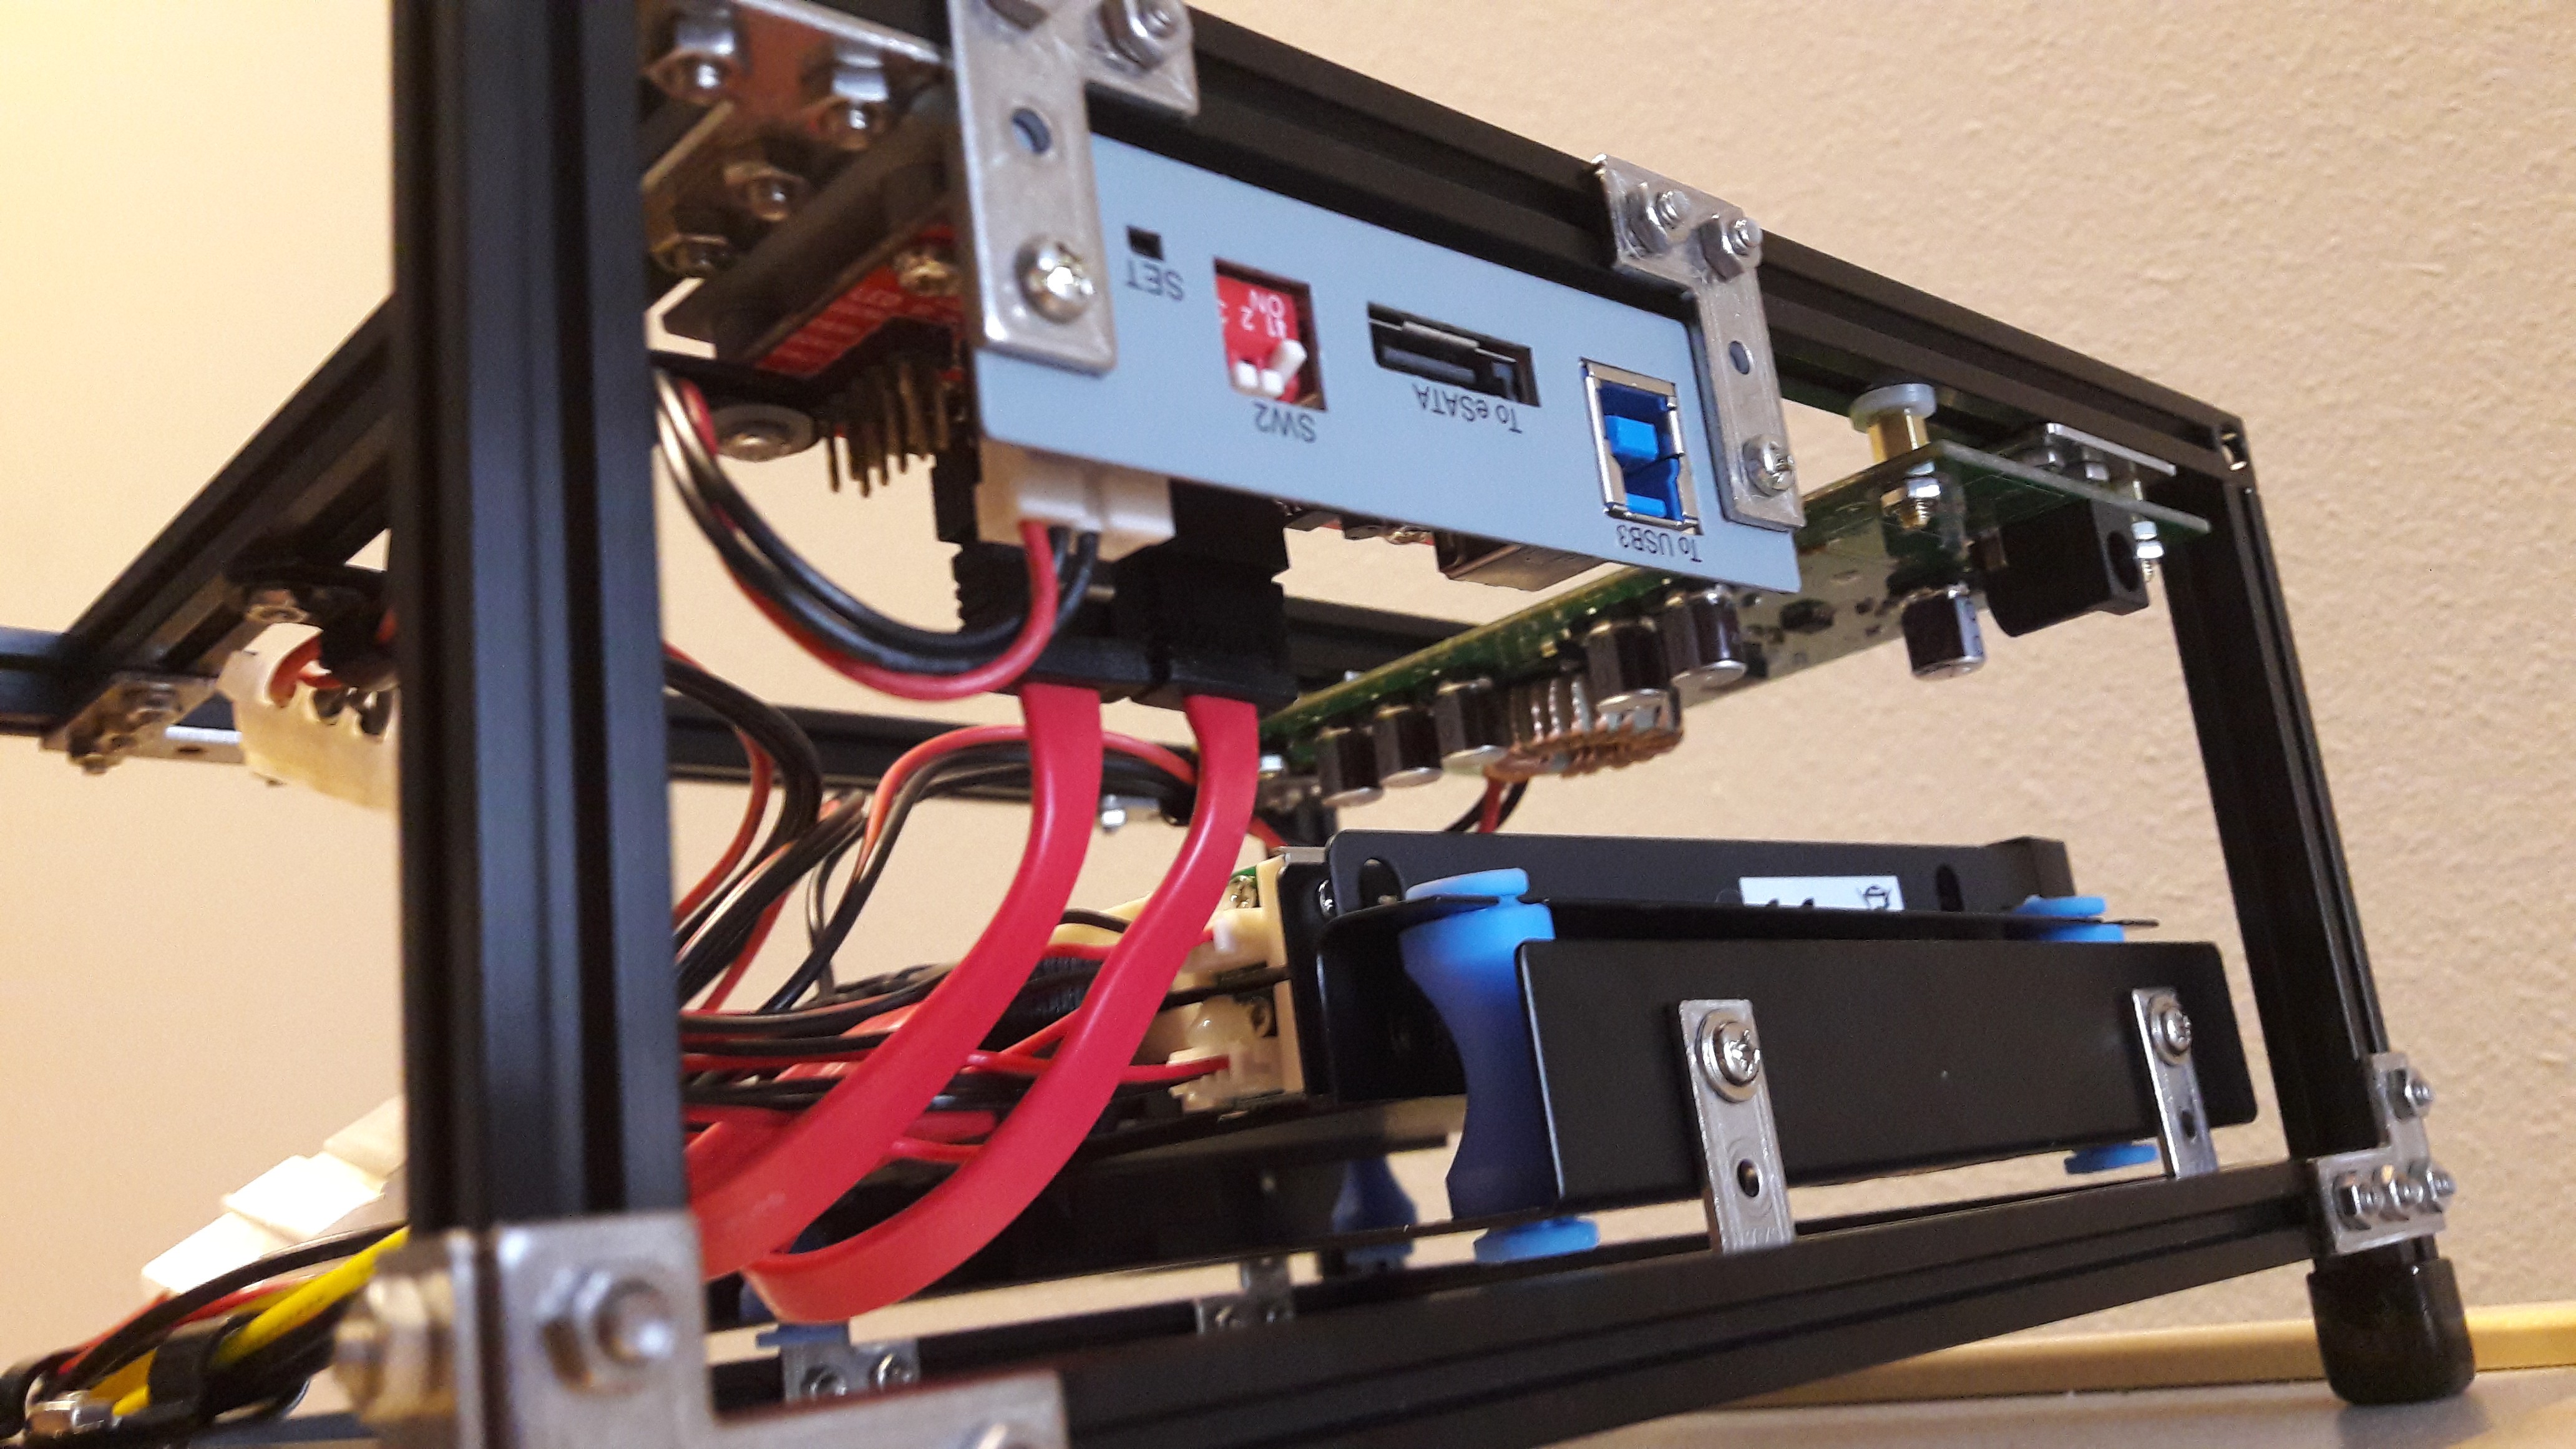
In order to test my configuration, disks and the port multiplier needed to be connected together and powered. The goal of this project is making available the 2.5" HDD laying around. 2.5" HDD are nice because they only require 5V power supply. 3.5" HDD need 5V and 12V making them harder to power. A cable from an old PC PSU with connectors for the 2 HDD and the PM connects every things together. Use a 2.1mm barrel jack adapter on the line to connect a 5V power adapter.
The default Linksys firmware supports SATA Port Multiplier out of the box. I reach transfer speed up to 32Mo/s. After...
Read more » Stanislas Bertrand
 Torbjörn Lindholm
 tobychui
 Martin
 rbtsco