 Blue Ice
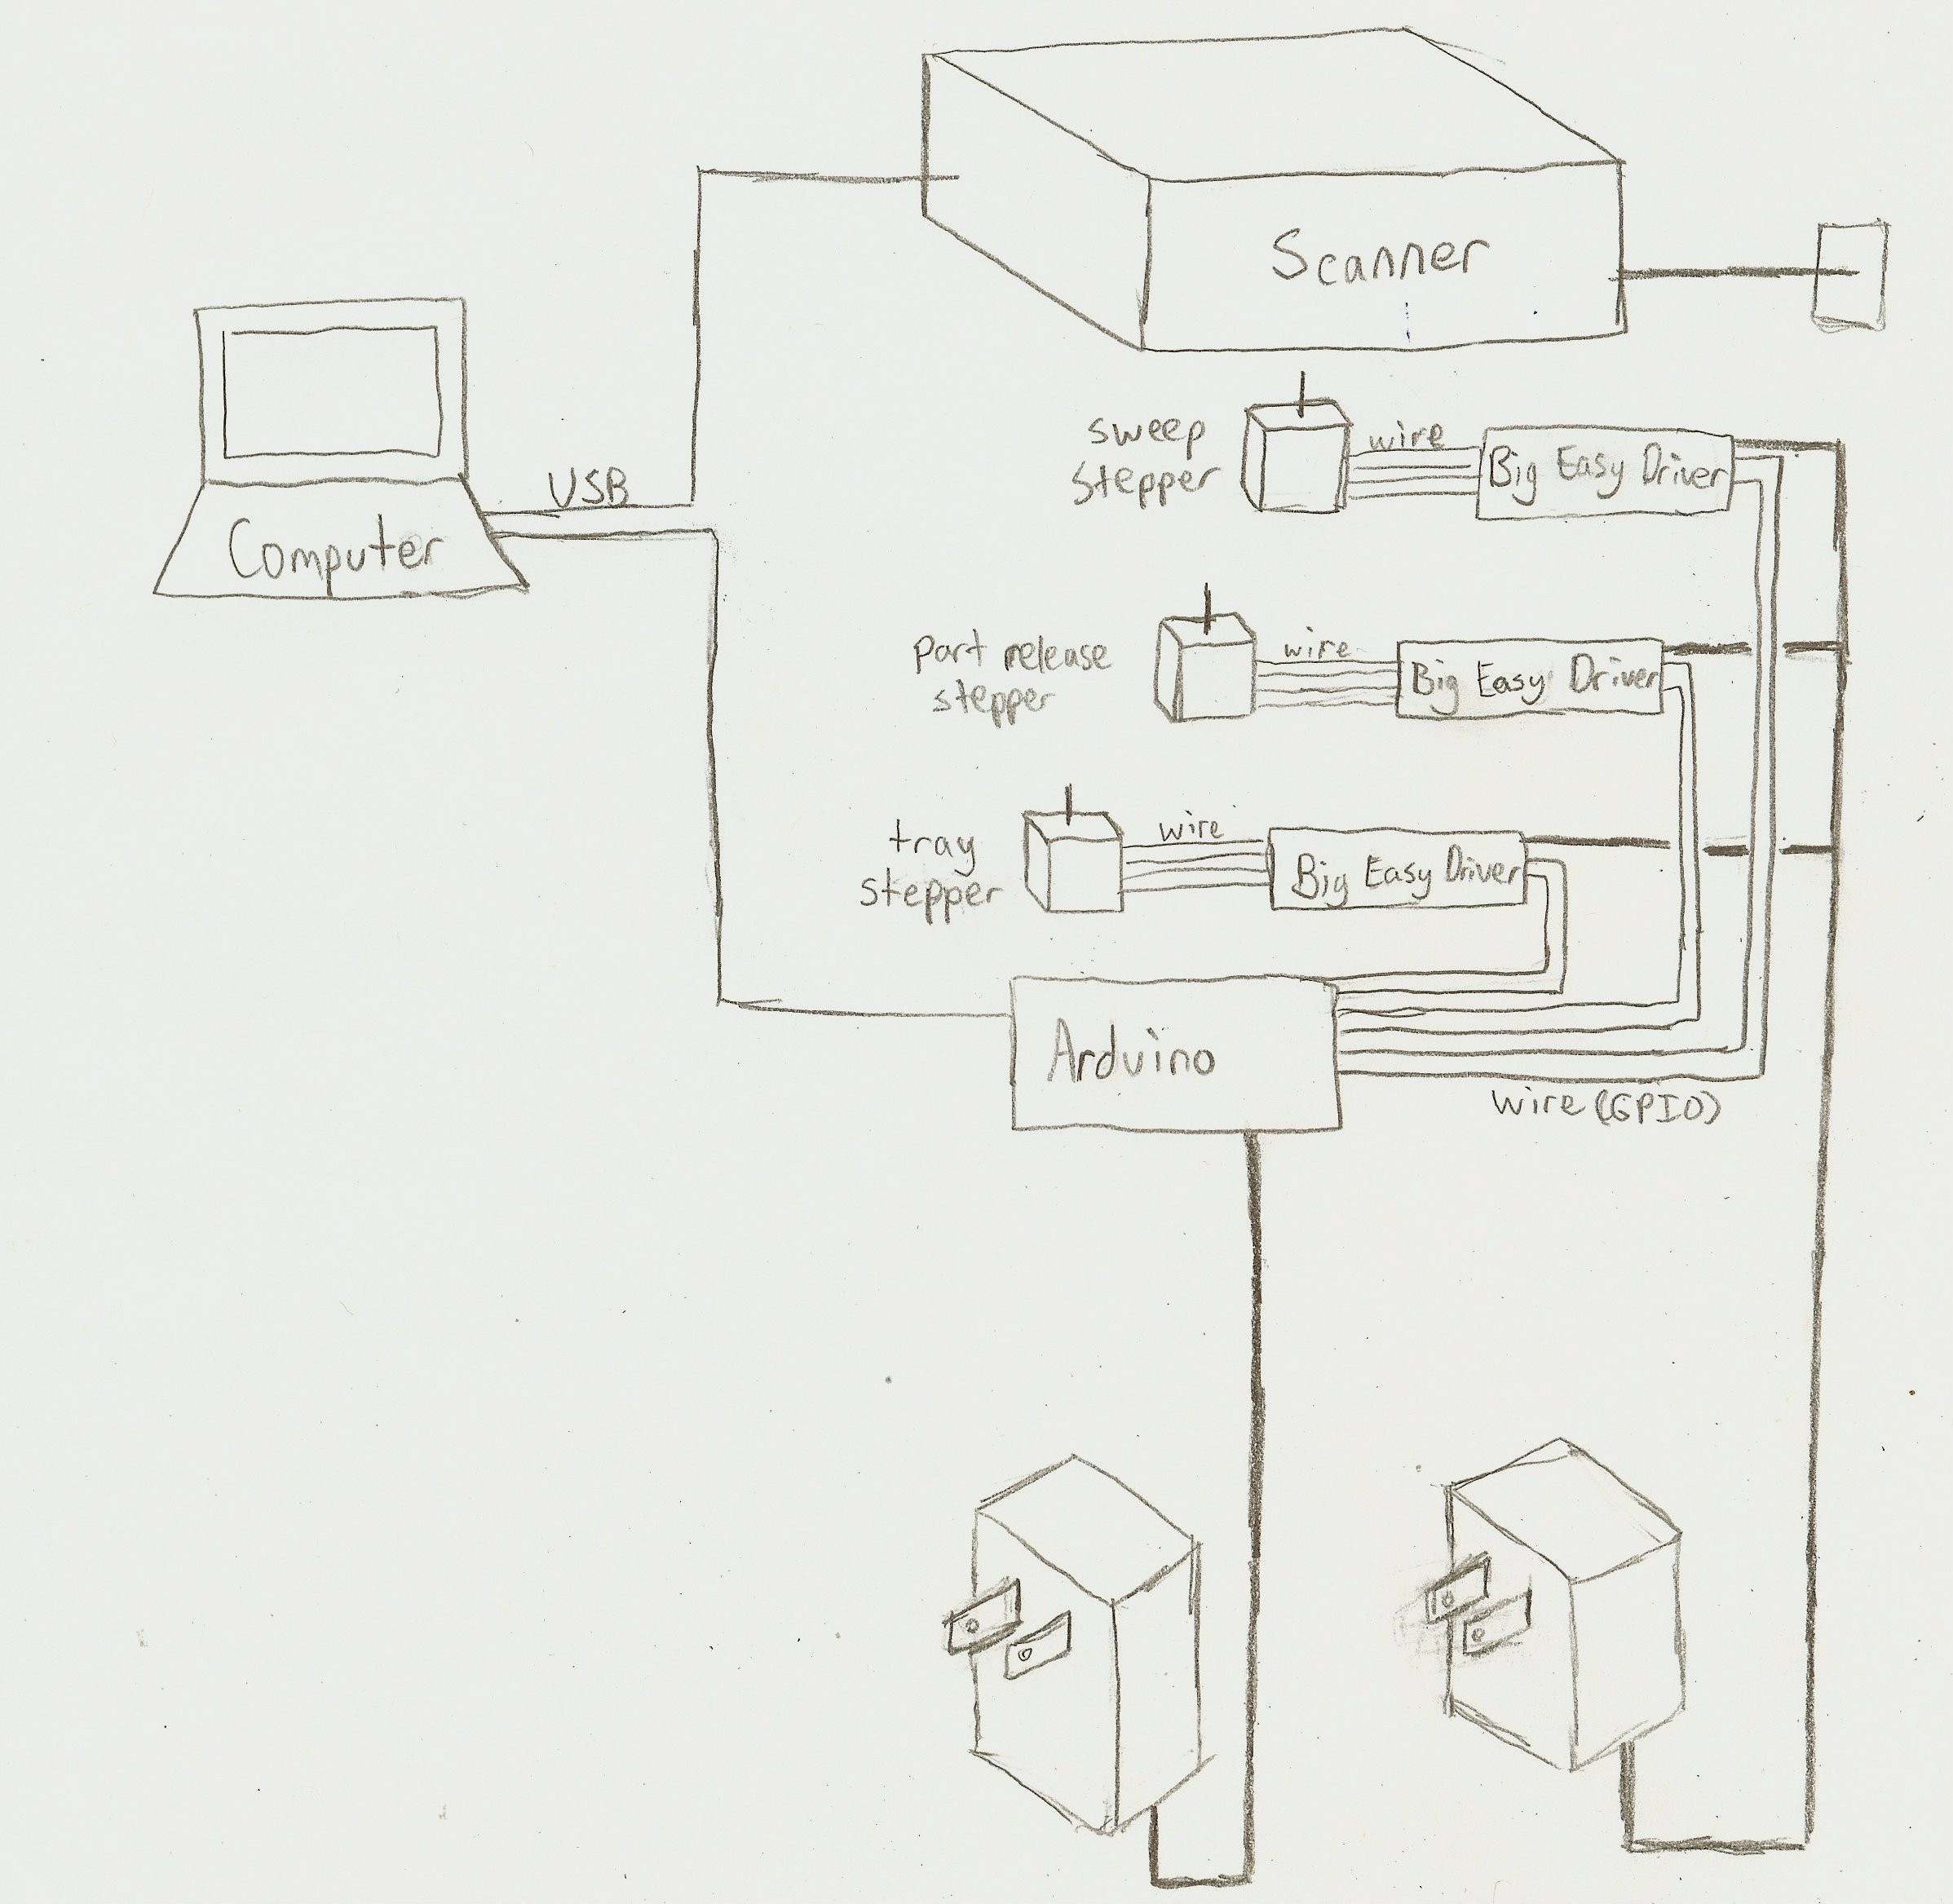
Prototype system design:
The specific scanning techniques that may be tested include:
- Area-based
- Fourier transform
- Topographic
- Canny edge detection
- Hough transform
- SIFT
- SURF
- Barcode-type scan
Libraries used:
For storage, the cases for tools will most likely come in 2 sizes, with one for small objects (e.g. sockets), and one for larger objects (e.g. pliers).


 ProtoVoltaics
 Juha Kuusama
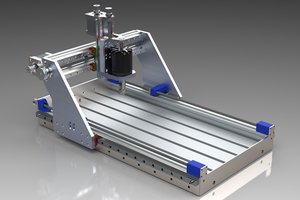
 Oscar S.
 GPPK
GPPK