 Michal Wojciechowski
My goal is to gather some people that will/want to build, use and improve the project. I've spent over 3 months working on the Cad3D part (SolidWorks) of the project to make parts simple to print and simple for makers to assembly. The most of those 3 months was a the path of math, symmetry, mechanics... and off course... aggressive wife :P Then had to spent some time working on some modifications to Smoothieware firmware and hardware just to suit the system. After that been studying how printer moves in slo-mo to further improve the config and mechanics. After building & testing several machine variations, got to a place where the machine just after proper setup and calibration works without ANY failure within last several months.
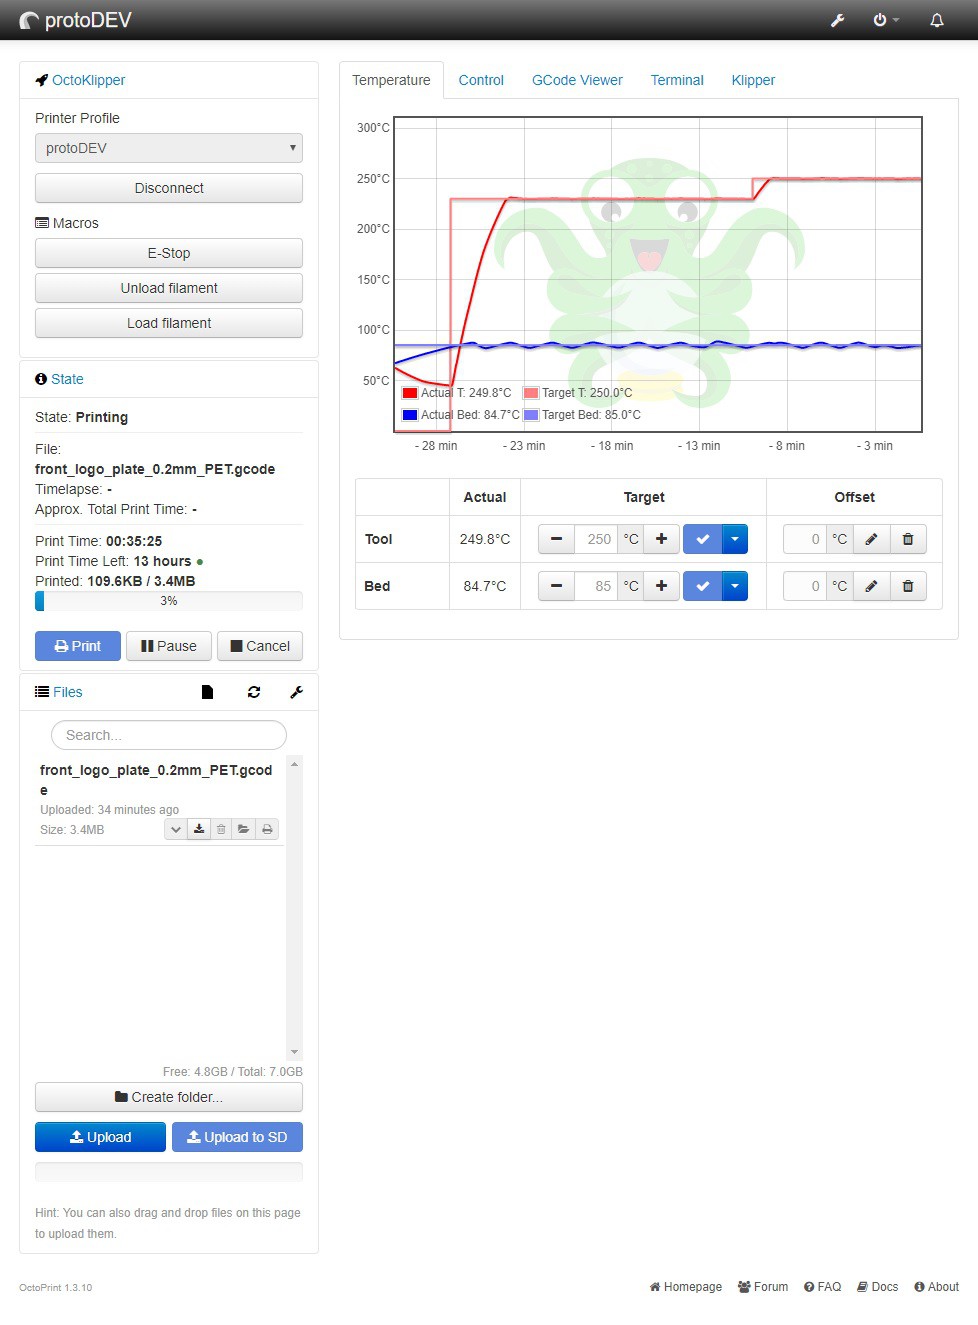
Right now the system runs klipper firmware because of integrated pressure_advanced function that helps achieving better print quality and speed.
In addition klipper can run on multi-MCU configurations. With this function (and 2x Sunbeam2.0 boards) my system can handle up to 10 steppers, 6 endstops, 6 heaters and a lot of other stuff.
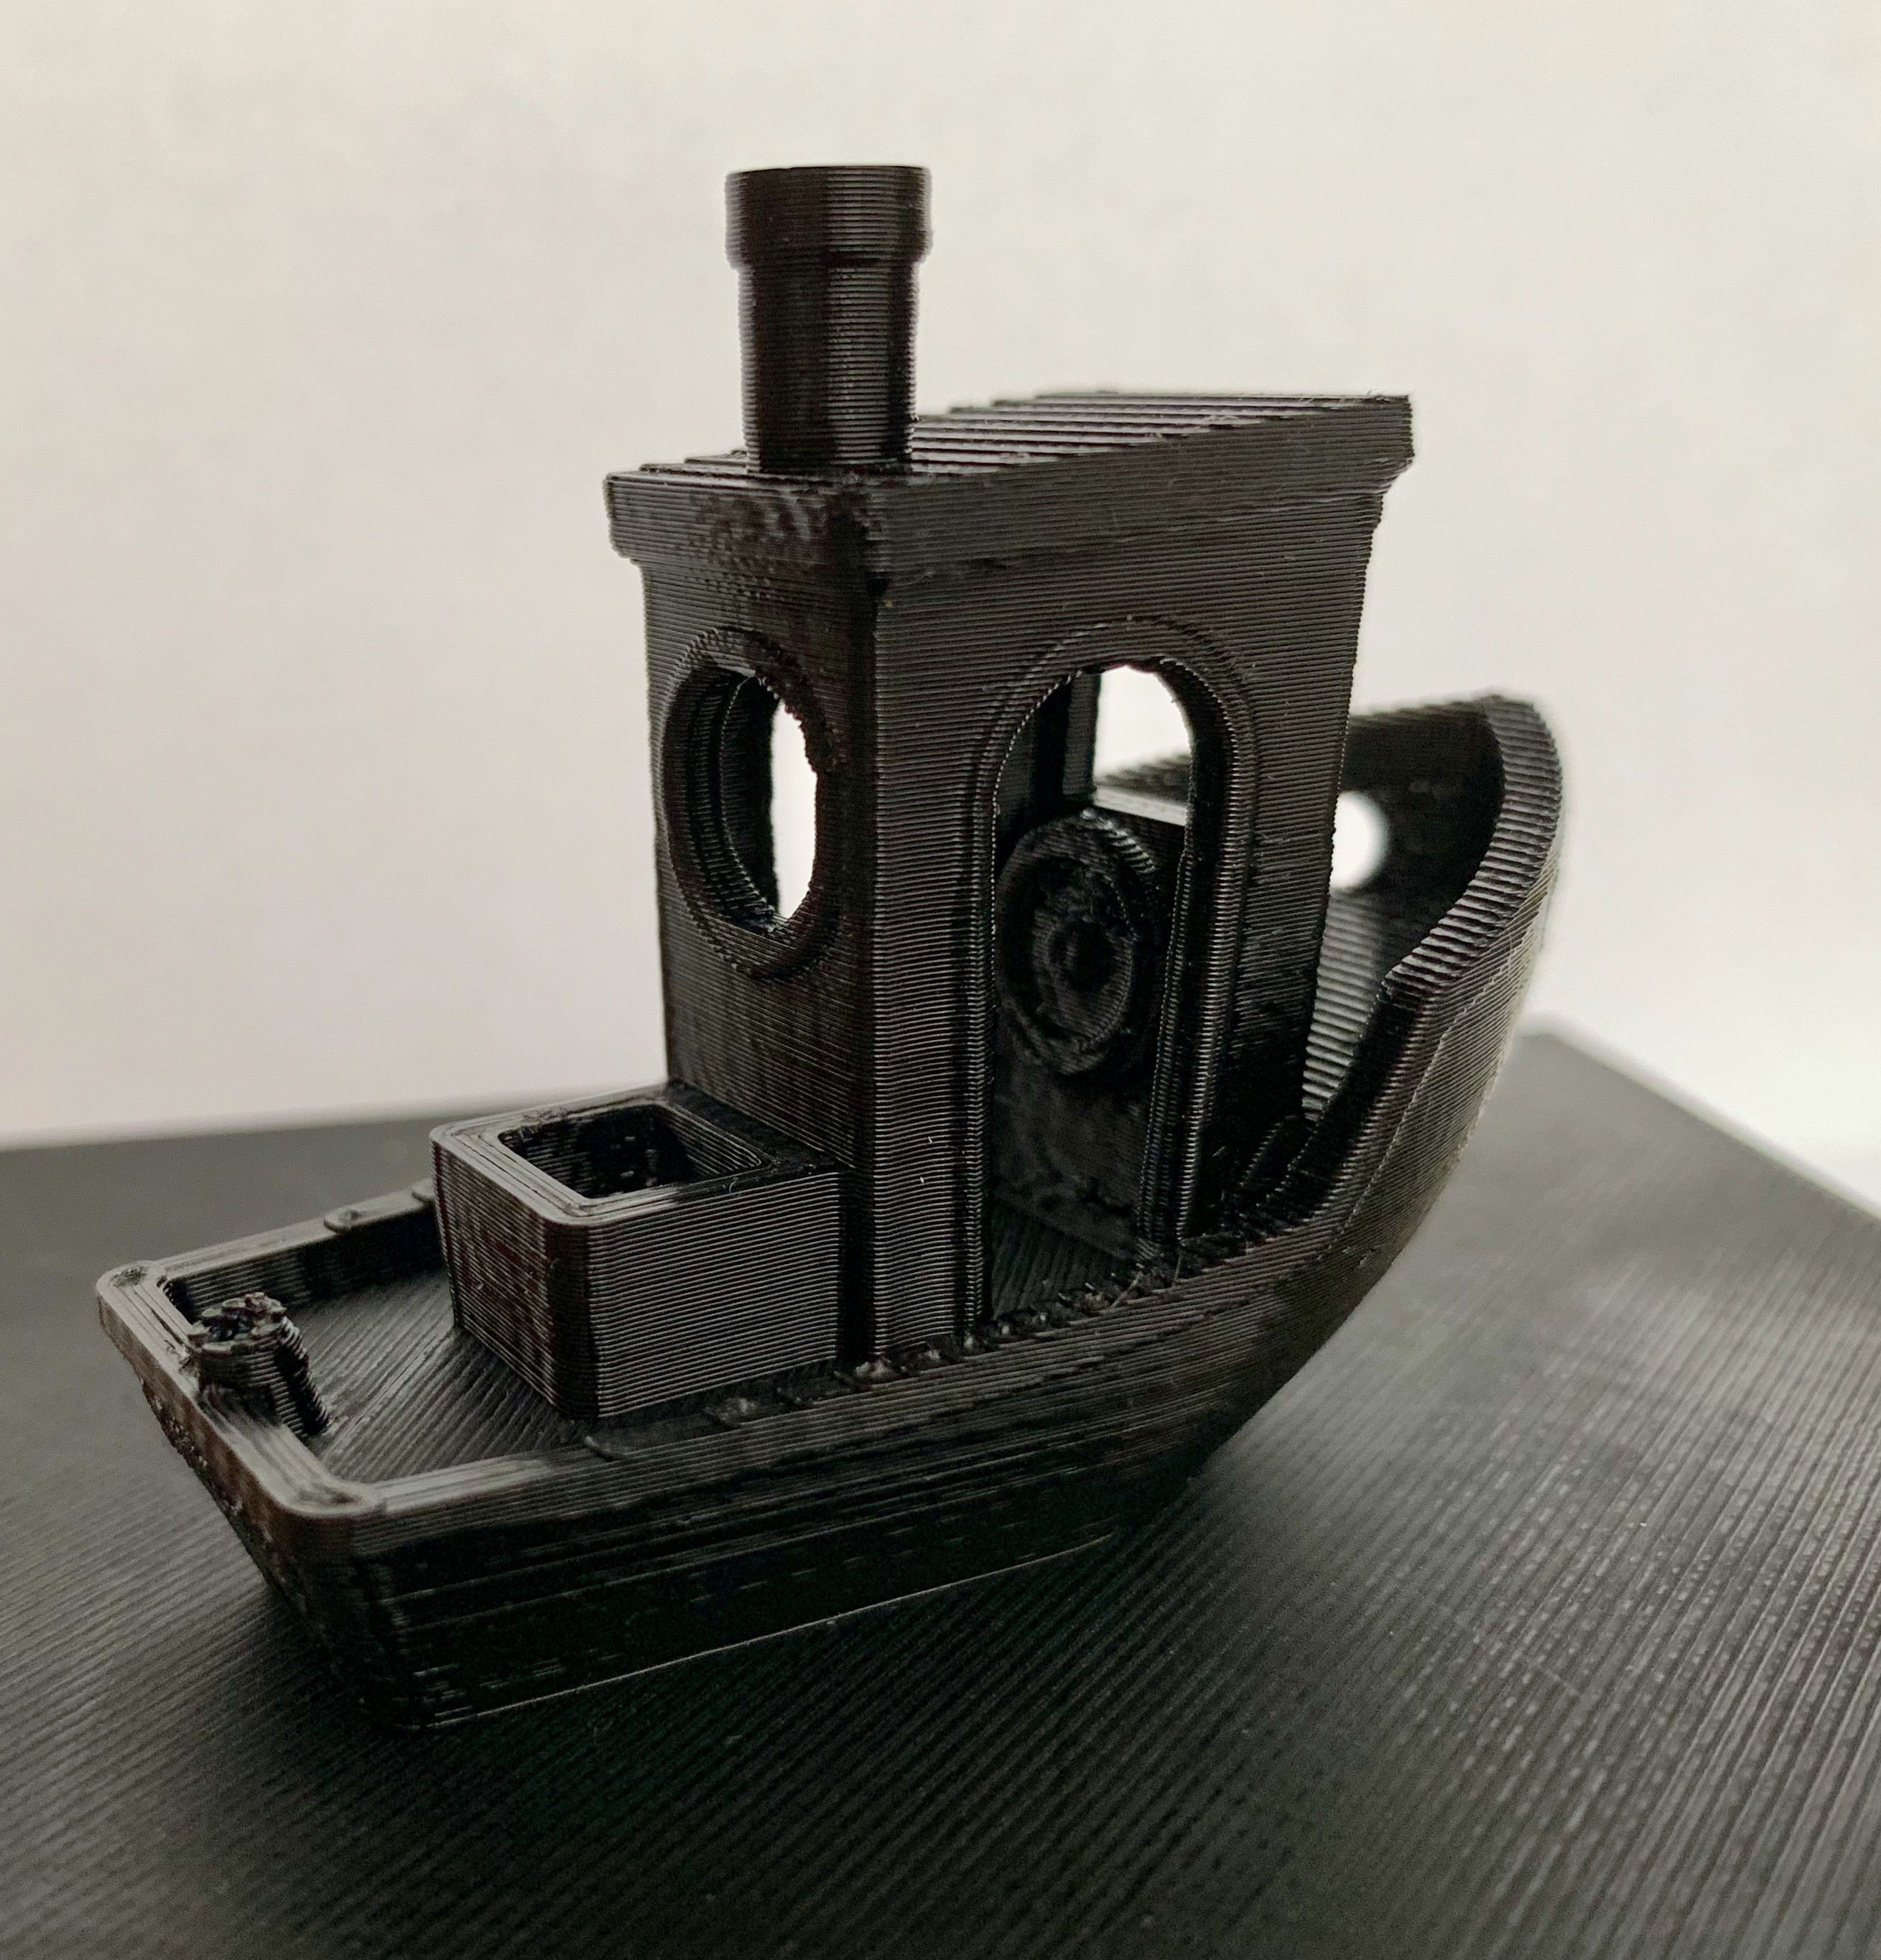
My main goal for the system was to print with speed and quality parameters equal or beyond the market systems at under 1000 euro price tag.
Features:
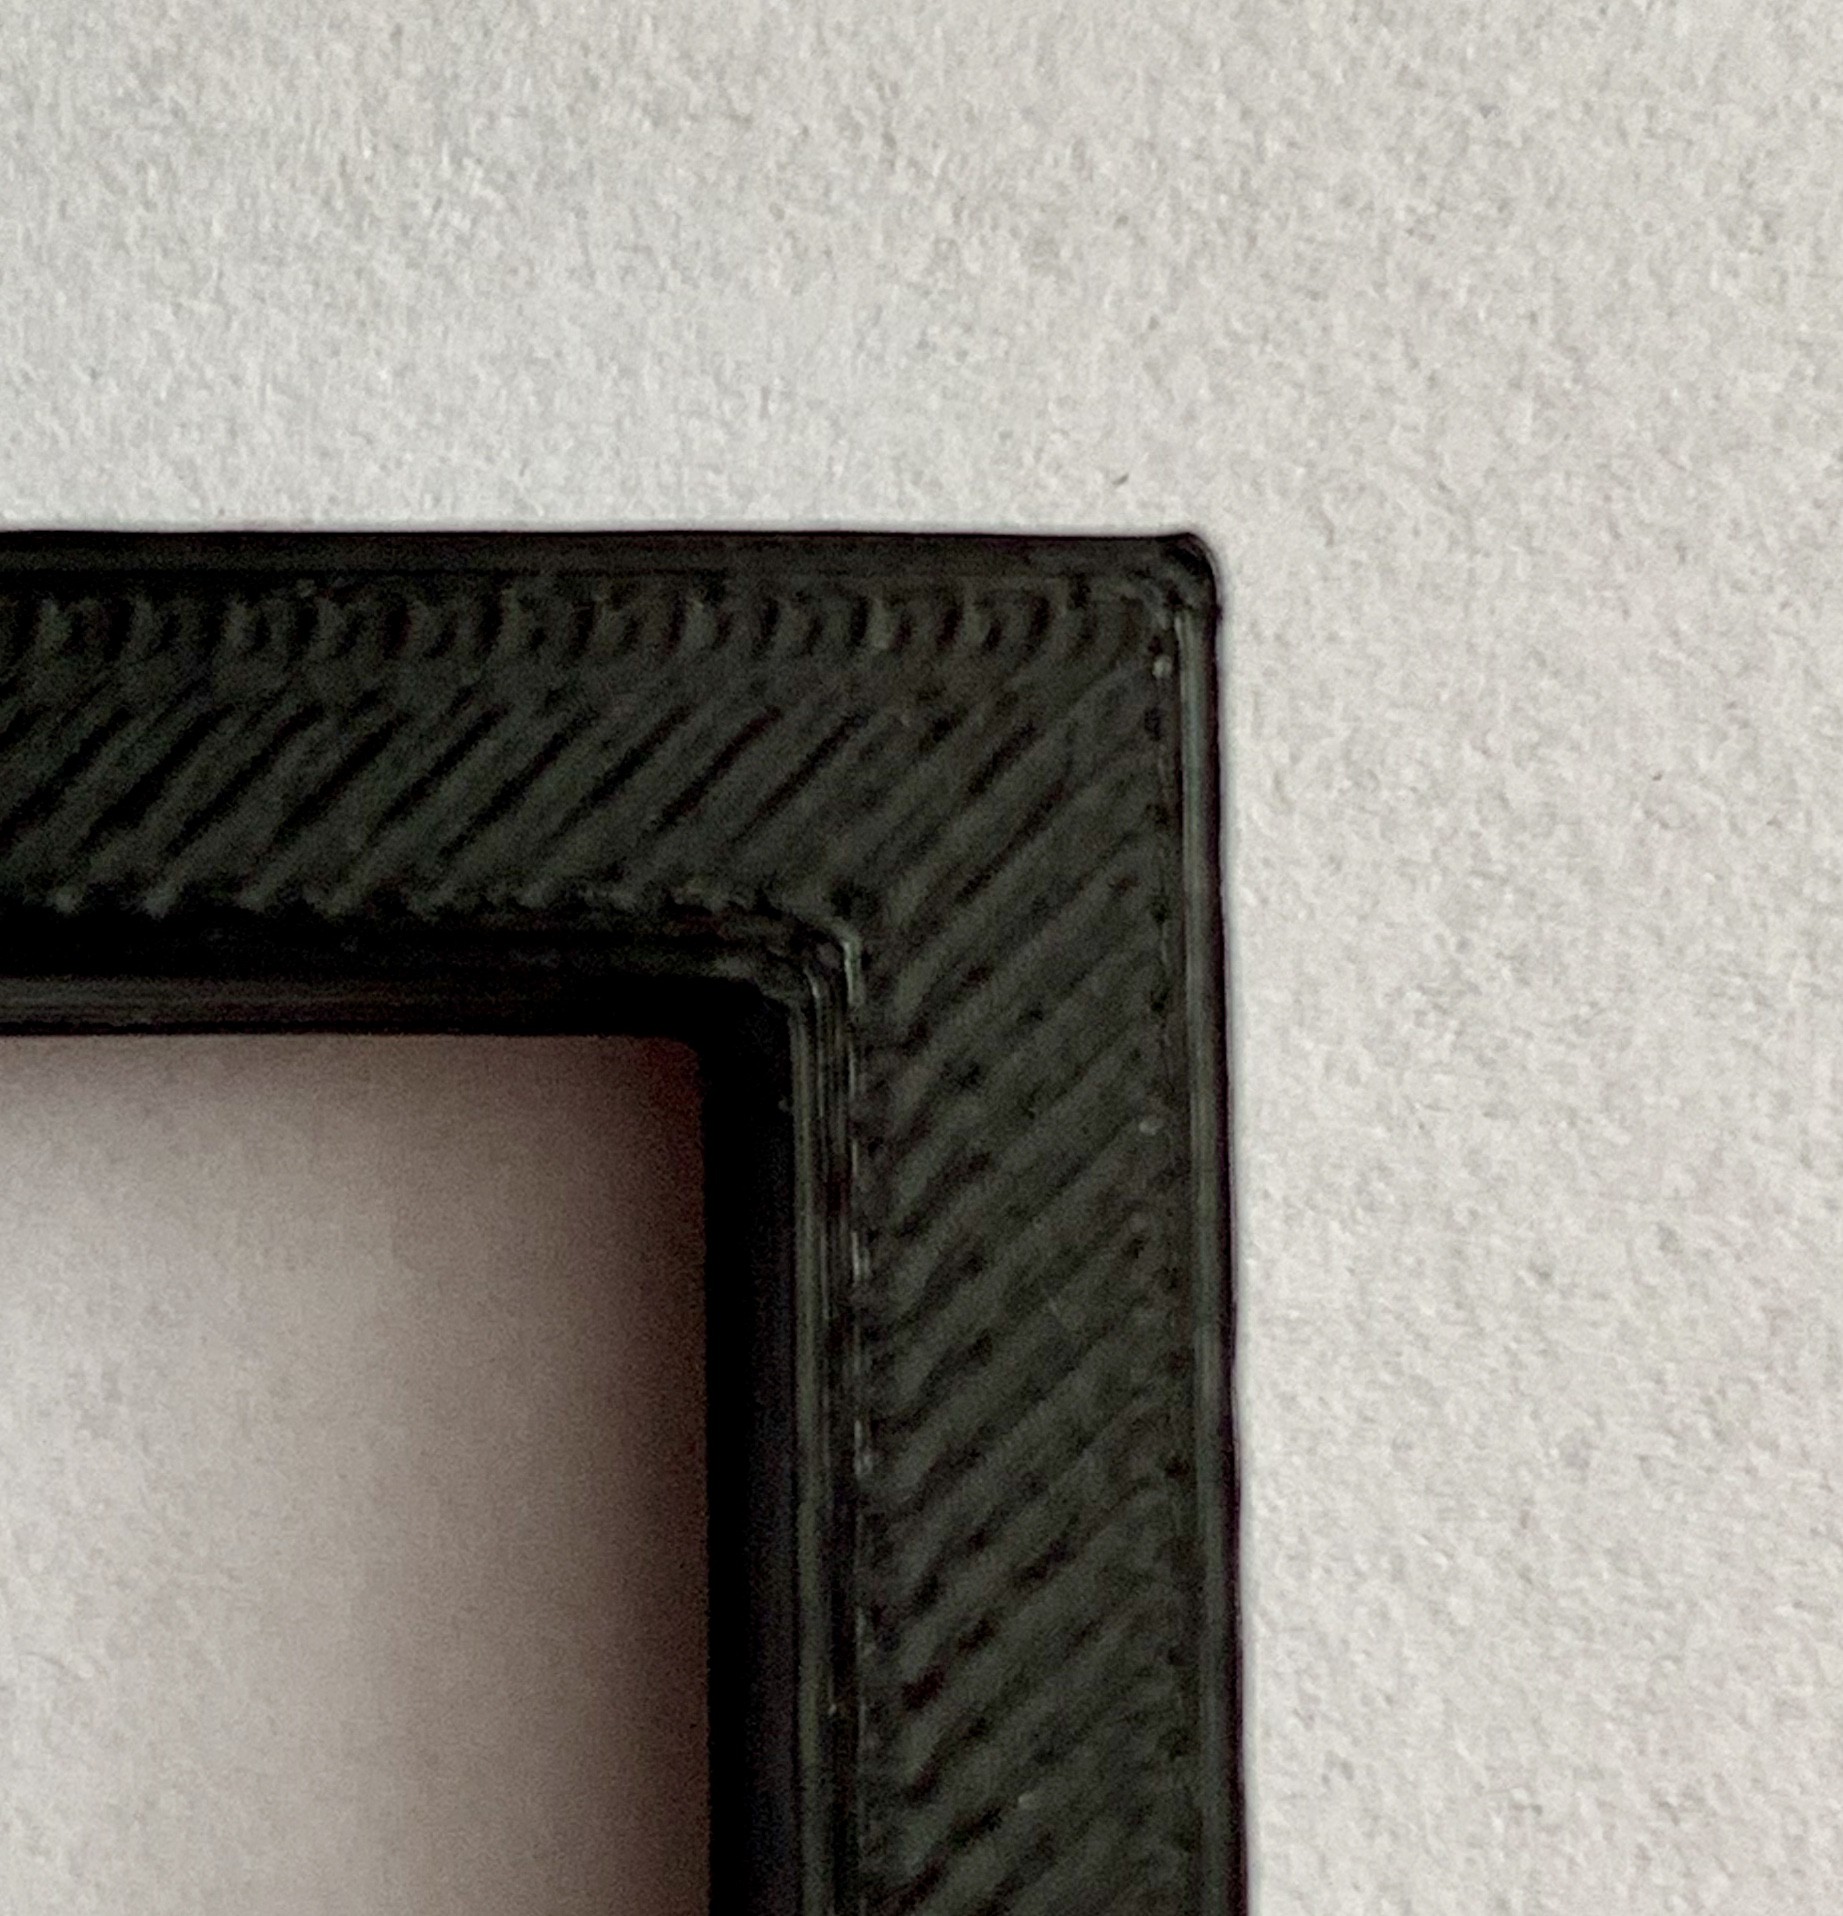
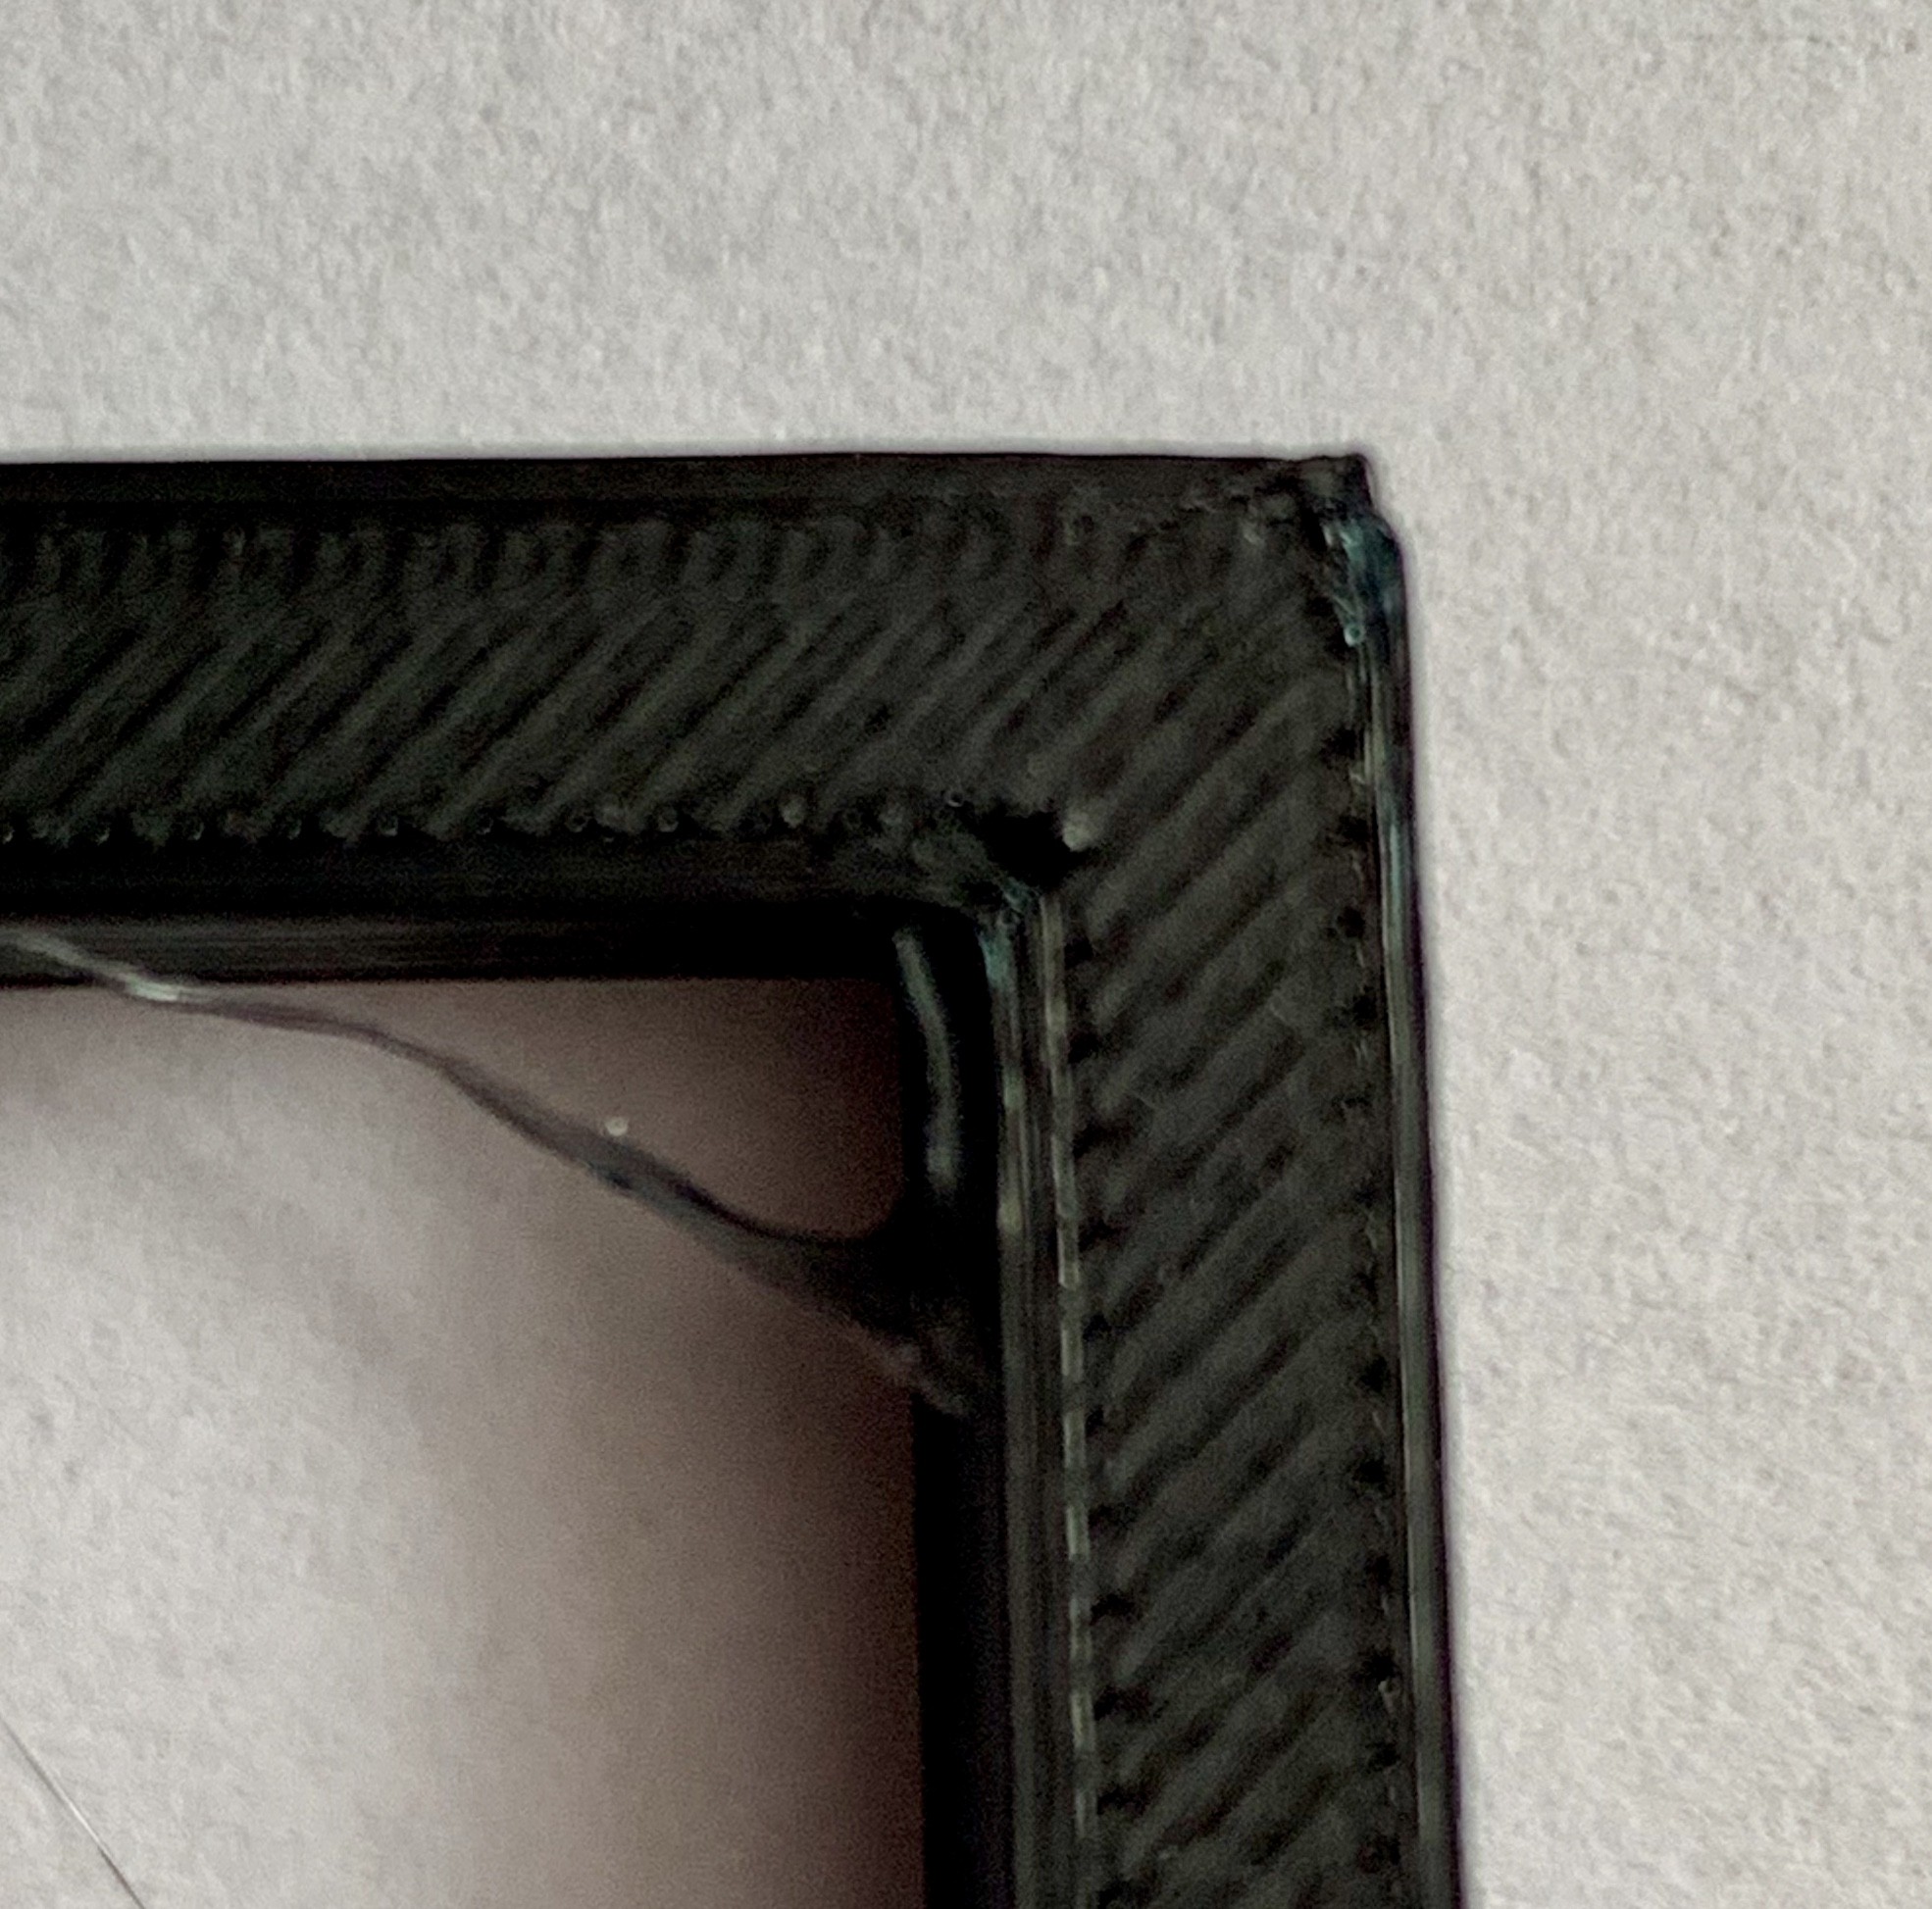
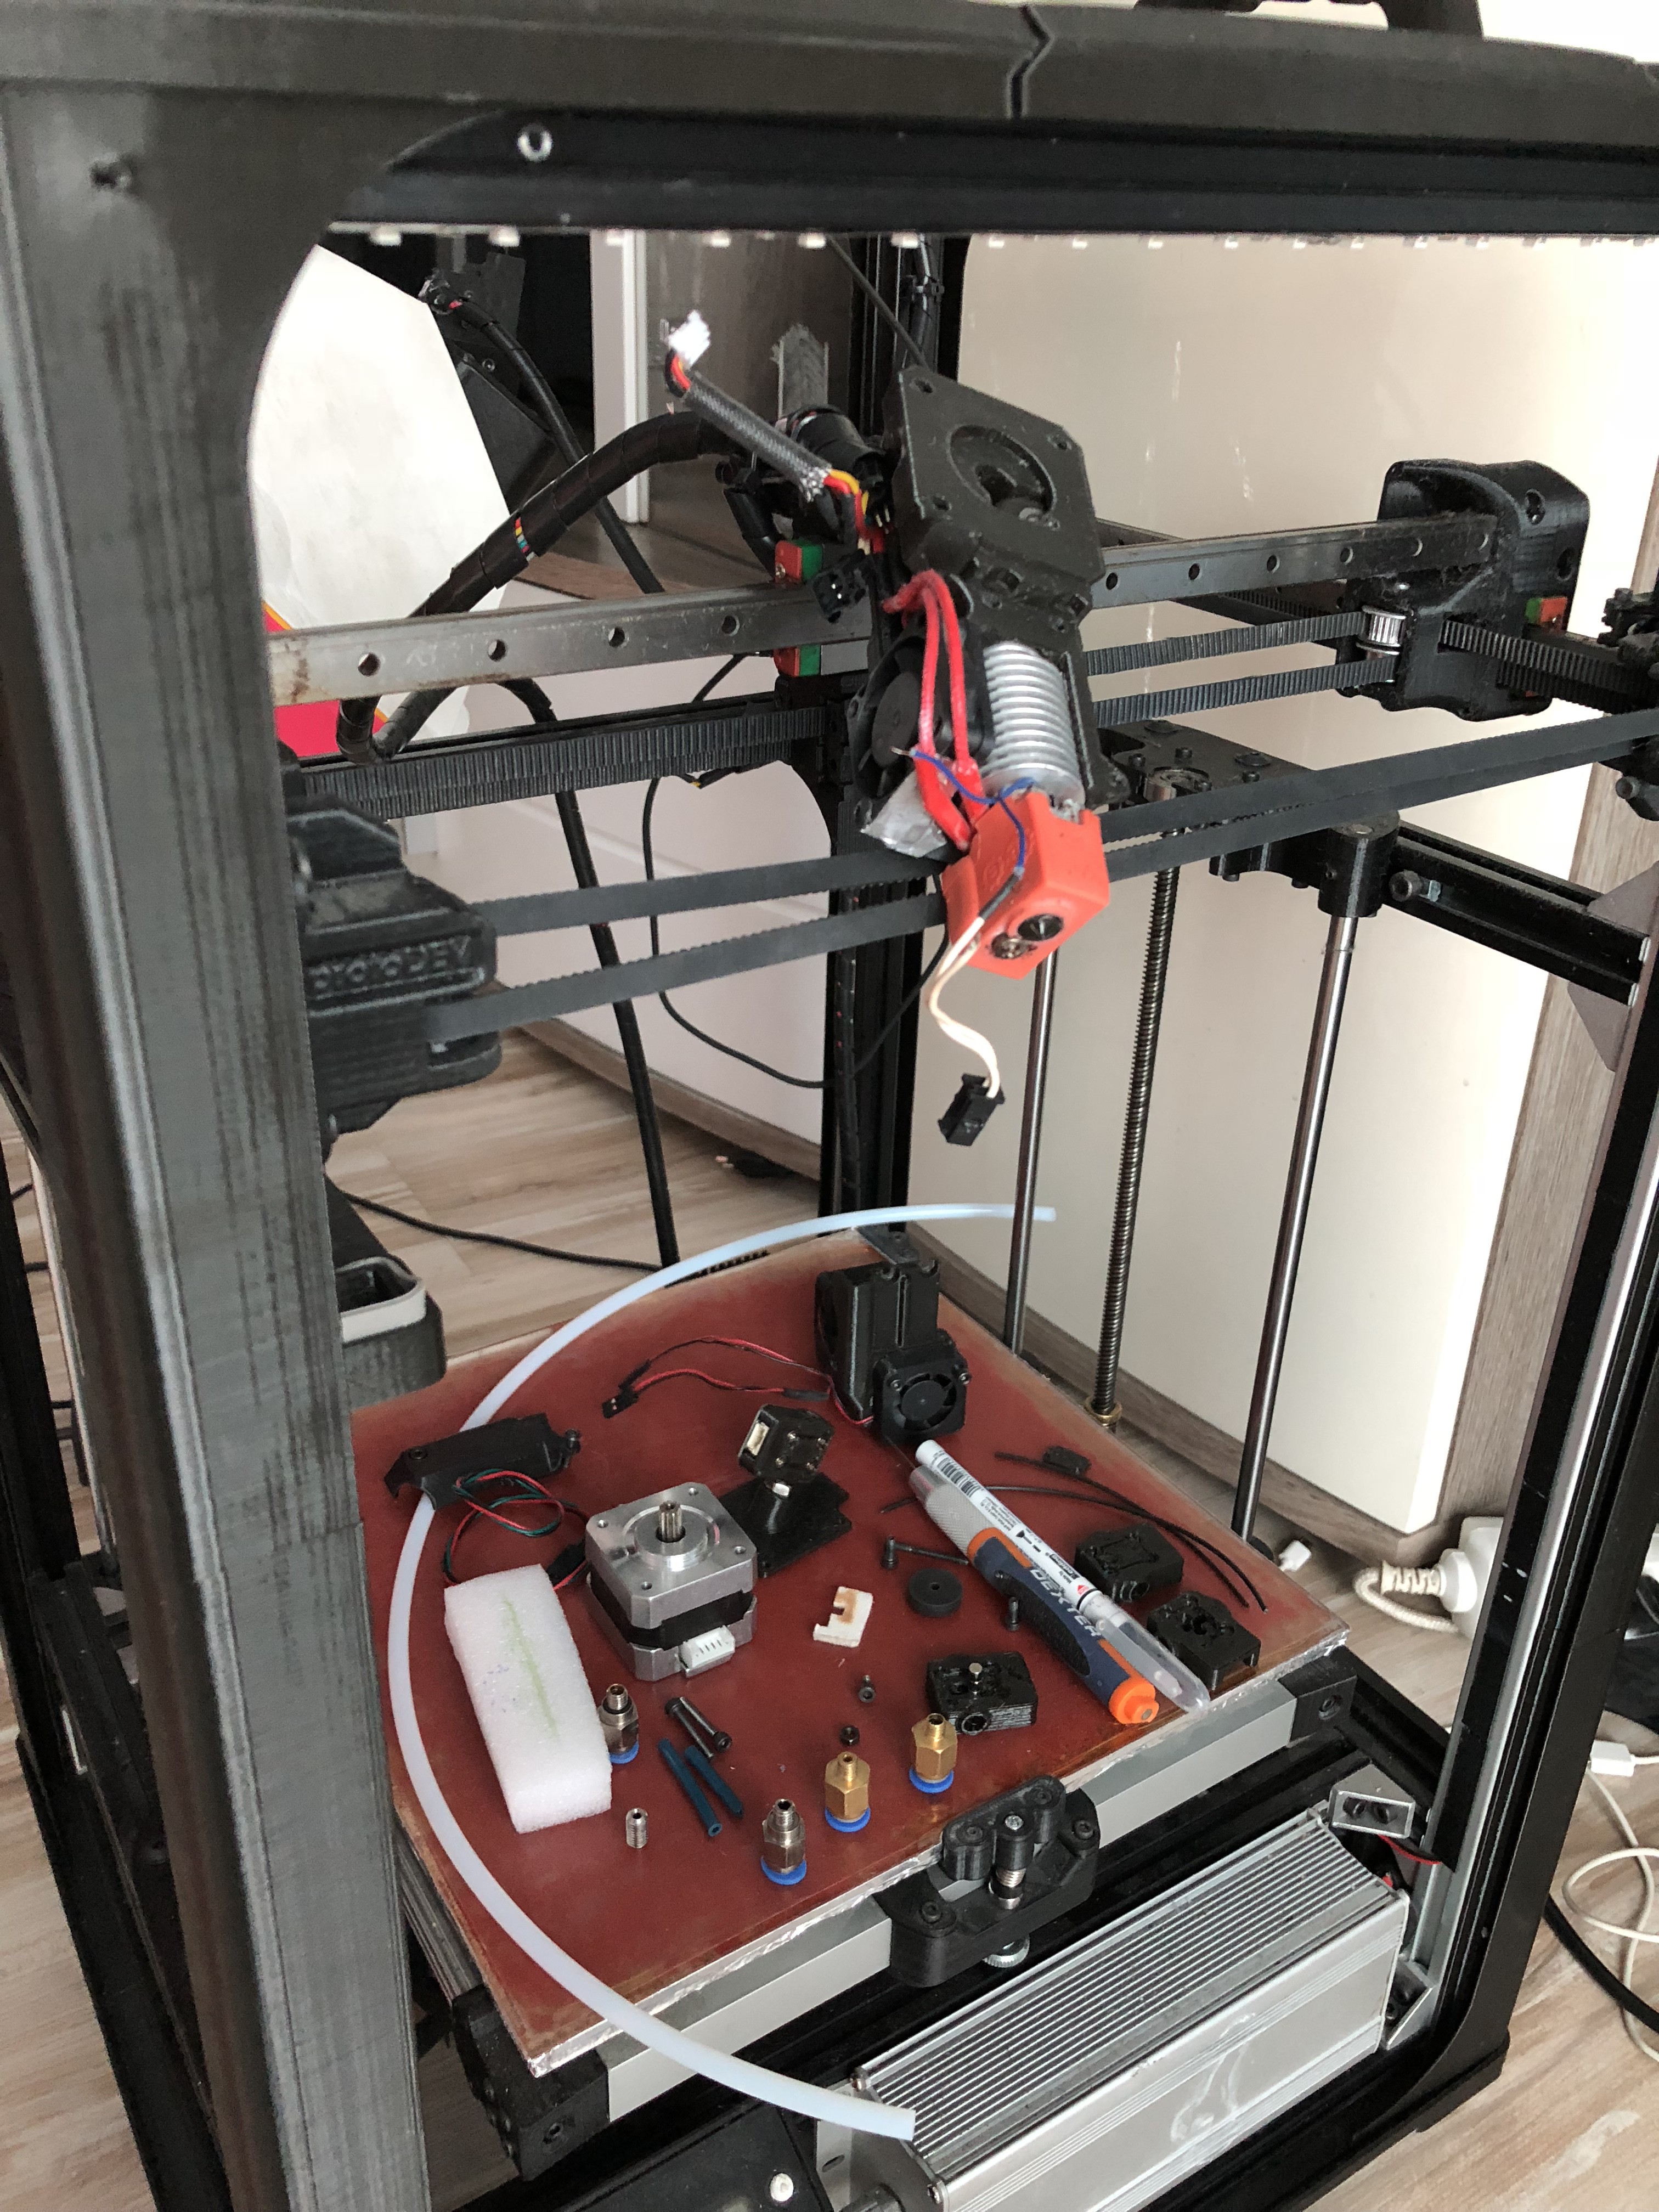
- build plate 250 x 245 x 300 mm ( X x Y x Z )
- Klipper firmware running on 1.8GHz octa-core arm platform
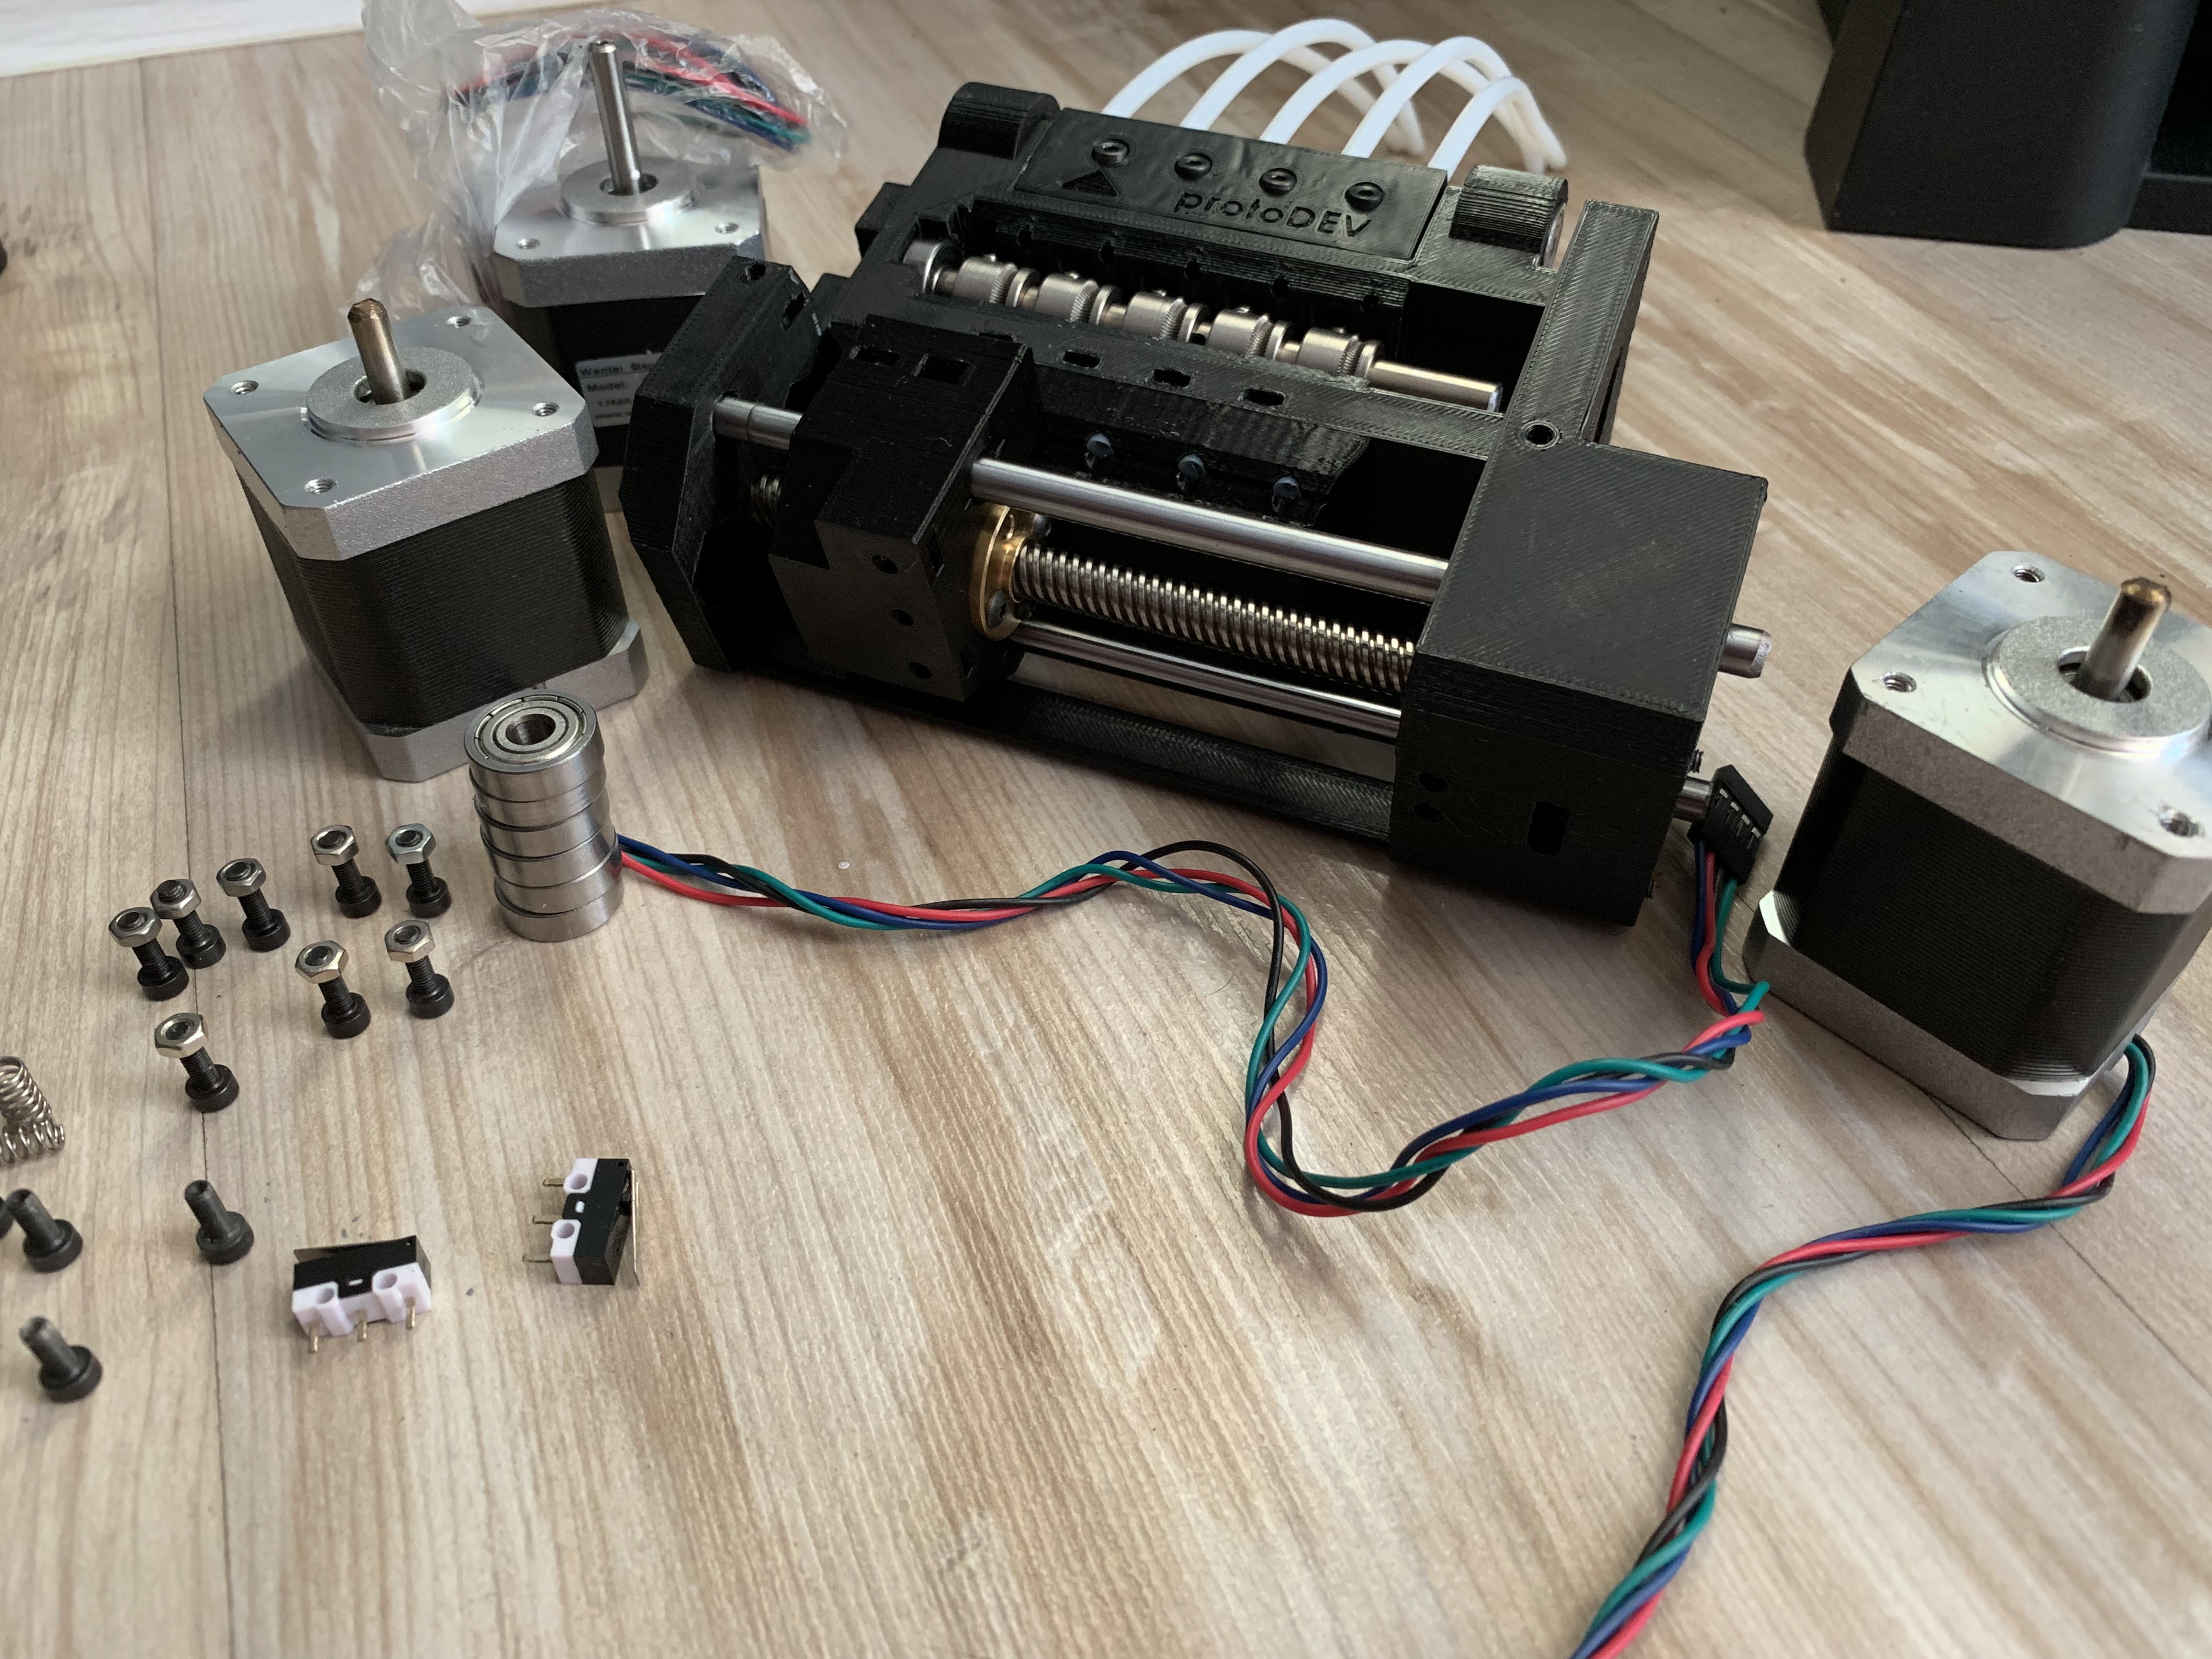
- 2x 32bit Smoothieboard for smooth motion (one for printer and one for diy MMU2.0)
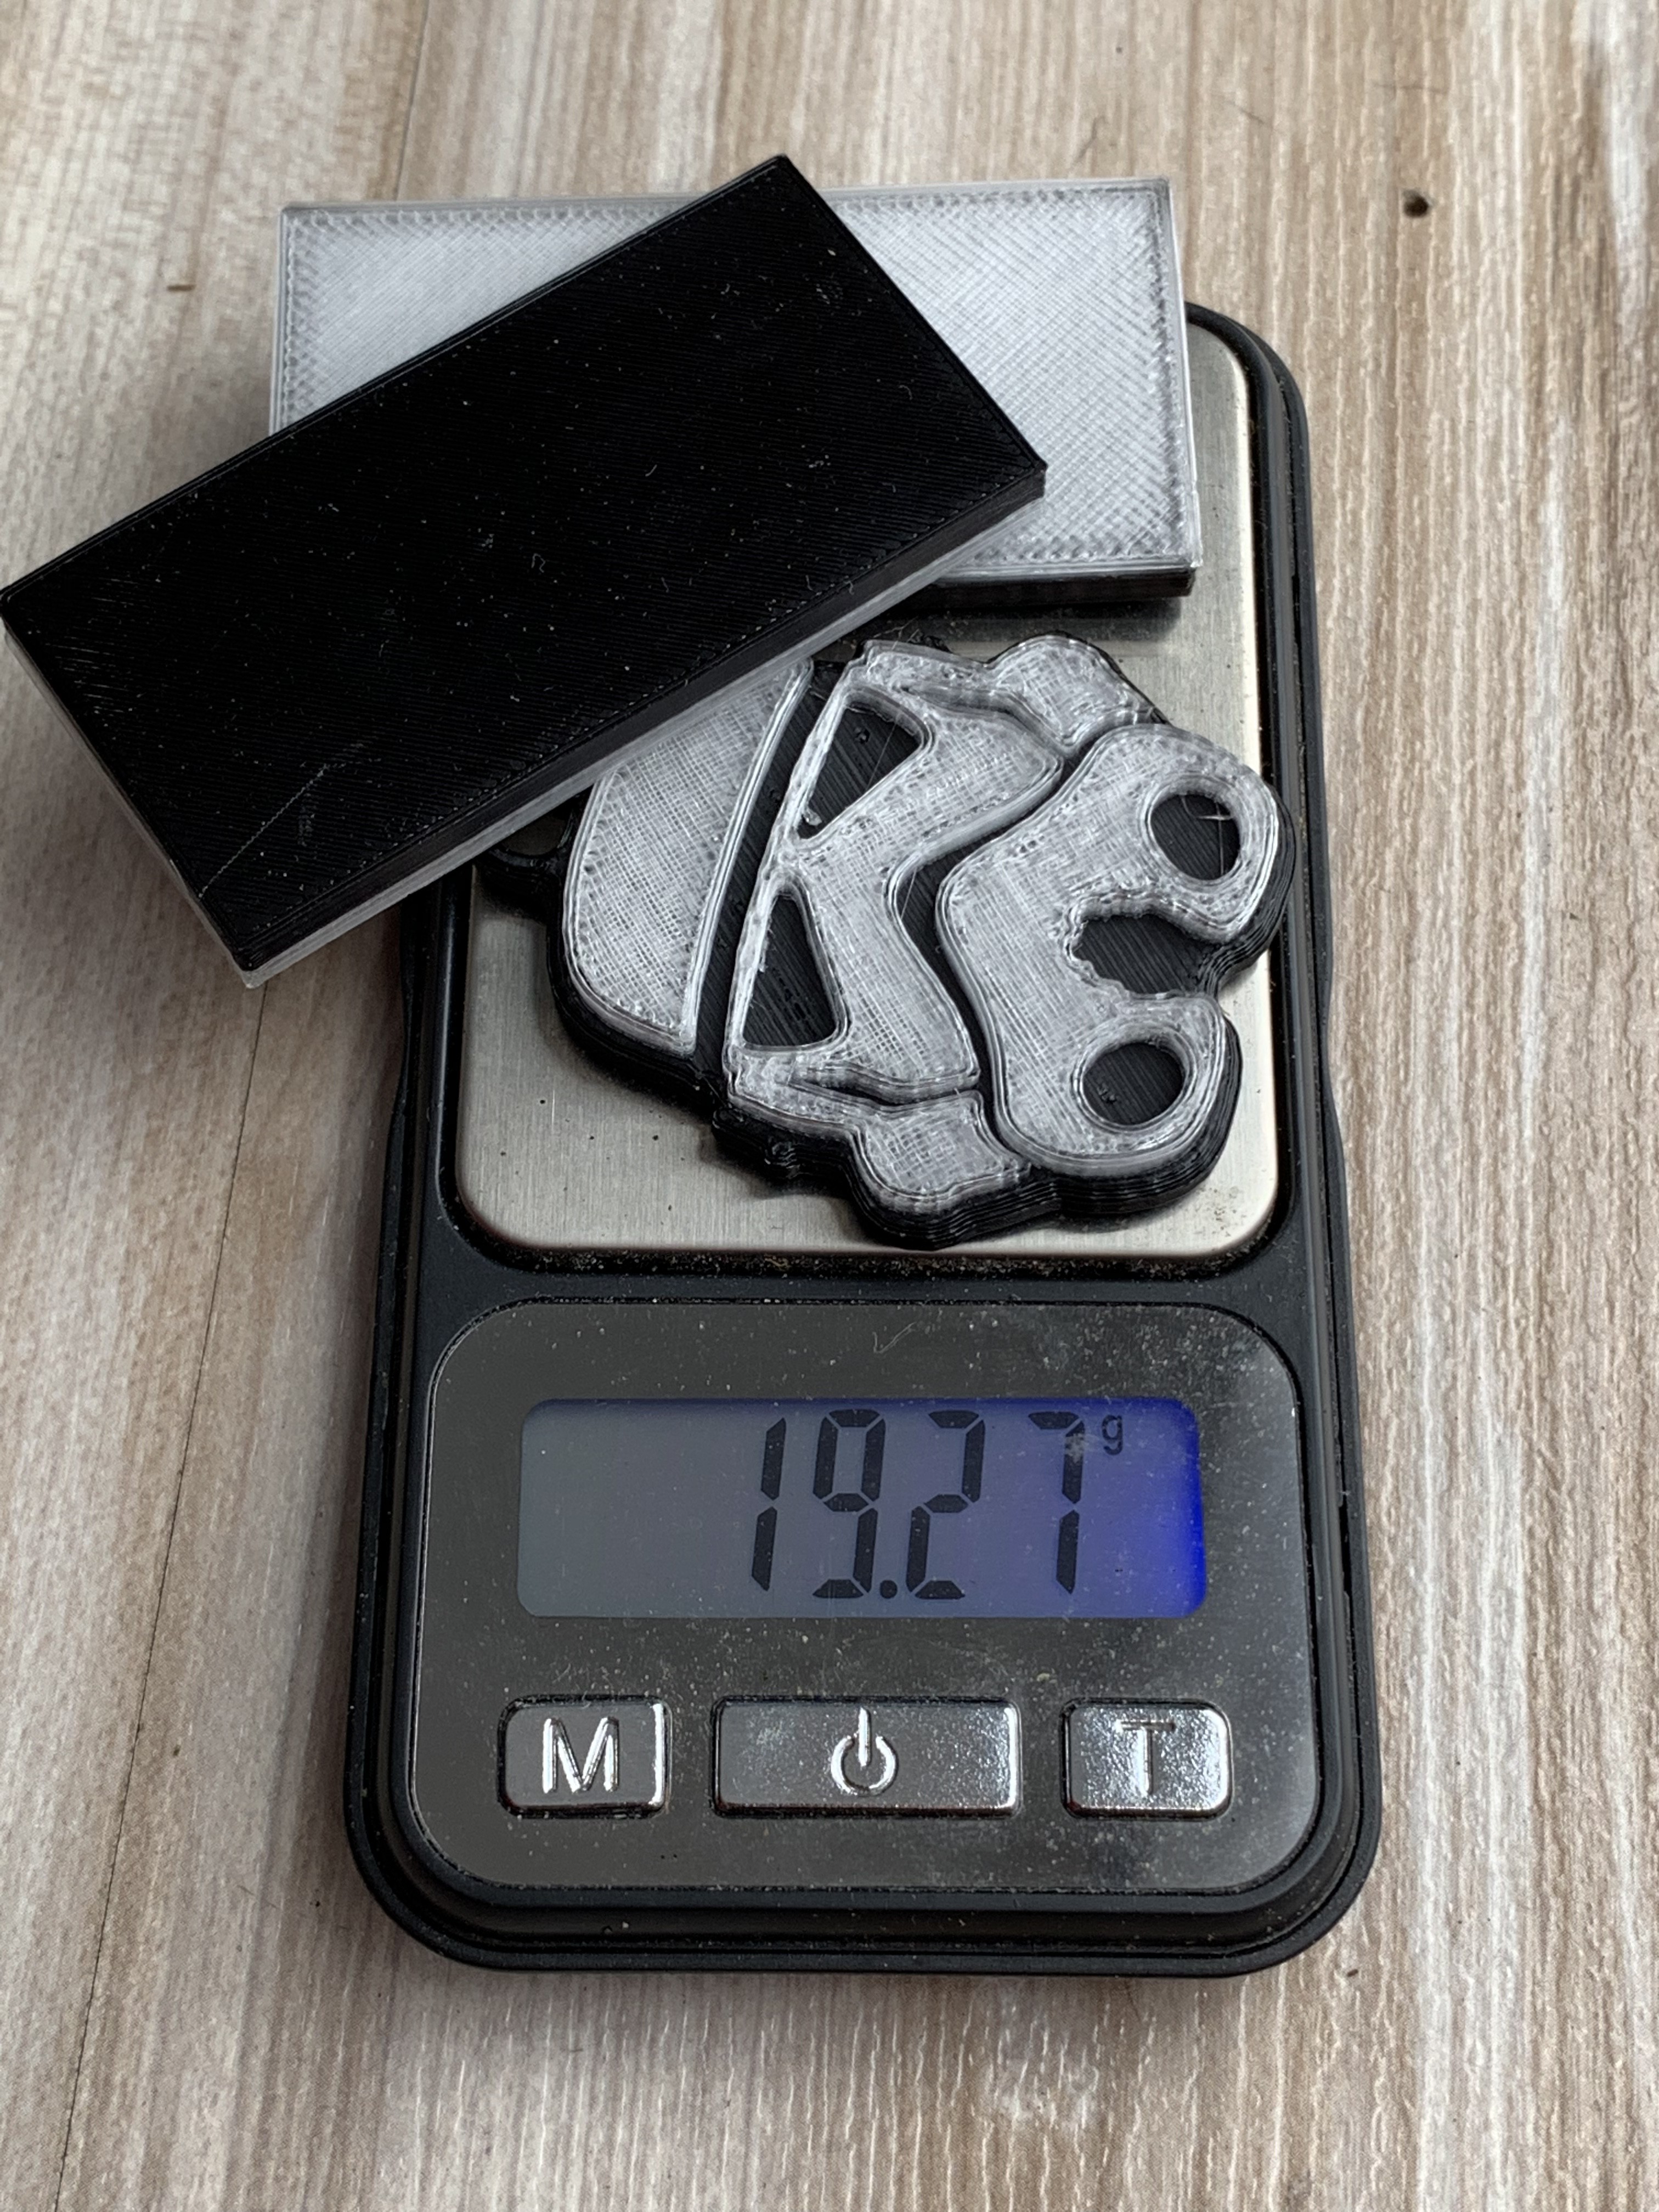
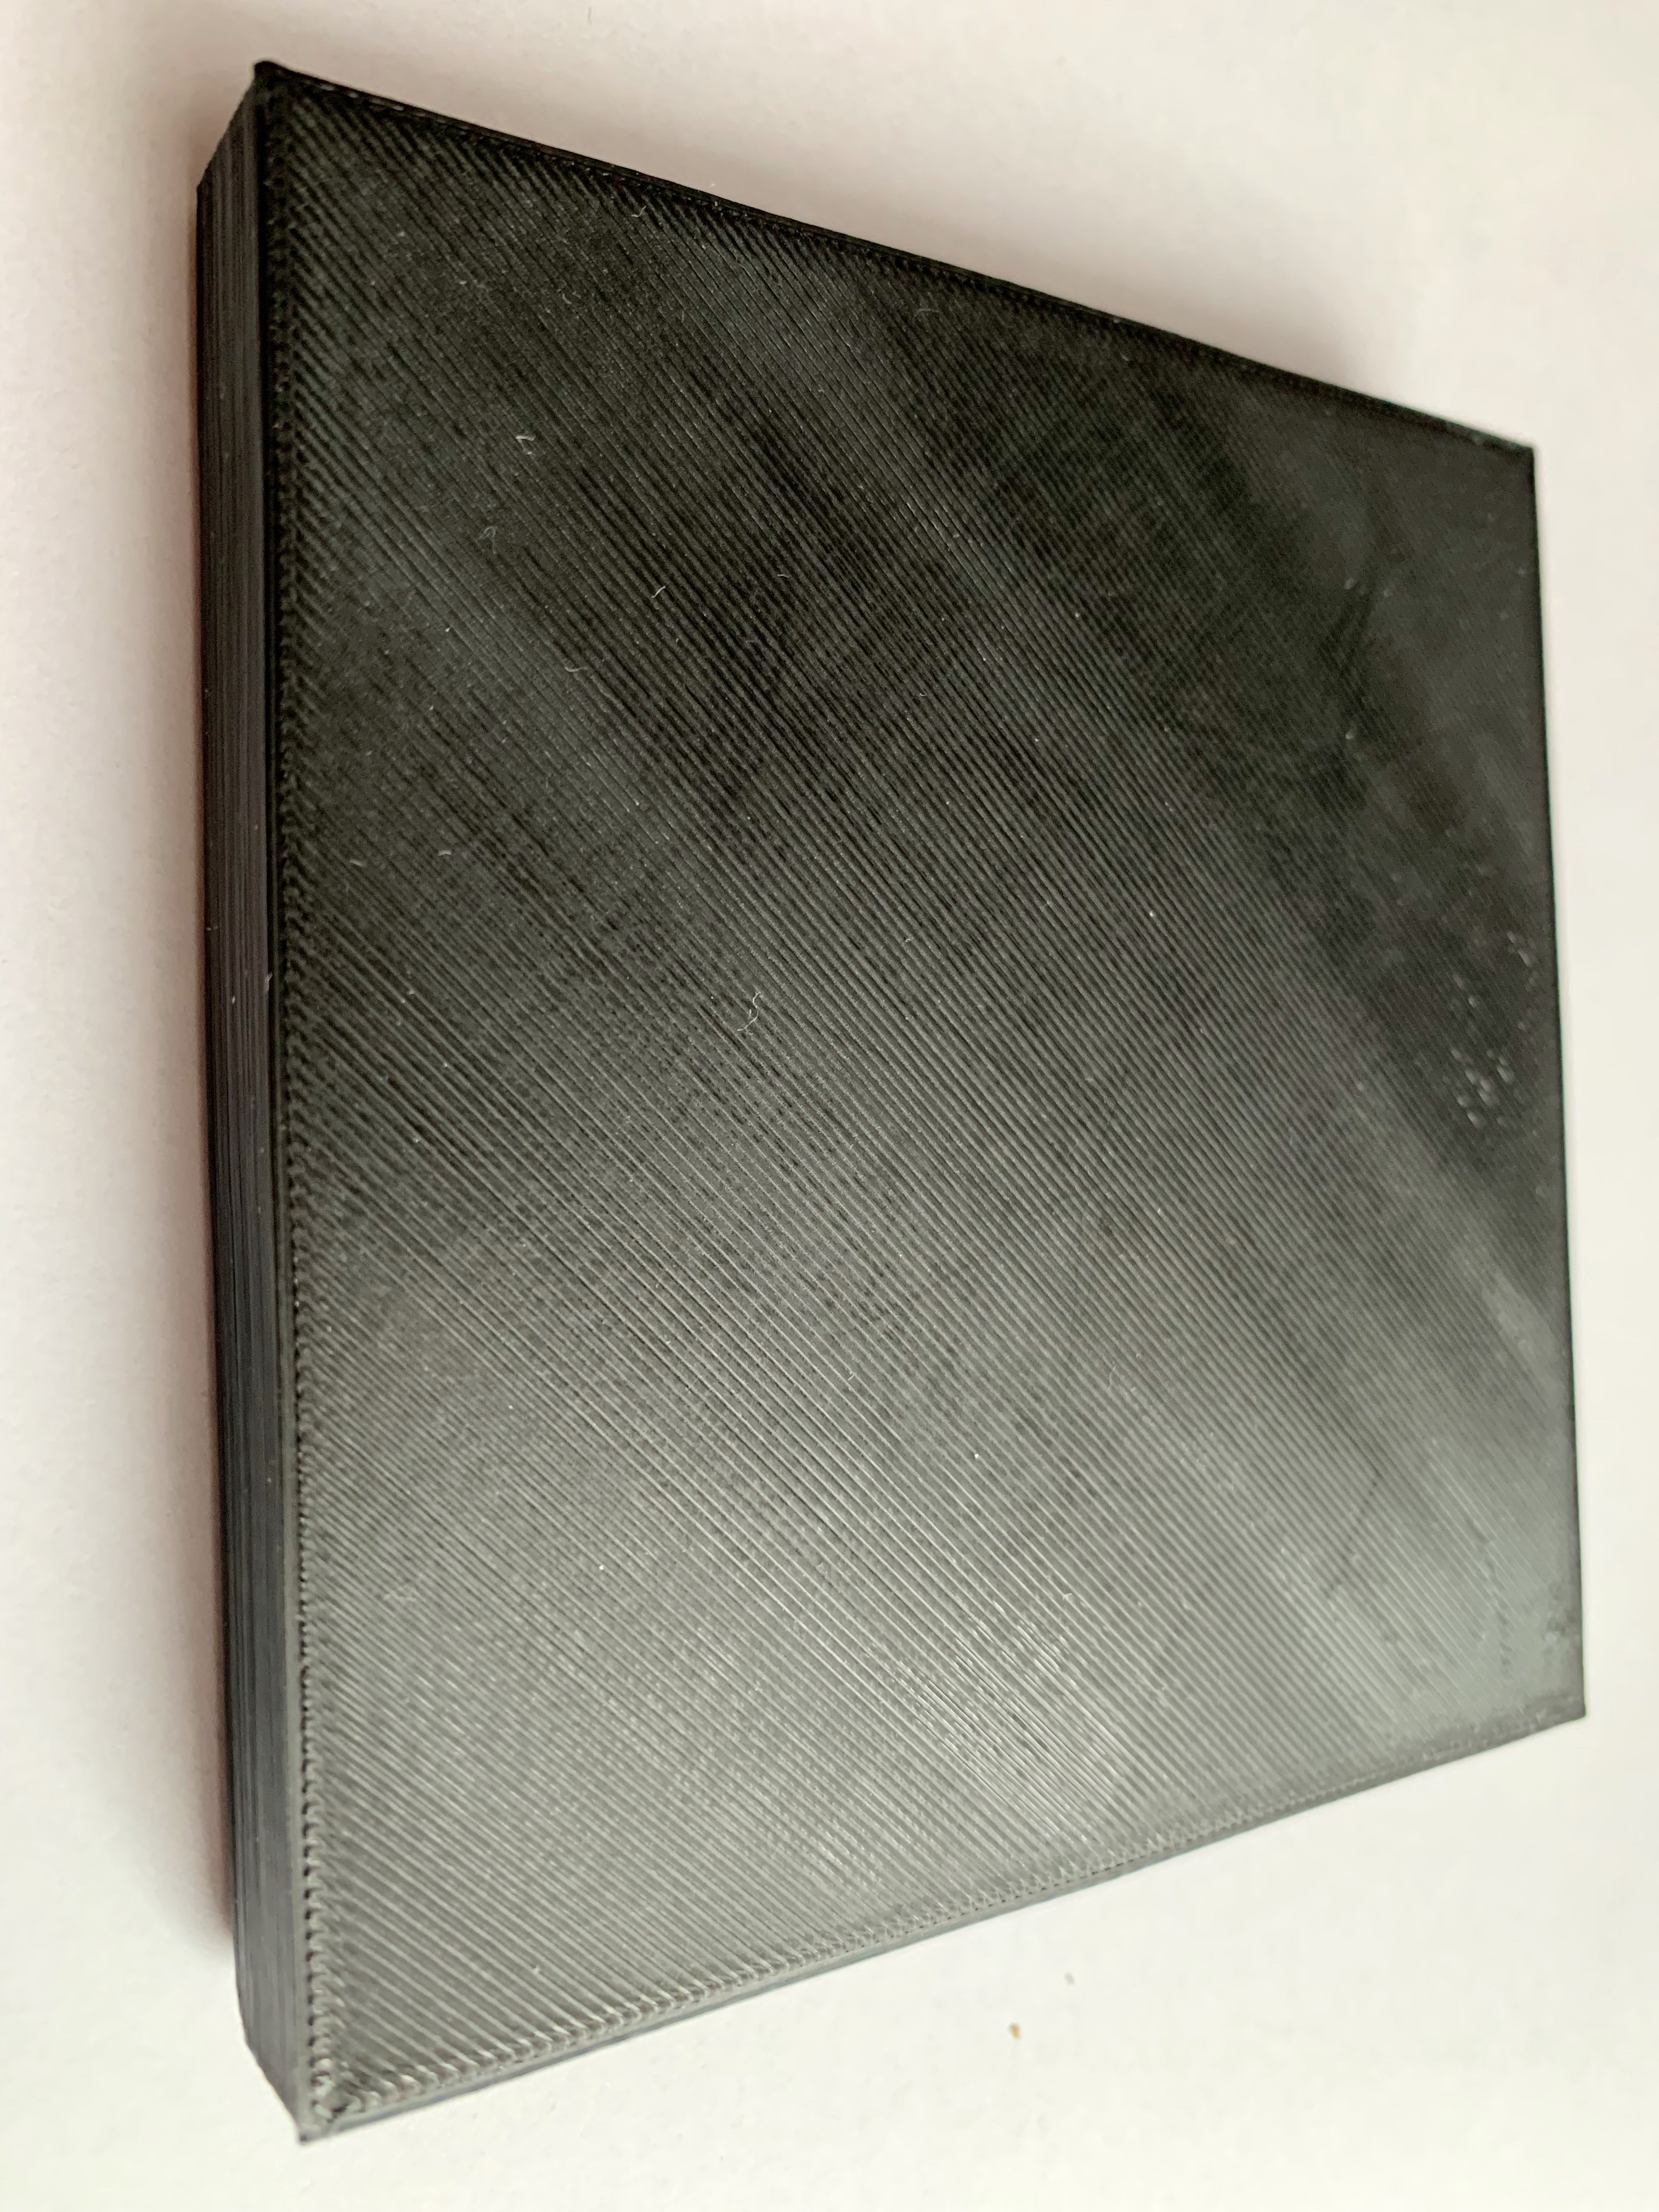
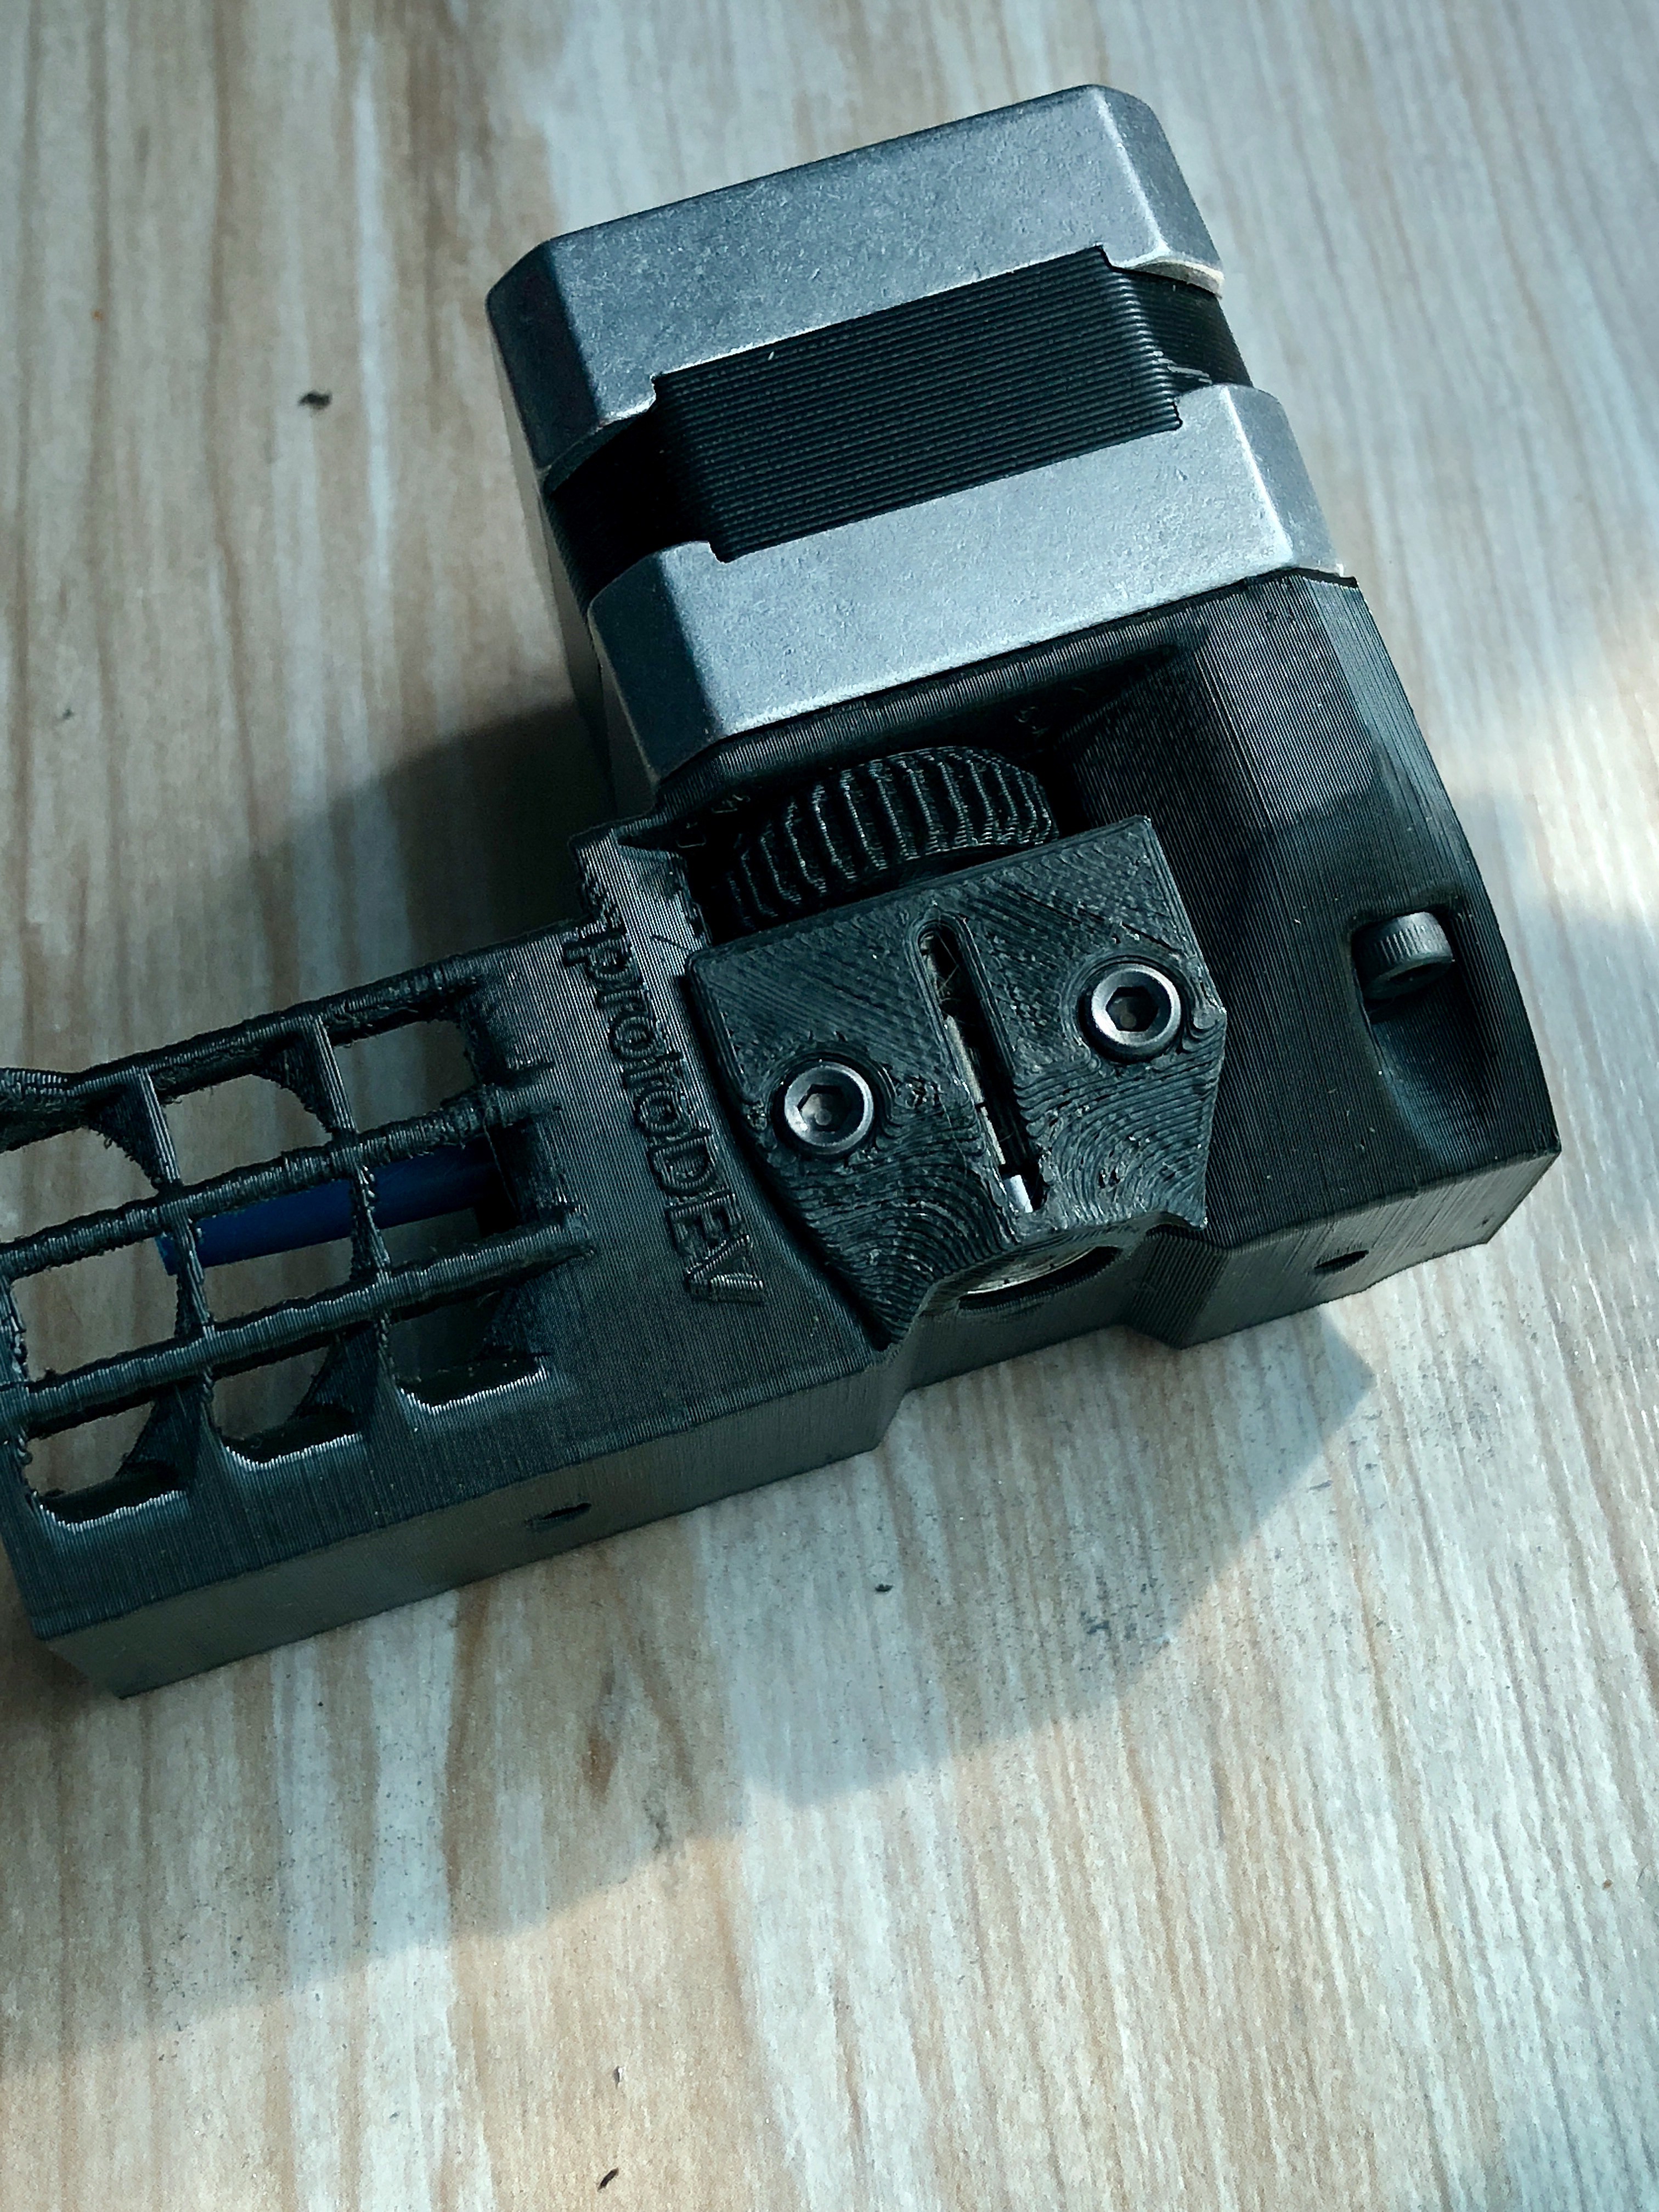
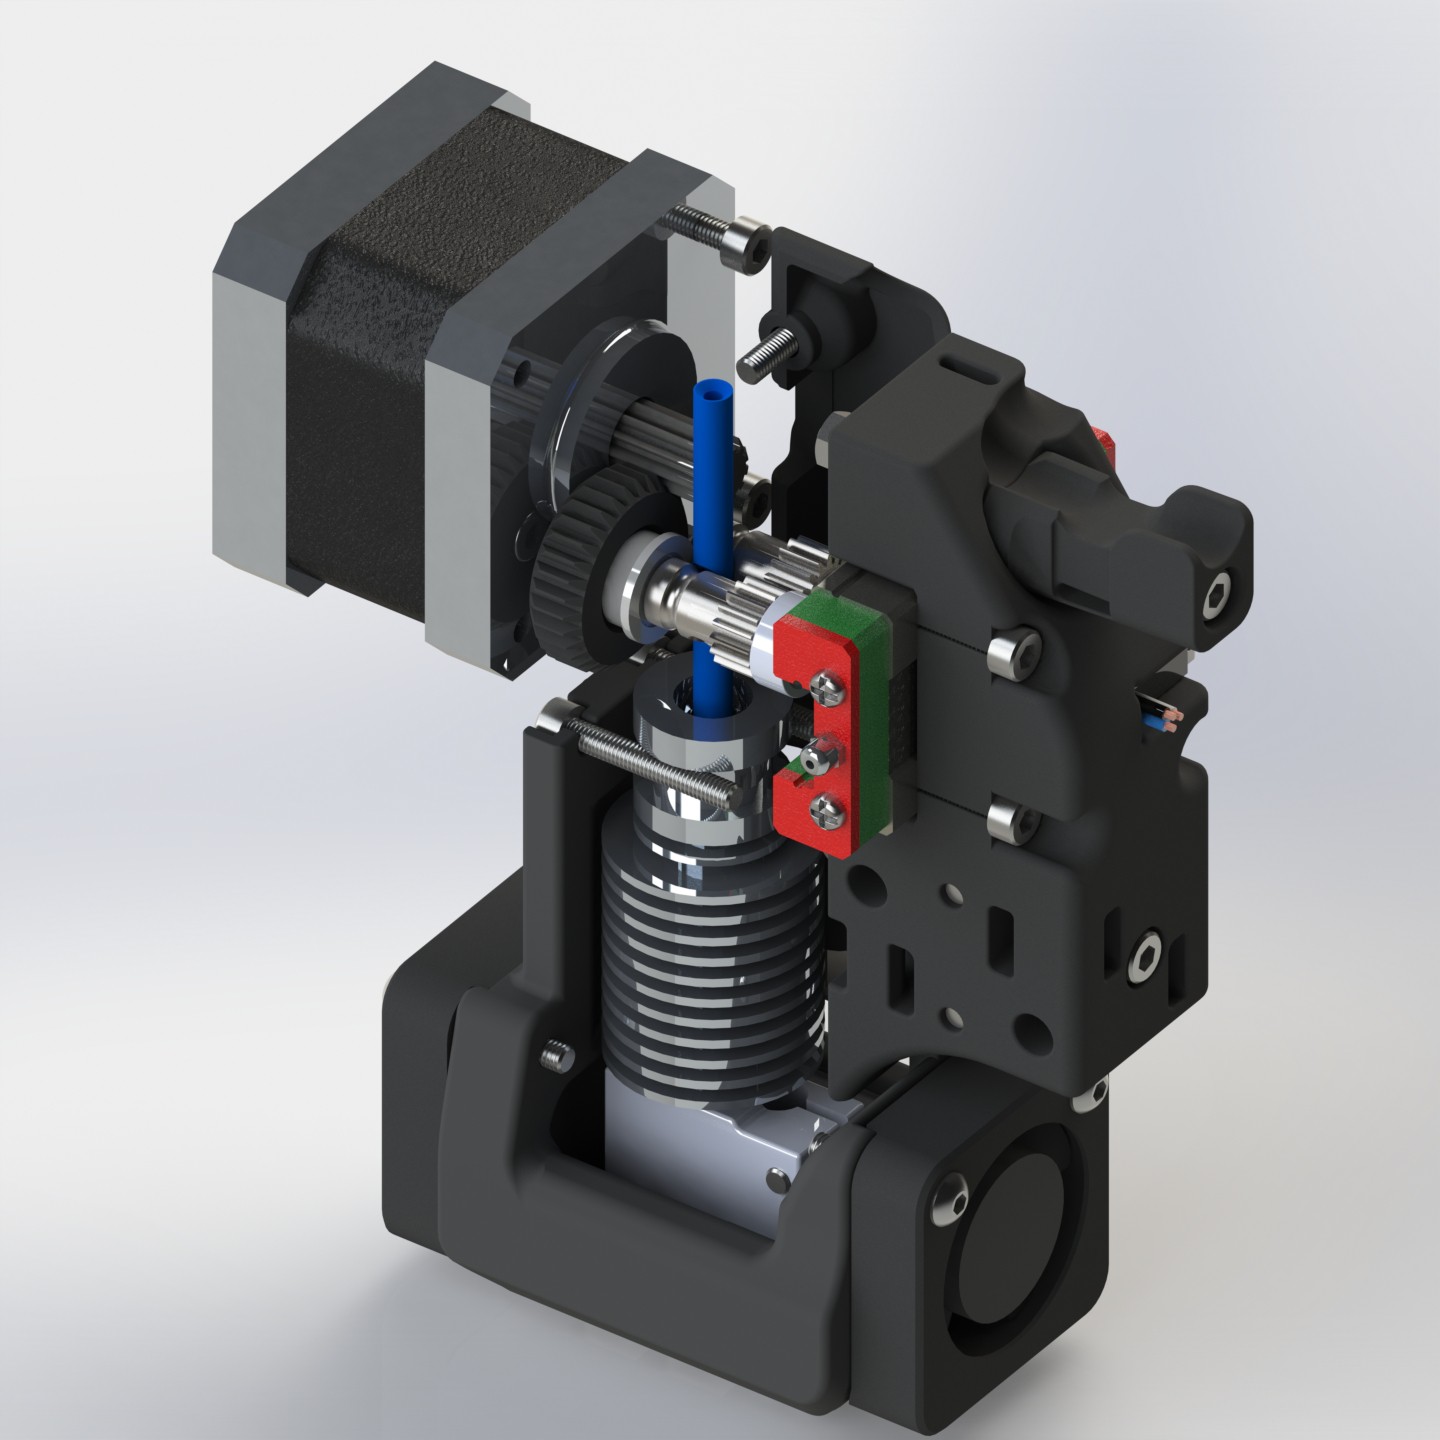
- e3d volcano hotend with hartened steel 0.4mm nozzle
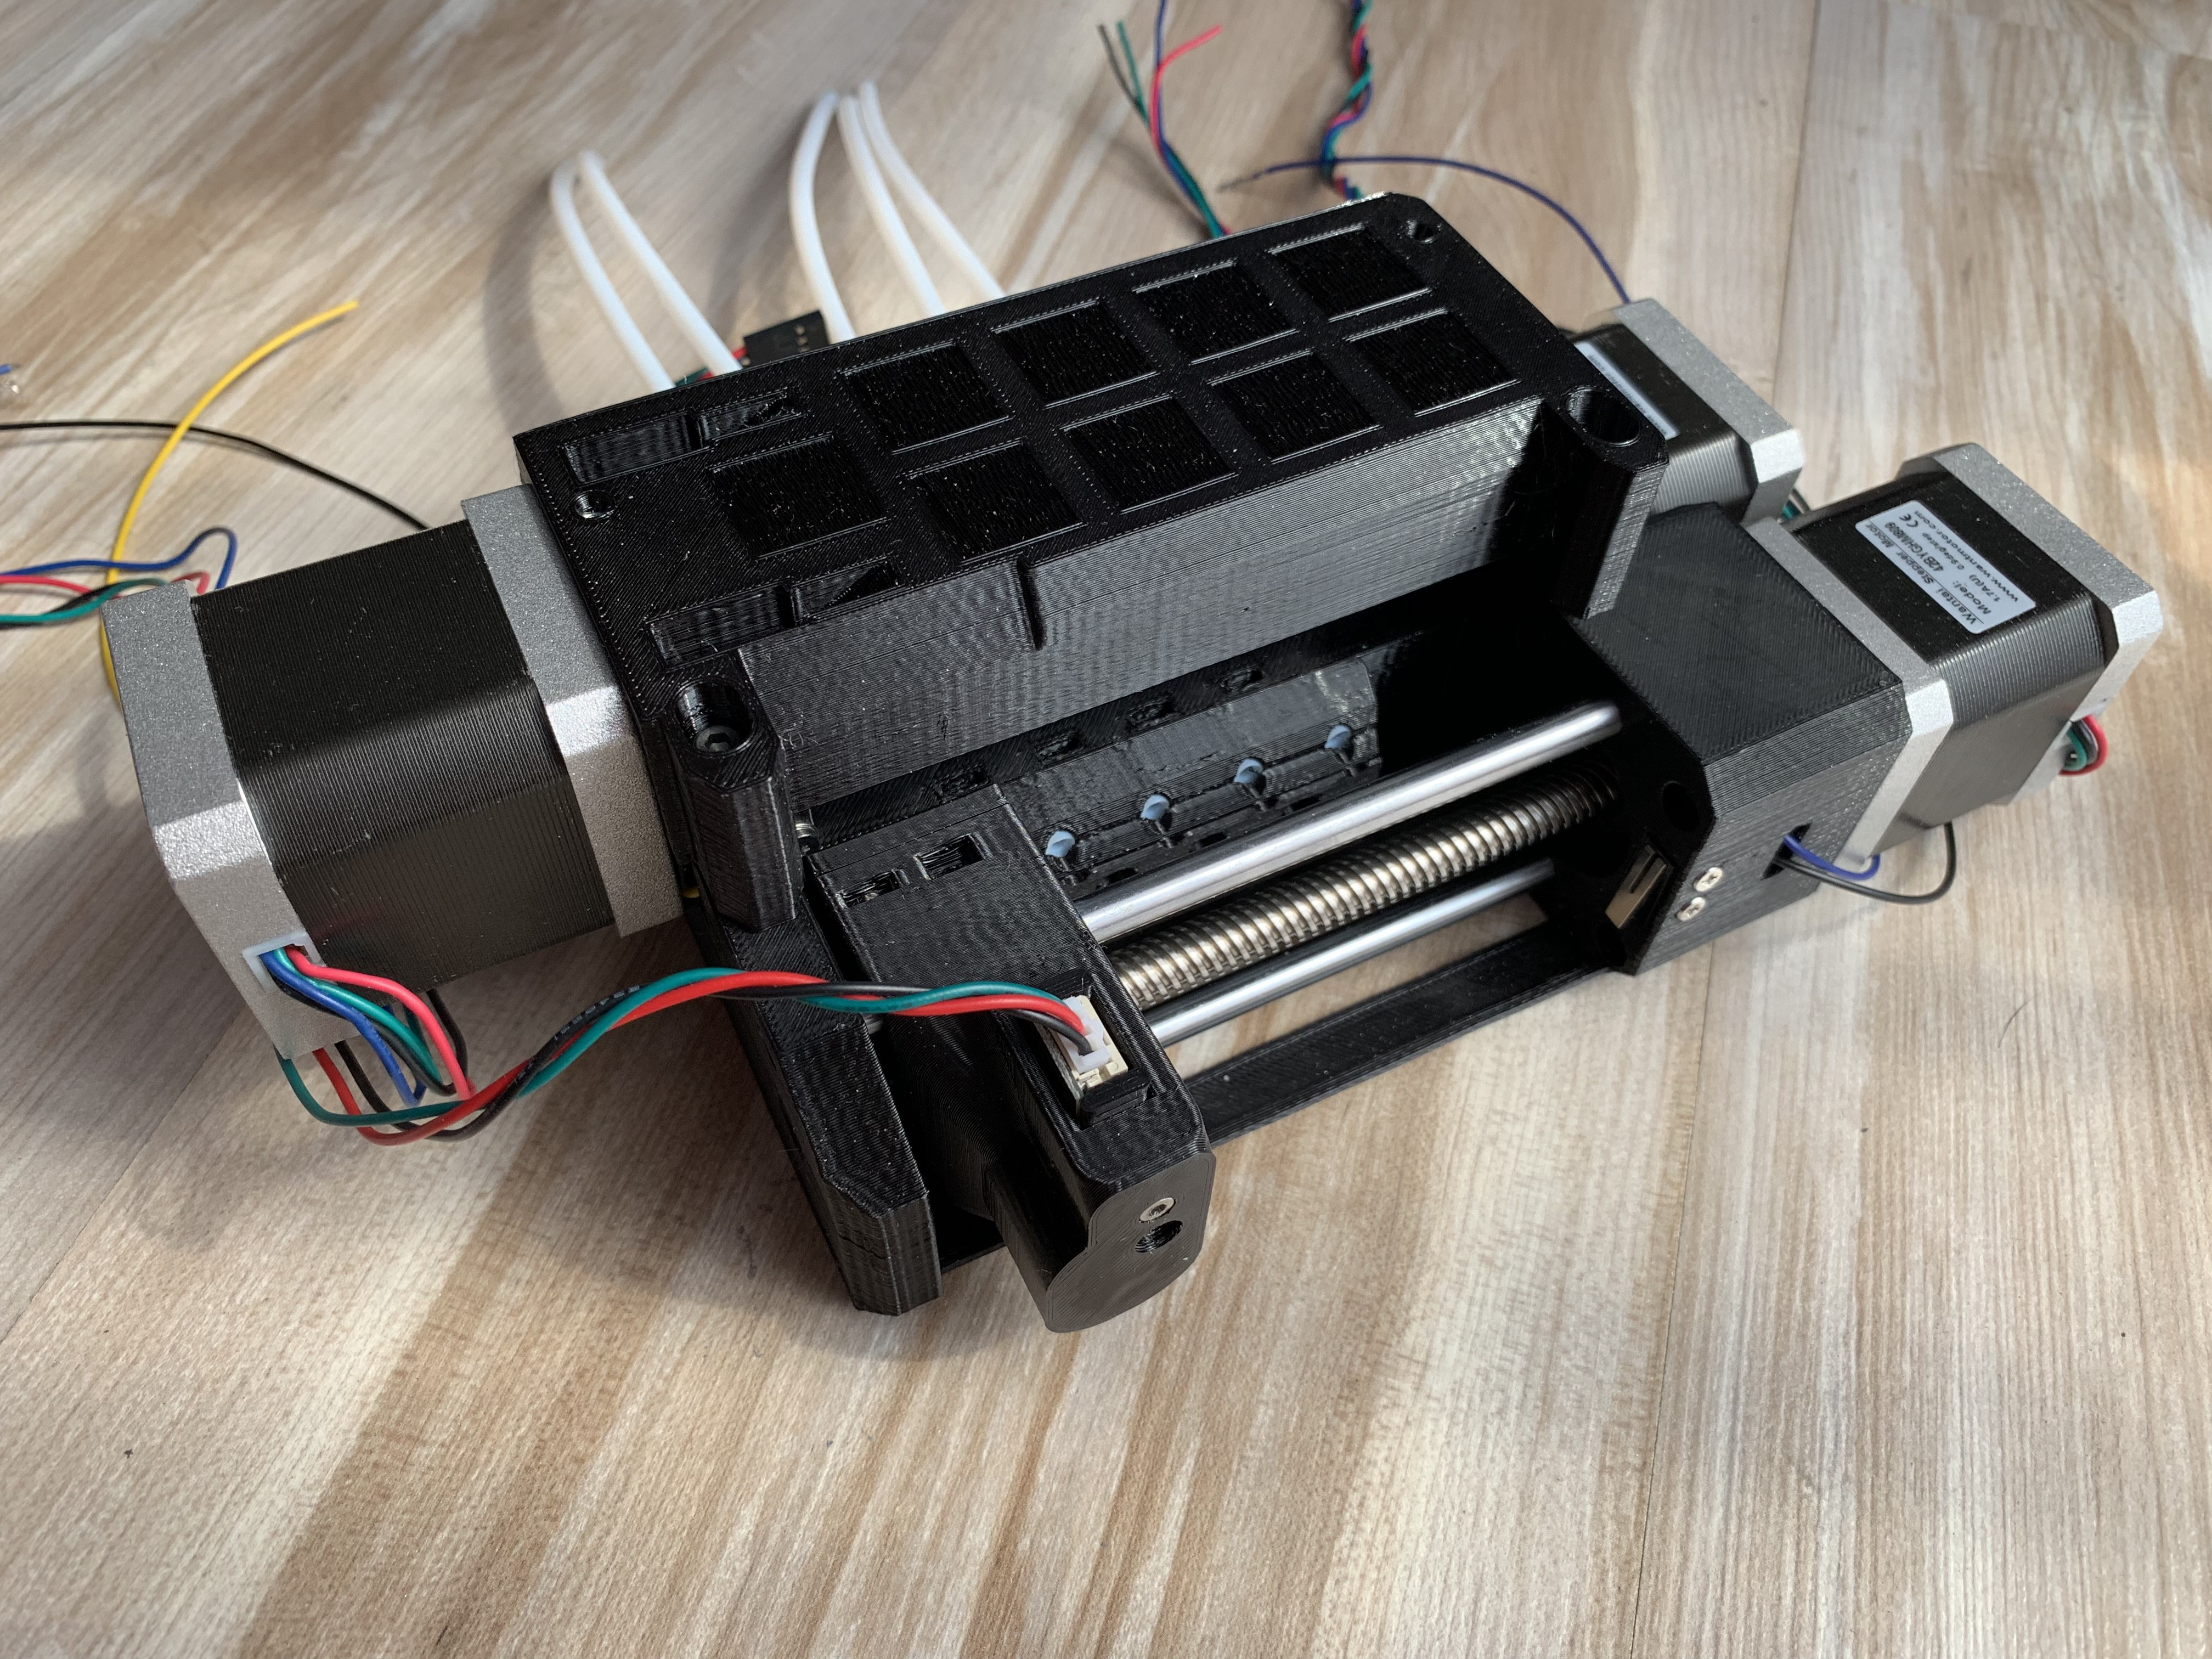
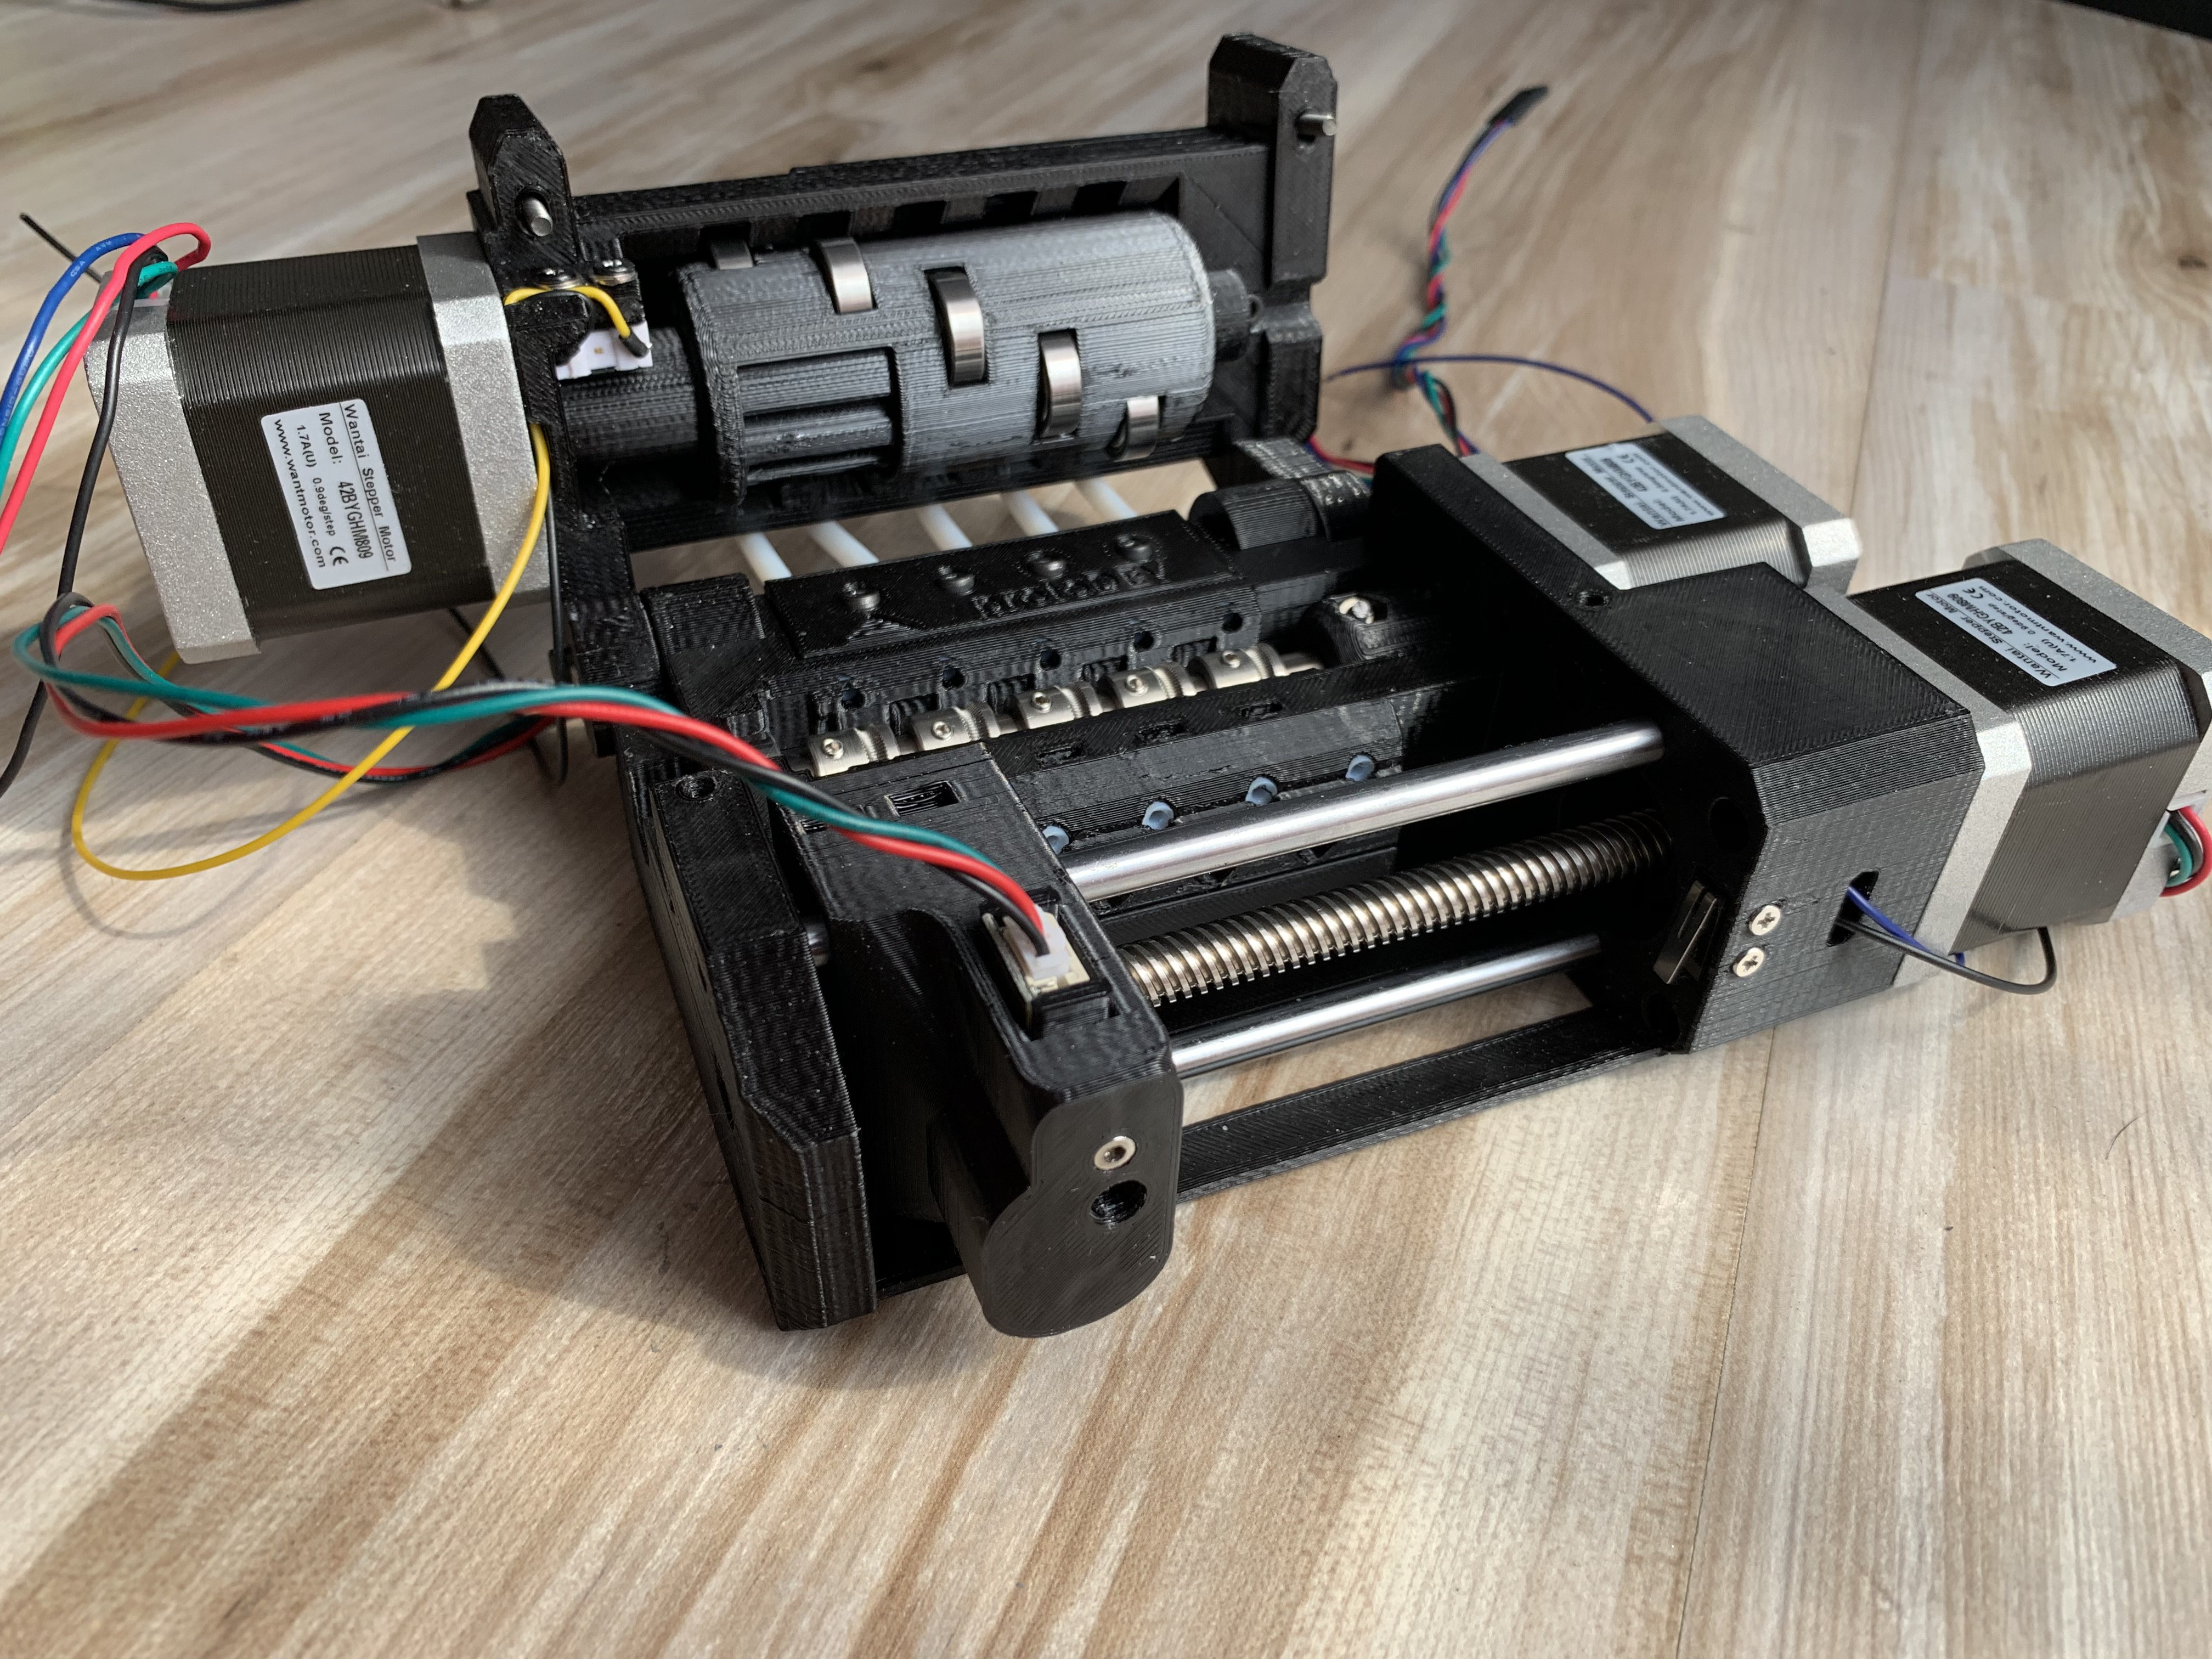
- integrated 5 slot single nozzle multi color/material support
- automatic nozzle cleaner
- auto-remove function for purged material when color/material change
- Pressure advanced for fast extrusion and nice corners
- TMC2208 silent stepper drivers - spread cycle setup with step interpolarisation 1/256
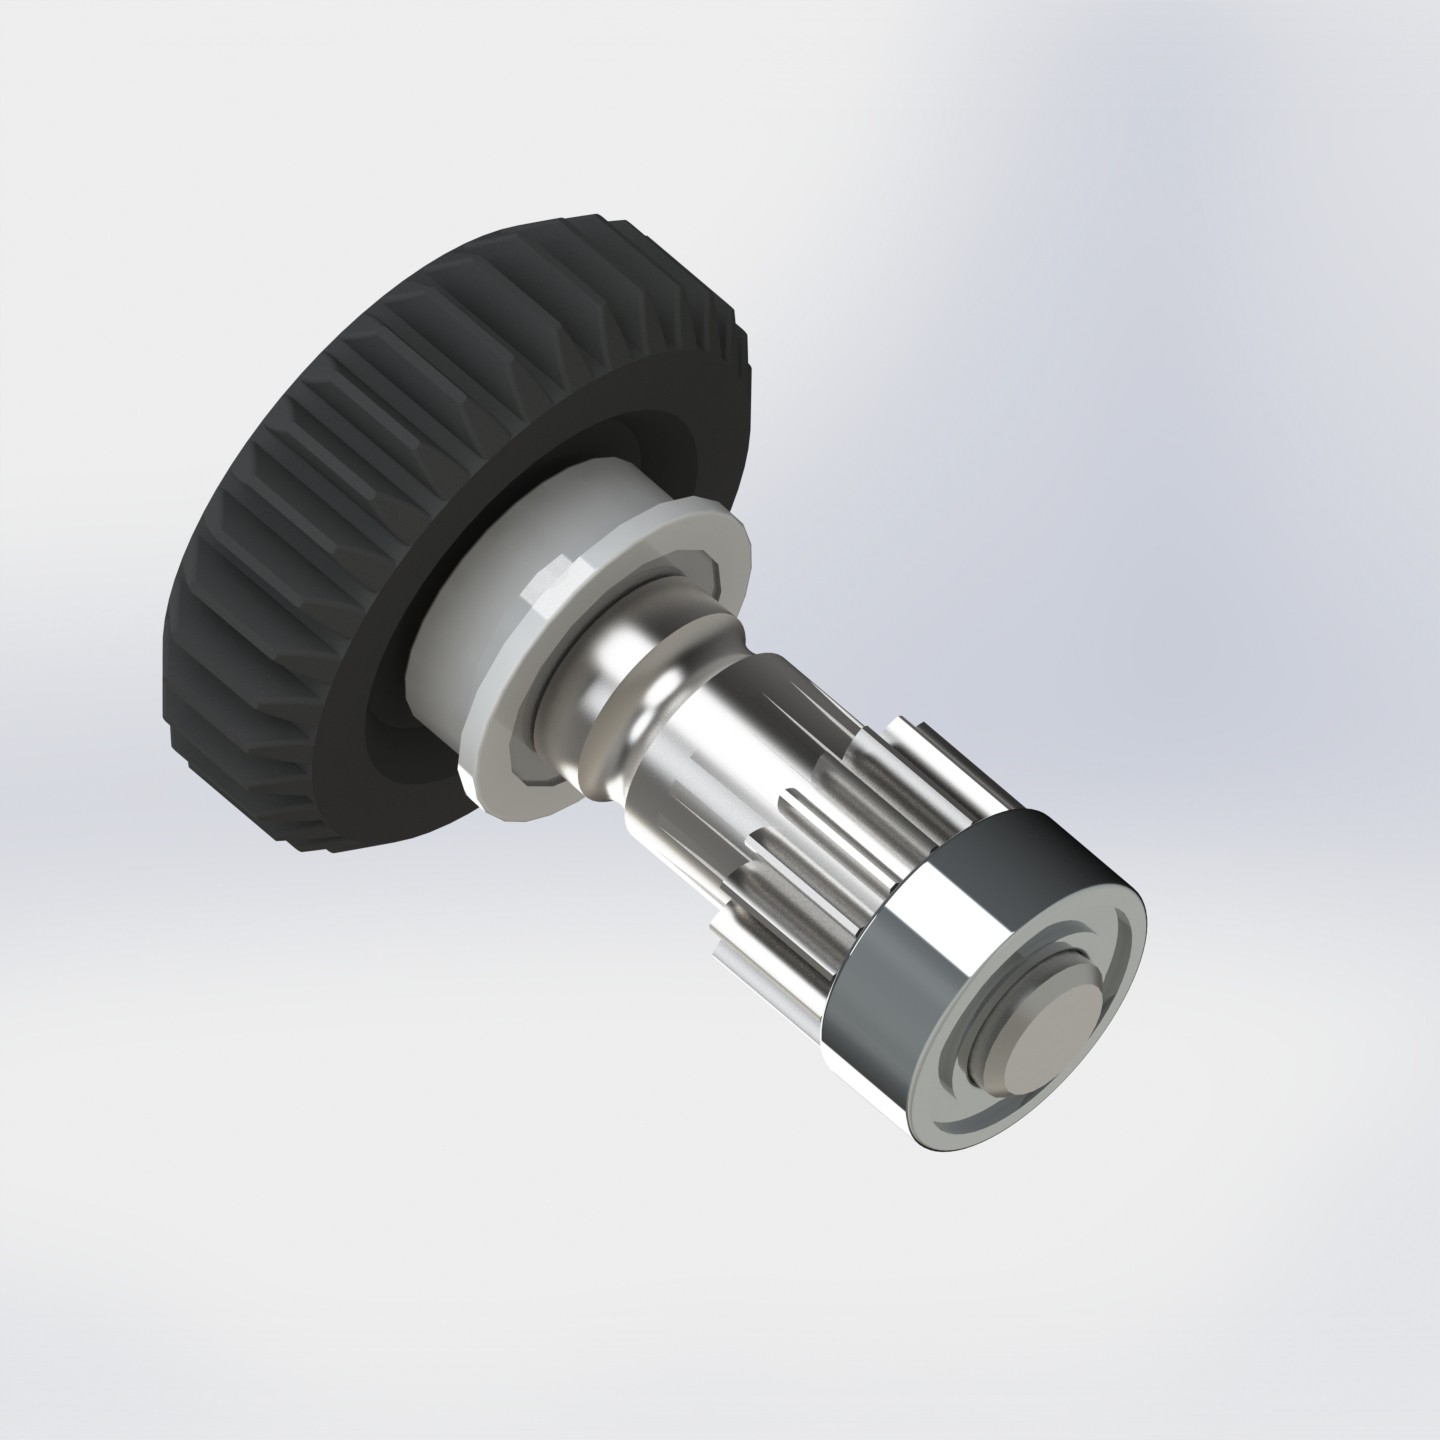
- geared (3:1) direct drive extuder with Bondtech dual drive gears(simpler and more reliable printing then bowden)
- max speed up to 300mm/s
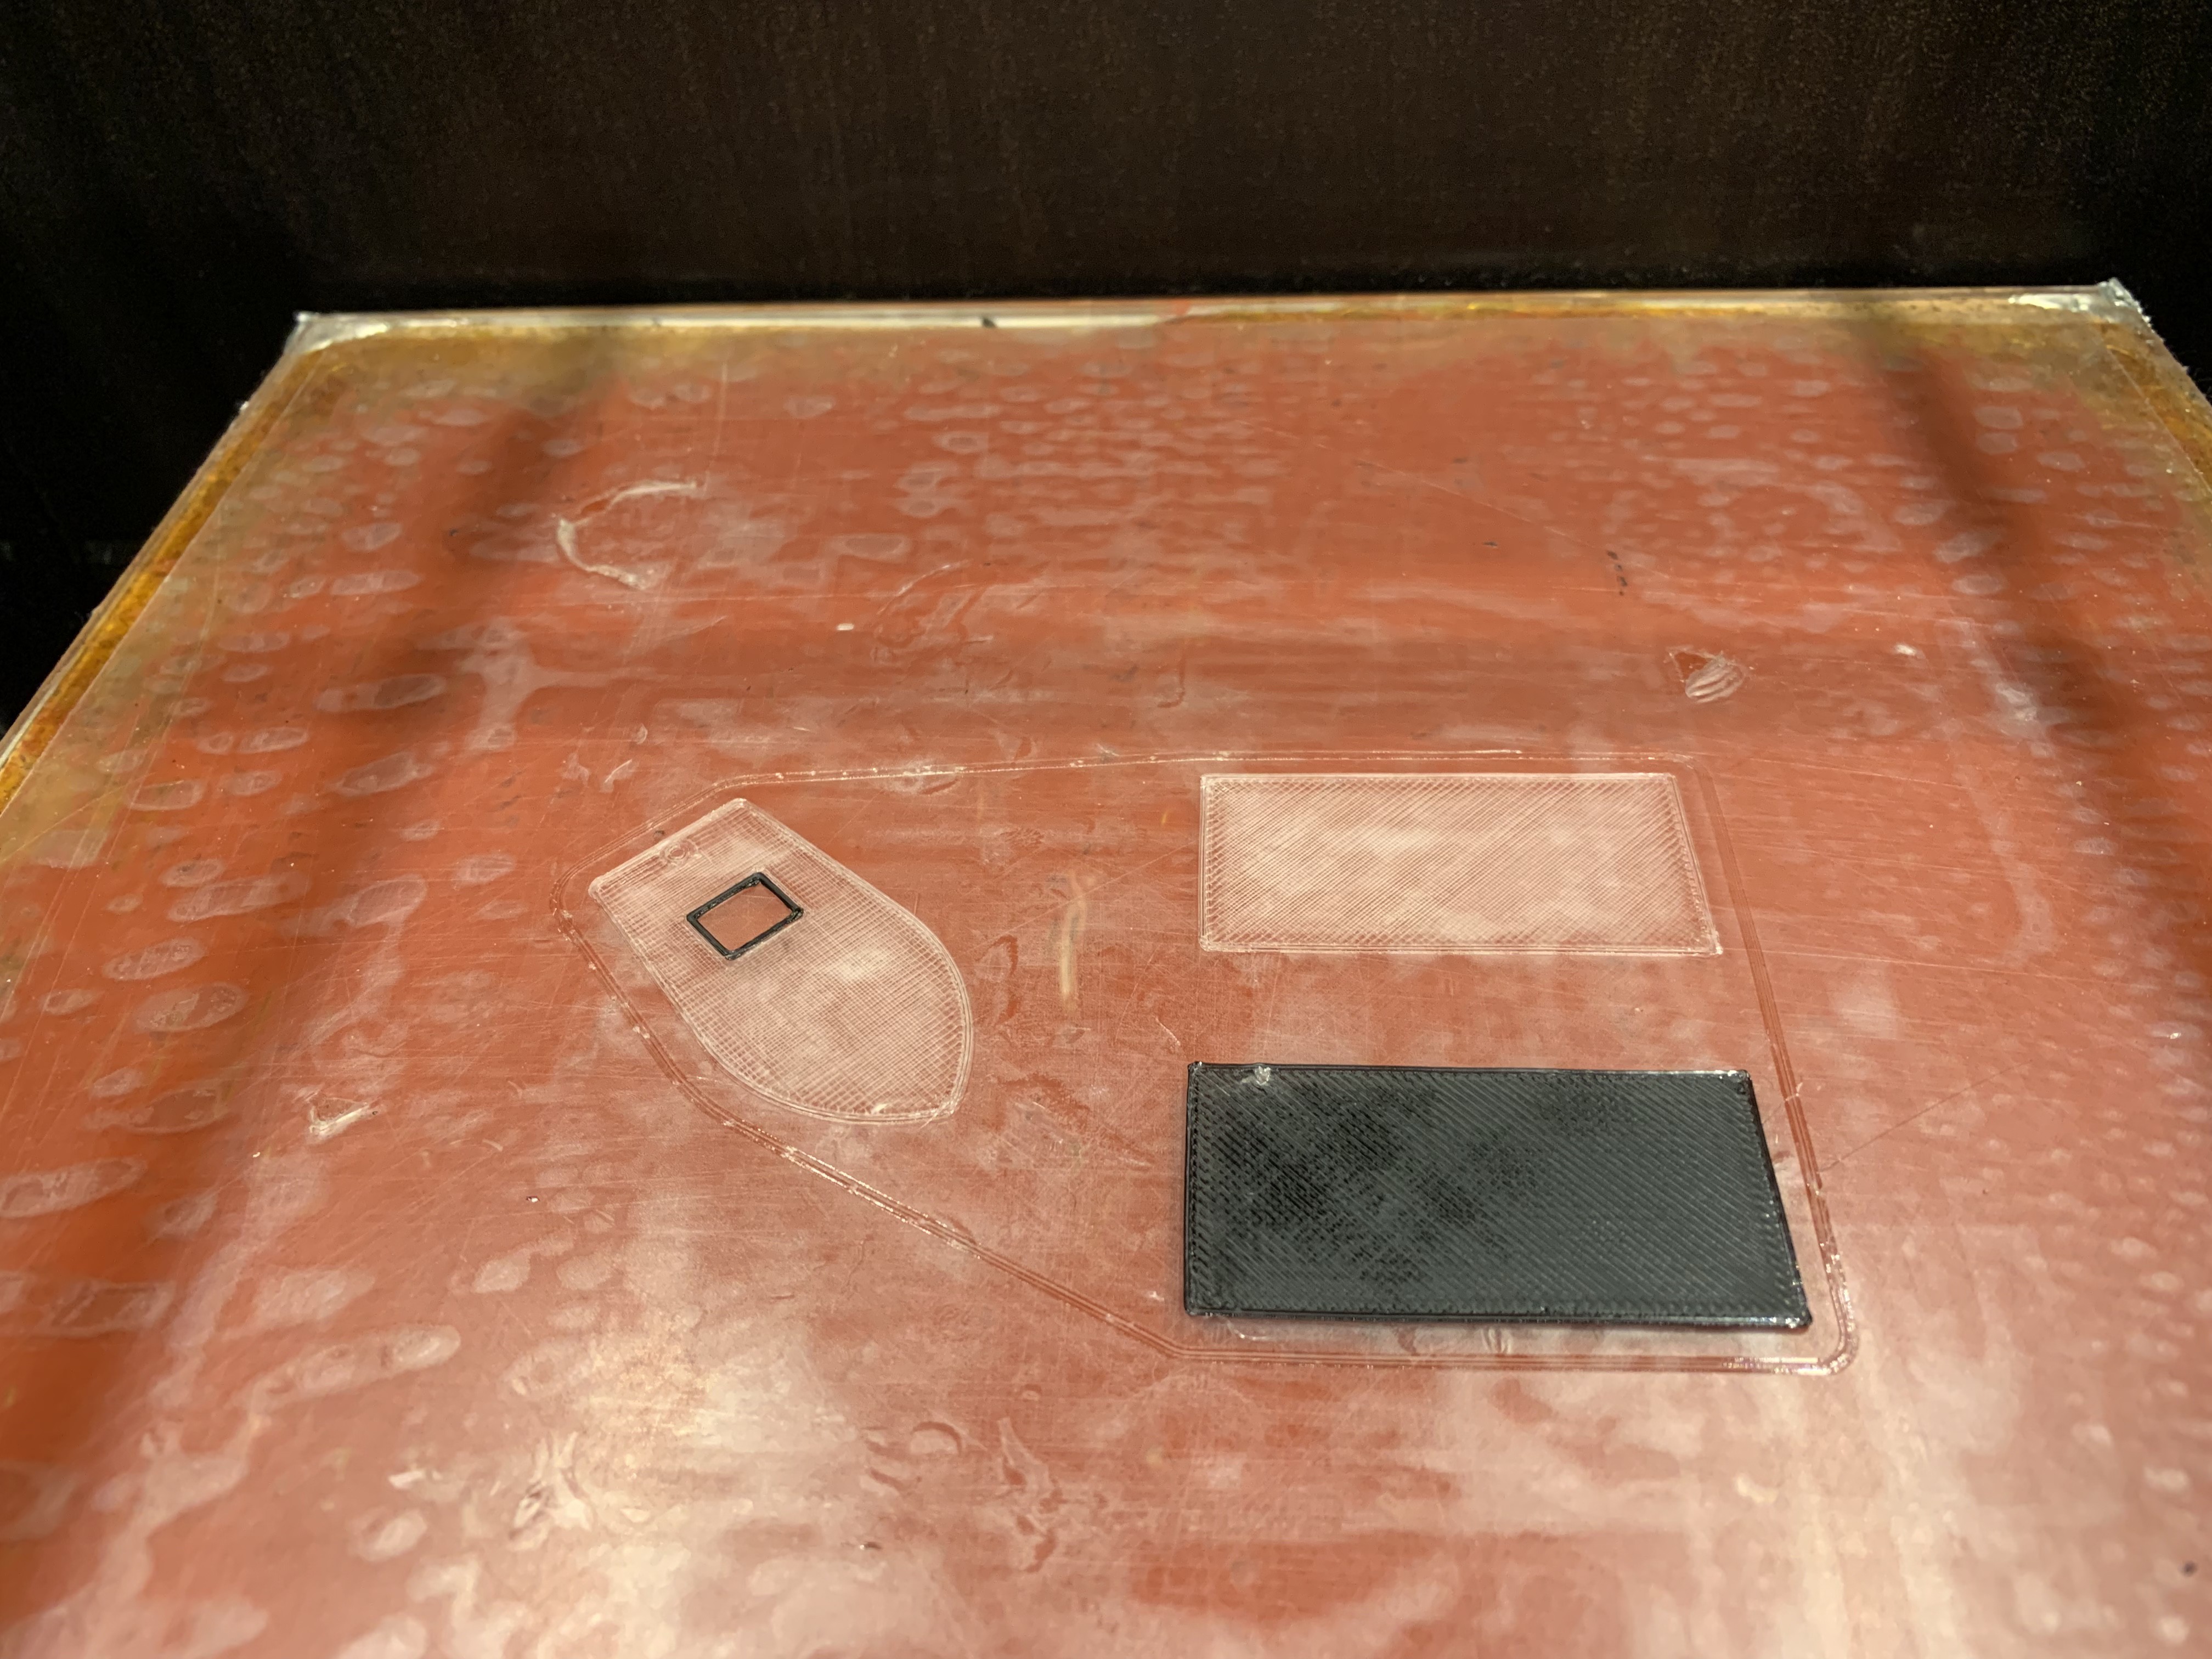
- heated build plate with PET film surface for superb material adhesion
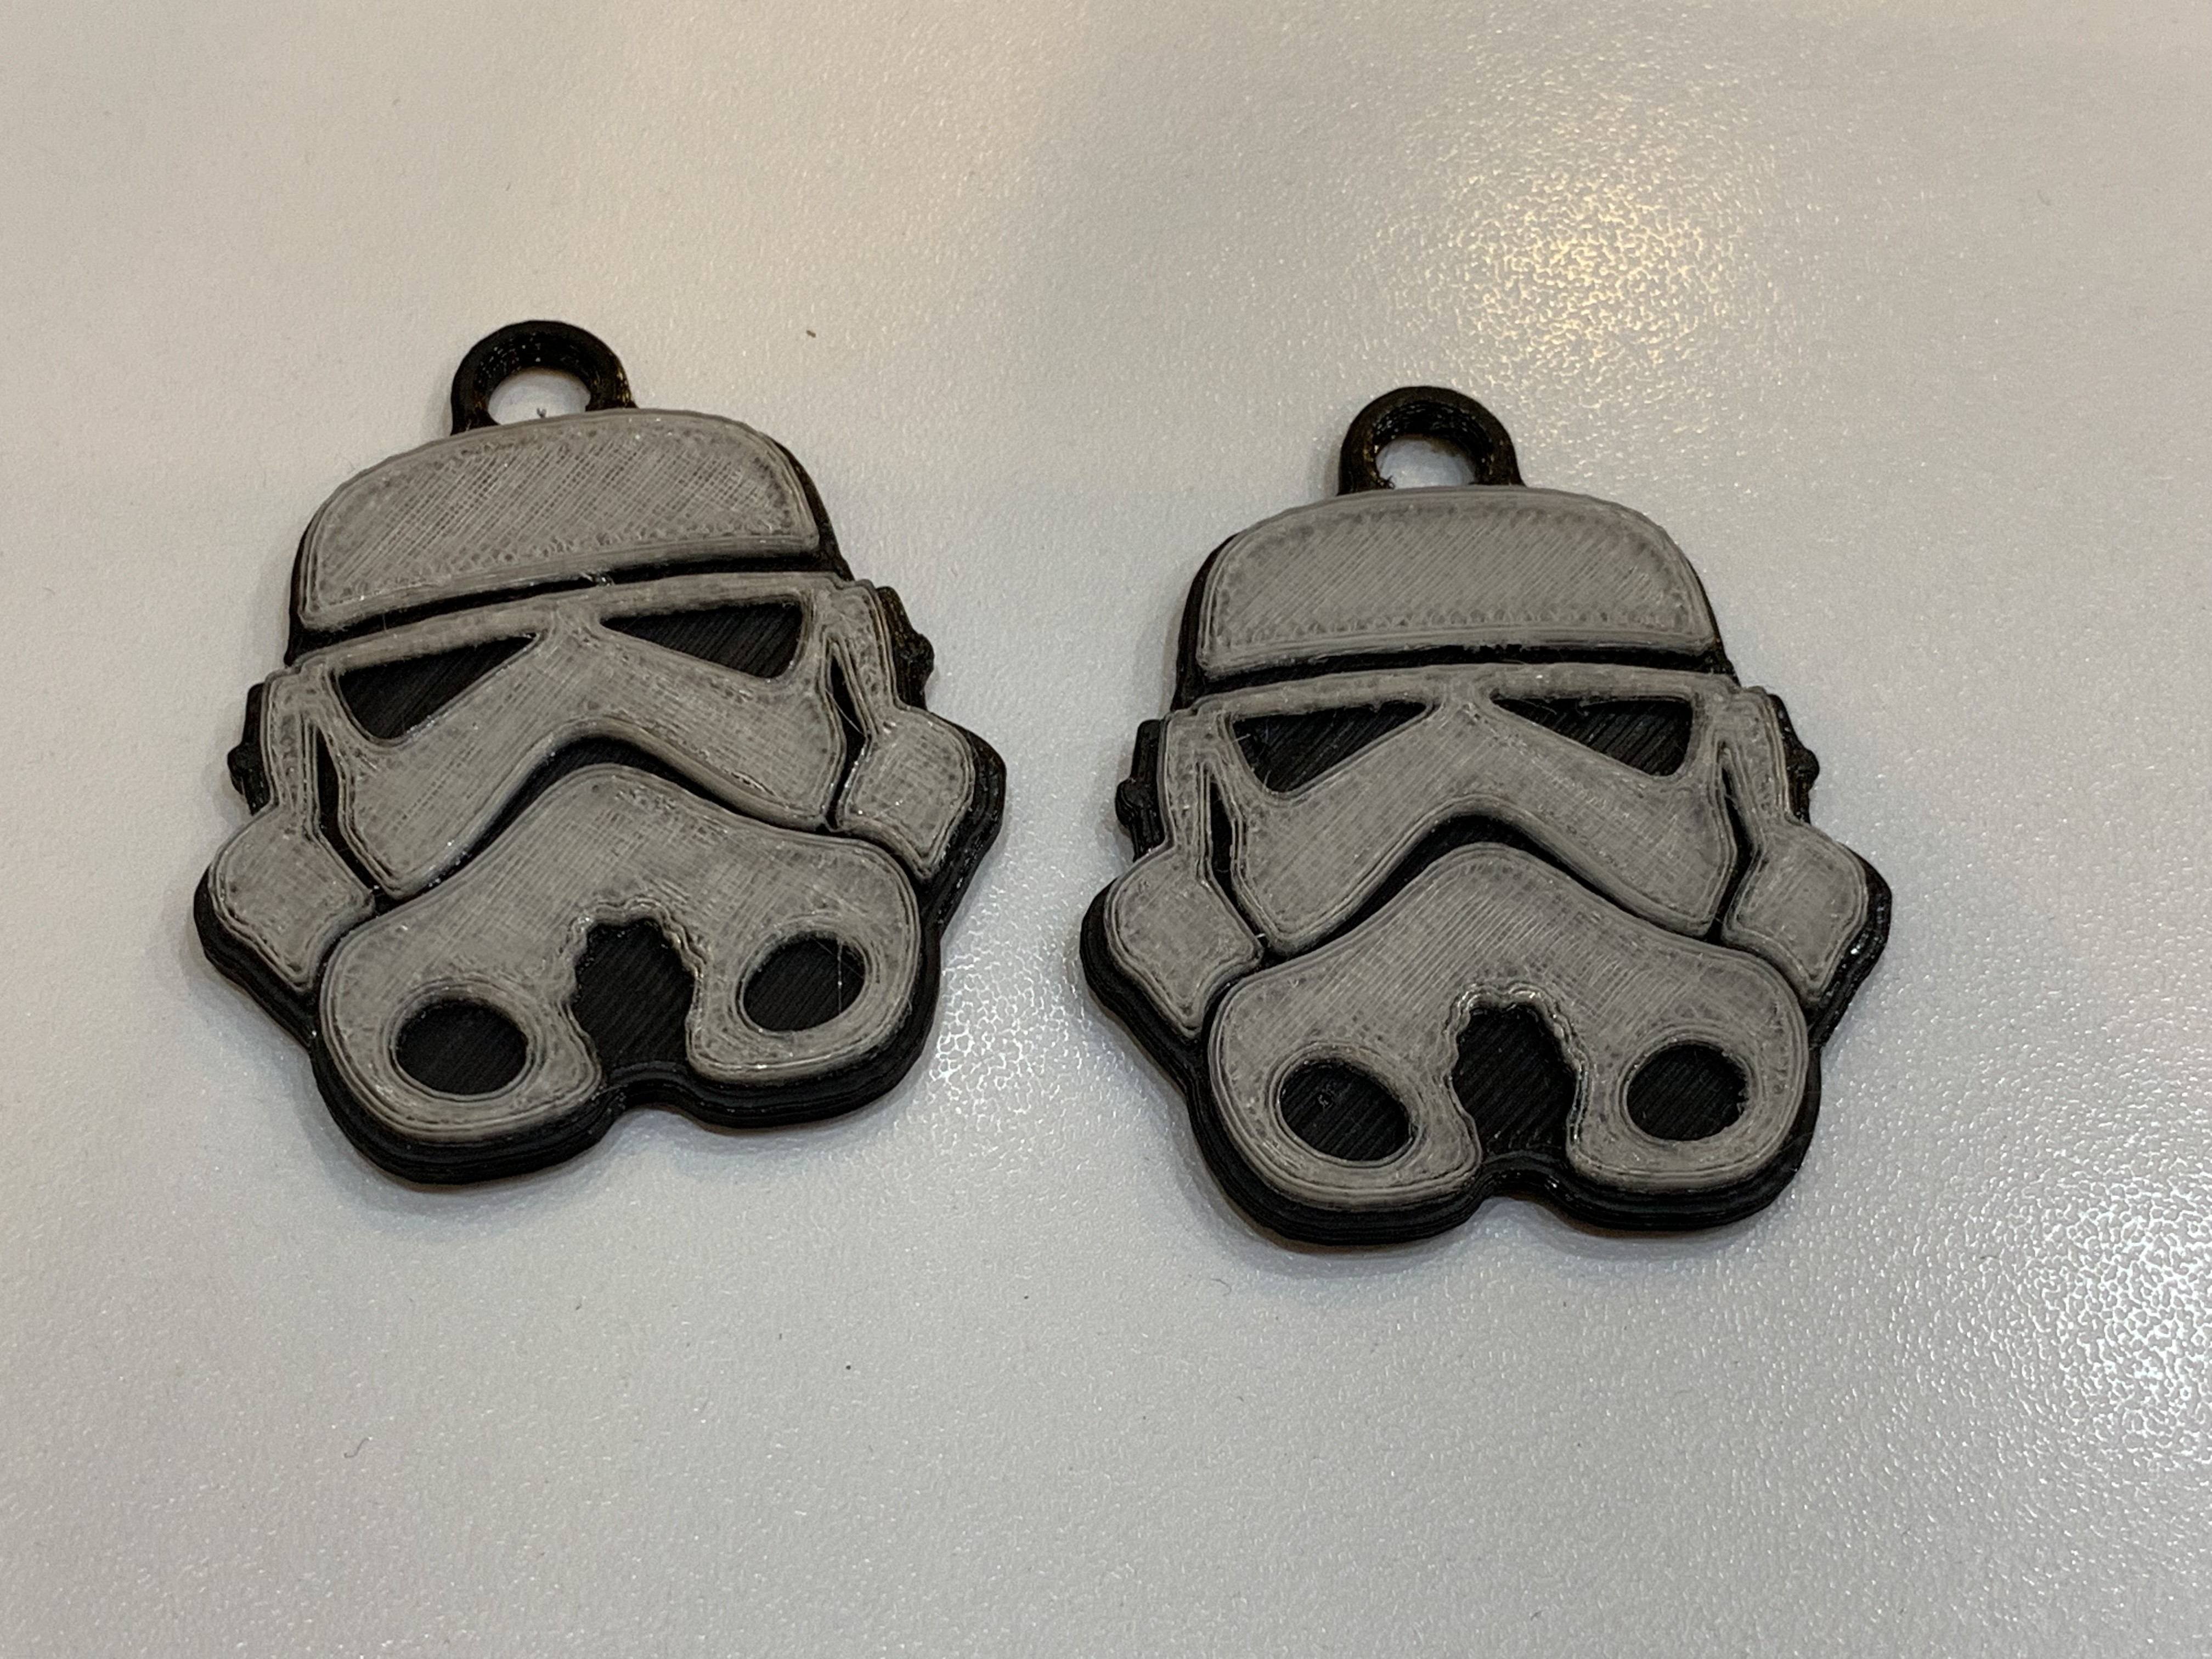
- support of multiple filament types (PLA, PET, TPU)
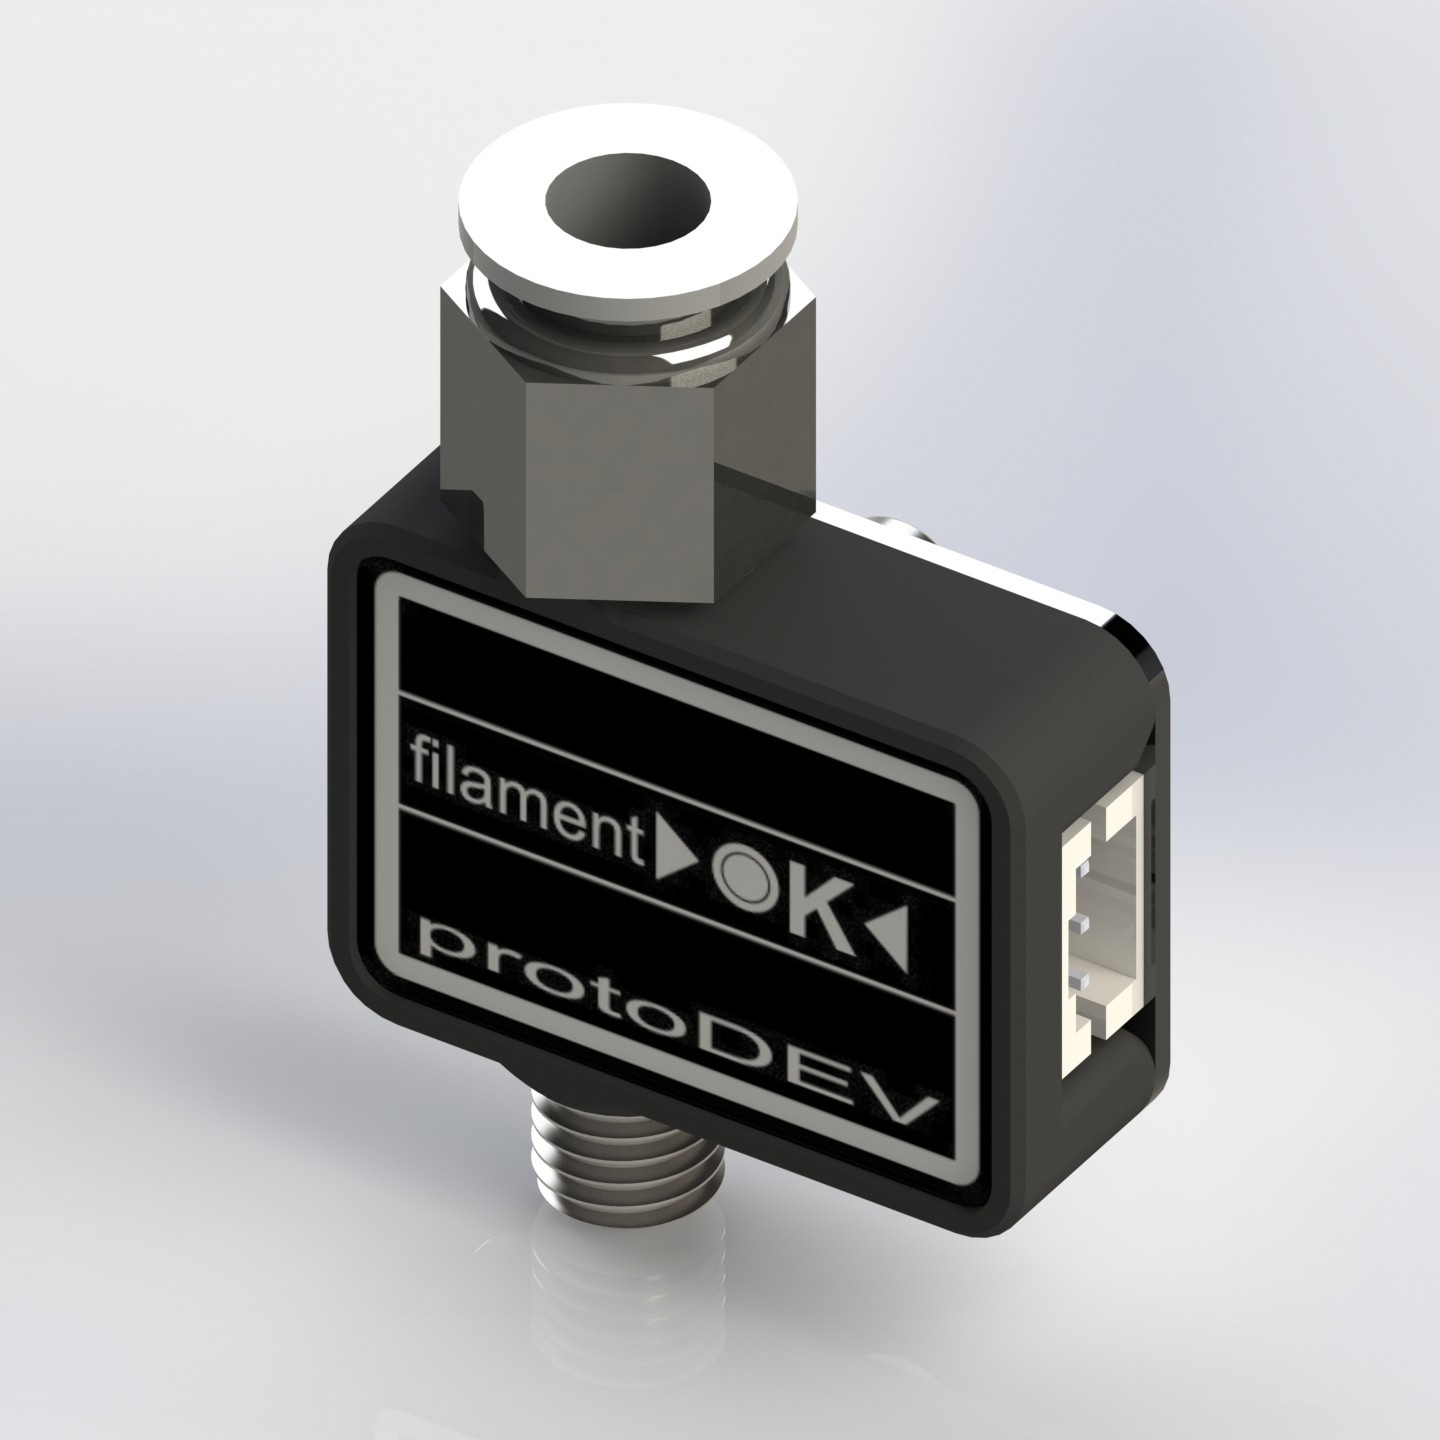
- filament run-out sensor
- coreXY with proper belt alignment for hi-torque and stiffness
- hi-flow 24V 50W hotend setup for fast printing
- all axis with 2x higher mechanical resolution at same step rate (0.9deg 1/8 step = 1.8deg 1/16 step)
- one motor doubble z-axis (no shaft sync problems)
- all axis motors mounted at bottom of printer to lower the center of gravity
- all of non-printed parts was selected to be worldwide available and have reasonable price to quality ratio.
- enclosure
- automatic parts removal ( if got time or need for this add on to work - i've designed it and printed just waiting for software )
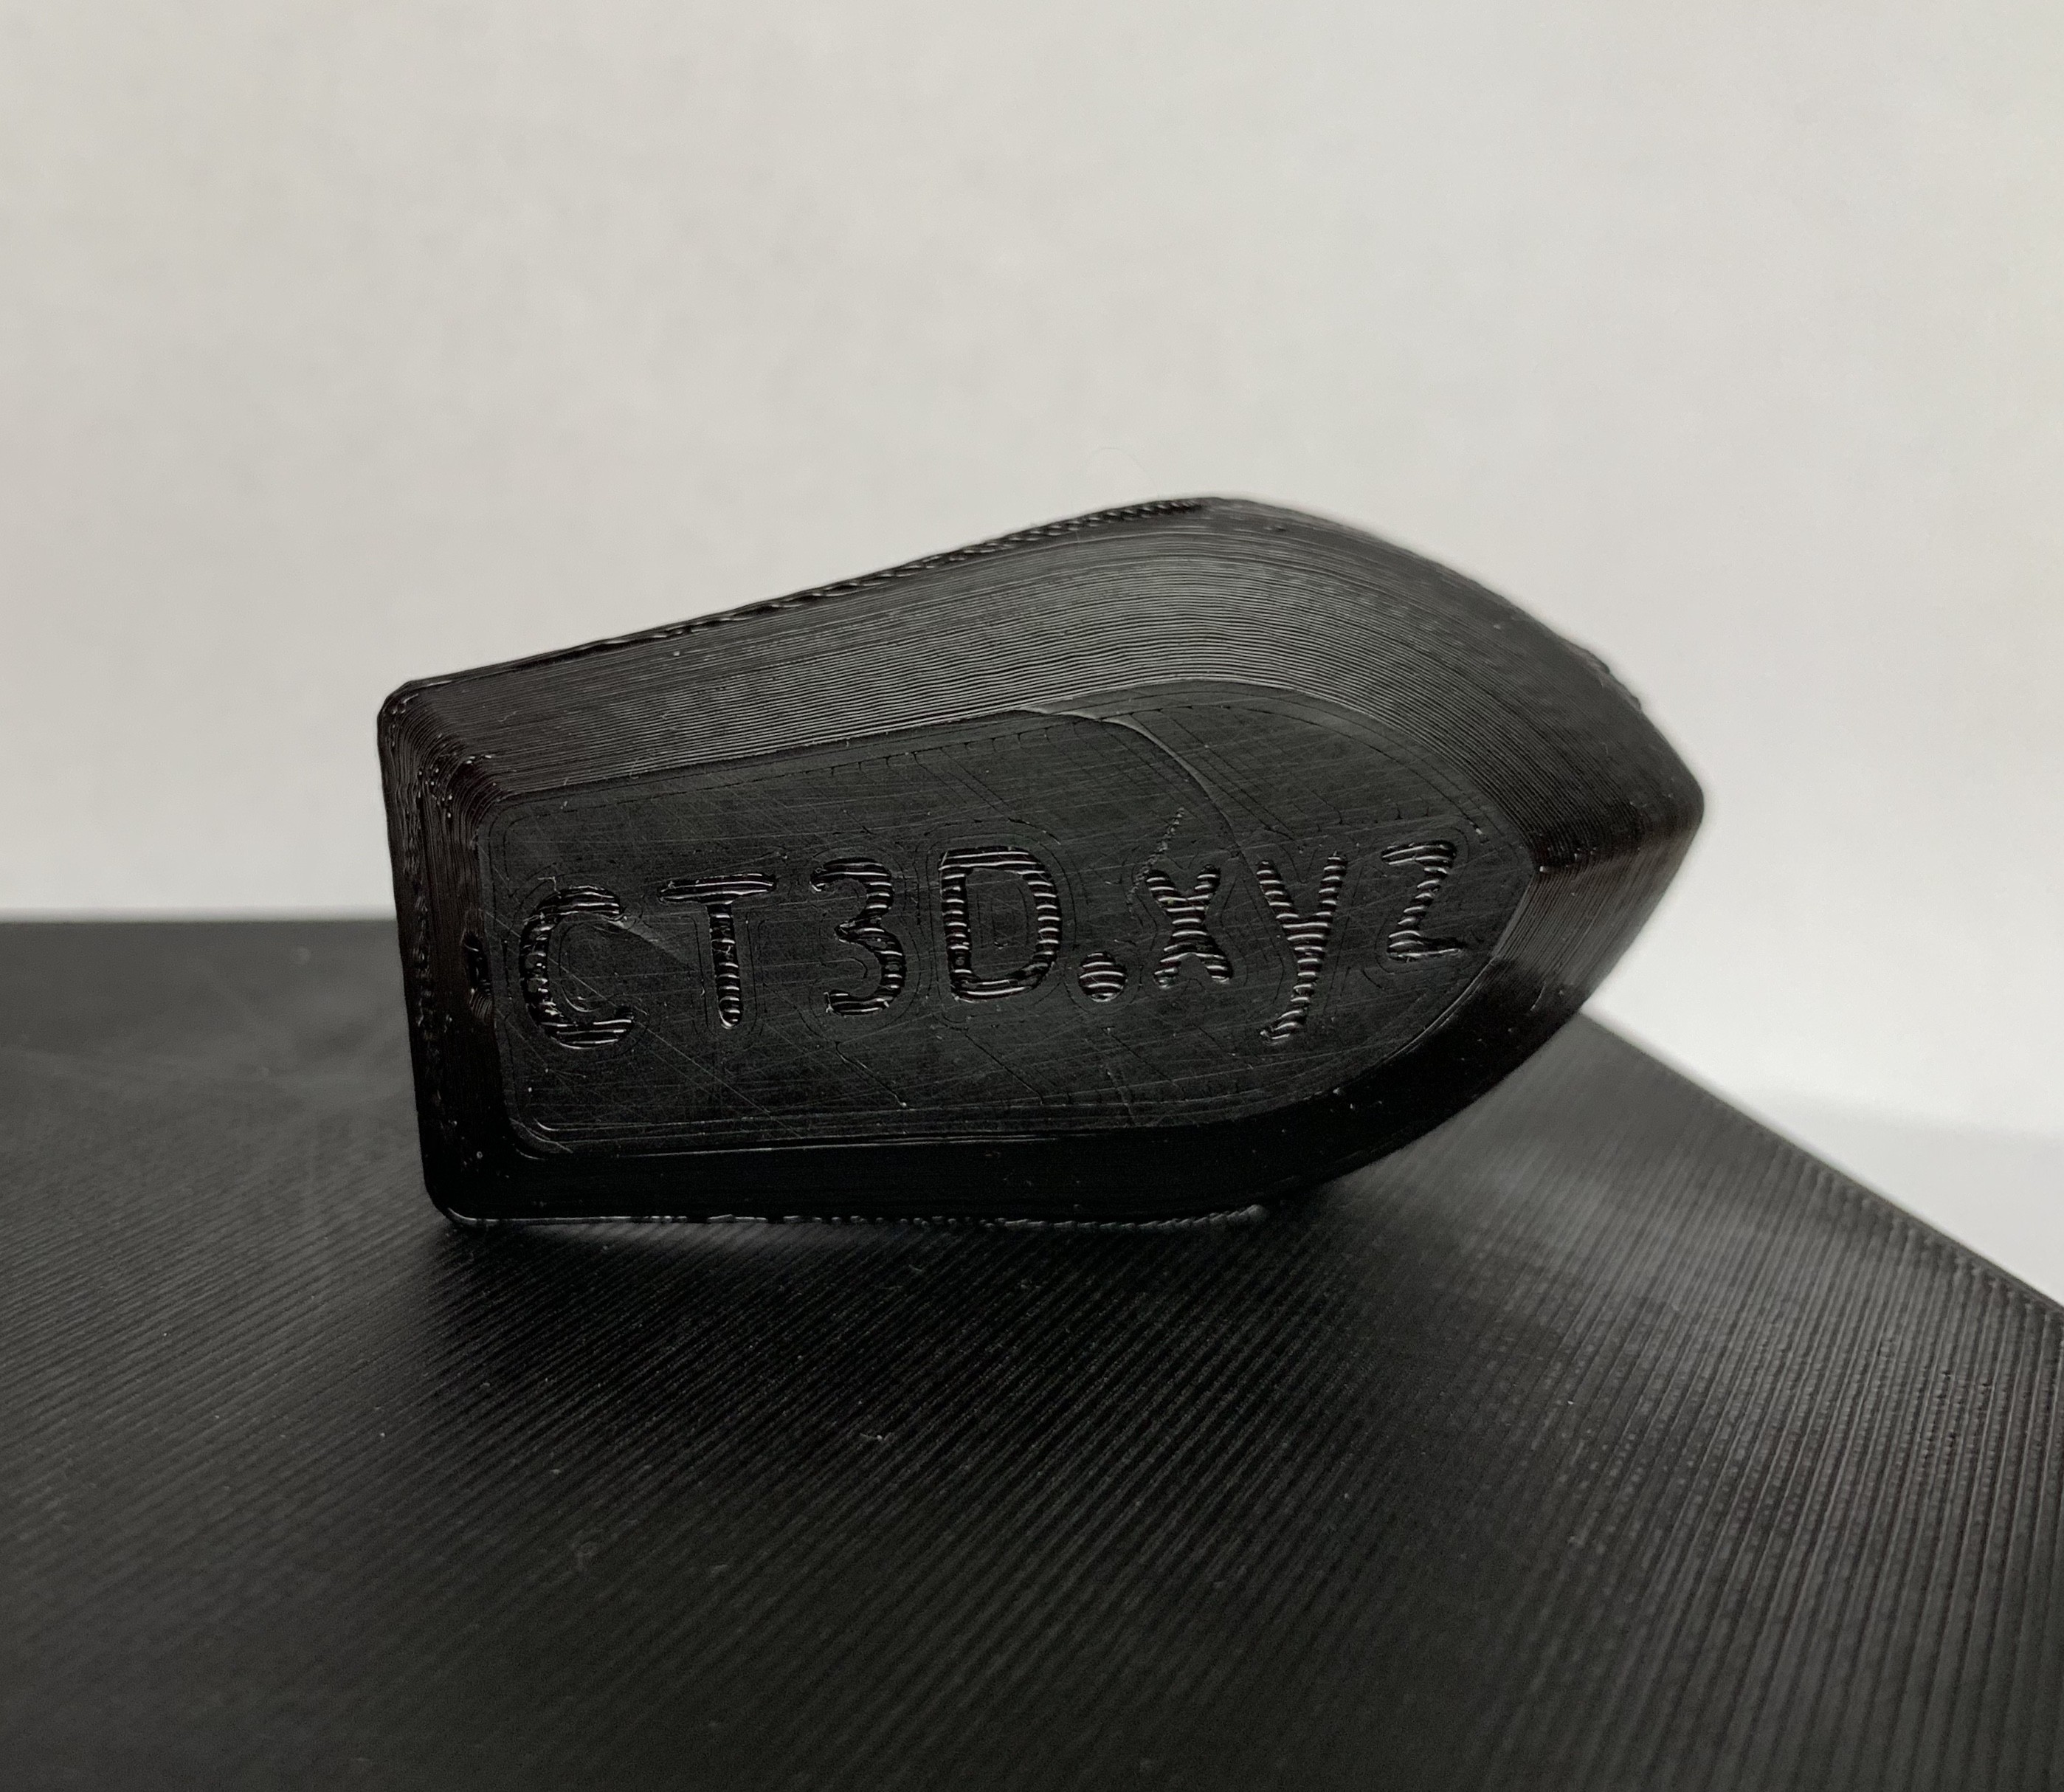
ALL PROJECT FILES MOVED TO GITHUB
( .stl renders, firmware and configuration files )
TODO:
- test mechaduino board as extruder driver
- add enclosure files prepared for laser cutting
- find quiet print cooling fans replacement
- enclosure over-temperature control
- apr addon tests and firmware development for batch 3d printing
- diy heatbed for protoDEV build instructions
- user friendly build instruction
- firmware/software manual
- BOM for all non-printed parts


 Alan Chambers
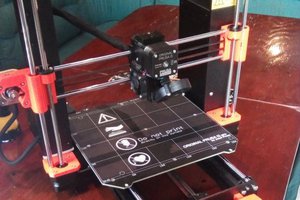
 Patrick
 Nicholas Seward