Close
0%
0%

Sunrise MkII

Basic sunrise simulator / light based alarm clock
- in a jar

Similar projects worth following
This is an iteration of my previous illuminating sunrise alarm clock to make it that bit more pleasant to get out of bed in the dark/gloaming of winter.

The board is designed to make the most of the x3 minimum order from OSH, so that each of the three are populated with 6 WS2812 LEDs, but only one is populated with the control hardware. Any number of boards can be wired together to work with requirements / aims of the end project.

Using a generally available quart sized Ball jar frosted by spraying the inside with paint for frosting glass as the enclosure.

Hardware simply consists of;
- ATMEGA328P MCU
- 37kHz Real Time Clock crystal
- WS2912 digital RGB LEDs
- resistors / capacitors as required (3216/1206 for easy hand soldering)
- I2C 1602 LCD adaptor
- 1602 LCD module
- 2bit / 1 switch rotary encoder

This sunrise clock calculates the position of the sun at a given time for a specified (static) day of the year.

From this position the colour of the sky is calculated using Perez method to give CIE Yxy values. These are converted to CIE XYZ values and thence to RGB using the CIE methodology.

The unitary RGB values are then constrained to the colour gamut and normalised. Finally the values are scaled to output luminosity for a 1.8 gamma based on a cosine function running from -6deg (civic twighlight) to max angle (midday).

The values are calculated for three azimuths, with two panels facing the sun (yellow / orange from turbidity filtering) and one panel being the opposite horizon (blues from Raleigh scattering)

This is my first project using AVR C++ rather than Arduino coding so likely many areas that could be improved. Where possible i've brocken out to libraries for the various functions, which should help re-use in other projects. Working initial code is hosted on github, see links
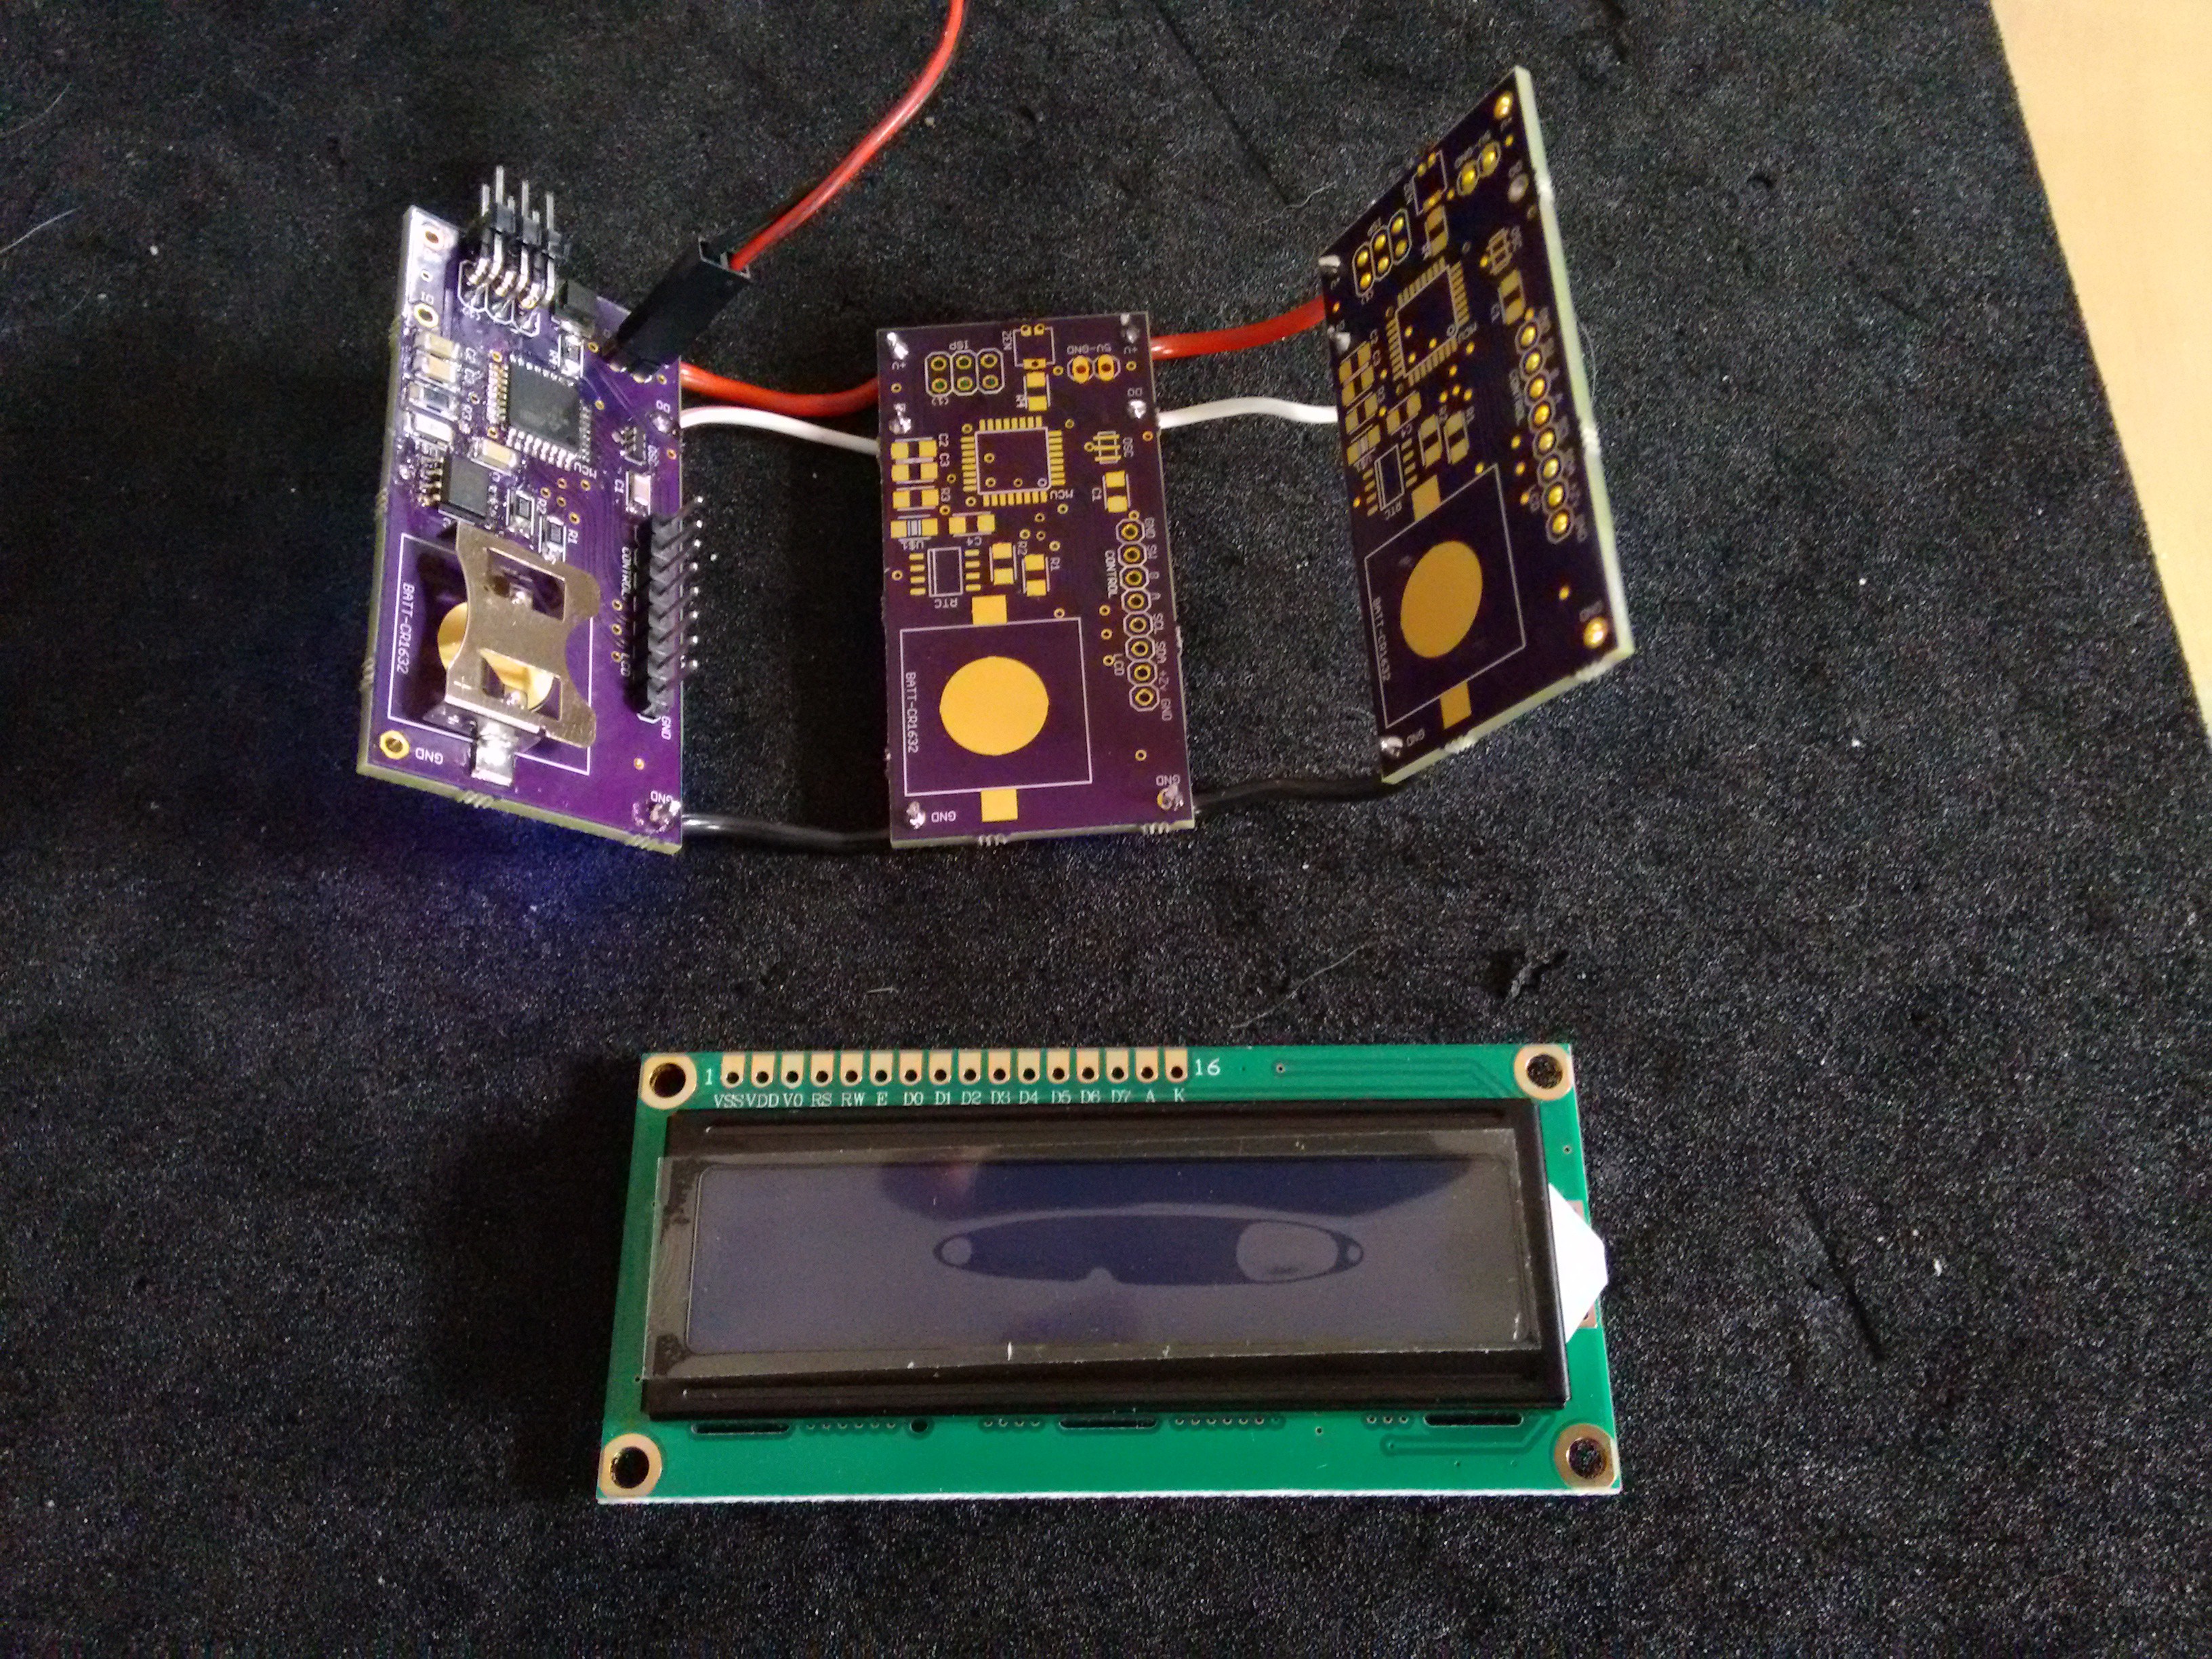
Enclosure;

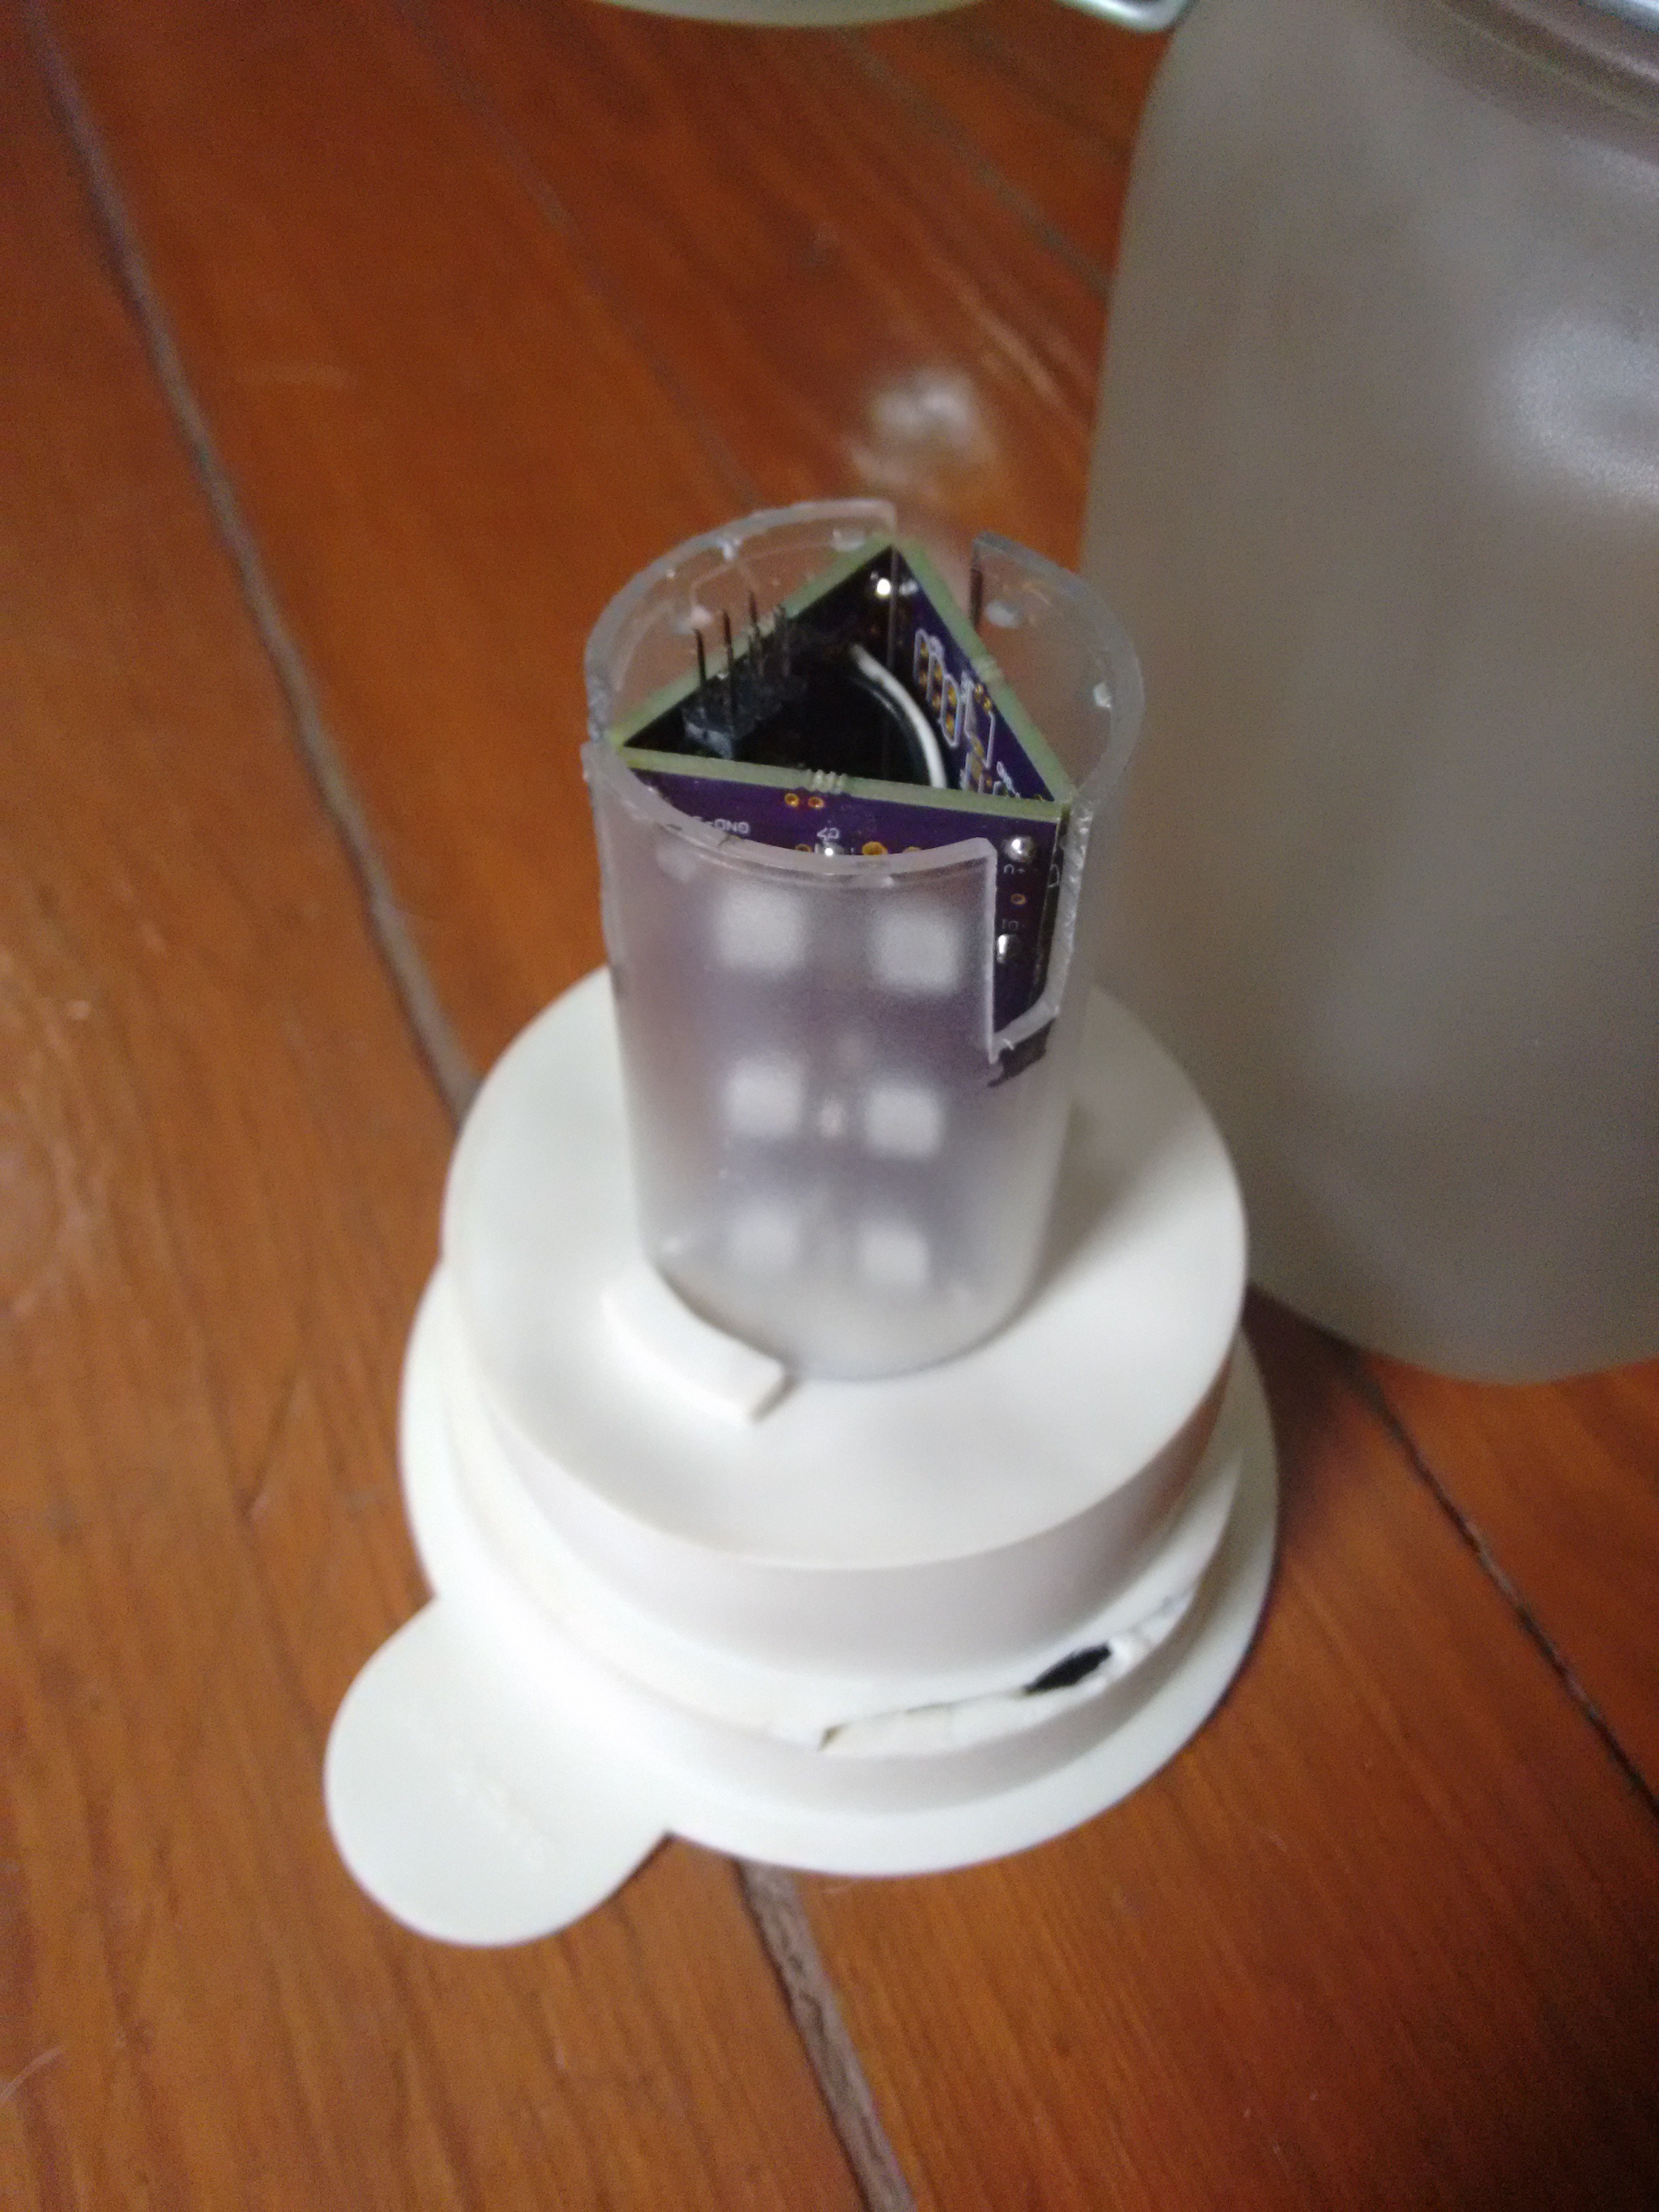
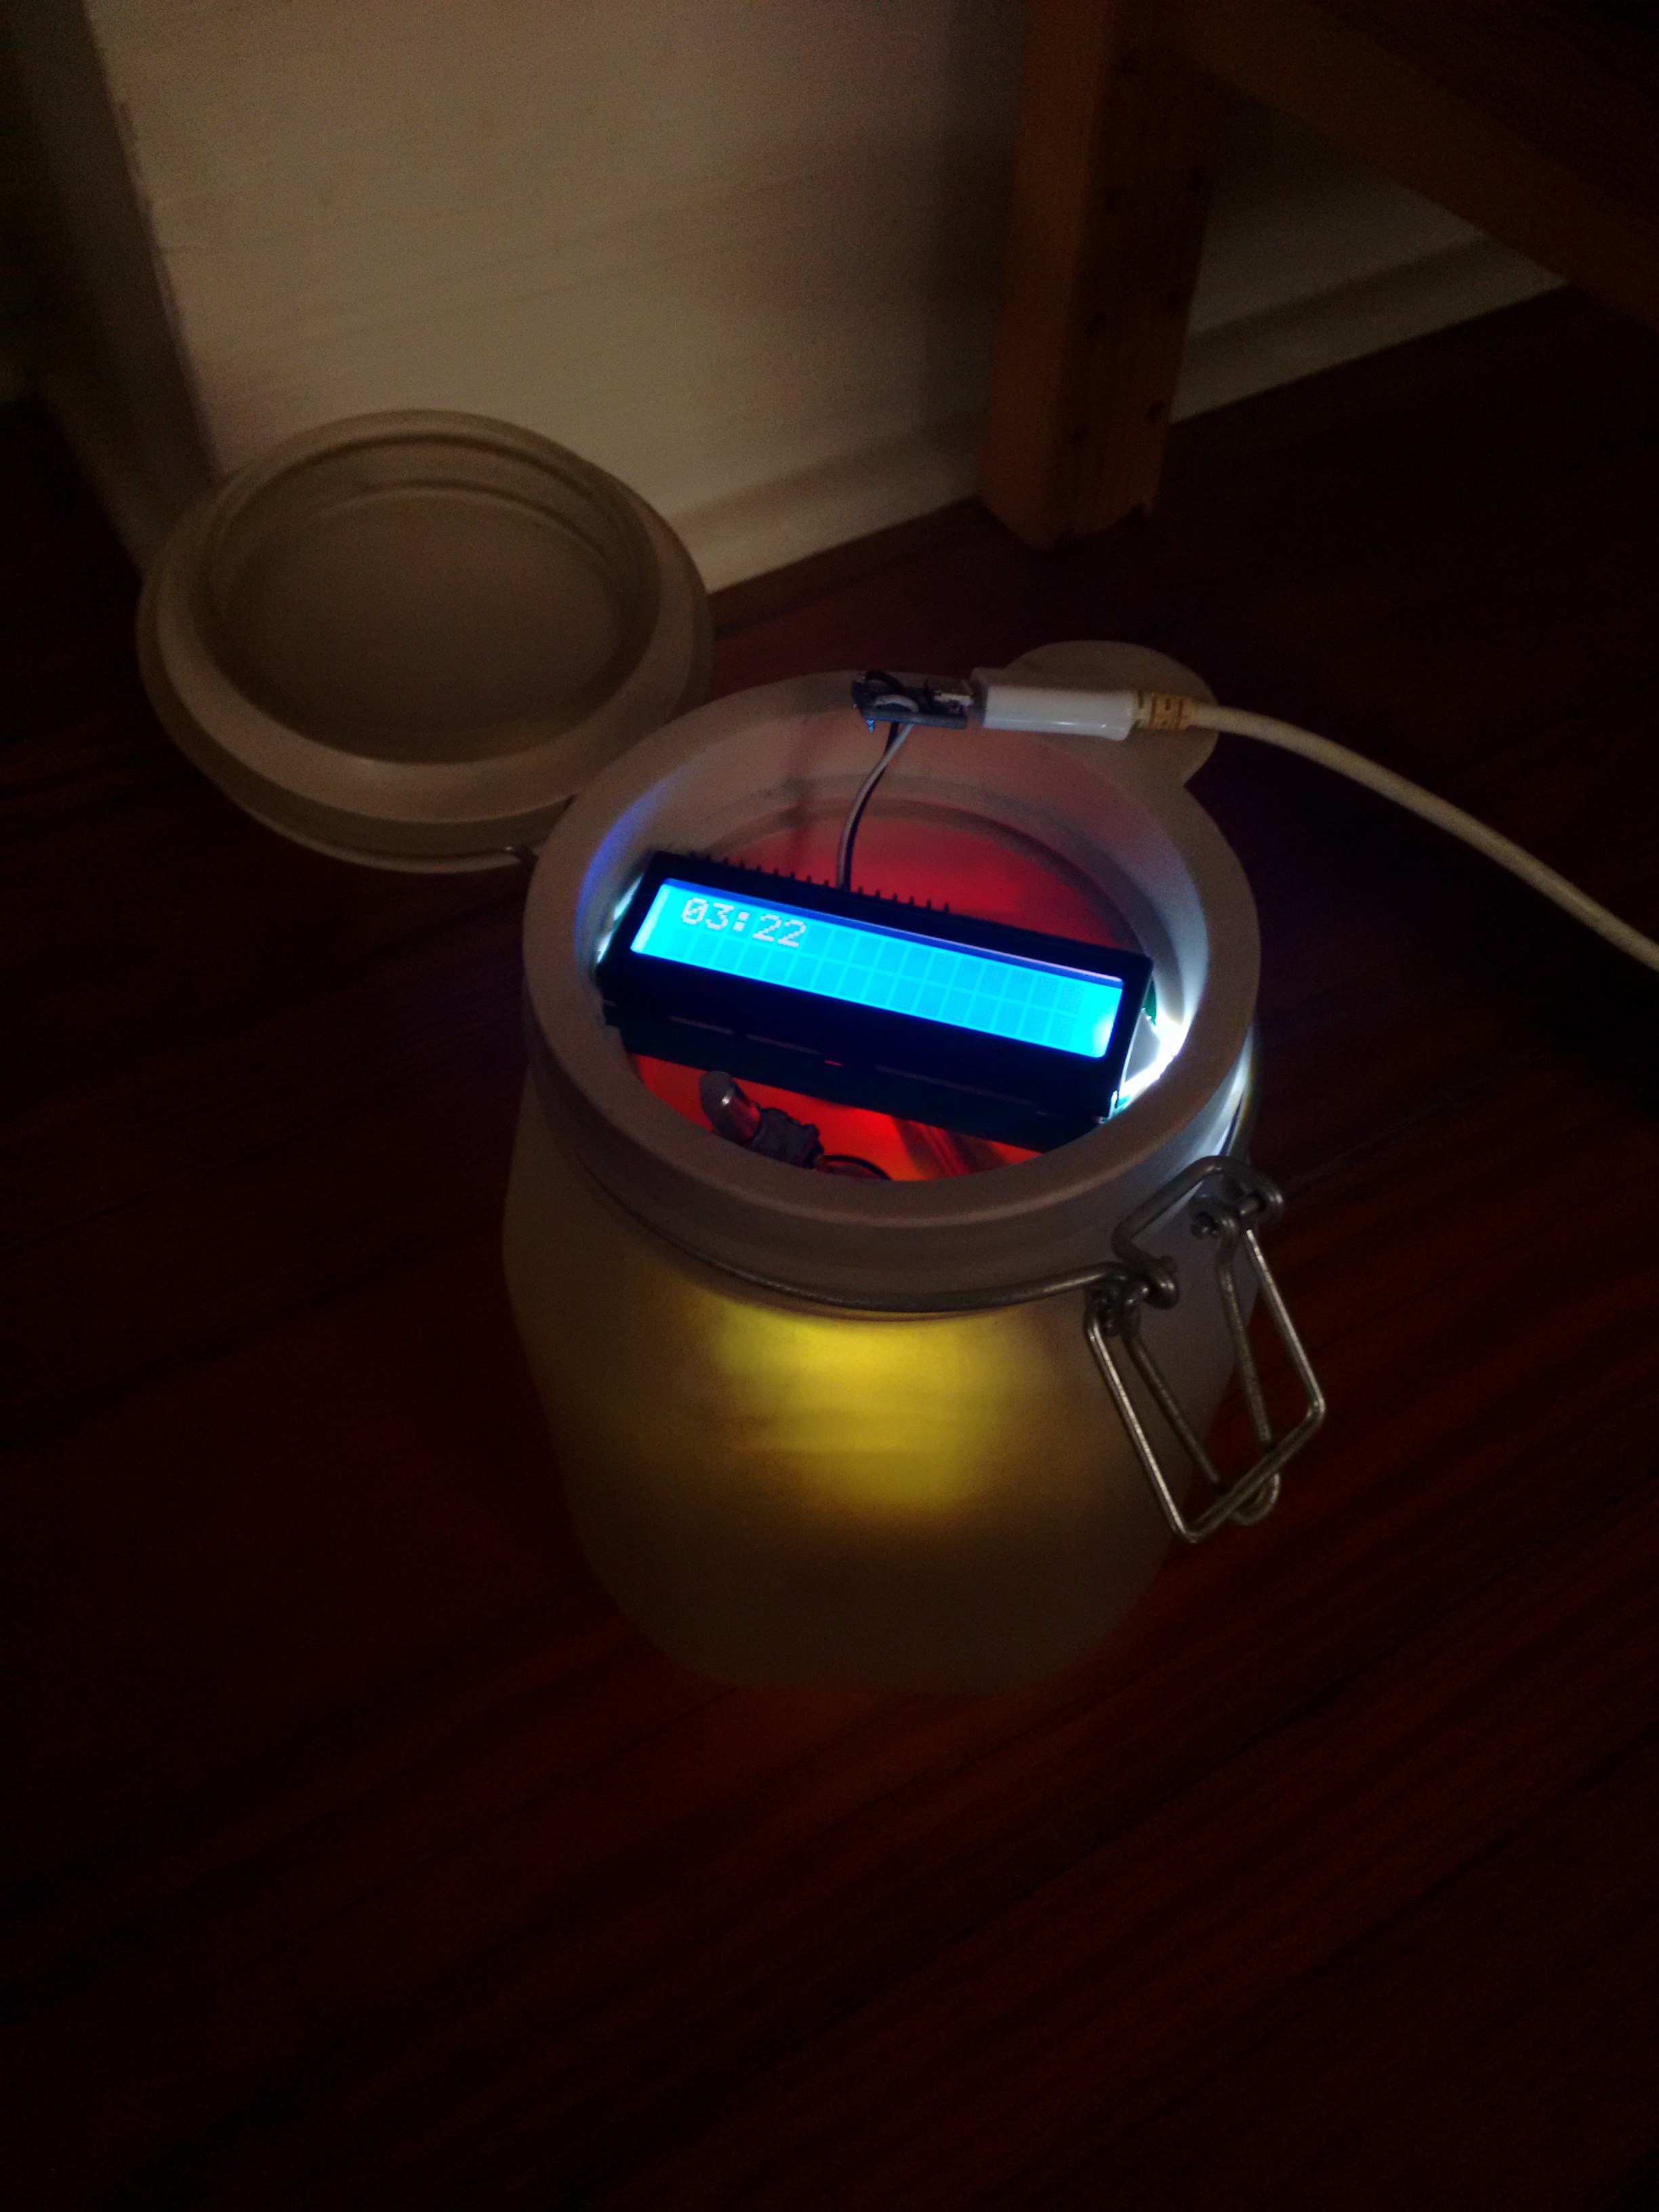
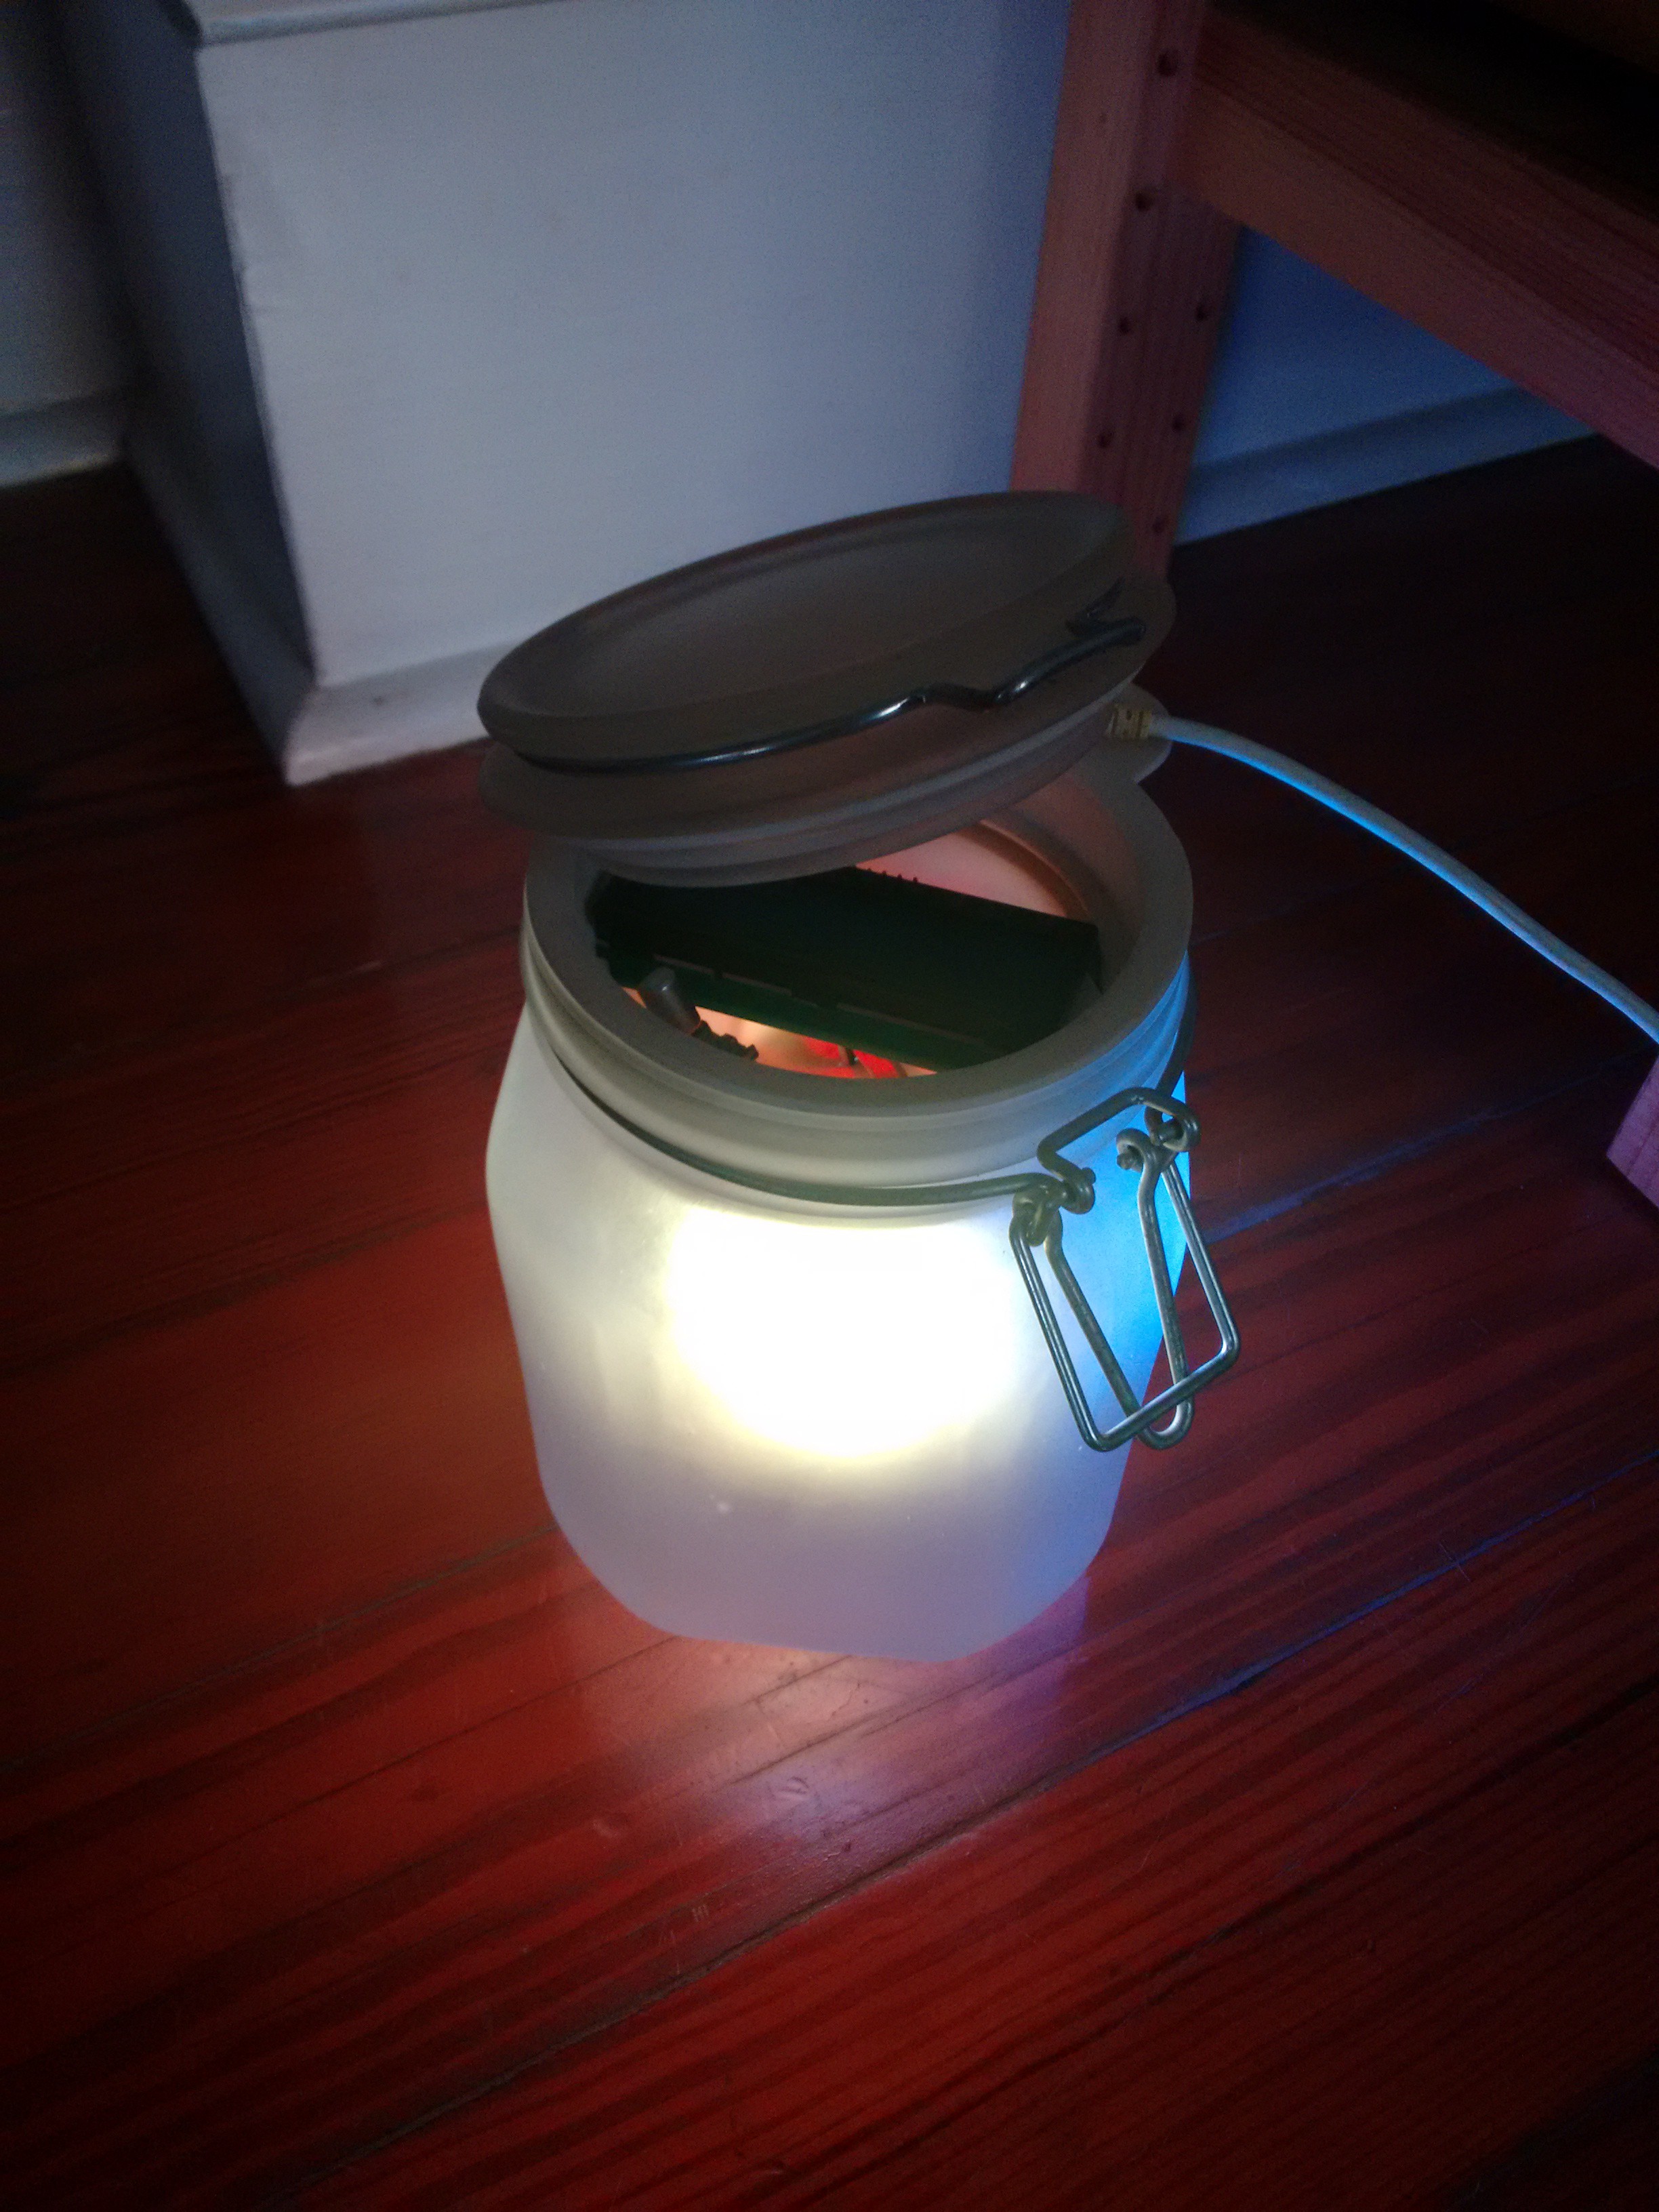
After looking for various options for encasing the circuit I found an old sun-in-a-jar that had expired which will fit the LCD and encoder in. But looking at a more versatile solution I've re-designed to use a 0.9" OLED screen so the whole control board fits in the neck of a standard USA Ball / Mason jar, with an acrylic disc in place of the lid plate.

To get the matte diffusion appearance, the plan is to spray the inside with frosted glass spray, and to place the LED board inside a sandpapered plastic tube.

Sunrise-pcb-A11.pdf

Circuit diagram for rev.A11

Adobe Portable Document Format - 34.94 kB - 11/08/2016 at 22:04

Preview
Download

sunrise-PCB-A11.zip

Gerber PCB archive for rev A11 board design

Zip Archive - 49.81 kB - 11/08/2016 at 21:03

Download

Mathcad - MkII-calcs-A6.pdf

Sky colour and intensity calculation check

Adobe Portable Document Format - 92.64 kB - 11/08/2016 at 20:55

Preview
Download

  • Finished version 1

    David Brown12/14/2016 at 17:42 1 comment

    After much pulling of hair I finally managed to get the WS2812s running using the core of code from Just In Time Project Pages on the atmega328PB using the on-chip 8MHz oscillator with external 37kHz clock crystal.

    With this version up and running I packaged it up in the spare sun-in-a-jar jar. I still need to drill a hole in the lid for the micro-usb socket, but that will have to wait till January.

    The three boards soldered together and fitted into the housing (cut-outs needed because the tube is tapered)

    Not particularly well finished

    early (low light)

    later (brighter, colours do not show up well in this)

  • The jar form factor

    David Brown11/23/2016 at 20:43 0 comments

    After some playing with fitting the prototype into various containers to provide suitable light diffusion and deciding the re-purpose a sun-in-a-jar which has the requisite frosted surface I looked online for a source of frosted jars / containers.

    It seems that the best source is the aforementioned sun-in-a-jar, but another option presented itself in the form of frosted glass spray.

    Some more mulling later and the Ball brand mason jars (screw lids with separate top disc) could provide a low cost ubiquitous housing.

    I did a layout in eagle to make a disc PCB to fit the control screen, encoder and processor into a 5cm x 5cm area.

    After pulling together some models off grabcad I came up with the following design;

    I need to get the prototype working with the new screen and still to get the ATMega asynchronous clock working using a watch crystal, but it looks like should be possible to put together a pretty polished version at the end of it.

  • Ditch the discrete RTC

    David Brown11/17/2016 at 23:01 0 comments

    Given that the having a high accuracy clock is not strictly required for this application, and that i've been having issues with the clock corrupting from the voltage spike of switching on/off i've decided to remove the RTC and associated components and move the crystal over to the ATMega to have that run the time keeping itself.

    I found an atmel application note for RTC using the asynchronous timers [Ref. http://www.atmel.com/images/Atmel-1259-Real-Time-Clock-RTC-Using-the-Asynchronous-Timer_AP-Note_AVR134.pdf]

    This also brings the total cost down for the control components by about a third.

  • Working prototype

    David Brown11/08/2016 at 21:24 0 comments

    Well, i've got the code running (finally) after building the various modules and figuring out the WS2812 module, in Atmel studio 7. The PCB needed a little re-design as I had the RTC chip pins in the wrong order.

    The corrected PCB design has been uploaded (rev A11)

    Below is a short animation of the test cycle the dawn / sunset cycle.

    You can see the three panels (x2 sun facing, x1 opposite horizon) with the three azimuths (the highest are similar for all three panels).

    The idea is for the panels to be folded into a triangle and placed inside a frosted housing to help diffuse the light. Some more work could be done on the luminosity calculations to get a better dawn / sunset progression through the range of azimuths.

  • Prototype assembled

    David Brown10/18/2016 at 21:19 0 comments

    I've soldered up and tested the LED arrangement for the light, which is working as expected.

    Single board populated with control components, all three populated with LEDs and connected with power, ground and data wires, will be arranged as a triangle of the three boards.

    I still need to program the MCU and convert my formulli into code

    Figure: Control side & LCD

    Figure: LED side lit with test pattern

  • Ready for prototyping

    David Brown10/06/2016 at 20:46 0 comments

    This one is now ready to be sent off to be fabricated. The layout could probably be improved, but its tricky working around the fixed layout for the LEDs so that the boards are able to be daisy chained together.

    The big square is for a battery holder for the RTC backup battery

    I'll be reusing/re-writing my code from a few years ago, and aiming to have the maths for the geometry of the sun relative to the chosen Long/Lat and time of year. In order to generate a accurate rendition of the pre-dawn and then dawn light, using a generic atmosphere / cloud cover / height for calculating colour and diffusion.

View all 6 project logs

Enjoy this project?

Share

Discussions

David C. Bishop wrote 12/05/2016 at 09:40 point

Working on something similar myself. Although much simpler and just a few large 12Volt COB LEDs. Might be worth looking at an ESP8266. No need for any RTC at all as you can just have it jump on the wifi and hit an NTP server, never need to set the clock. Also if it's in the bed room you will need to have the LCD turn off at night :)

  Are you sure? yes | no

David Brown wrote 12/16/2016 at 00:41 point

I've not played with the ESPs but there are some coming in the post at some point to play with. I want something that does not need the hassle of entering a code on a simple interface. Yes the LCD shuts off after a minute, unless you are in the menu.

  Are you sure? yes | no

Similar Projects

Does this project spark your interest?

Become a member to follow this project and never miss any updates