Close
0%
0%

Teensy Beats Shield

An all-in-one, made to hack step sequencer built around the Teensy platform with LiPo charging, touch TFT, encoders, buttons, and RGB leds.

Public Chat
Similar projects worth following
A fellow coder and I were discussing portable audio sequencers like the Pocket Operator. While research the hacking possibilities for such a device, I found that they are completely closed source, and the existing firmware is read-protected. One post suggested that the Teensy and it's DSP capabilities could probably be used to build an open source device. I had a teensy 3.2 in my toolbox and decided to investigate further.This project aims to fill a void in open source handheld musical instruments. Being open source and built on a highly capable and extensible platform, hackers are free to modify, create, and remix this design for the common good. I'm very open to suggestions, patches, etc.PCBs on Tindie!https://www.tindie.com/products/1b5e5667/teensy-beats-shield-bare-pcb/

The Beats Shield was built up originally on several breadboards, using breakout boards, and a hand-soldered button and LED matrix.  One could duplicate this setup fairly easily at home using the KiCad schematic.  I used an Adafruit Powerboost 1000c board to develop the power circuitry, and an authentic Teensy audio shield.

The shield was designed to be programmed using the Arduino IDE and standard Teensy tools.  This ensures that anyone who can program a Teensy can play with the Beats Shield.

Here are a few of the libraries used:

https://www.pjrc.com/teensy/td_libs_Audio.html https://github.com/adafruit/Adafruit_DotStar https://github.com/PaulStoffregen/ILI9341_t3

The audio portions of the firmware were designed in the Teensy Audio Design Tool (https://www.pjrc.com/teensy/gui/index.html).  This creates a set of static C code objects representing waveforms, mixers, output devices, etc, and glue code to connect them.  On top of that, I've designed "SoundSource" class, which implements polyphonic sound banks of up to 4 simultaneous notes.  These can in turn be configured, assigned to channels, and played using an "Instrument" class.  I have not added audio effects at this point, but that is something I would like to do in the future.

SGTL5000.pdf

SGTL5000 - Low Power Stereo Codec with Headphone Amp

Adobe Portable Document Format - 3.48 MB - 10/23/2018 at 16:43

Preview

APA102-2020.pdf

APA102 - Addressable RGB LED

Adobe Portable Document Format - 3.79 MB - 10/23/2018 at 16:43

Preview

tps61090.pdf

TPS61090 - Synchronous Boost Converter With 2A Switch

Adobe Portable Document Format - 1.03 MB - 10/23/2018 at 16:43

Preview

MCP73871.pdf

MCP73871 - Stand-Alone System Load Sharing and Li-Ion / Li-Polymer Battery Charge Management Controller

Adobe Portable Document Format - 638.37 kB - 10/23/2018 at 16:42

Preview

schematic3.png

Keypad, LEDs, and Encoders

Portable Network Graphics (PNG) - 808.96 kB - 10/22/2018 at 02:36

Preview

View all 9 files

  • 3d Printable Lower Case

    Chris Miller10/28/2018 at 19:59 0 comments

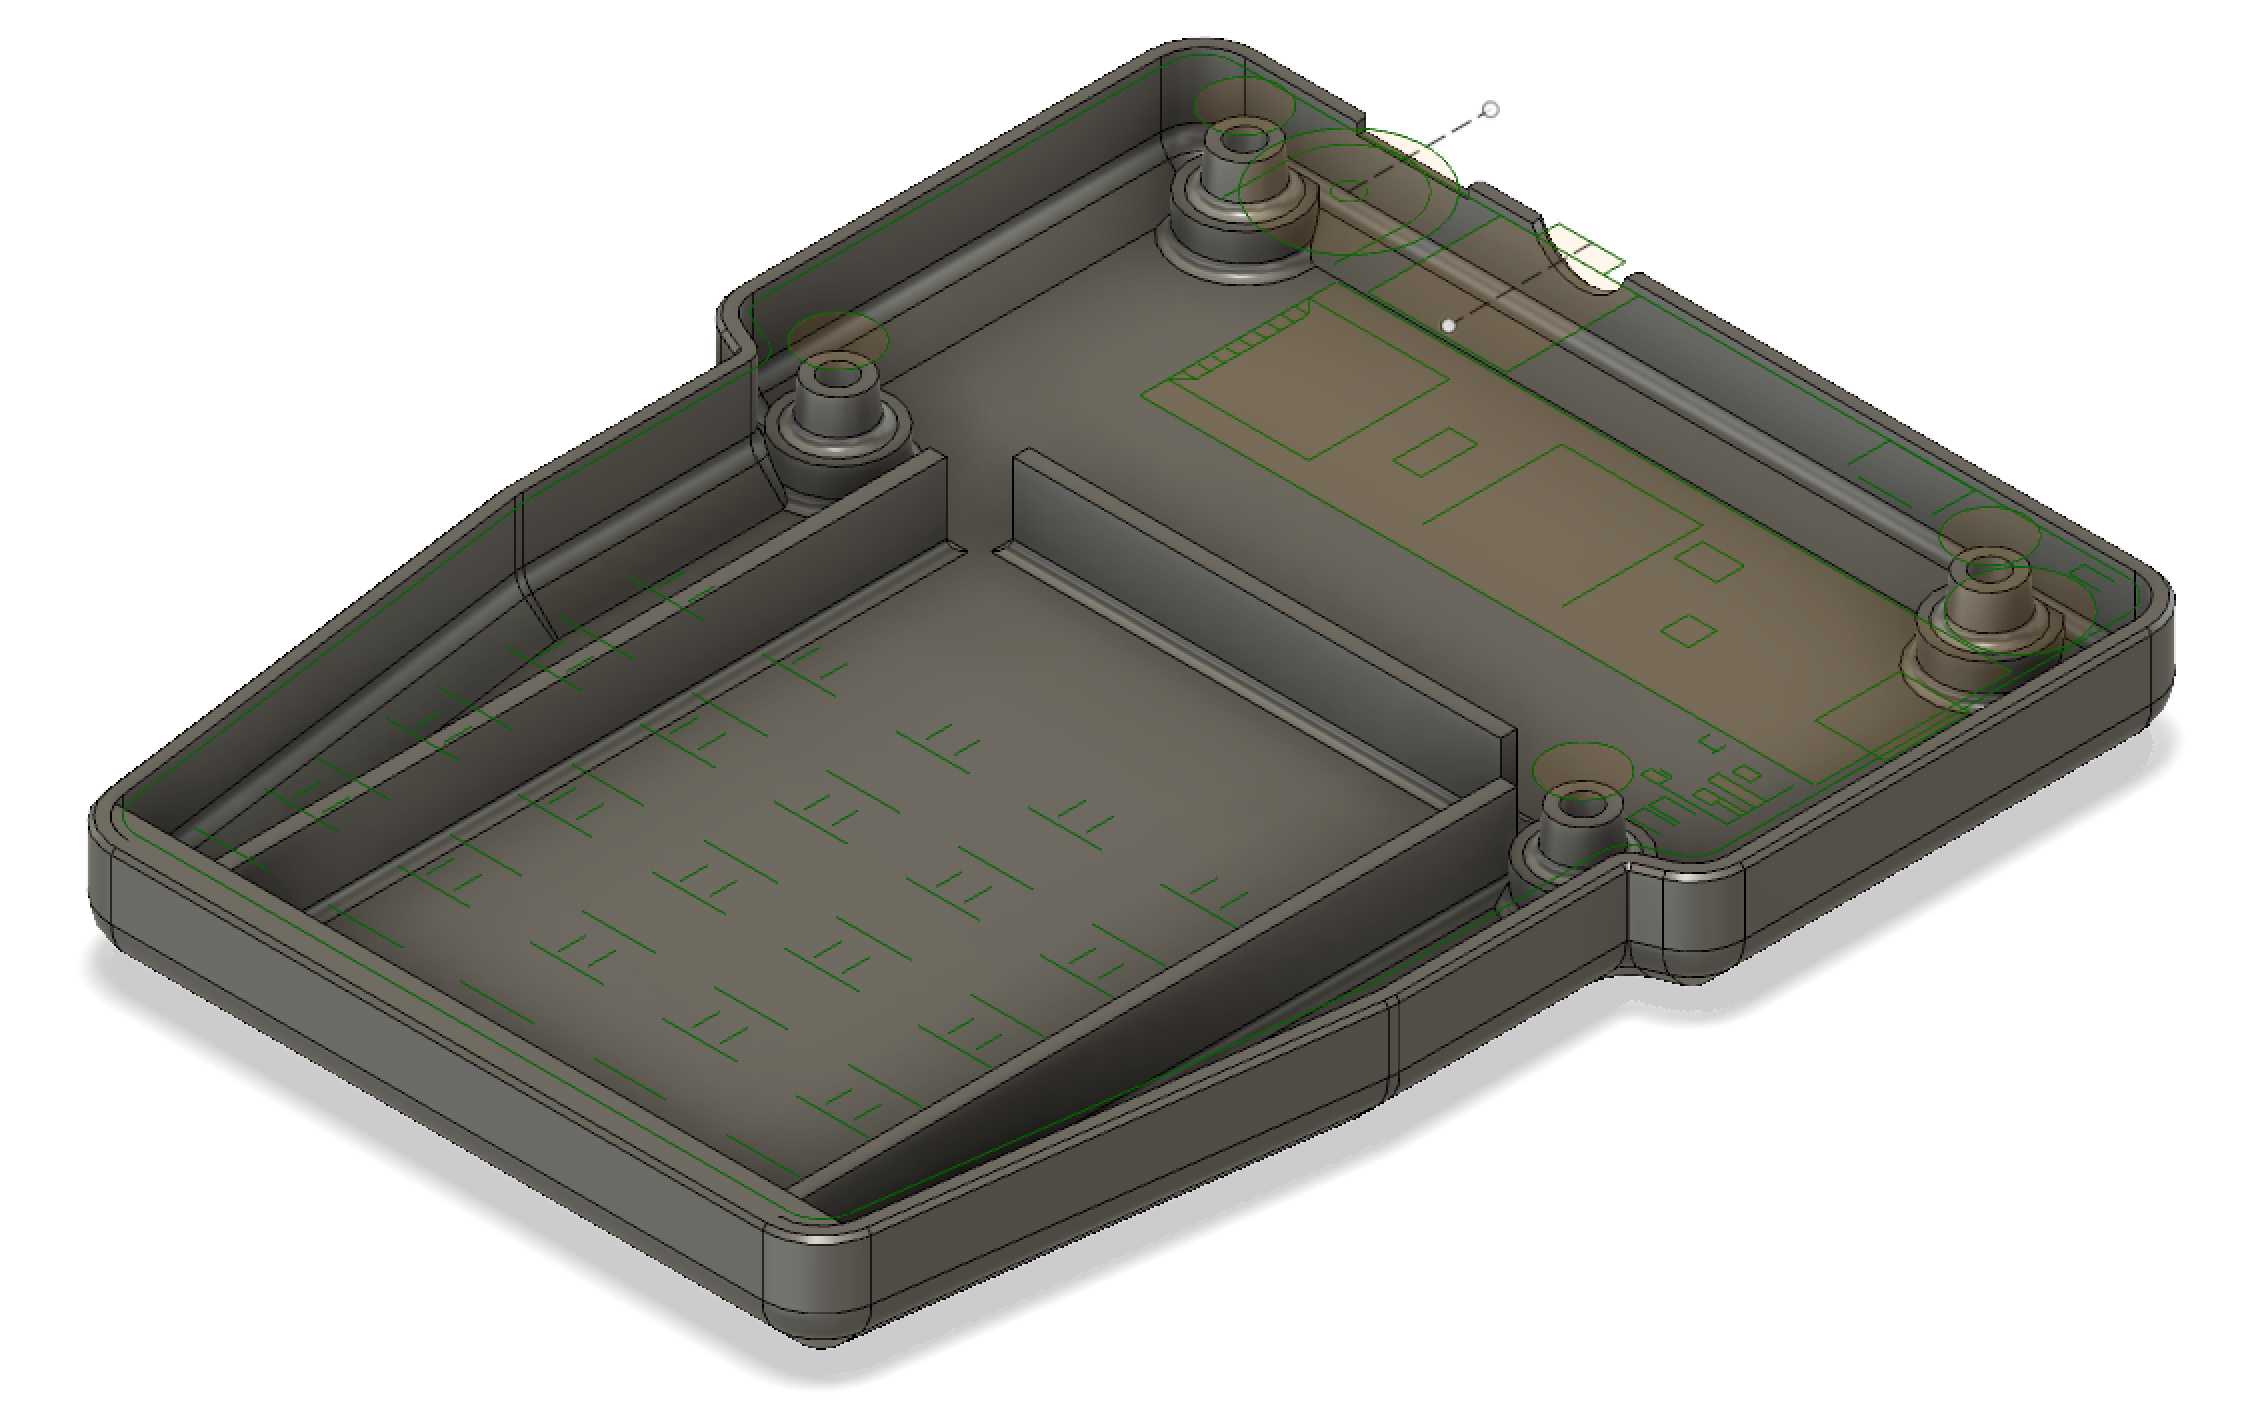
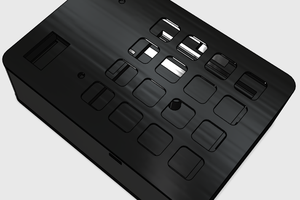
    I've designed a lower case for the Beats Shield in Fusion 360 so that one can attach a battery without it flopping around, tethered to the small wires.  It needs a couple of changes before it fits perfectly, but it's mostly functional.

    It's designed for this battery...
    https://www.sparkfun.com/products/13855

  • PCBs are up on Tindie

    Chris Miller10/25/2018 at 20:03 0 comments

    I've just put up a listing for the bare PCBs on Tindie.

    https://www.tindie.com/products/1b5e5667/teensy-beats-shield-bare-pcb/

    Send me a message if you order one and I can help make sure it goes together smoothly.

  • Pondering Manufacture?

    Chris Miller10/22/2018 at 15:50 0 comments

    I've been getting some requests for PCBs or assembled units.  I'm curious what the overall demand is.  I know the current BOM cost in small quantities is close to $100.  What would you be willing to pay for:

    • Bare PCB
    • PCB with SMD installed
    • Fully assembled without Teensy
    • Fully assembled and ready to go
    • 3d printed case

    If you have thoughts, PM me.

  • Github Outage!?!

    Chris Miller10/22/2018 at 02:42 0 comments

    I'm wrapping up a bunch of changes and improvements tonight for the Hackaday Prize final round deadline, and it looks like Github is having an outage!

    https://status.github.com/messages

    I think my project is in pretty good shape, but I wanted to add a link to the interactive Kicad BOM.  It was in the repository in the hardware directory, but I moved it into a new /docs directory so I could publish it as a github page.  That change isn't showing.  So if you're looking for the interactive BOM, clone the project and you'll find it in the /docs directory.

  • Hackaday Prize Finalist!!!! and New PCBs ordered

    Chris Miller10/19/2018 at 18:28 0 comments

    I found out on Tuesday that I am 1 of 20 finalists for this round of the Hackaday Prize!  I'm super excited to be a part of this!  I was already planning to attend Hackaday Superconference, so this will be icing on the cake.  I'm looking to do more of this type of work in the future, and the winnings for this round will pay for my trip to an industry-related conference where I can make some good contacts.  I need to complete a few more tasks (including this post) to be eligible for the final round.  This will include a more detailed BOM with links, gerber files (already added) and assembly instructions.

    I have one local friend that will be building a beats shield next week when his parts arrive.  I have another person that wants to purchase one.  I am currently debating how that will work.  I wouldn't say they are easy to assemble, but if you've done reflow surface mount before, they're not that hard.

    Last night I ordered new PCBs for v0.9.1.  This fixes the power button sensing issue I described in the 9/27 update.  I also added a header for a jumper that can be used to bypass the power button circuitry when programming.  Currently with v0.9.0 I have to hold the power button down when flashing.  New boards should arrive in a week from JLCPCB.

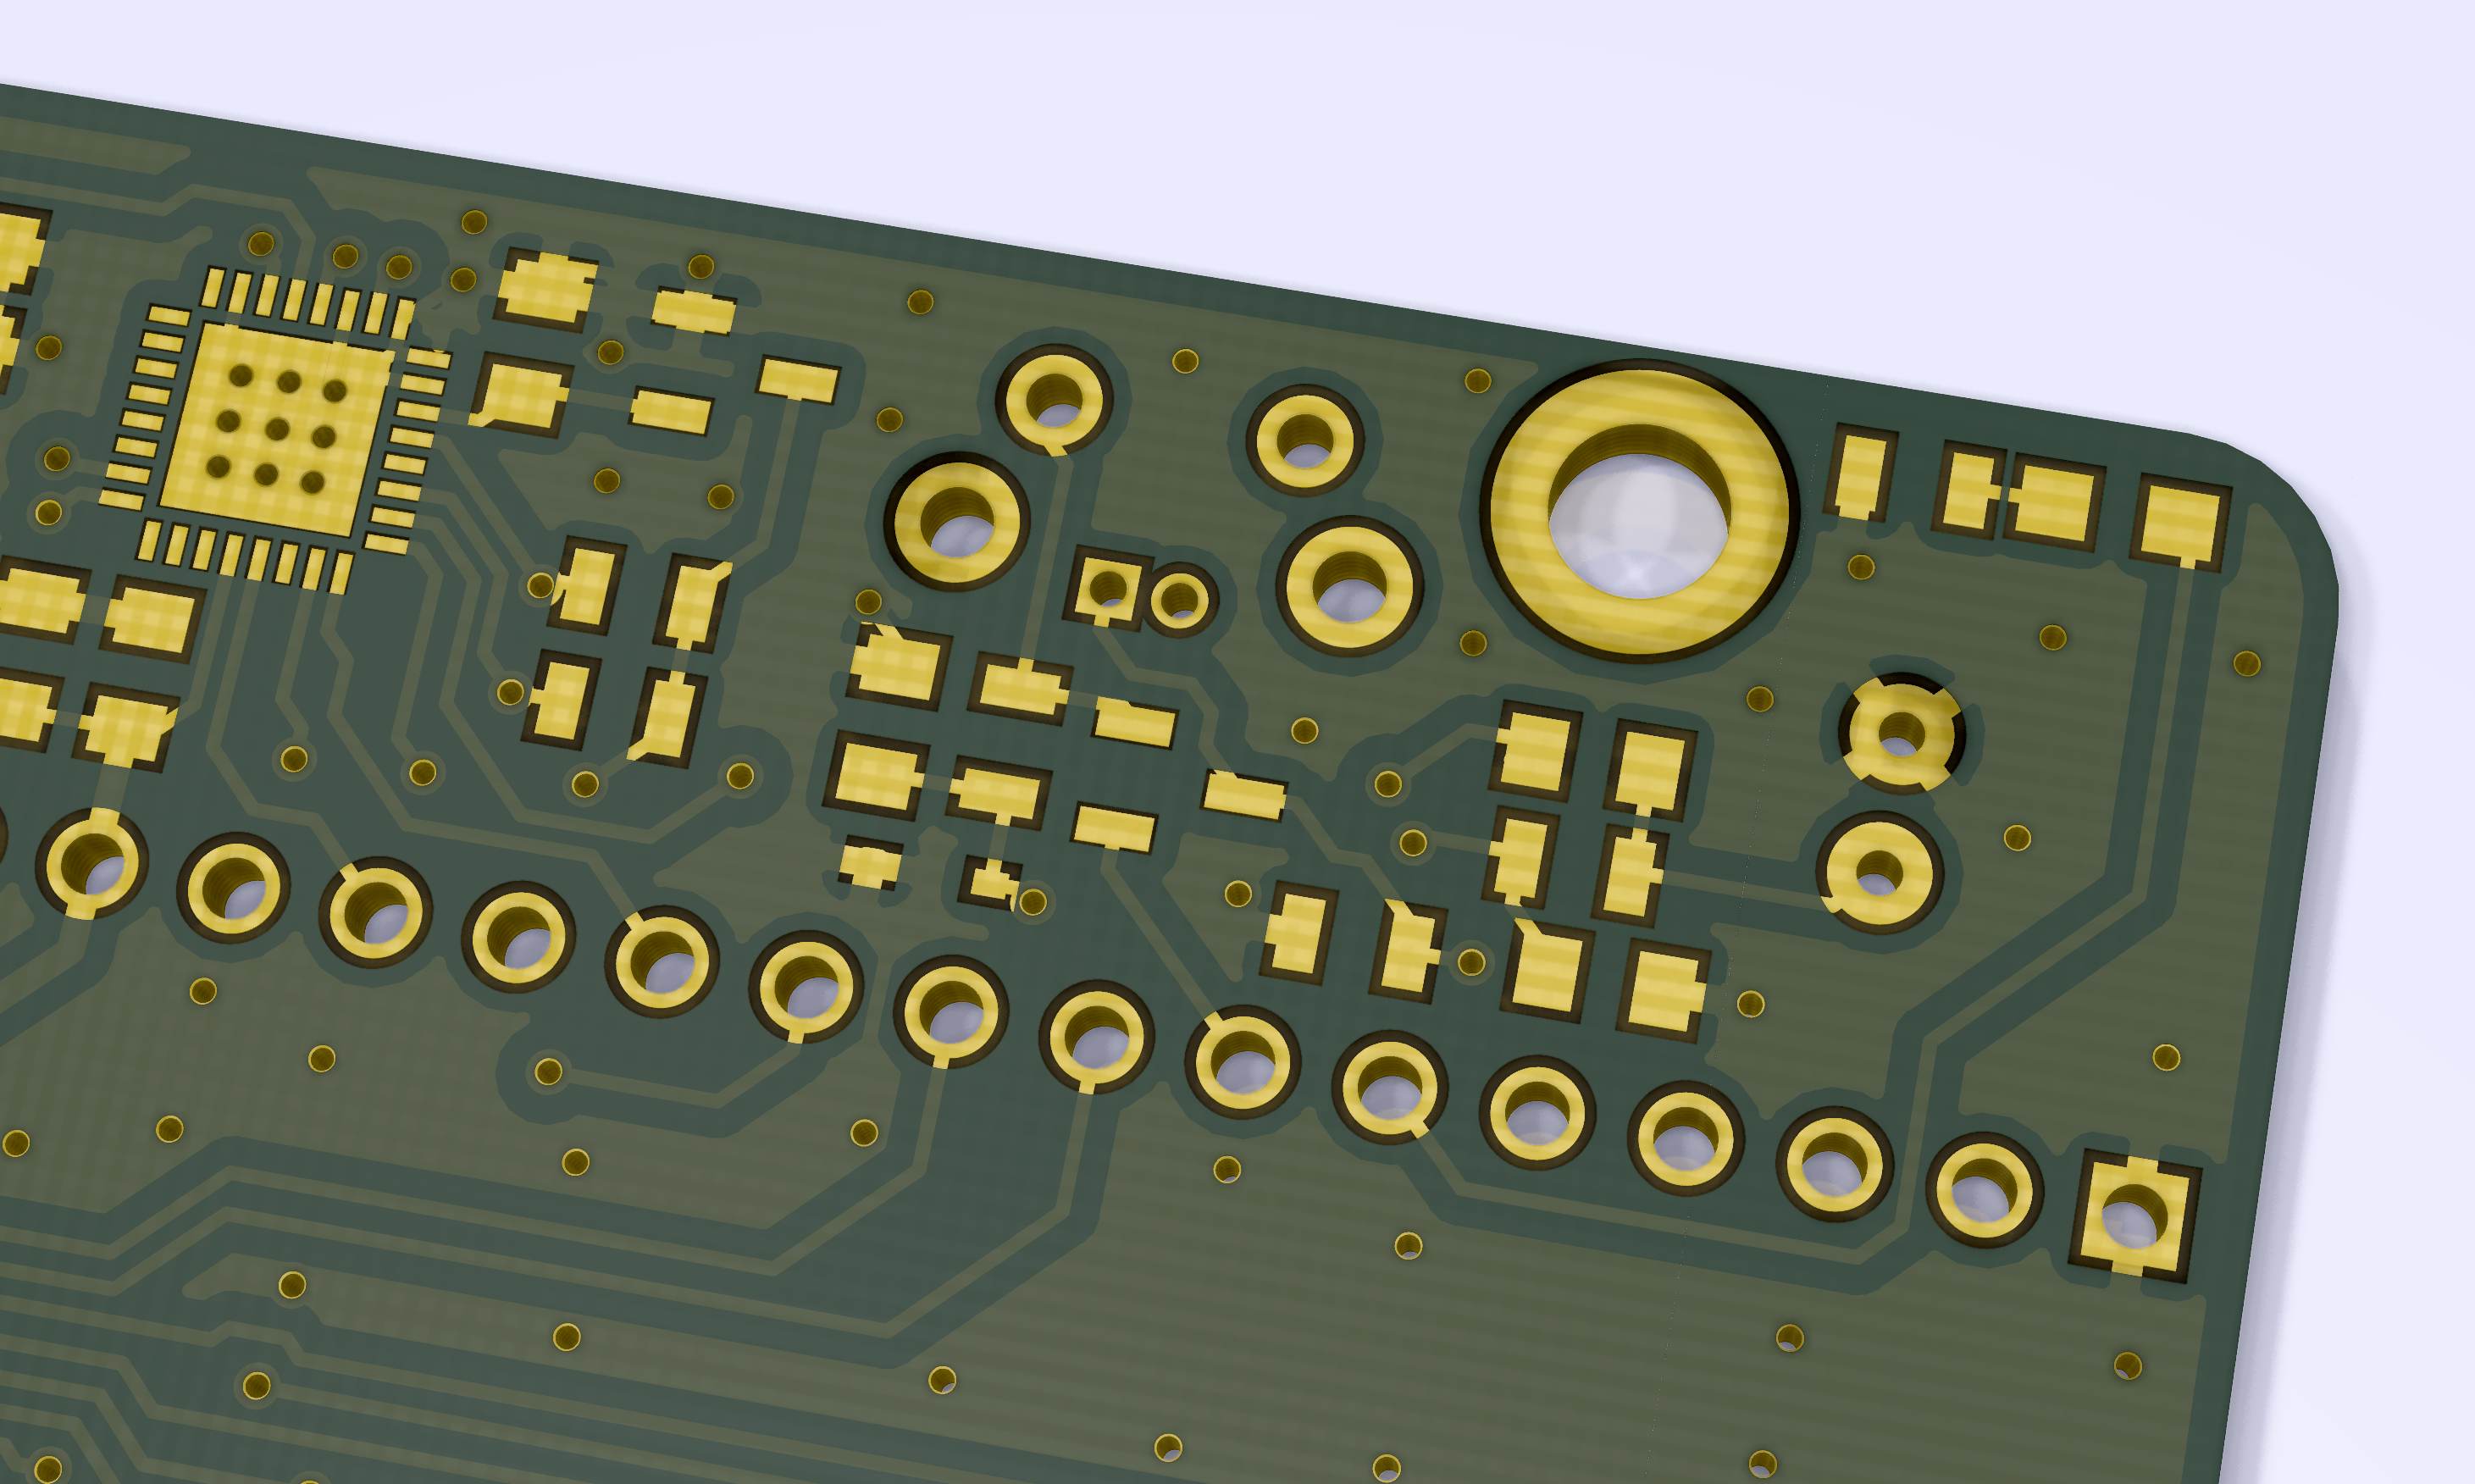
    KiCad 5's raytracing feature is awesome!

    I also re-routed some pins to fully break out the "power good" signal from the battery charger.  This allows me to detect when no battery is present, or the device is running from USB, reliably with no software hacks.  This does introduce one complication in the code.  I'll need some conditional blocks to define the pin mapping.  But that's not uncommon.

  • First PCB prototype!

    Chris Miller09/27/2018 at 06:26 0 comments

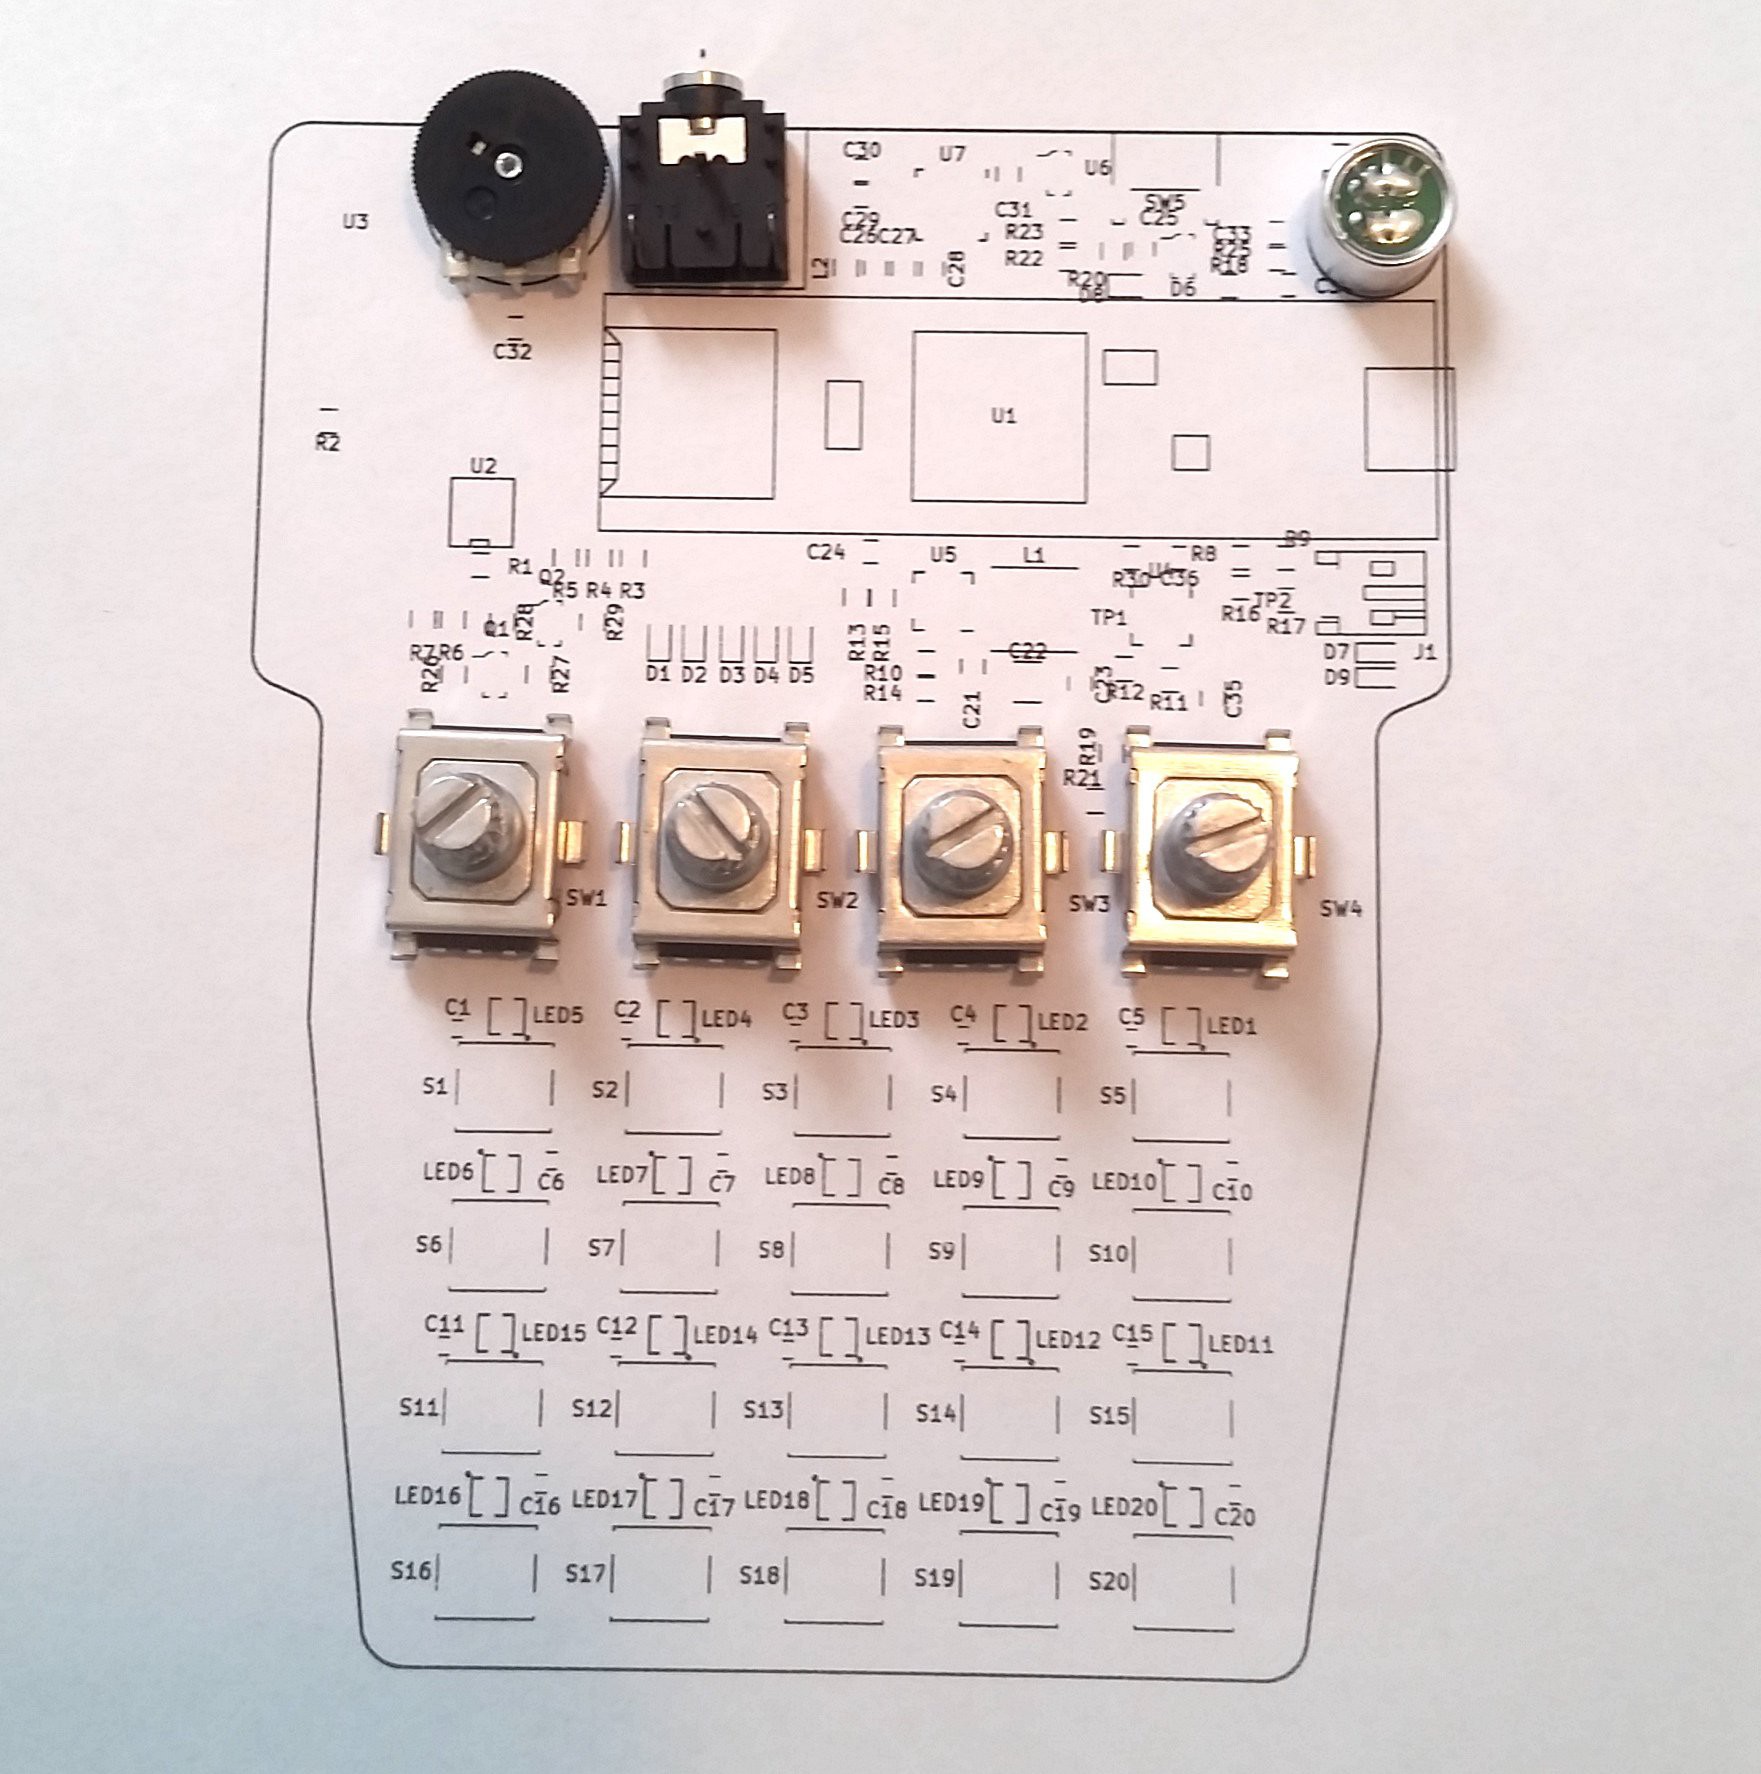
    I received PCBs today and built the first prototype.  Everything went pretty well, except one slight issue that was easily fixed.  I hadn't thought through one part of the power control circuitry.  In an attempt to clamp a 5v "power on" signal to 3.3v for the Teensy, I did not consider the minimum logic level for the boost converter's enable pin.  So the circuit was not turning on.  A little simulation and rerouting one node of the circuit with a wire fixed the problem.  This could be easily fixed in the first revision of the PCB.  I'm using a smaller TFT touch screen that I had on the breadboard.  Consequently, I think my touch screen values calibration is way off and needs to be redone.  I'm very happy with the way all of the components look together.

  • Working on firmware, Teensy audio library patches.

    Chris Miller09/22/2018 at 04:45 0 comments

    I've worked entirely on the firmware for the last few days, since the boards are on order and I can't make any hardware changes until I test them.  I found a limitations of the Teensy audio libraries that hindered progress.  So I submitted a few pull requests to the Audio and Teensy core libraries.  These allow effects that are connected at compile time to be bypassed at runtime.  This will enable a more flexible experience, with things like reverb selectively enabled through the UI.  Hopefully the PRs will be accepted at some point.

    The latest commits enable the touch screen, and connect the home screen to note selection.  This also paves the way for an octave keyboard screen, which currently just displays the keys.  I'll be hooking up note generation tonight/tomorrow.  Once that's working, song making will get more exciting.

    I also had some trouble with the battery charge detection circuitry and code.  In my board design, I copied the Adafruit power boost 1000c charger closely.  I used the existing status lines to both drive LEDs and signal to the MCU the current charging status.  Tonight I found that because I do not check the "power good" signal, and because those status lines are connected to VBUS, I cannot reliably detect when no battery is connected.  The solution required a little brain bending.  These lines appear to be floating when the battery is not connected.  They rapidly fluctuate between high and low. To detect this situation, I added a pin change interrupt on these pins.  If the pin changes within a certain threshold (200ms), I increment a counter.  If that counter indicates that the pin is fluctuating rapidly more than 3 times, I can deduce that I am in the floating state.  When both status lines are floating I display "No Batt".  So I now have a voltage reading, a charging reading, and a no batt reading.

  • Components and Firmware

    Chris Miller09/19/2018 at 17:19 0 comments

    I received some super nice components from Mouser today.  I usually order from DigiKey because their shipping is cheaper and super fast.  But I couldn't find the Bourns encoders I wanted anywhere but Mouser.  I picked up the charging, boost converter, and audio codec ICs there as well.  Boards will arrive next week.

    I've also been working on the firmware and refactoring the quick and dirty code that I've written into a proper, more extensible structure.  I'm hoping to abstract the Teensy audio library slightly to make it more flexible.  Unfortunately all waveform generators, filters, effects, mixers, and the connections between them must be declared at compile time.  I can tweak parameters and mixers at runtime.  Hopefully I can pull off some smoke and mirrors to make the user experience less rigid.

  • Sources on GitHub and boards ordered

    Chris Miller09/17/2018 at 17:00 0 comments

    Prototype boards are ordered from JLC and KiCad and Arduino files are up on GitHub!  Last night I (hopefully) worked out the last of the issues with pin assignments and routing.  Now to put together a DigiKey order.

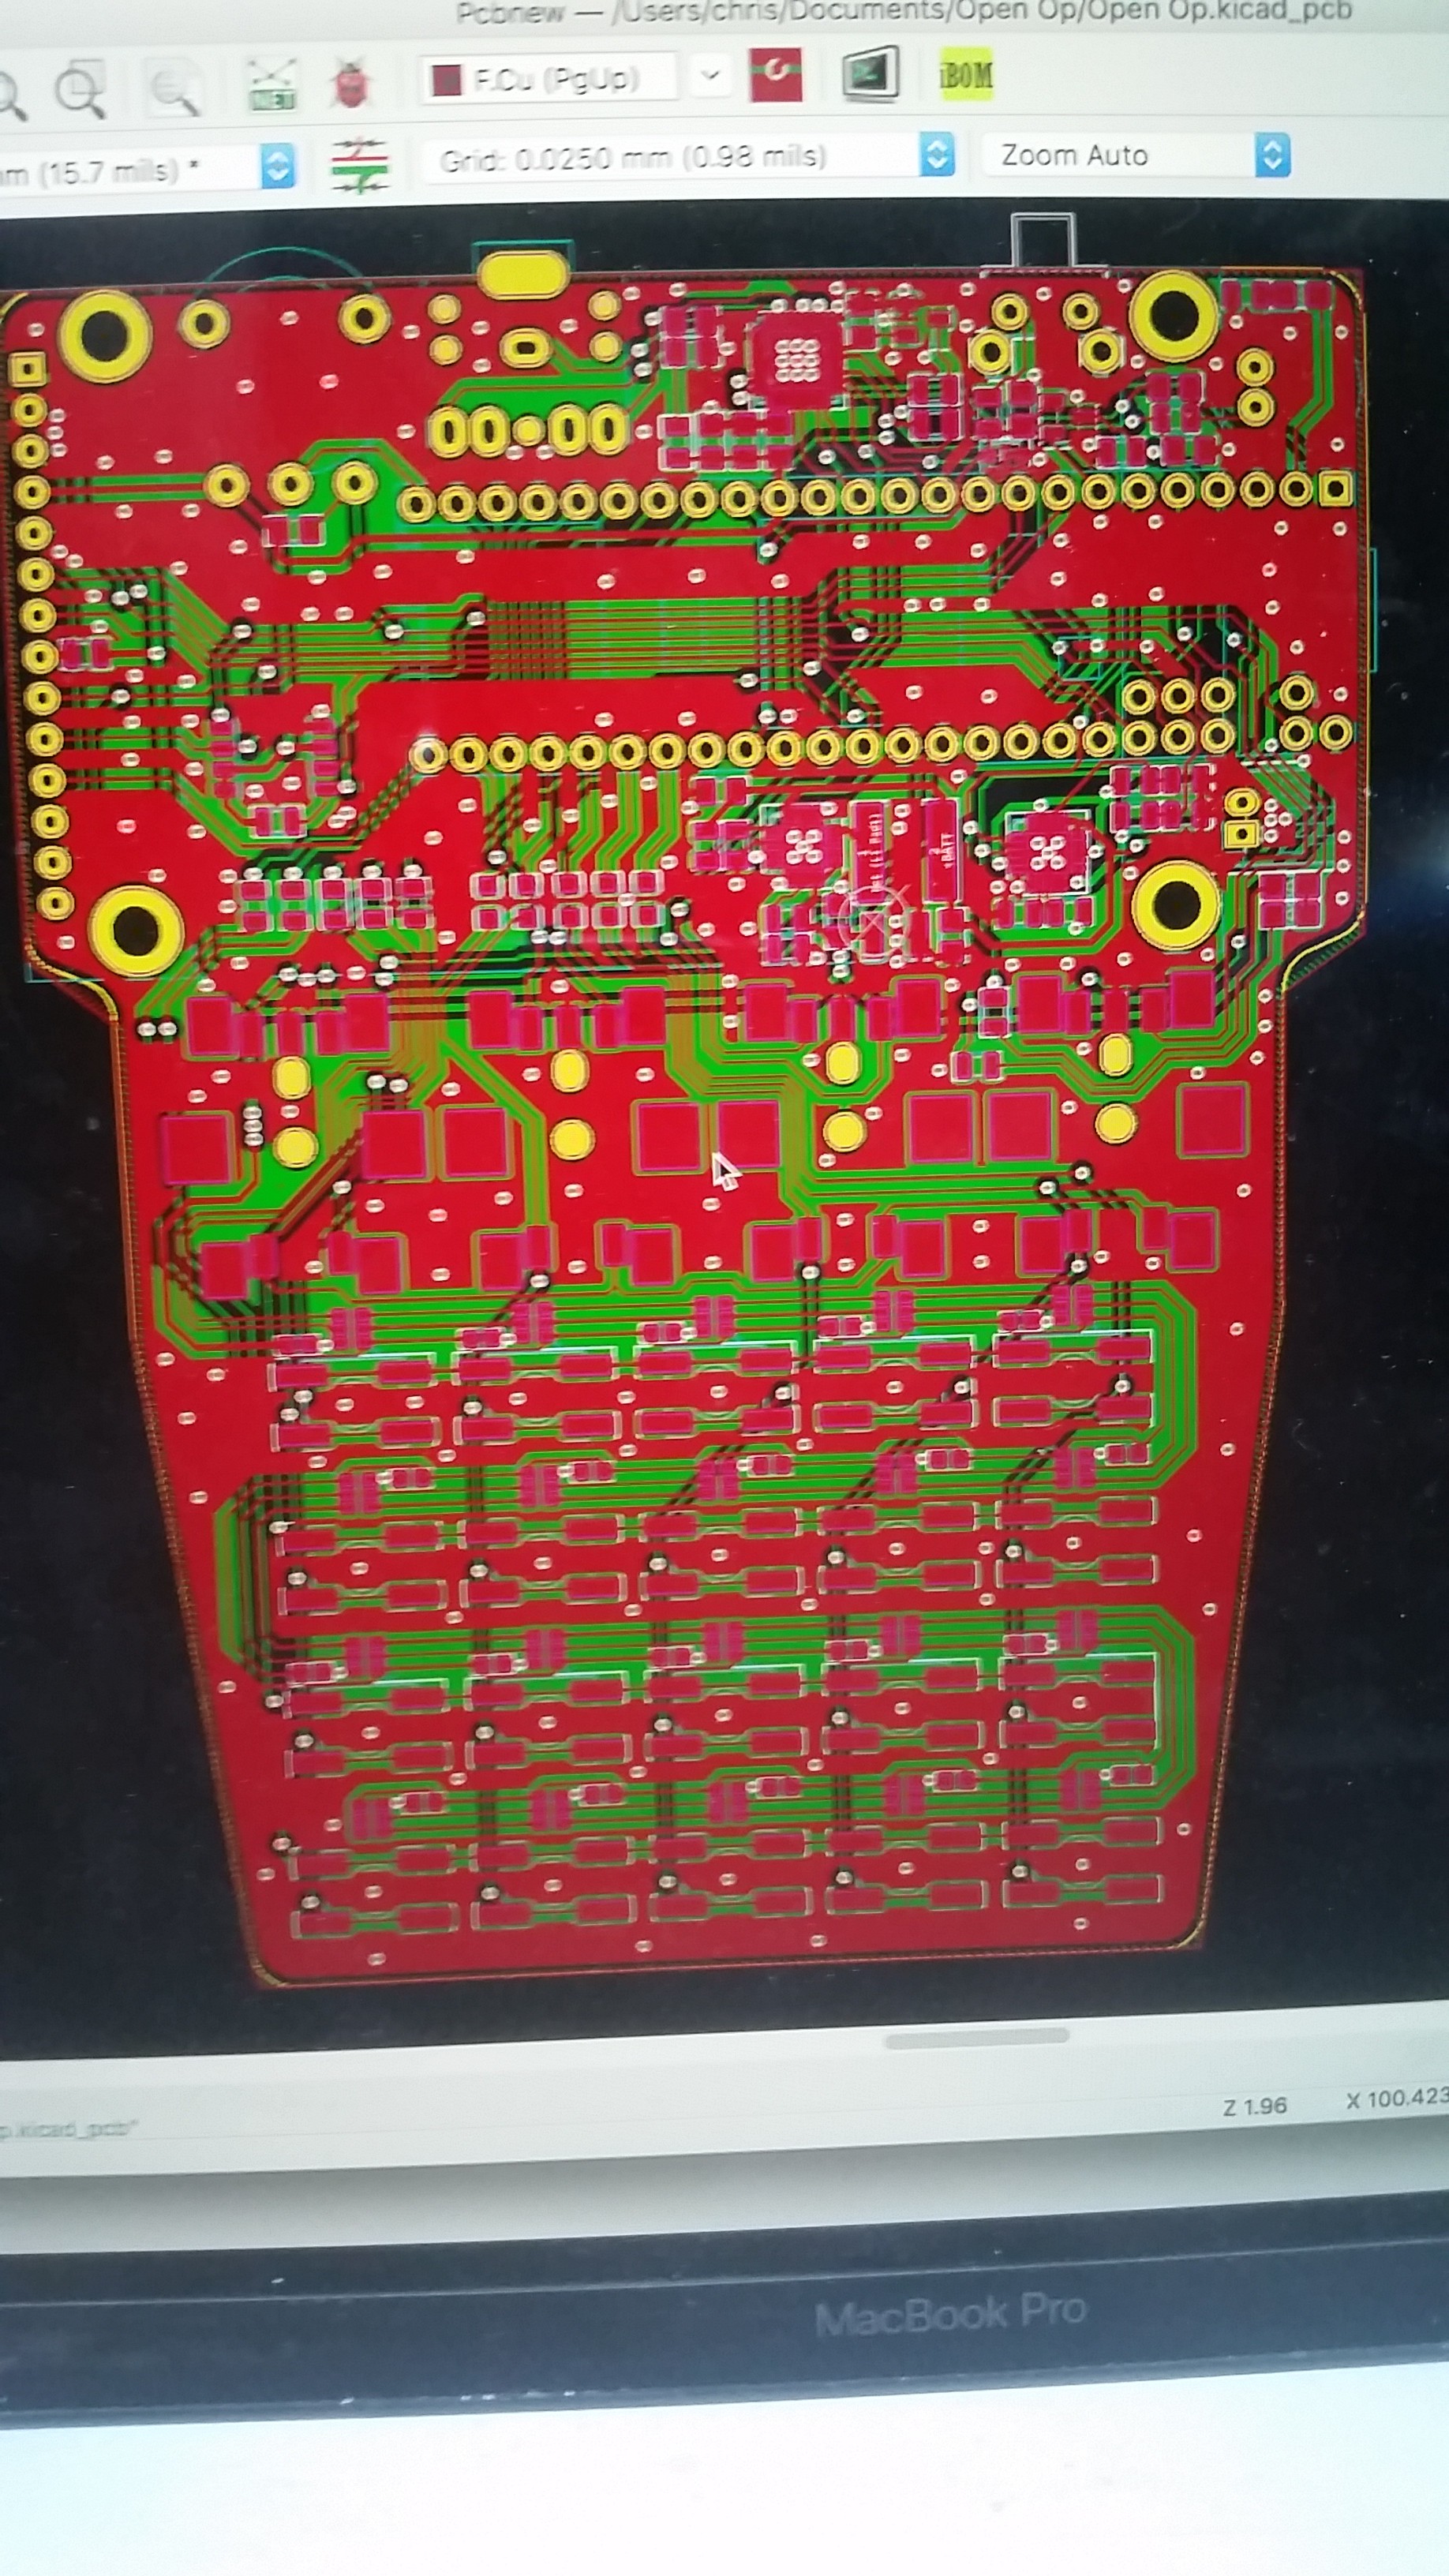
  • KiCad layout and Teensy 3.6 dev hardware

    Chris Miller09/14/2018 at 02:27 0 comments

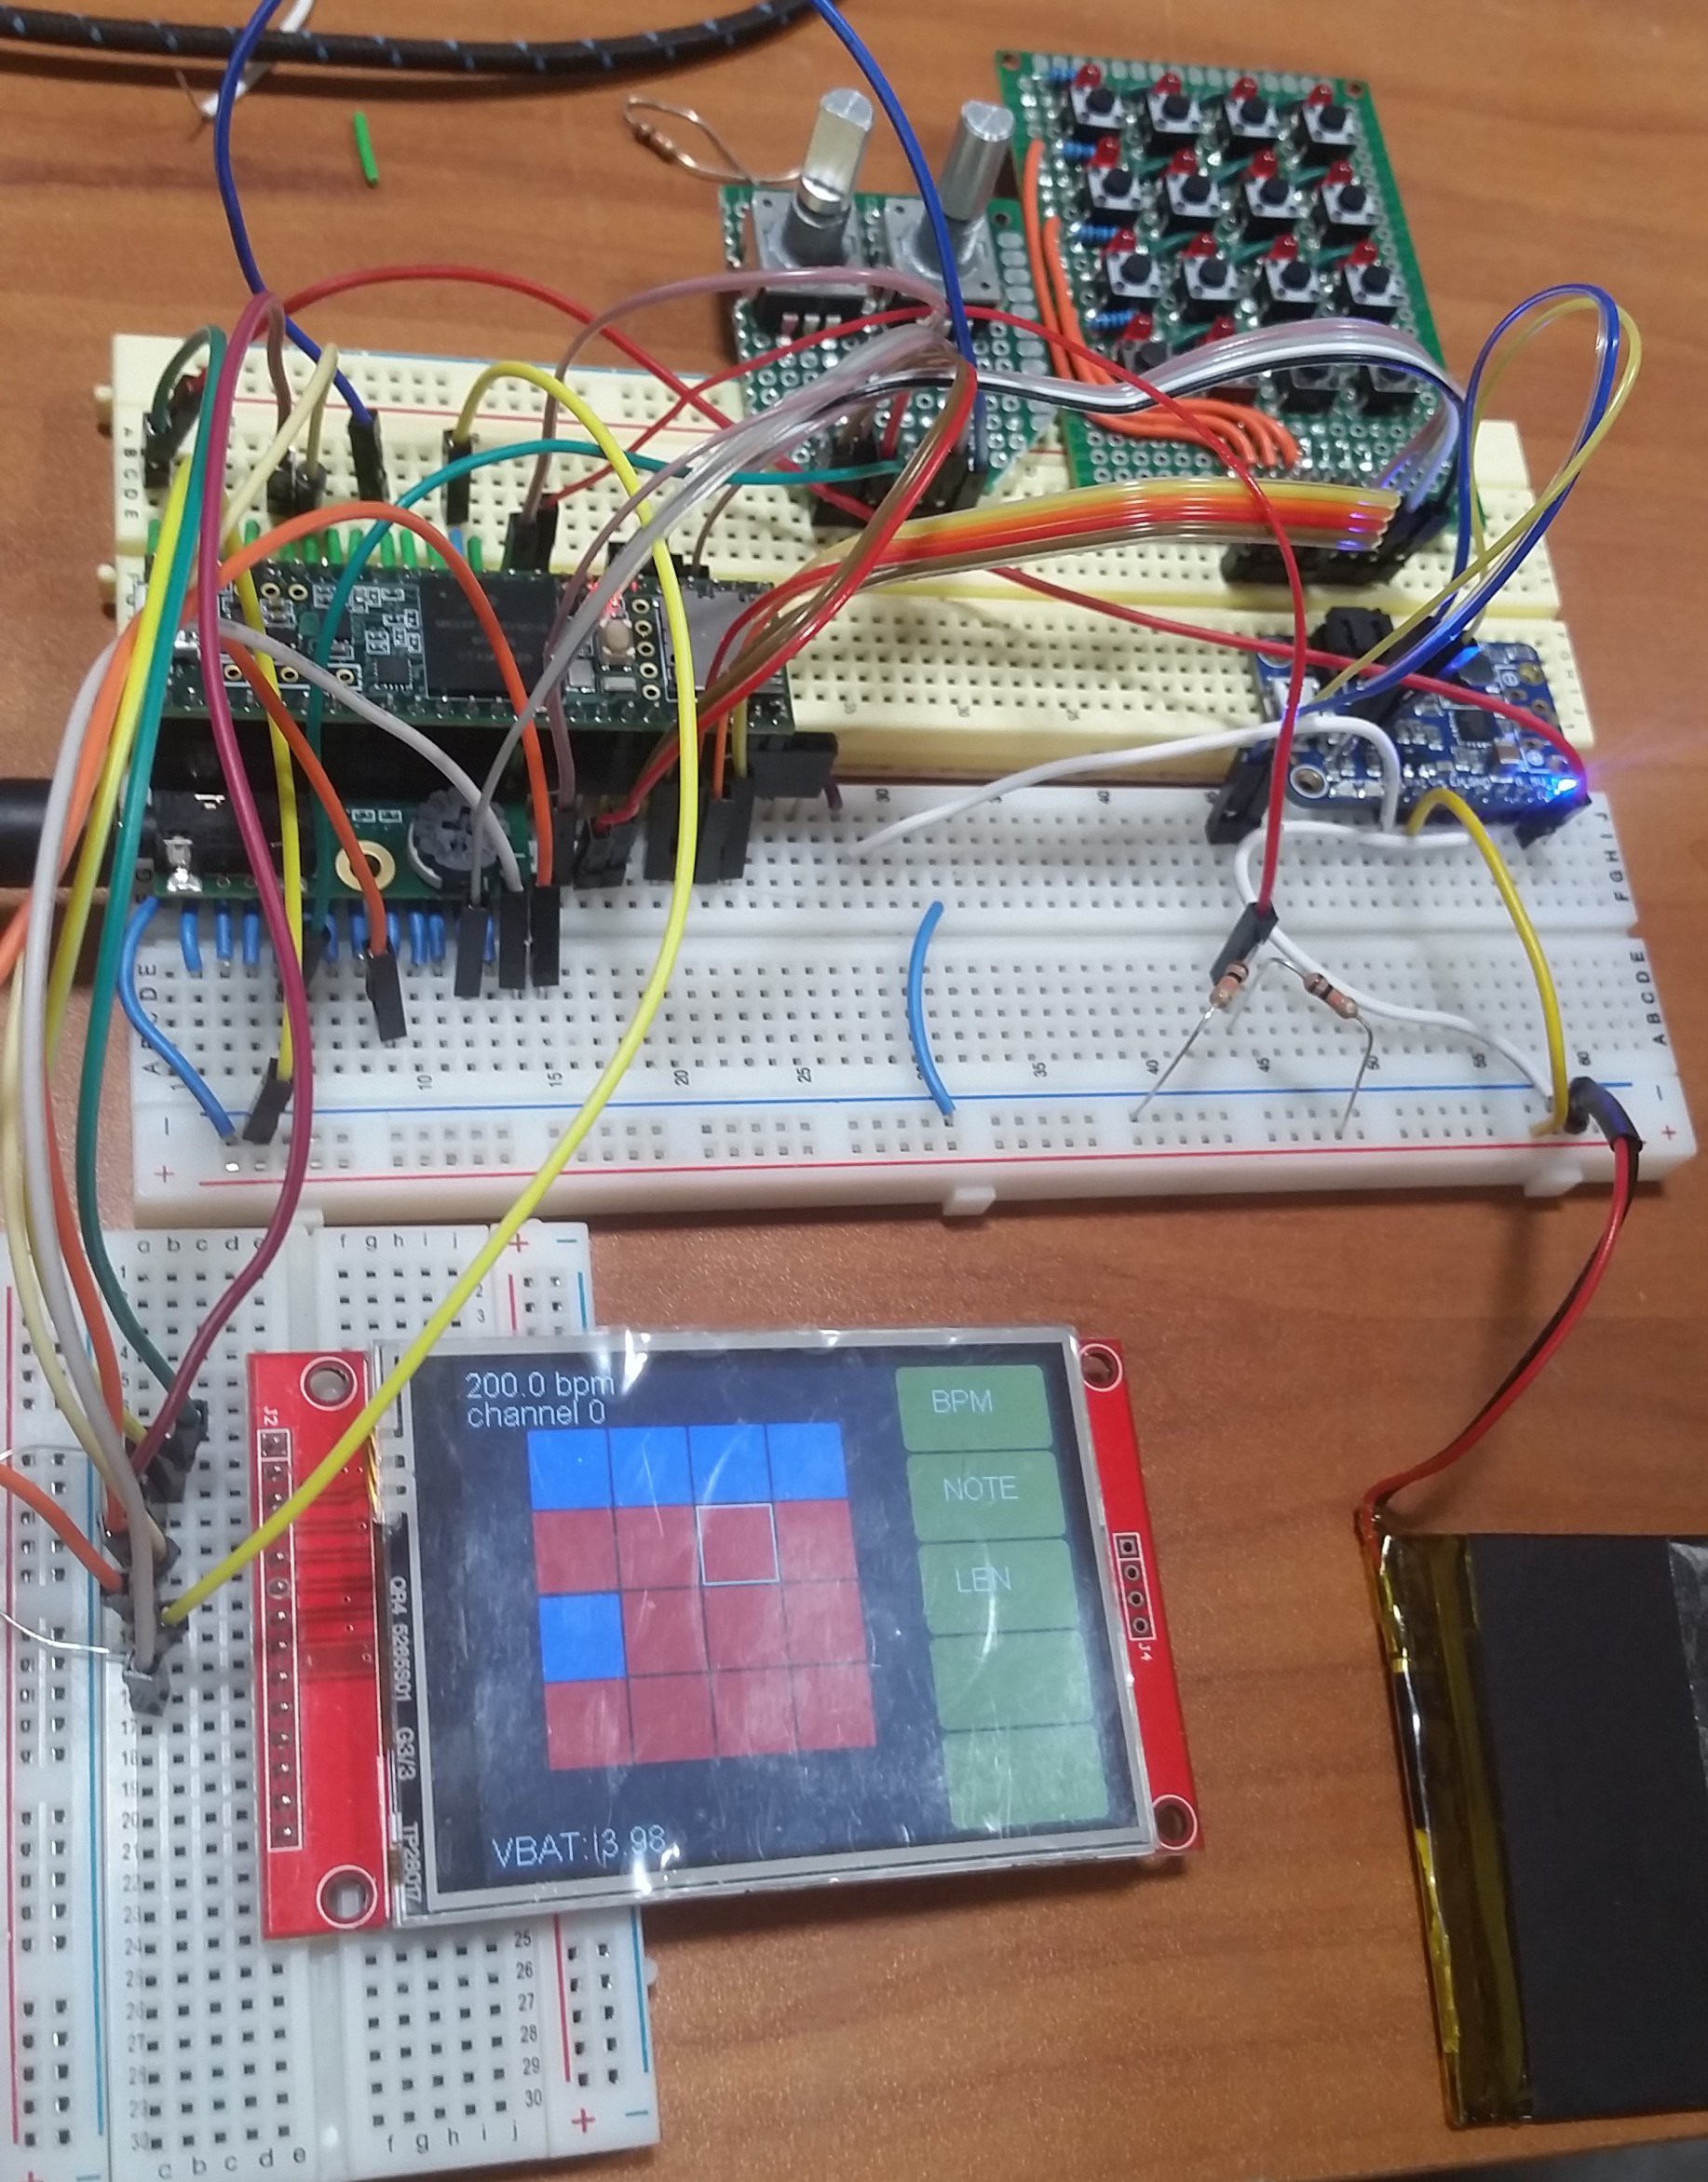
    Touchscreen and power button are not shown in this photo, but the device is running from a single cell LiPo.

    I've assembled 90% of the final circuit using correct pin assignments on breadboards and everything is working.  This allowed me to finalize the KiCad layout I've been working on and get some boards ordered soon.  I now have battery charging, voltage sensing, and soft power on/off.

View all 13 project logs

  • 1
    Building the Teensy Beats Shield

    So you want to build a Teensy Beats Shield?  That's definitely possible but here's my disclaimer...  It's not a beginner's soldering project.  The three major ICs on the board do not have leads, and can not easily be soldered with a traditional soldering iron.  You'll want a solder paste stencil, and at least a hot air soldering station.  I use a stainless steel stencil, and a reflow oven at the local makerspace.

  • 2
    Ordering PCBs

    I've ordered all of my PCBs from JLCPCB.  The main board is just over their 100x100 limit for $2 boards, so it's a bit more expensive.  I believe mine have been running around $18 for 10, plus shipping.  When order, also check the box at the bottom of the form to also order a solder paste stencil.  At JLC this costs $7, and will increase your shipping costs a bit.  The gerbers in my git repository can be zipped and used as-is.

  • 3
    Ordering Components

    I ordered all of my components from Digikey and Mouser.  The Bourns encoders were not available at Digikey, so I ordered them from Mouser, along with the pushbuttons, the DAC, charger IC, and boost converter IC.  I've updated the BOM to include links to the exact products I've ordered. 

View all 9 instructions

Enjoy this project?

Share

Discussions

Chris Miller wrote 09/14/2024 at 19:33 point

Anyone still following this project?  I have been building V2 prototypes since 2018 and am nearing a point where I'd like to release something like V2.2.  Current protos are based on the Teensy 4.1, and are pin-compatible with the official audio shield, SD card, and USB host.  I've added USB host, backlight PWM, phone detect, SD card detect, keypad matrix driver, secondary i2s DAC, amplifier, and 2W speaker, expansion port, LiPo fuel gauge, ESD protection, and improved power management.  Firmware are making pretty sounds and blinking all the blinkies.  But it is not a functional sequencer or sampler quite yet.  I've been focused on basic 4-track recording and playback, simple effects, and have a basic polyphonic synth engine working, with a simple UI using LVGL graphics library.  All while trying to get out a new HW prototype.  I'm not looking for partners at this point, but thanks for the inquiries!

  Are you sure? yes | no

Bob wrote 11/30/2022 at 14:45 point

Is there an update for Teensy 4.1? I'd love to build this project...

  Are you sure? yes | no

jdrew619 wrote 05/04/2020 at 15:22 point

I really want to build this so bad. I'm afraid it may be a bit complex for a beginner though.

  Are you sure? yes | no

ondrej D. wrote 11/23/2018 at 18:12 point

this is very cool project and I am in process of replicating it. However, I have littel problem - I do not want to order the flash from digikey - W25Q128JVSIM. The reason is I don't want to pay 20EUR for shipping item that costs 1.4 EUR... Unfortunalely I cant find it on ebay or aliexpress or banggood. I can find naything but W25Q128JVSIM. Is there alternative I could use?

  Are you sure? yes | no

Leandro Machado wrote 10/25/2018 at 21:24 point

Do you have any other in depth video or text explaining the other features of the current firmware?

  Are you sure? yes | no

Chris Miller wrote 10/26/2018 at 03:04 point

I do not currently but that's a great idea.  I will work on that but it might take a bit to put together.  The intro video summarizes some of what it can do currently.  There still needs to be some work done to put together entire "songs" but the foundation is there.

  Are you sure? yes | no

Leandro Machado wrote 10/26/2018 at 14:03 point

Yes, I asked because in that video you sort of use a punch in system for sequencing the songs (instead of having one different sequence for each instrument, like in the Pocket Operator for example), that's why I'm curious to see how the device fully work :)

  Are you sure? yes | no

Chris Miller wrote 10/26/2018 at 14:41 point

Ah, ok.  I haven't actually used a pocket operator so maybe I've done some things better or worse - and hopefully differently.  :)  I have channels, which are generally a single instrument or type of instrument.  That channel might be a waveform type, or a sample bank, which may have kick, clap, cymbal, etc...  Then there are patterns, which can have multiple channels that play simultaneously.  Then your track will be sequenced from the patterns, arranged how you want.  I haven't built anything on the pattern sequencing yet, but it's been designed with that in mind.  I plan to work on all this stuff while I'm at Superconference at the end of next week.

  Are you sure? yes | no

Leandro Machado wrote 10/20/2018 at 21:31 point

Loving your project, congratulations!

Looking forward to be able to buy one of these PCBs soon!

  Are you sure? yes | no

Chris Miller wrote 10/22/2018 at 00:58 point

In theory you could order them now using the Gerber files on GitHub.  Are you planning to solder the surface mount parts yourself?  I just put up some basic build instructions.

  Are you sure? yes | no

Leandro Machado wrote 10/22/2018 at 12:36 point

Yes, I really loved this project and this soldering job will probably be a nice weekend challange

  Are you sure? yes | no

Chris Miller wrote 10/22/2018 at 15:52 point

You'll want at least a hot air station.  There are 3 ICs that do not have leads, so using an iron is not really a good option.

  Are you sure? yes | no

Fabien-Chouteau wrote 10/16/2018 at 20:12 point

Awesome project!

I looked for good SMD encoder for ages, what are the part numbers on these?

  Are you sure? yes | no

Chris Miller wrote 10/16/2018 at 21:15 point

Bourns PEC11S-929K-H0015 - from Mouser.

  Are you sure? yes | no

Fabien-Chouteau wrote 10/17/2018 at 08:46 point

Thanks :)

  Are you sure? yes | no

Chris Miller wrote 09/27/2018 at 16:40 point

I have not experimented with this yet, but the Teensy does have USB midi support.  Firmware routines would need to be written to send the info.

https://www.pjrc.com/teensy/td_midi.html

  Are you sure? yes | no

clae wrote 09/27/2018 at 14:34 point

I'm wondering if your sequencer could be adapted to trigger external drum voices - ie, to send +V trigger pulses, one per drum track, or to send MIDI

  Are you sure? yes | no

Similar Projects

Does this project spark your interest?

Become a member to follow this project and never miss any updates