 Kenneth Marut
Moon Germs
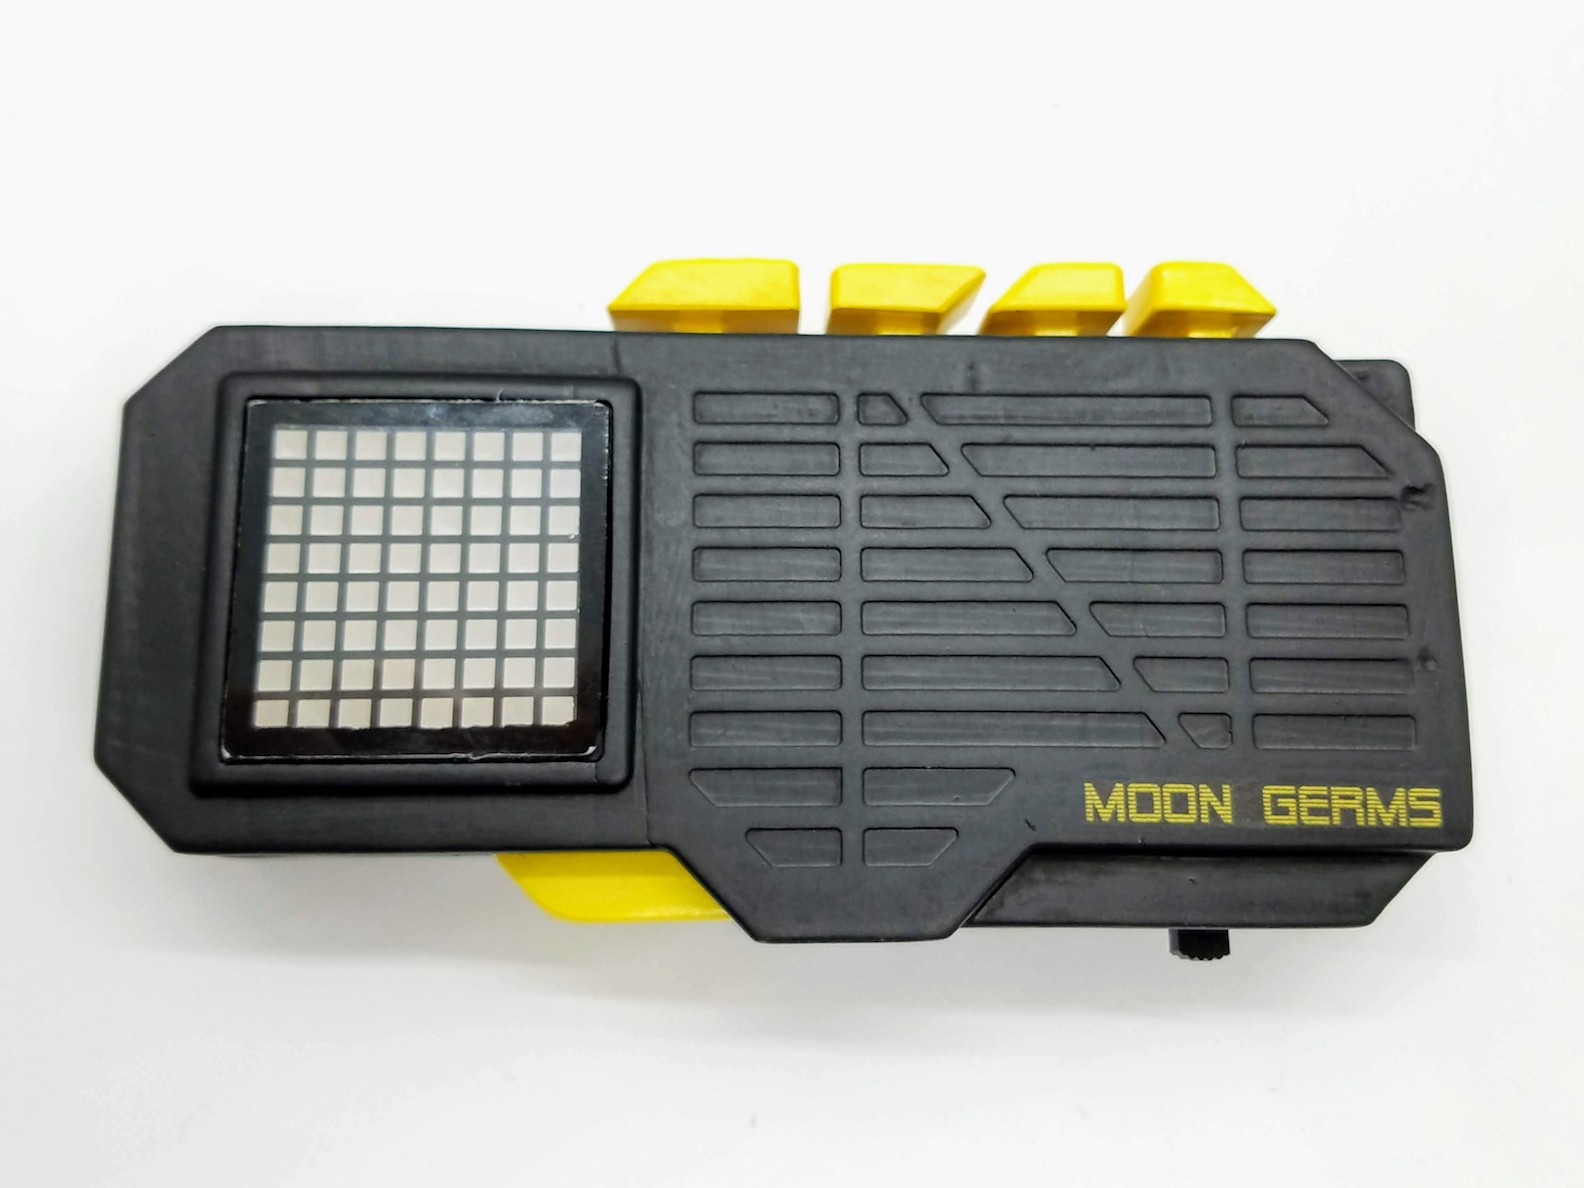
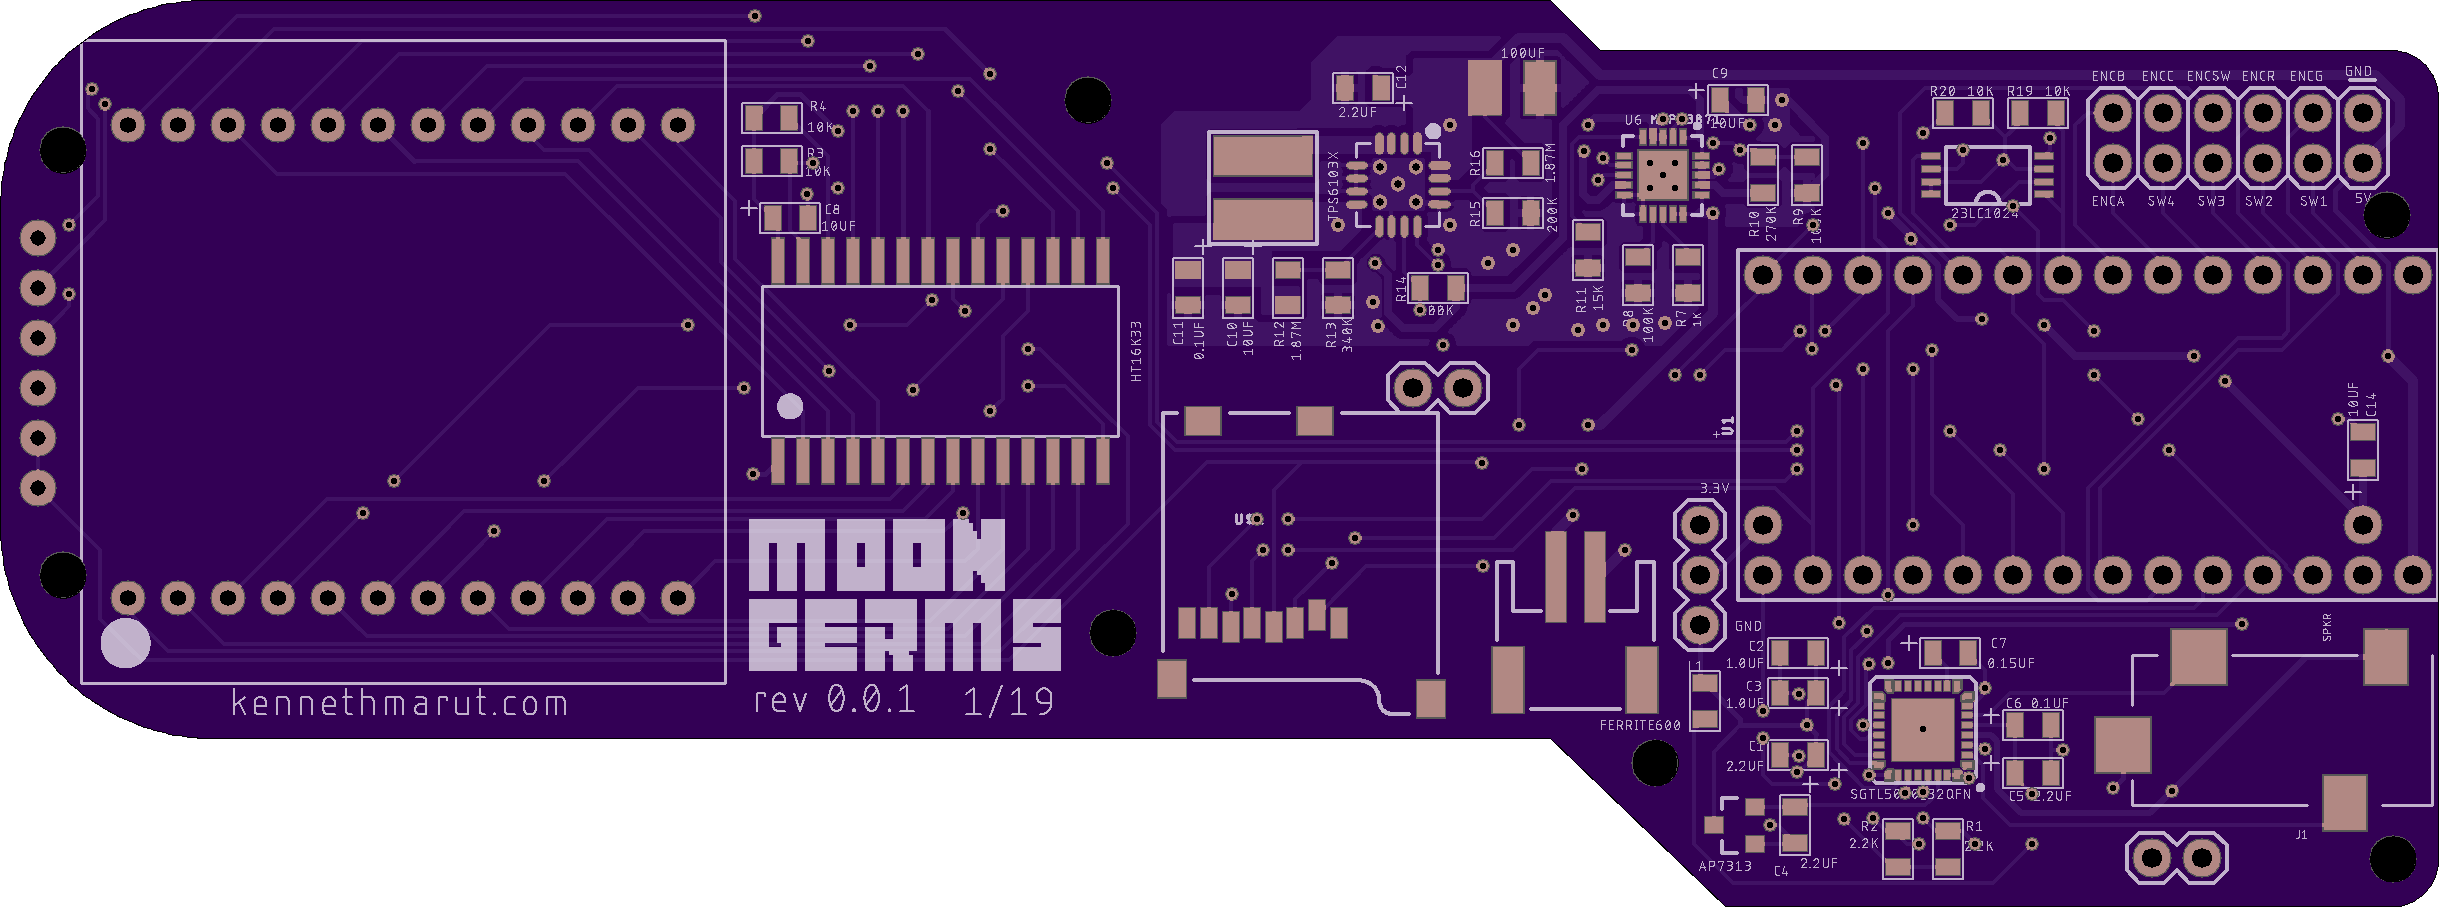
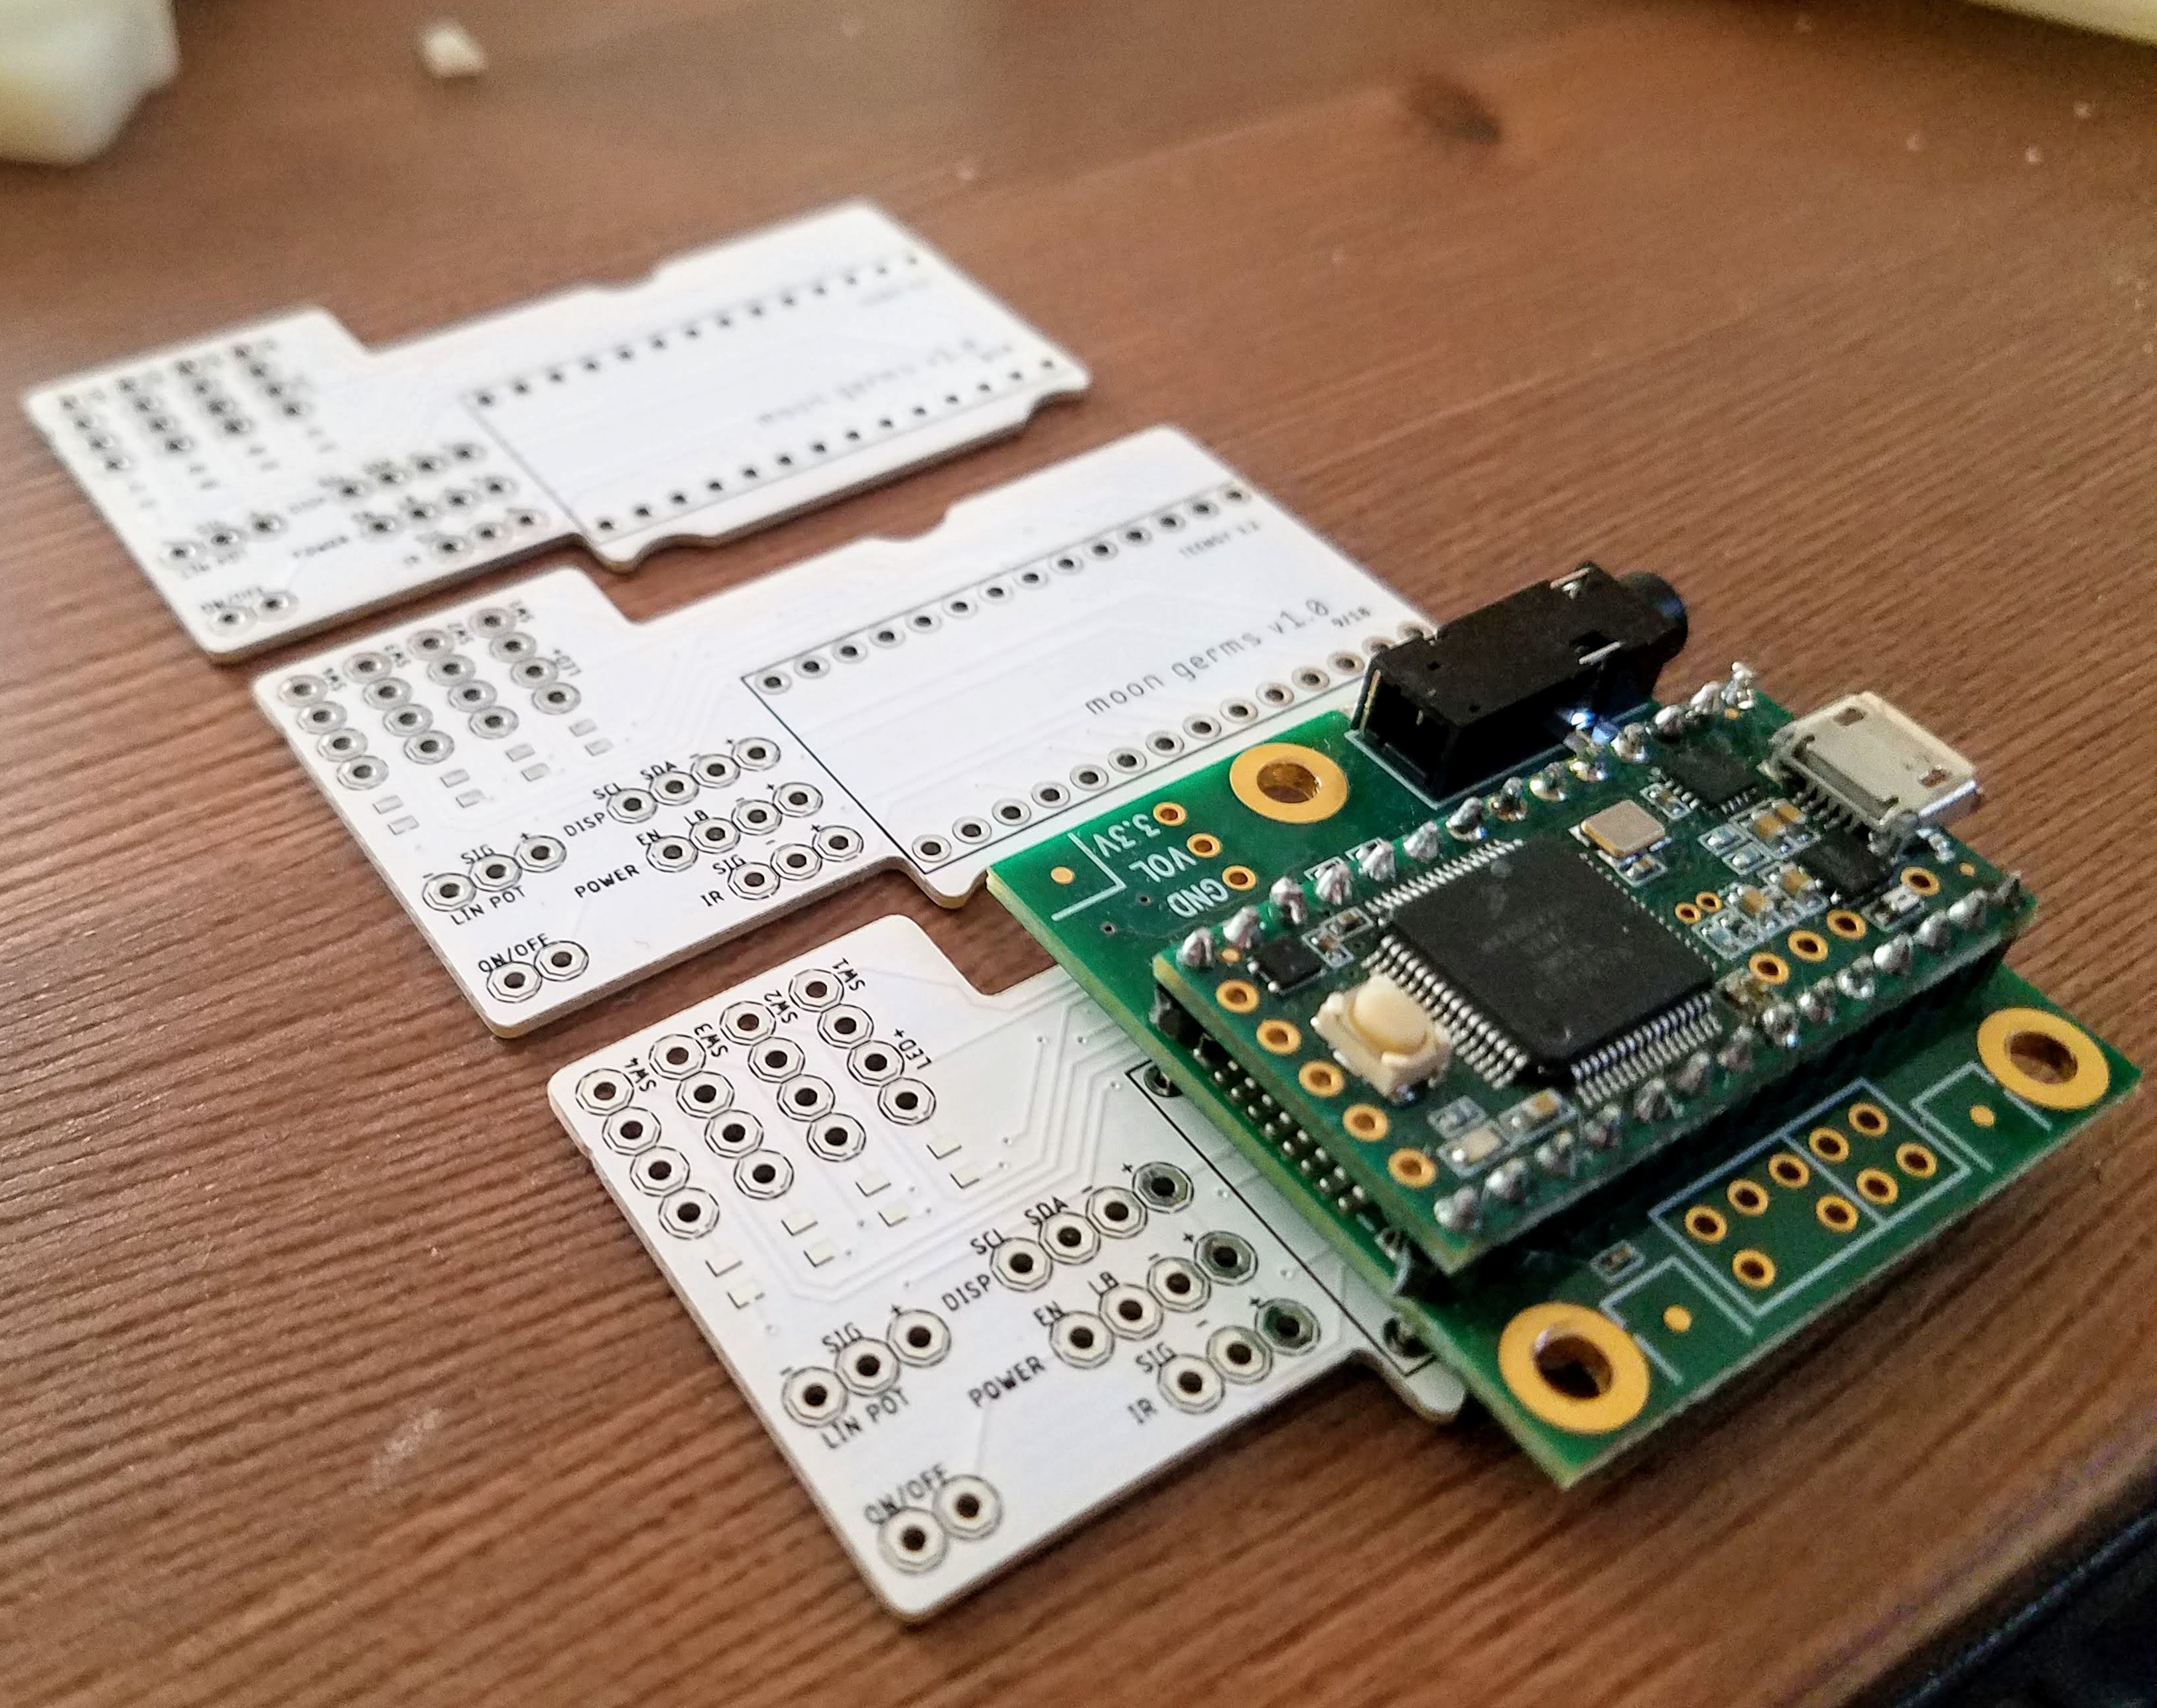
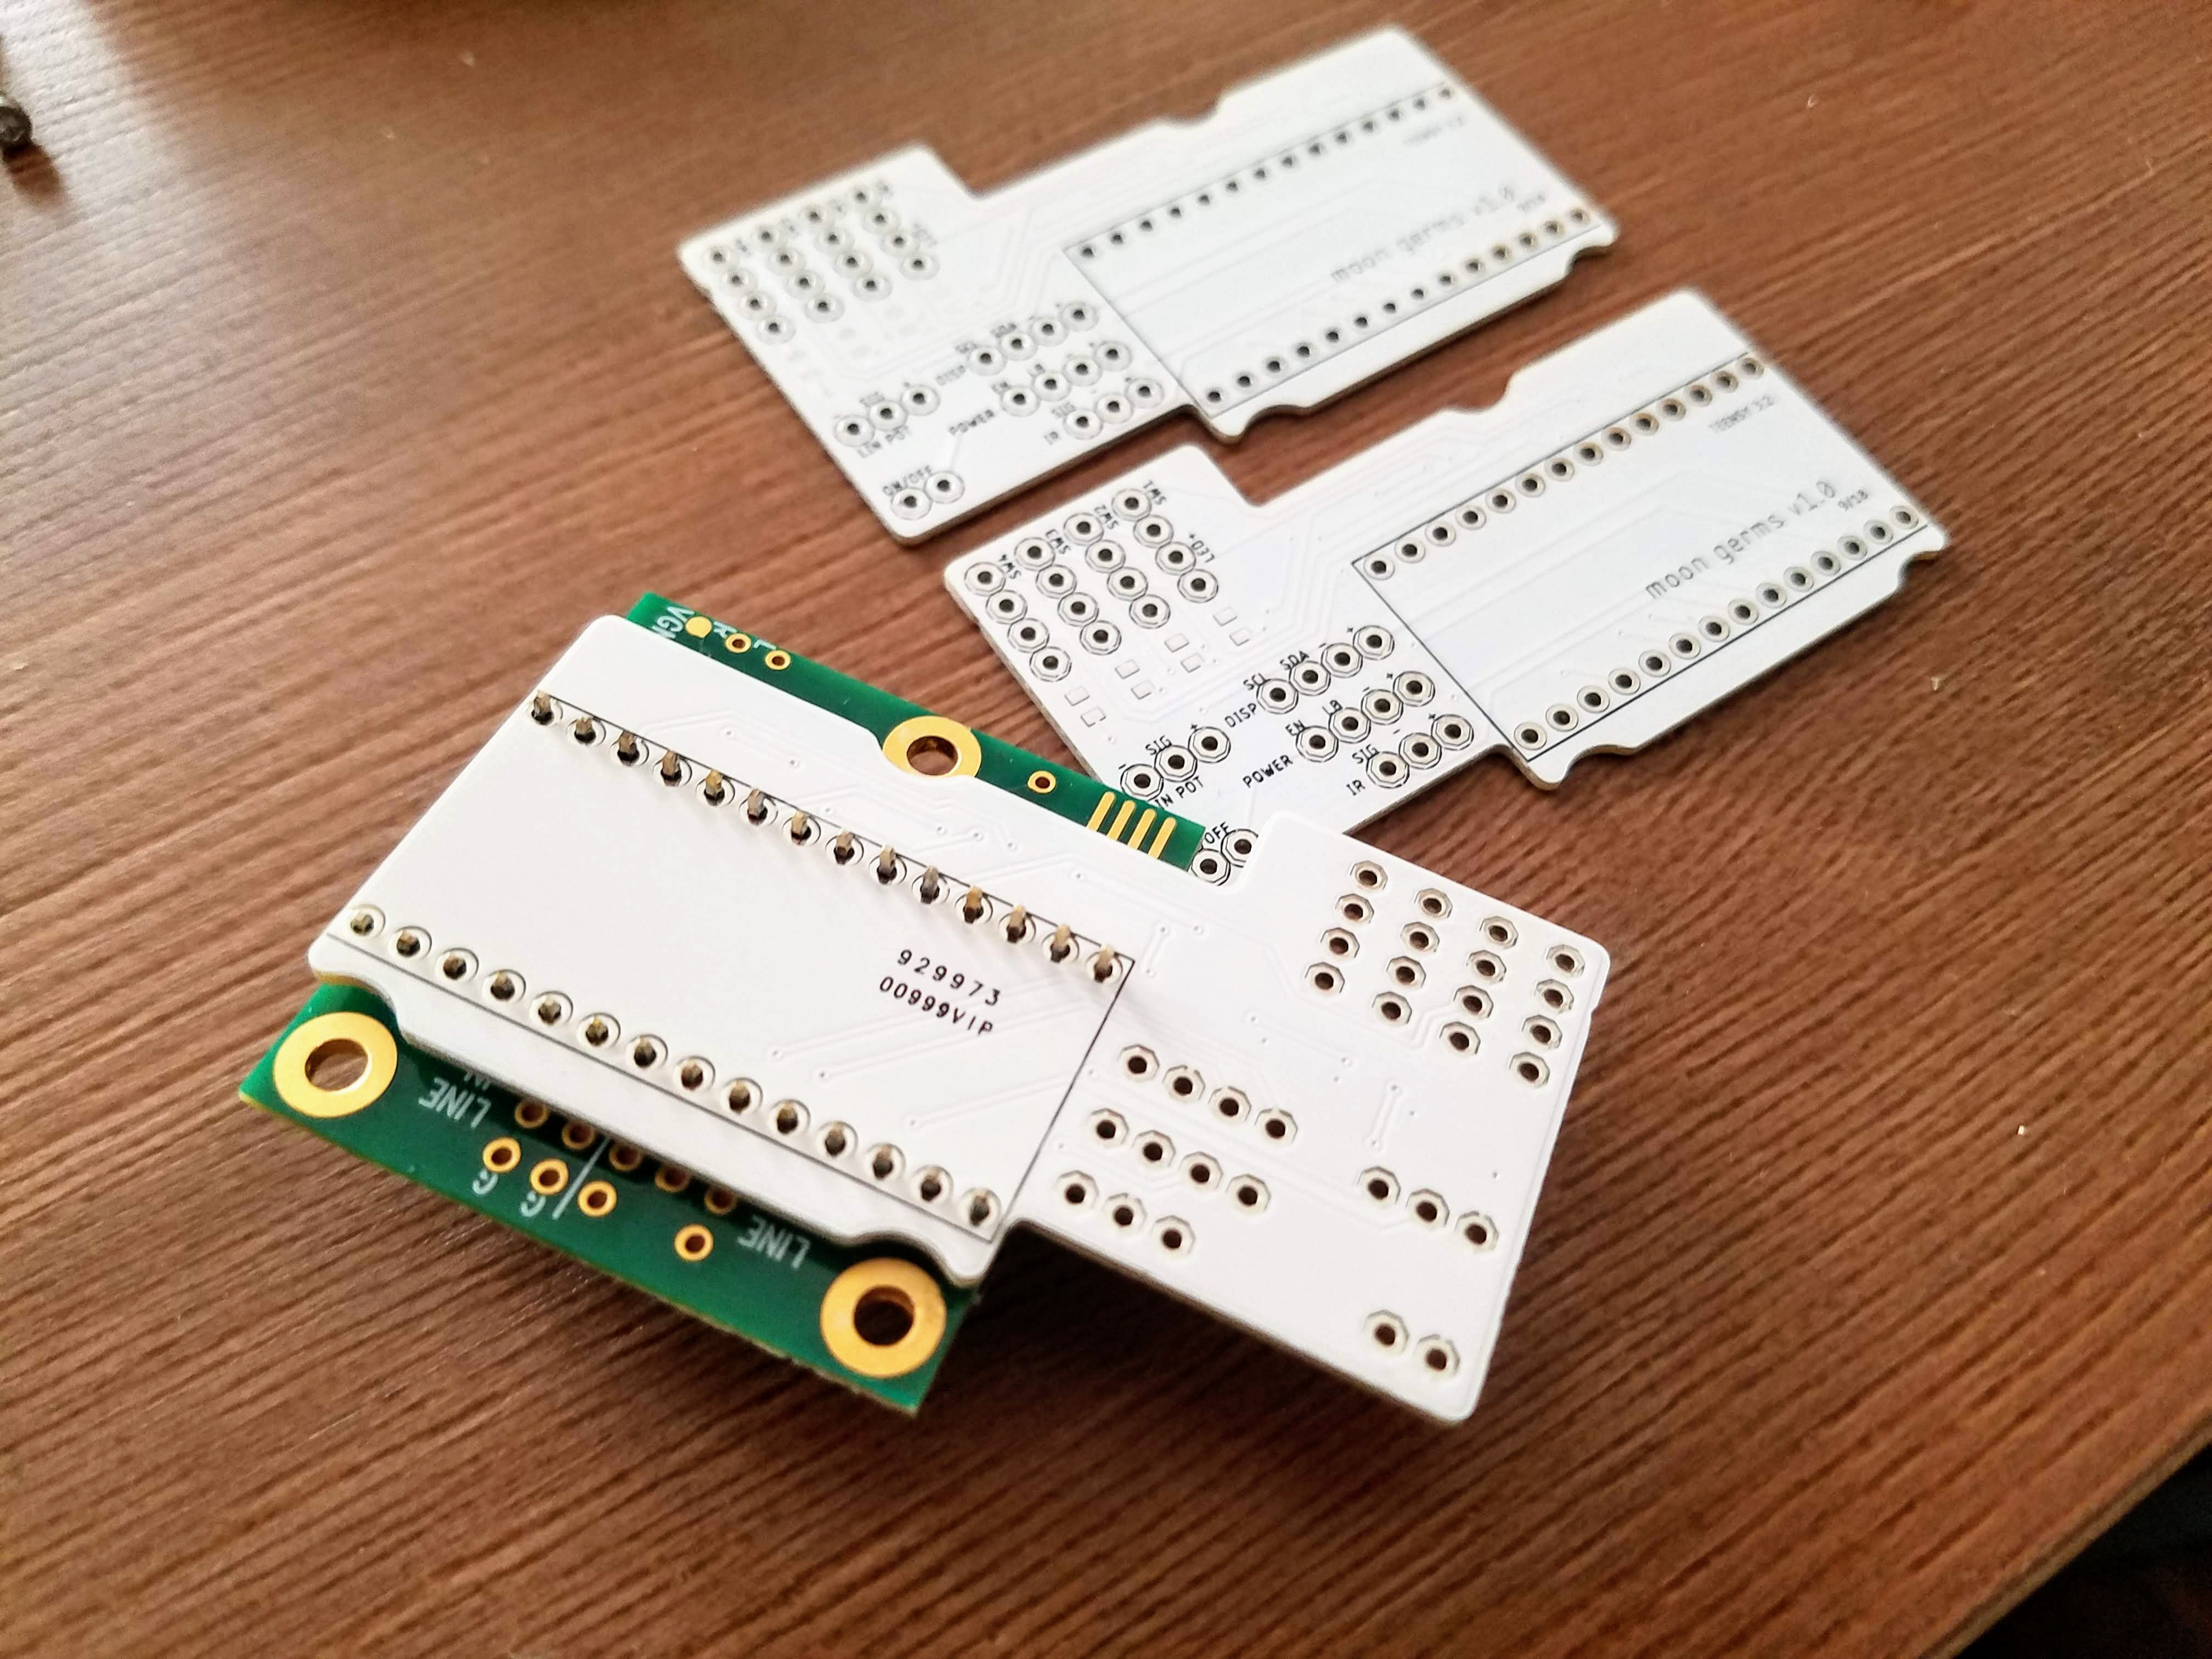
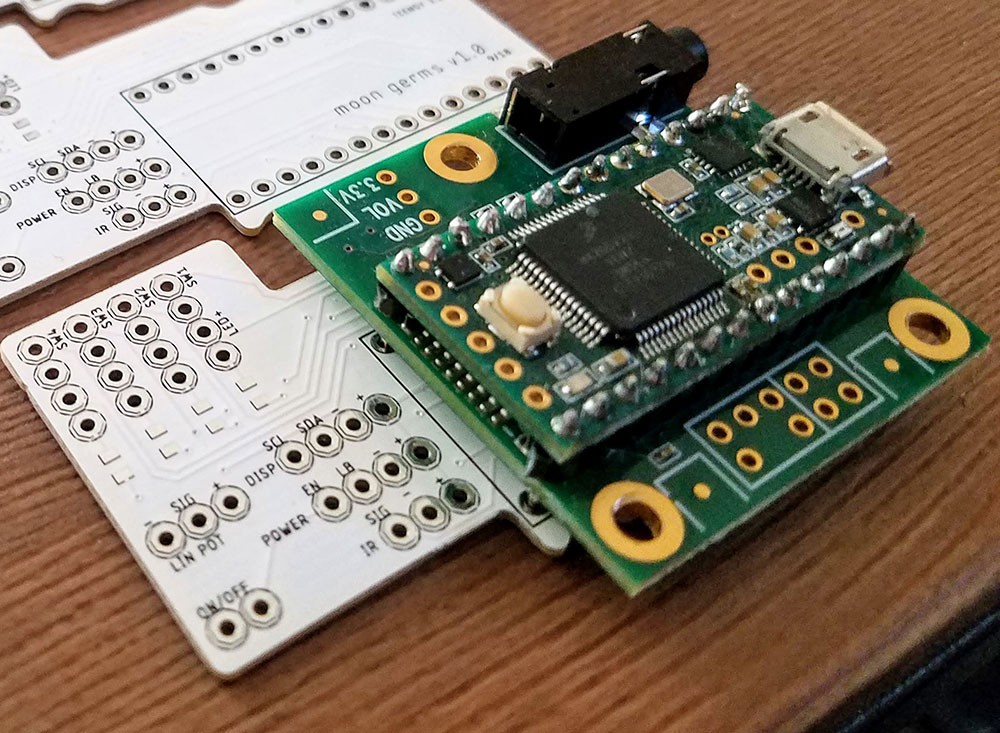
A hand-held, battery powered digital synthesizer based on the Teensy 3.2 and Audio Shield by www.pjrc.com

Updates 10/21/18
After making it into the semi-finals for the 2018 Hackaday challenge, I thought it would be fun to add some fun new features before submitting this project to the finals. In the past couple of days I've built a desktop app using Processing that connects to the device and allows you to update parameters in real time. I restructured the synth engine to include a LowPass filter and LFO. It was a pretty ambitious goal for me and I still have a lot of bugs to work out, but I have an MVP that works pretty well and looks pretty awesome too. See below for details about the app.
About the Device
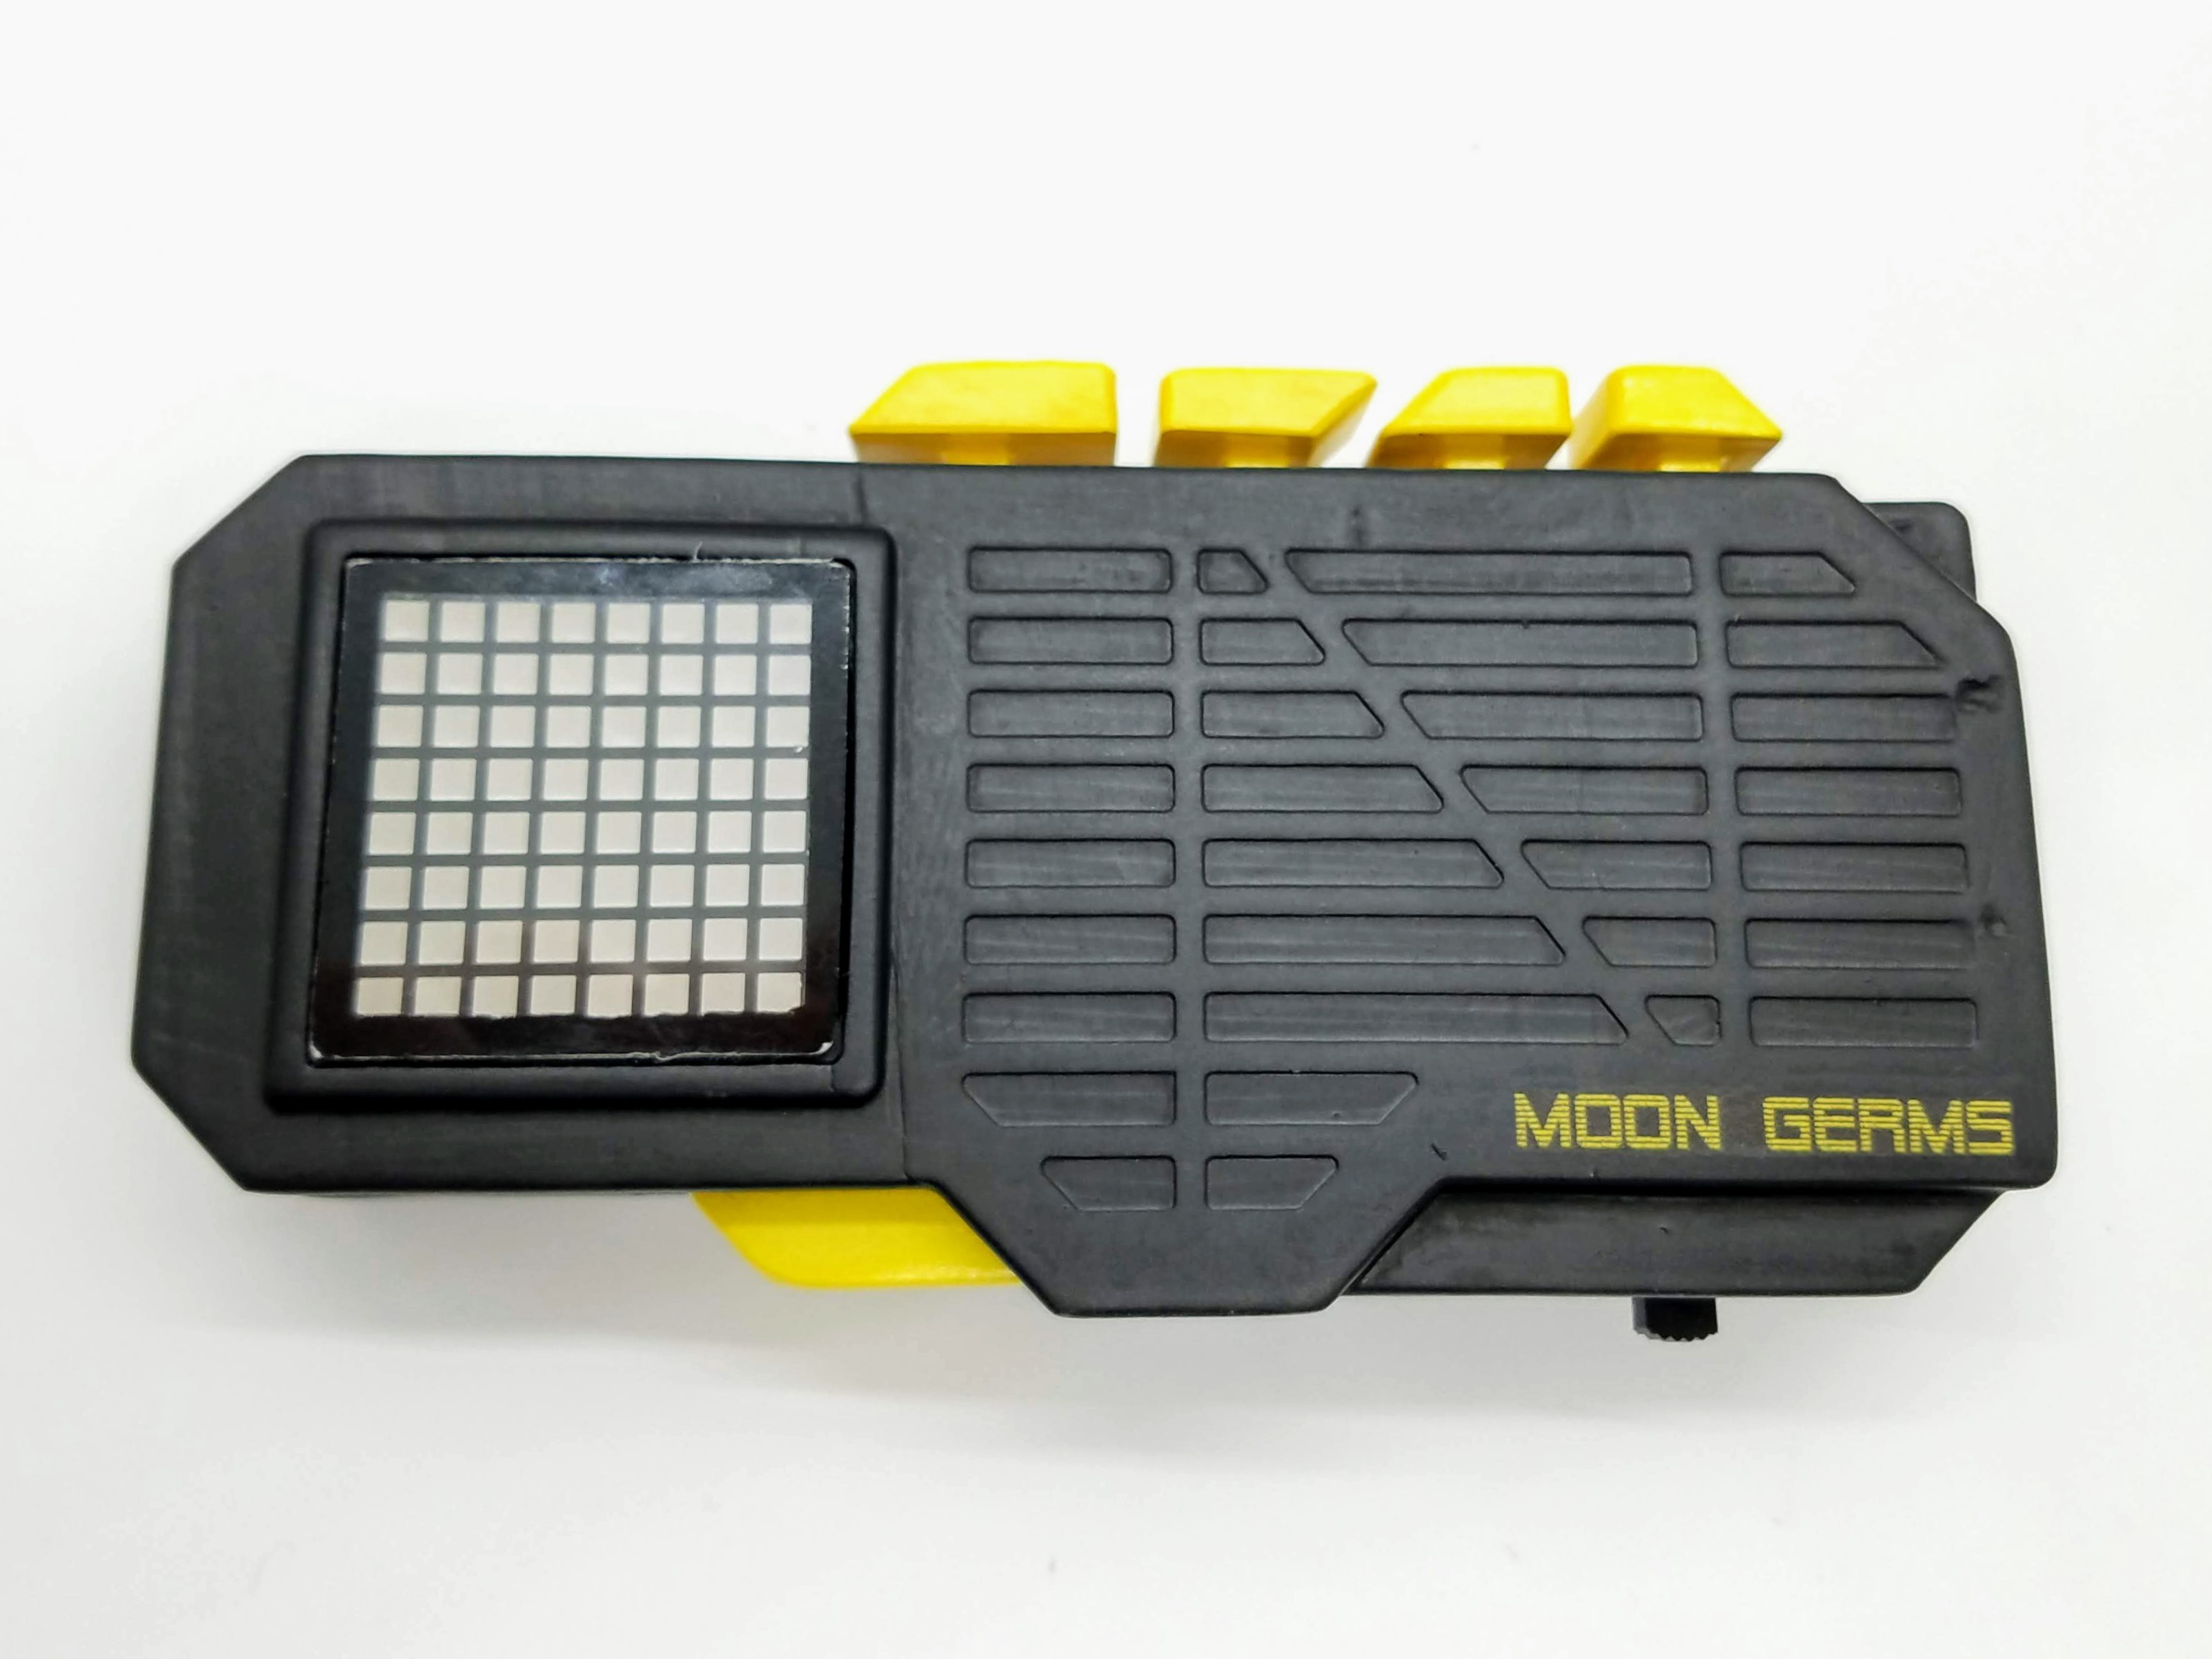
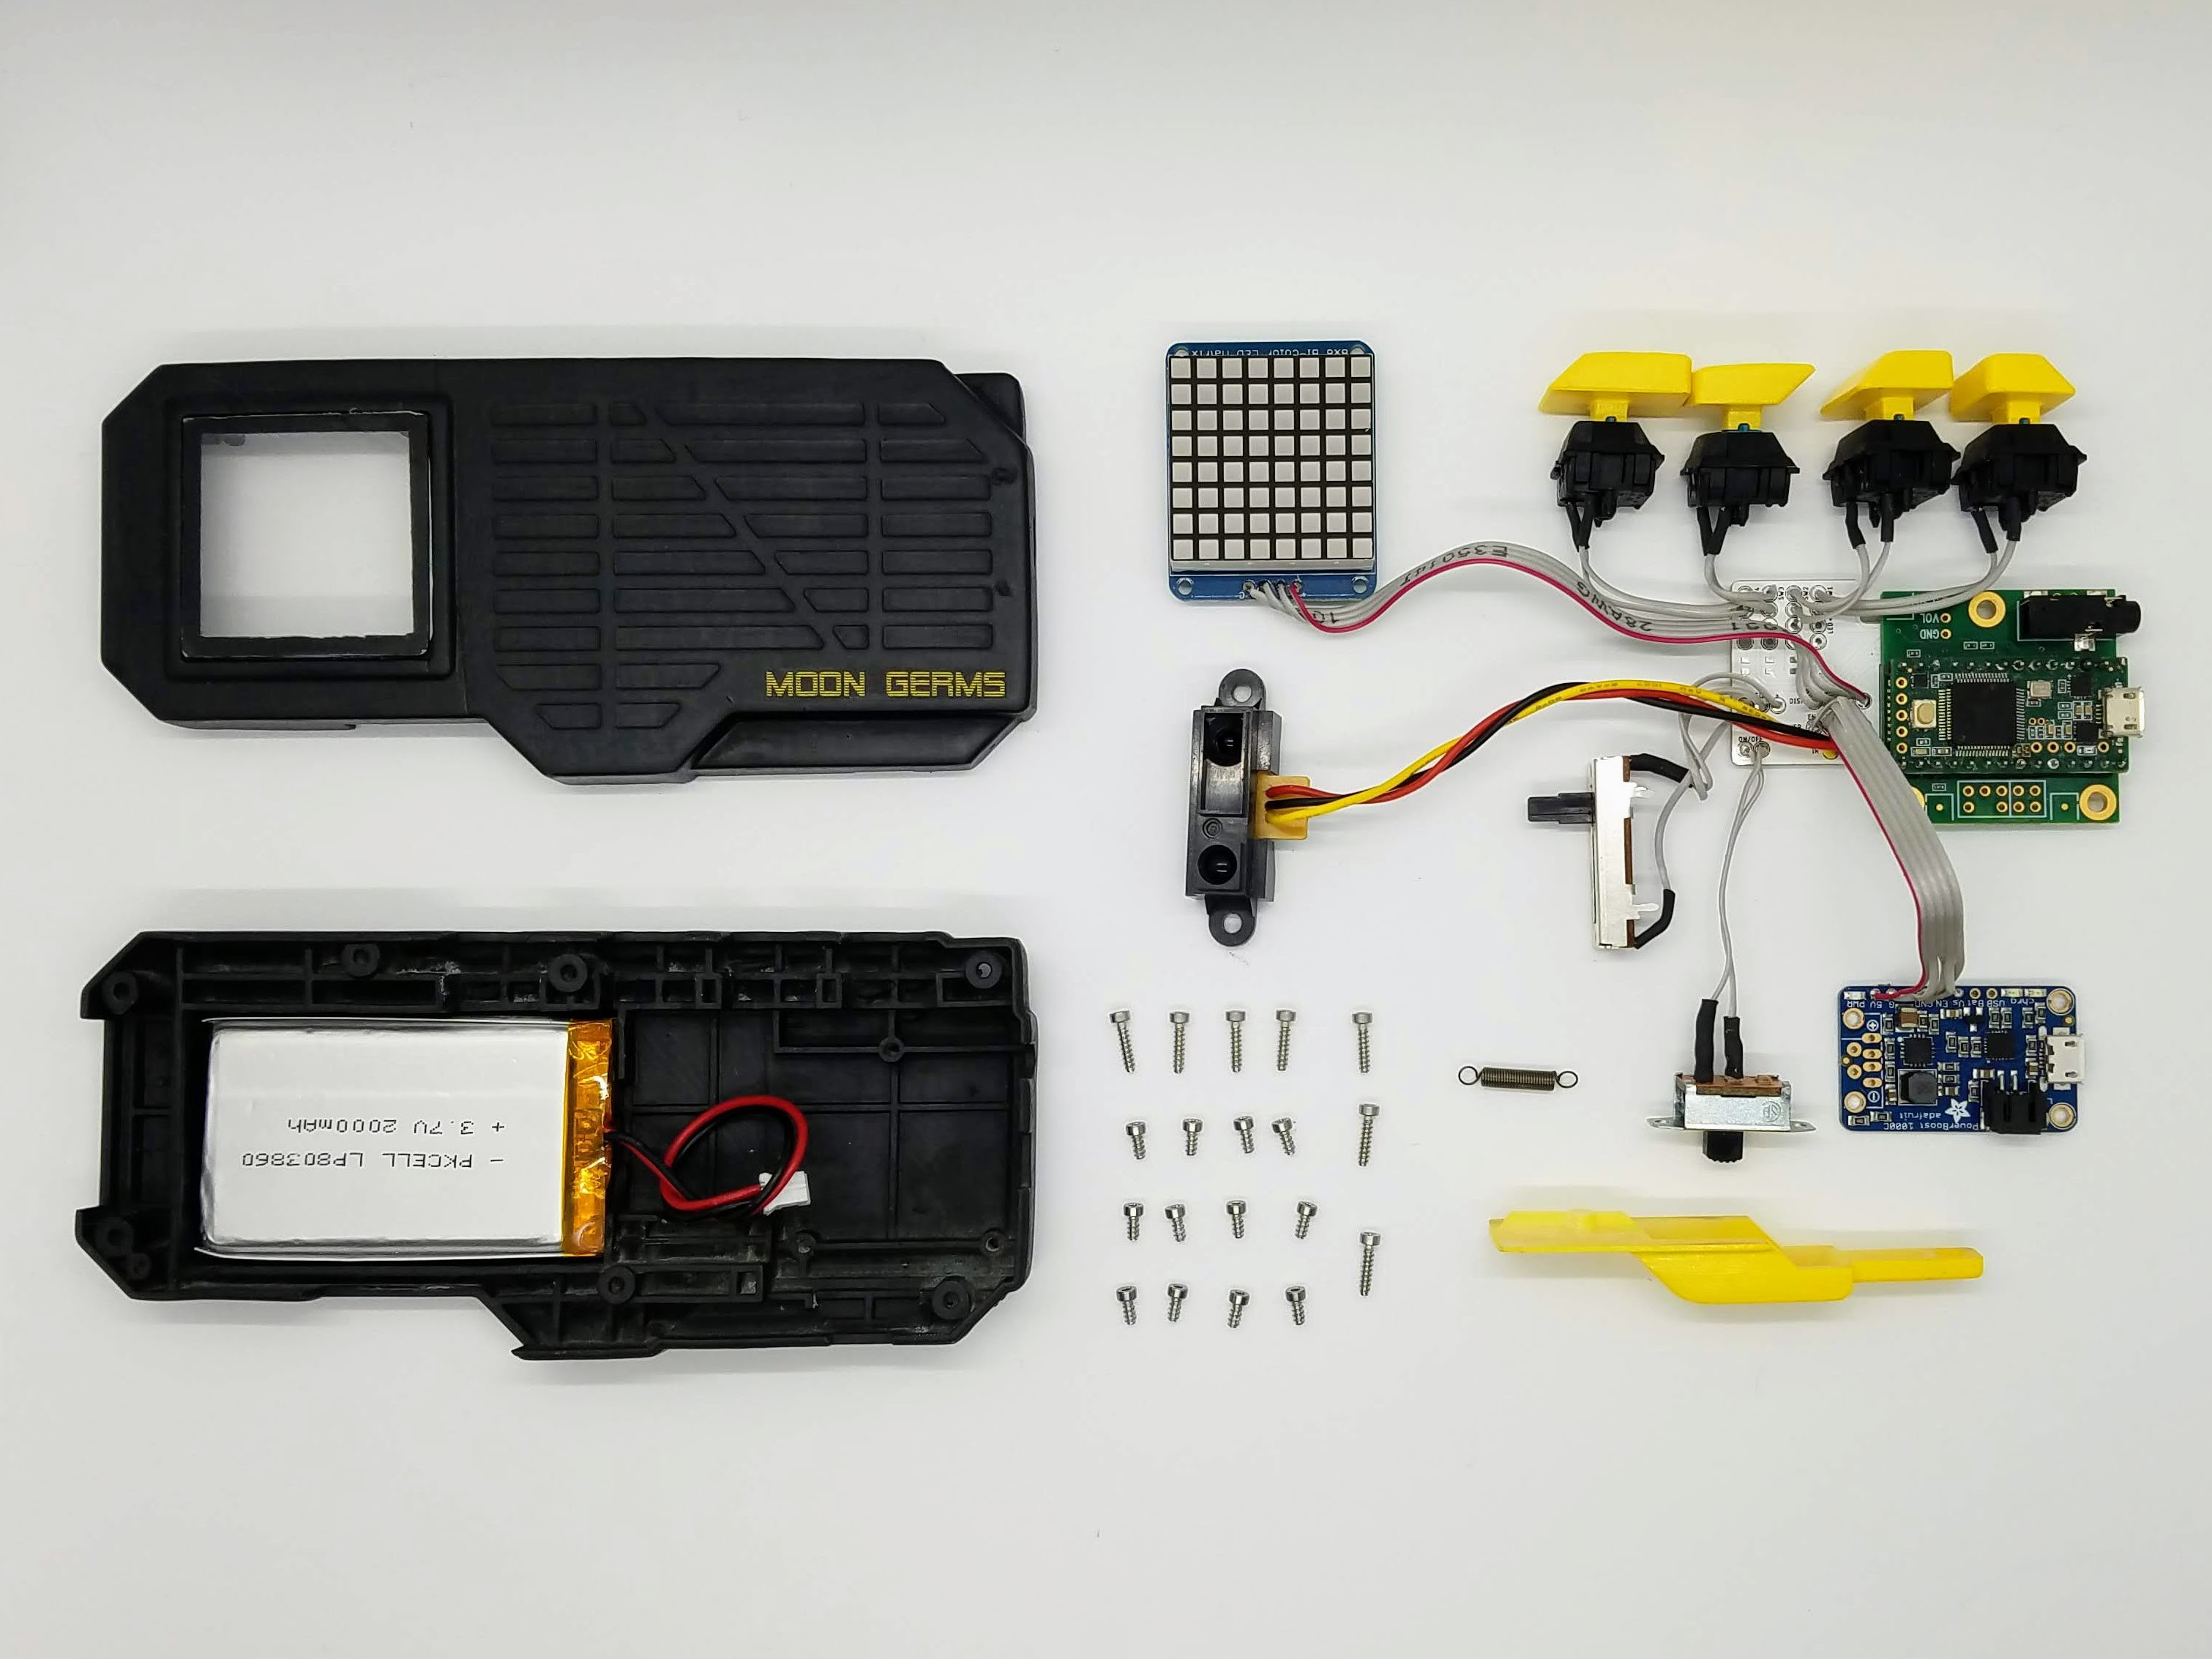
A fun, pocket-sized synthesizer that uses an IR proximity sensor to modulate frequency. Using a combination of buttons and triggers, the device can produce several different waveforms and effects. An 8x8 LED matrix shows useful and colorful information while in use. Currently finishing up Rev 1.0
I wanted to explore digital synthesis using the Teensy Audio shield and experiment with a unique way of interacting with a synthesizer with minimal buttons/knobs, all while designing a device with an interesting and cyberpunk-y form factor. Although I'm a lifelong musician, I never really explored synthesis before and thought this would be a great way to dive in. This has been an awesome learning experience and has gotten me hooked! I'm excited to keep this up.
Traditional synthesizers can be intimidating to approach with all of their knobs, sliders and weird nomenclature, and difficult for a beginner to understand. This project aims to provide a fun and addicting way to mess around with a couple different waveforms and explore creative and strange musical ideas. With only 4 buttons, and 2 analog inputs, interacting with the Moon Germs synthesizer and creating sound is really simple. Simply press down the "play" button and move your hand around relative to the IR sensor. Cycle through various waveforms with button 2, and switch octaves with buttons 3 & 4. For a "fatter" sound, apply force to the trigger to detune oscillator 2. The 8x8 display shows what type of waveform you're hearing, and dynamically speeds up or slows down with pitch.
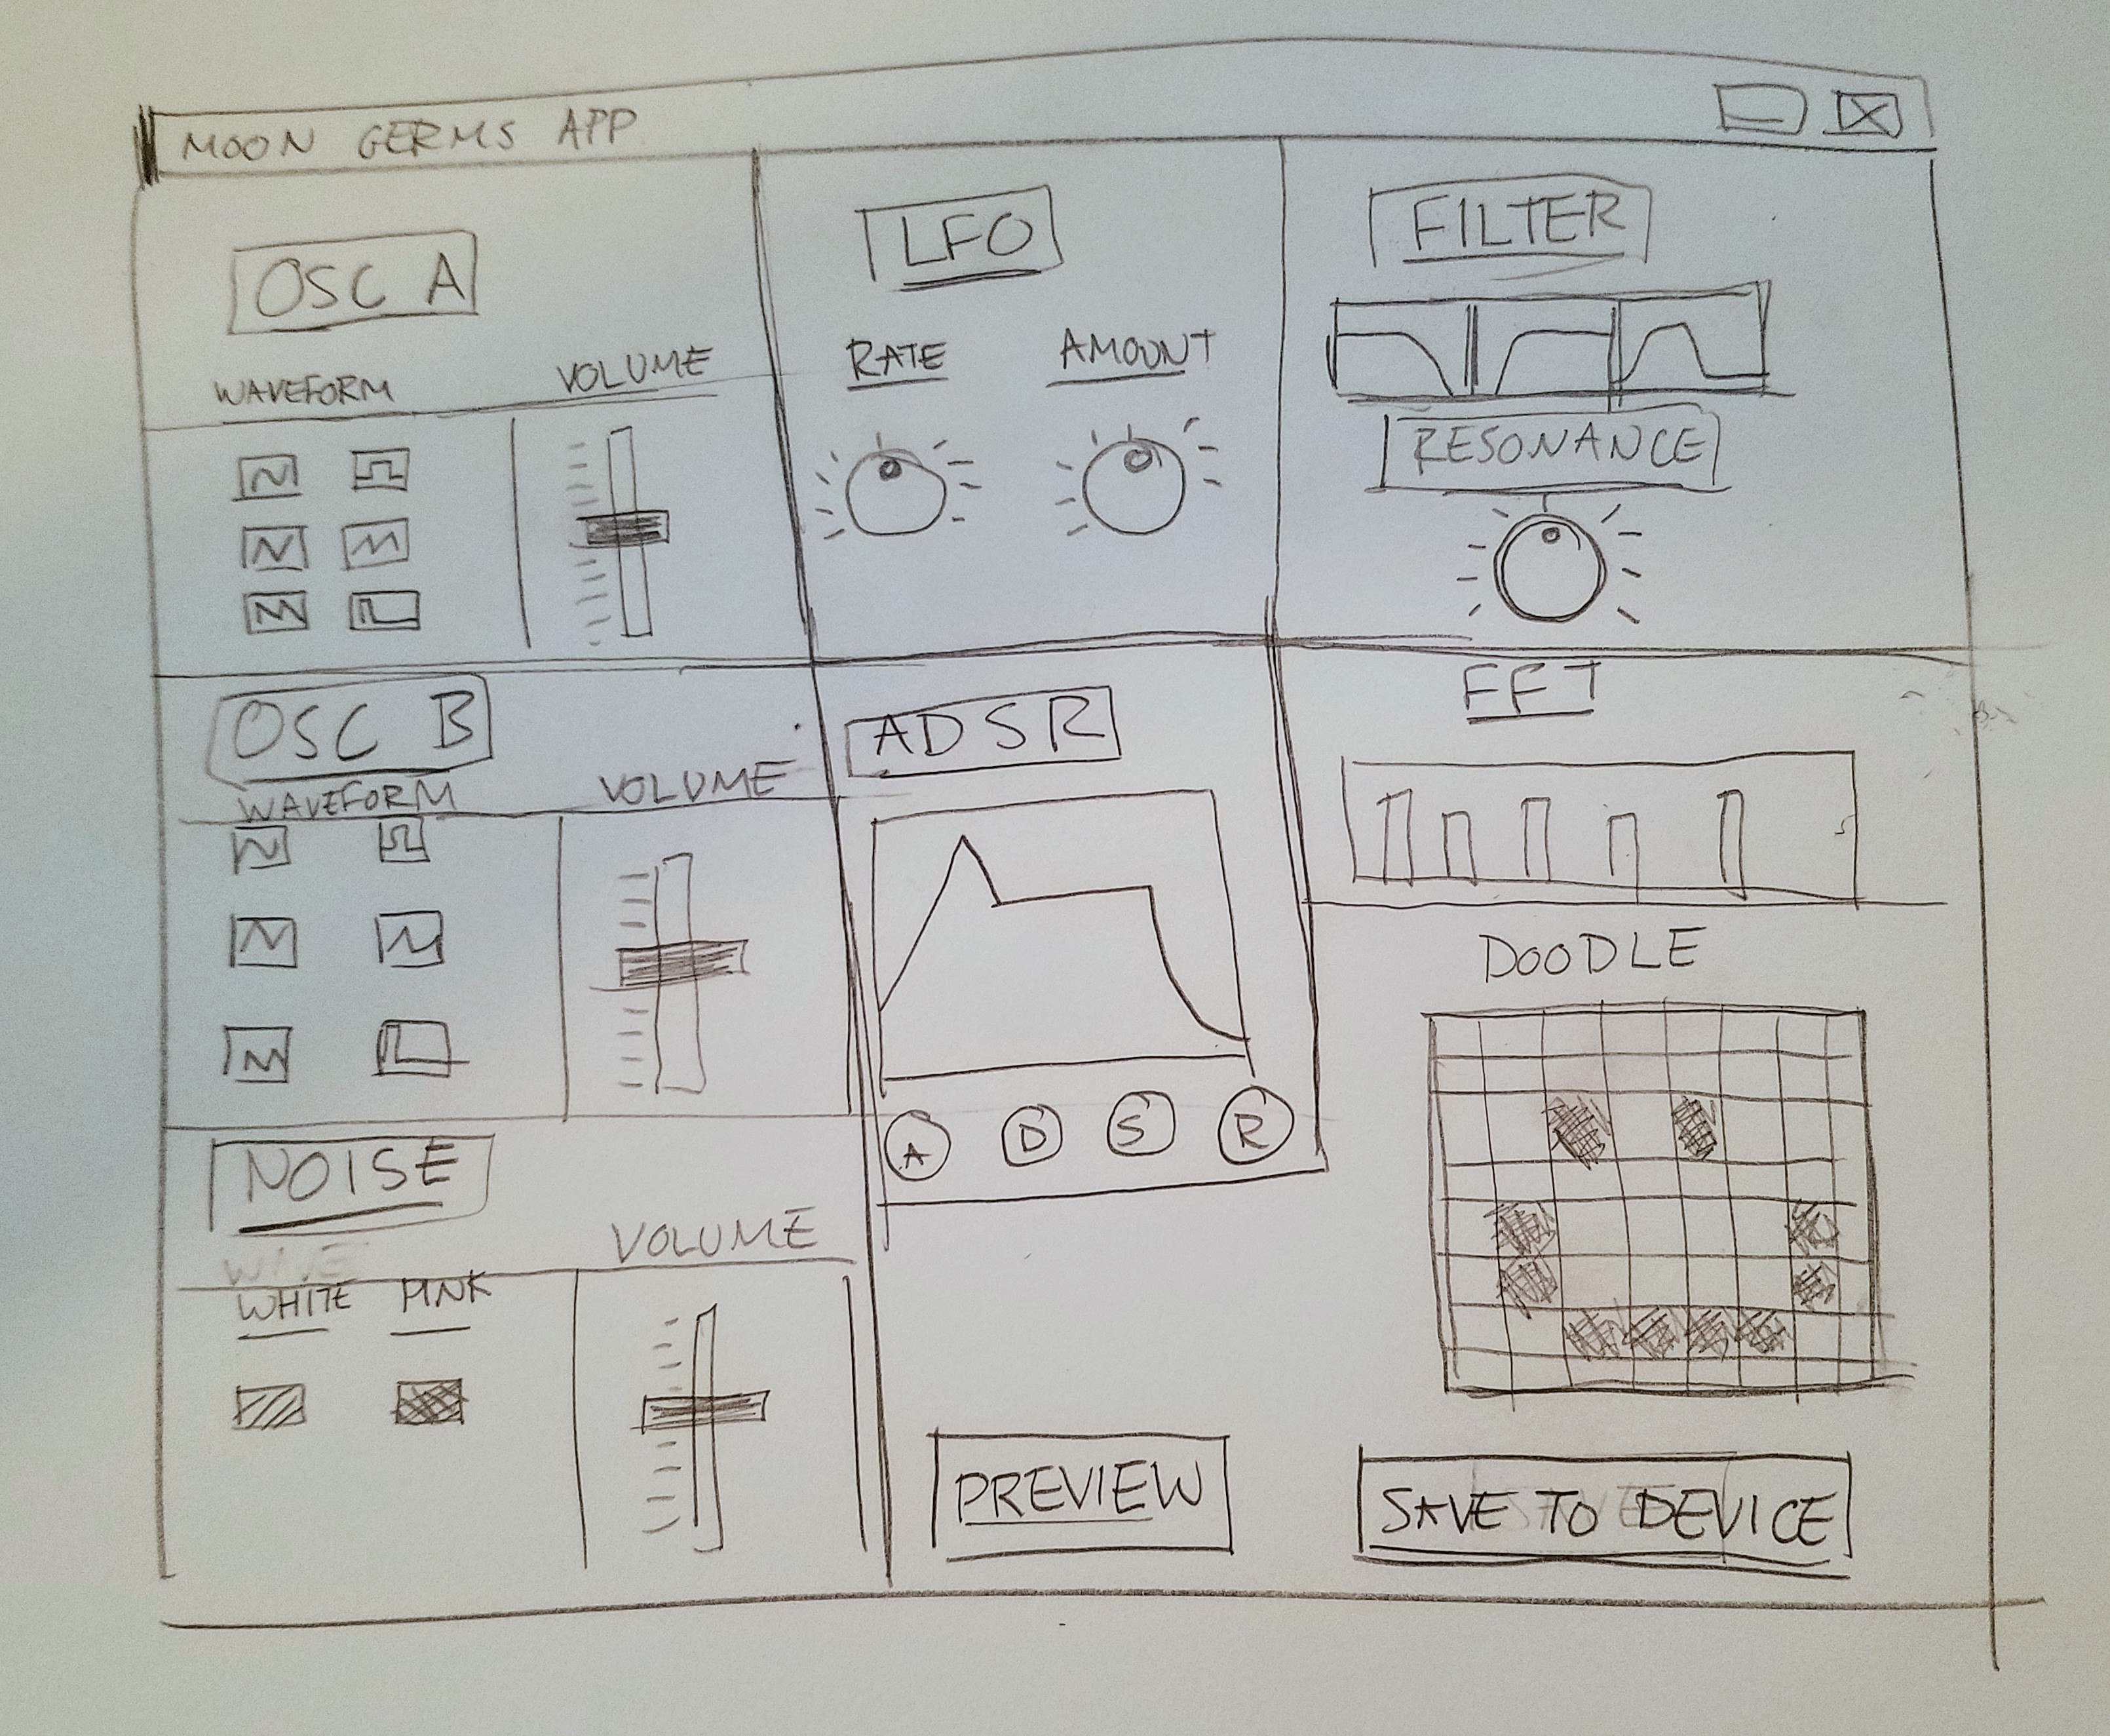
When you're ready to take a deeper dive into the behind-the-scenes of synthesis, connect the device to the desktop app to adjust and tweak various parameters in a non-intimidating environment. Once connected, the app auto-loads the device's stored parameters according to their bank number. In addition to waveform selection, the adjustable parameters include oscillator volumes, detune amount, filter On/Off, cutoff, resonance, LFO on/off, rate, and amount. Additionally there is a trigger assignment option which allows the trigger to dynamic adjust parameters in real-time outside of the app. Currently, parameter adjustments will be saved on the device after disconnect, but will reset after a power cycle.
The entire design was made using open/free software and can be rebuilt with accessible tools and open electronics modules (see BOM).
Video Demos
Usage
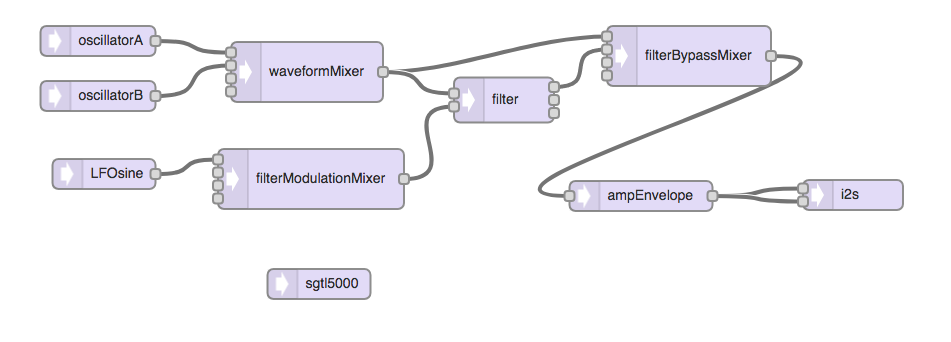
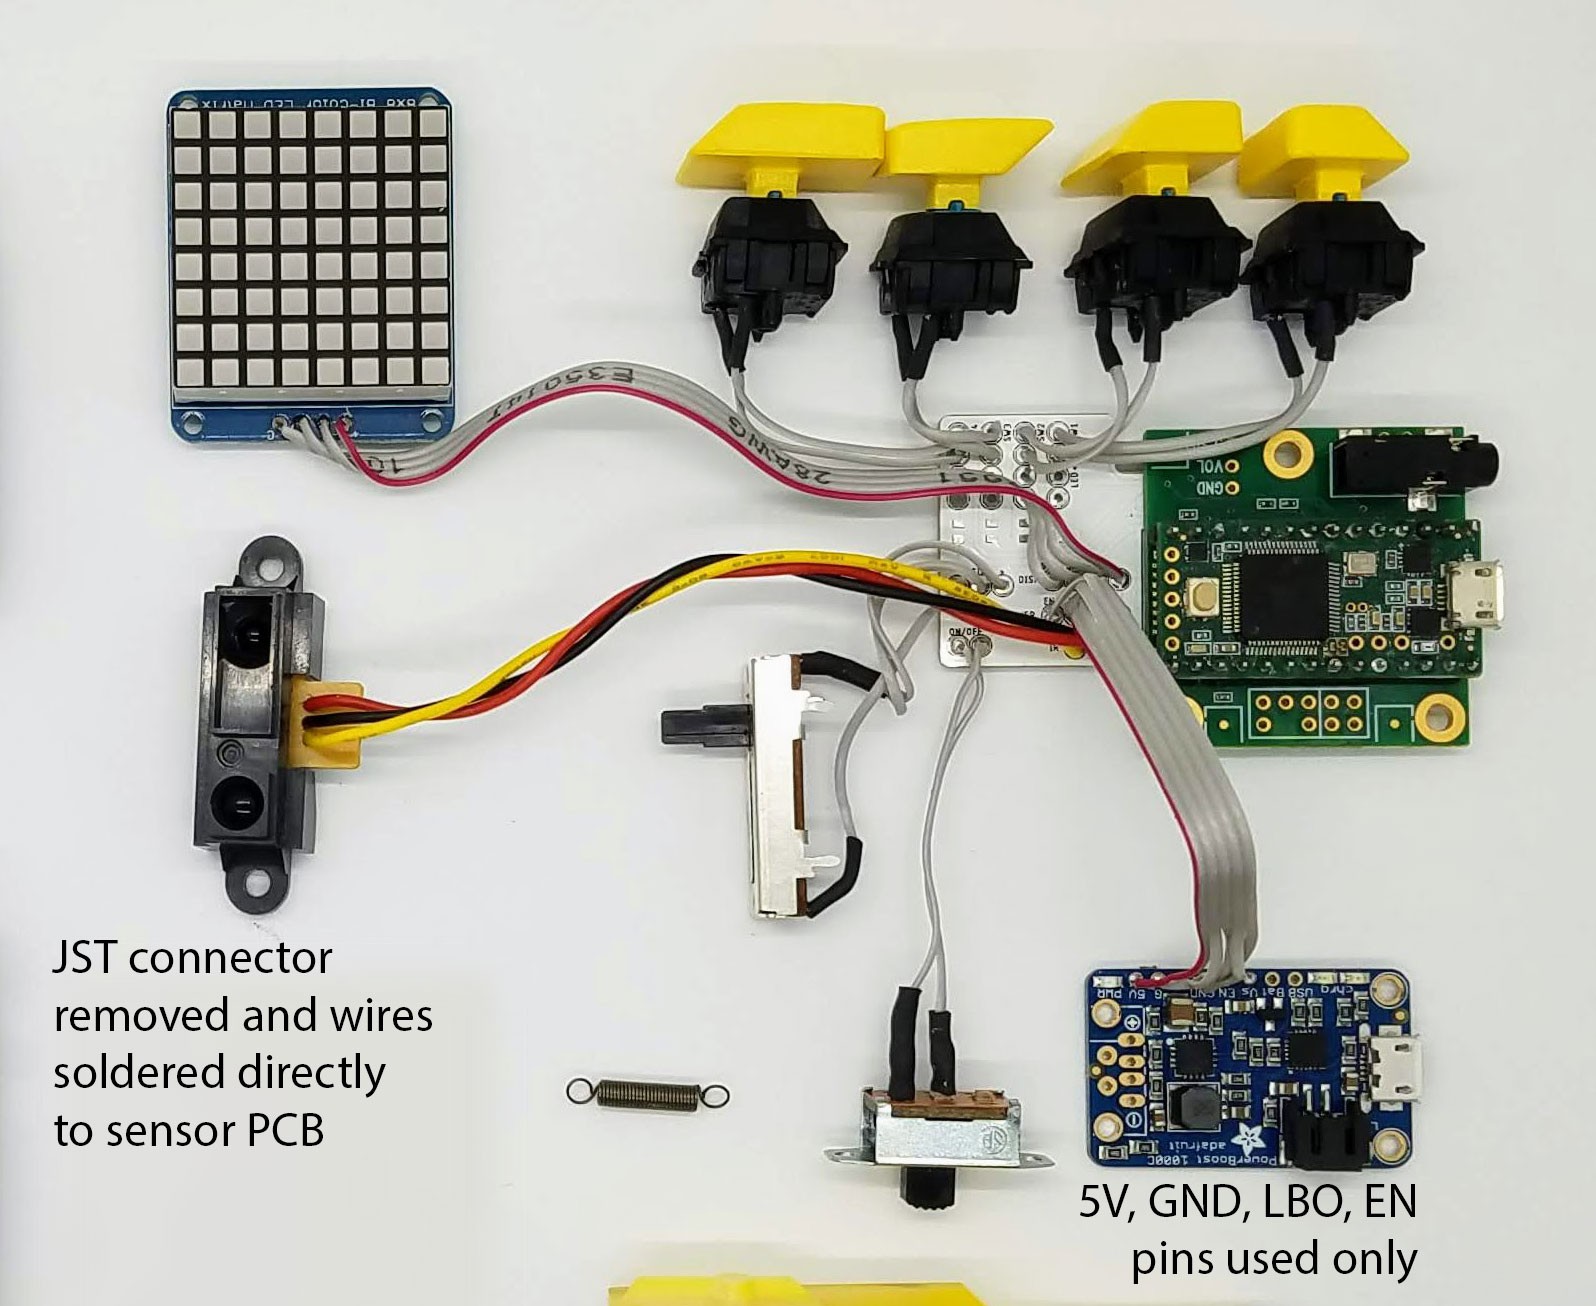
The Moon Germs' synthesis engine is shown in the photo below. Pressing down button 1 activates the oscillators while their frequency is determined by the IR sensor. Button 2 cycles through 4 waveforms (saw, square, reverse saw, and triangle). Buttons 3 & 4 shift octaves up & down respectively. The spring loaded trigger applies a detune to oscillator 2. In standalone mode (not connected to the app), the filter and LFO are turned OFF for simplicity.
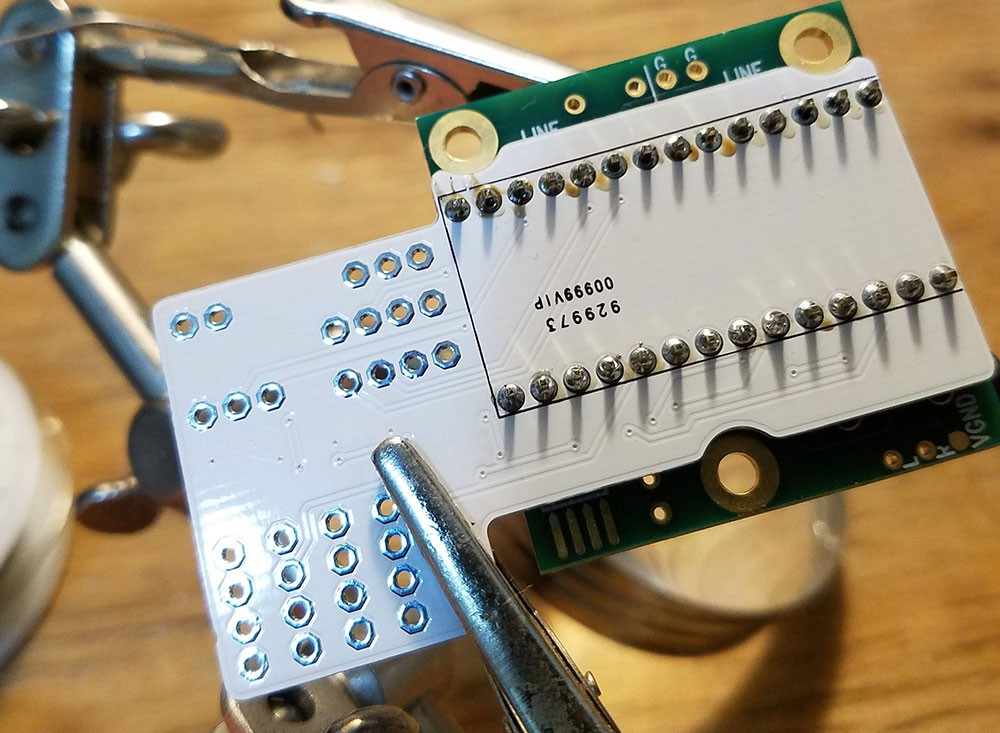
Desktop App
Connecting the device to the desktop app allows the user to adjust various parameters...
Read more »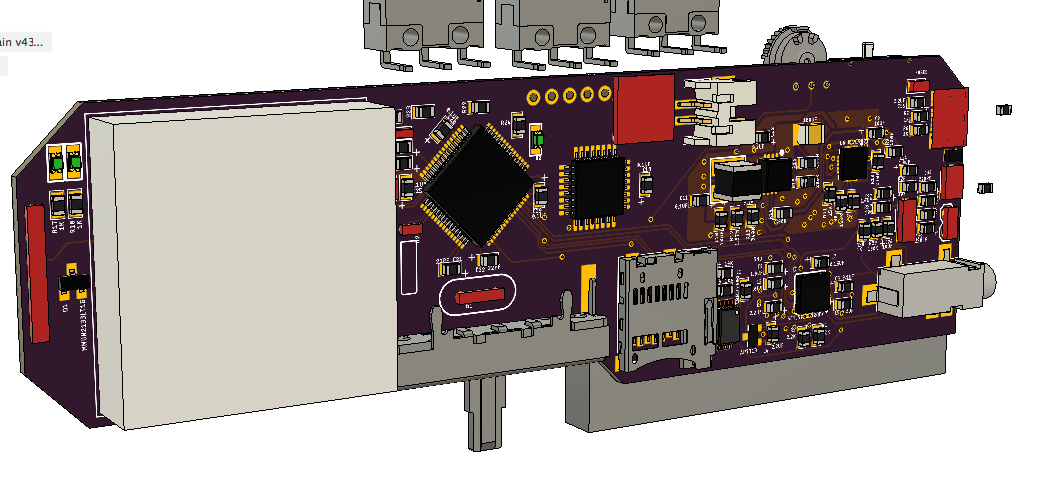


 Brandon Hart
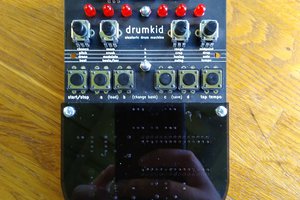
 Matt Bradshaw
 Andrei Speridião
 FrazzledBadger
Looks very cool! I'm keen to hear what kind of sounds it will make.