 audreyobscura
I made this collapsible + malleable UV lamp to fulfill my need for a UV 'fill light' that I could use for cyanotype printing. It turns out this lamp would also be perfect for UV resin curing.
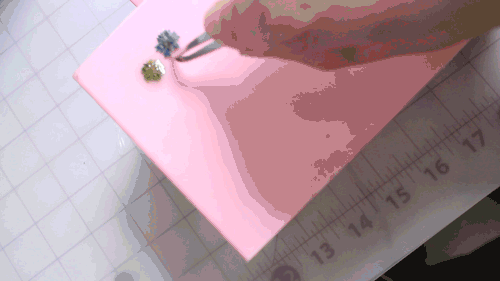
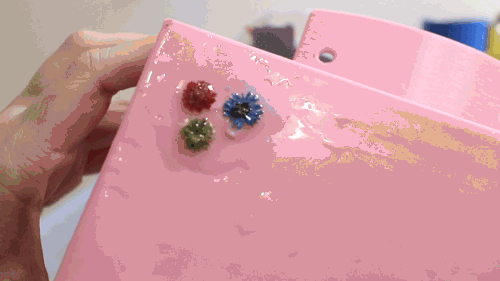
I was starting to use cyanotype chemistry more often in my art practice for custom commissions of textiles. Cyanotyping is an analog photographic process that relies on a chemical reaction activated by UV light coming into contact with the photo-sensitive cyanotype chemistry soaked medium like paper or fabric . You may be familiar with our the earth's main source of UV light - the sun. The sun is a great way to expose cyanotypes, however, pesky clouds and wind can interrupt the exposure of your plate.
Looking at the Field Ready design challenge for the 2020 Hackaday Prize, this lamp also makes for a pretty handy UV resin oven! Here's my final video that details the iterations I've explored as material research as a Finalist in this year's contest:
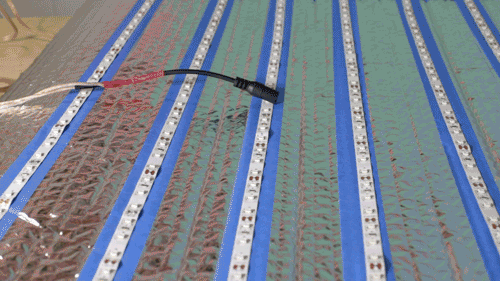
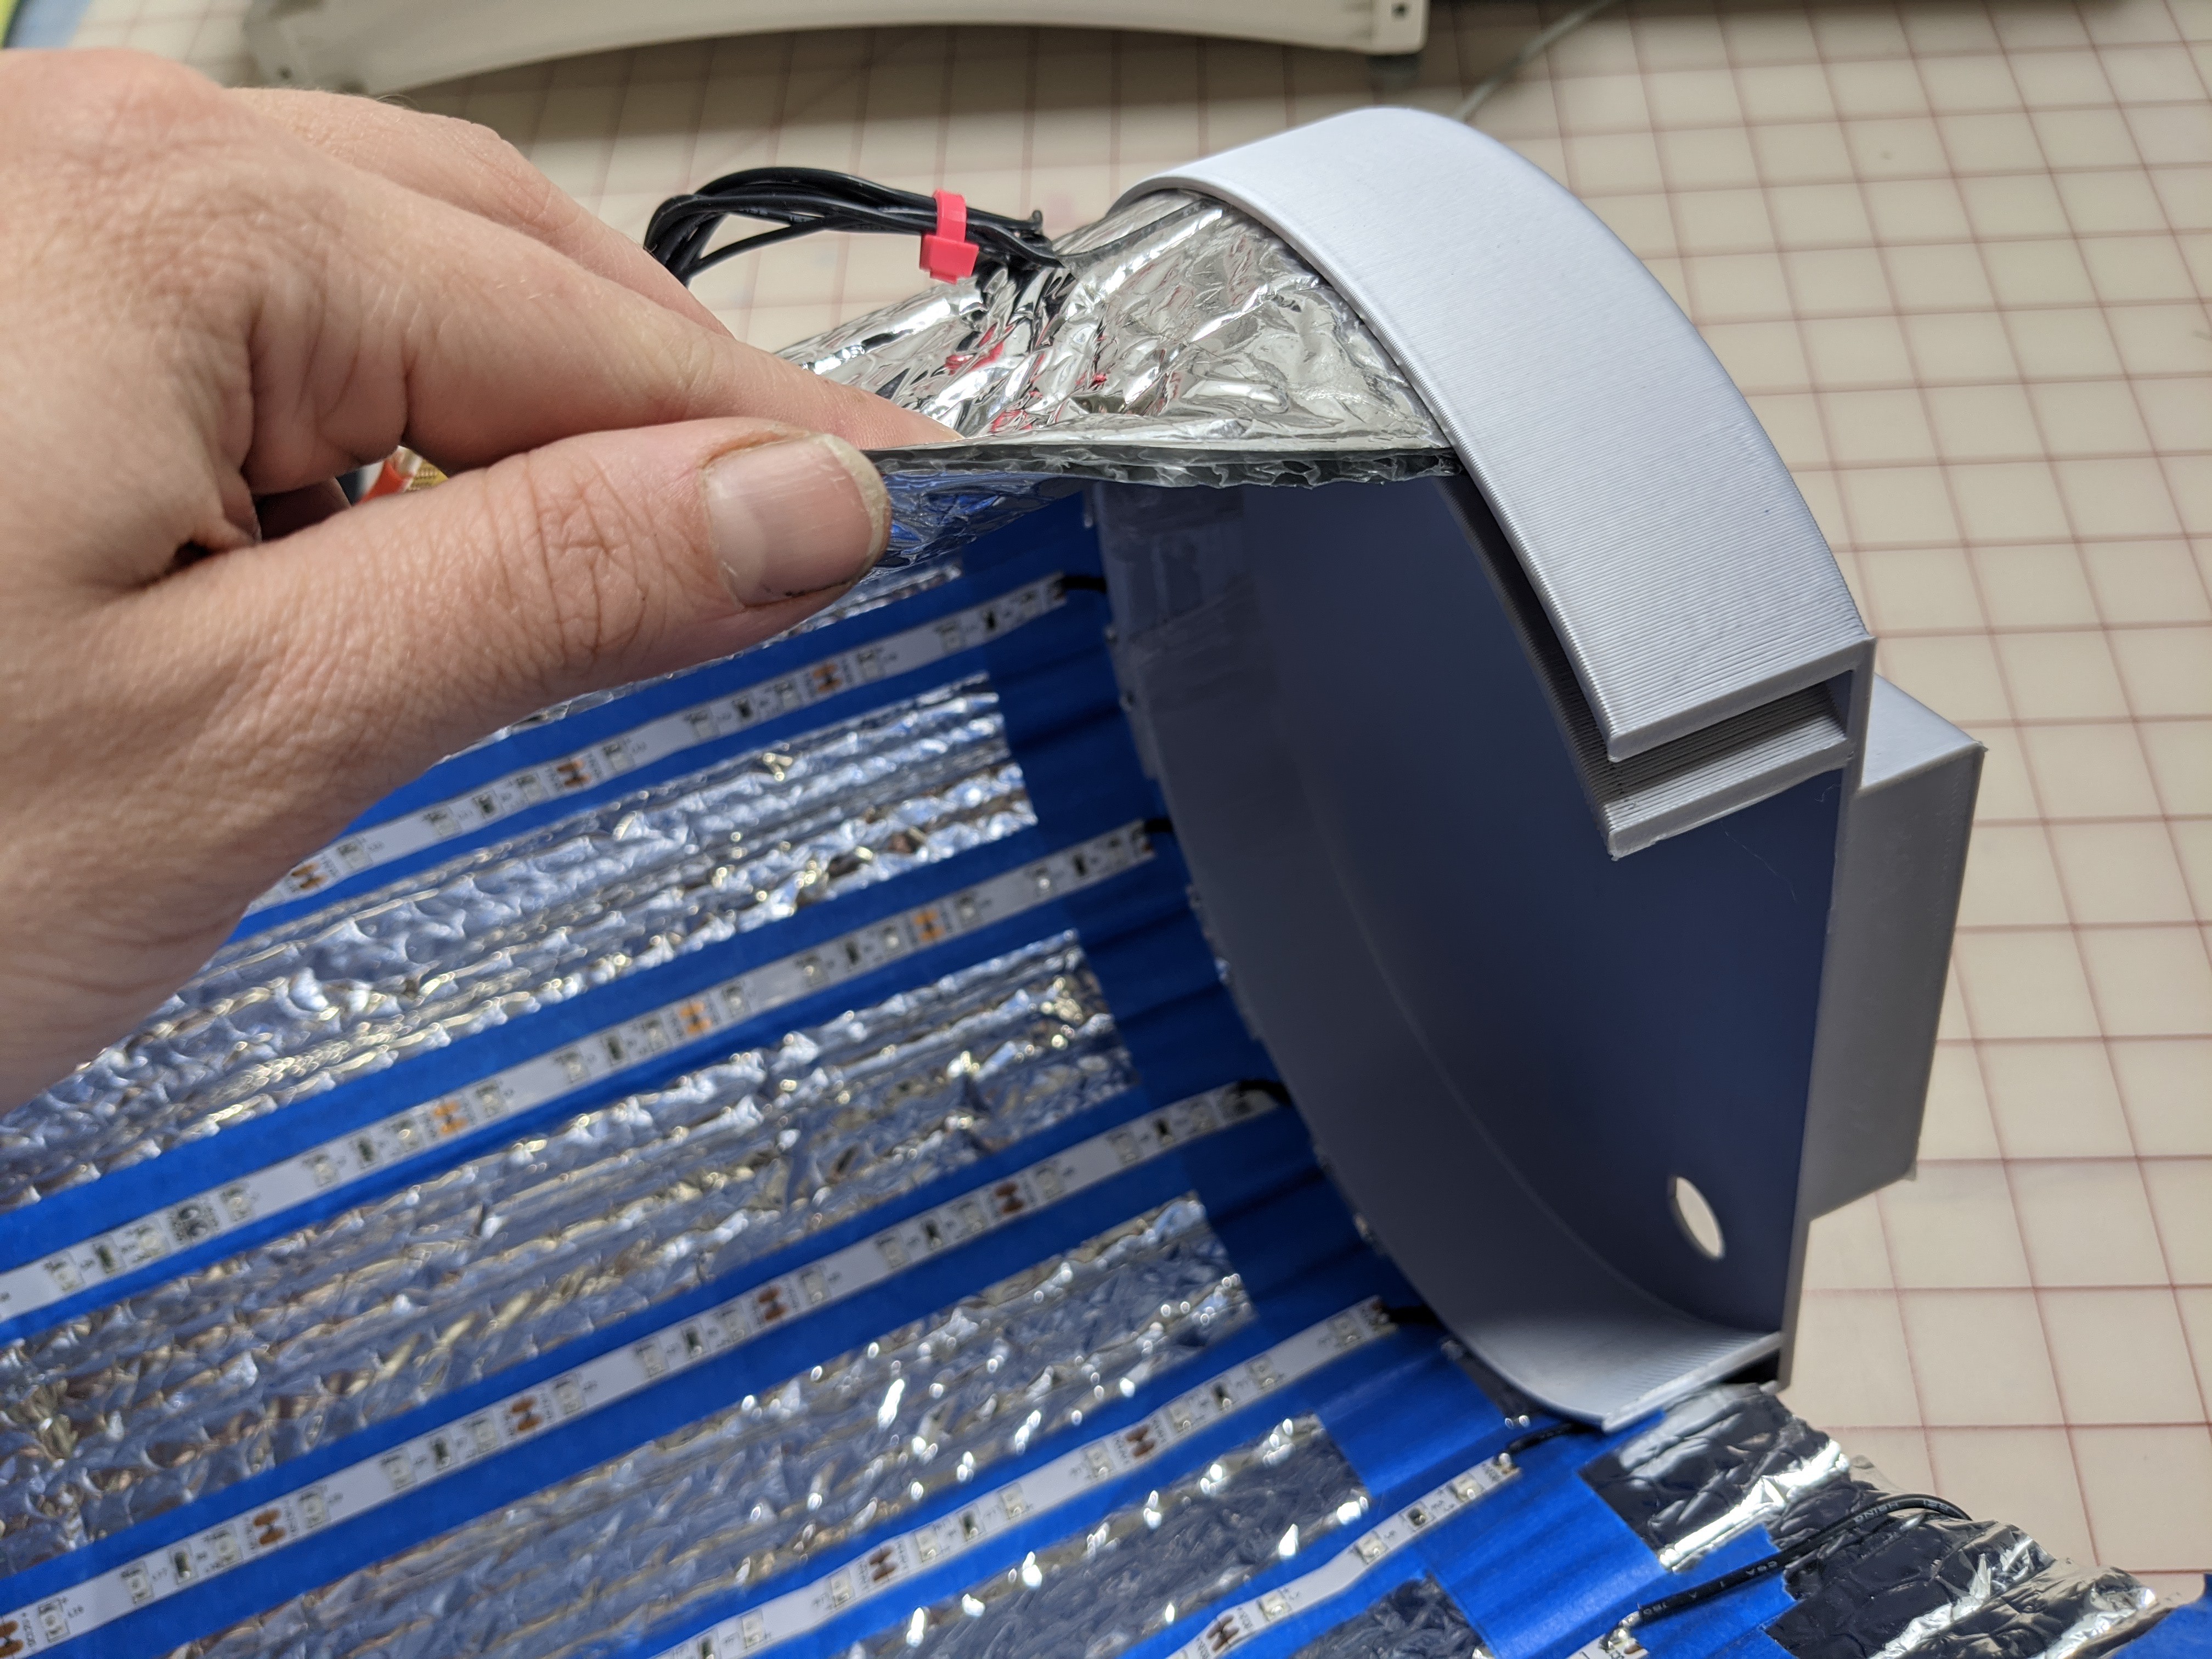
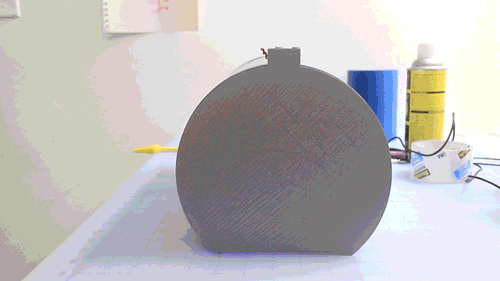
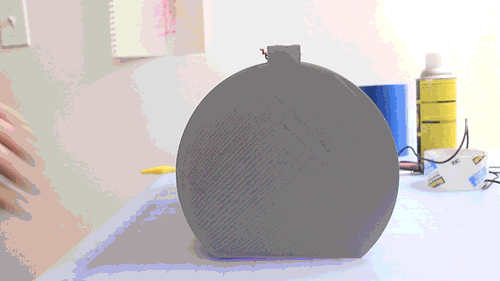
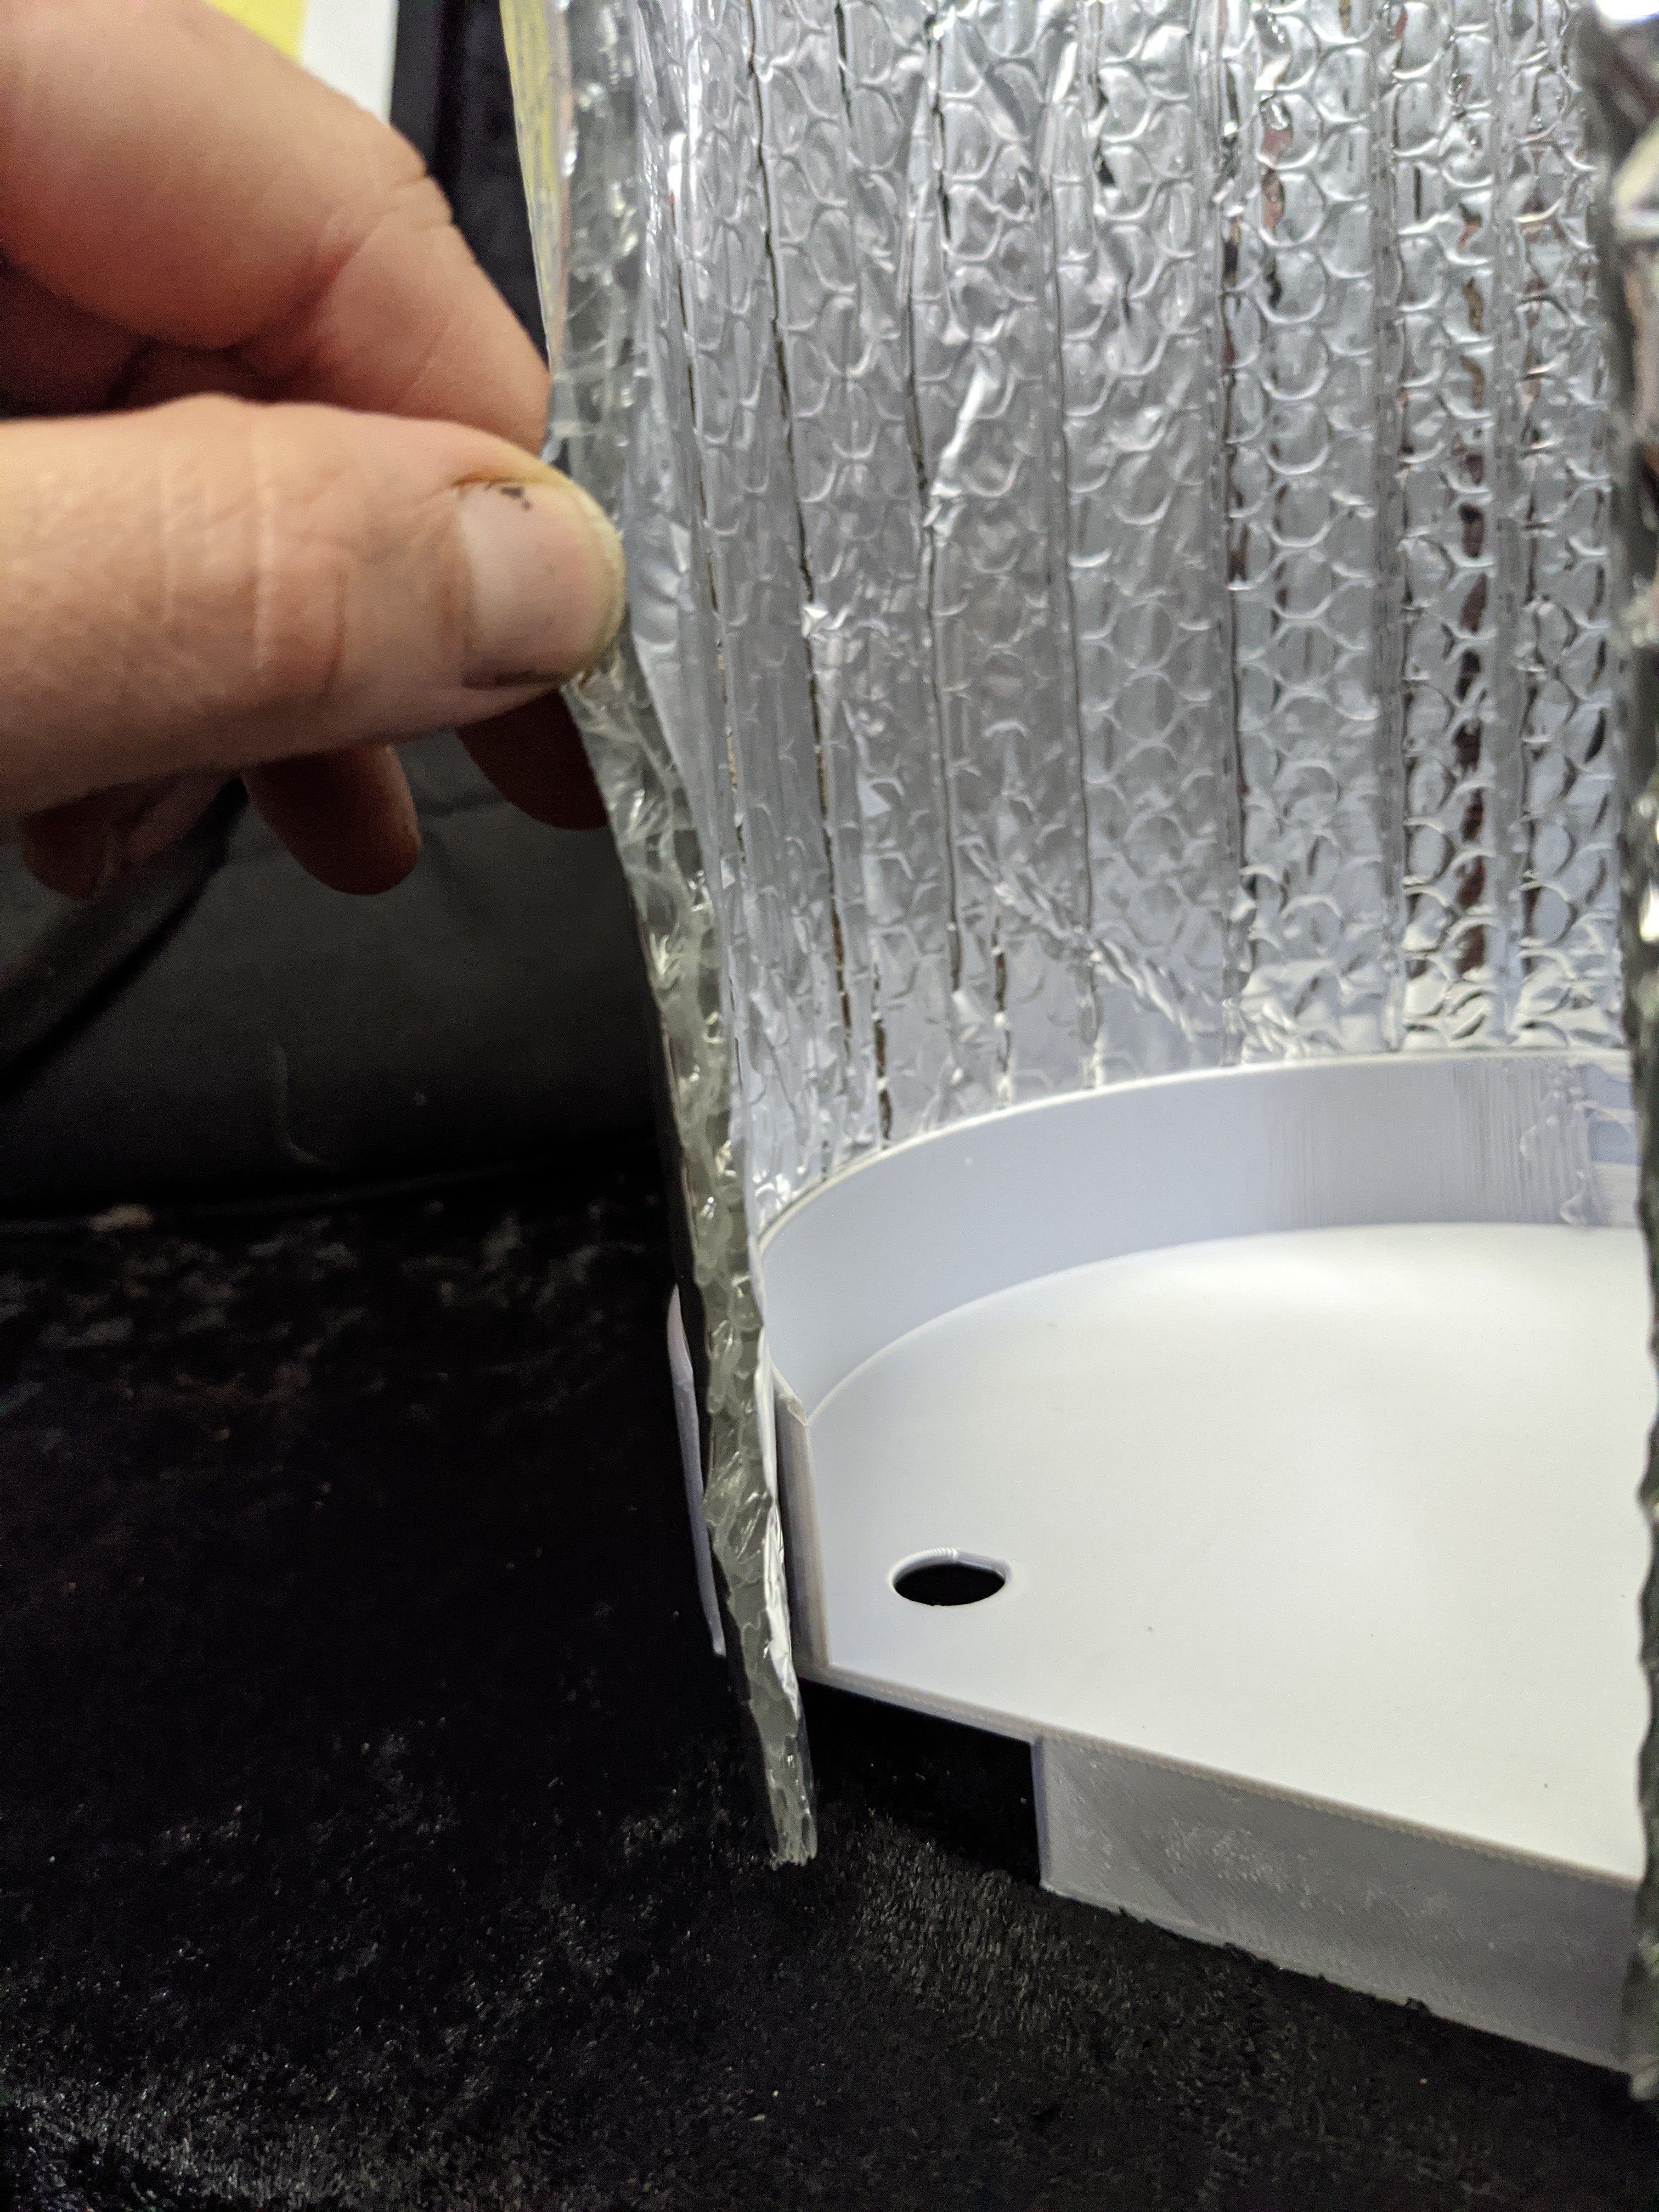
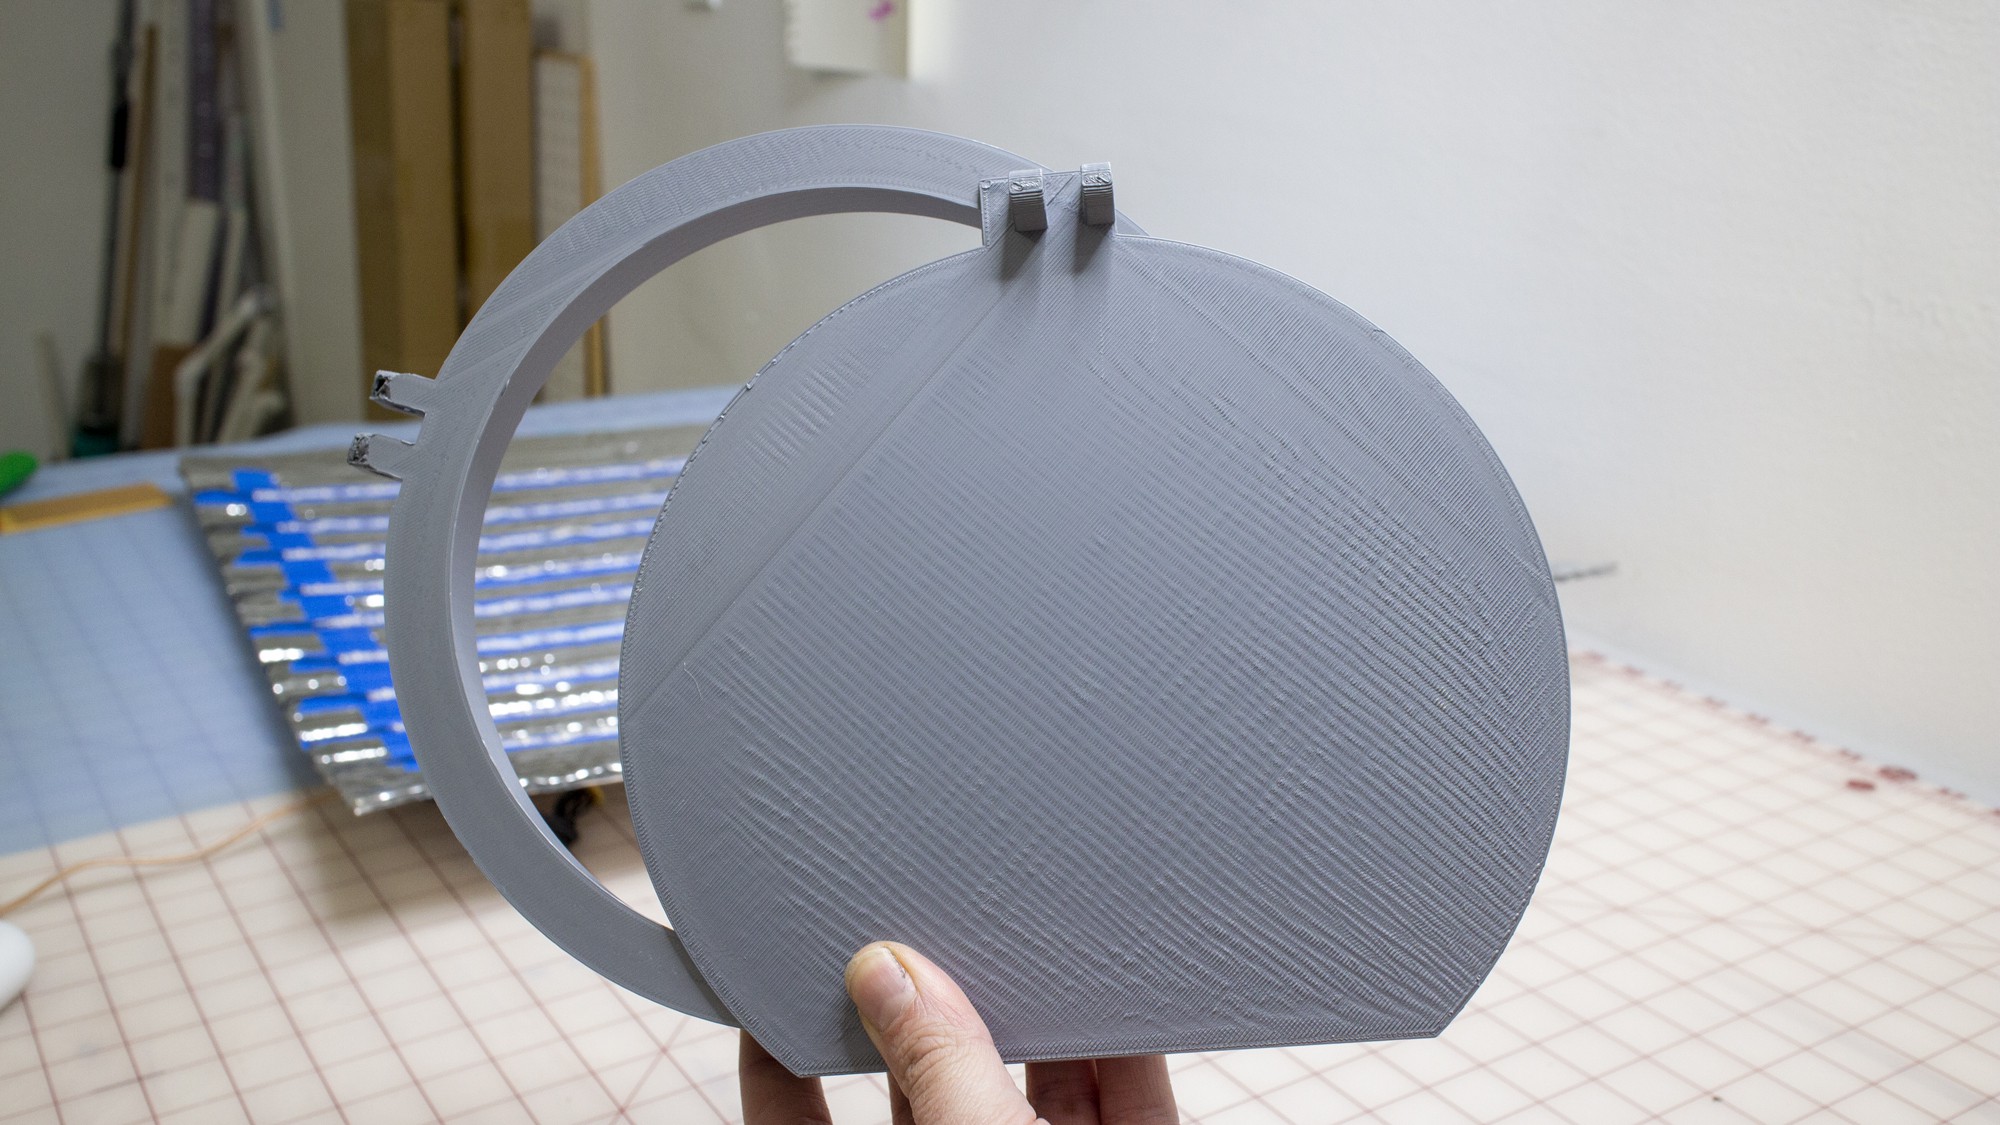
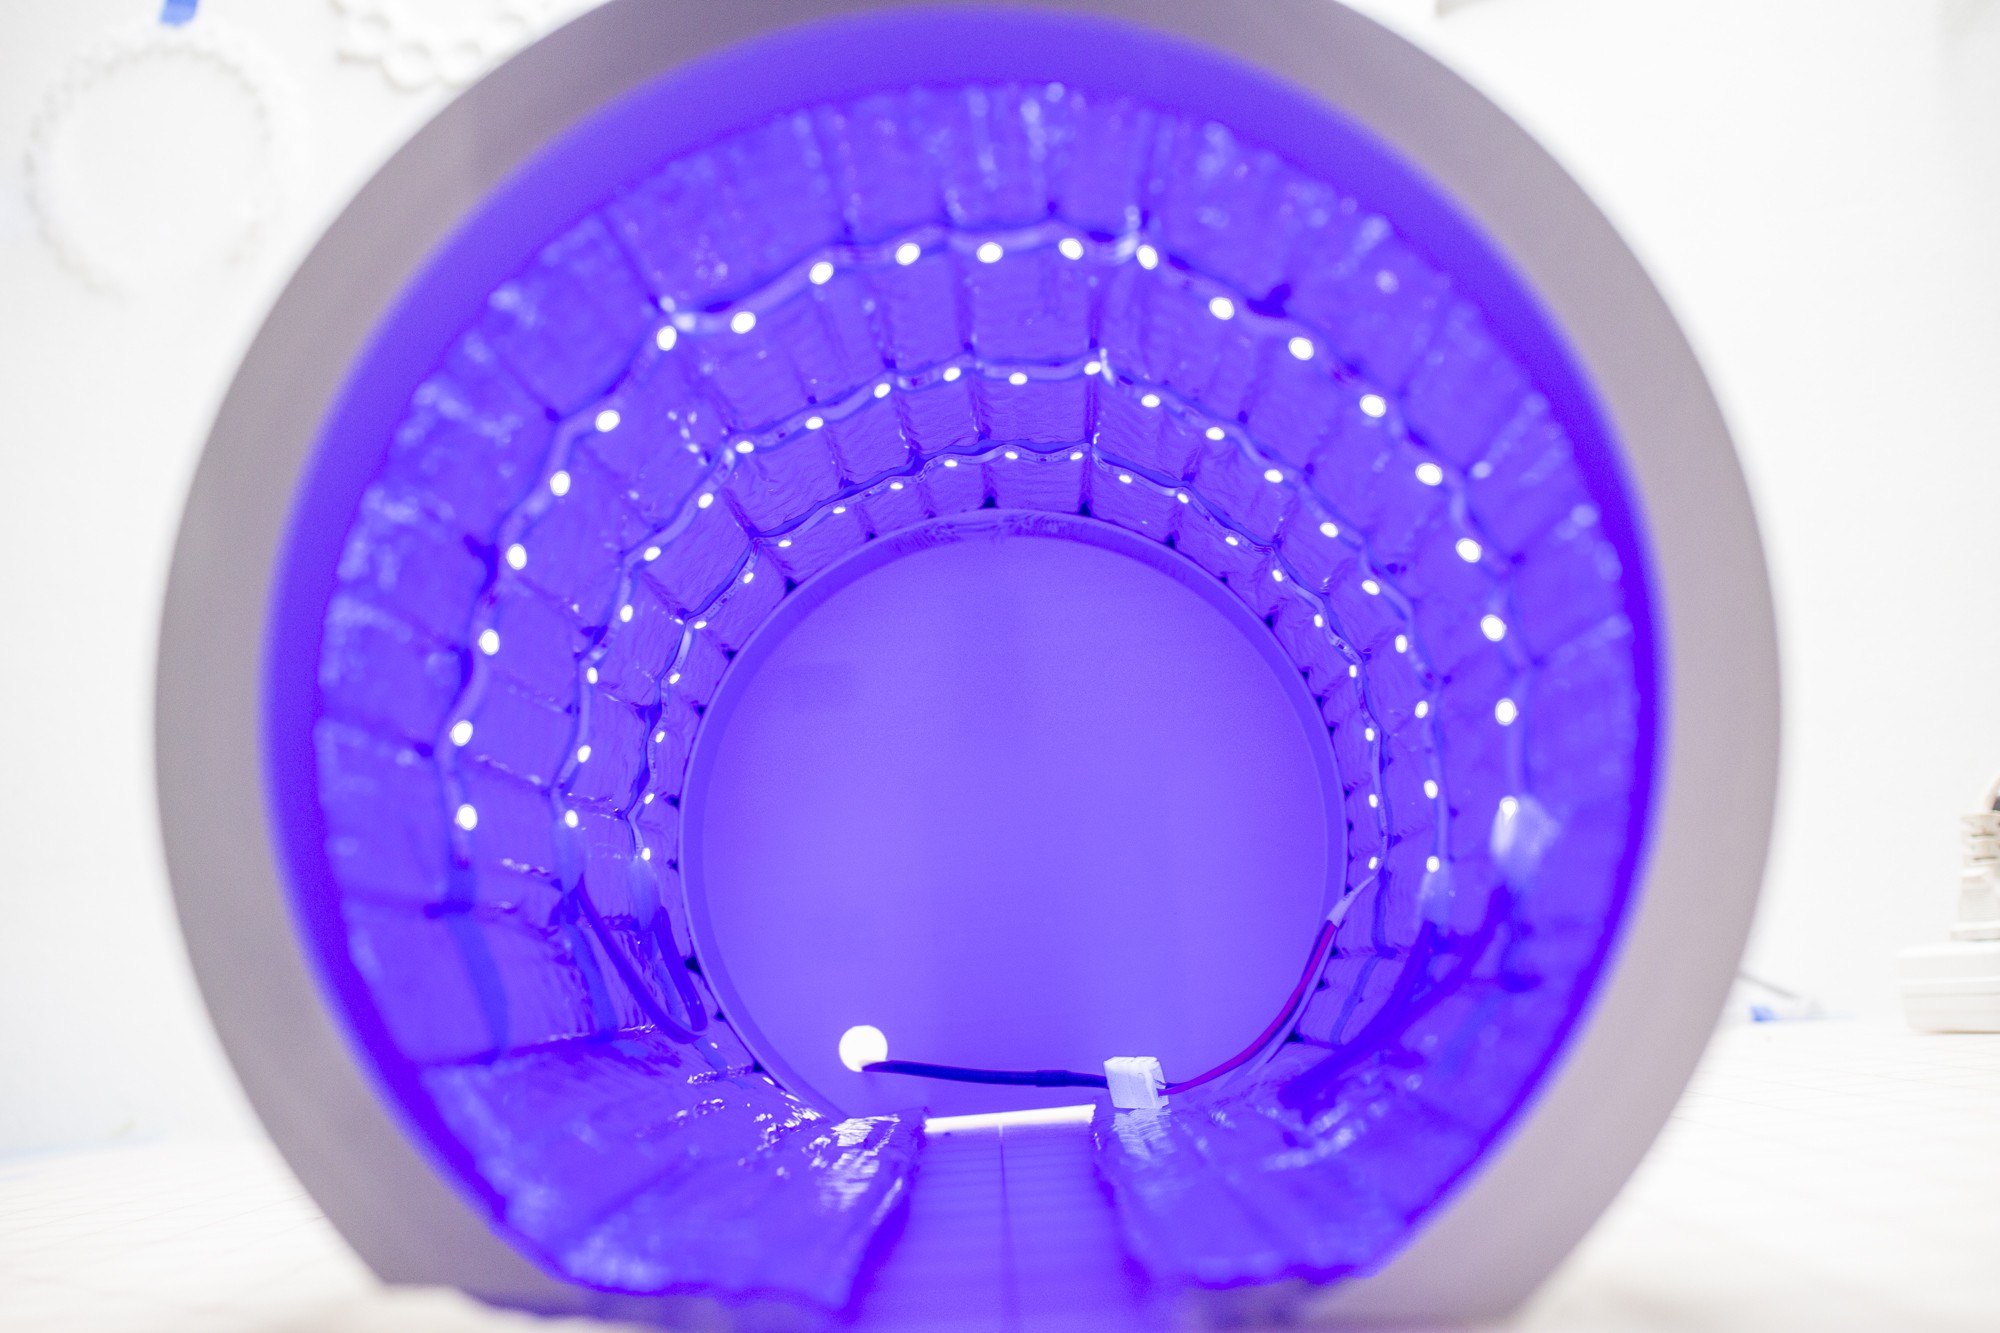
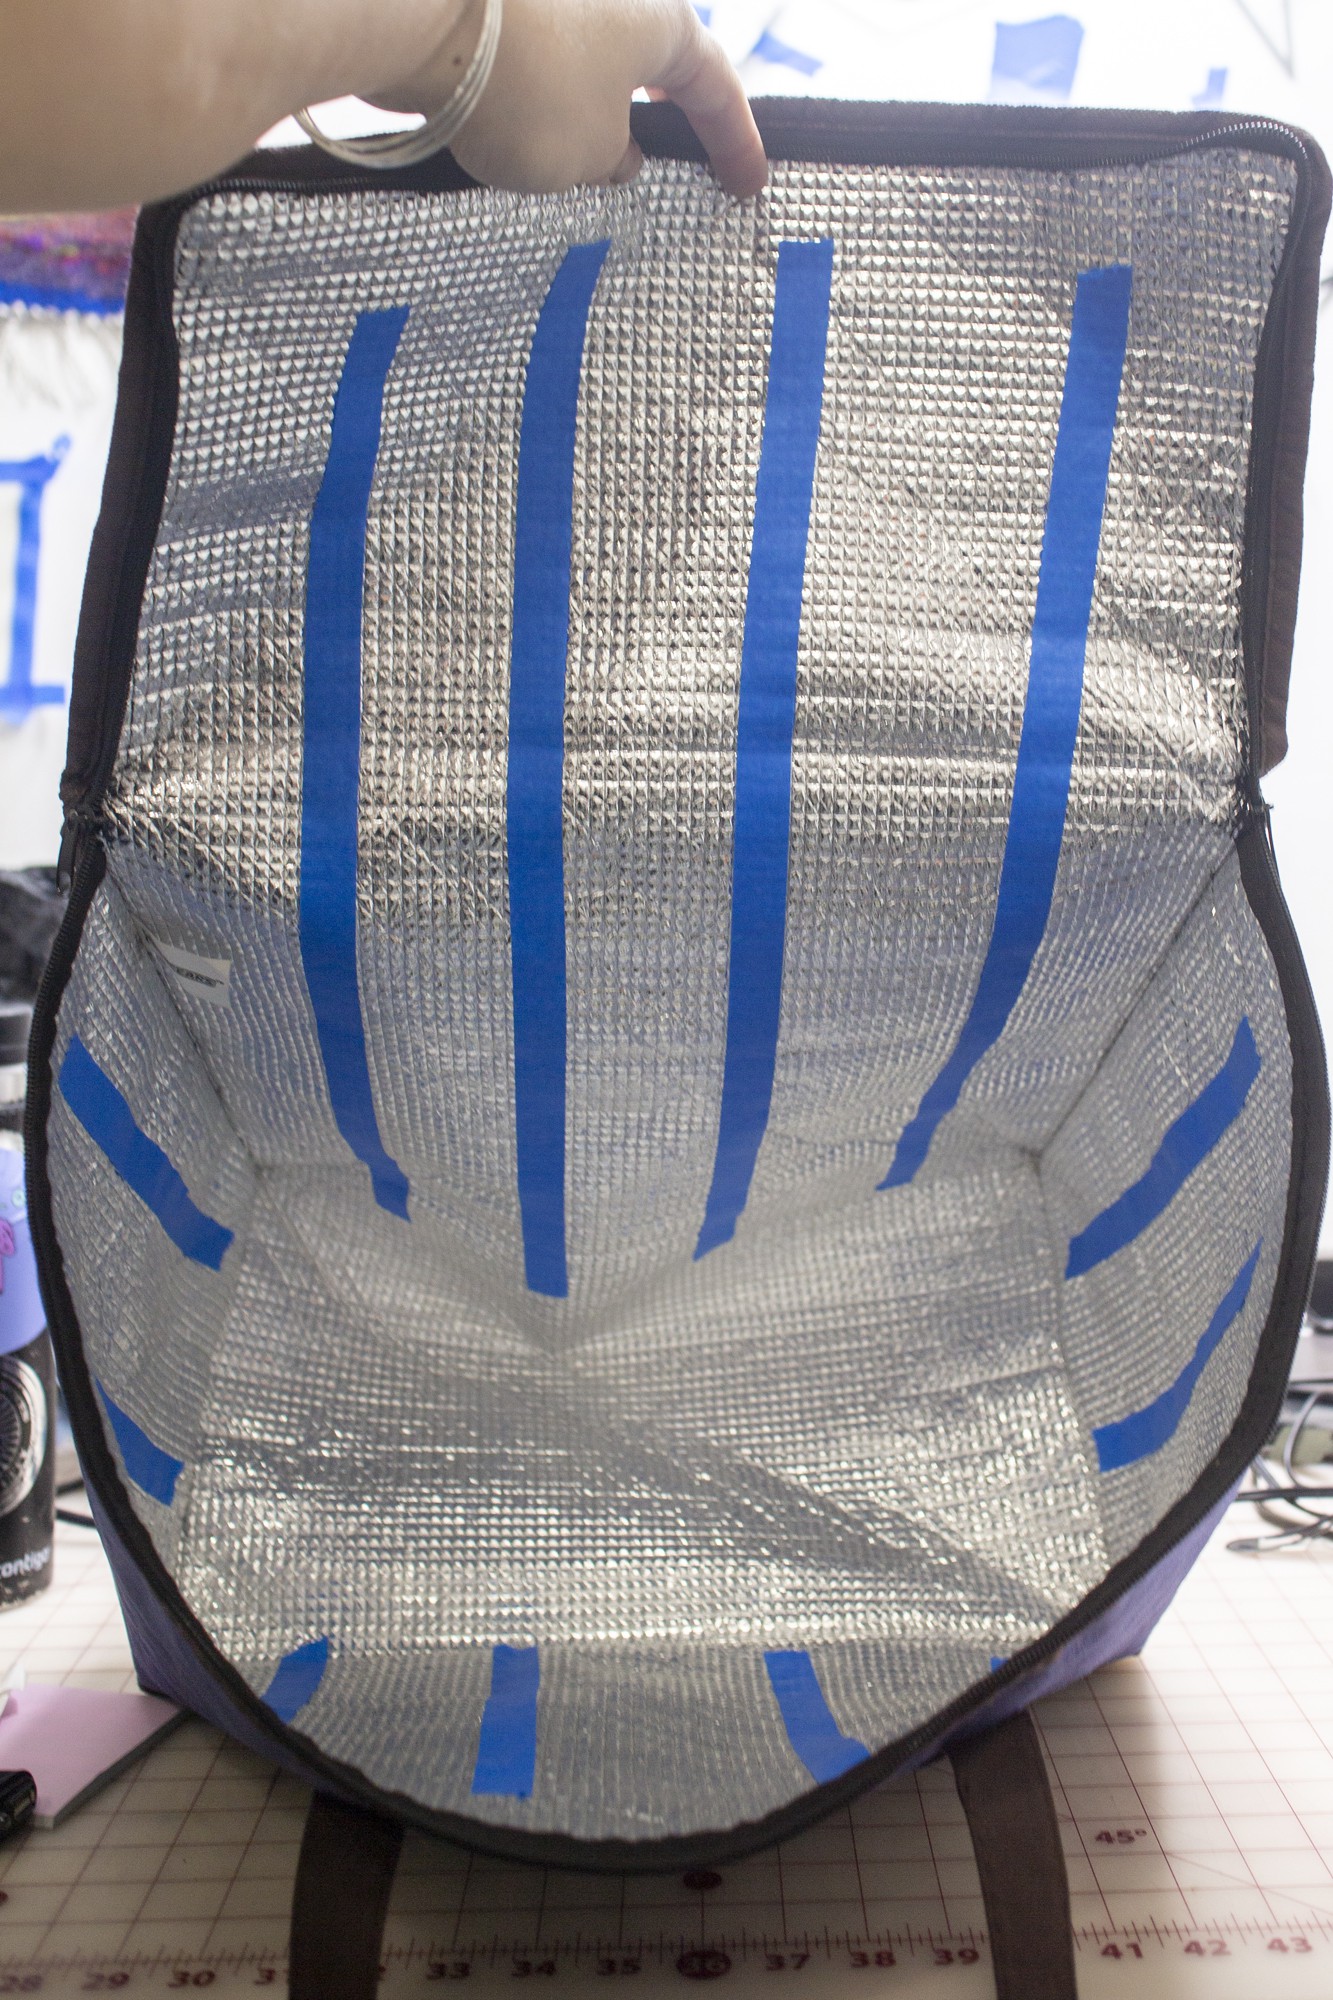
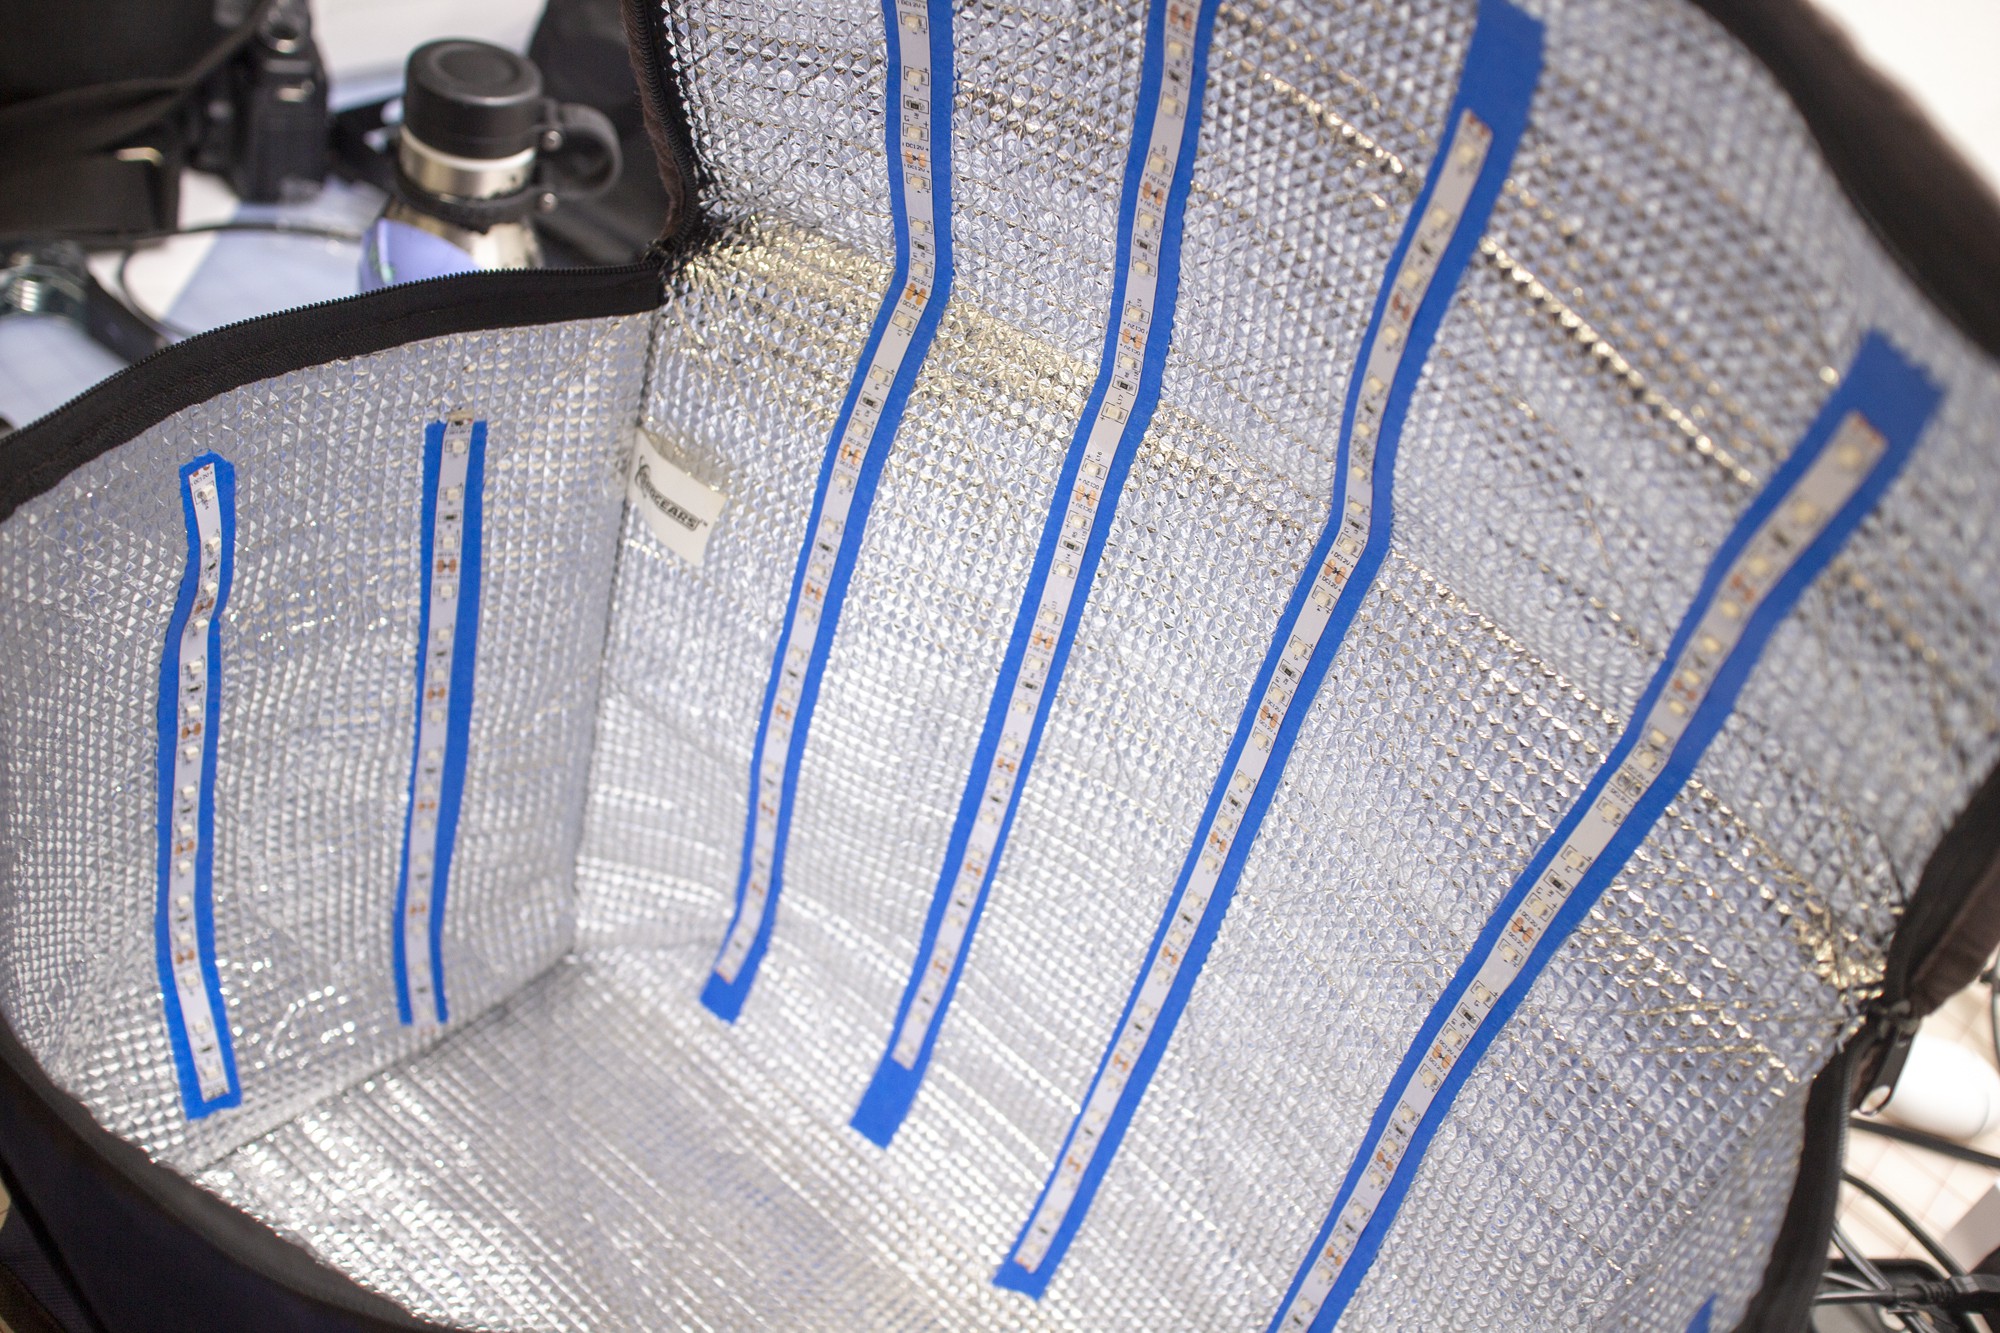
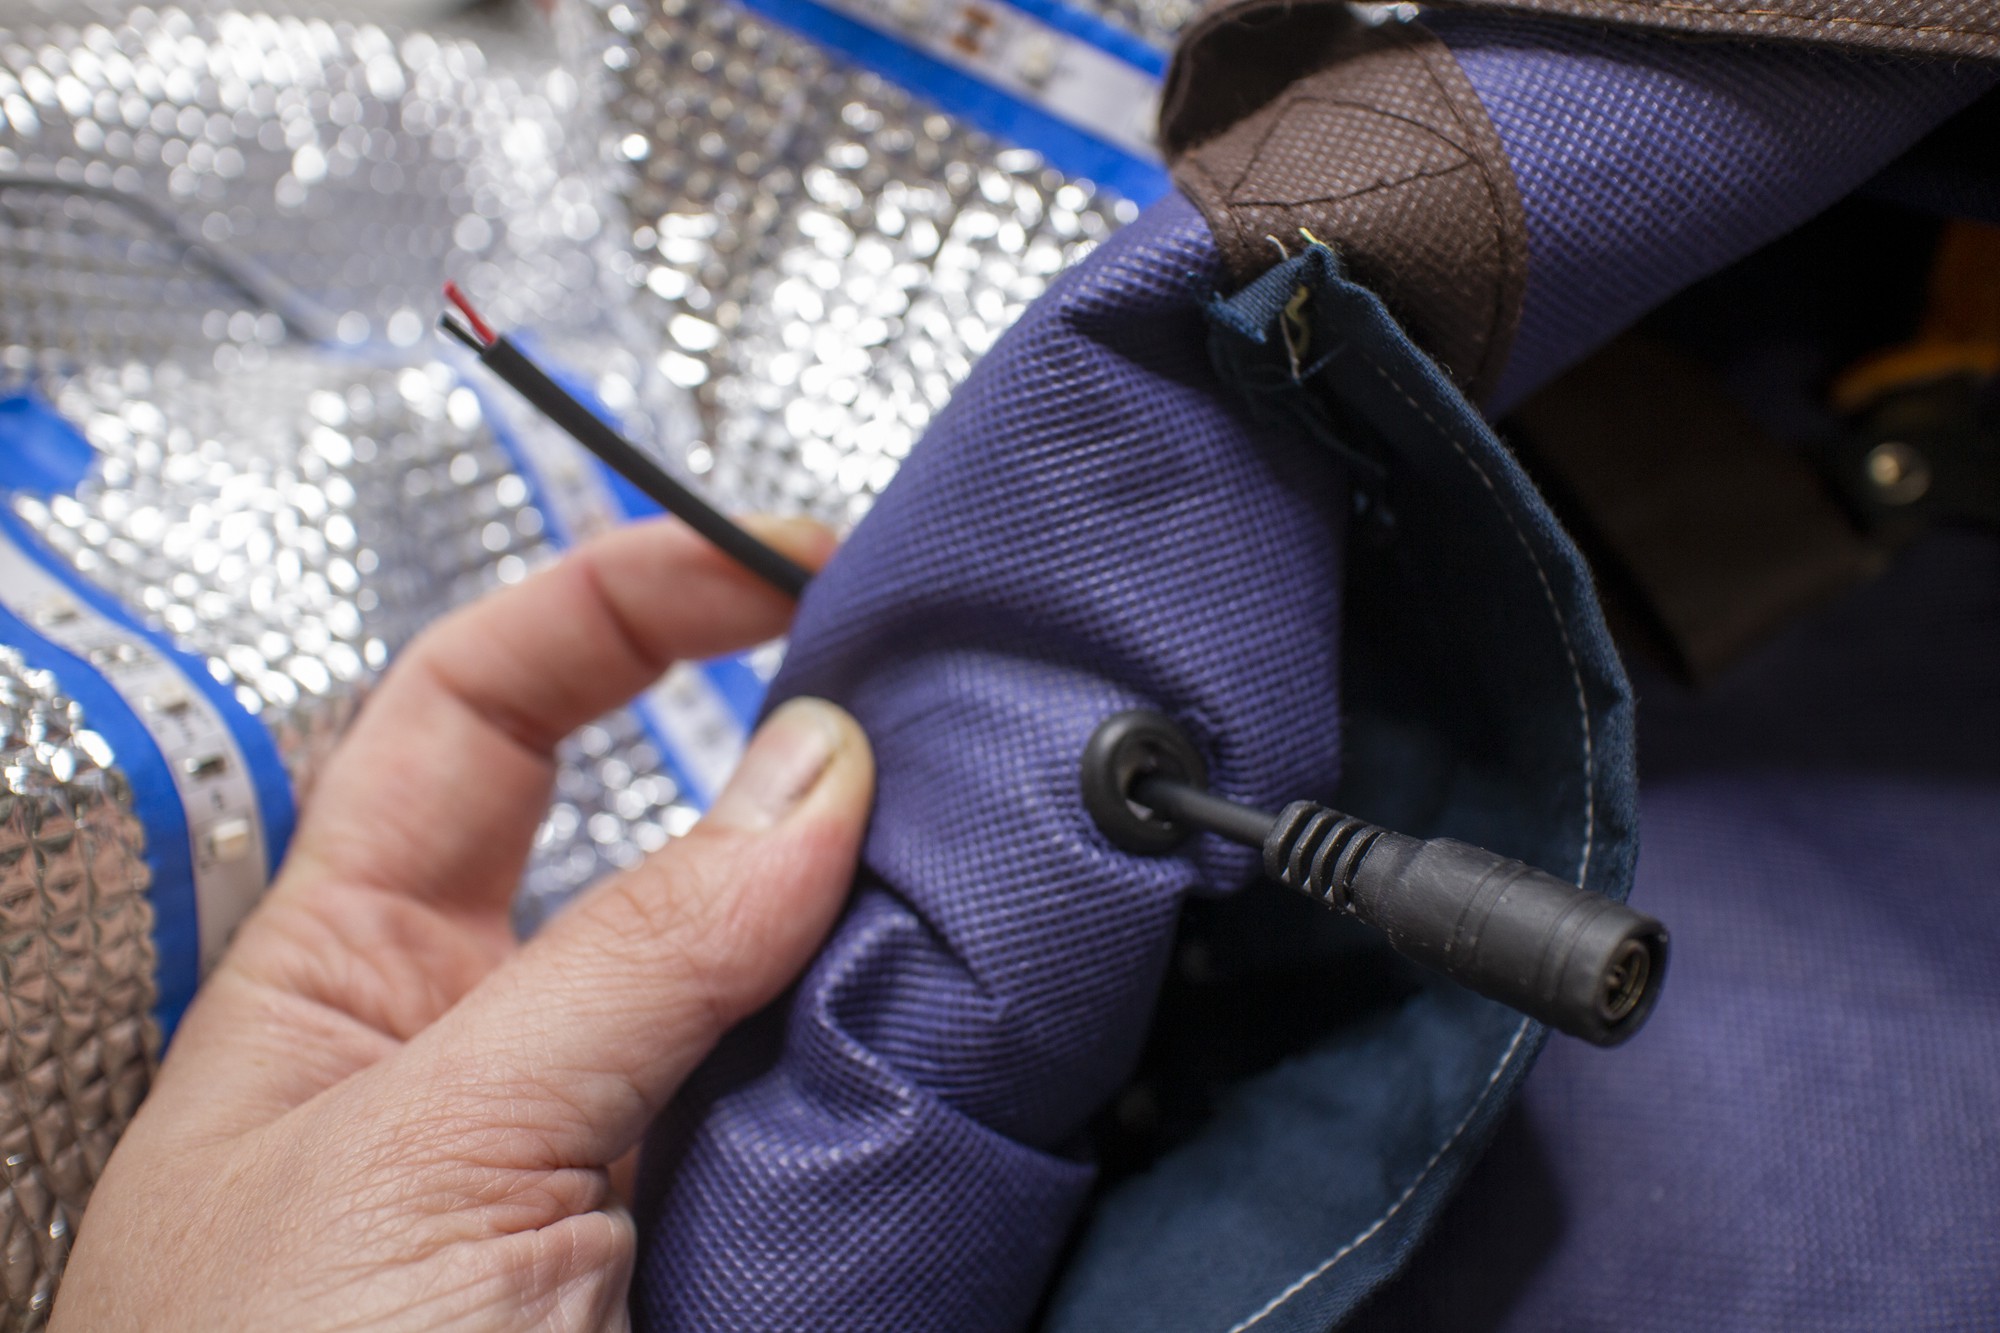
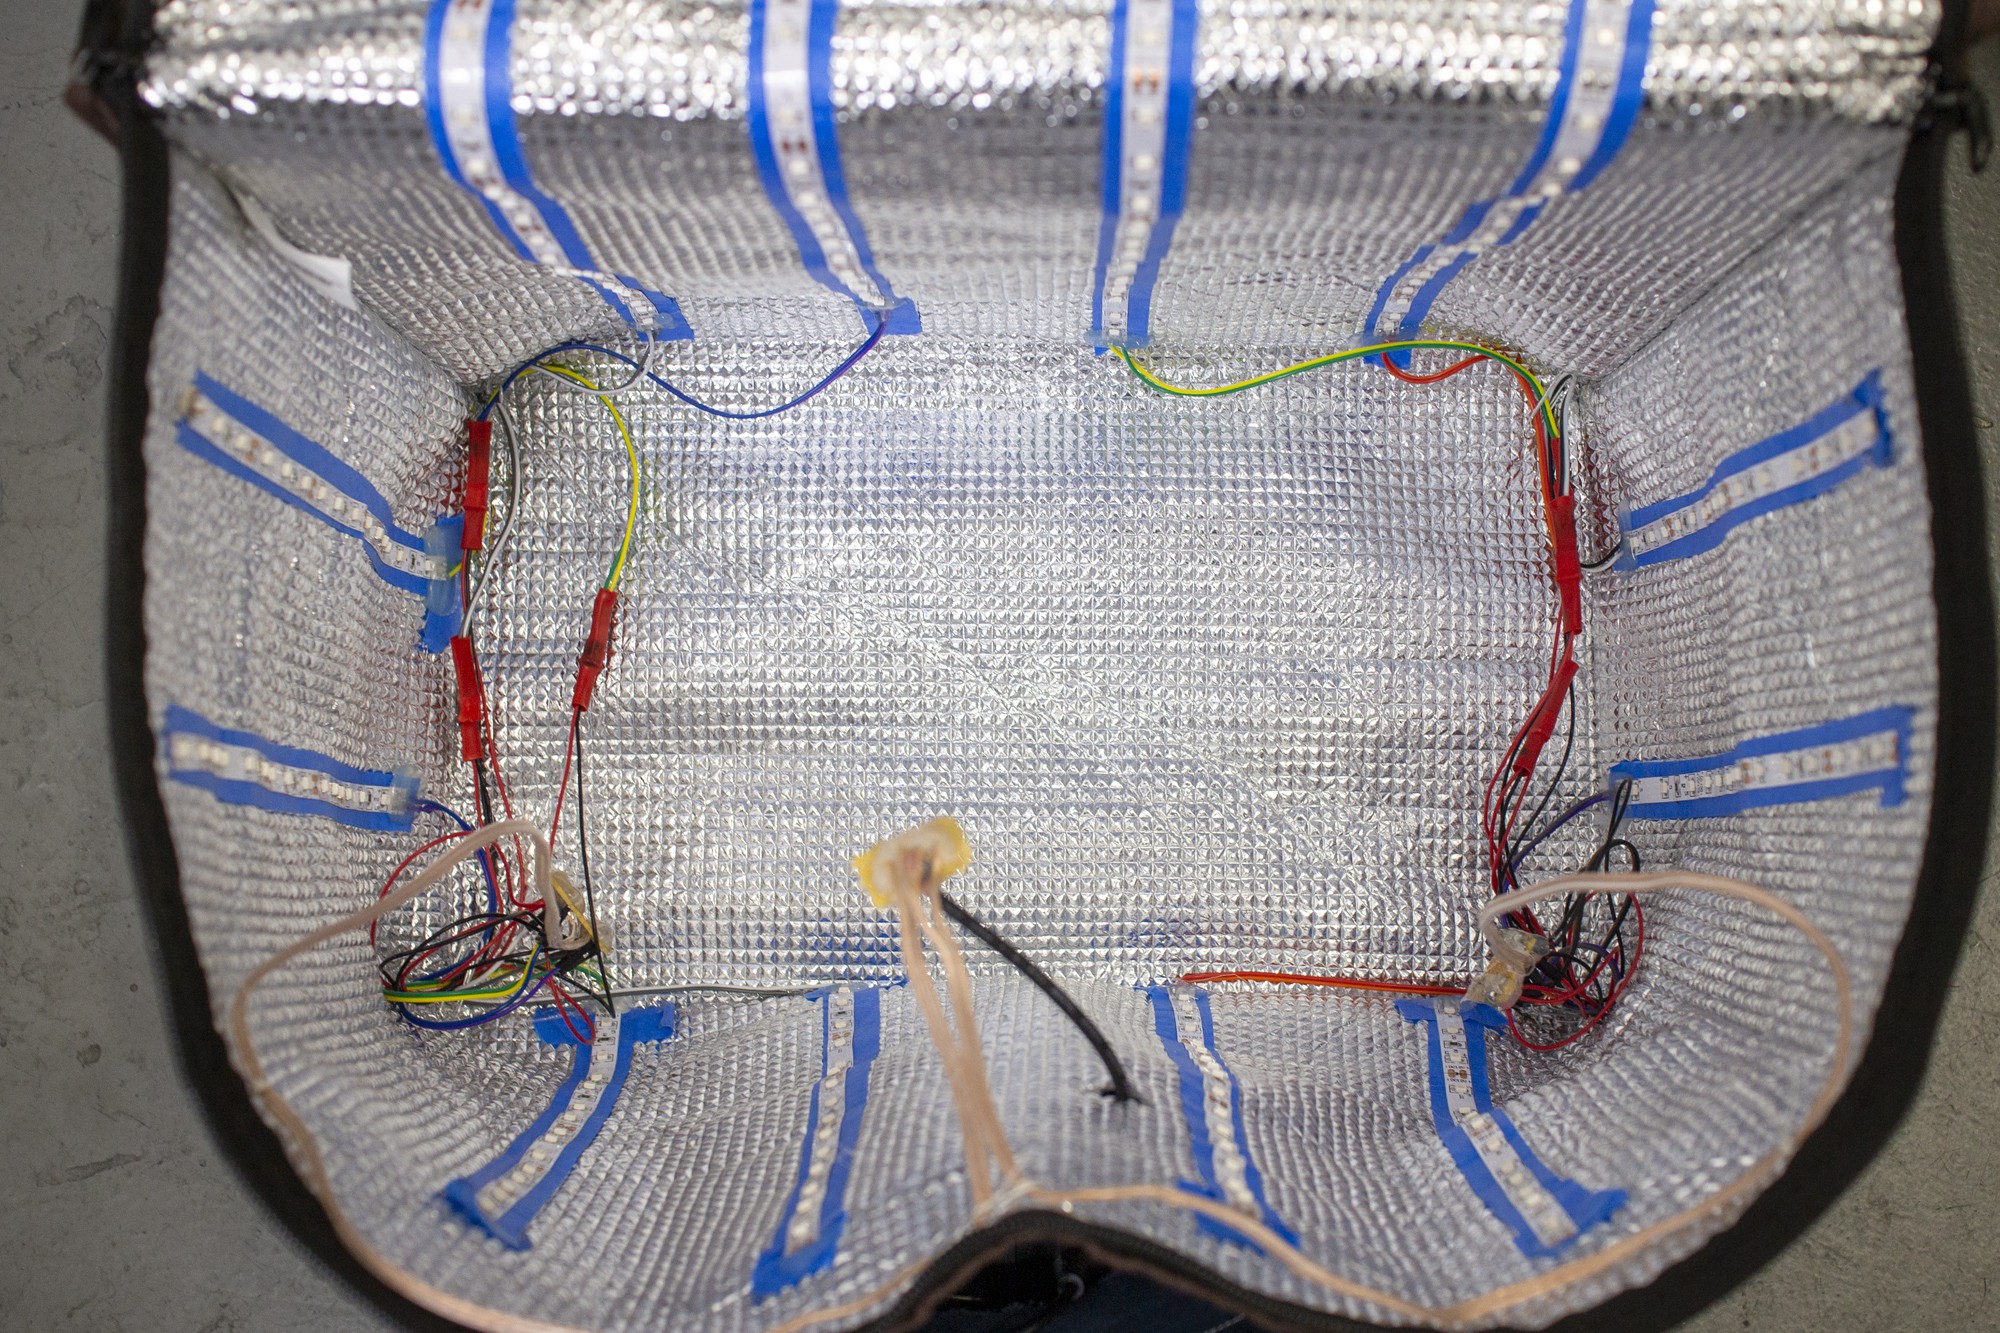
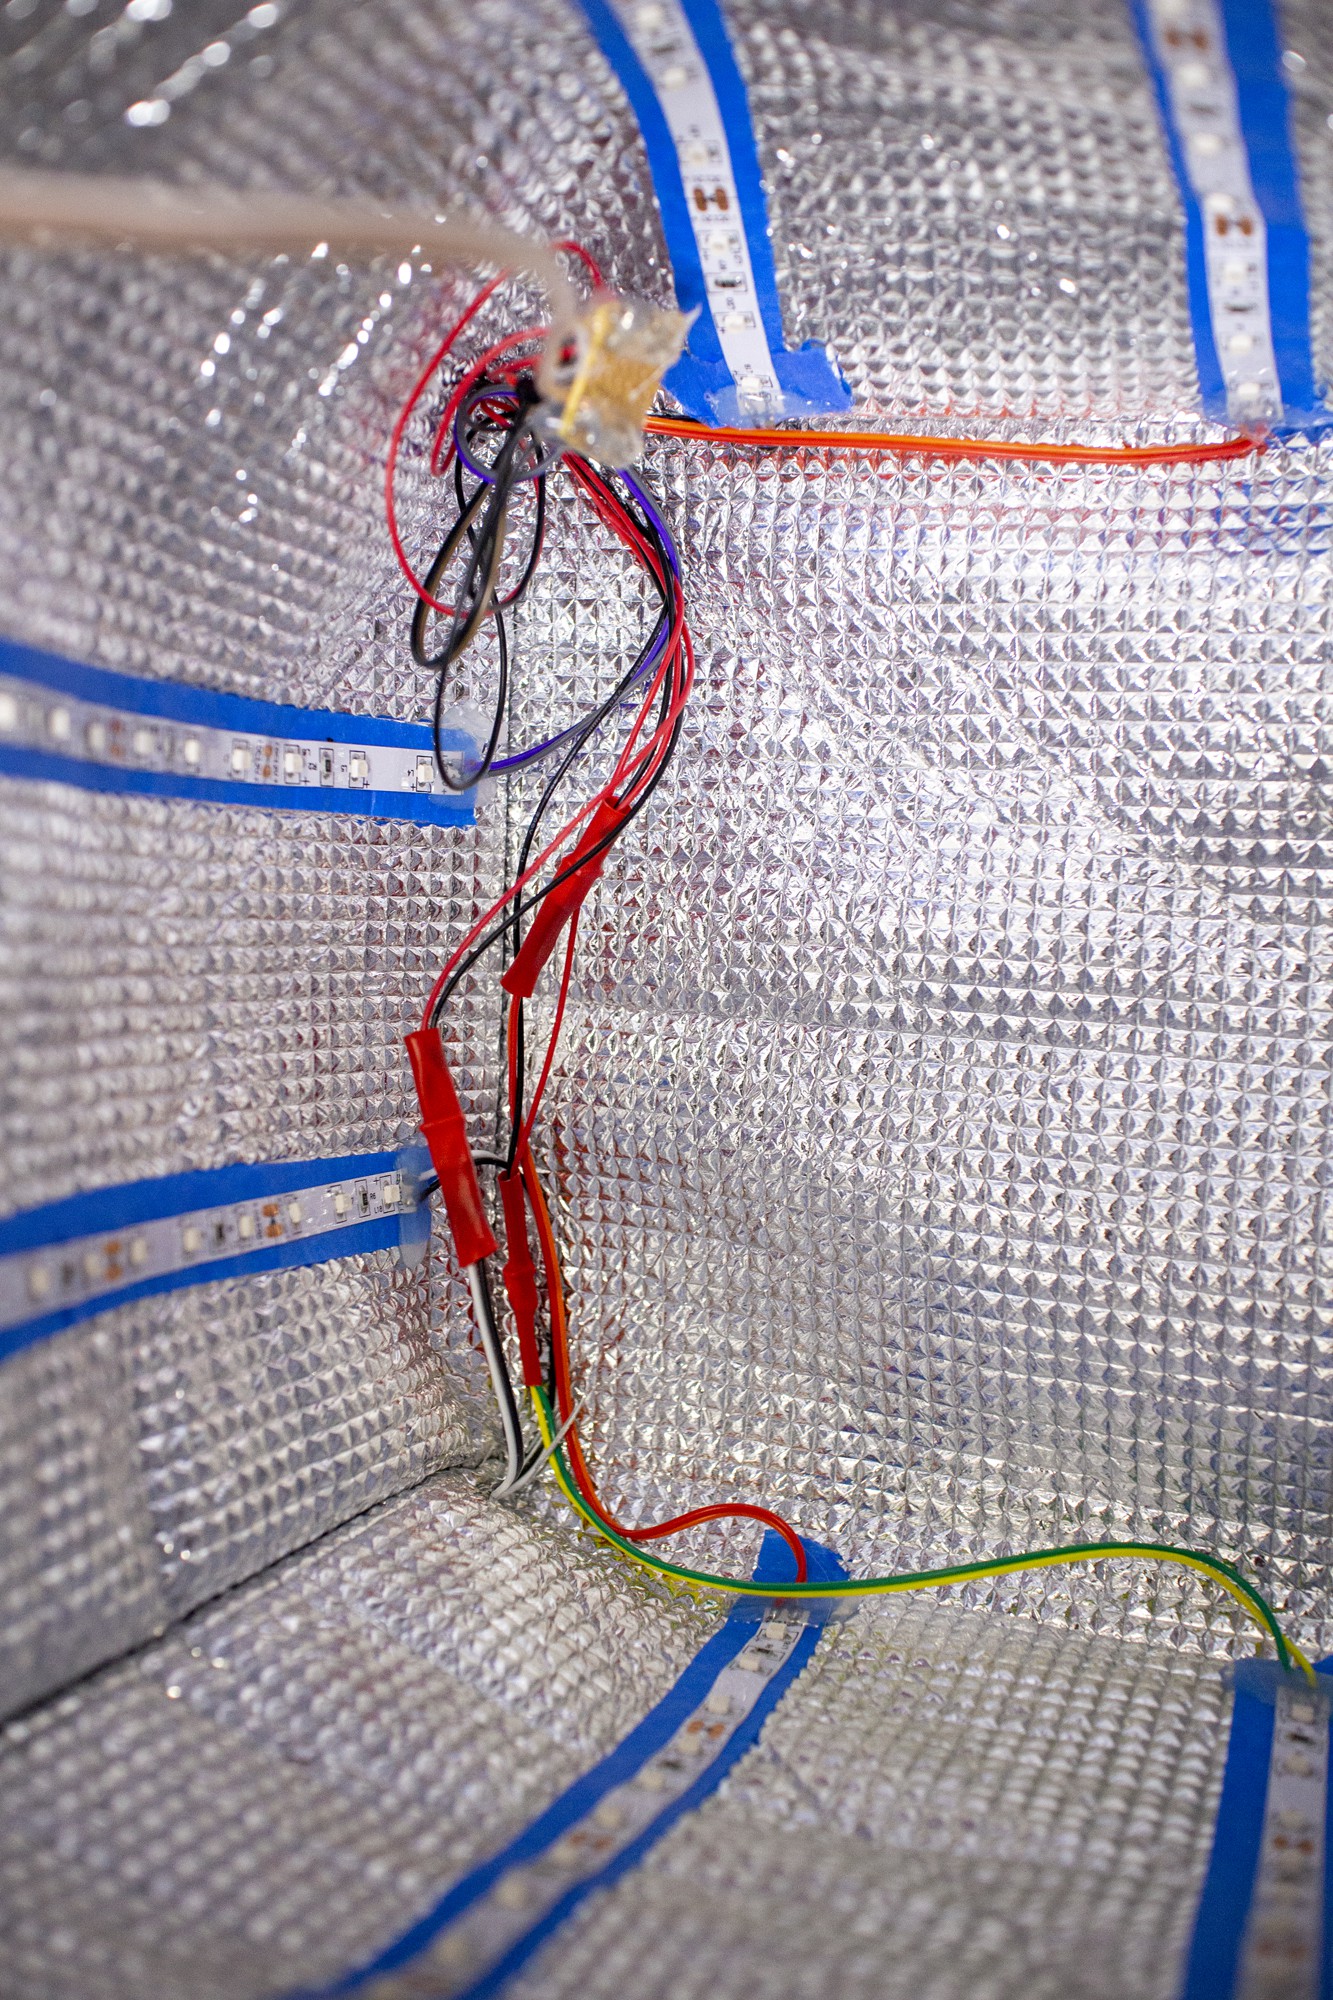
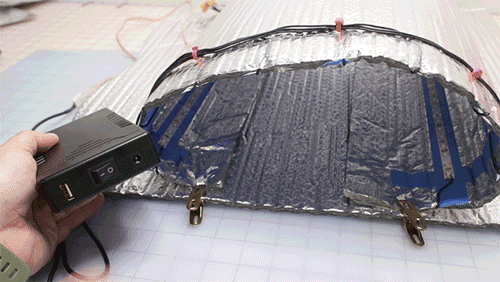
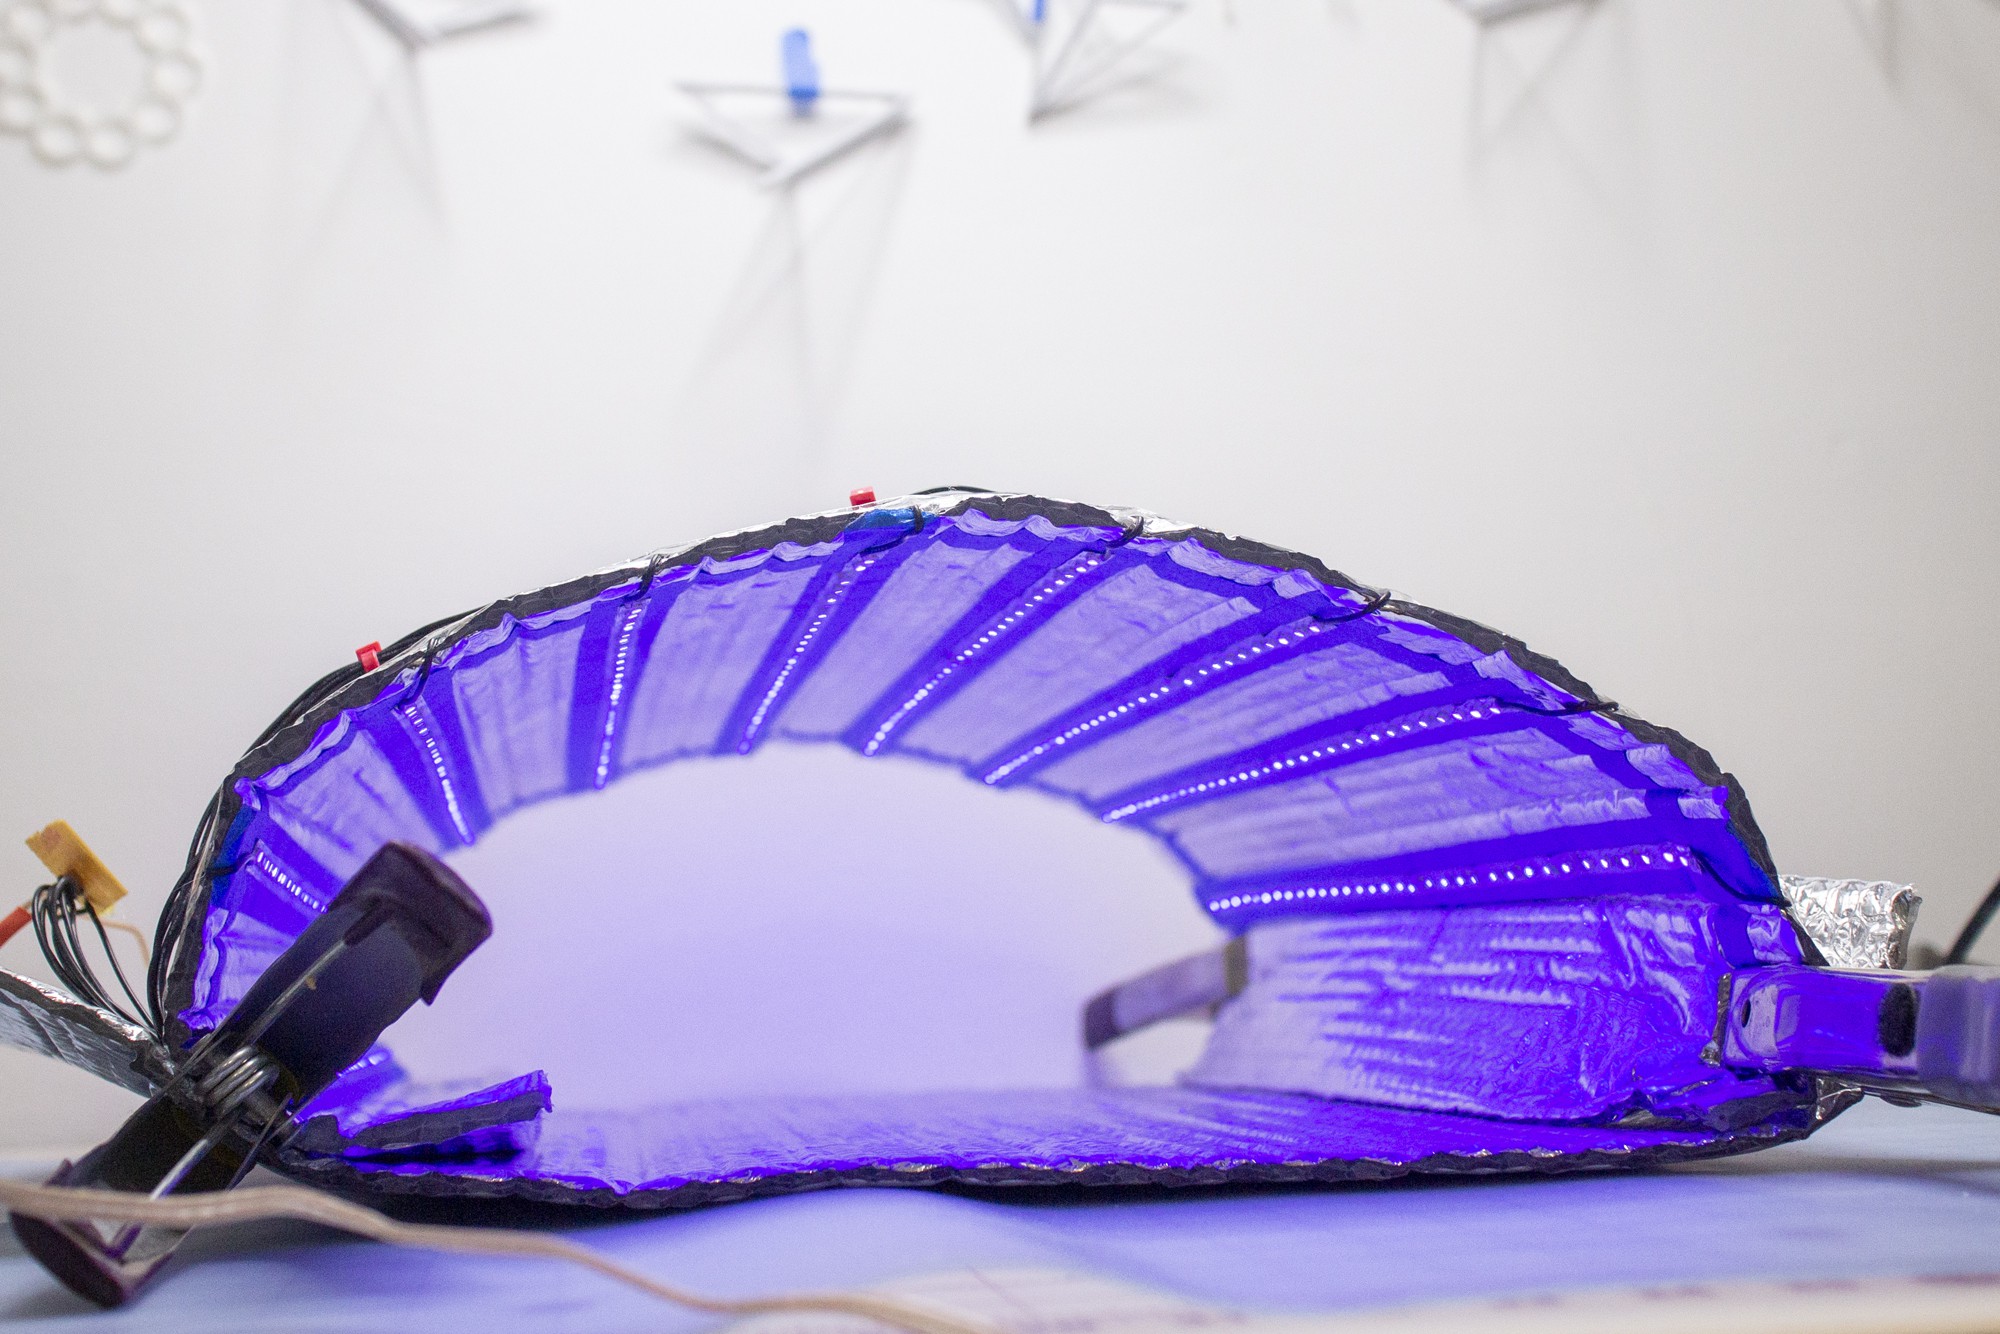
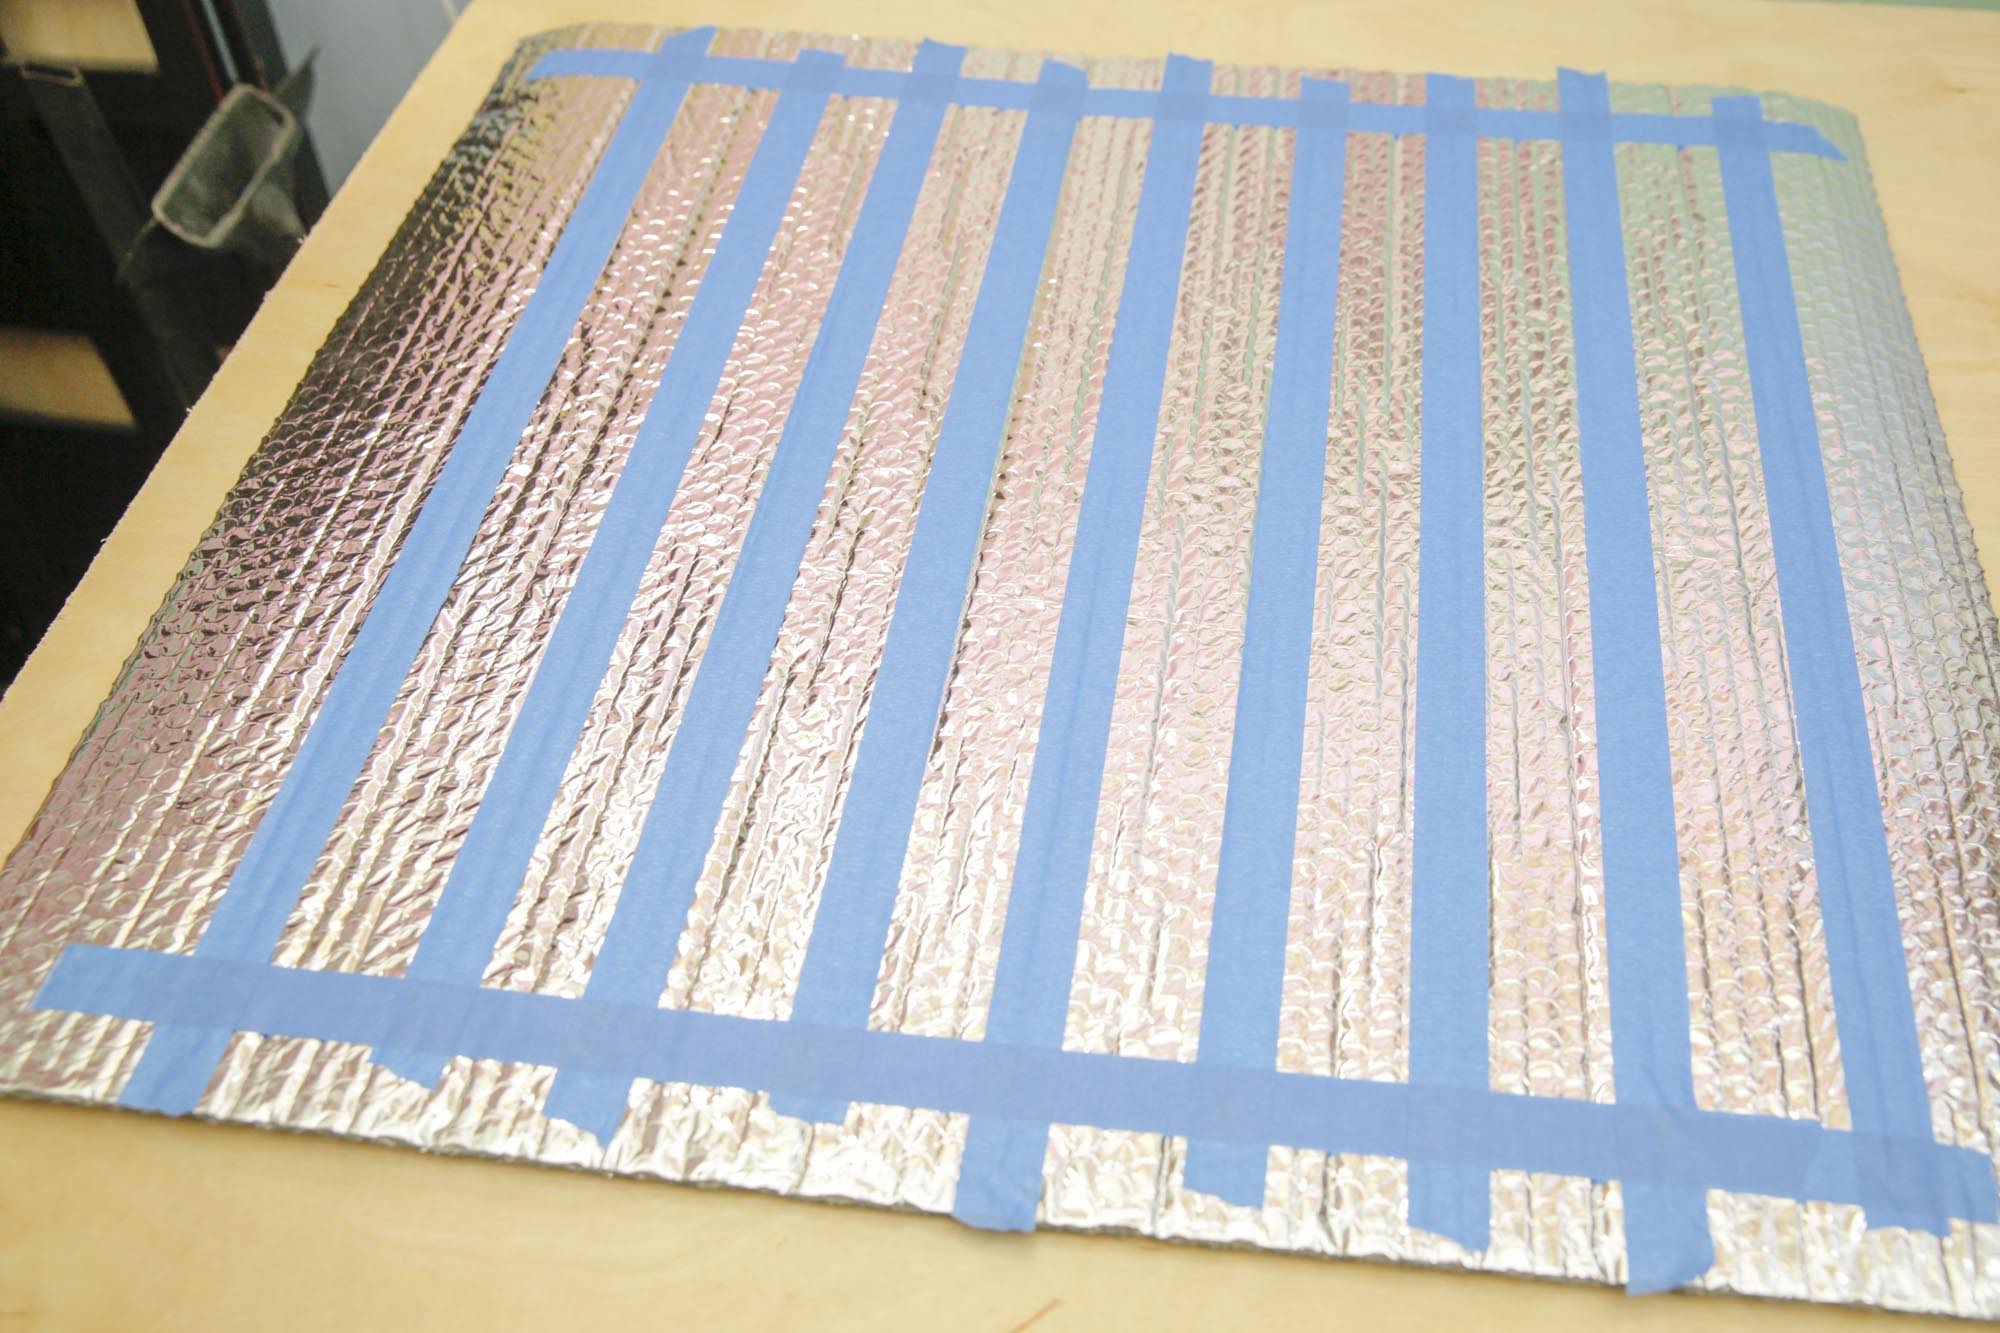
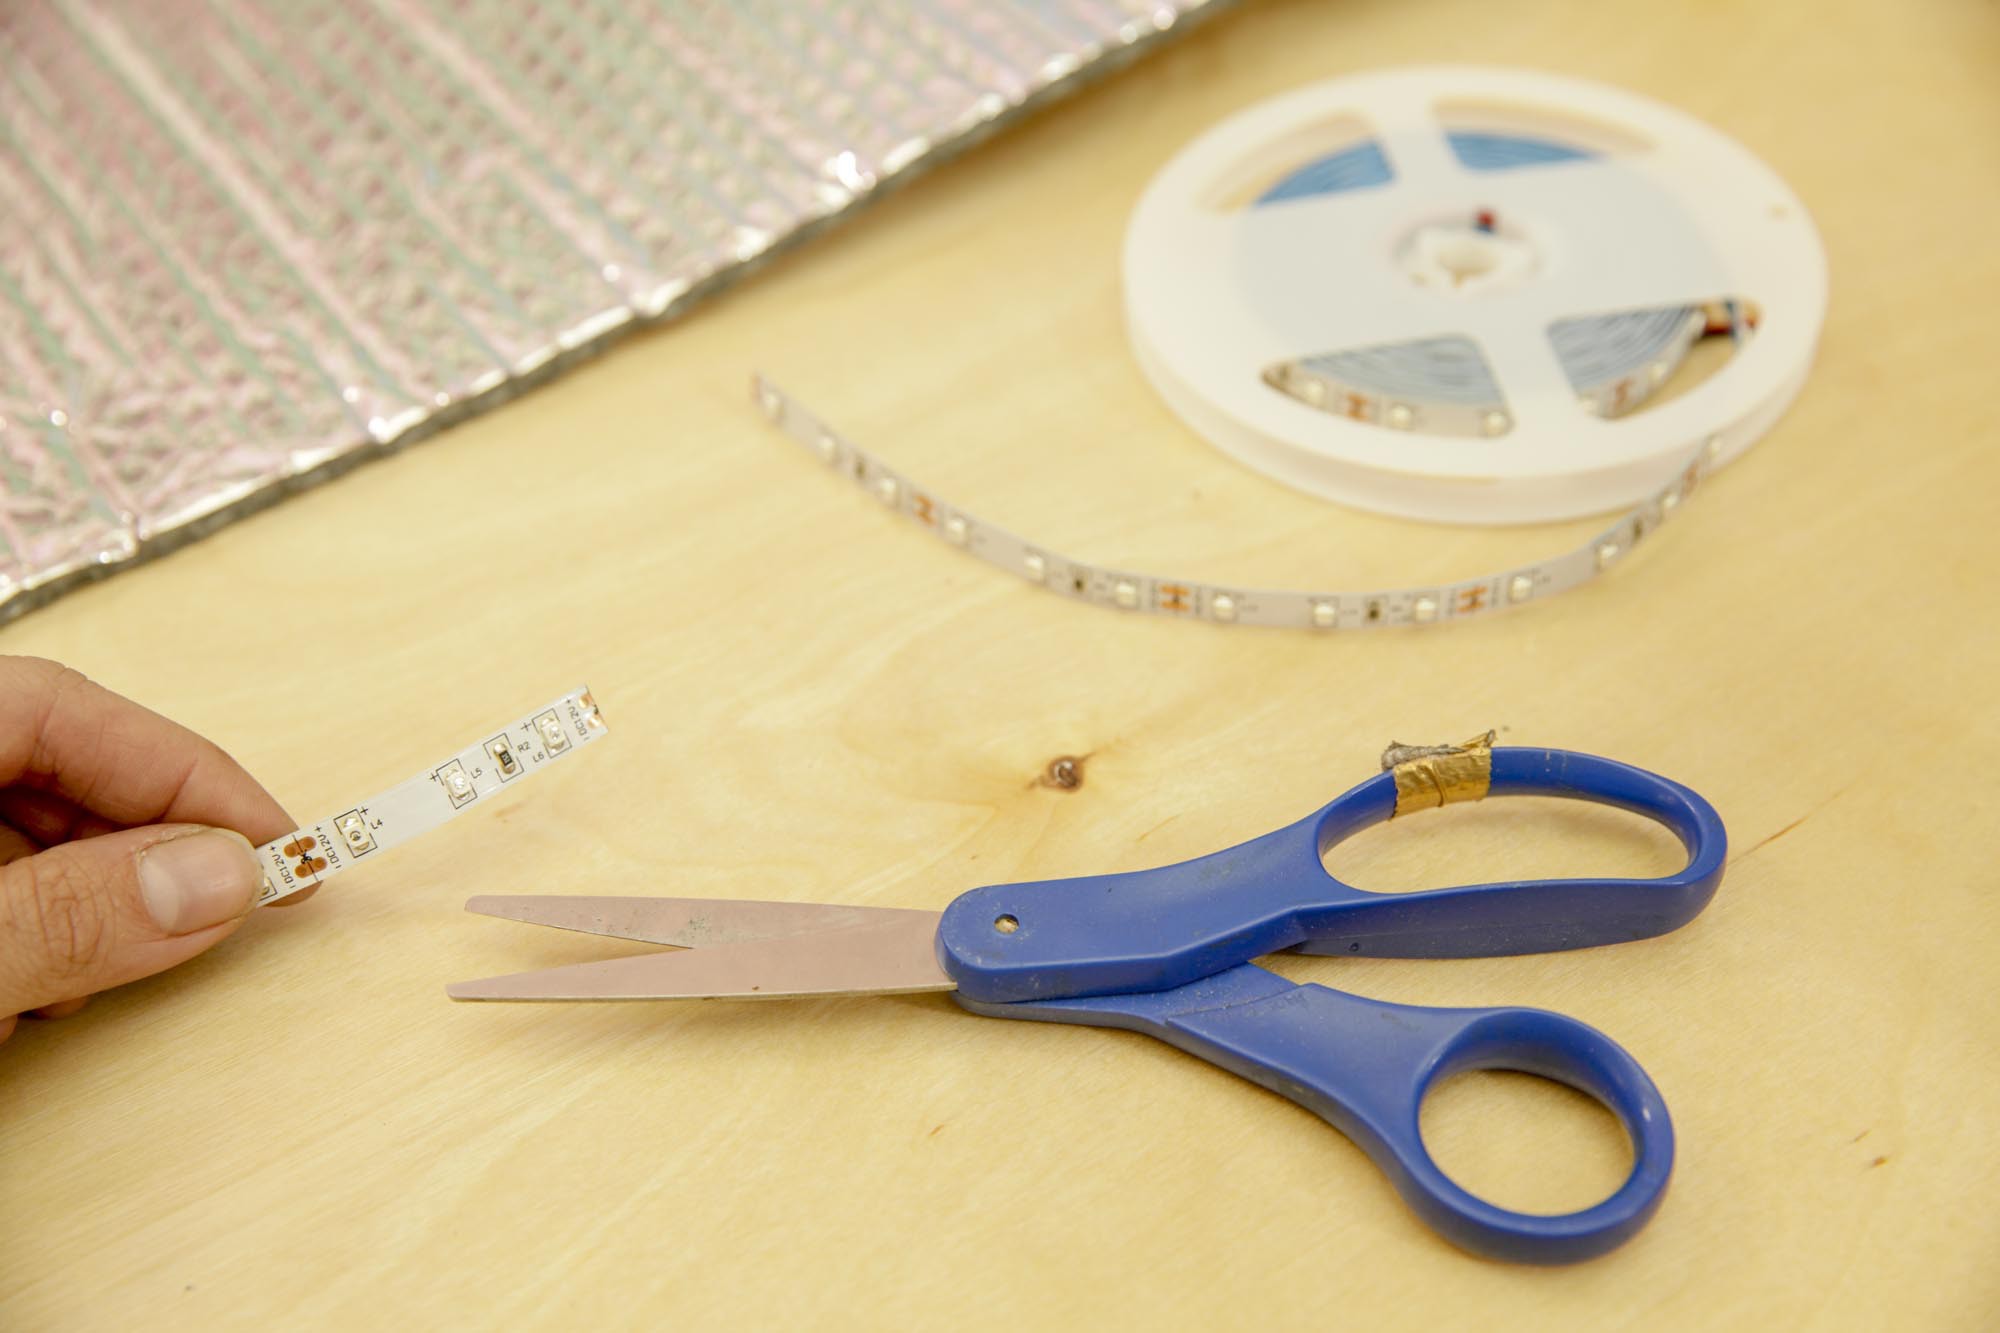
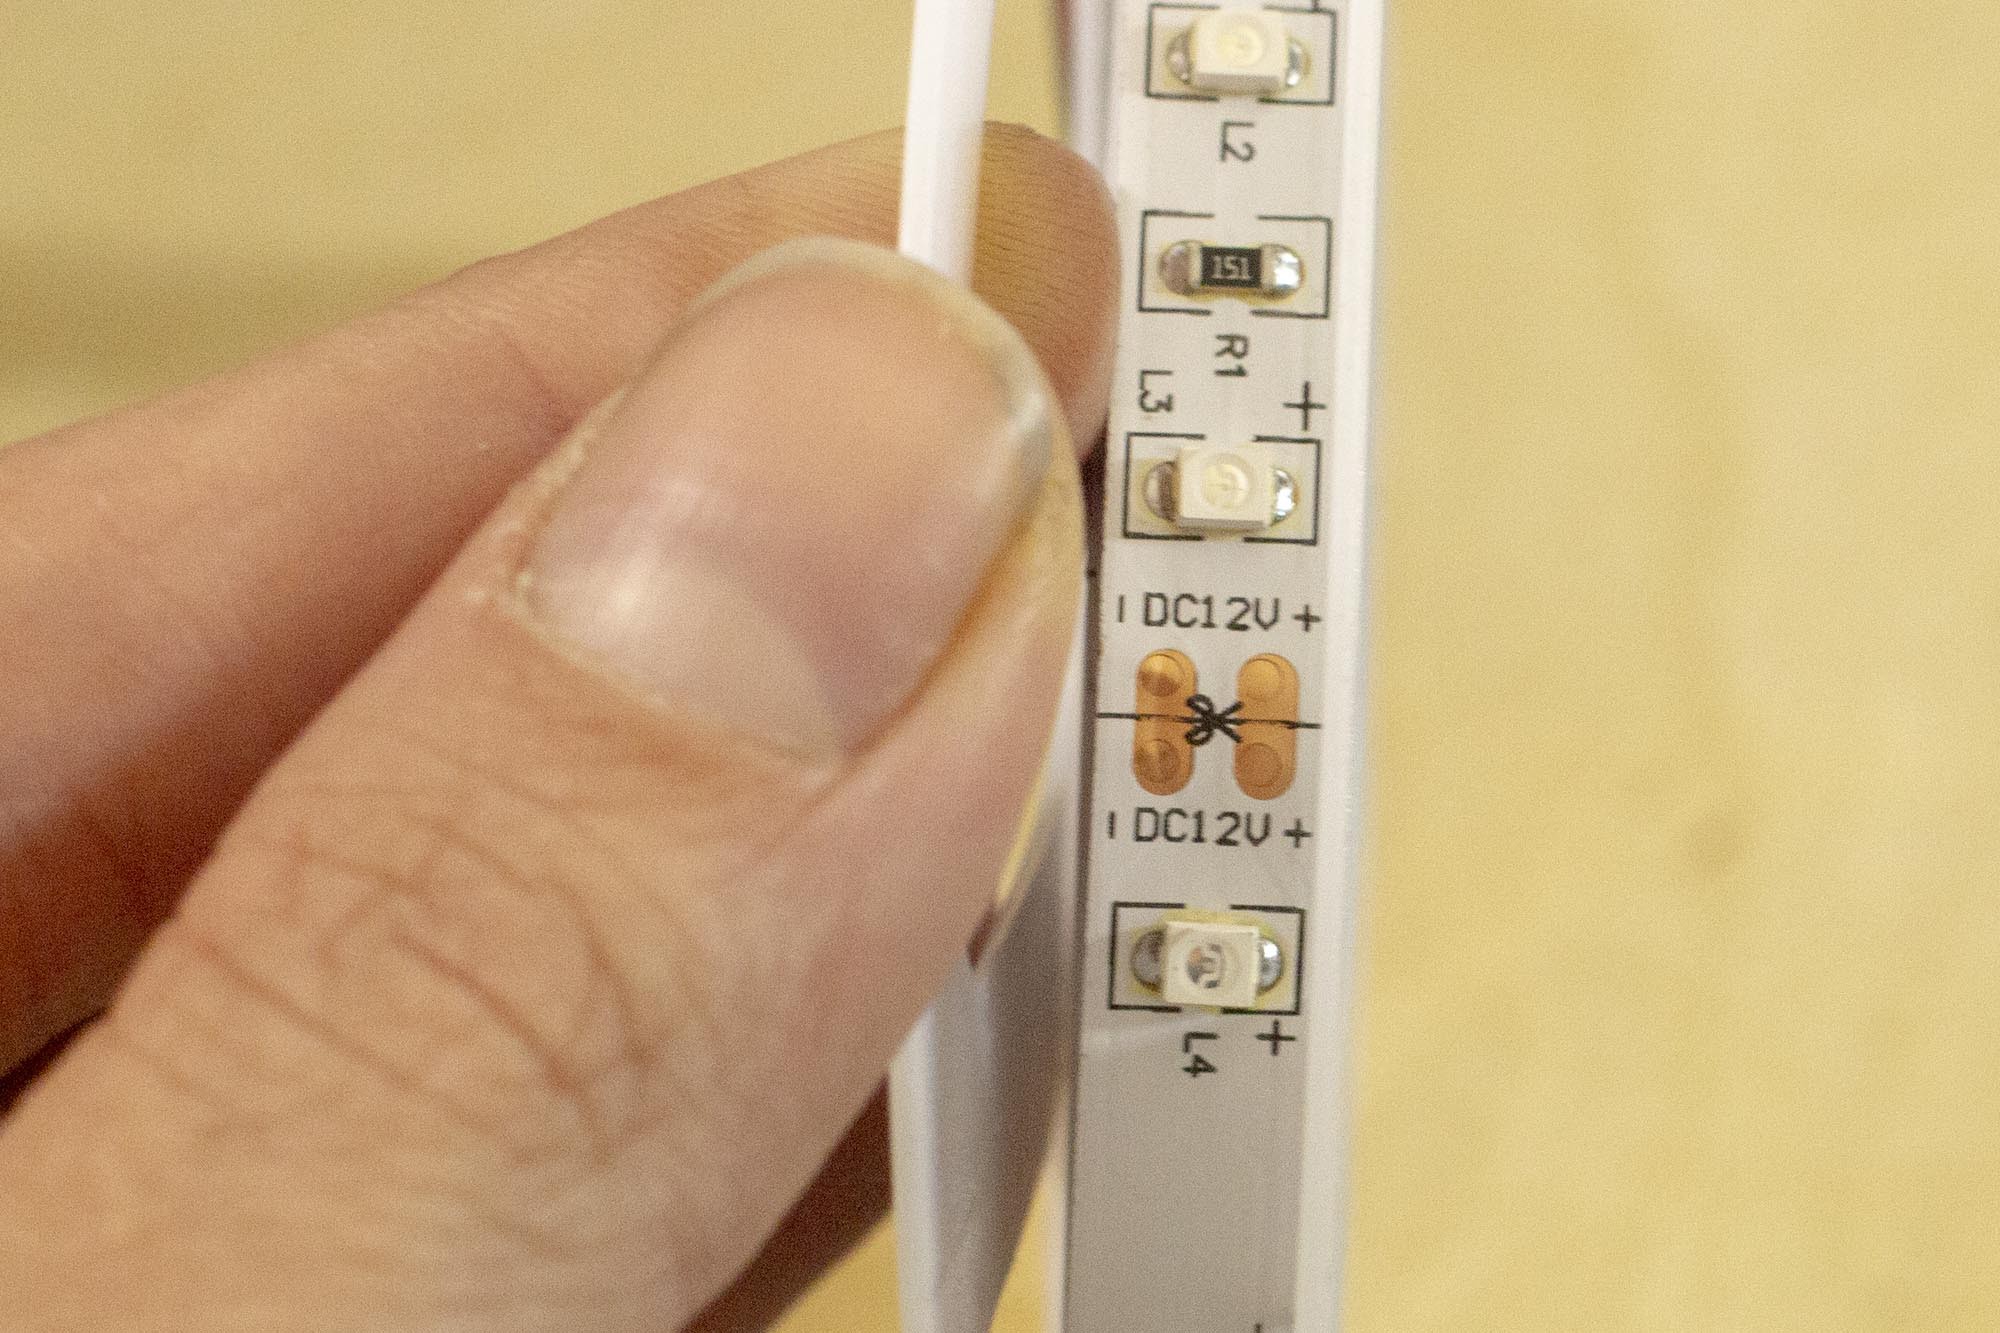
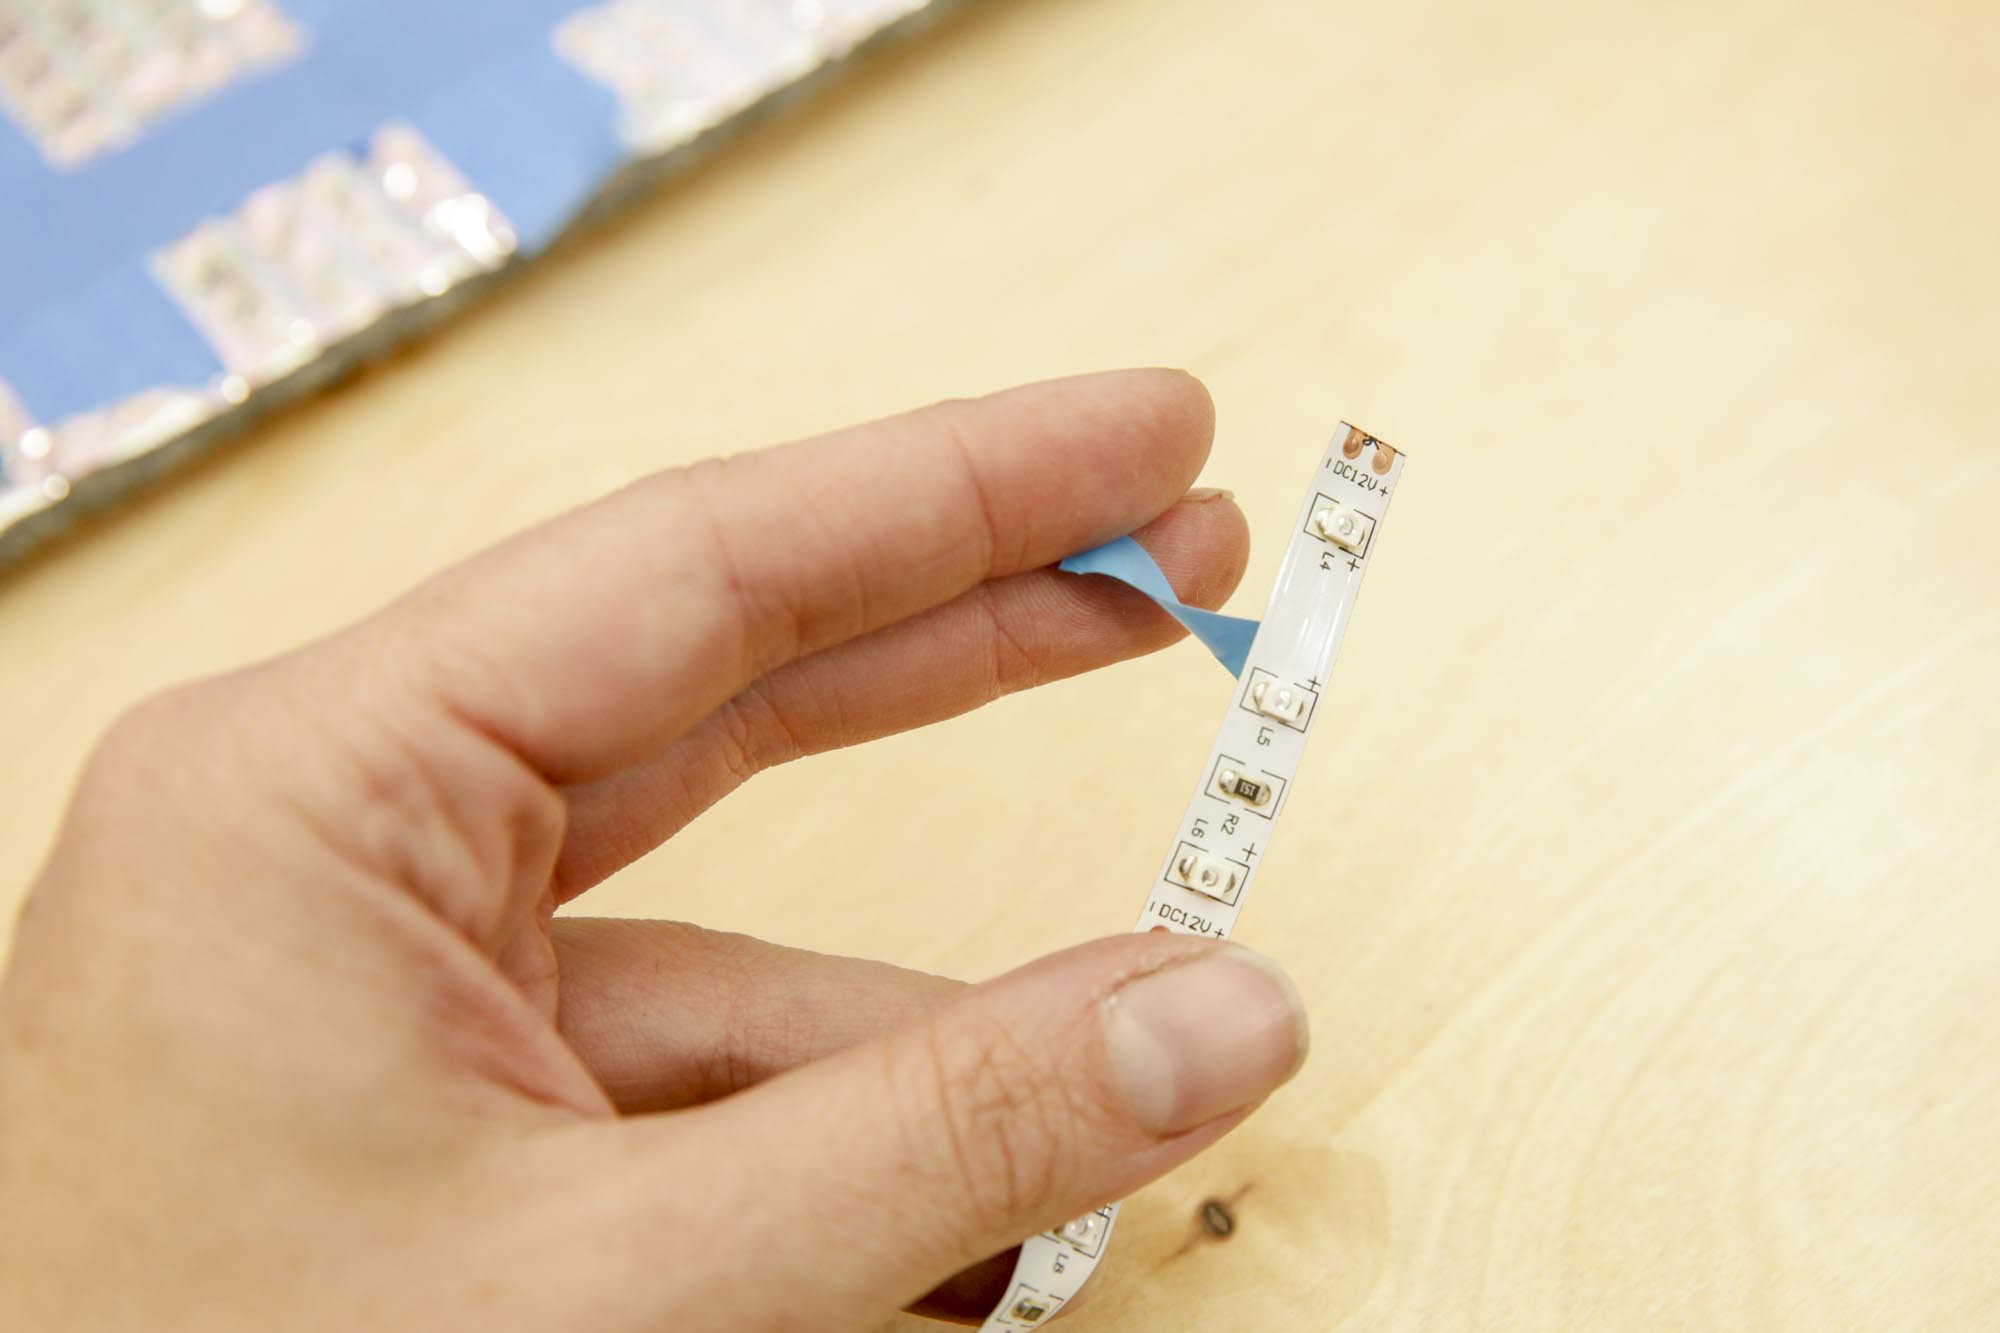
I used mylar + air pack insulation as a backer for the LED strips. I know this material could be rigid, but also collapsible - when it's ready to be stored it quickly rolls up and can be put away in a compact shape.
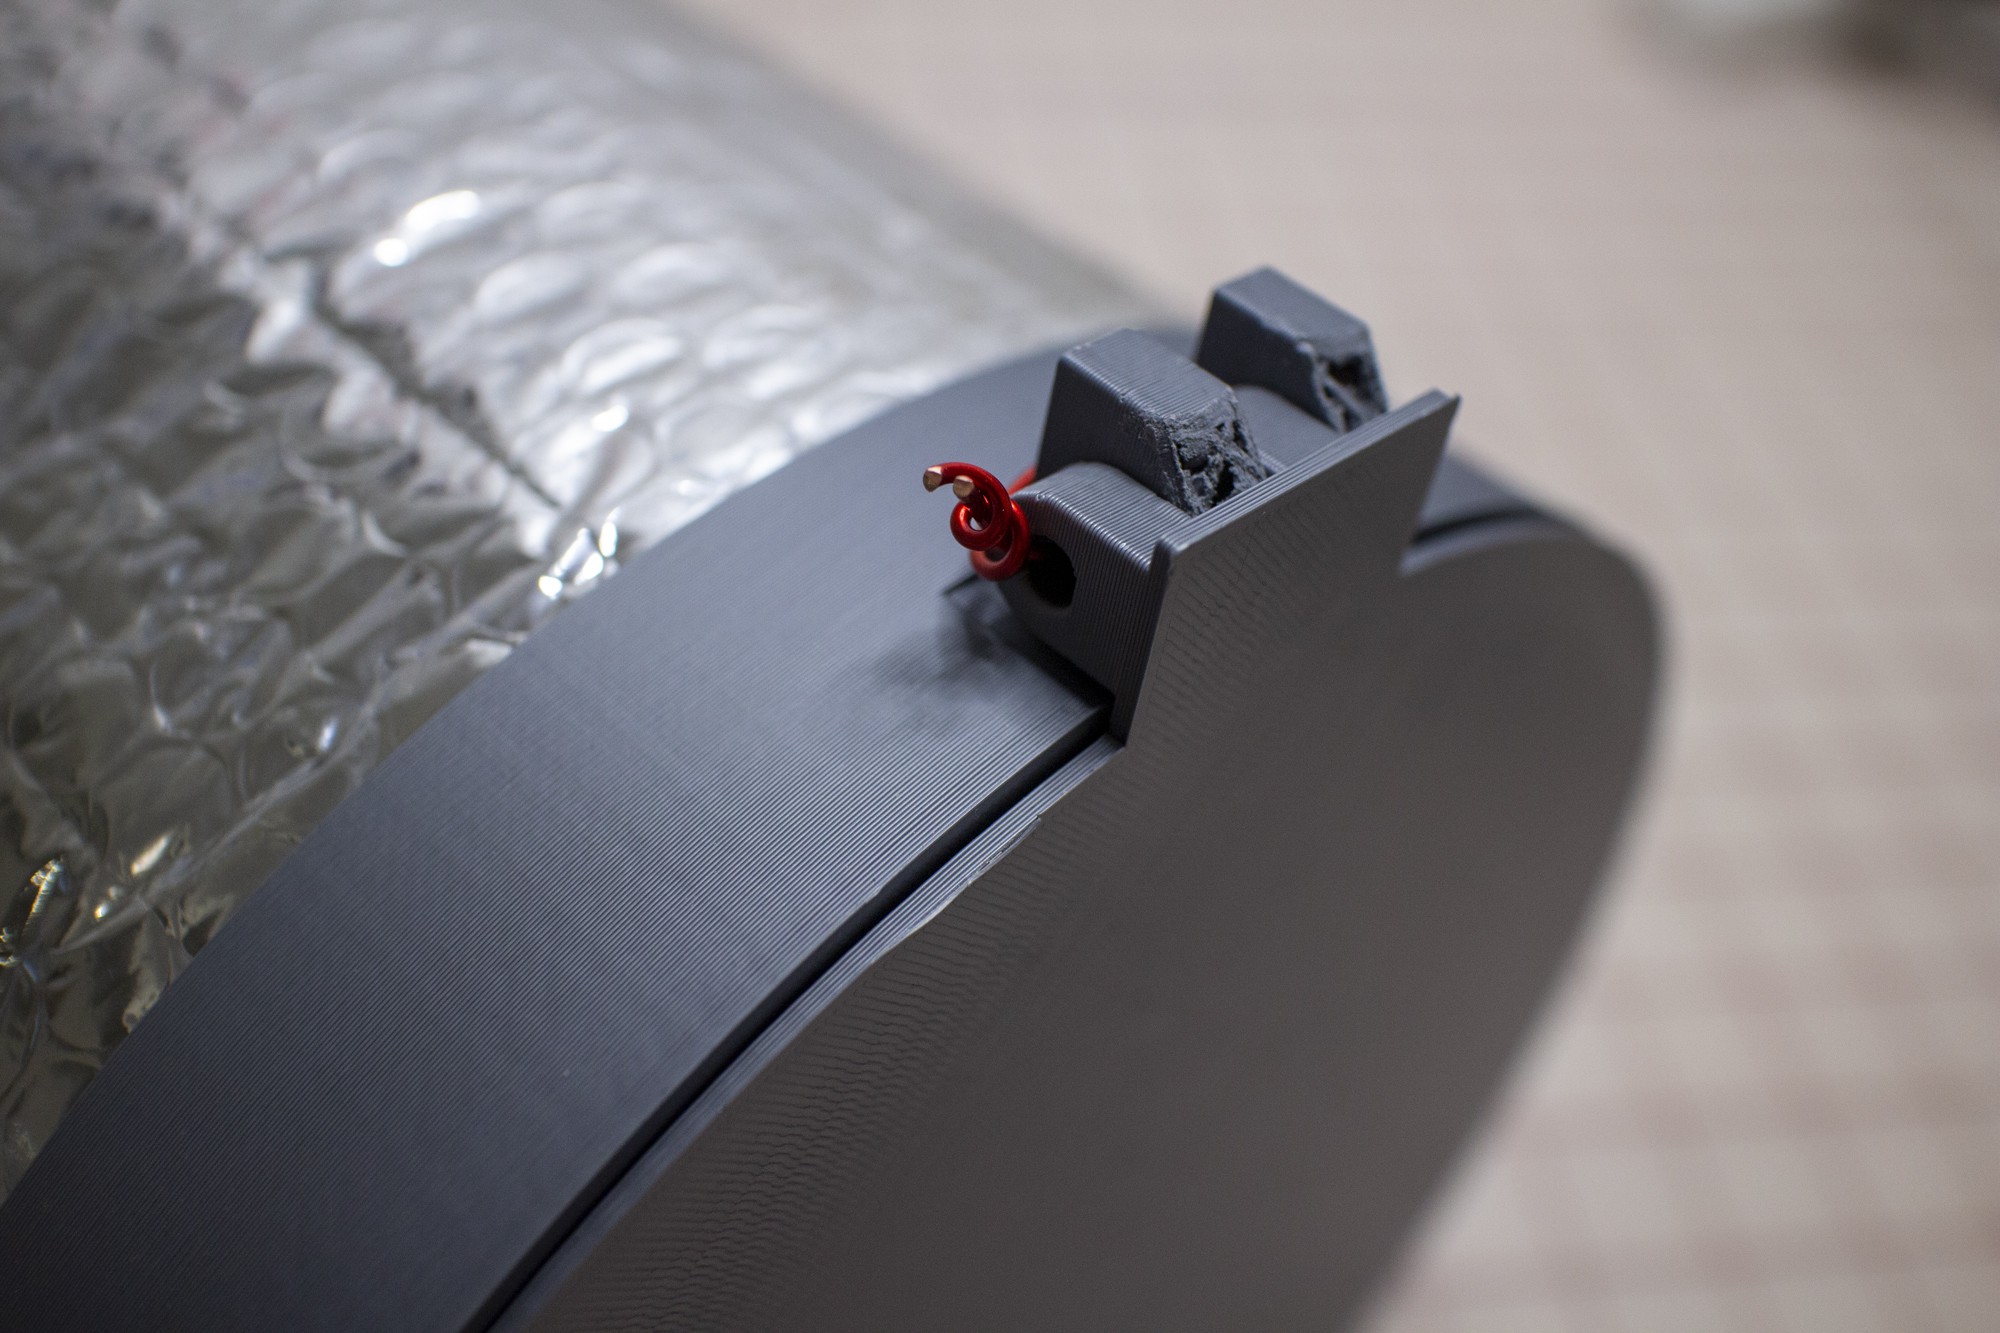
The frame in the pictures and videos is made from 8x 24" PVC struts and joined with 4x 3-way elbow connectors that don't use cement. The upside of using pressure fits is that the lamp can collapse quickly and be reconstructed easily when needed.
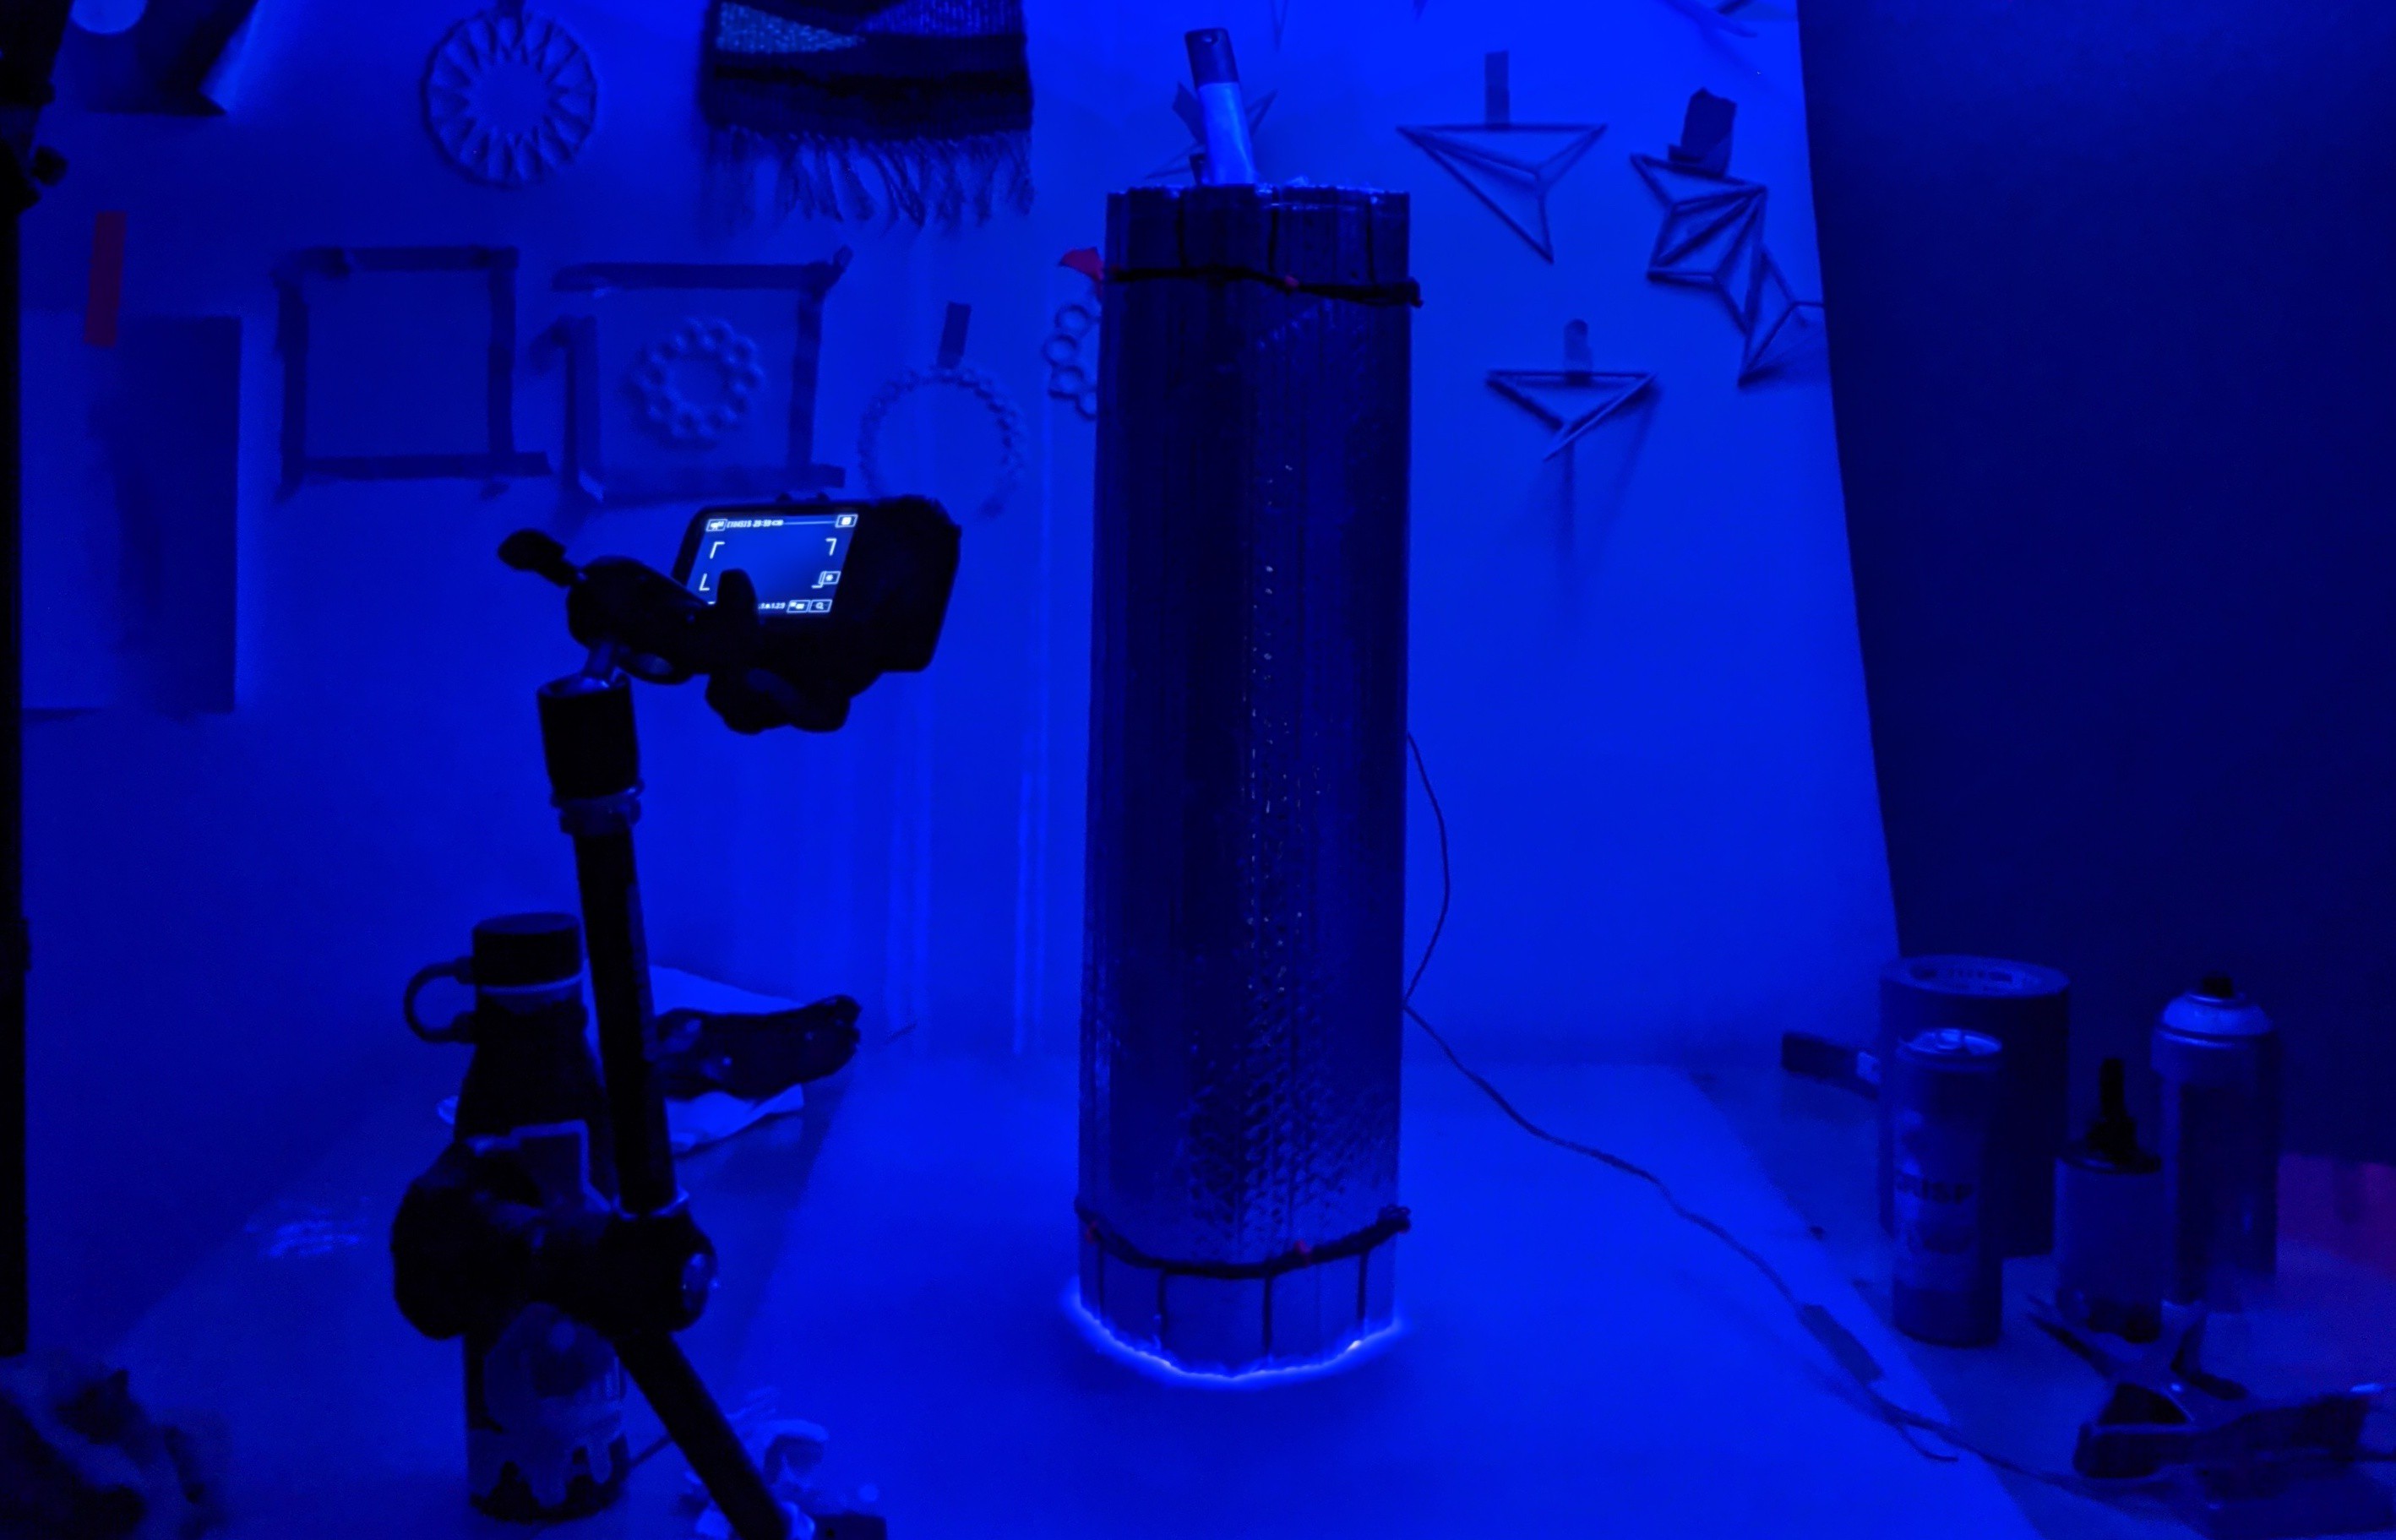
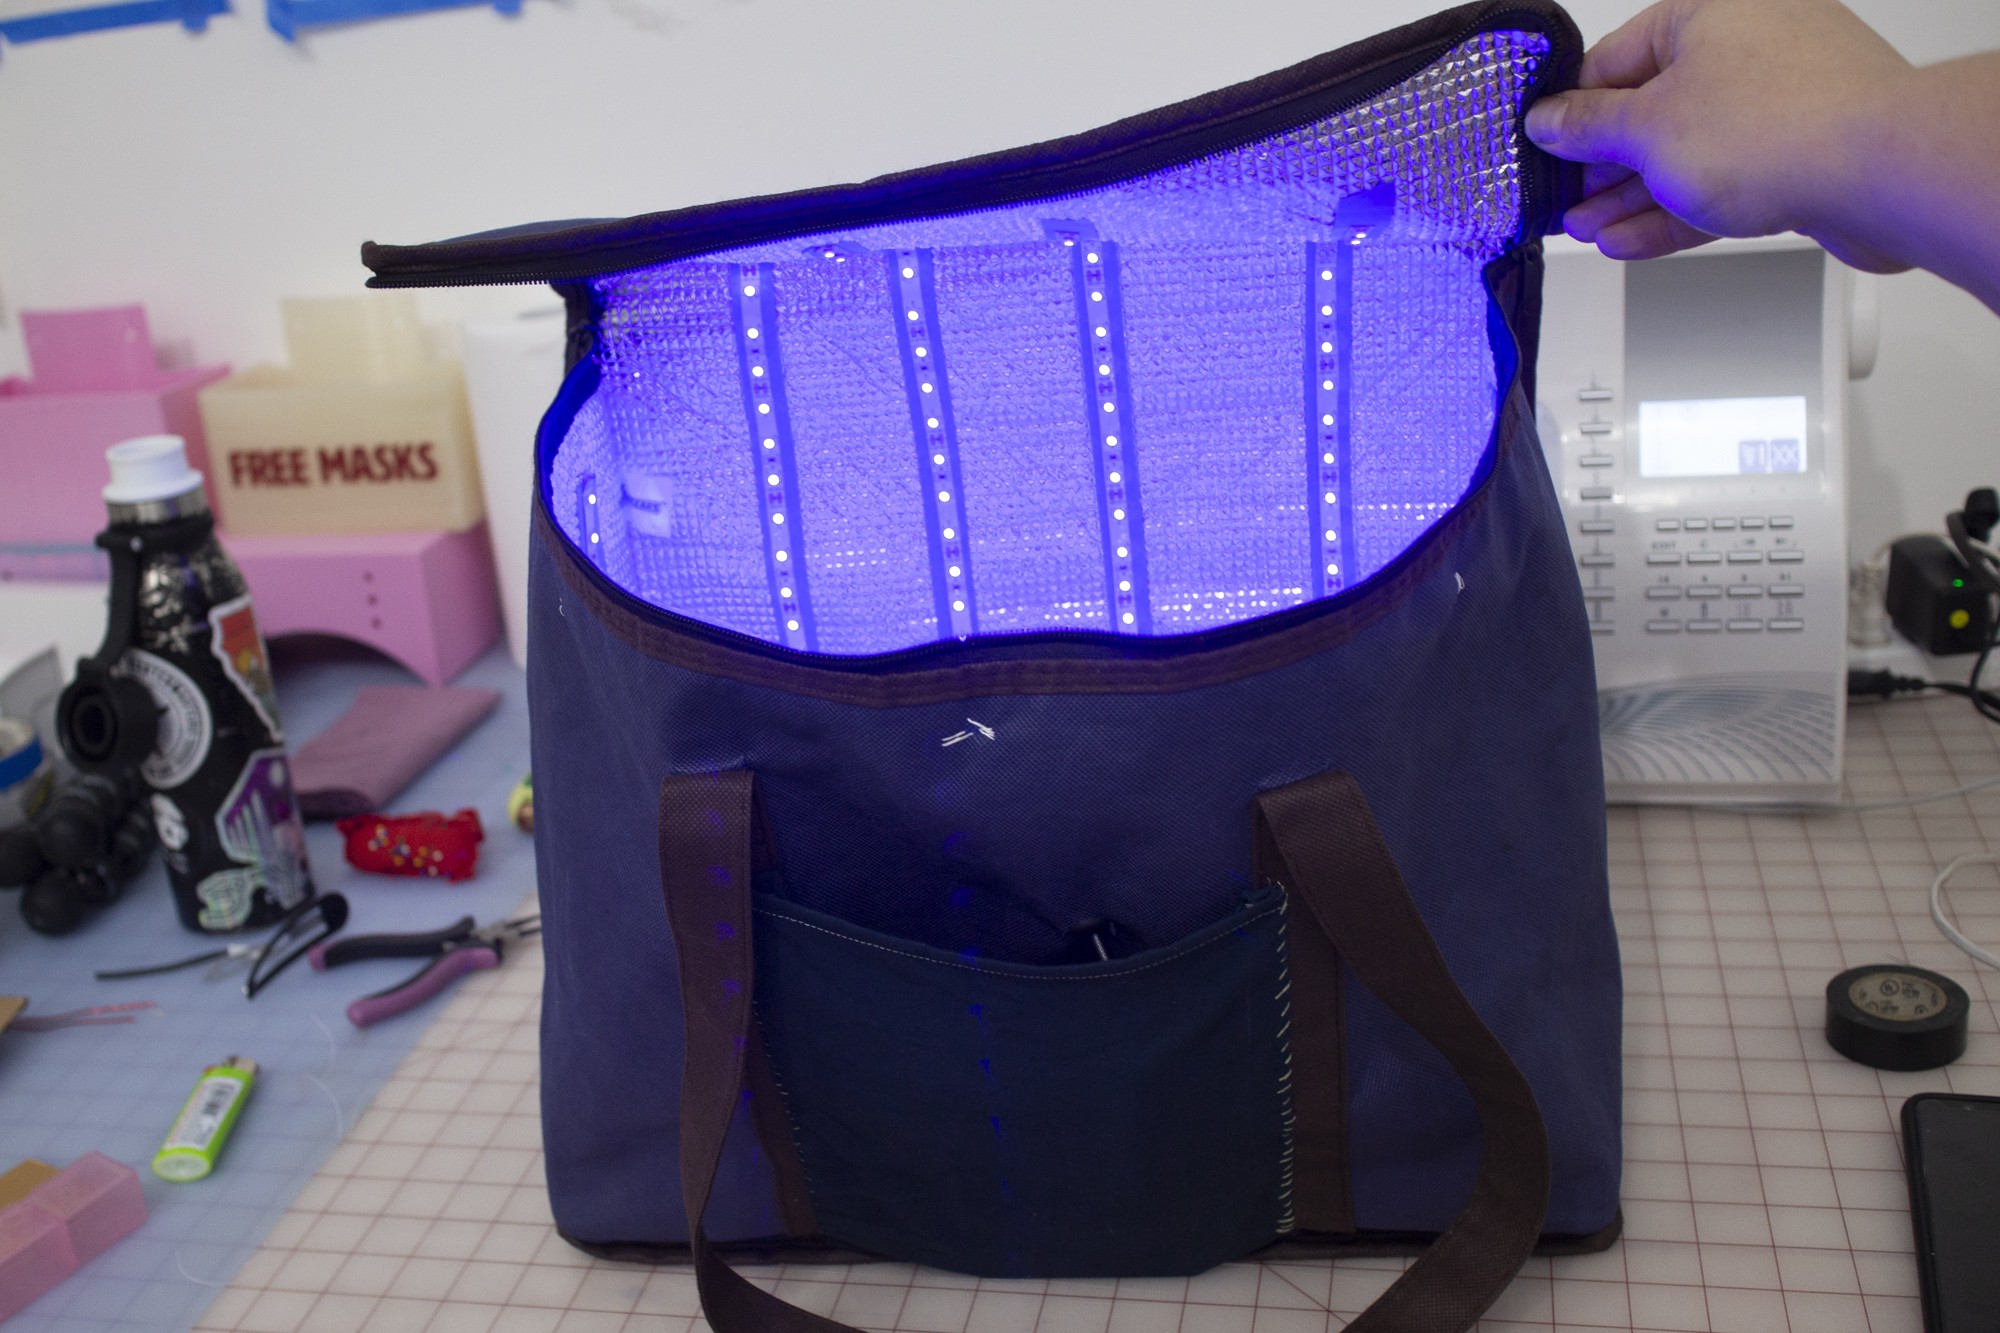
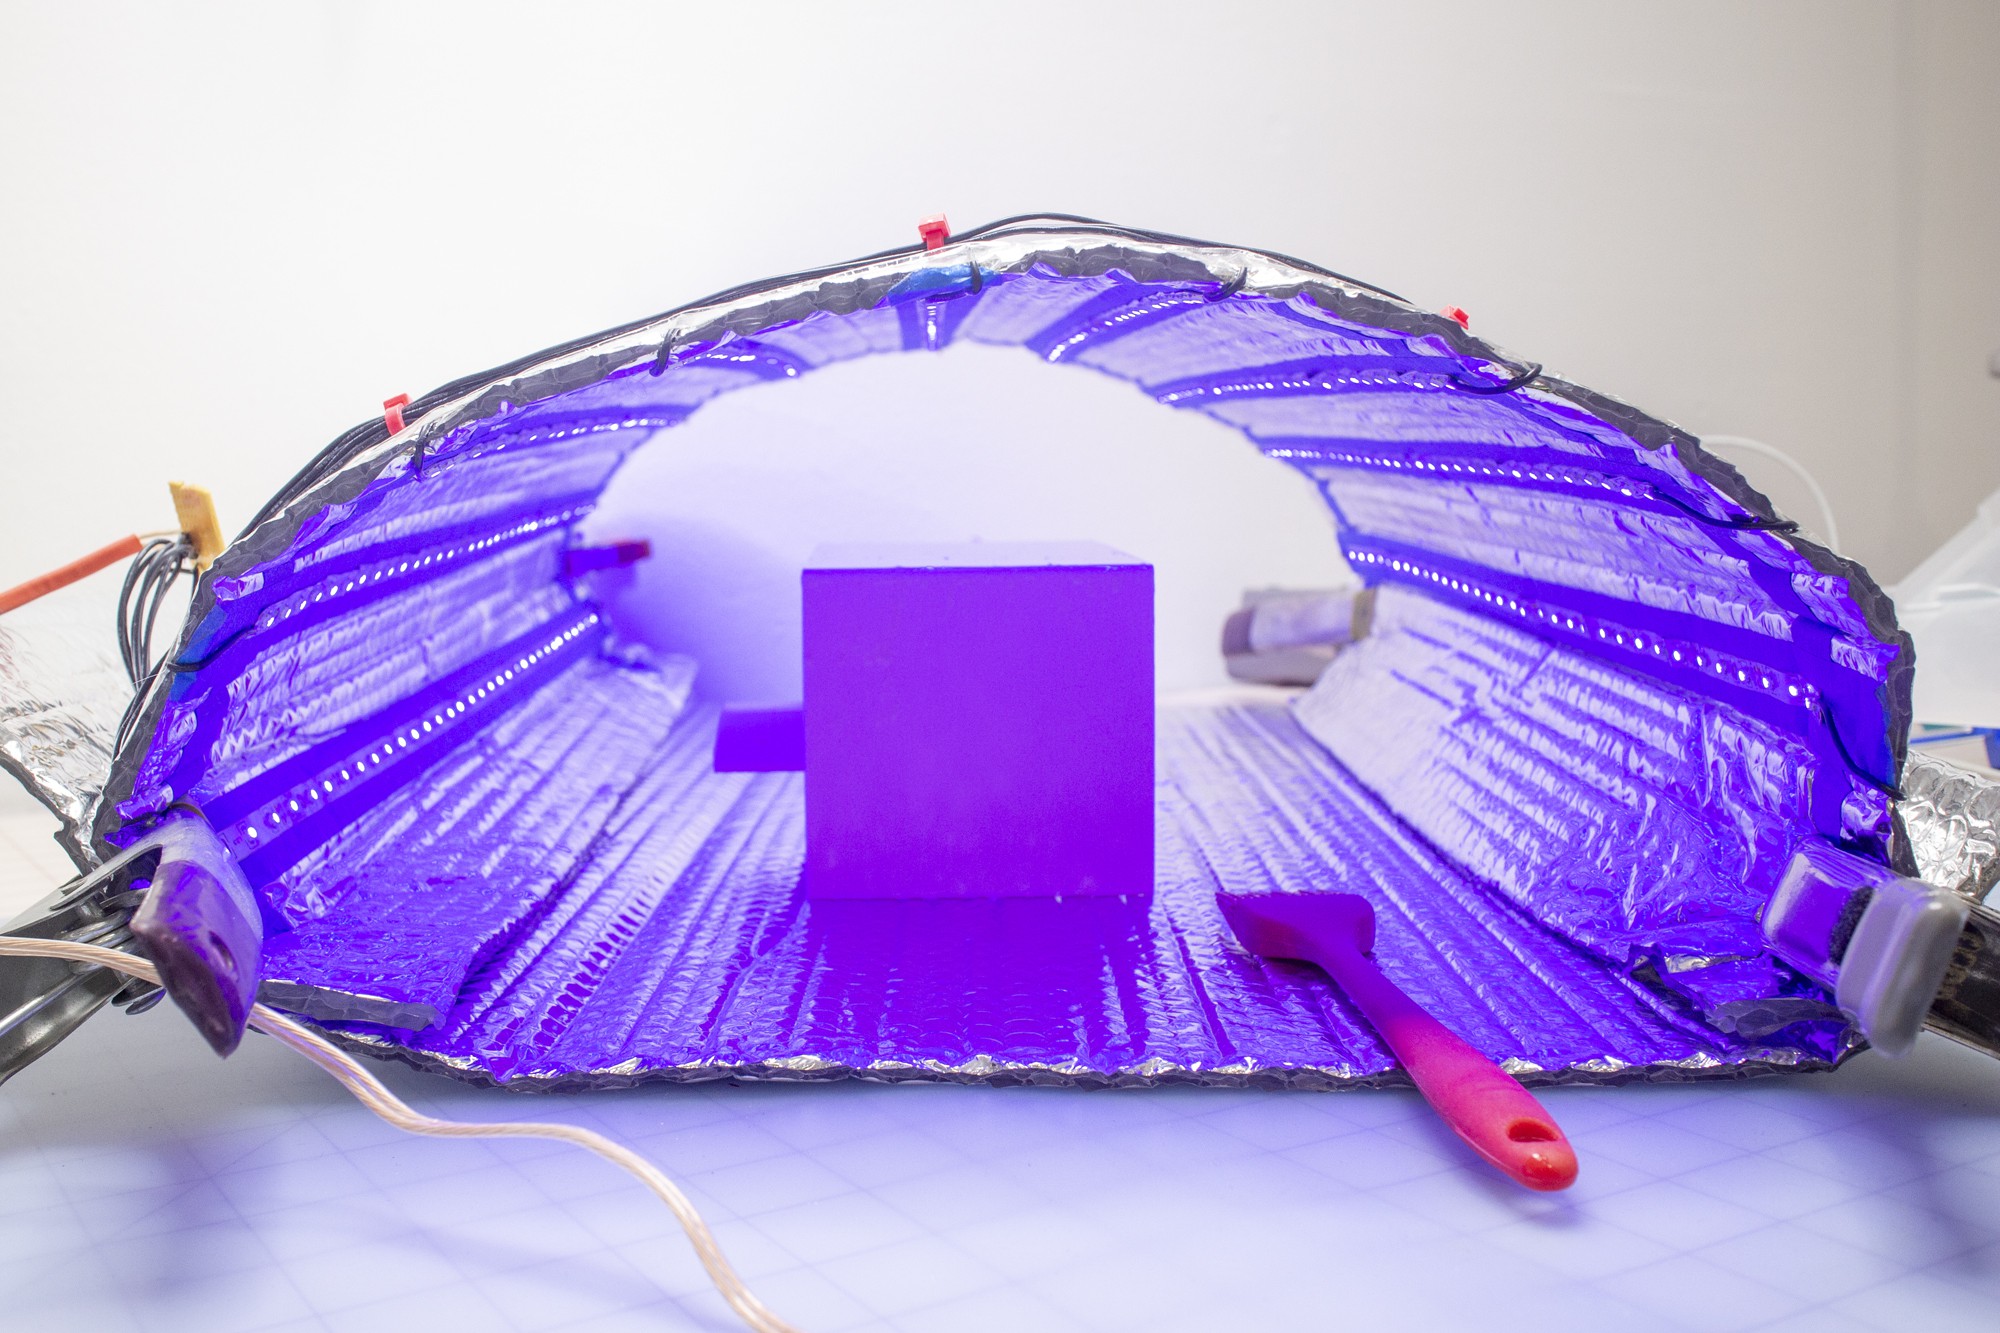
If you're working with small parts or don't want to store the frame - no rigid frame is actually necessary to use this resin oven. Since the insulation material is flexible and rigid, you're also able to use clips to create a custom malleable shape that suits your needs.
!!SAFETY!!
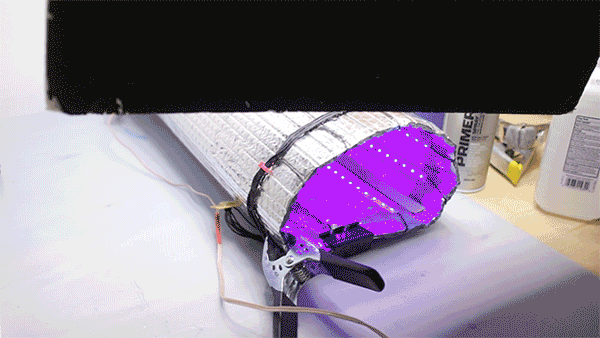
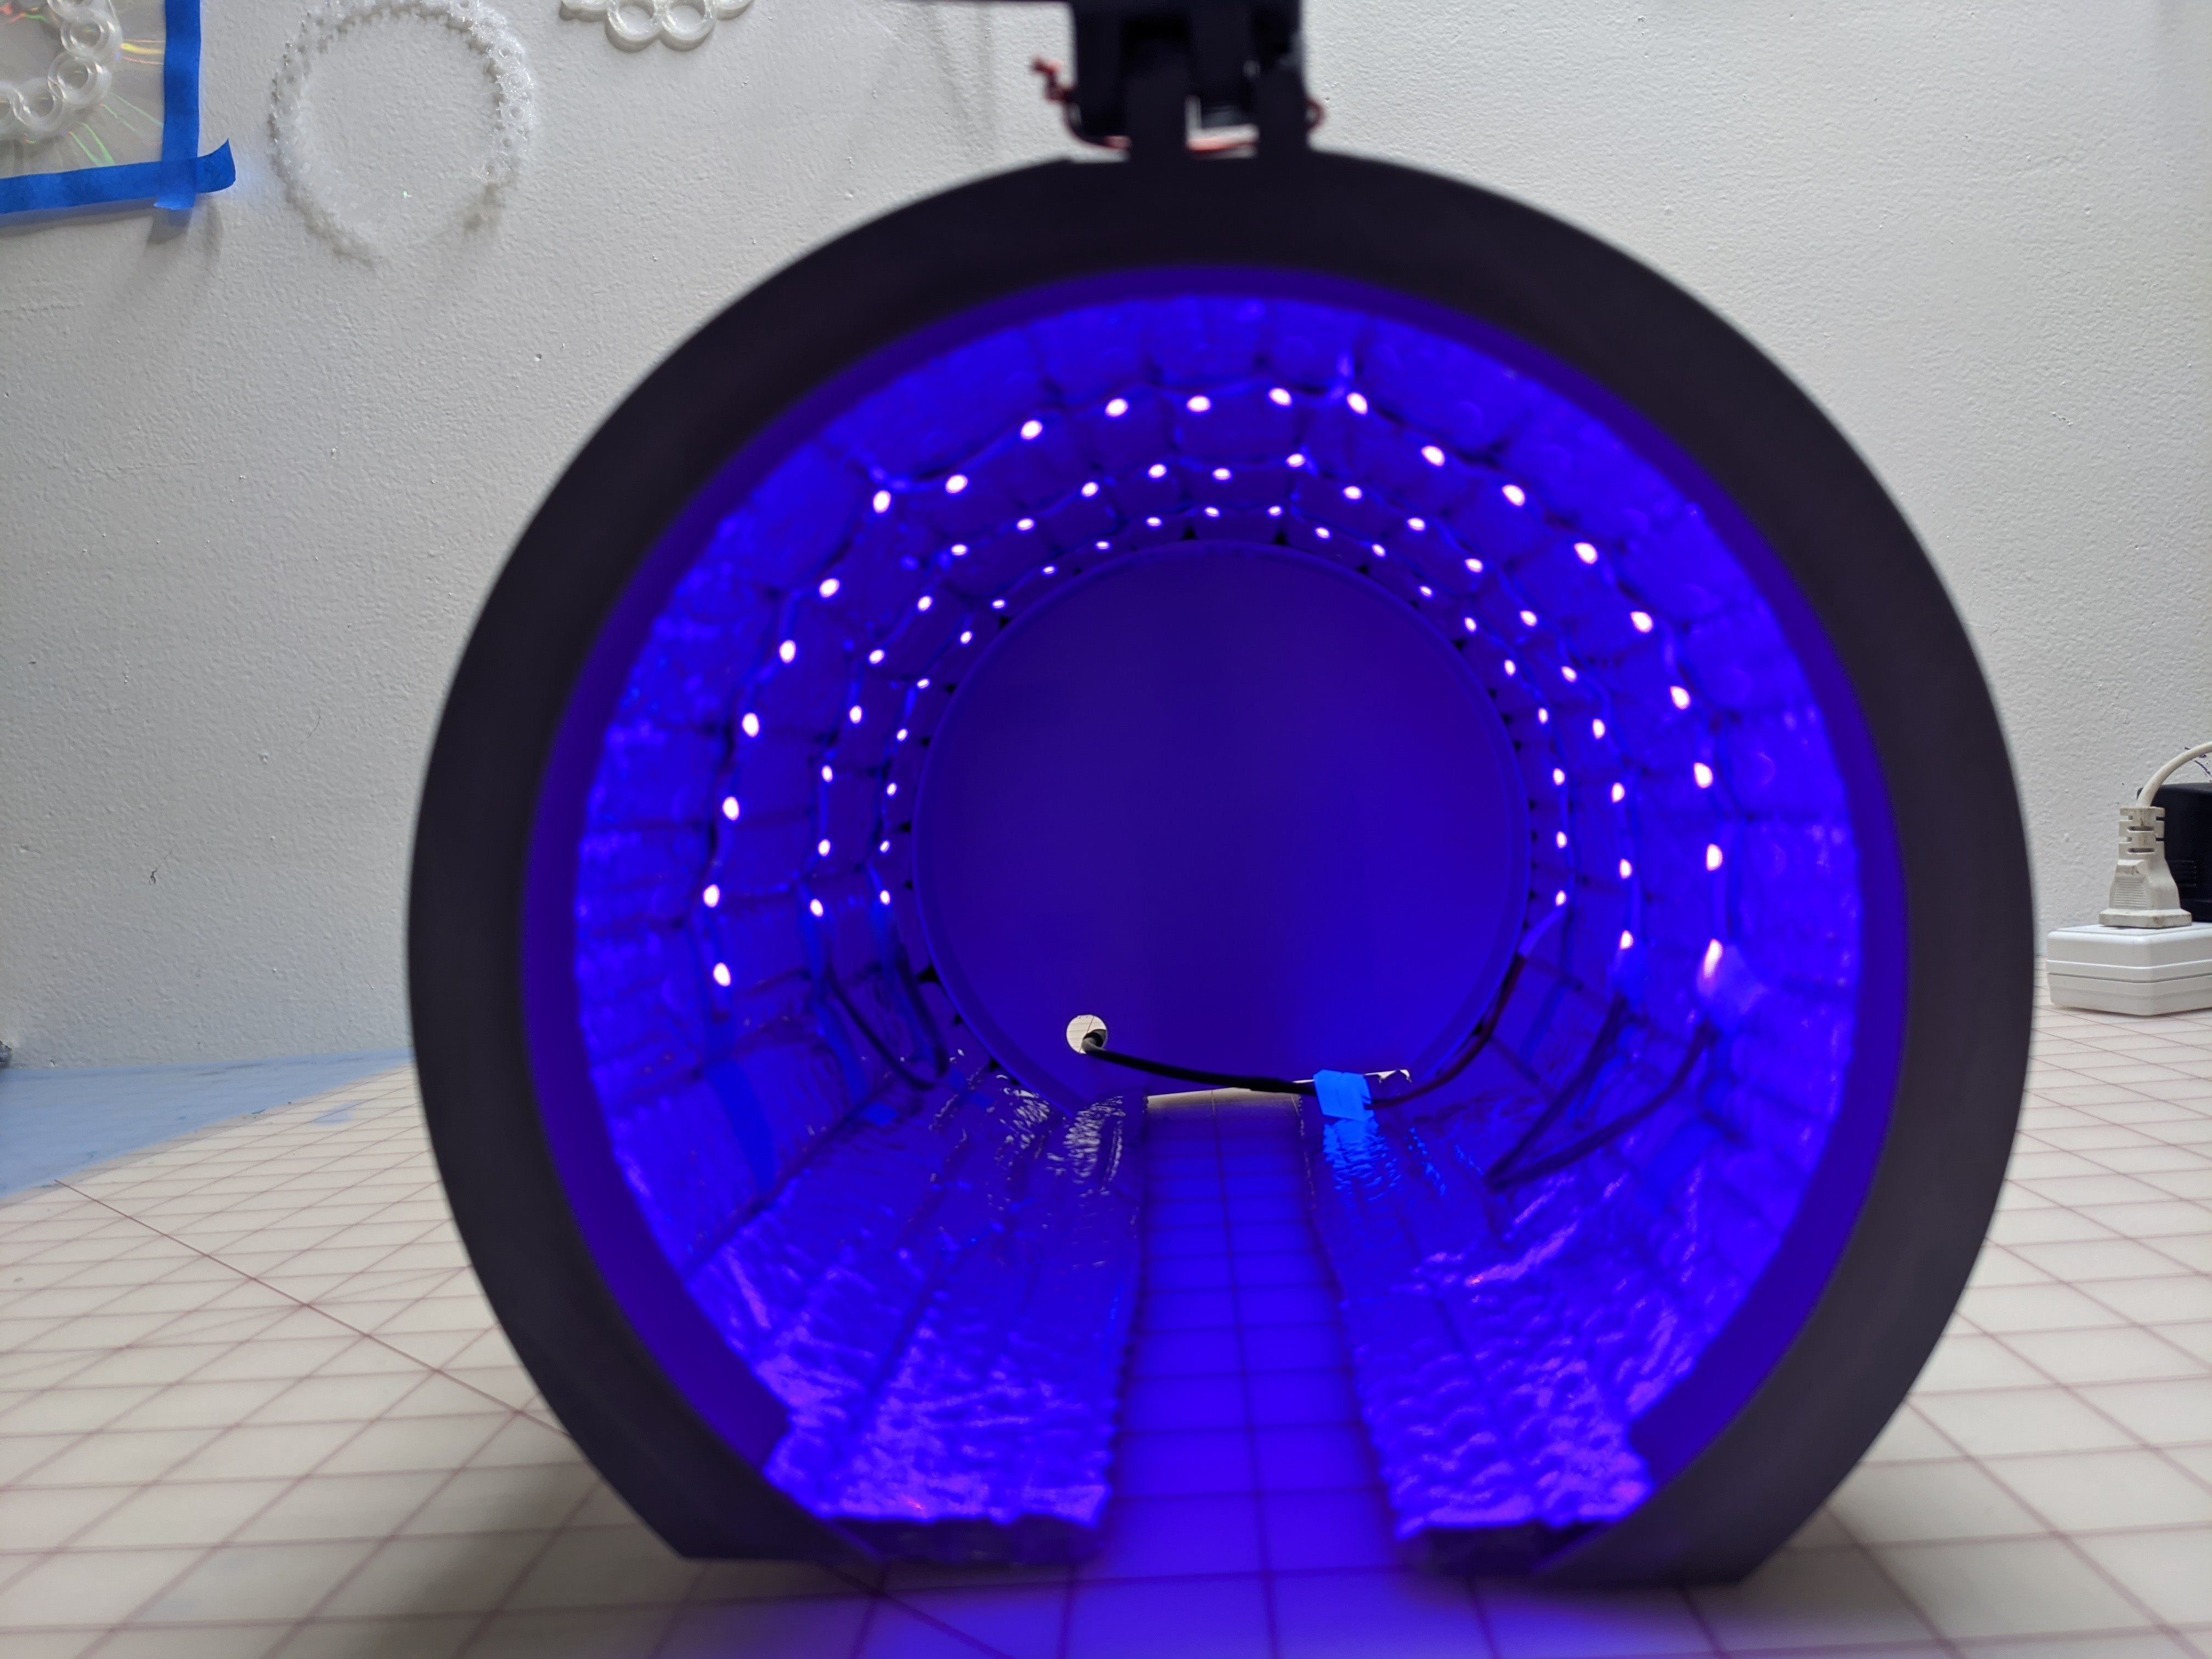
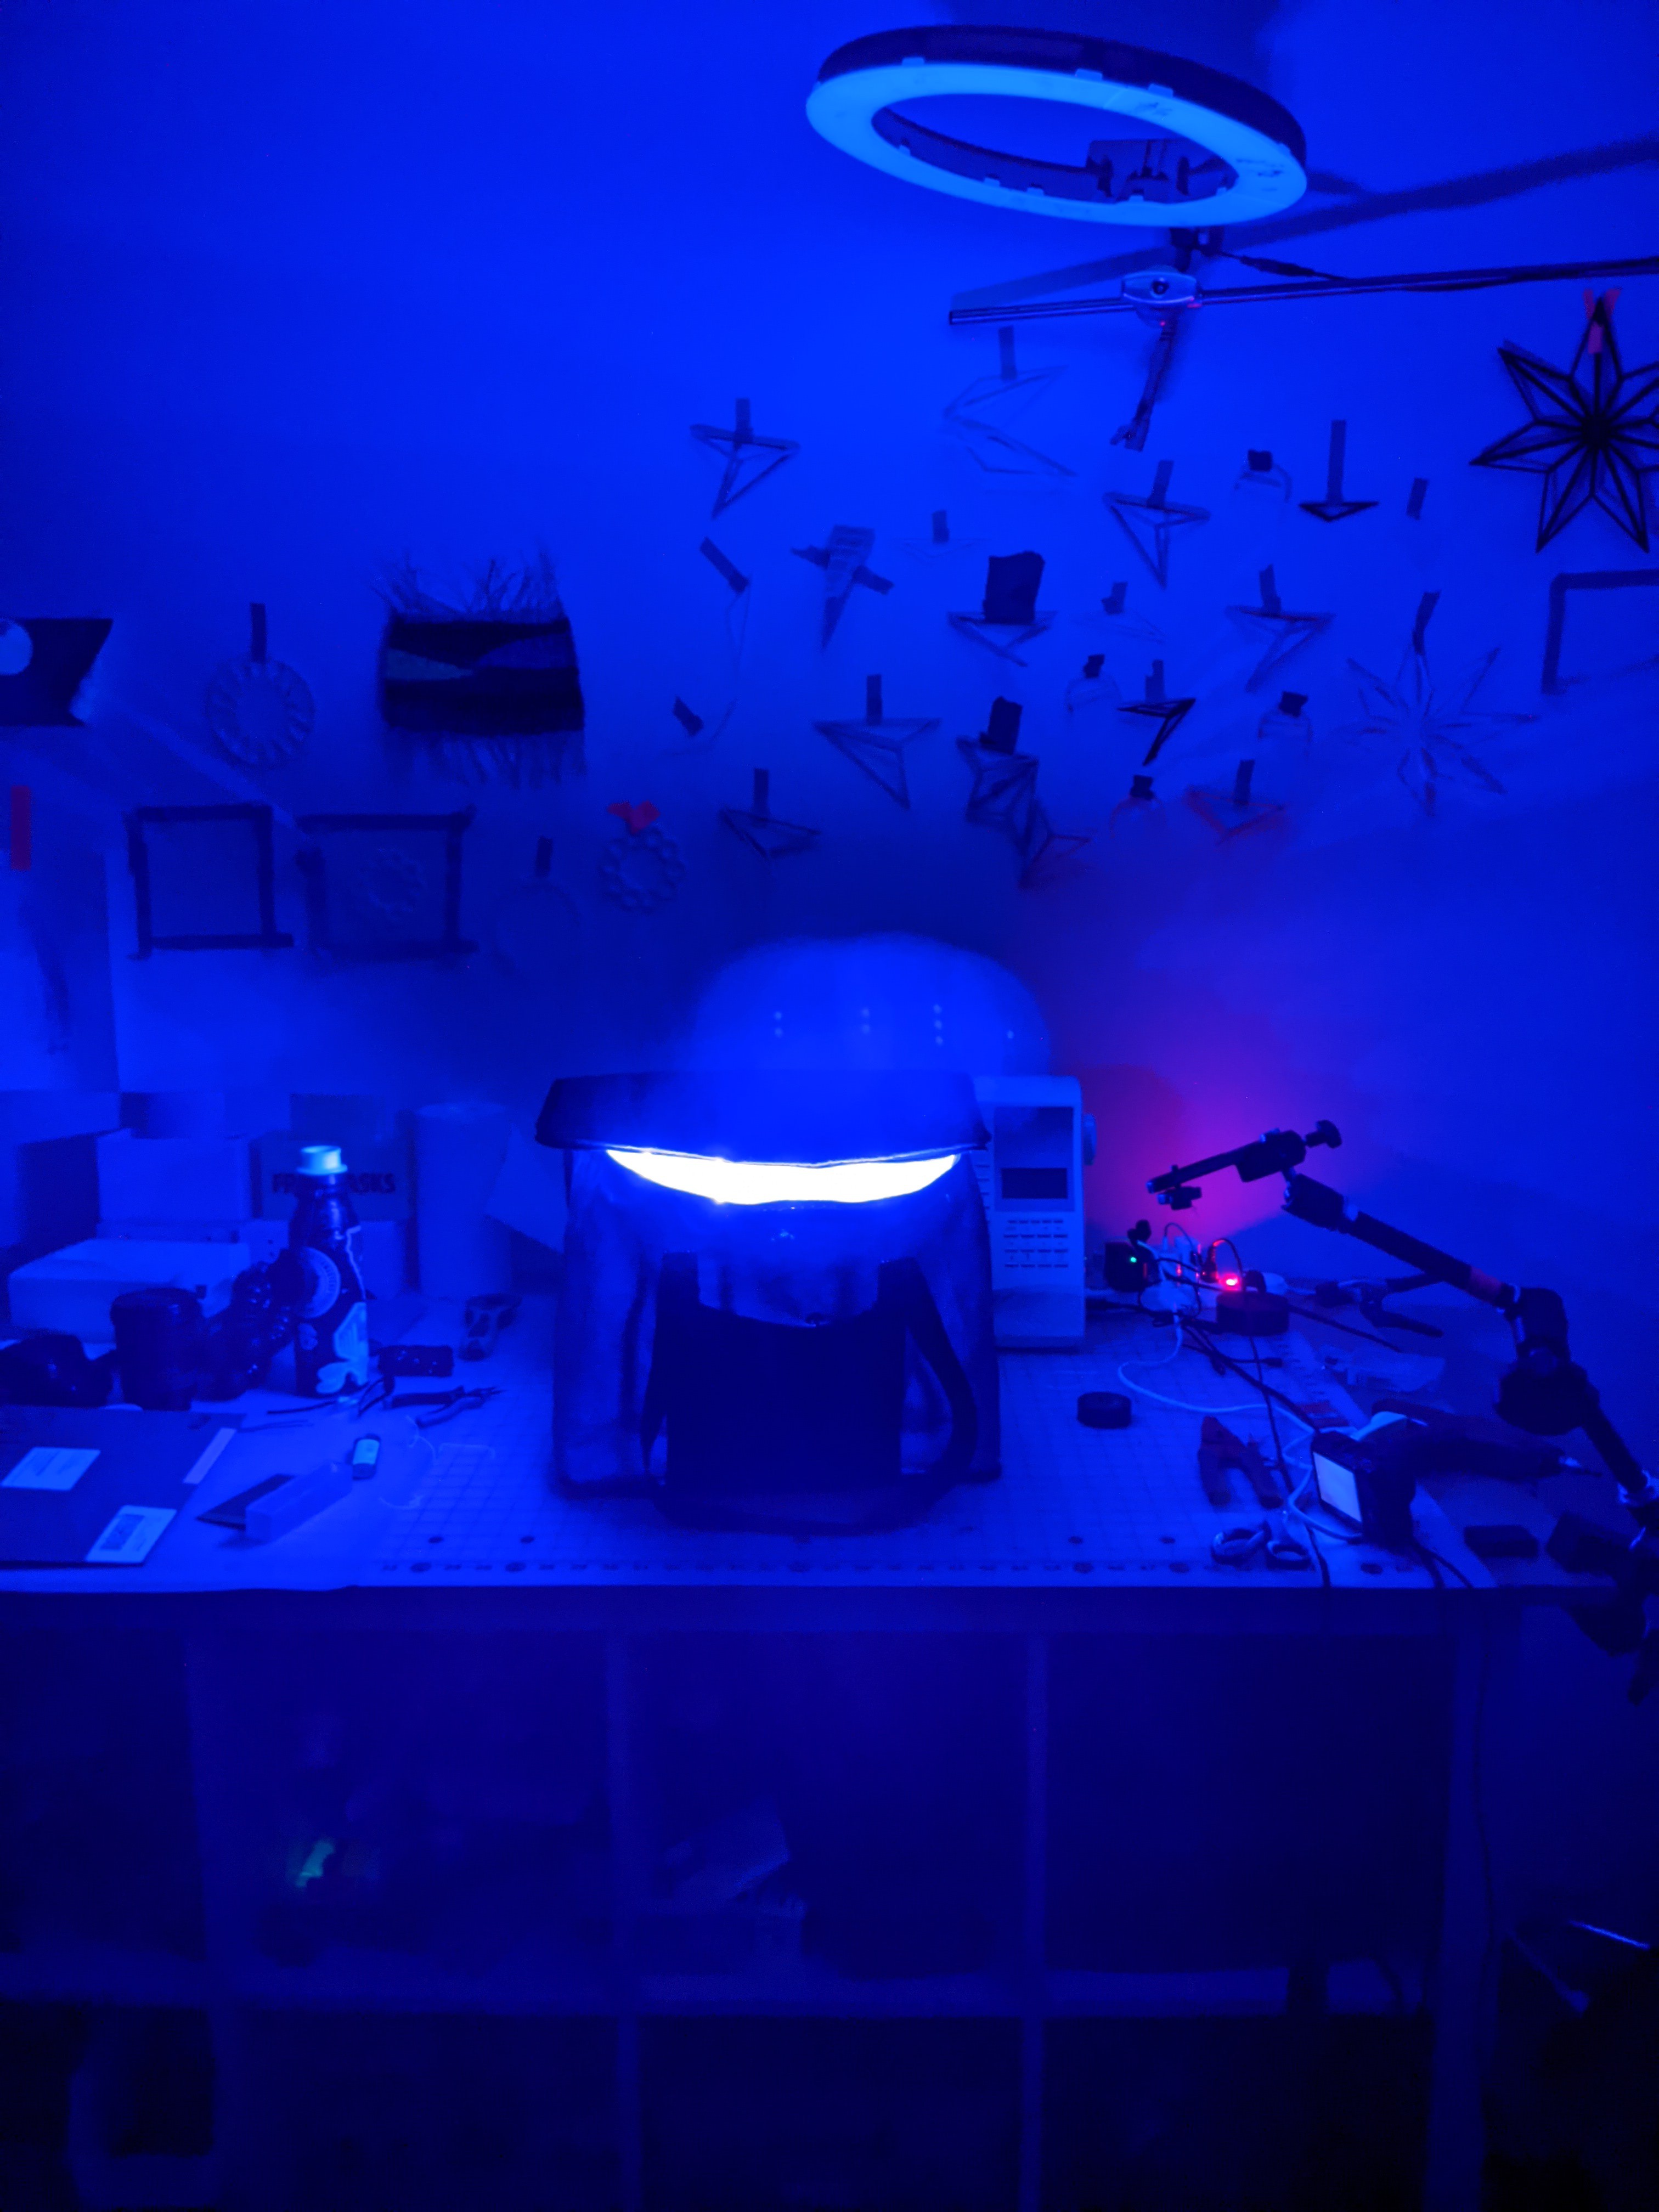
The above photo was taken with my phone's camera in 'night mode' I figured out that this is a great way to determine if there are light leaks in the curing oven, I promptly readjusted my setup, and capped the ends to protect myself from UV rays. Another safety tip before working with UV leds is to apply sunscreen on your hands, arms, neck and face - even for brief exposures, it is like going into a sun-tanning booth and it's important to protect your skin. (I am particularly sensitive to UV and working with this PPE, I didn't experience any problems or see any symptoms of UV exposure on my skin.)
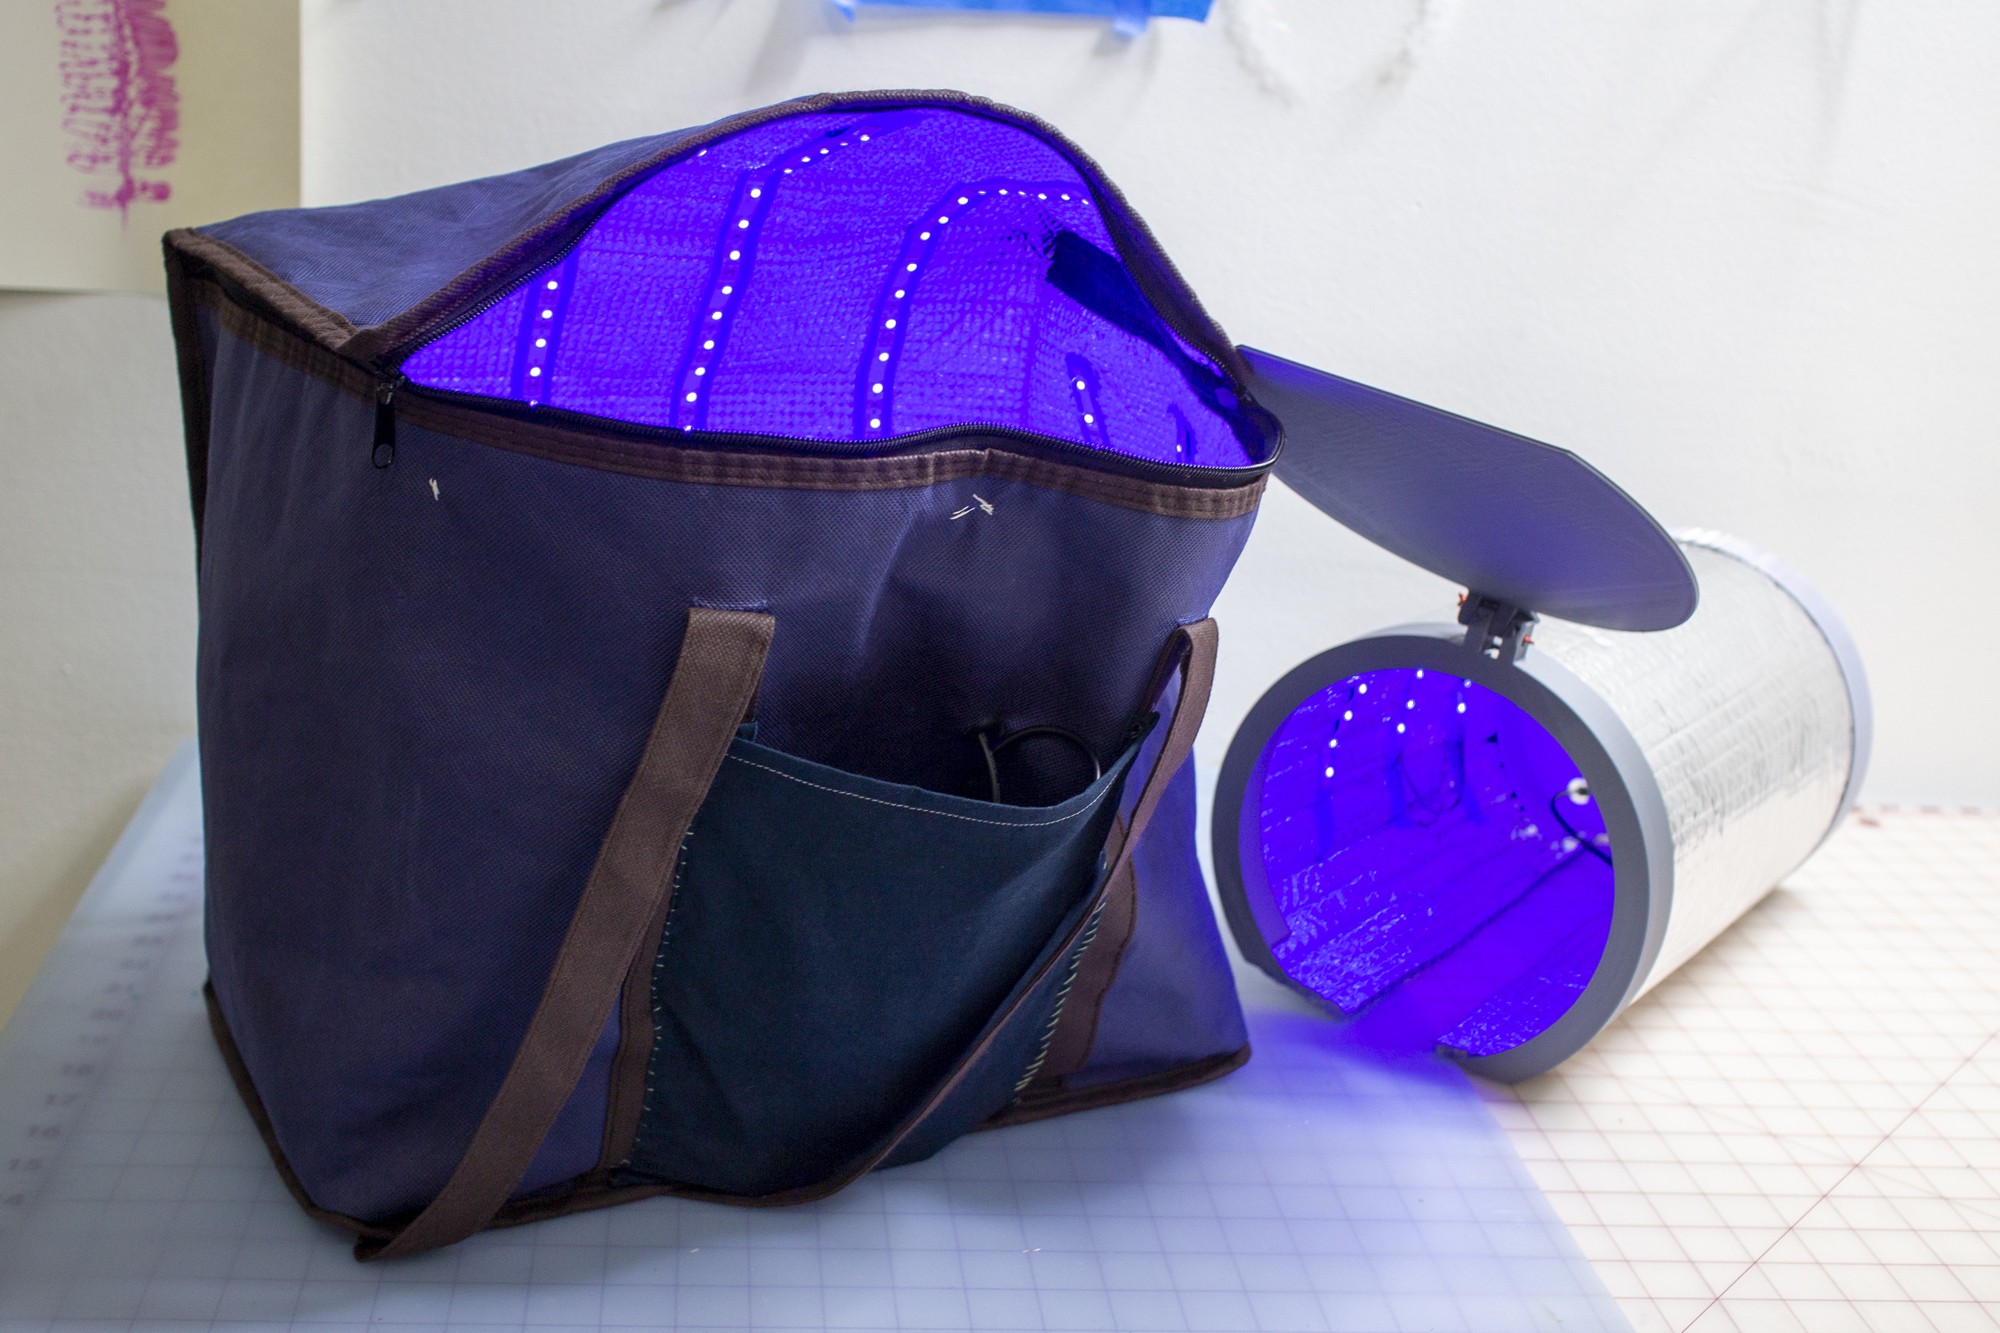
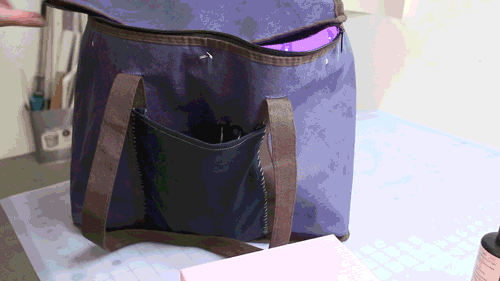
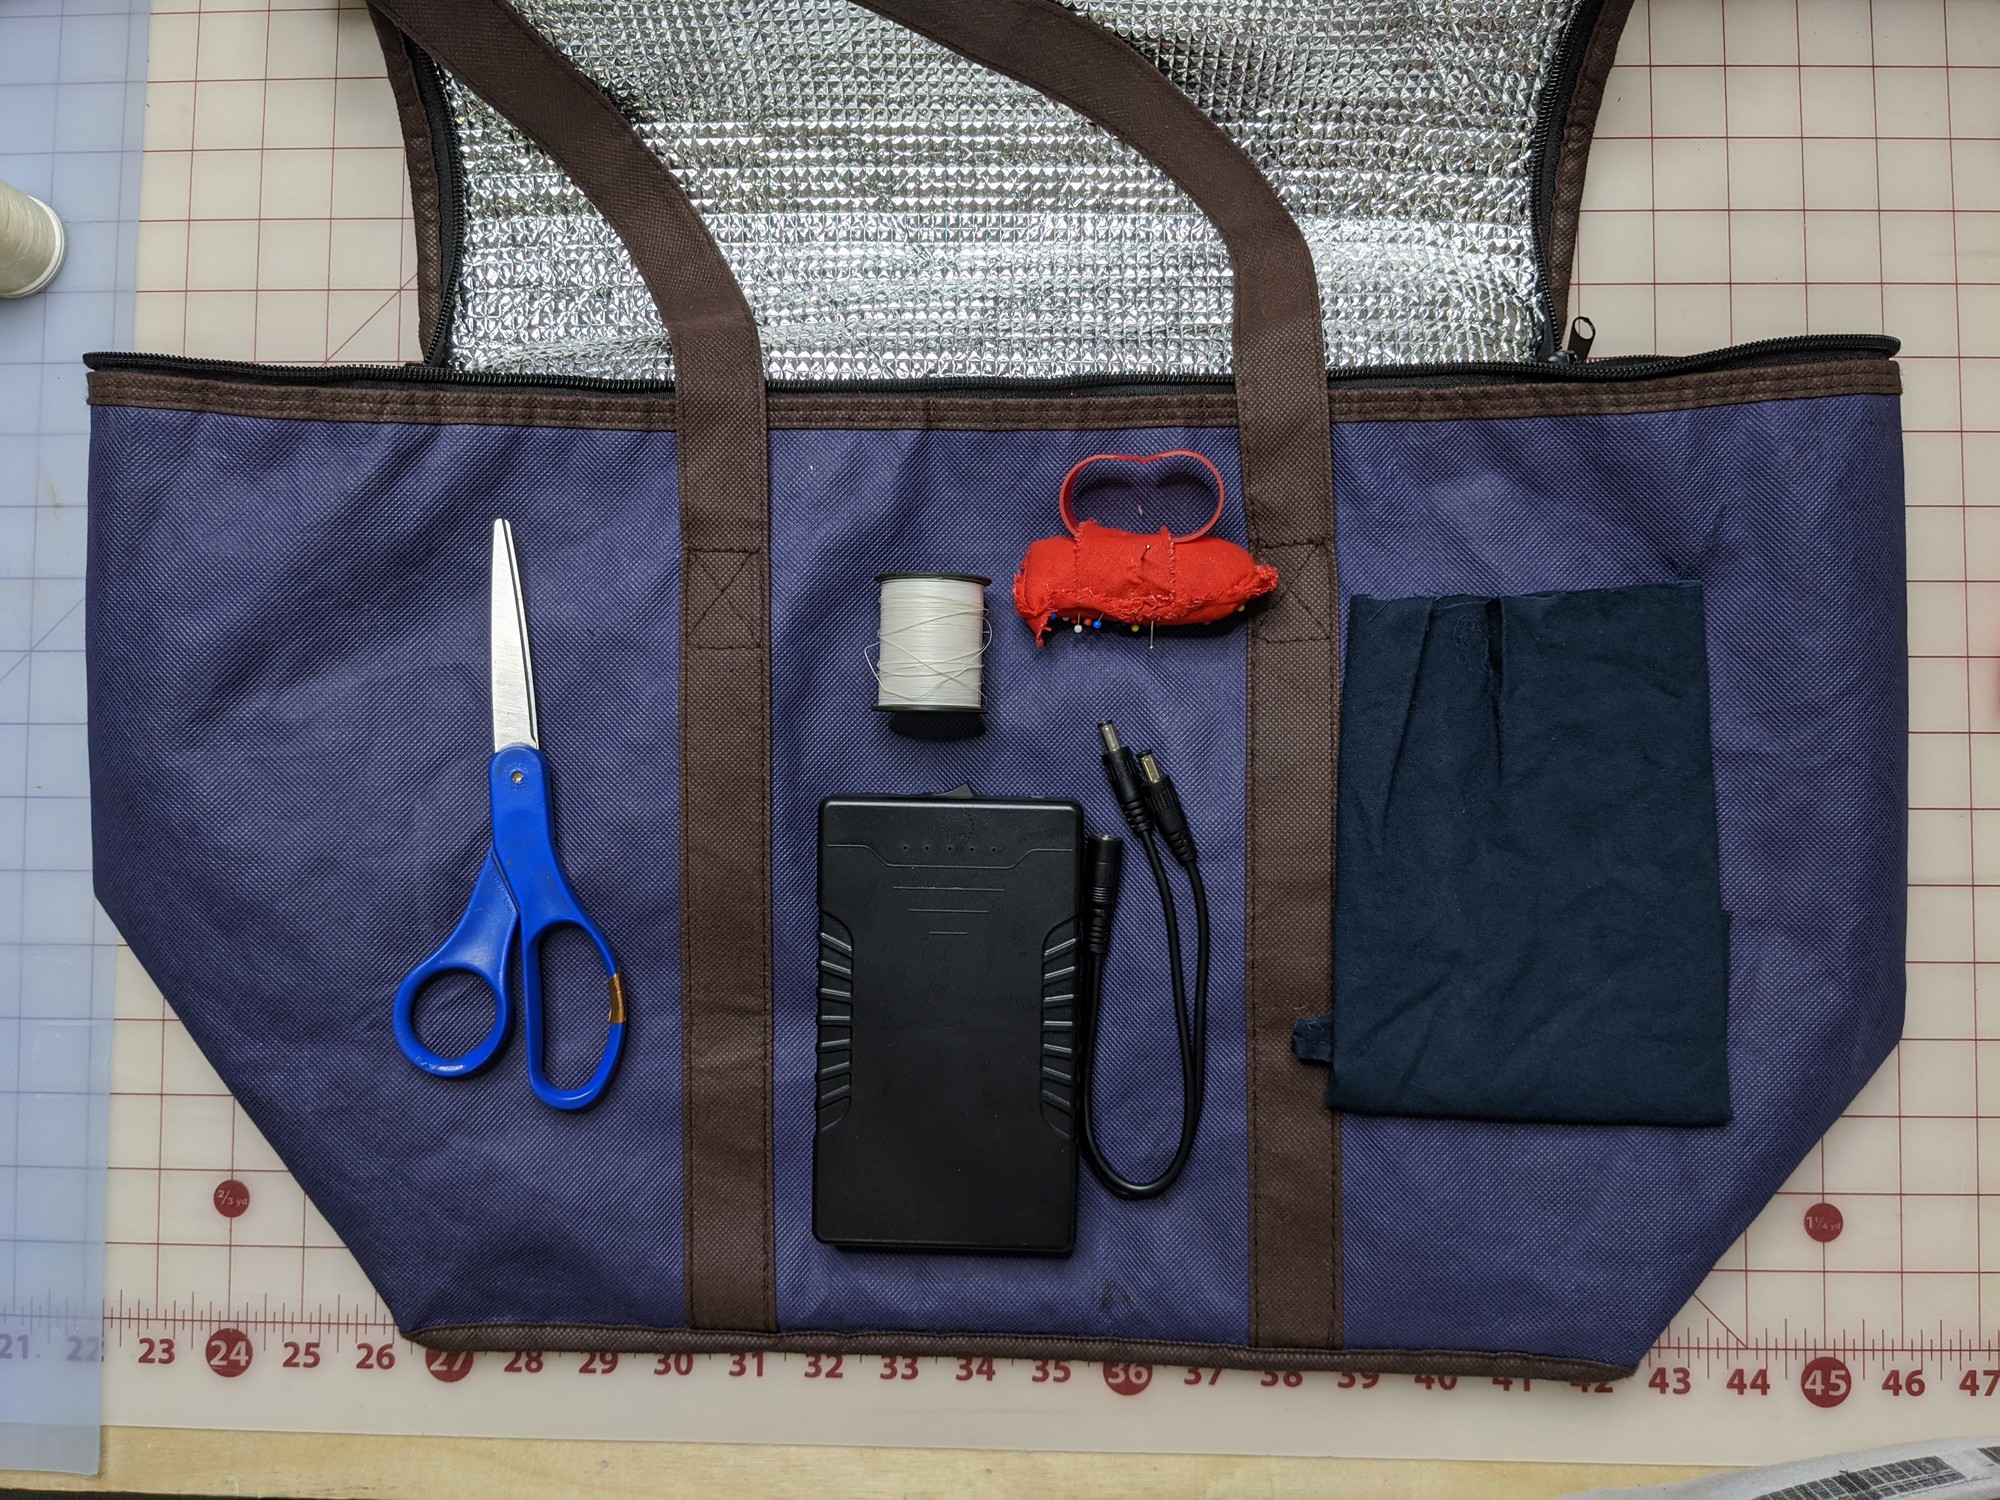
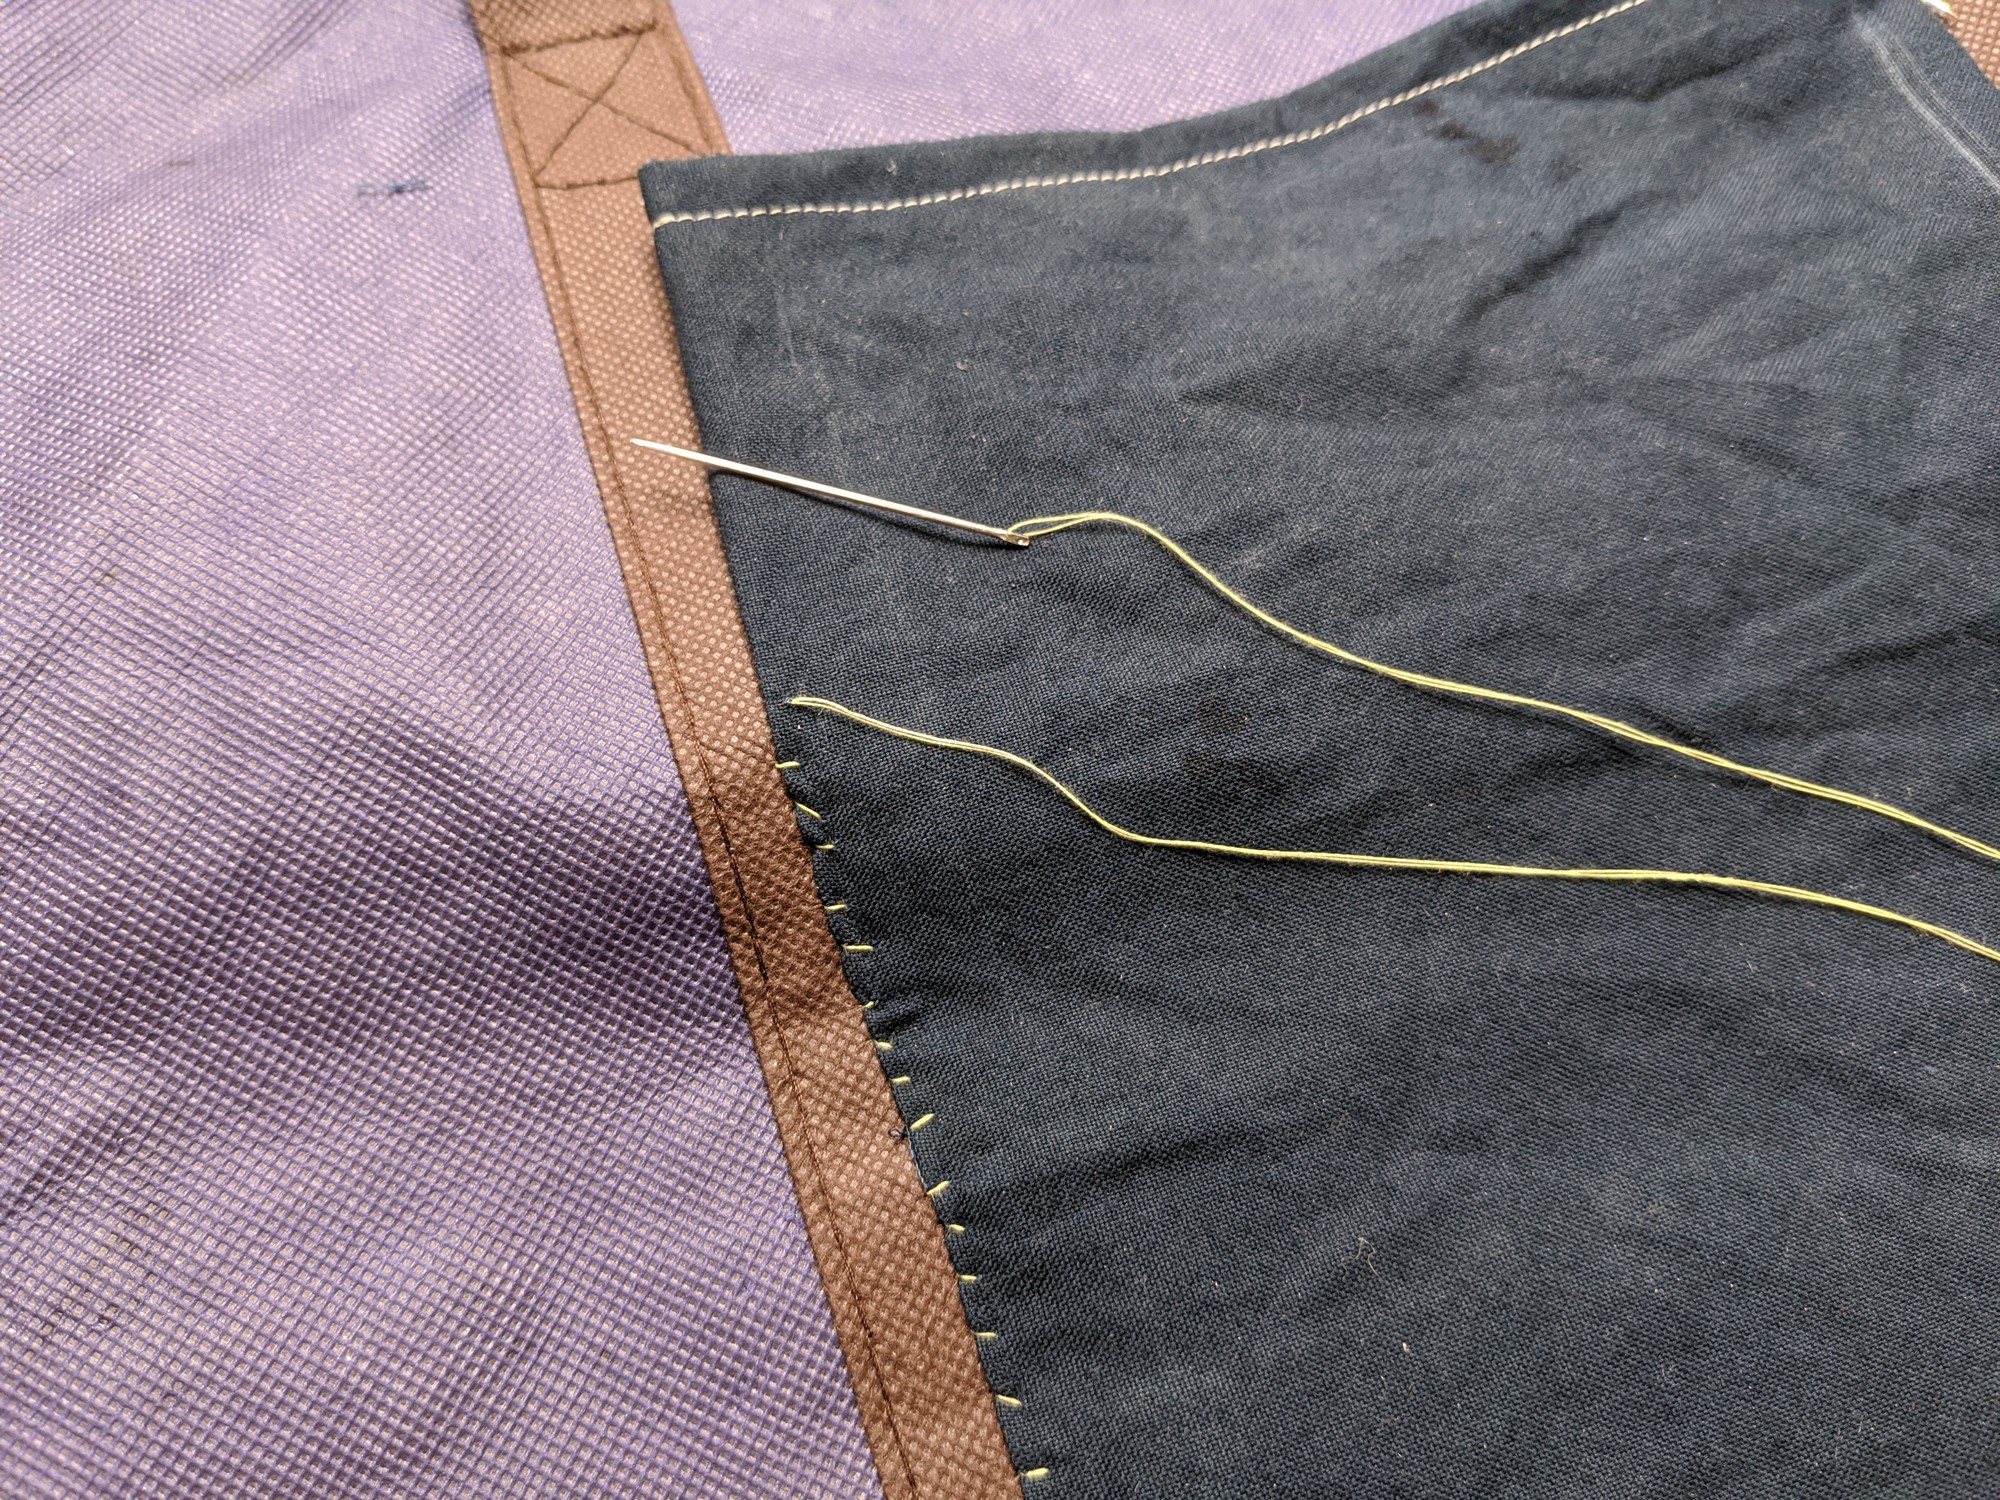
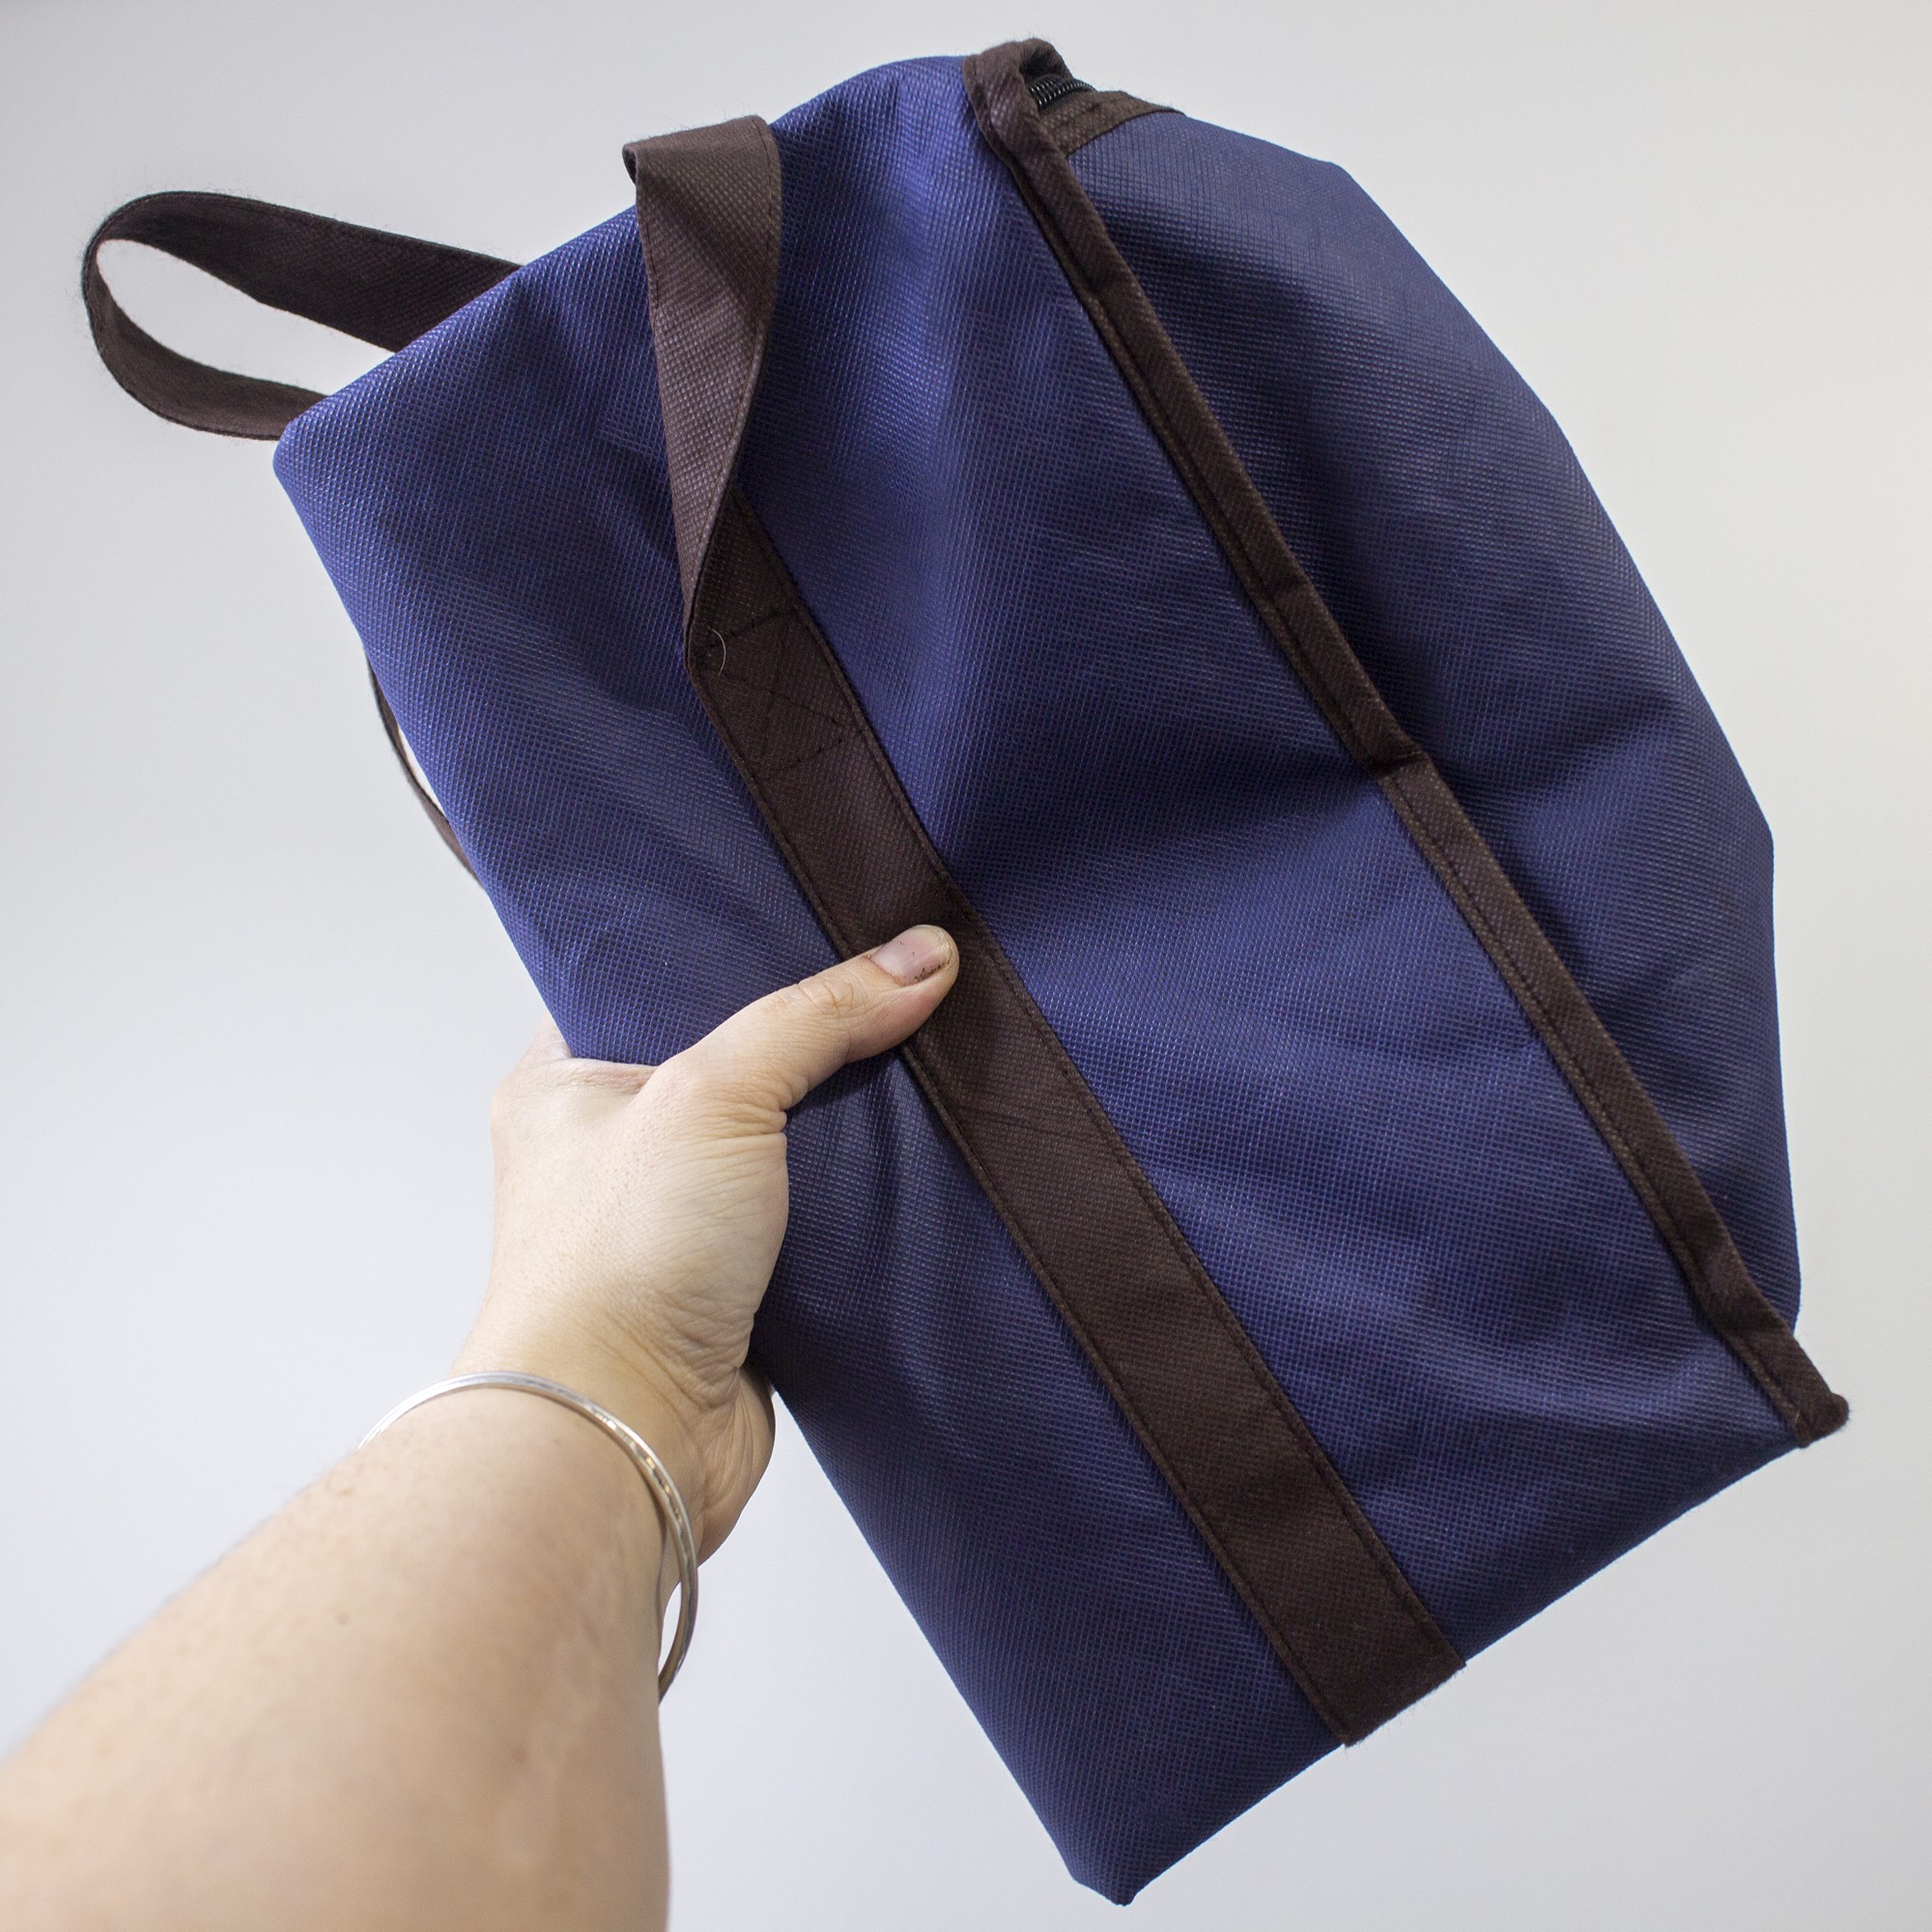
Later iterations of this project detailed in log posts below considered better concealment strategies - this method uses an upcycled grocery bag, and this method uses a 3D printed frame.
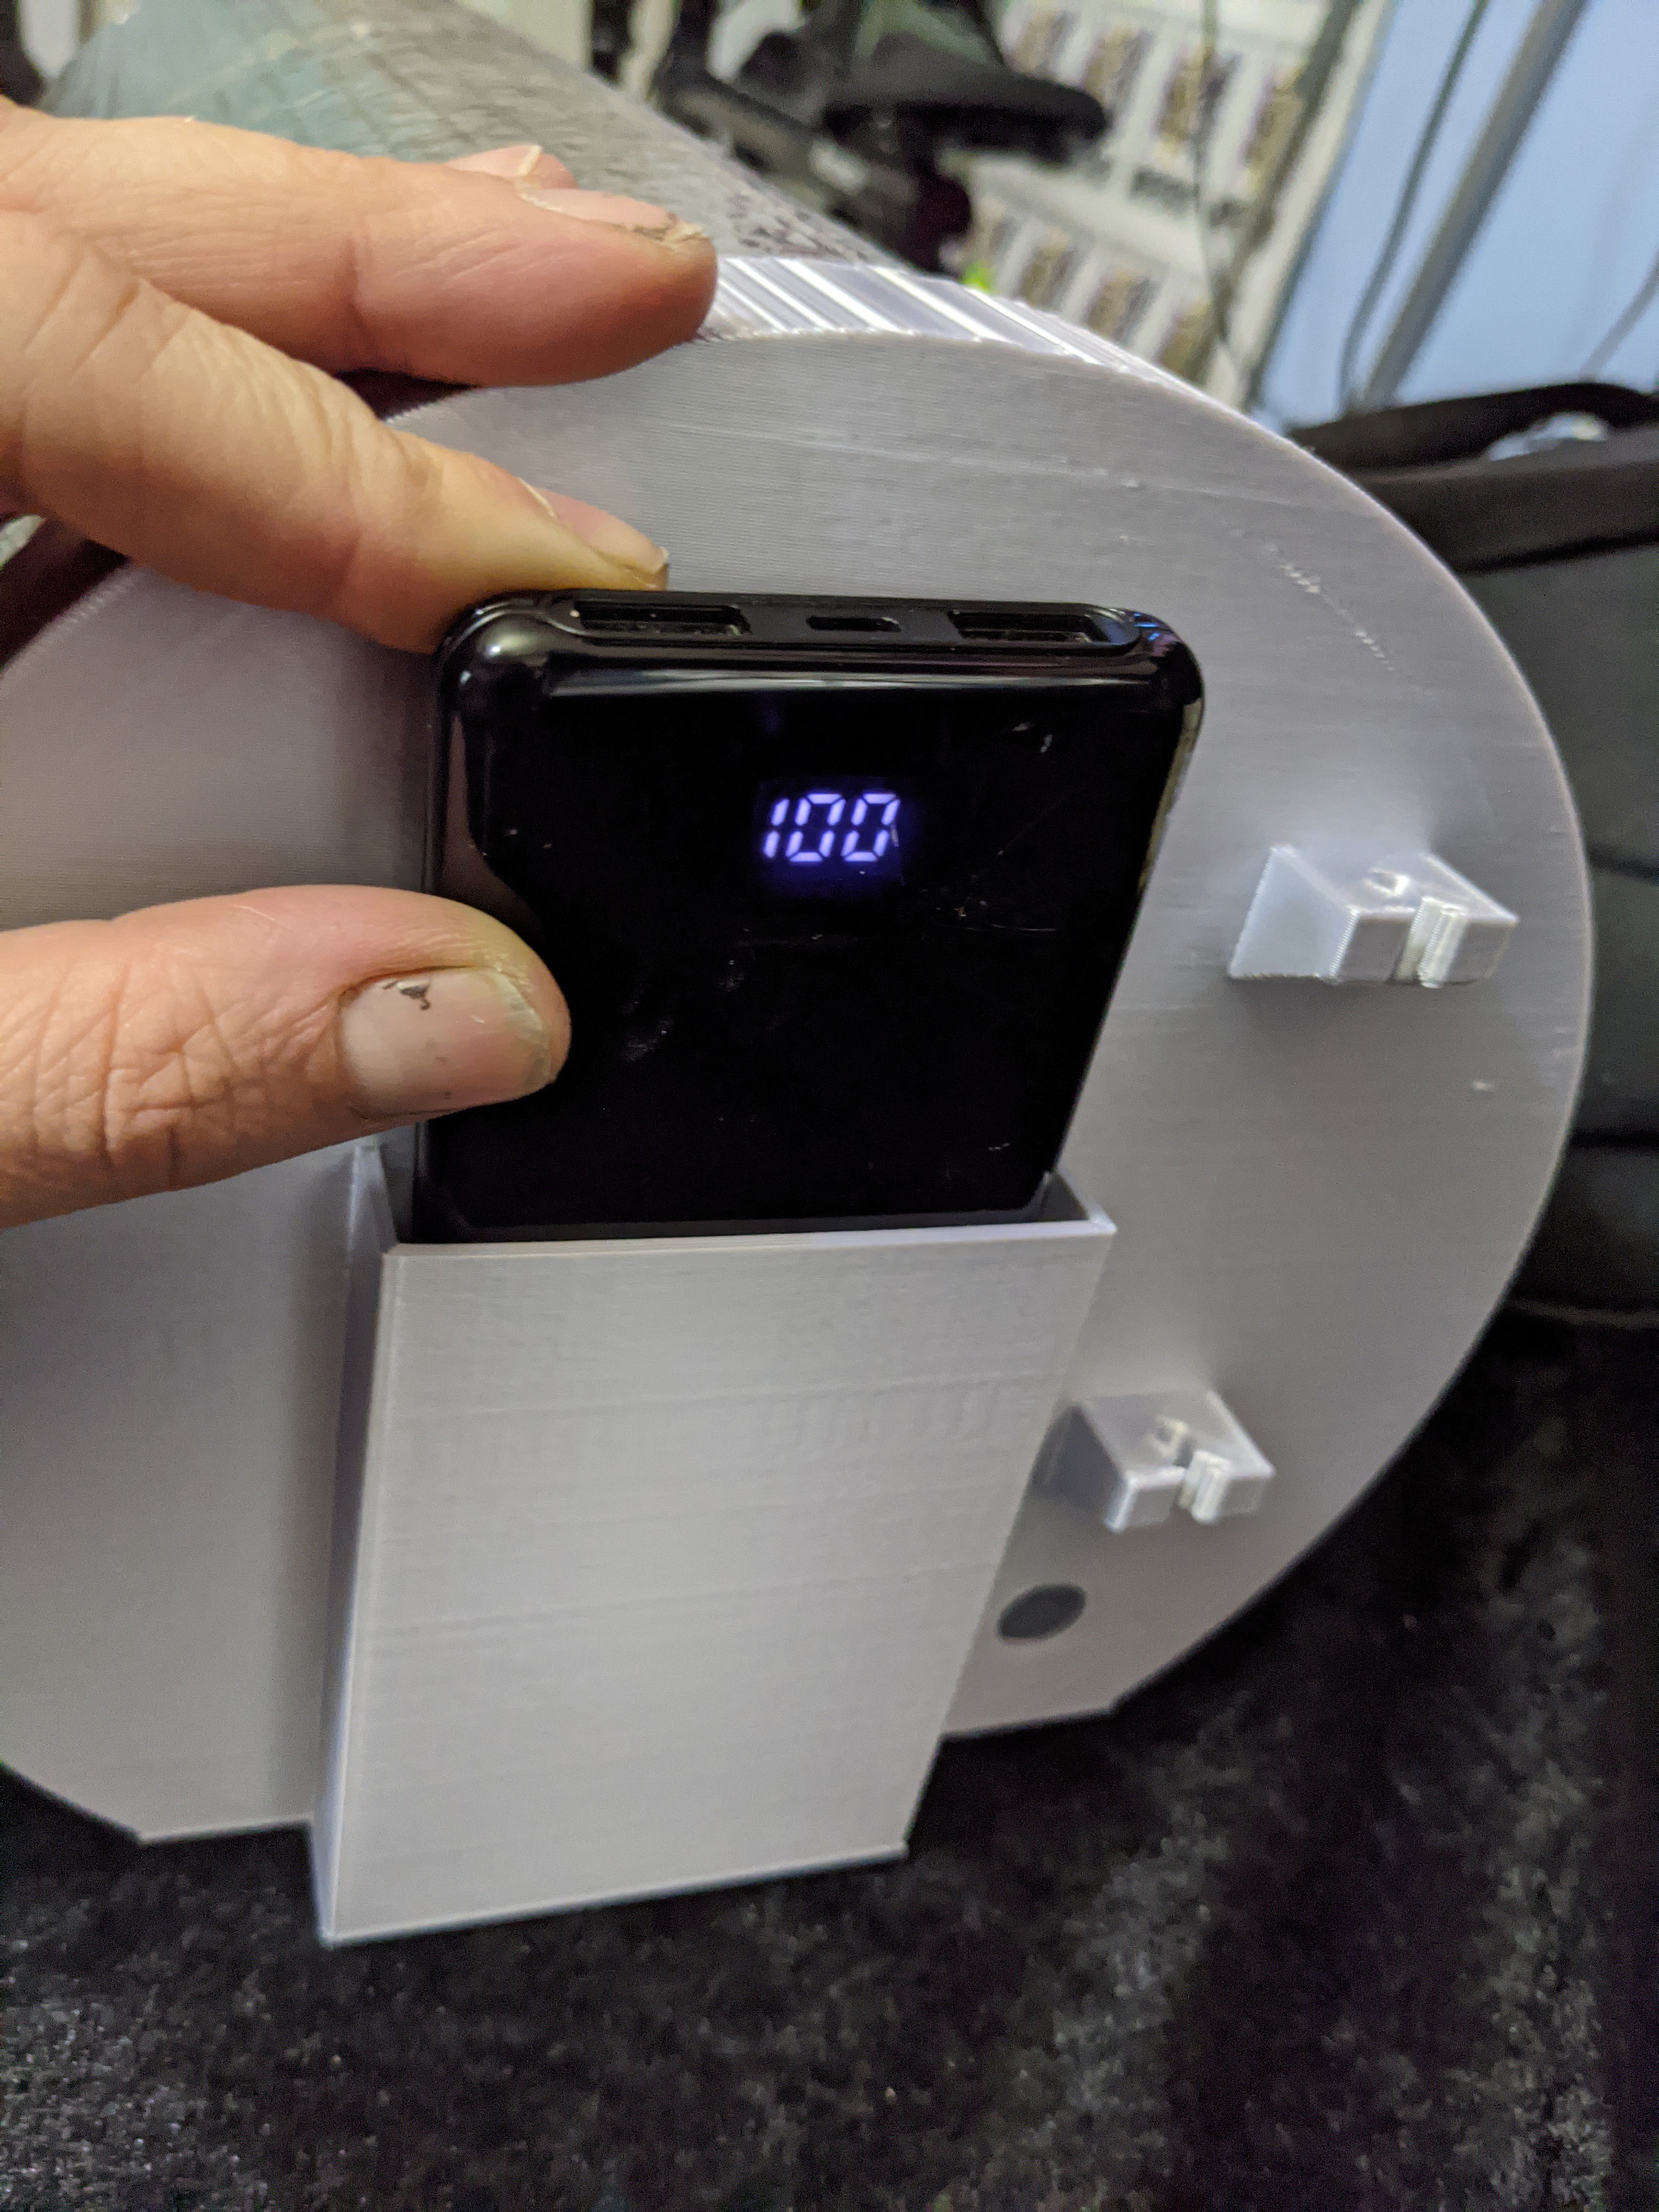
This project has limitless potential as far as component versatility, scaling, and material consideration - I detail more of this research and analysis in my conclusion log post for this project, but I really believe the best part of this approach to DIY resin curing ovens is that it's hands free and collapsible - meaning it can be stowed away easily or deployed quickly in remote areas.
Thanks again for looking at this project! I'm excited to keep making more resin projects with this lamp!
___
If you want to see what else I'm up to in my workshop, follow along with me on Instagram, Twitter, and YouTube.
Thanks for taking the time to read about this project.


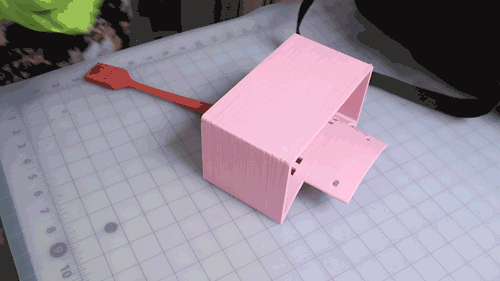


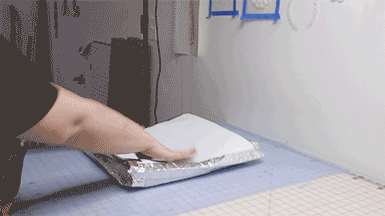
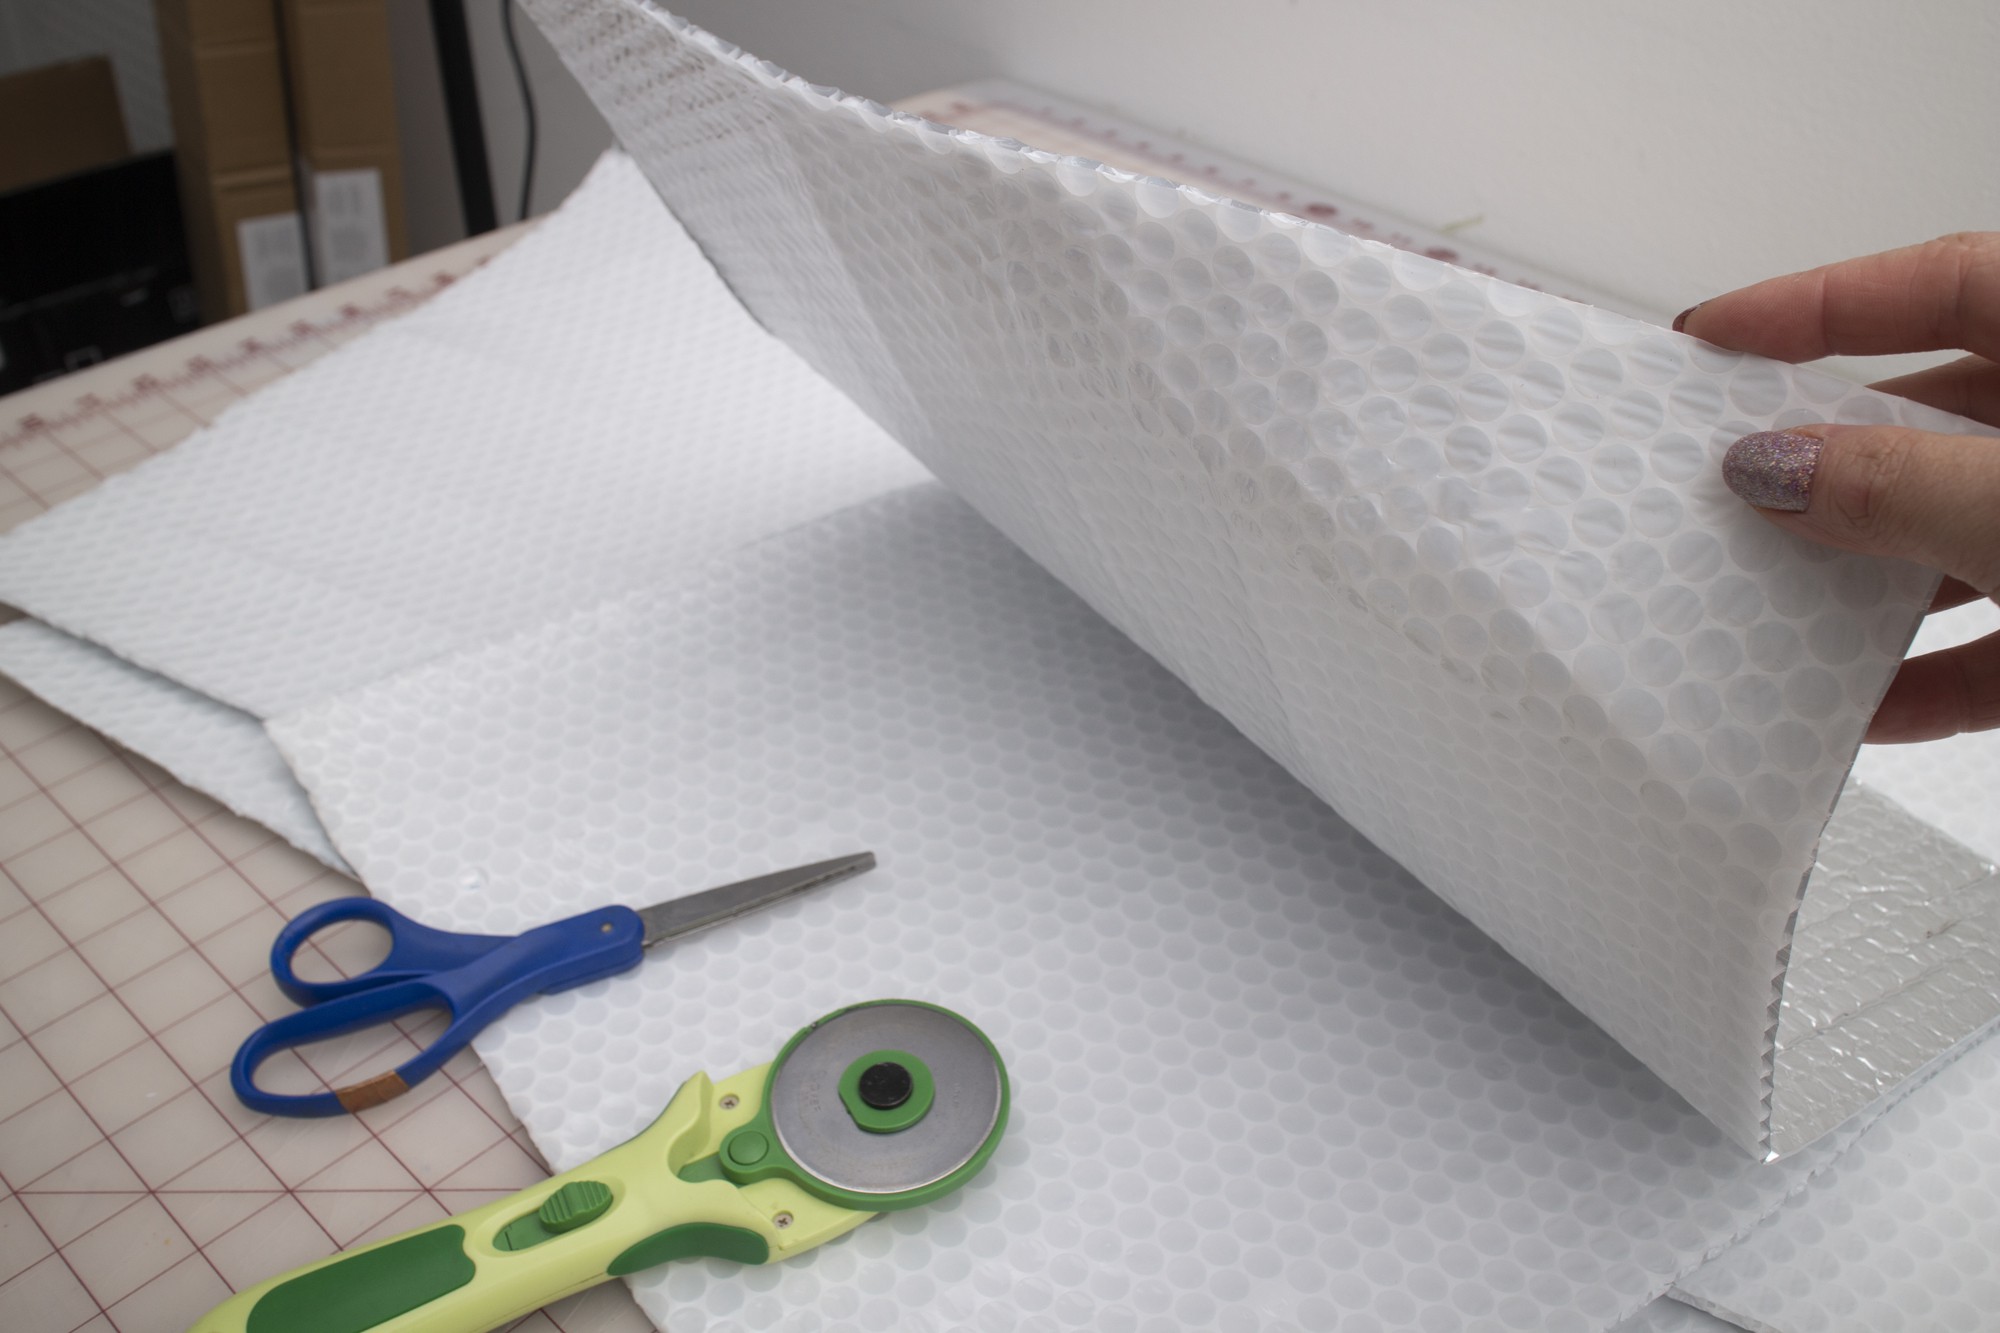
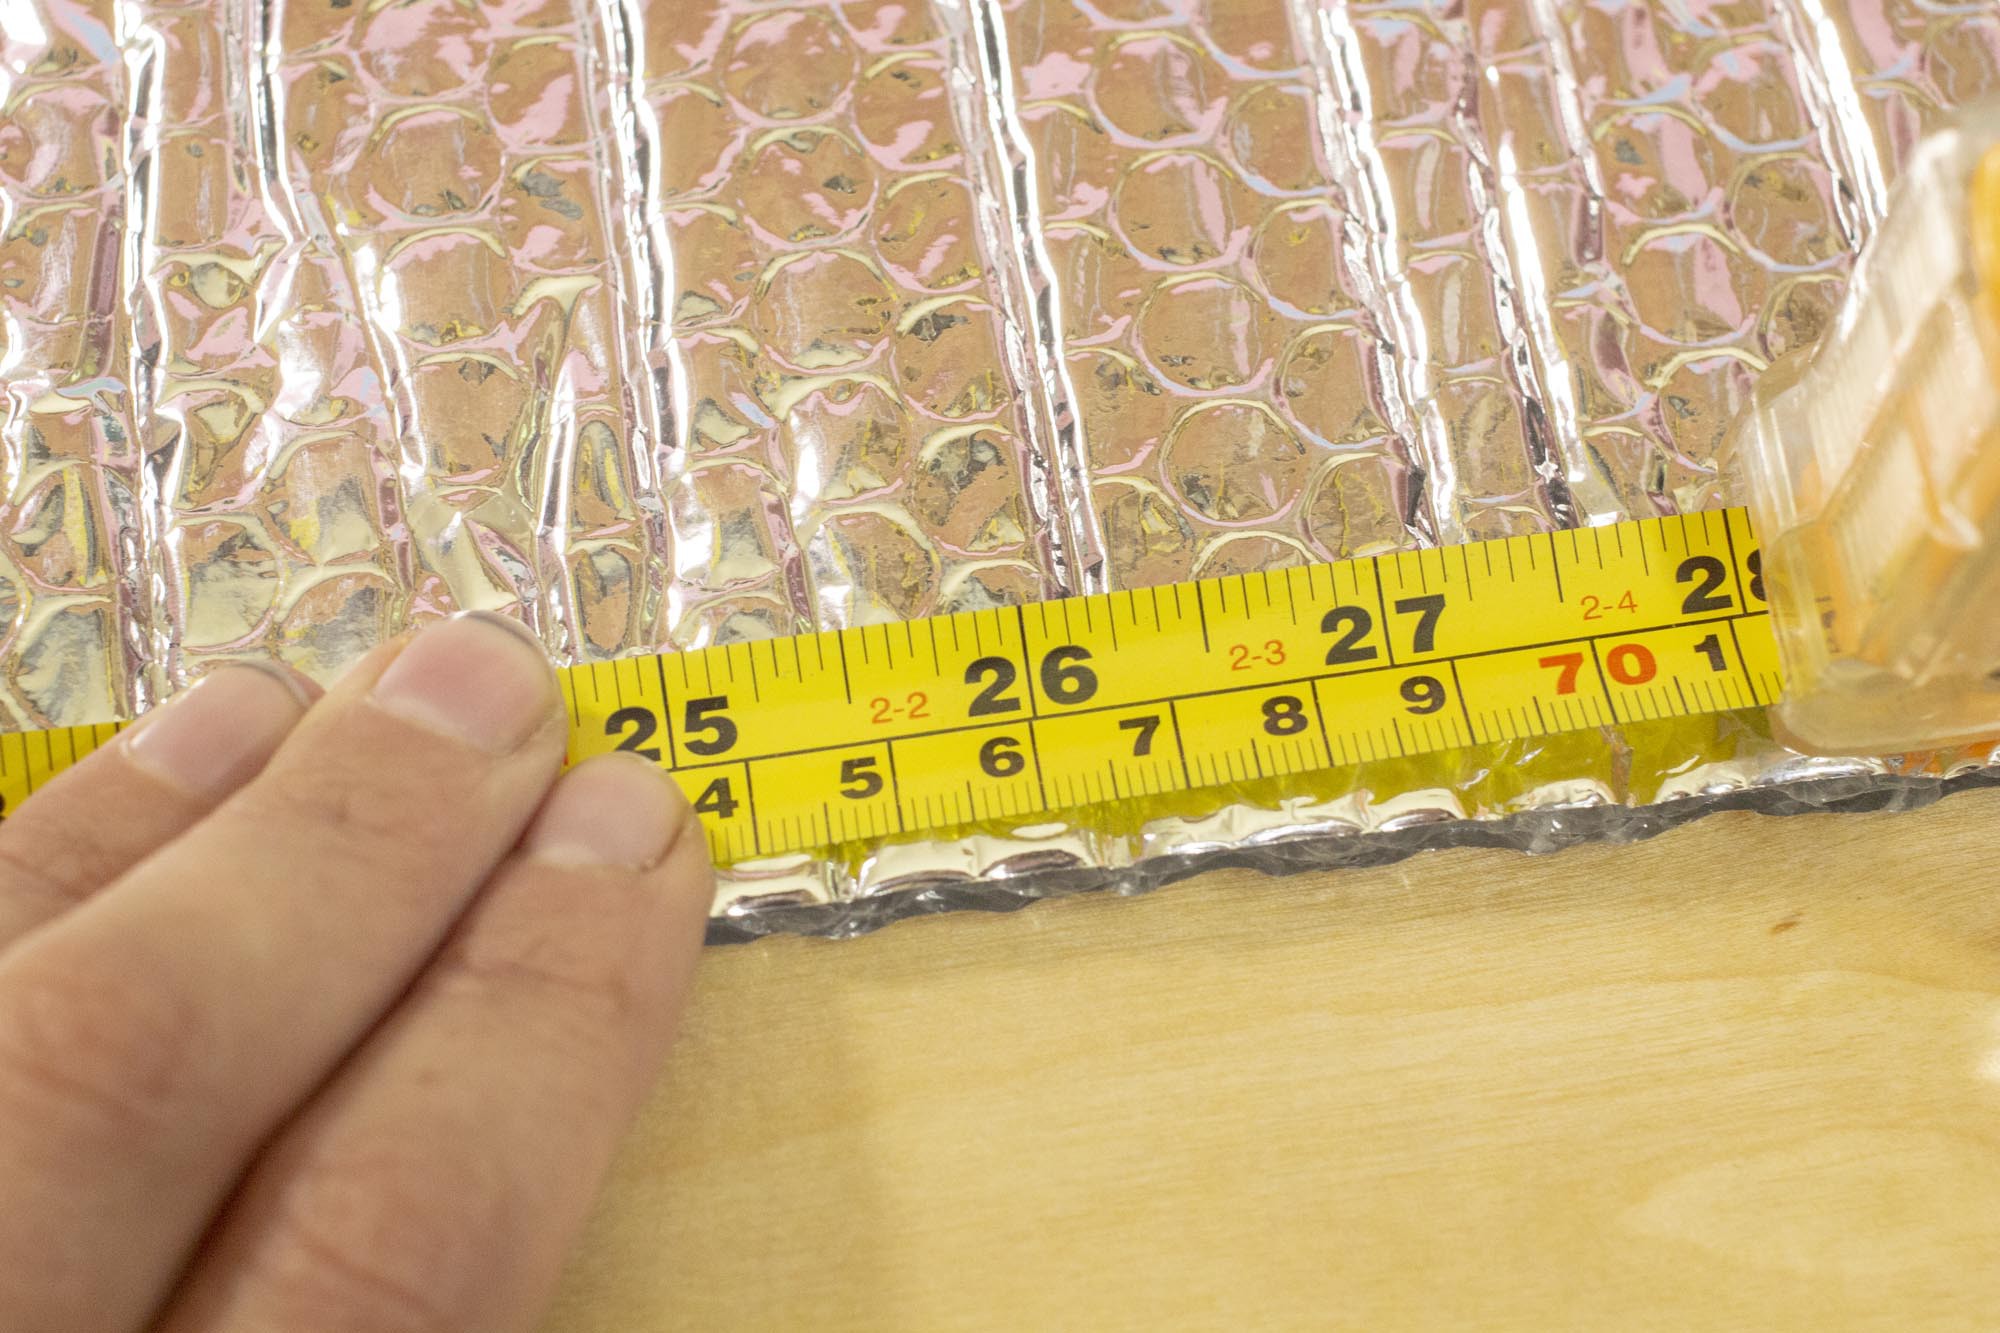
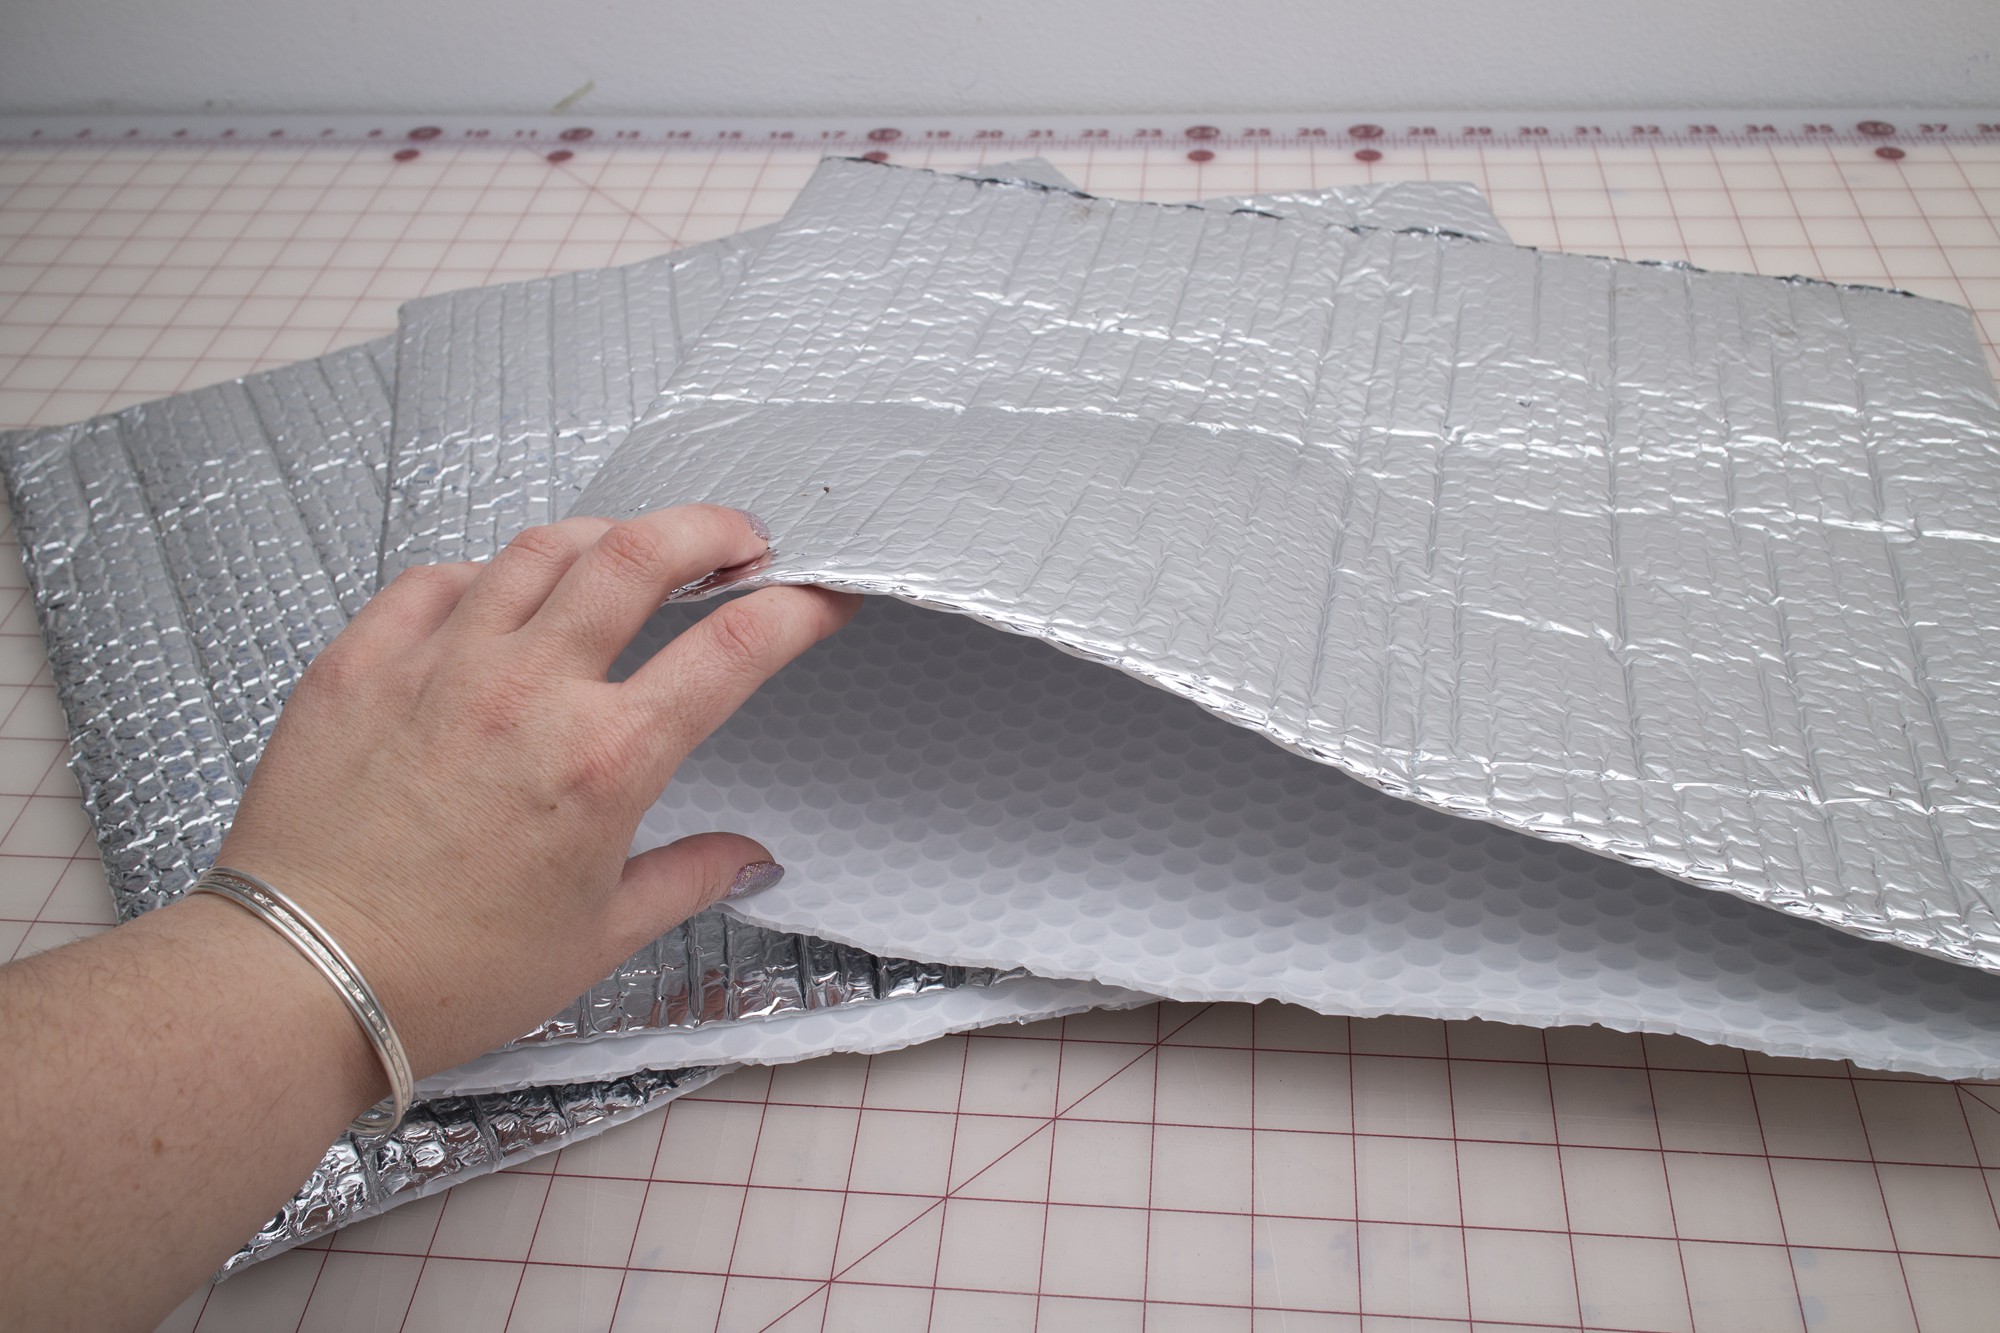 I began by cutting off the sides and turning the bubble foil into 16" squares
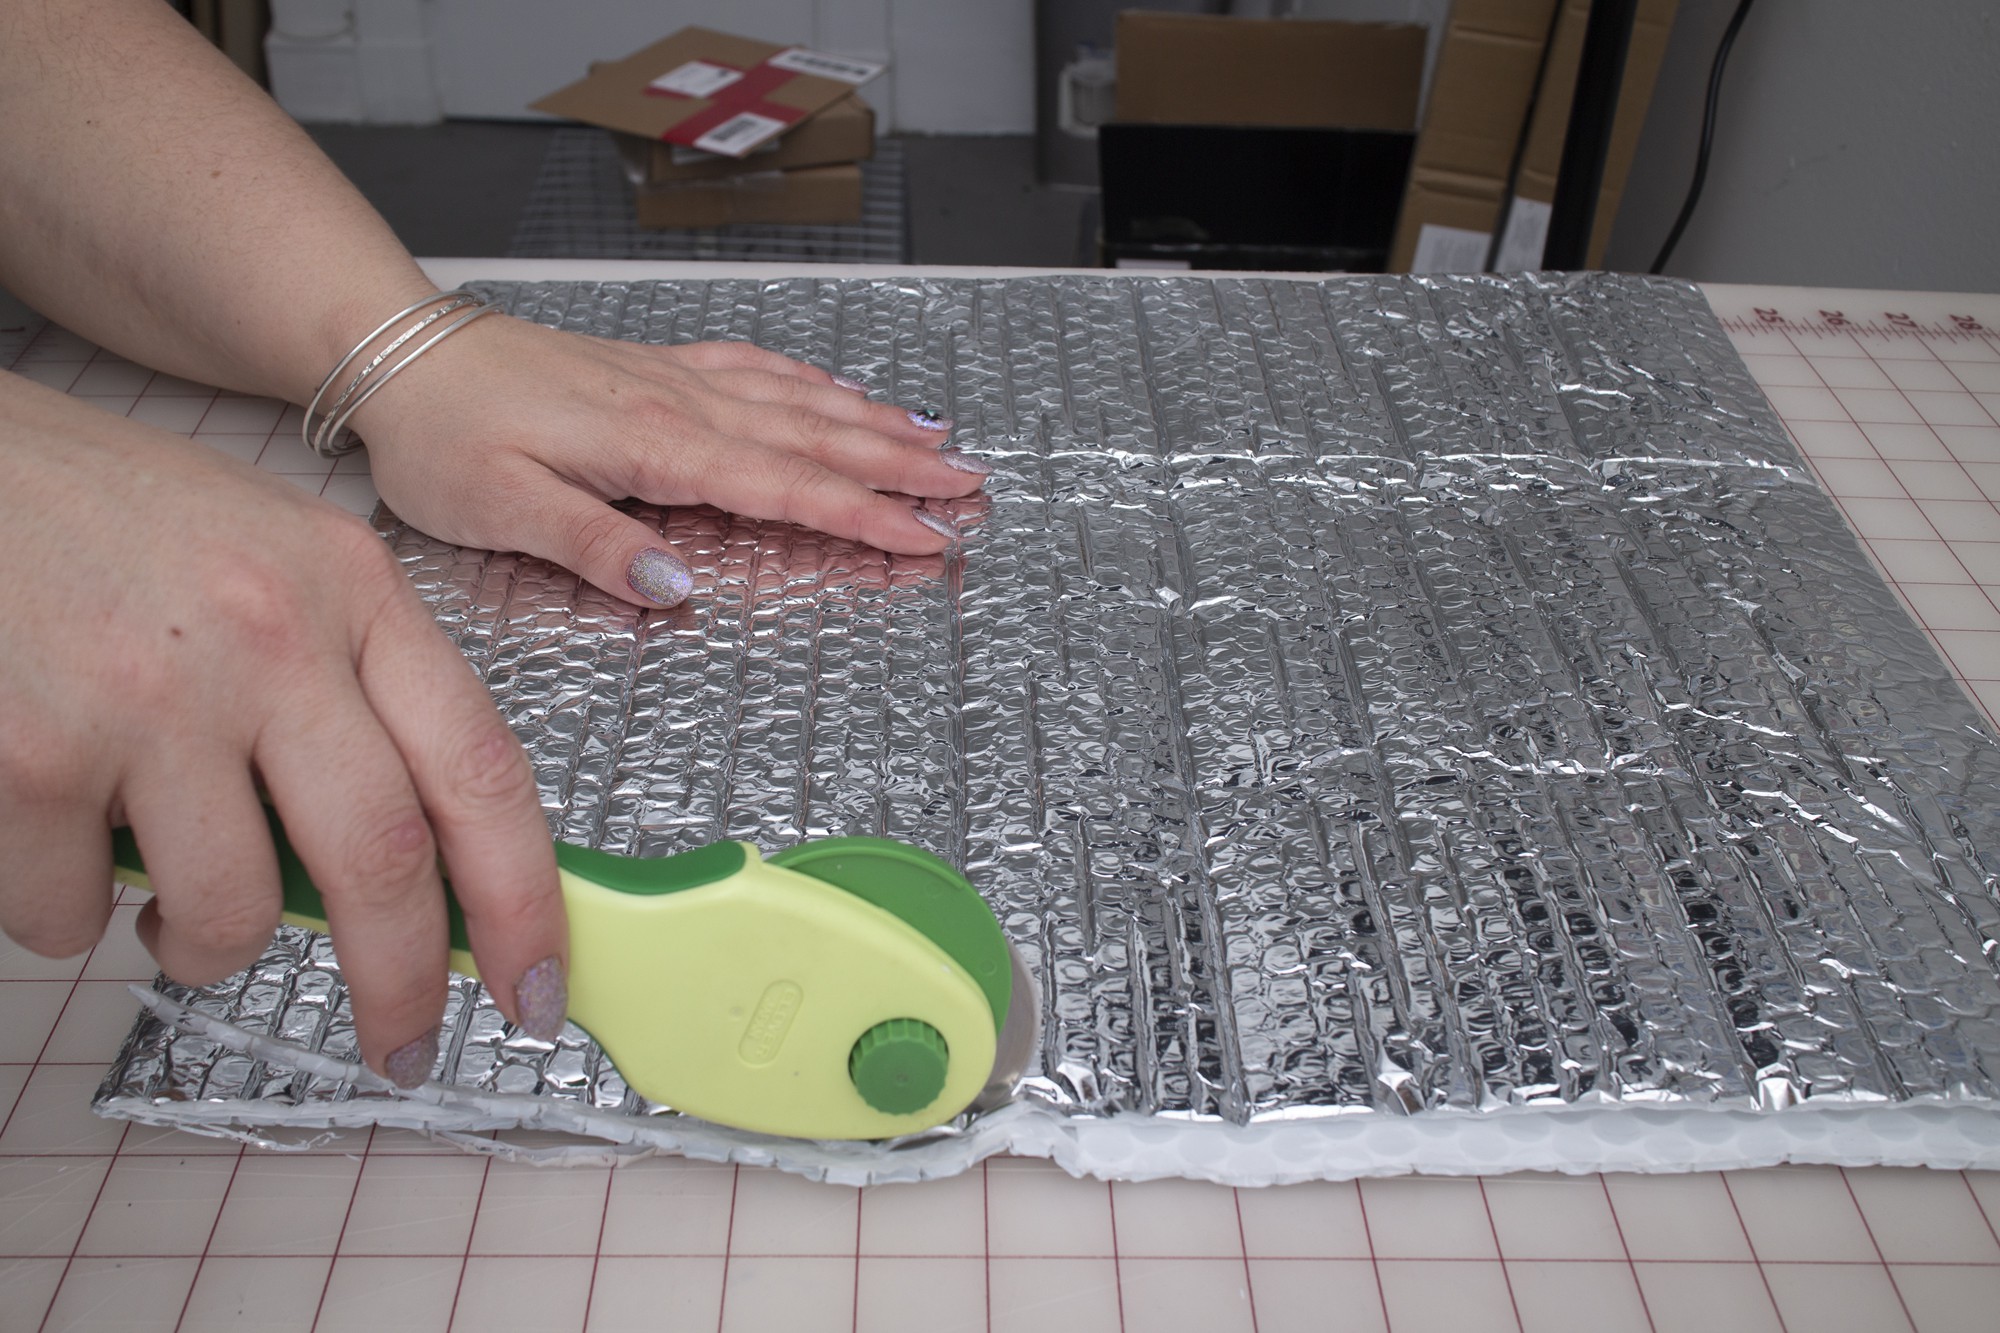
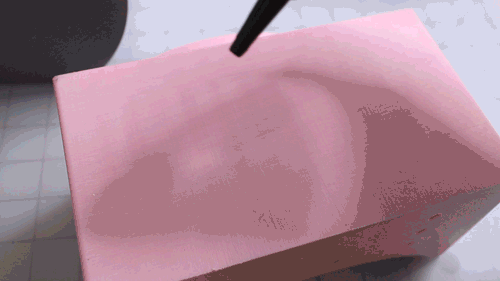
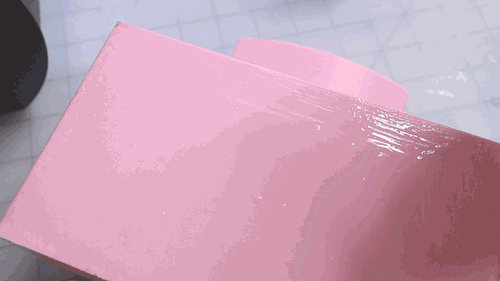
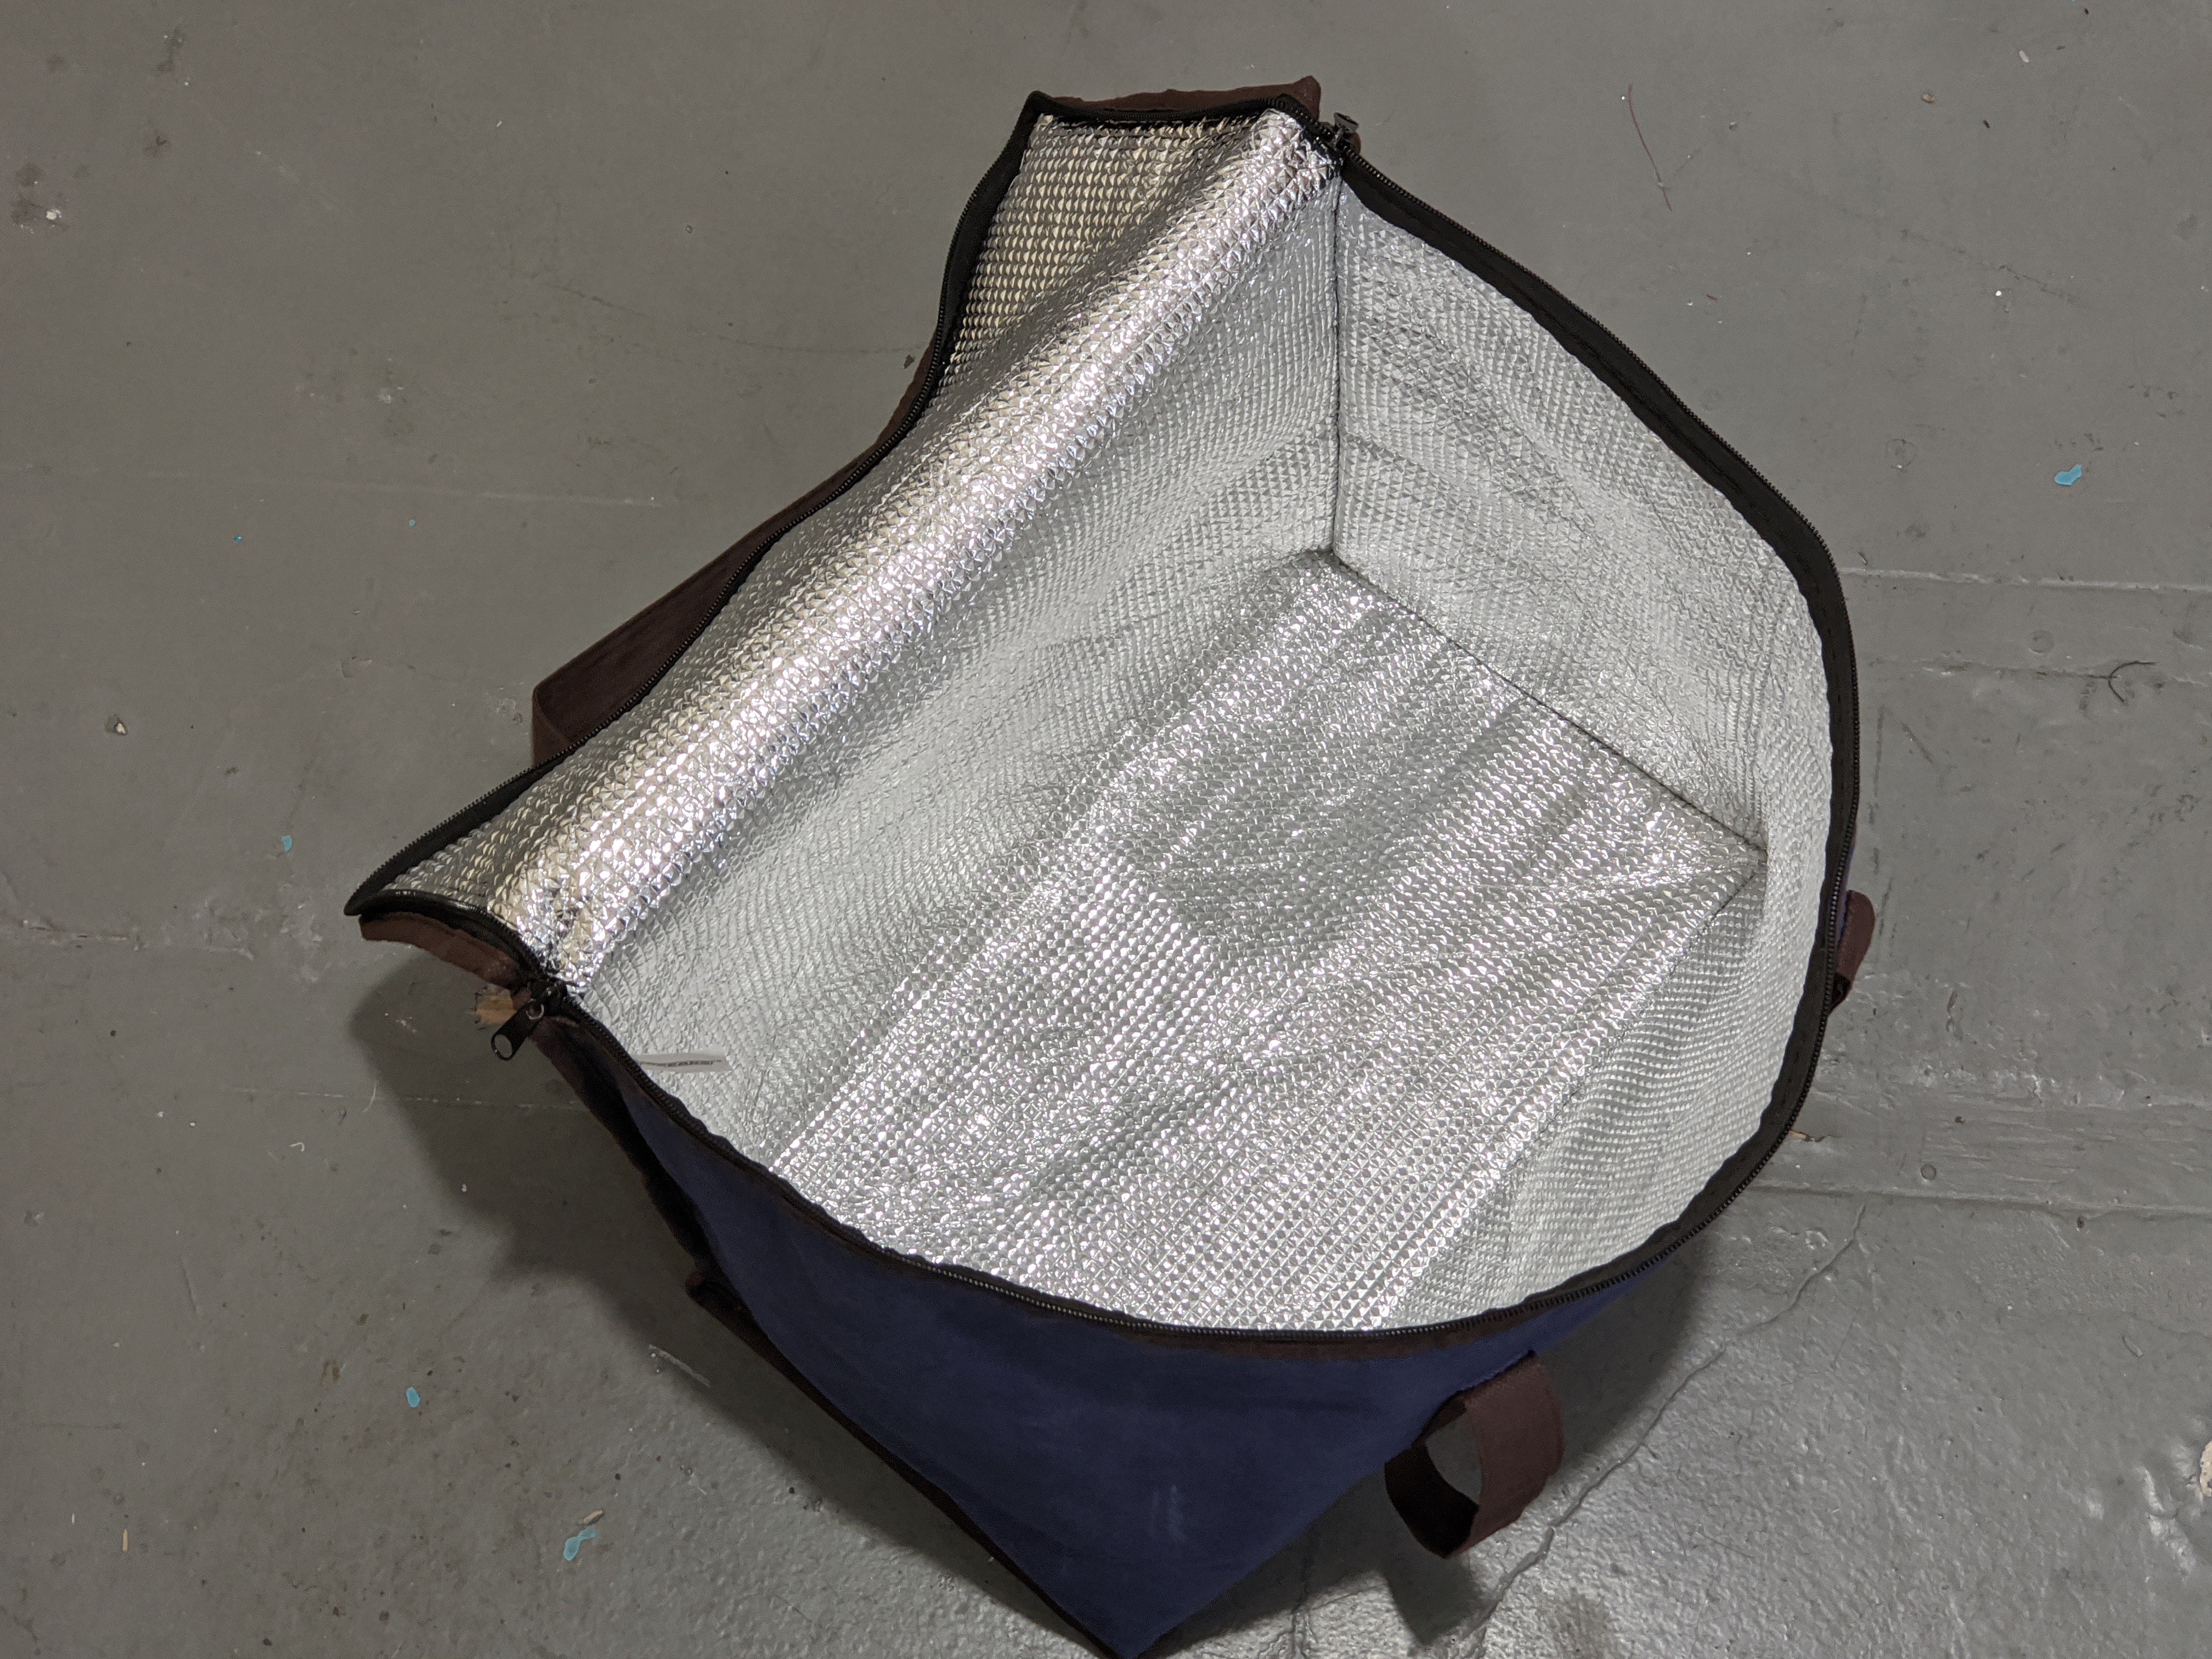
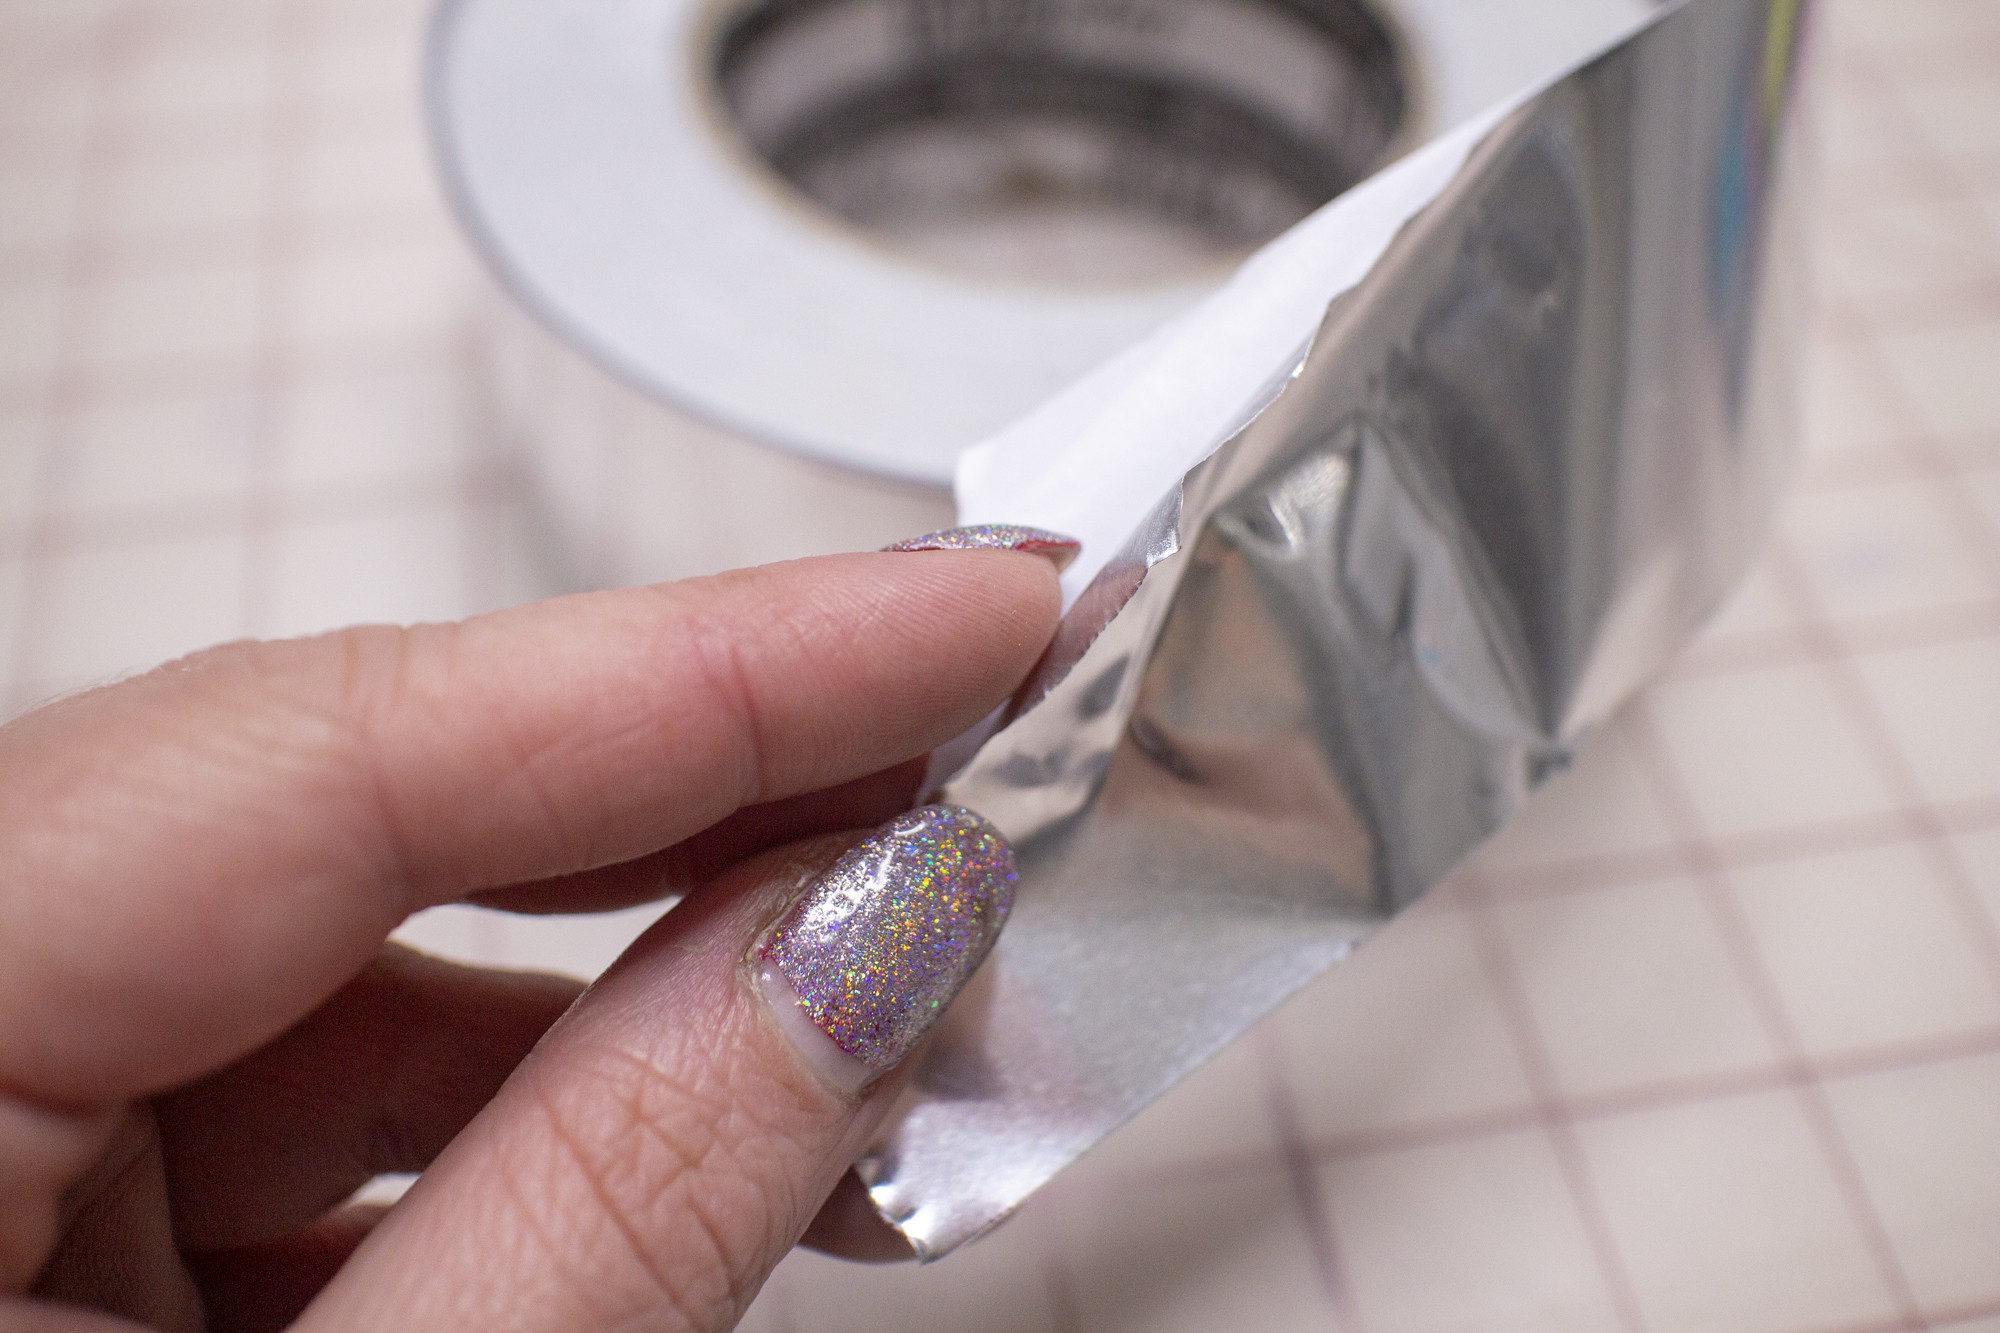 Here's the box shape flat on the studio floor, it's hard to see but each edge is bound with stainless steel foil tape.
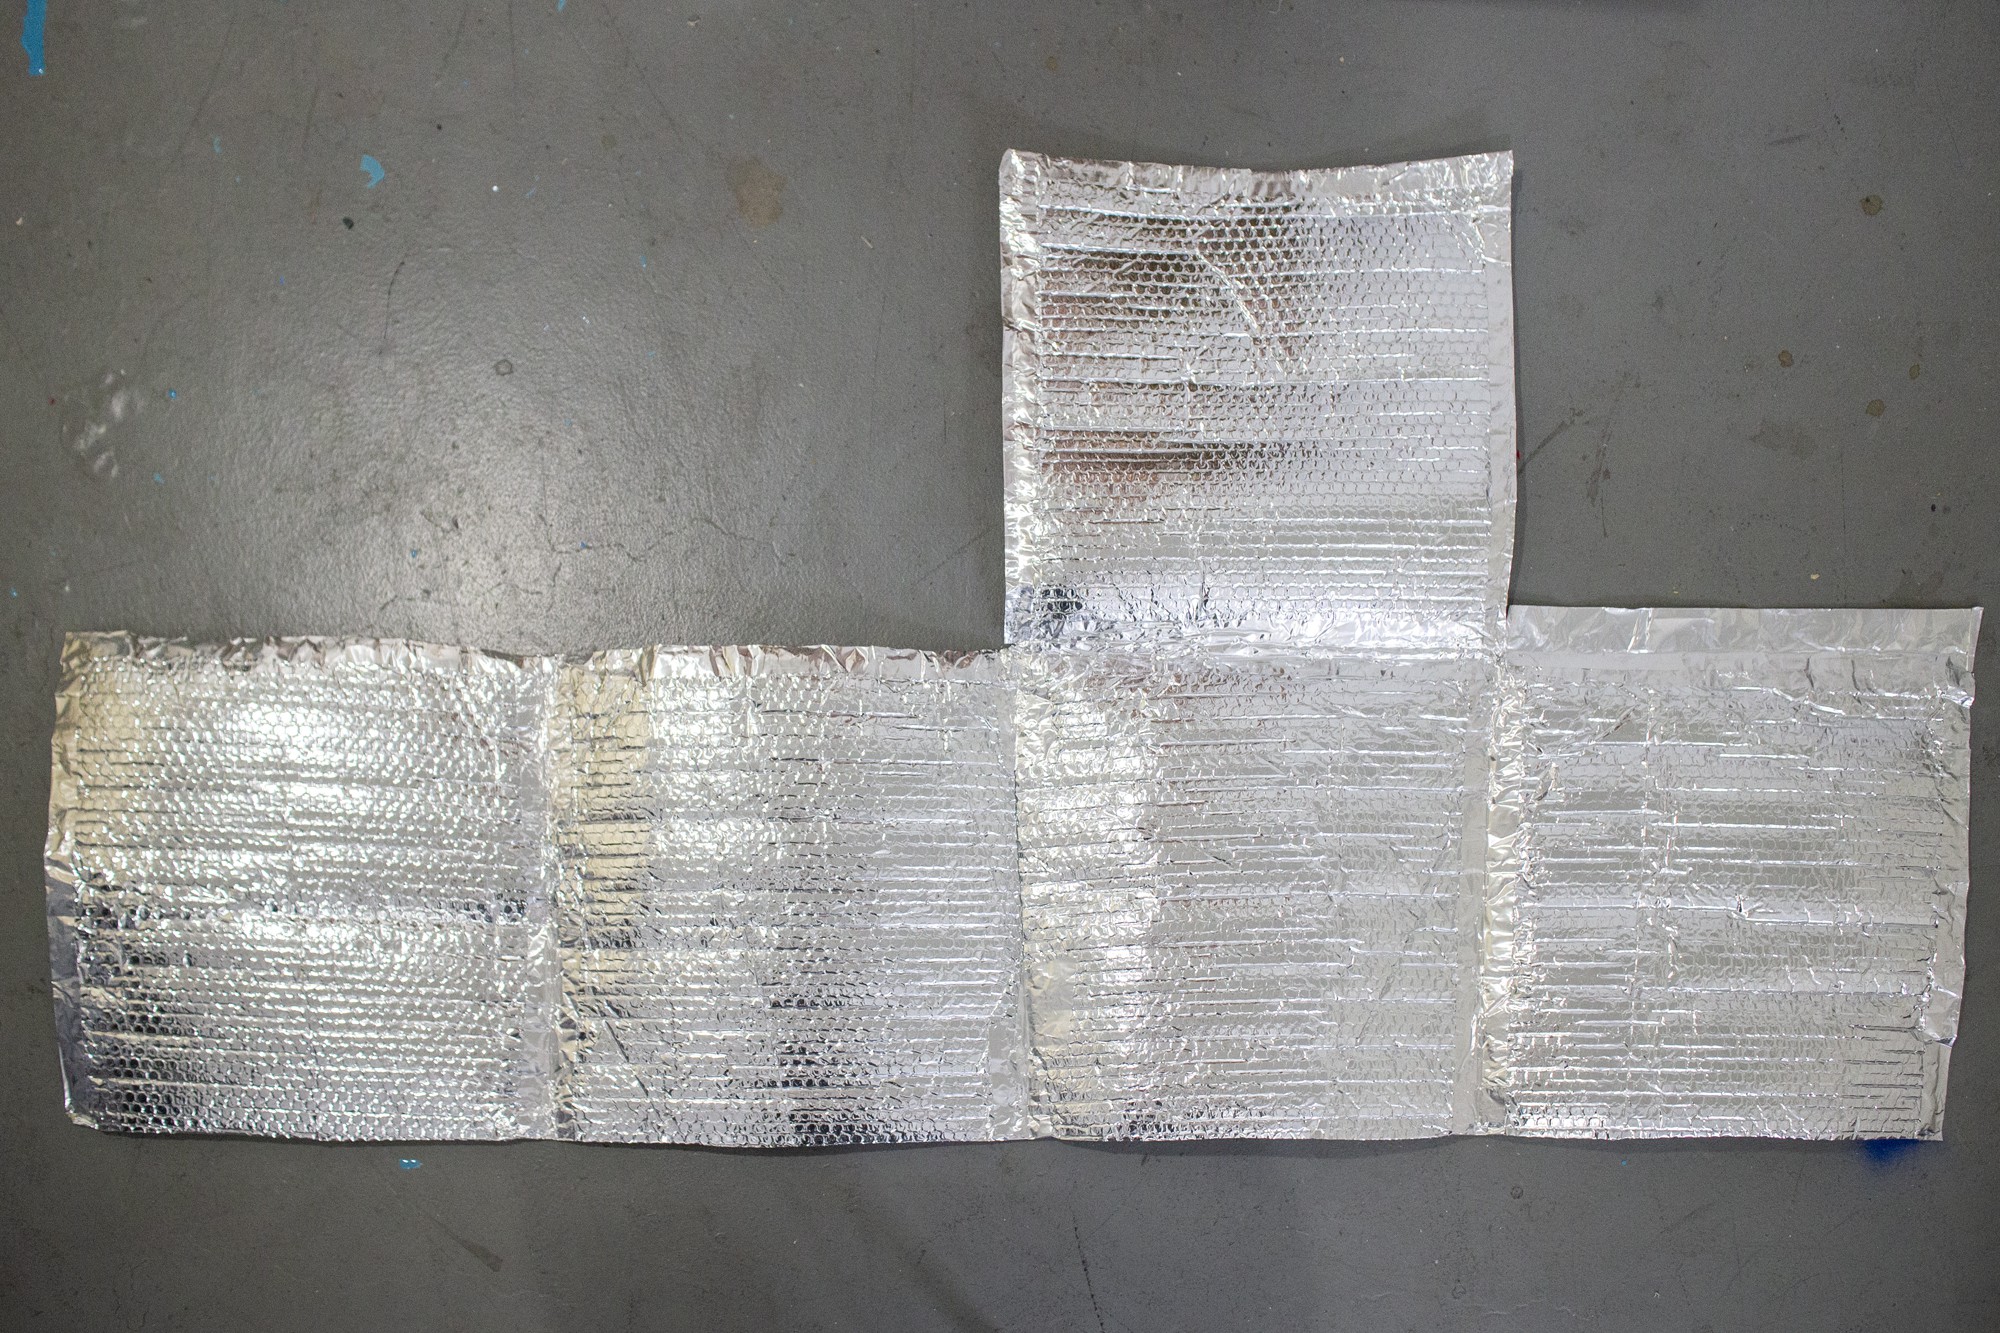
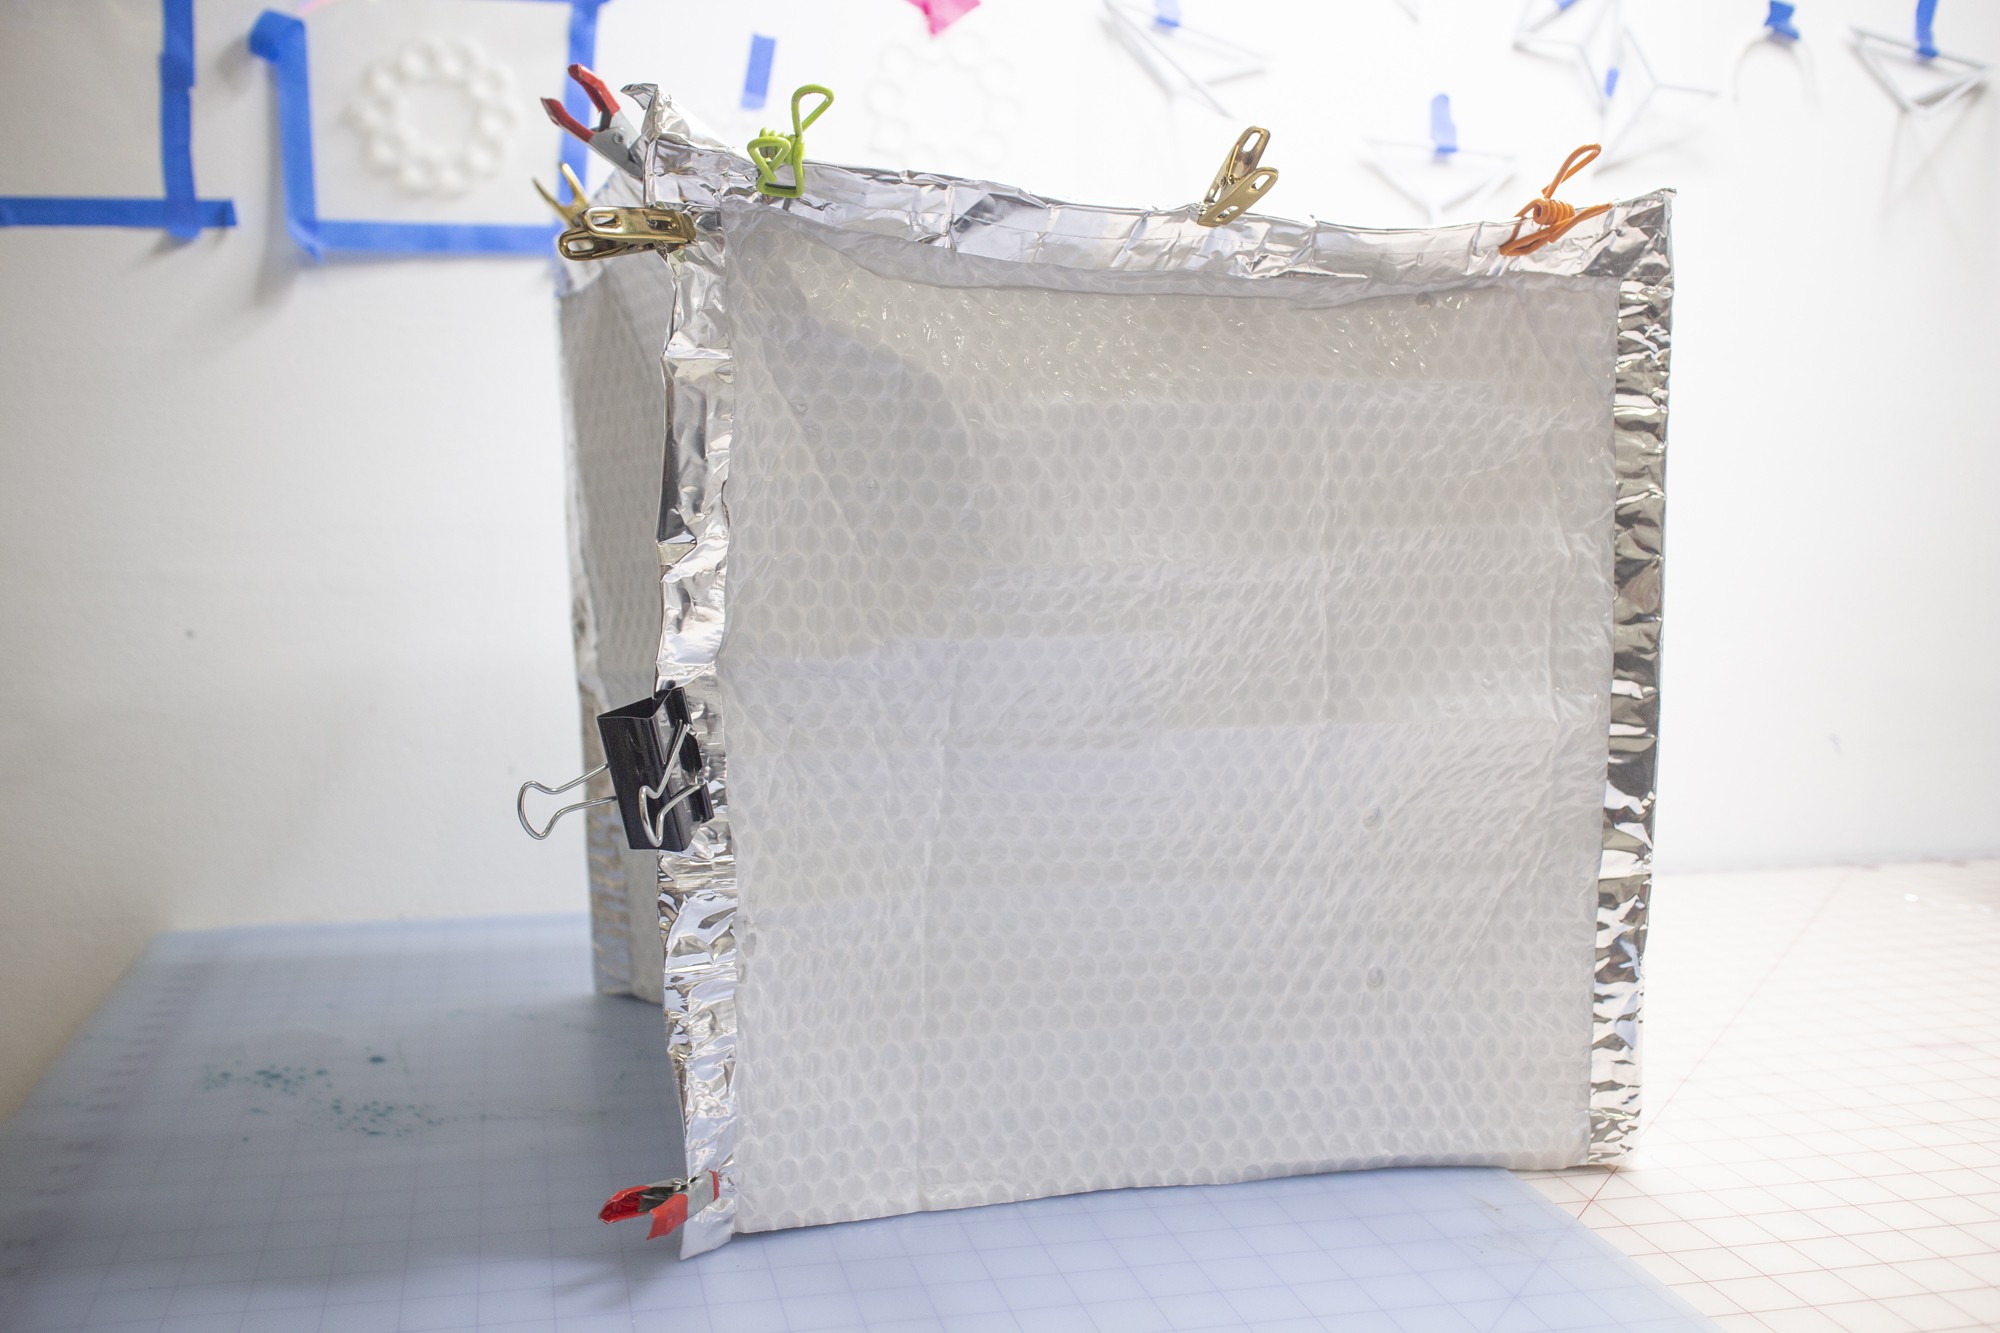 The internal volume of the shape after the edges are folded over and pinched is slightly more than a 14" cube.
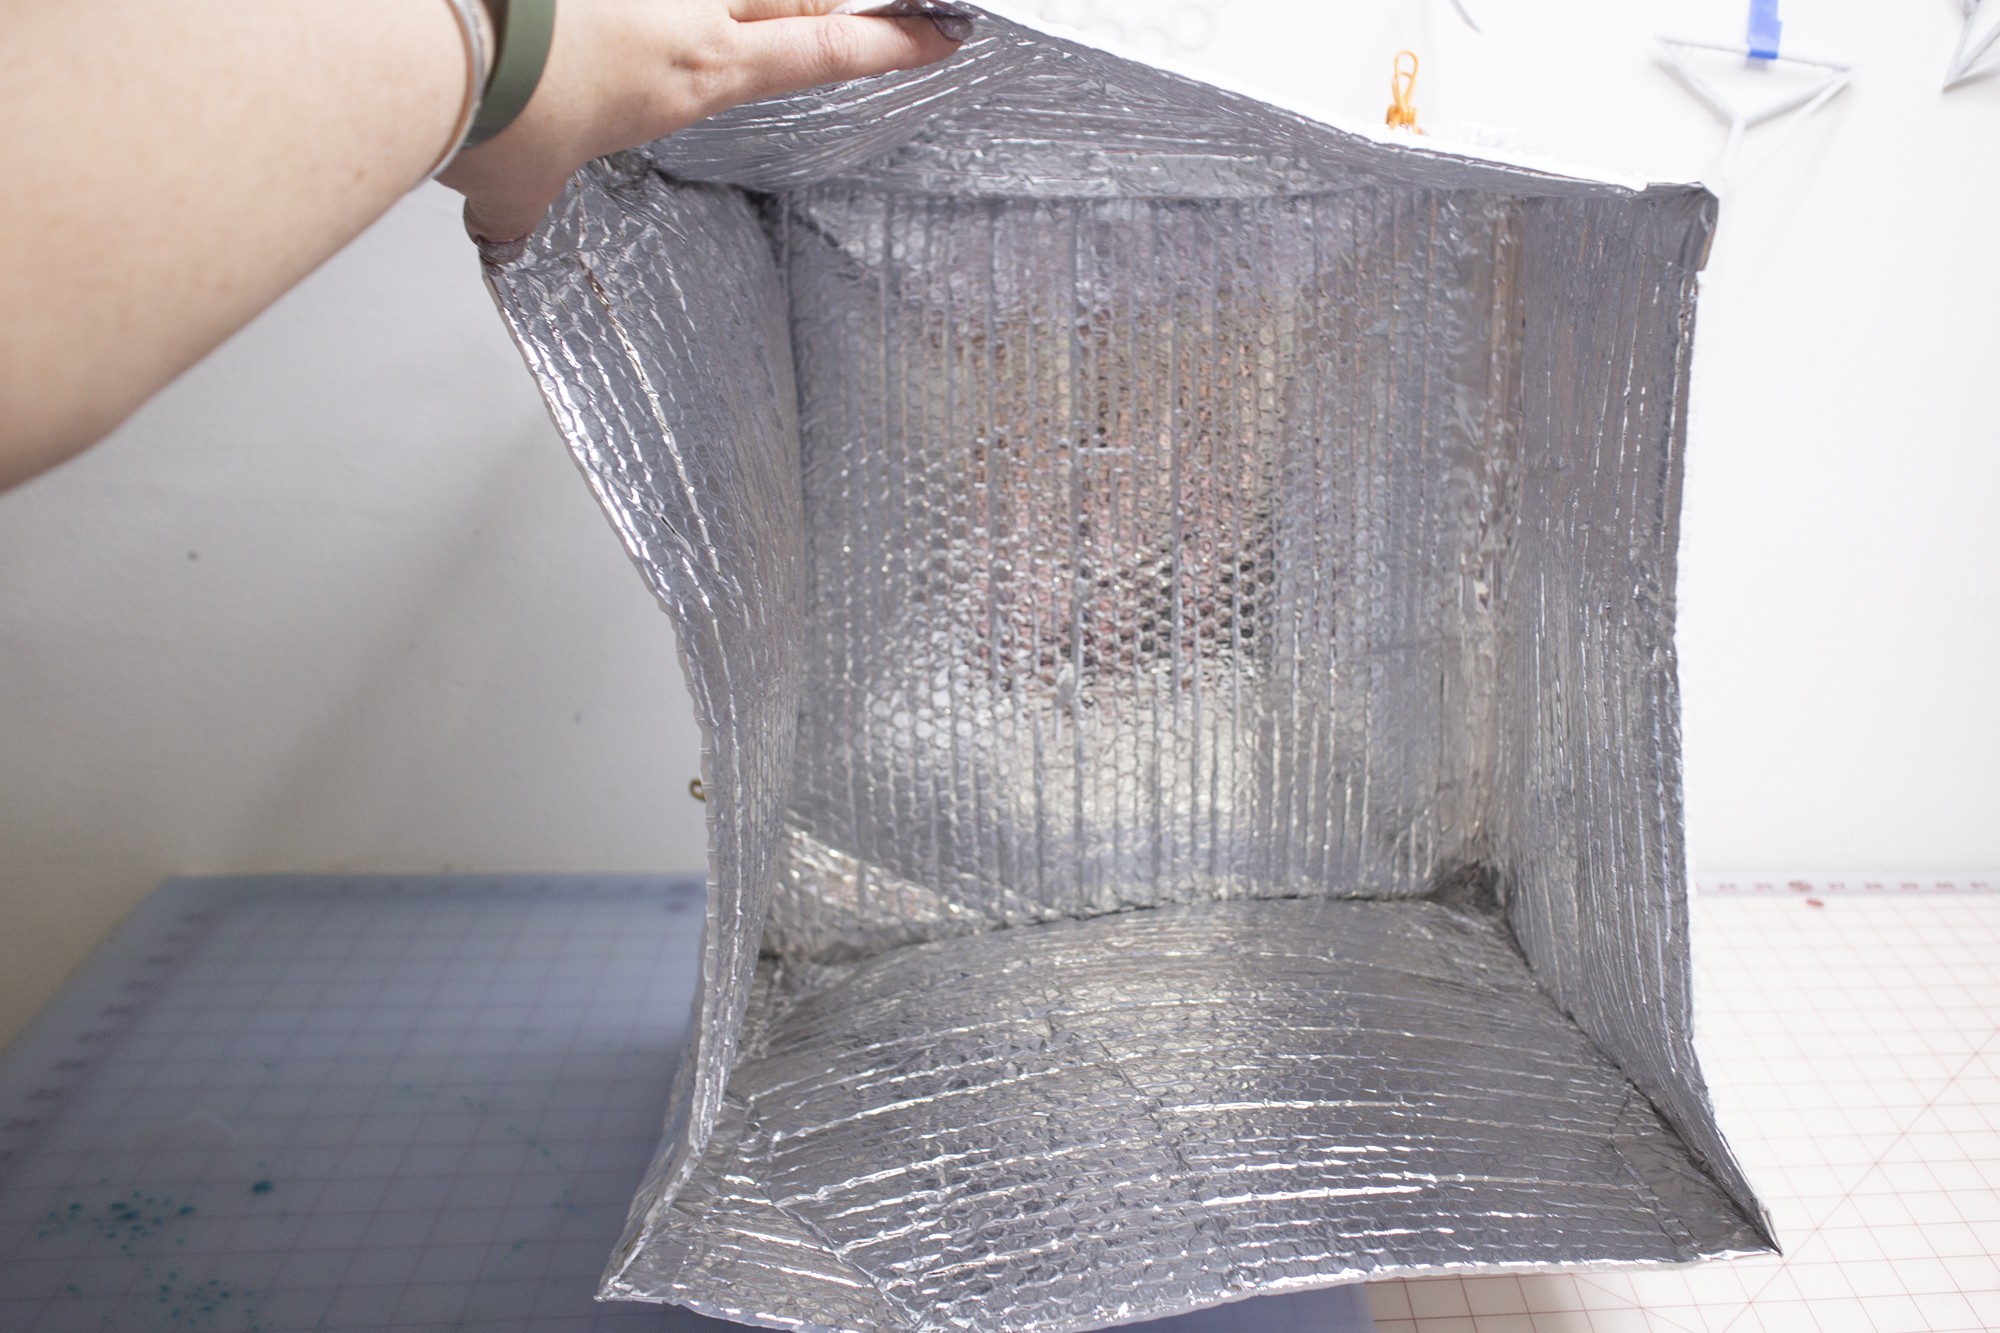


 OddDavis
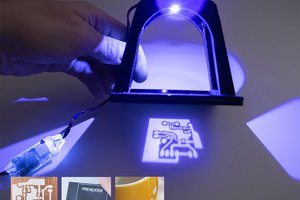

 MDreamer
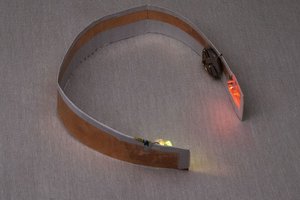
 Roger
Roger
I thought you had the best pictures, gifs, and video of any other Hackaday Prize entry this year. I can tell you put a lot of work into this project. Please keep me in mind if you need a mechanical engineer contributor on any of your future projects.