 Kenneth Marut
The Motivation:
Over the past couple of years, there has been a movement for music instrument companies to release “toy synths”, such as the Teenage Engineering OP-Z and Korg Volca Series. These toy synths are generally much smaller, cheaper, and more approachable than their full-size counterparts, and do not skimp when it comes to the feature set. I’ve had the chance to play around with a lot of these synths over the last year, and have had a lot of fun with them all. Unfortunately, even these toy synths range in the $200 - $1500 range, so unless I want to burn through my savings, it’s not really realistic to collect them all.
Though I’ve been a lifelong musician and technology nerd, I really only became interested in synthesis later on. I suspect it’s because I never really understood what the difference was between a synthesizer and an electric keyboard with a bunch of presets. In my path to learning about synthesizers, I found it quite difficult to find a starter synth that was approachable and small, but had a reliable feature set.
The Problem:
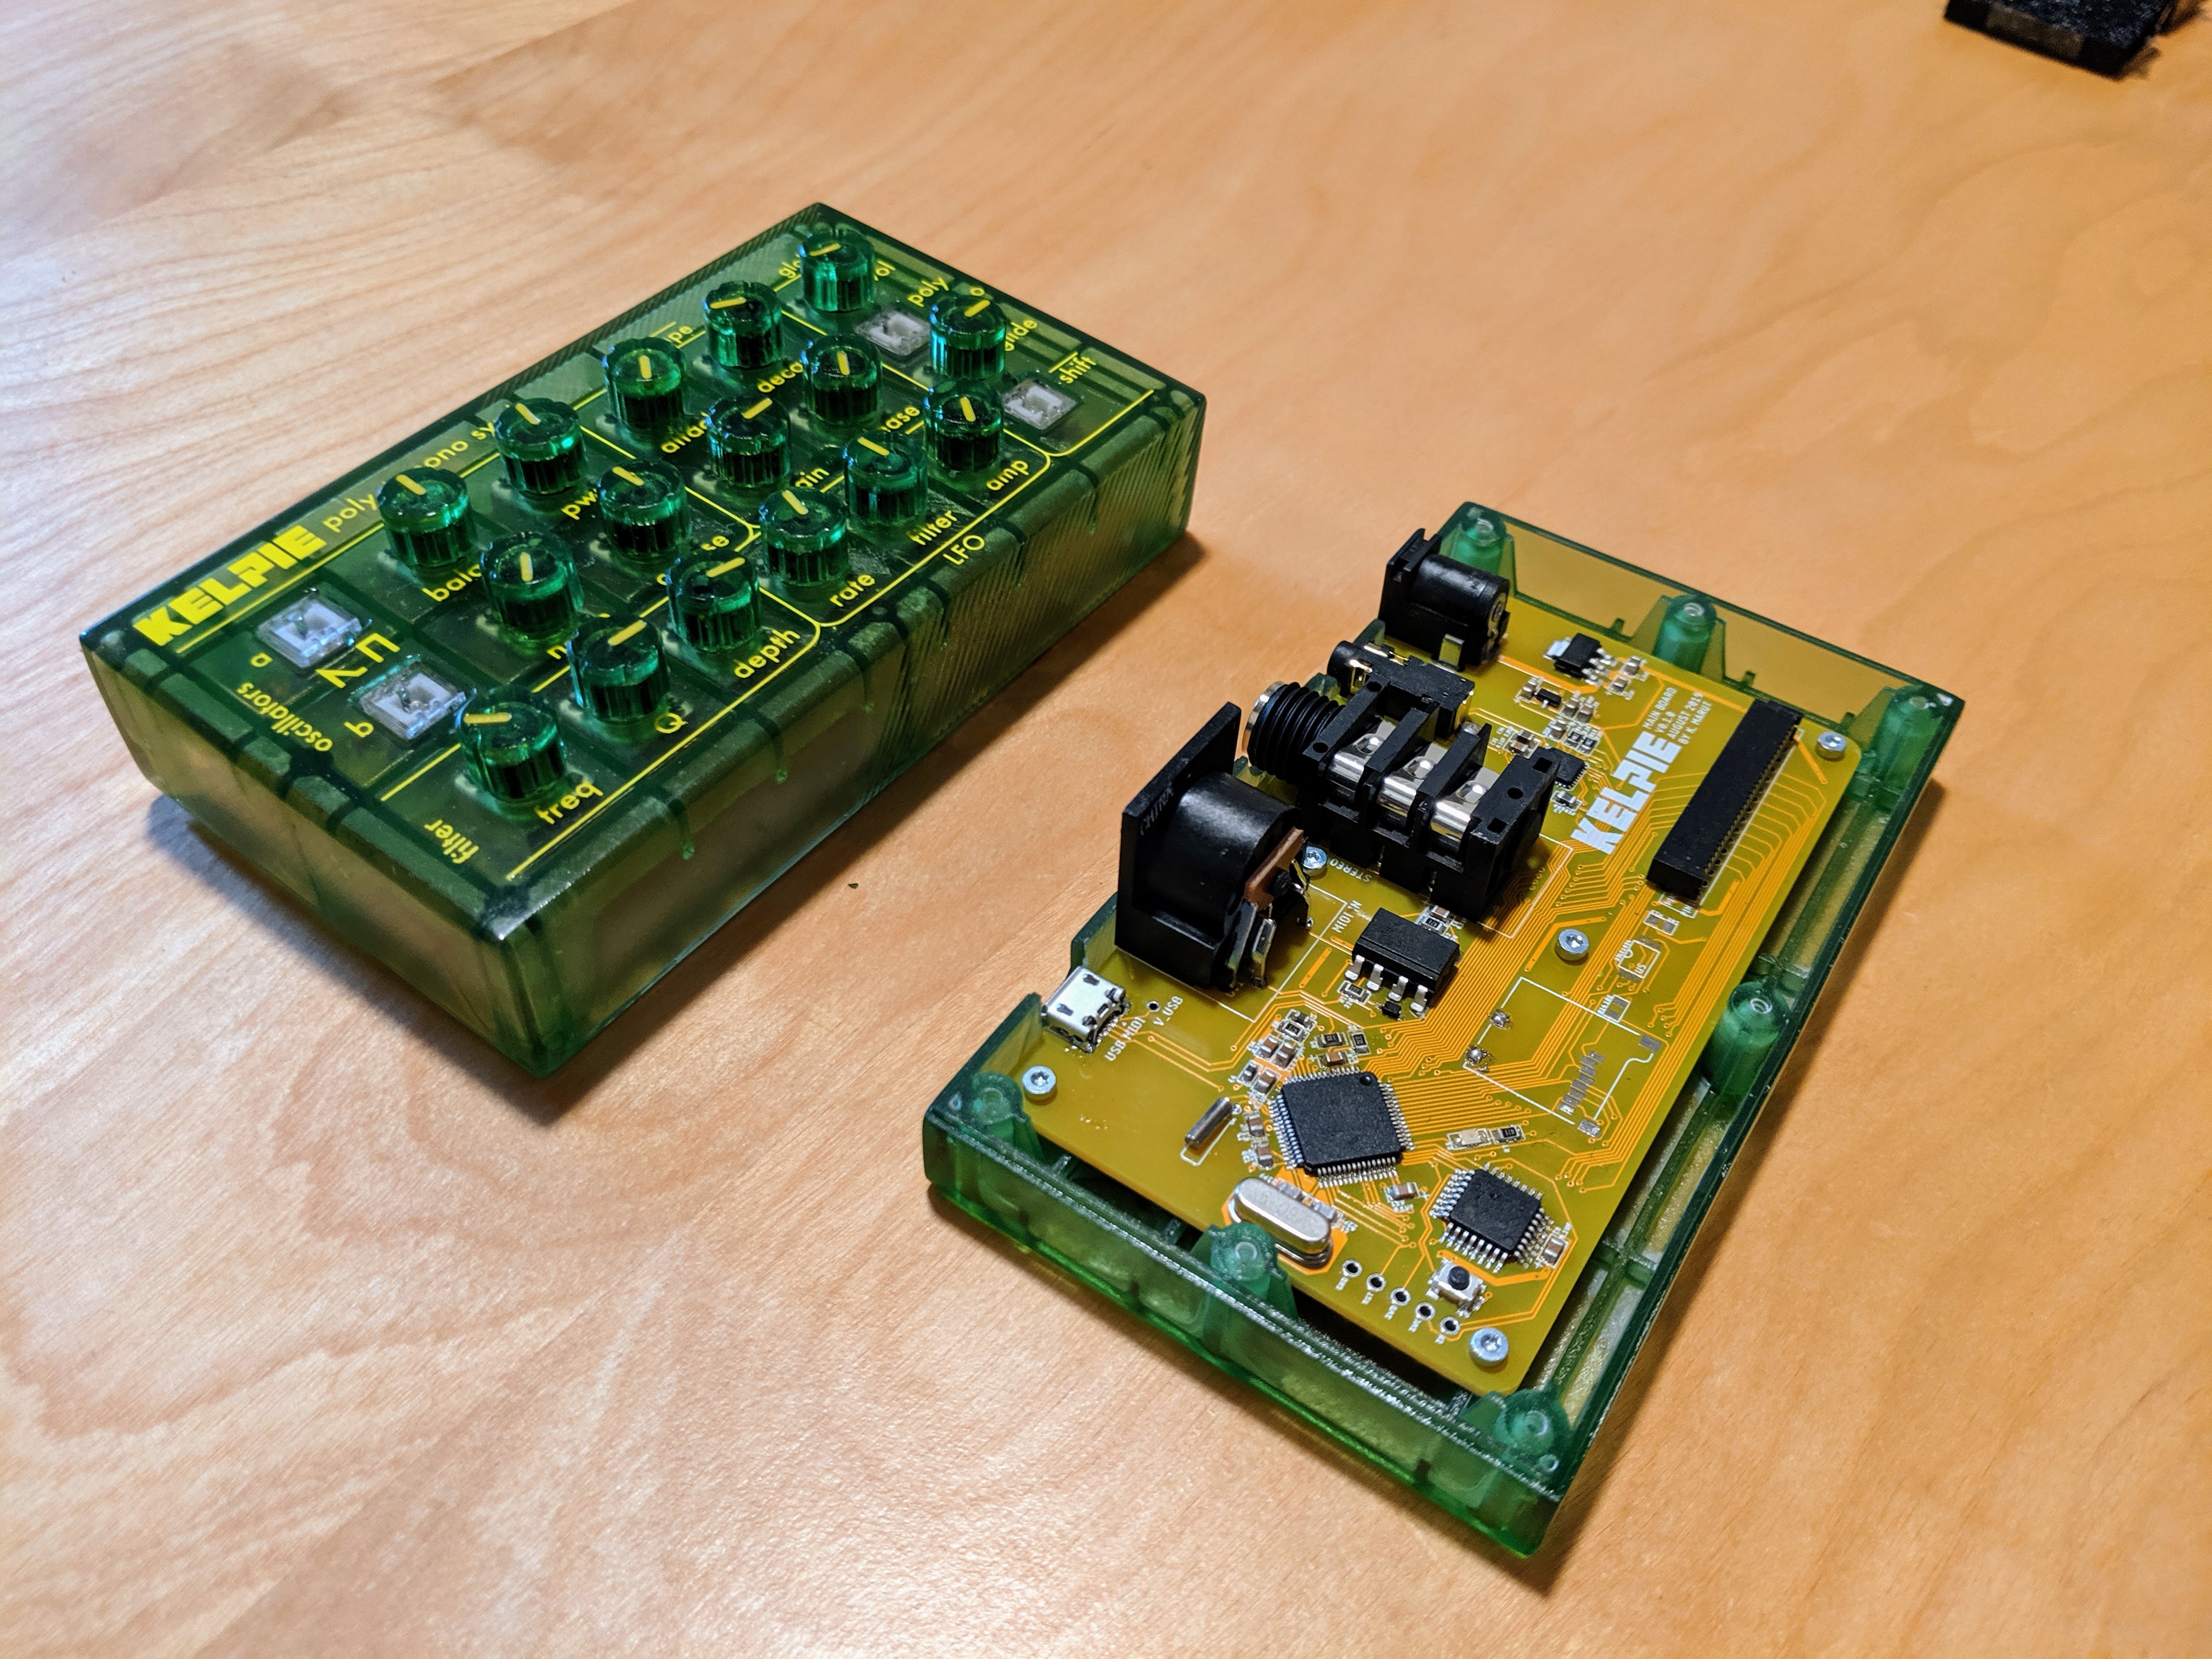
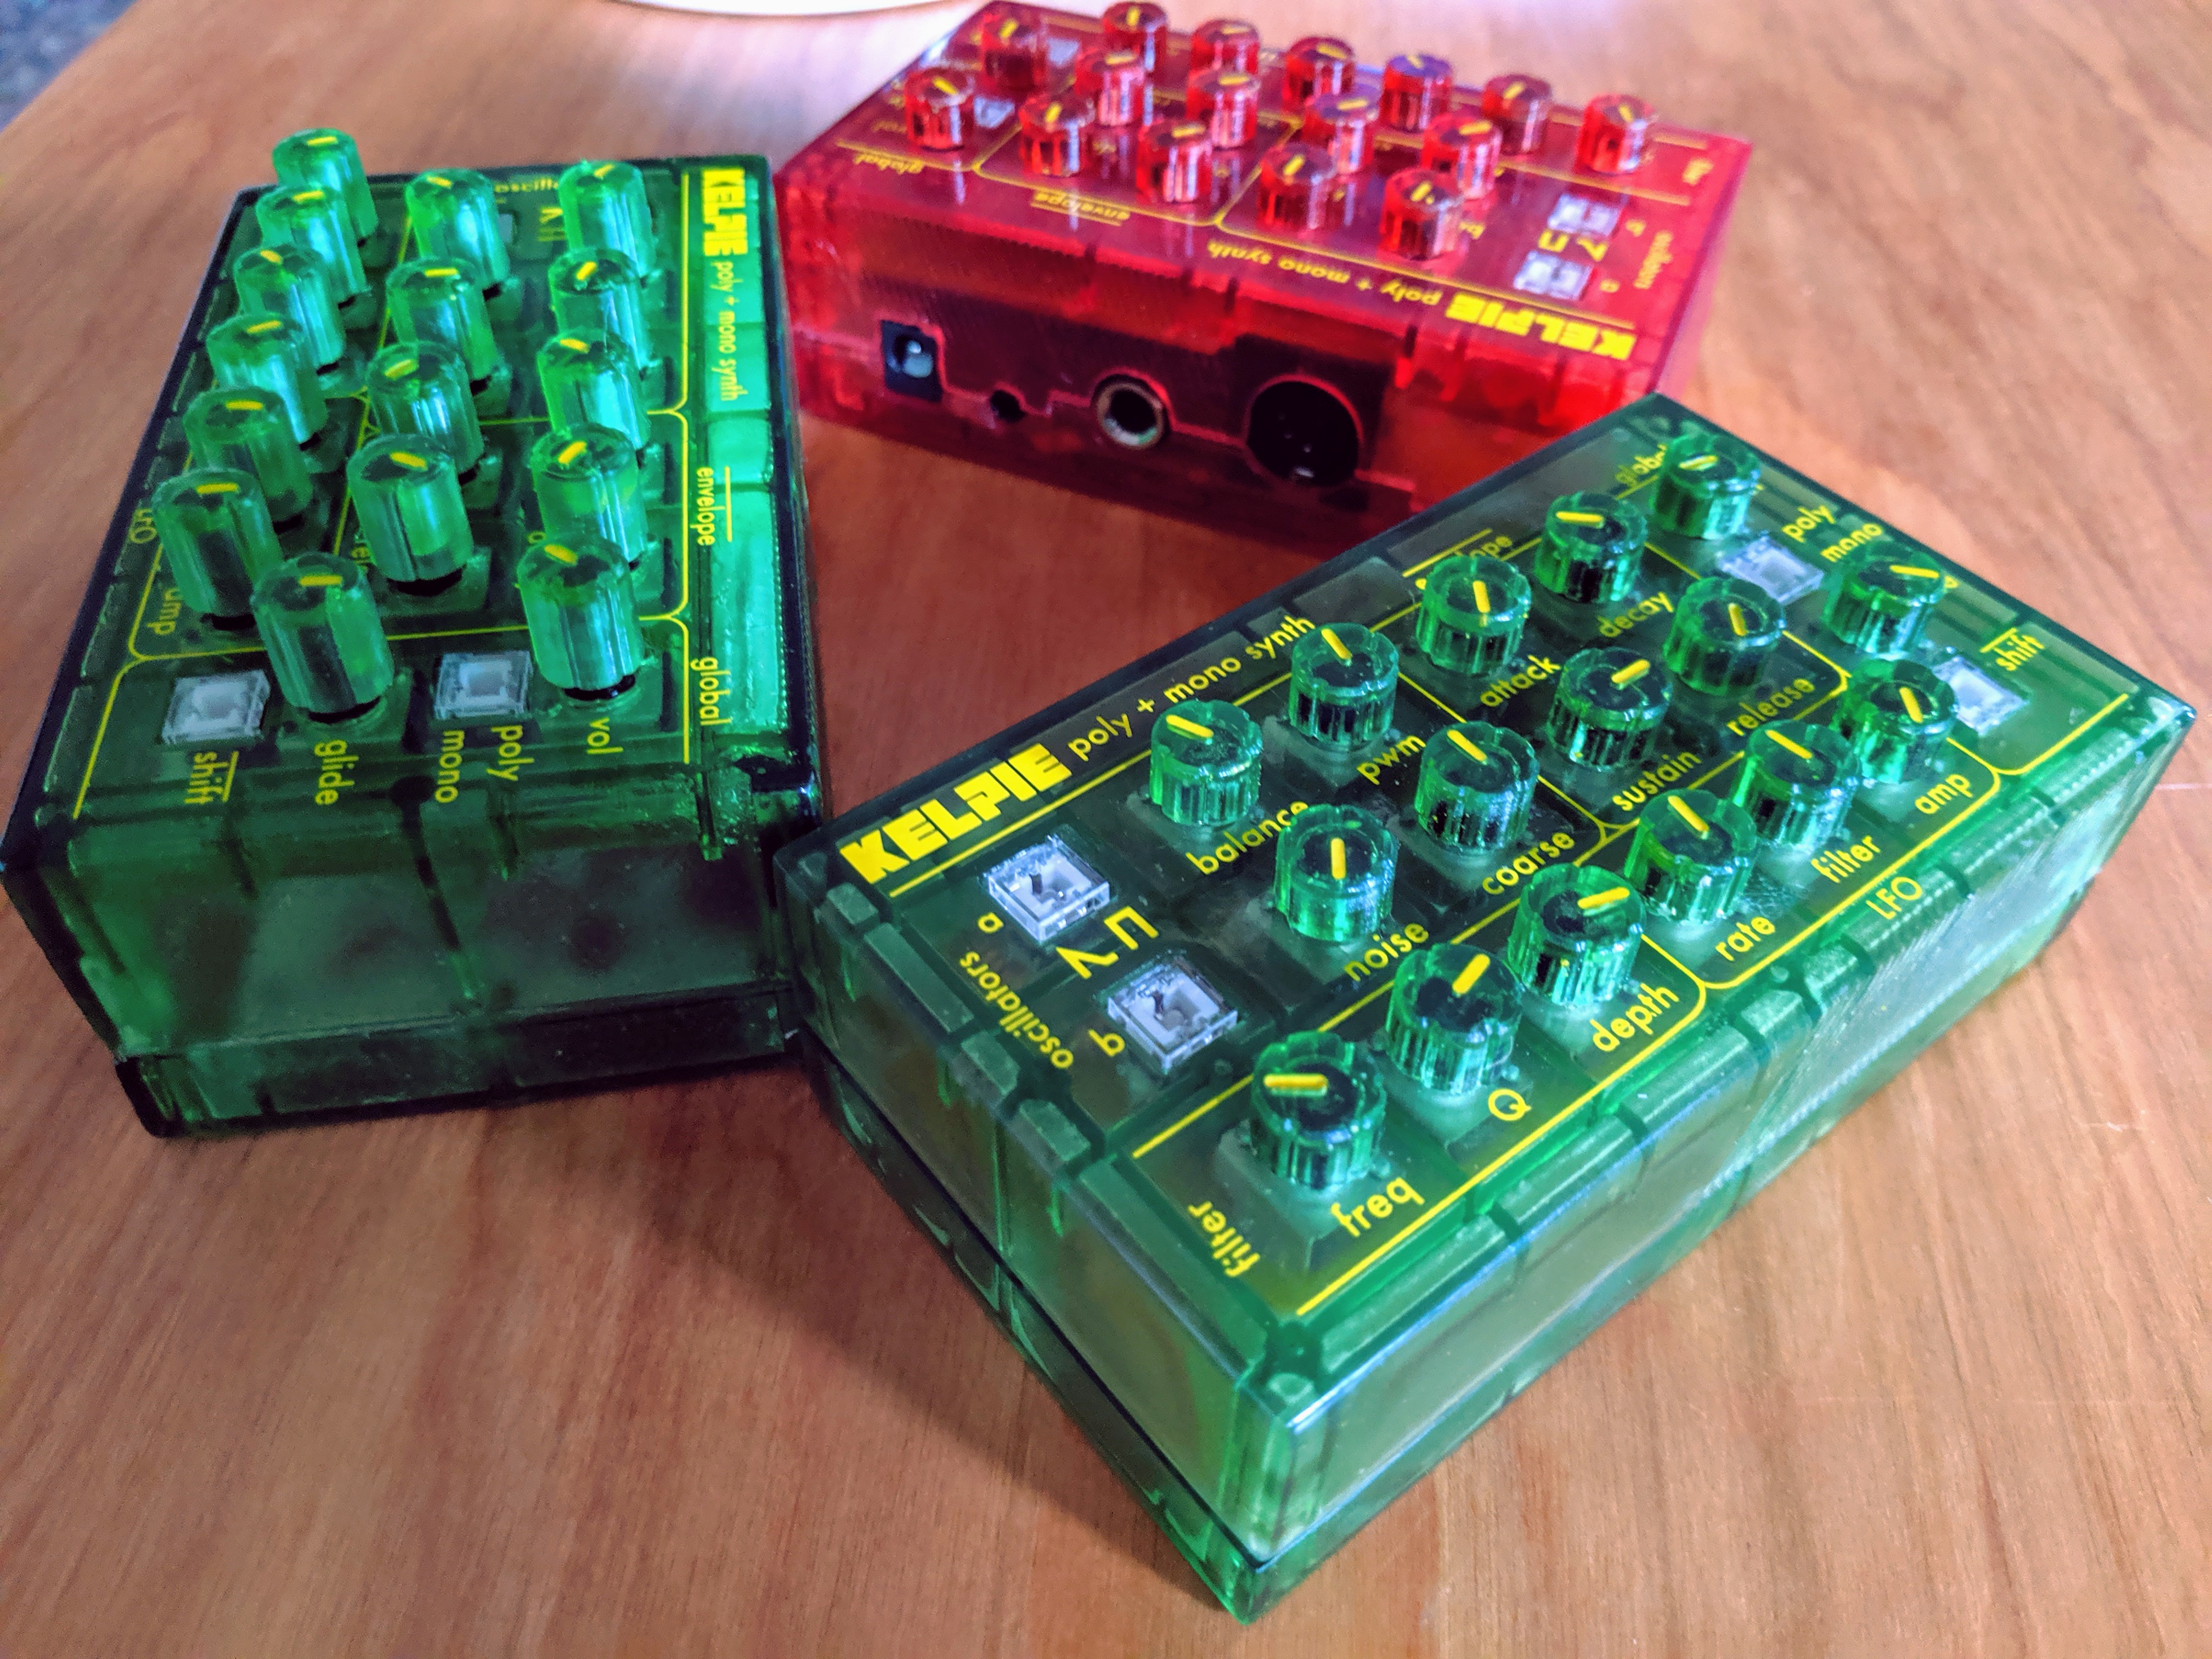
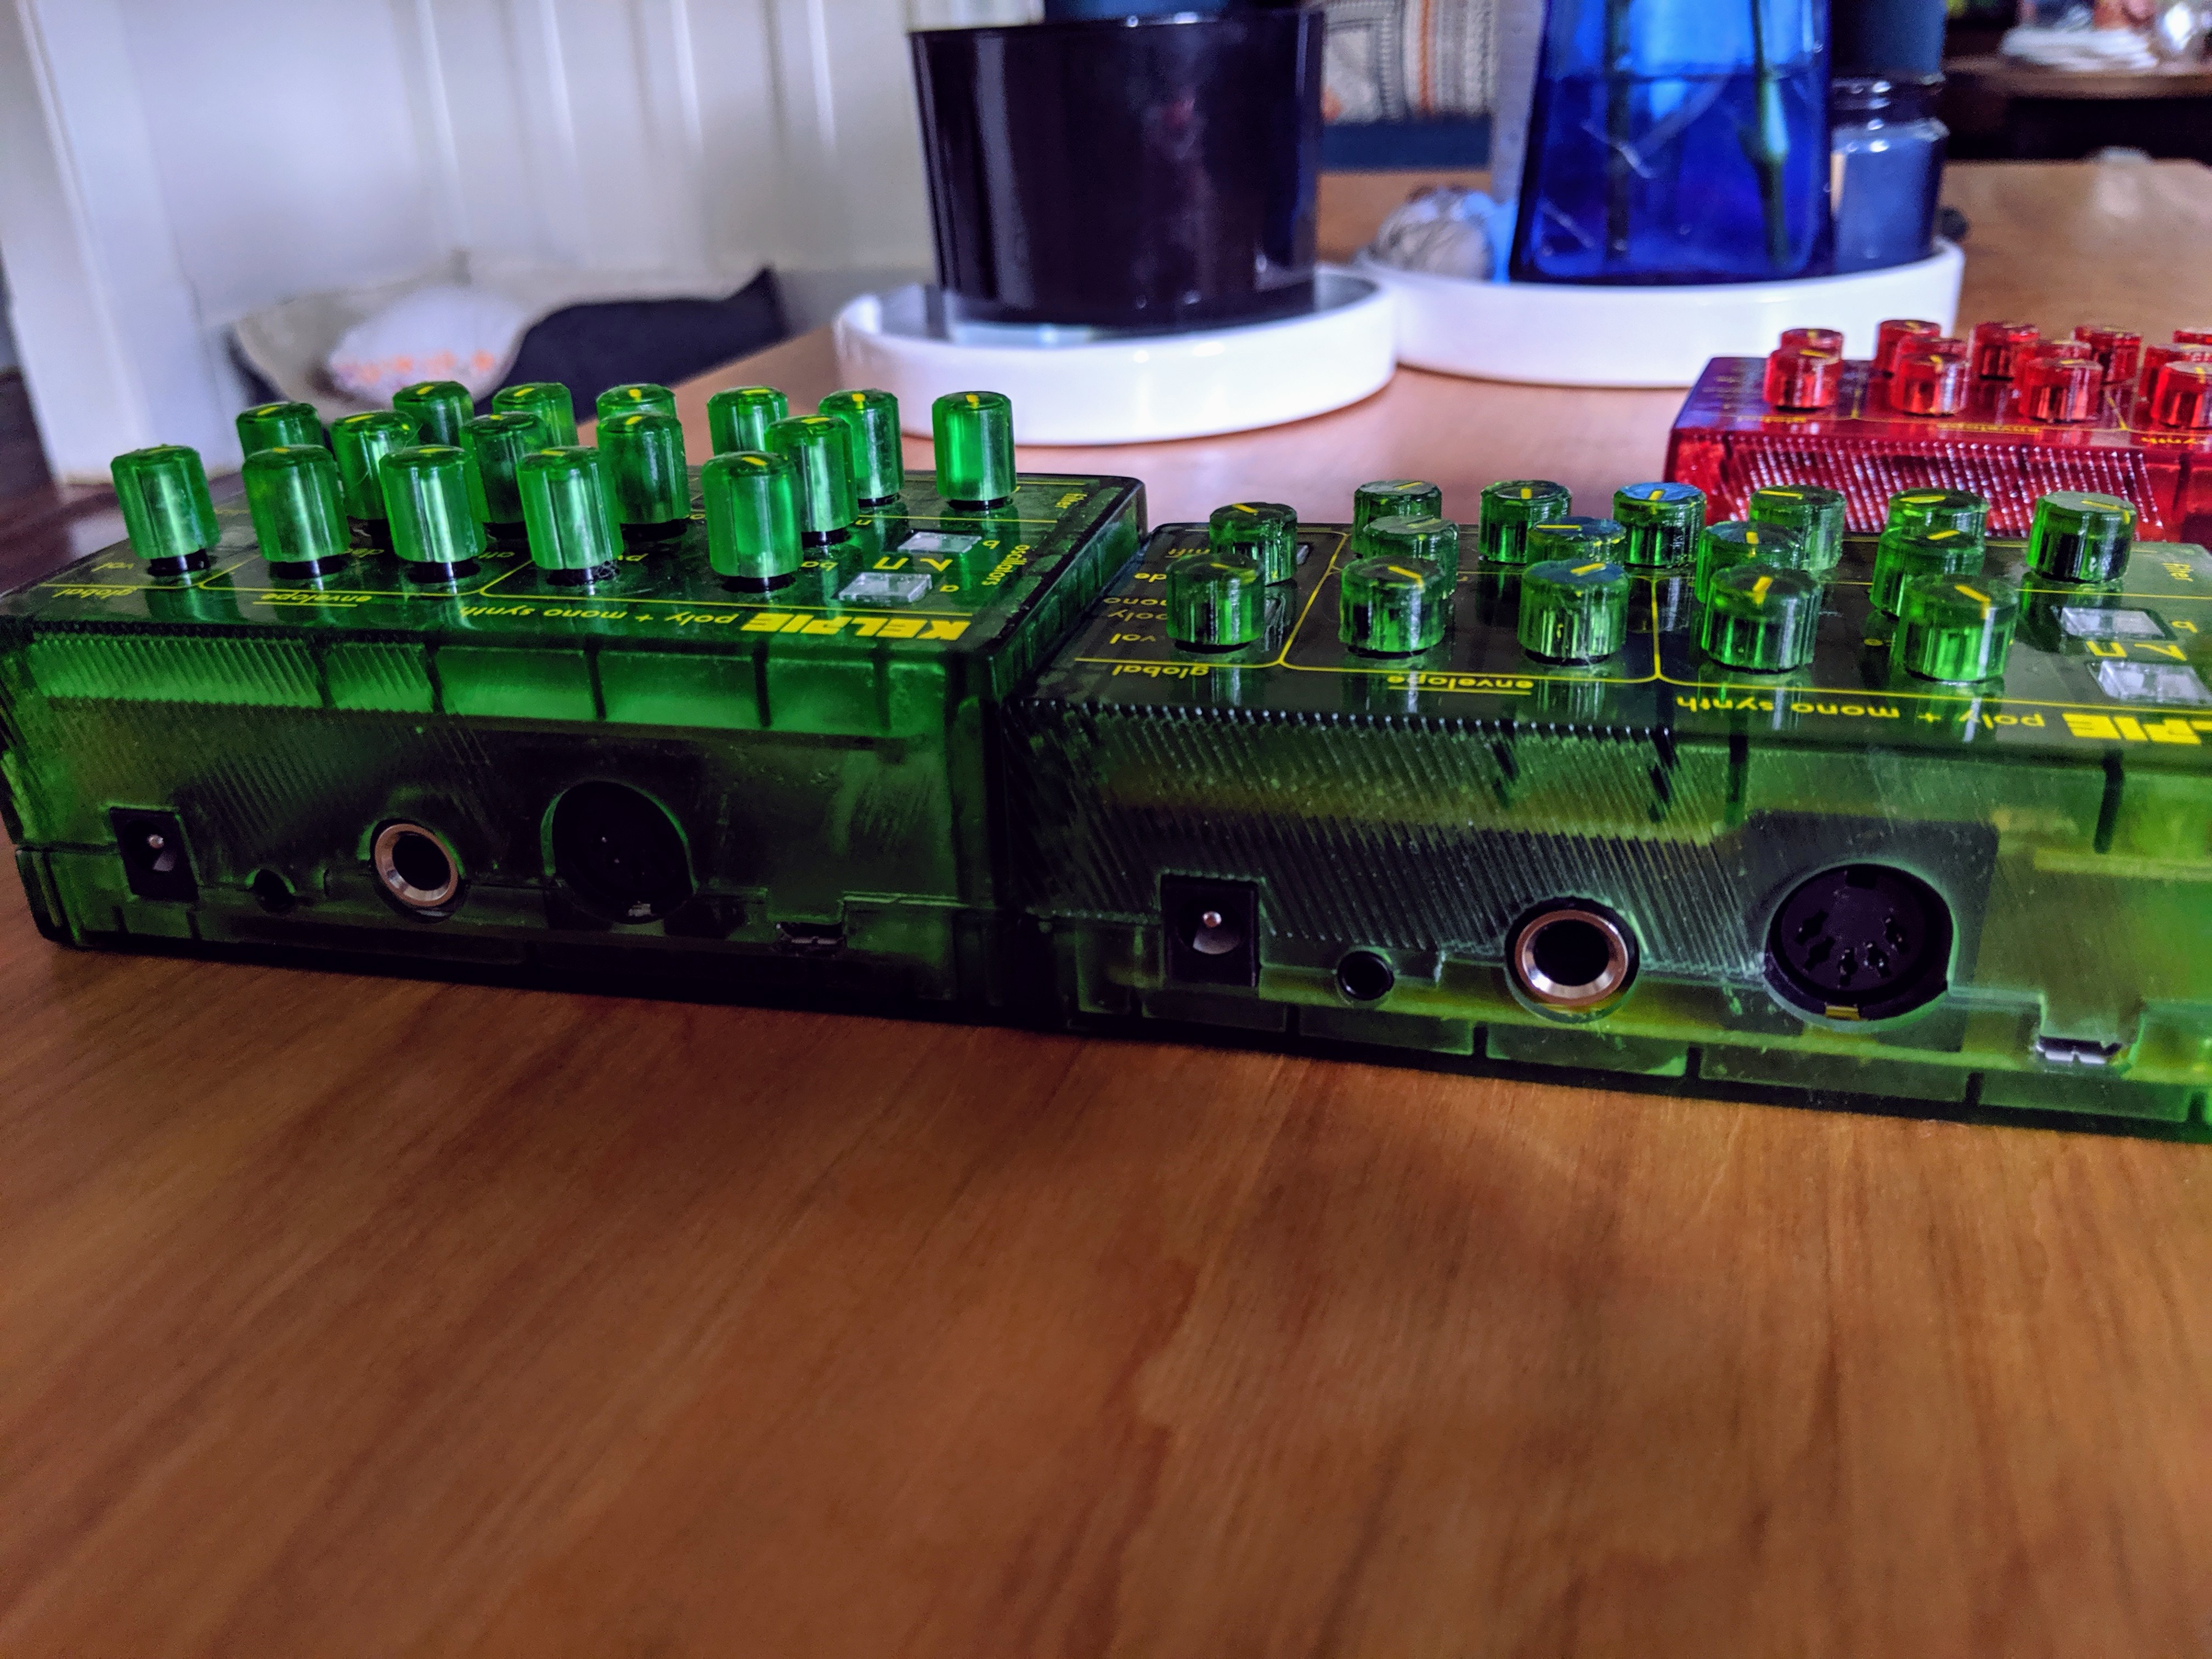
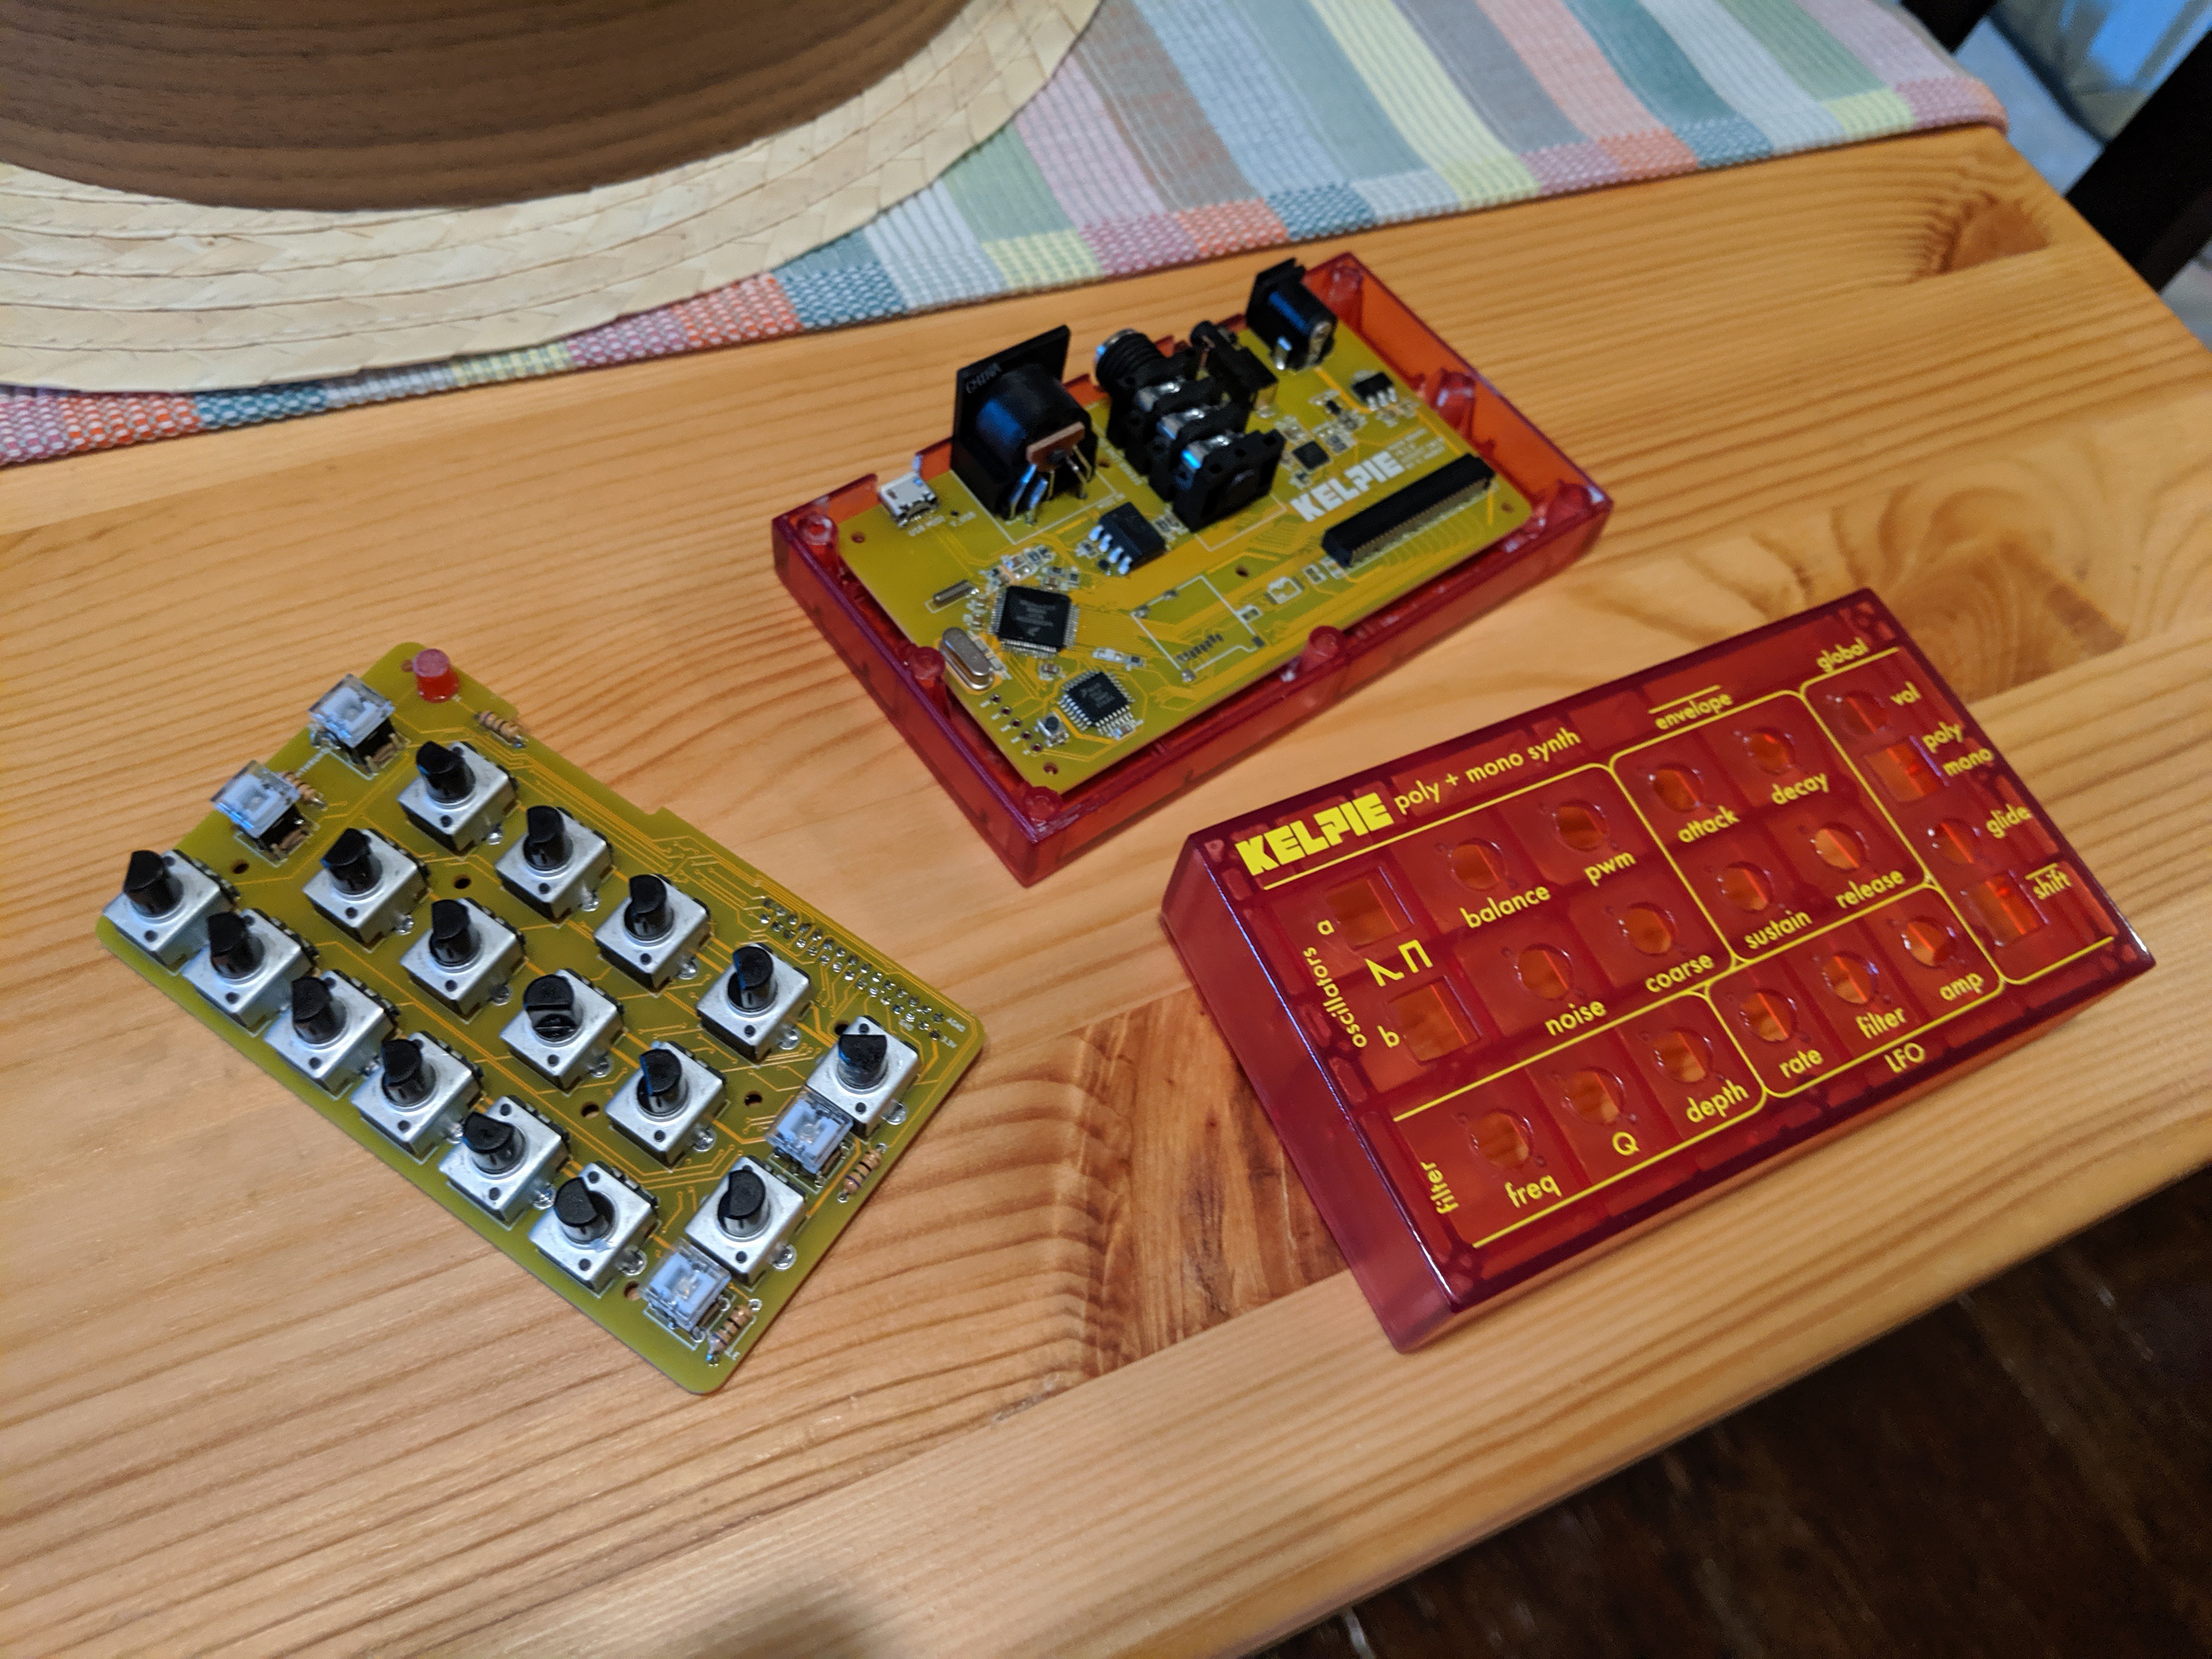
The KELPIE, like other toy synths, is fun and approachable. But unlike others, it requires an external MIDI input (such as a keyboard or another MIDI device). There is no hardware touch-keyboard, or push-button keyboard, saving a good amount of space. It’s polyphonic, so any player who’s used to playing the piano will feel very comfortable, but it also has a monophonic option. There are no preset sounds, banks, sequencers, or digital menus on the device, keeping it straightforward and simple, but also incredibly useful for beginners to advanced users. As the owner of a super-nifty 12-voice analog synthesizer, I can honestly say that I never touch the preset sounds and spend most of my time twiddling knobs and messing around the modules. The KELPIE is completely plug-and-play, requiring only a power supply and MIDI connection. It also features a stereo ⅛” headphone output, as well as a stereo 1⁄4” line output for direct connection to an amplifier.
What’s up with the name?
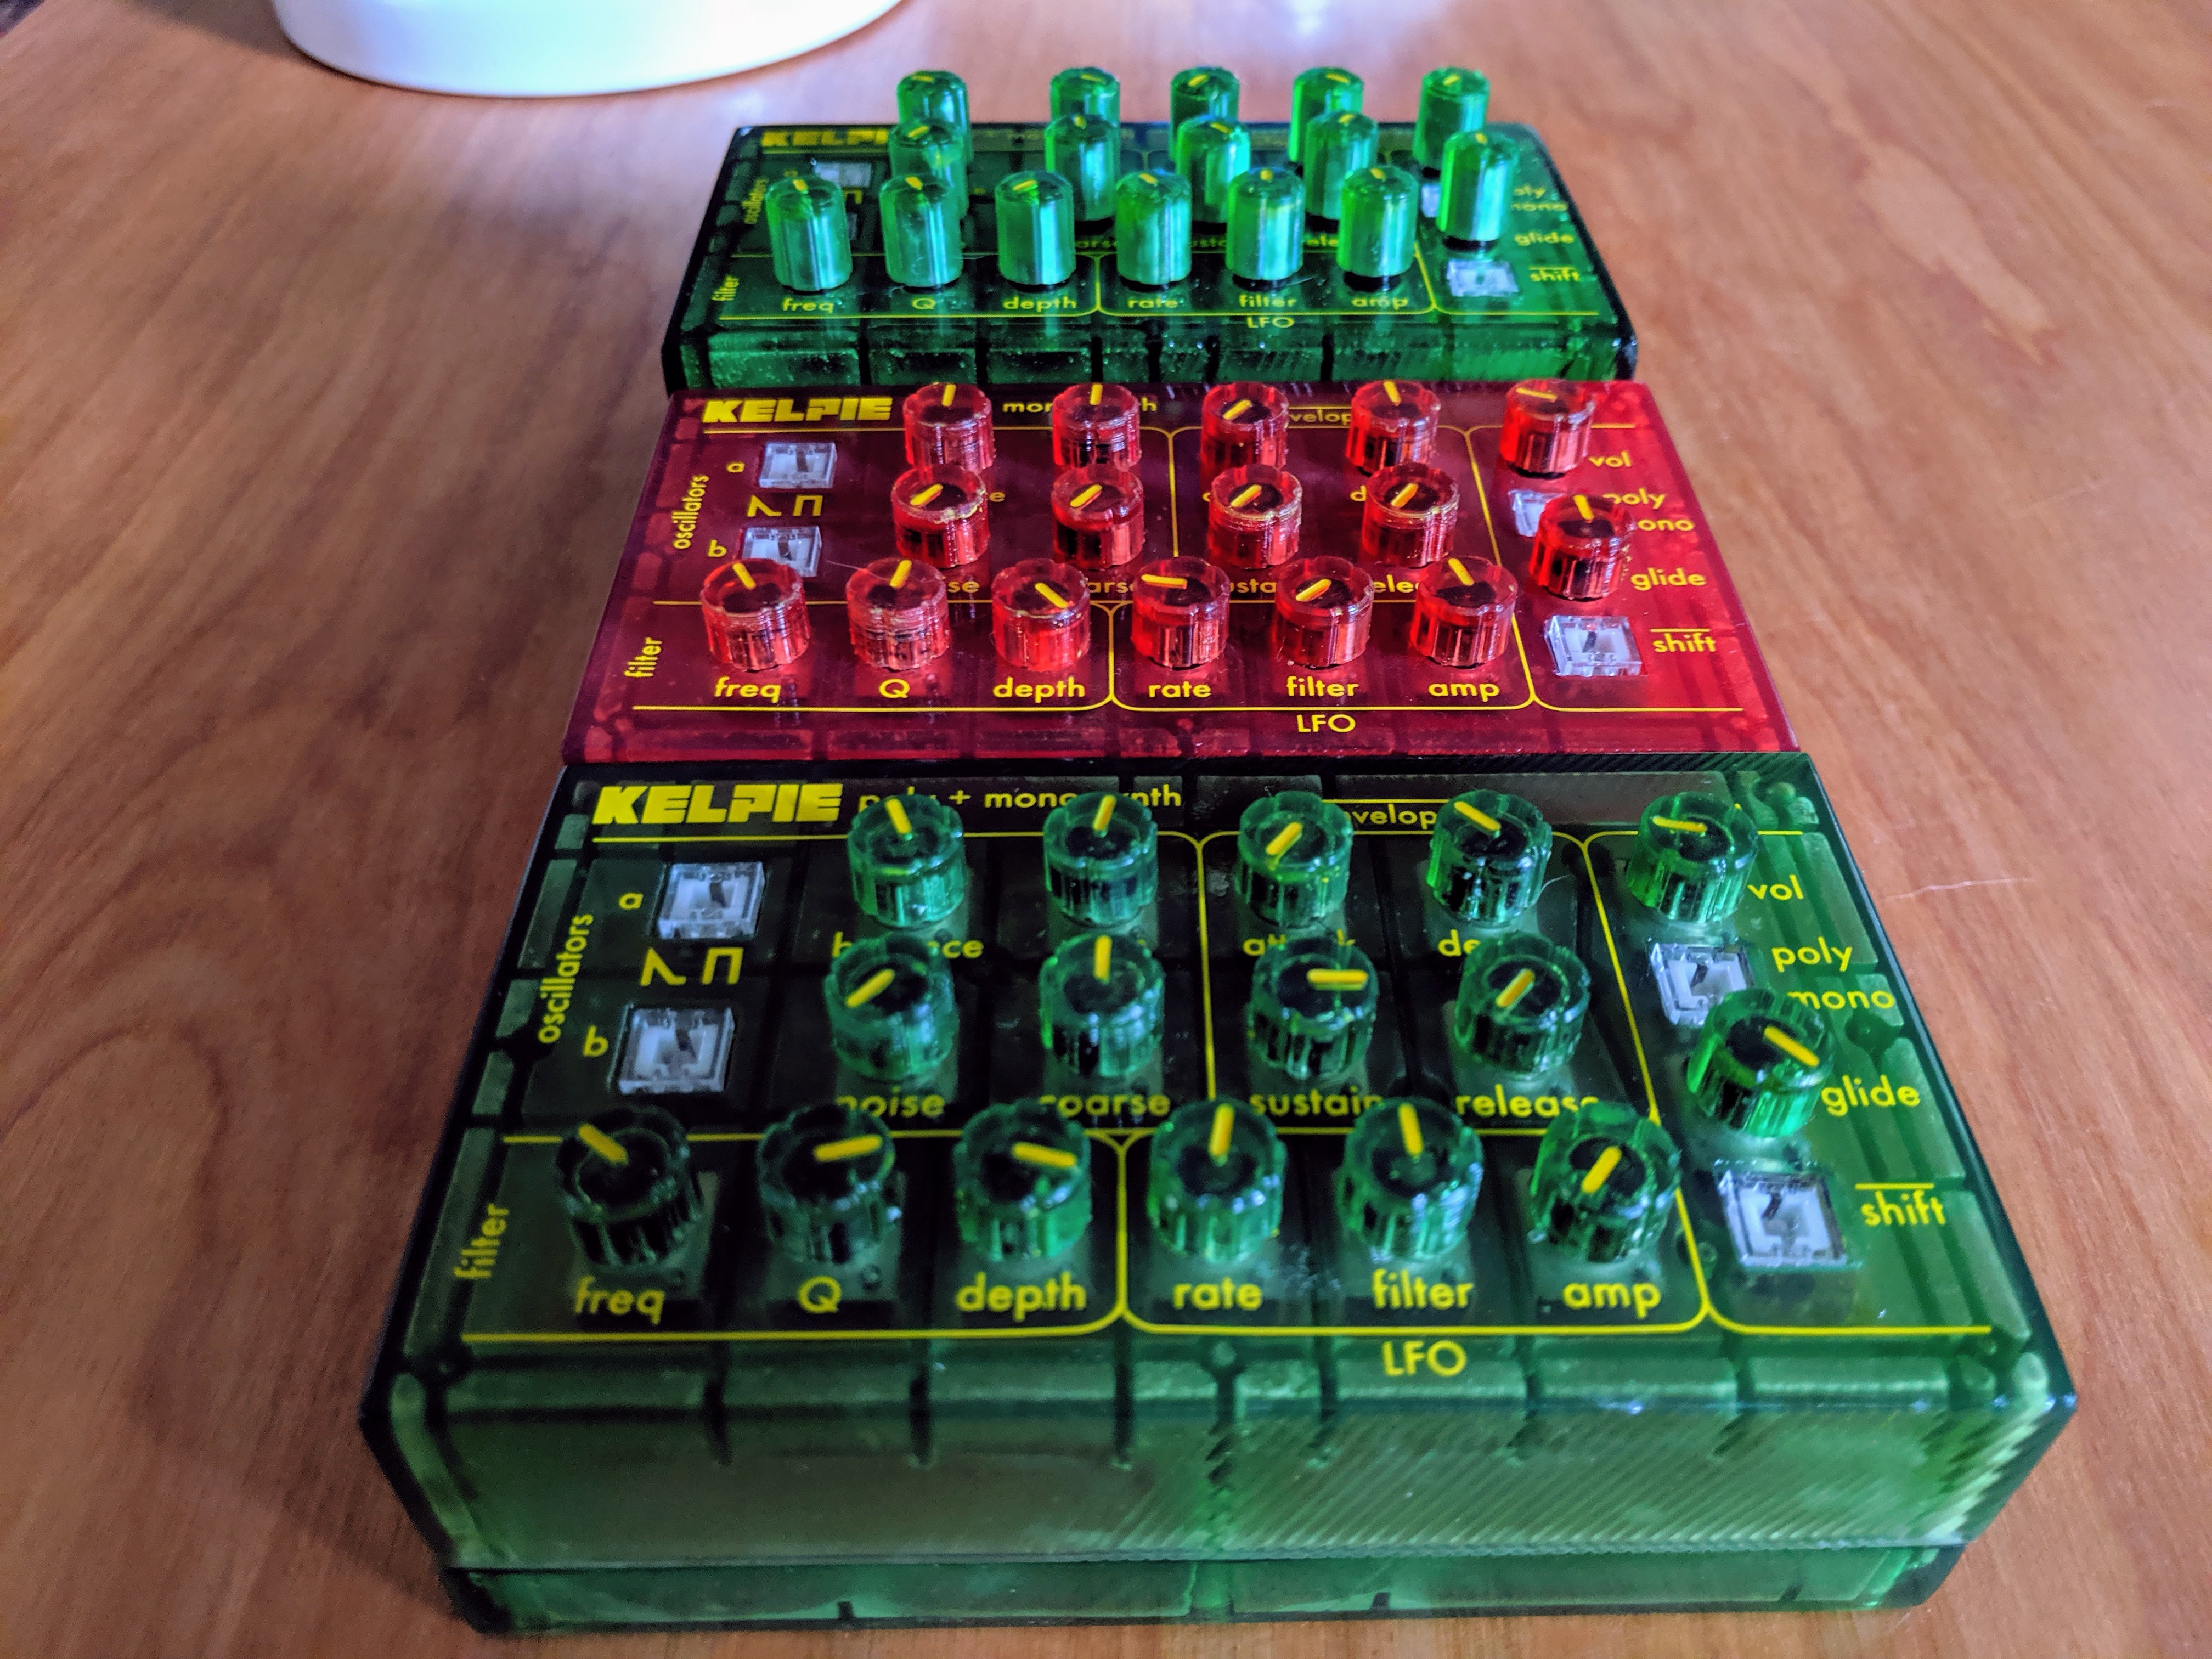
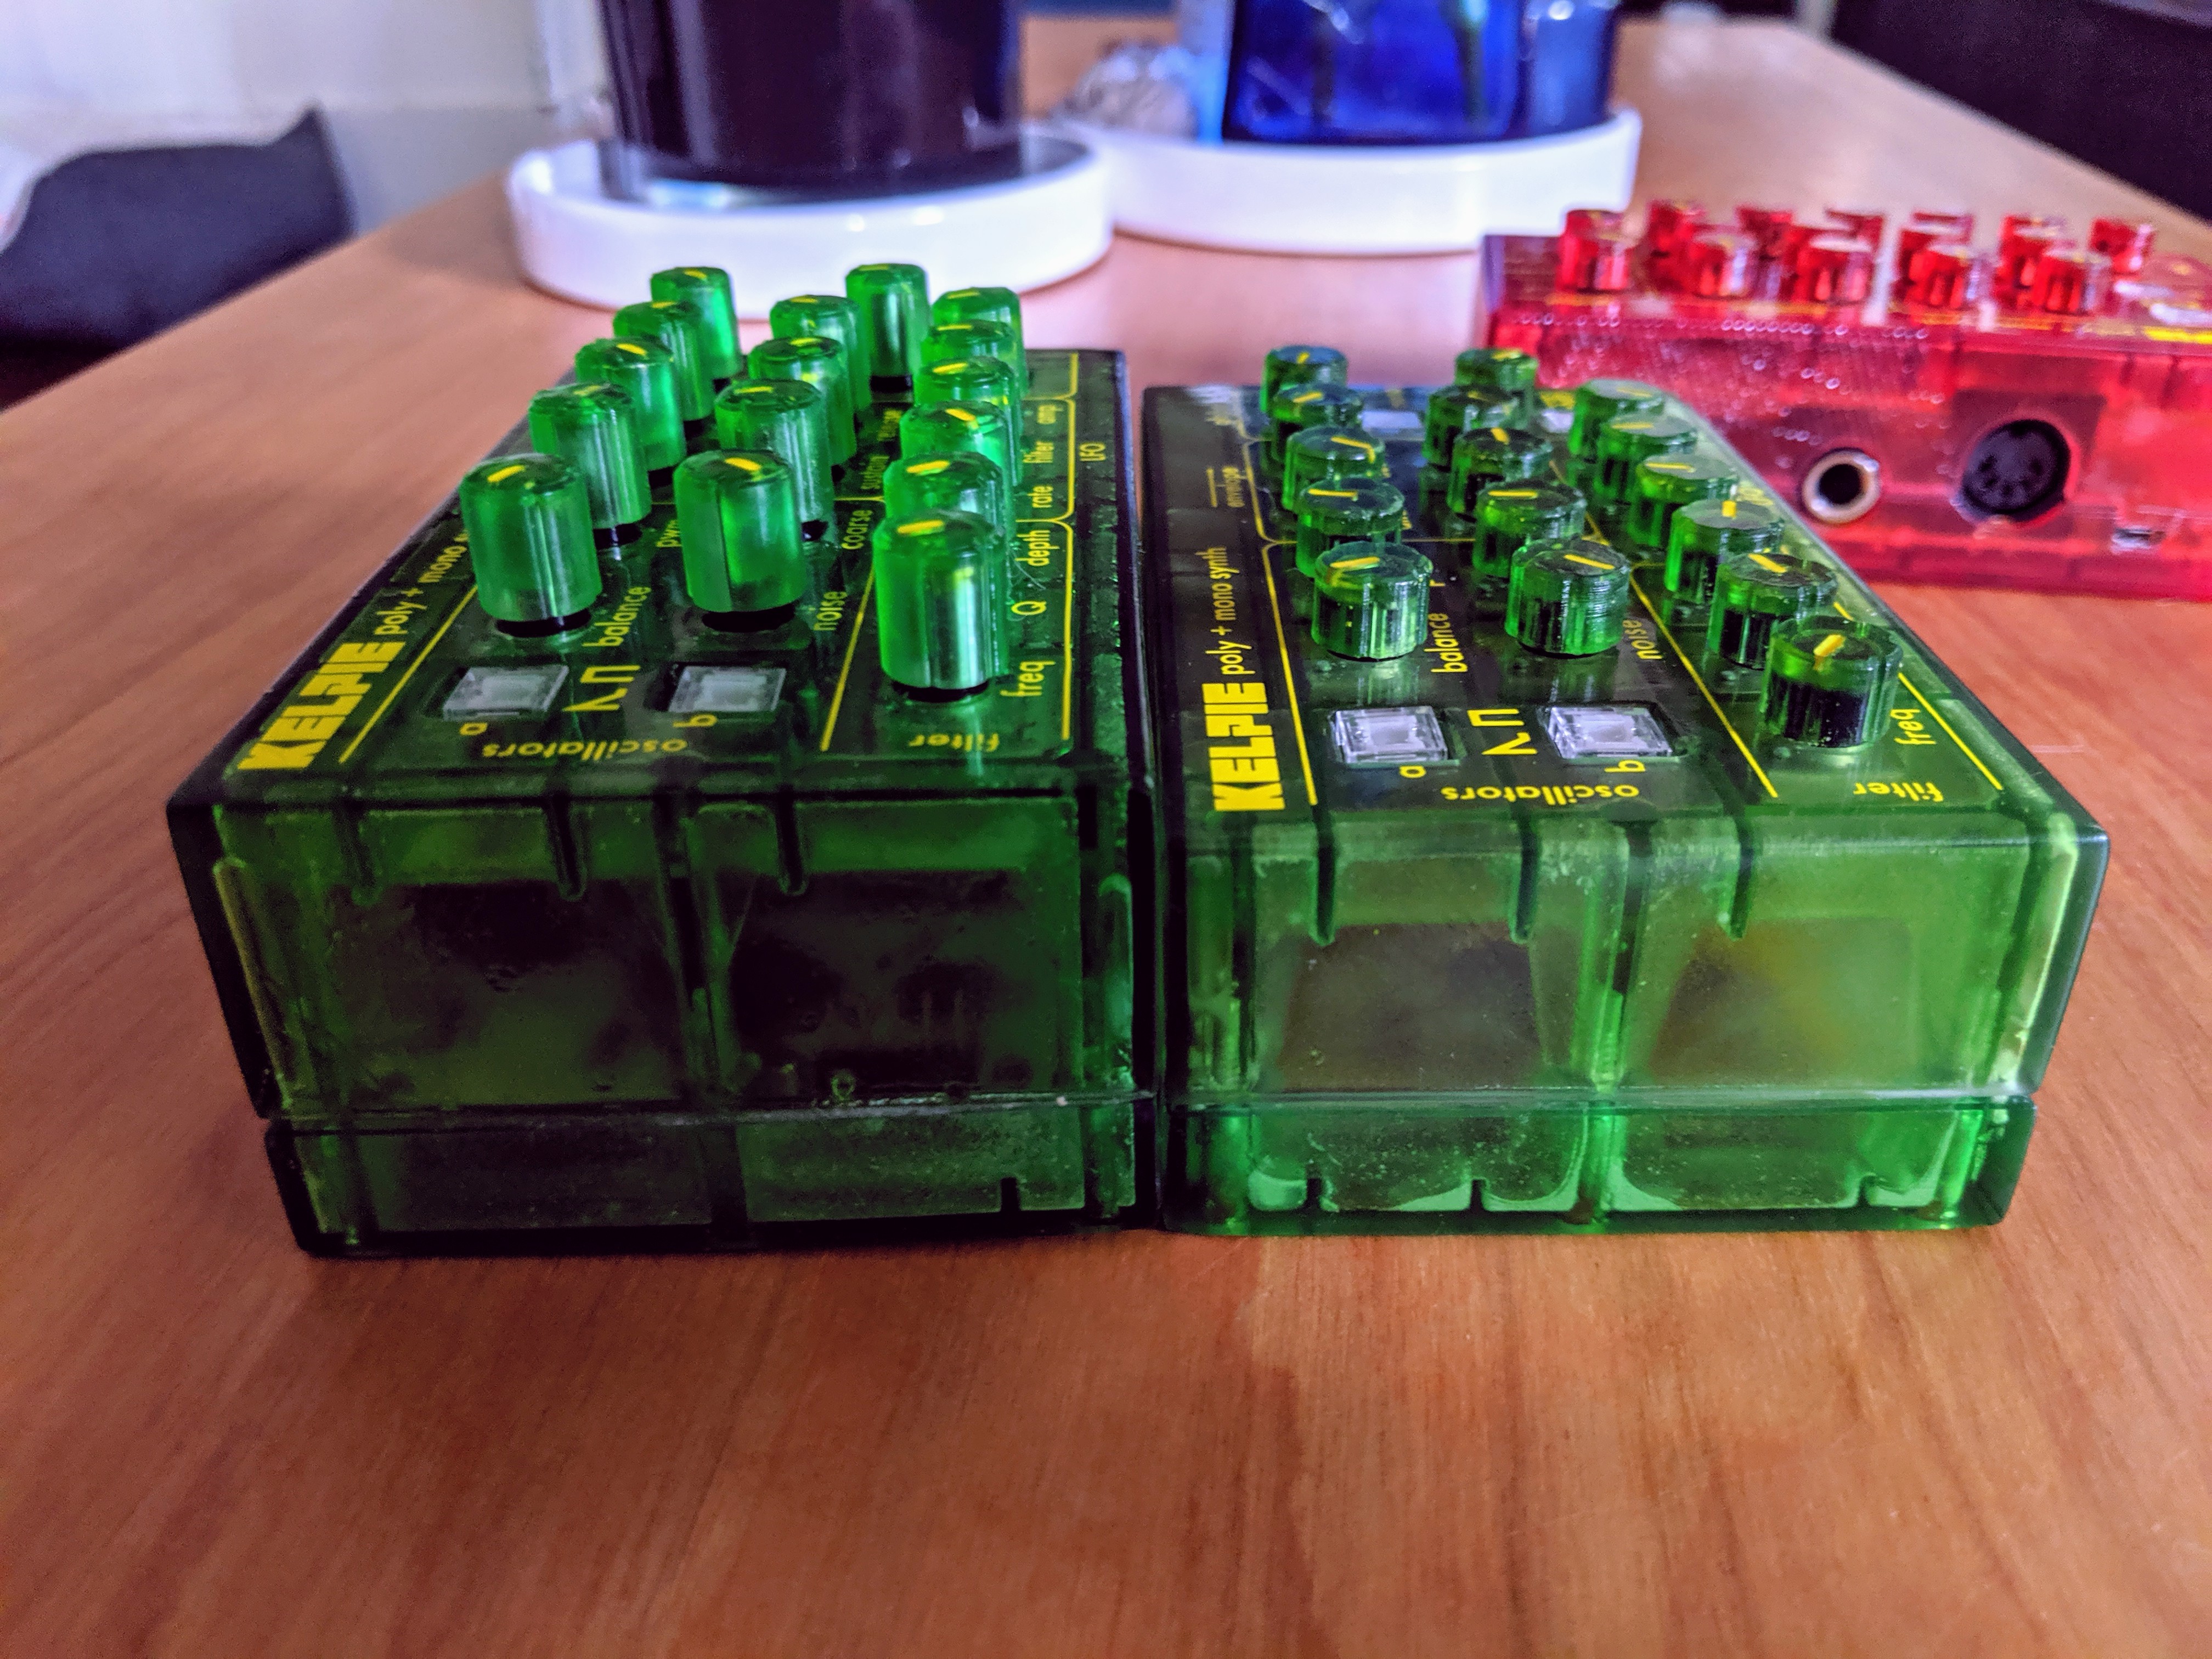
One trend I’ve noticed with synthesizers is to name them off of mythological creatures (Sirin, Minotaur, Osiris, etc.). The KELPIE follows this trend: “a shape-shifting water spirit”. Since synthesizers are essentially wave-shaping devices, I thought this particular name was appropriate. It also was the inspiration for the greenish color scheme of the device.

The Design:
Earlier this year I had a chance to visit the Moog Factory in Asheville, VA. I went on a tour and got to mess around with some of their newest products including the Moog One and the Sirin. Both instruments were super cool, but I really felt attached to the Sirin. The hardware interface was easy to wrap my head around, it was portable and colorful. The device had no built-in keyboard, but only a couple outputs and a MIDI in. The Sirin is an analog synth and handmade in Asheville, which probably explains the $600 price tag. Nonetheless, I came home feeling inspired and decided I wanted to make my own version of the Sirin.
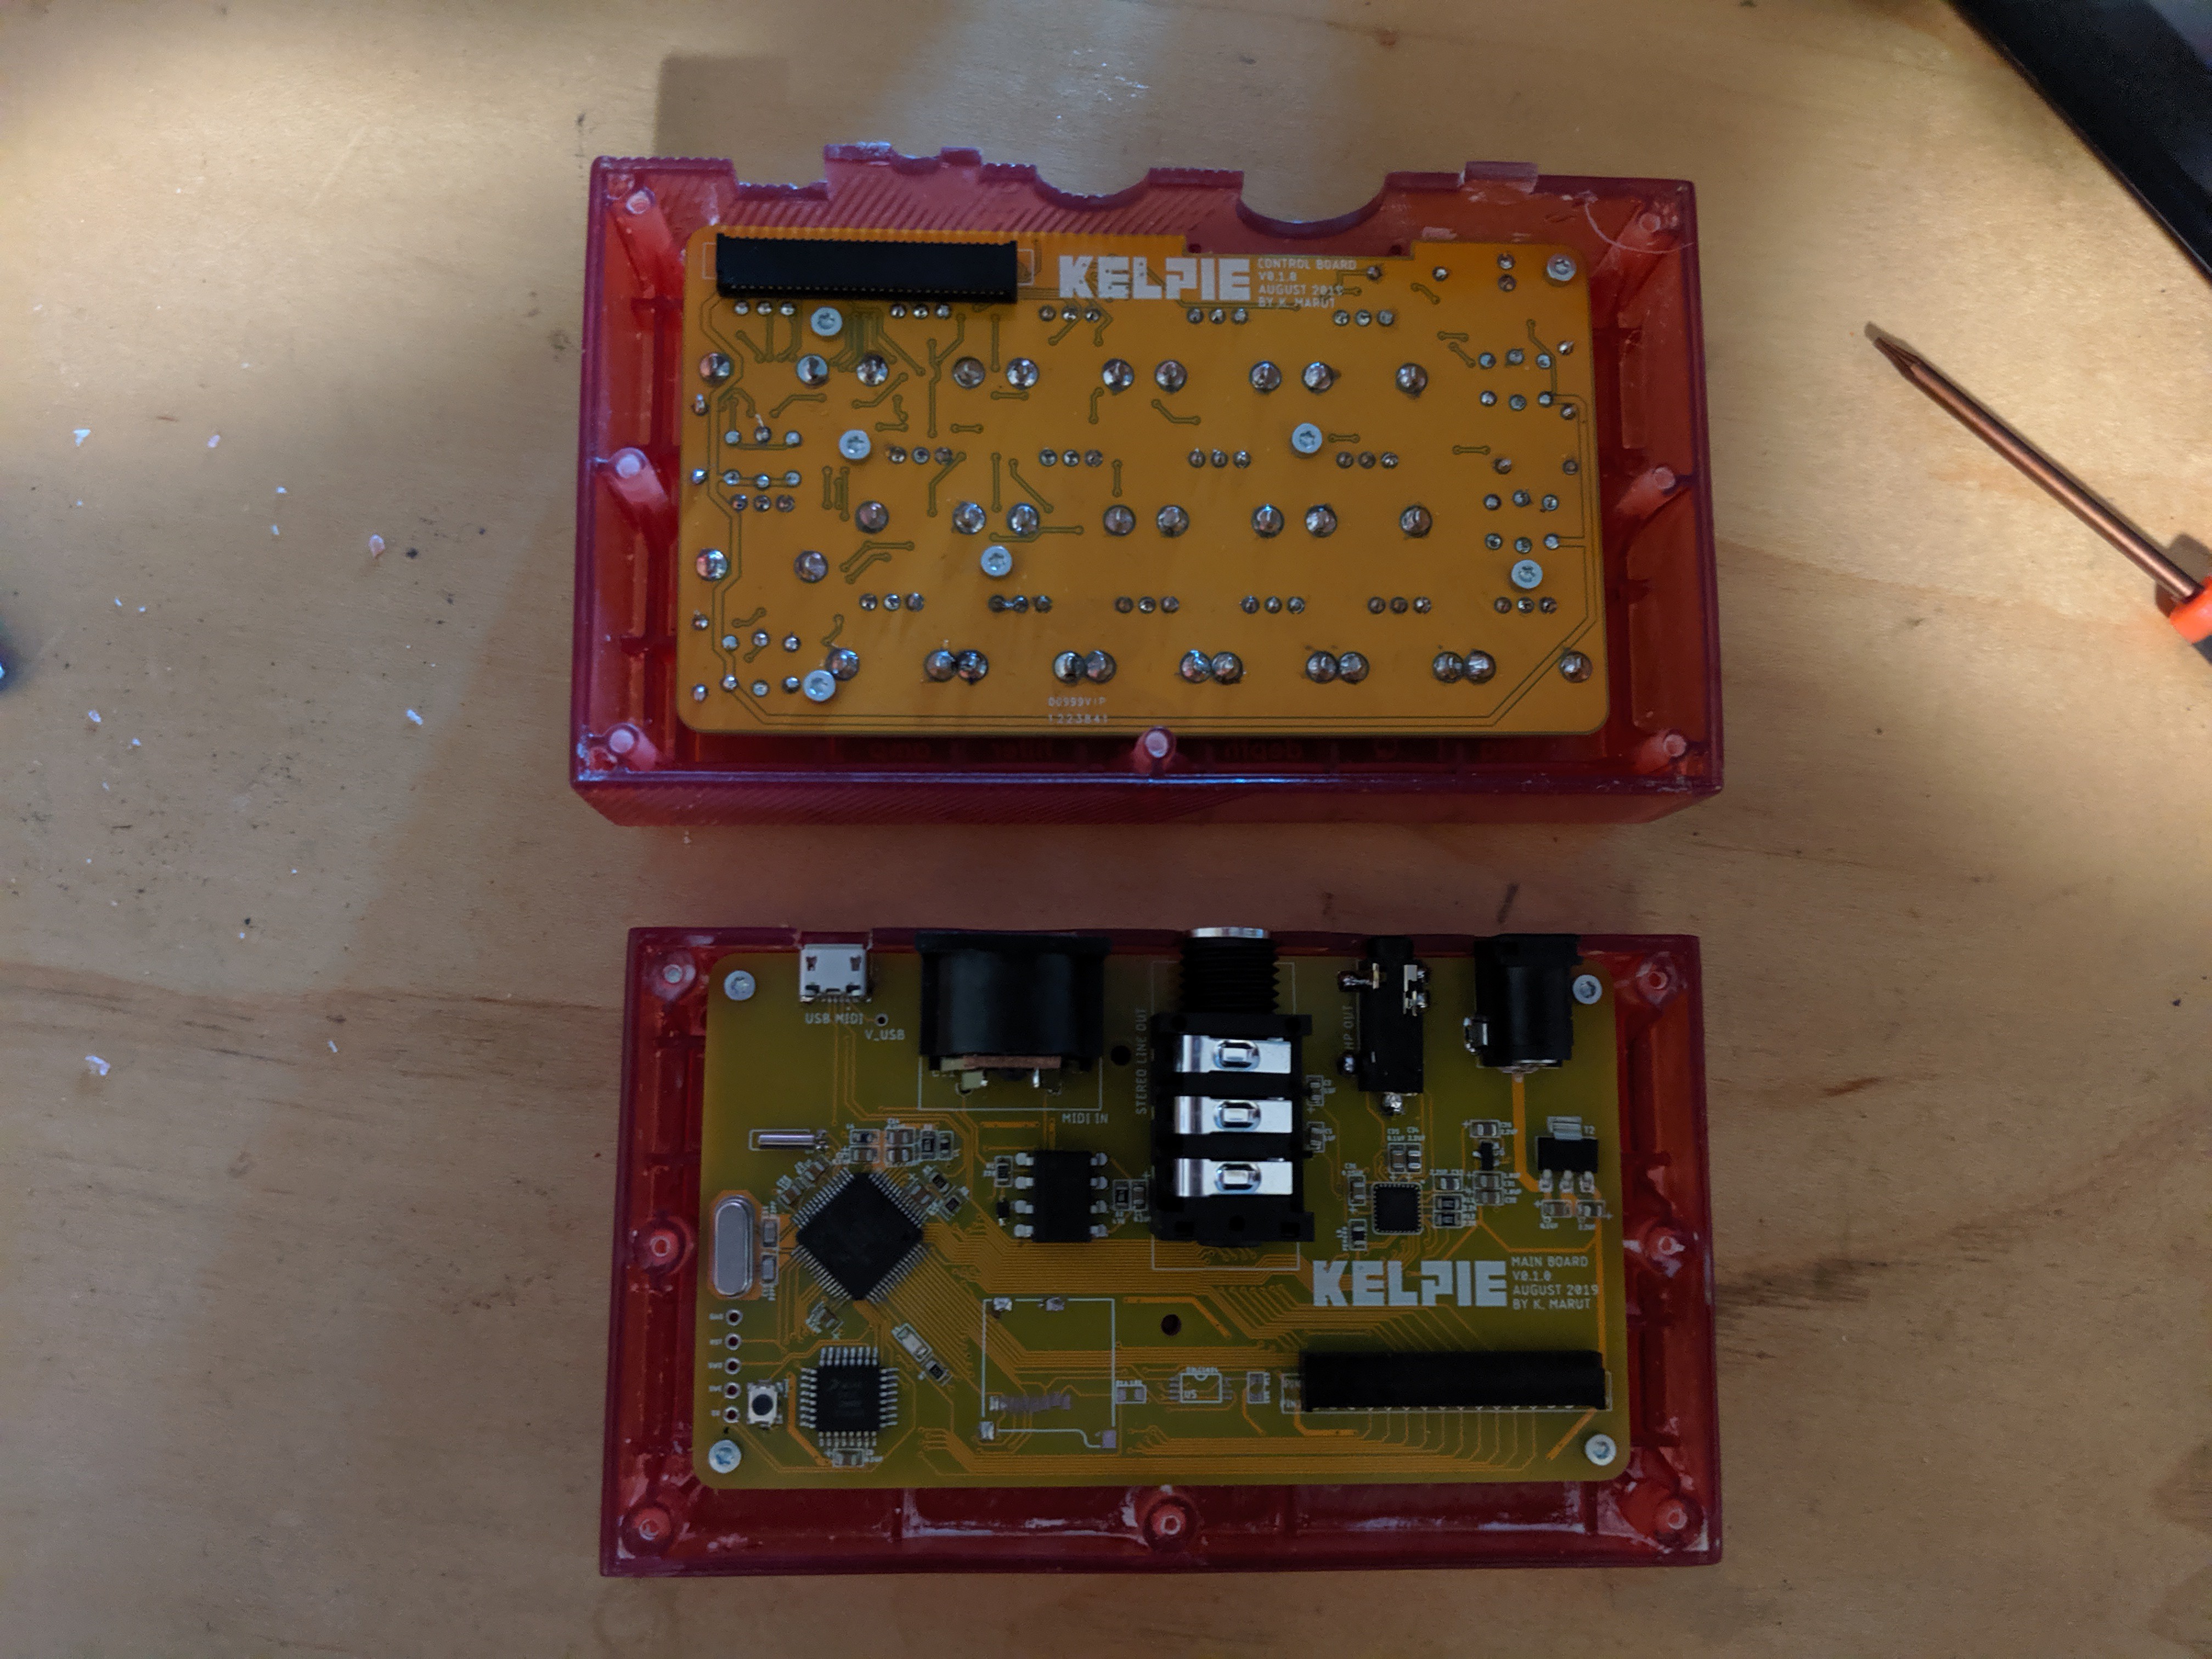
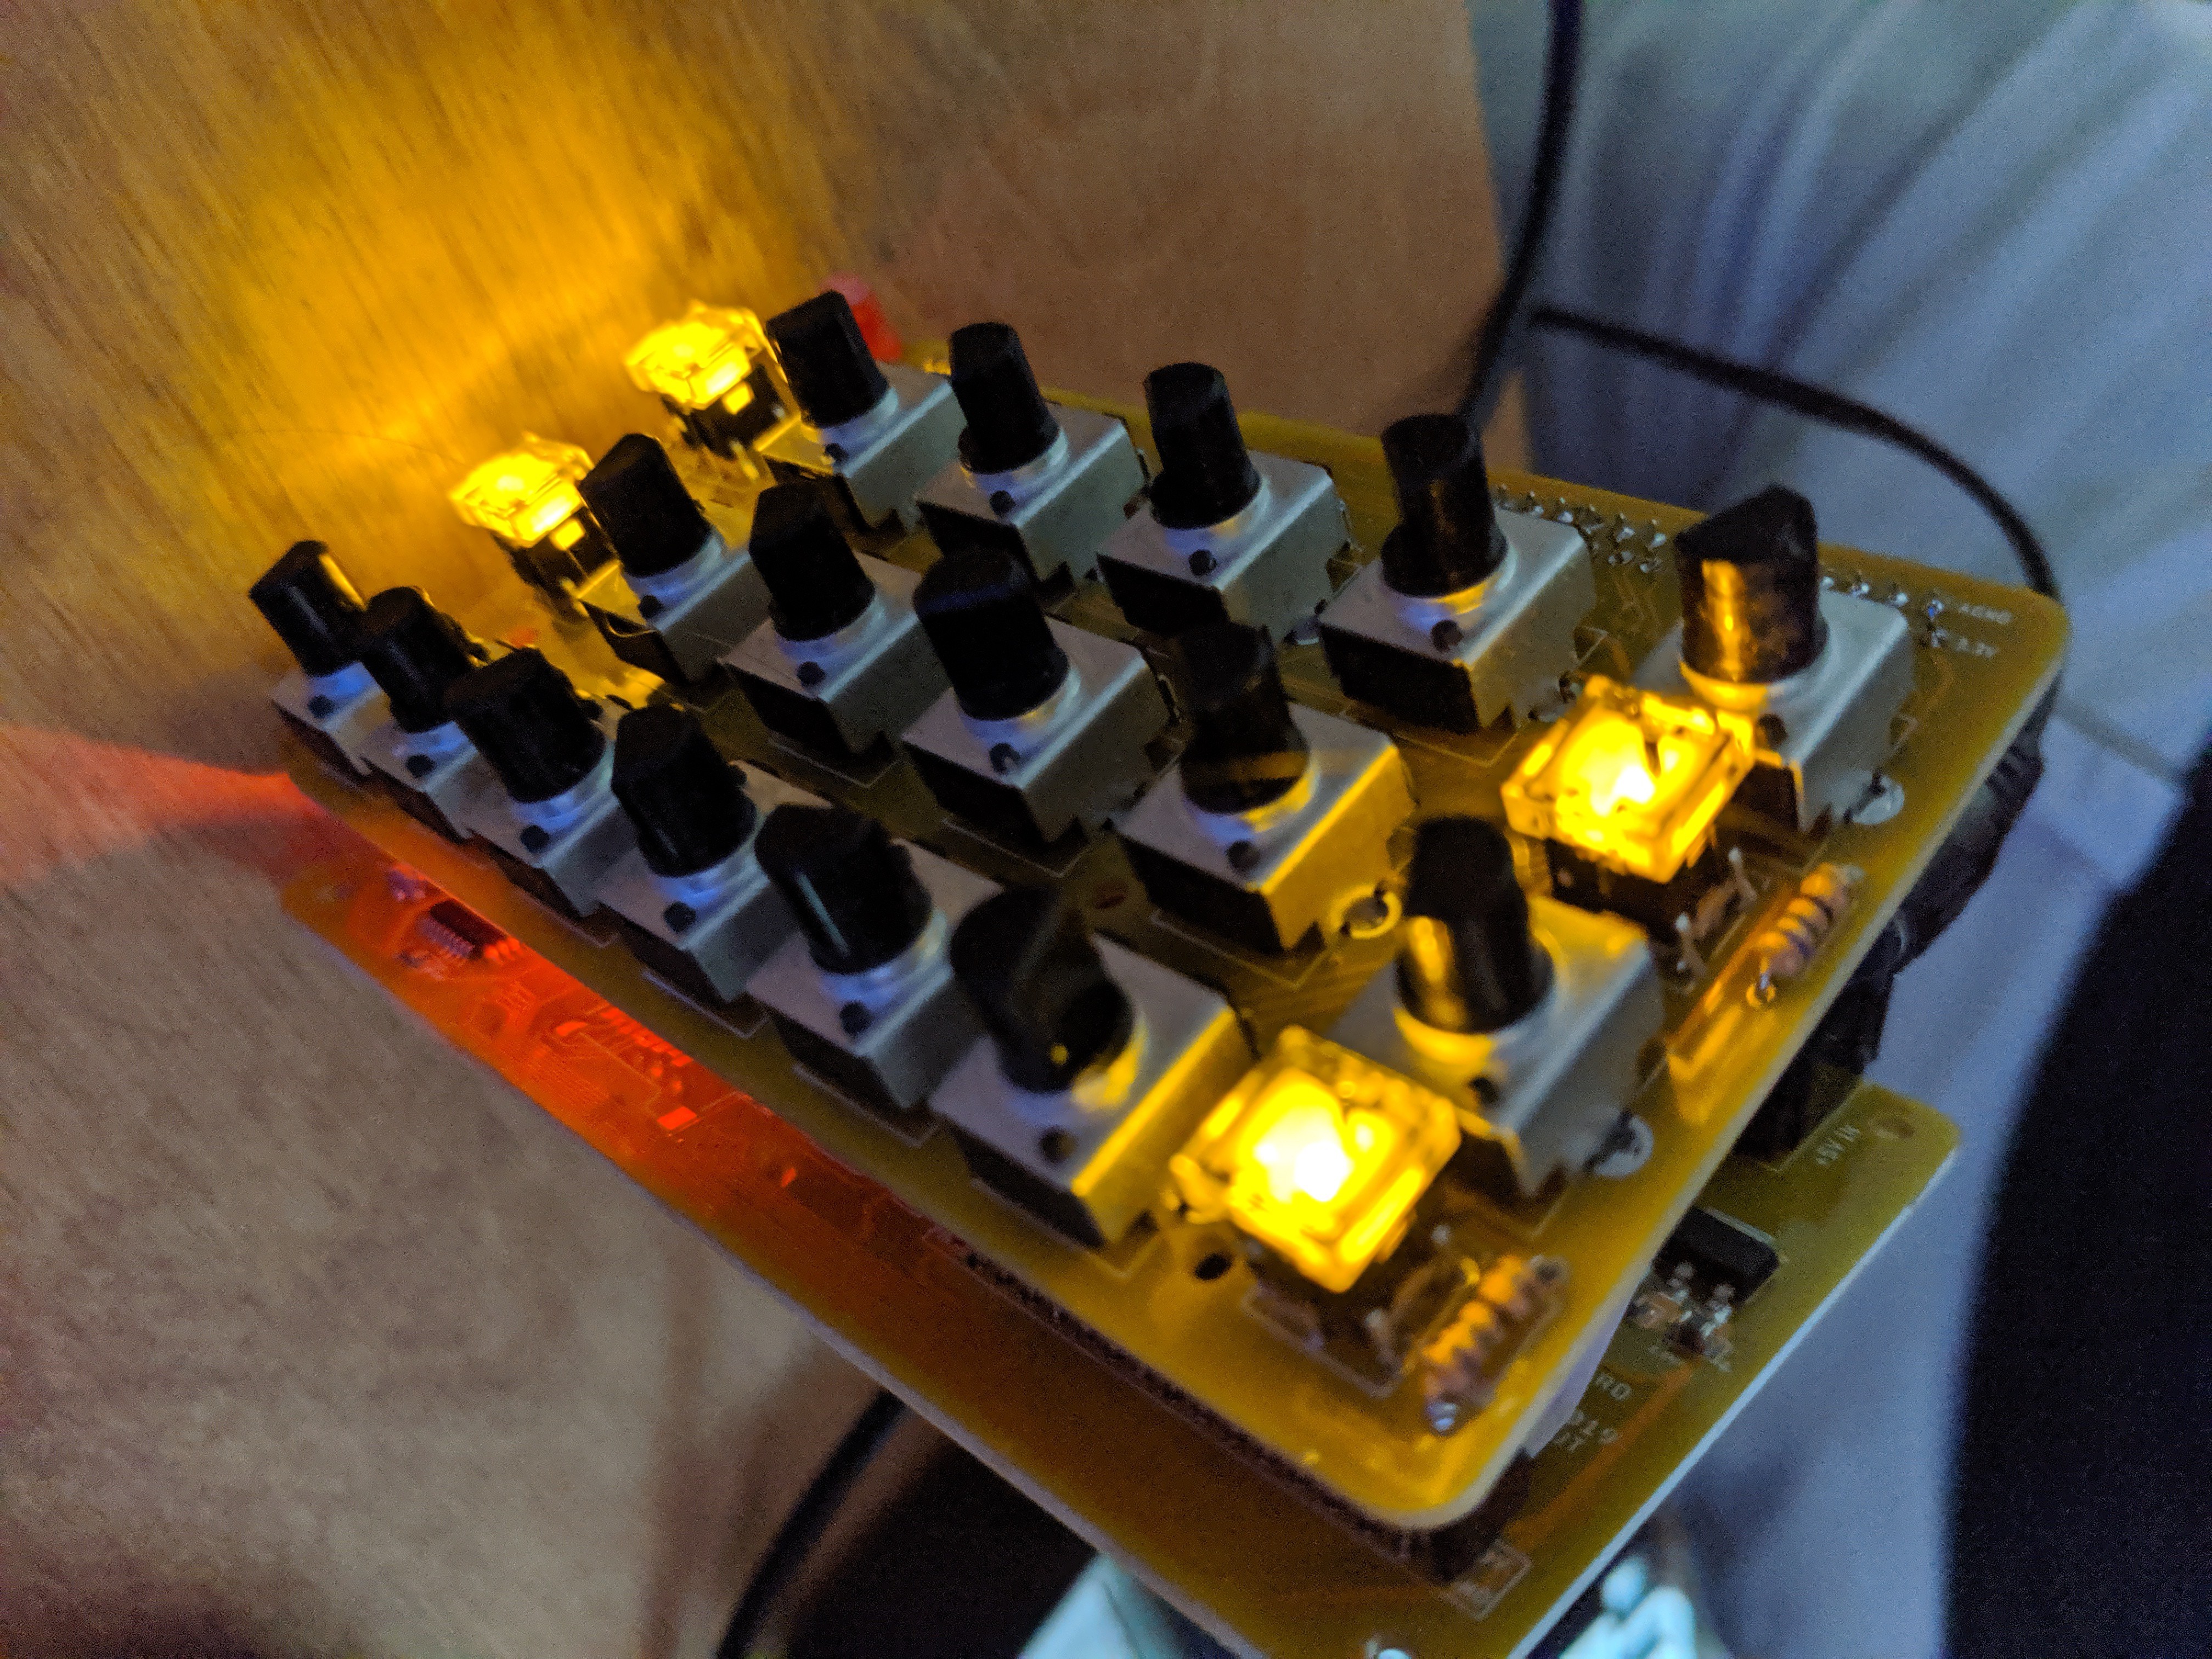
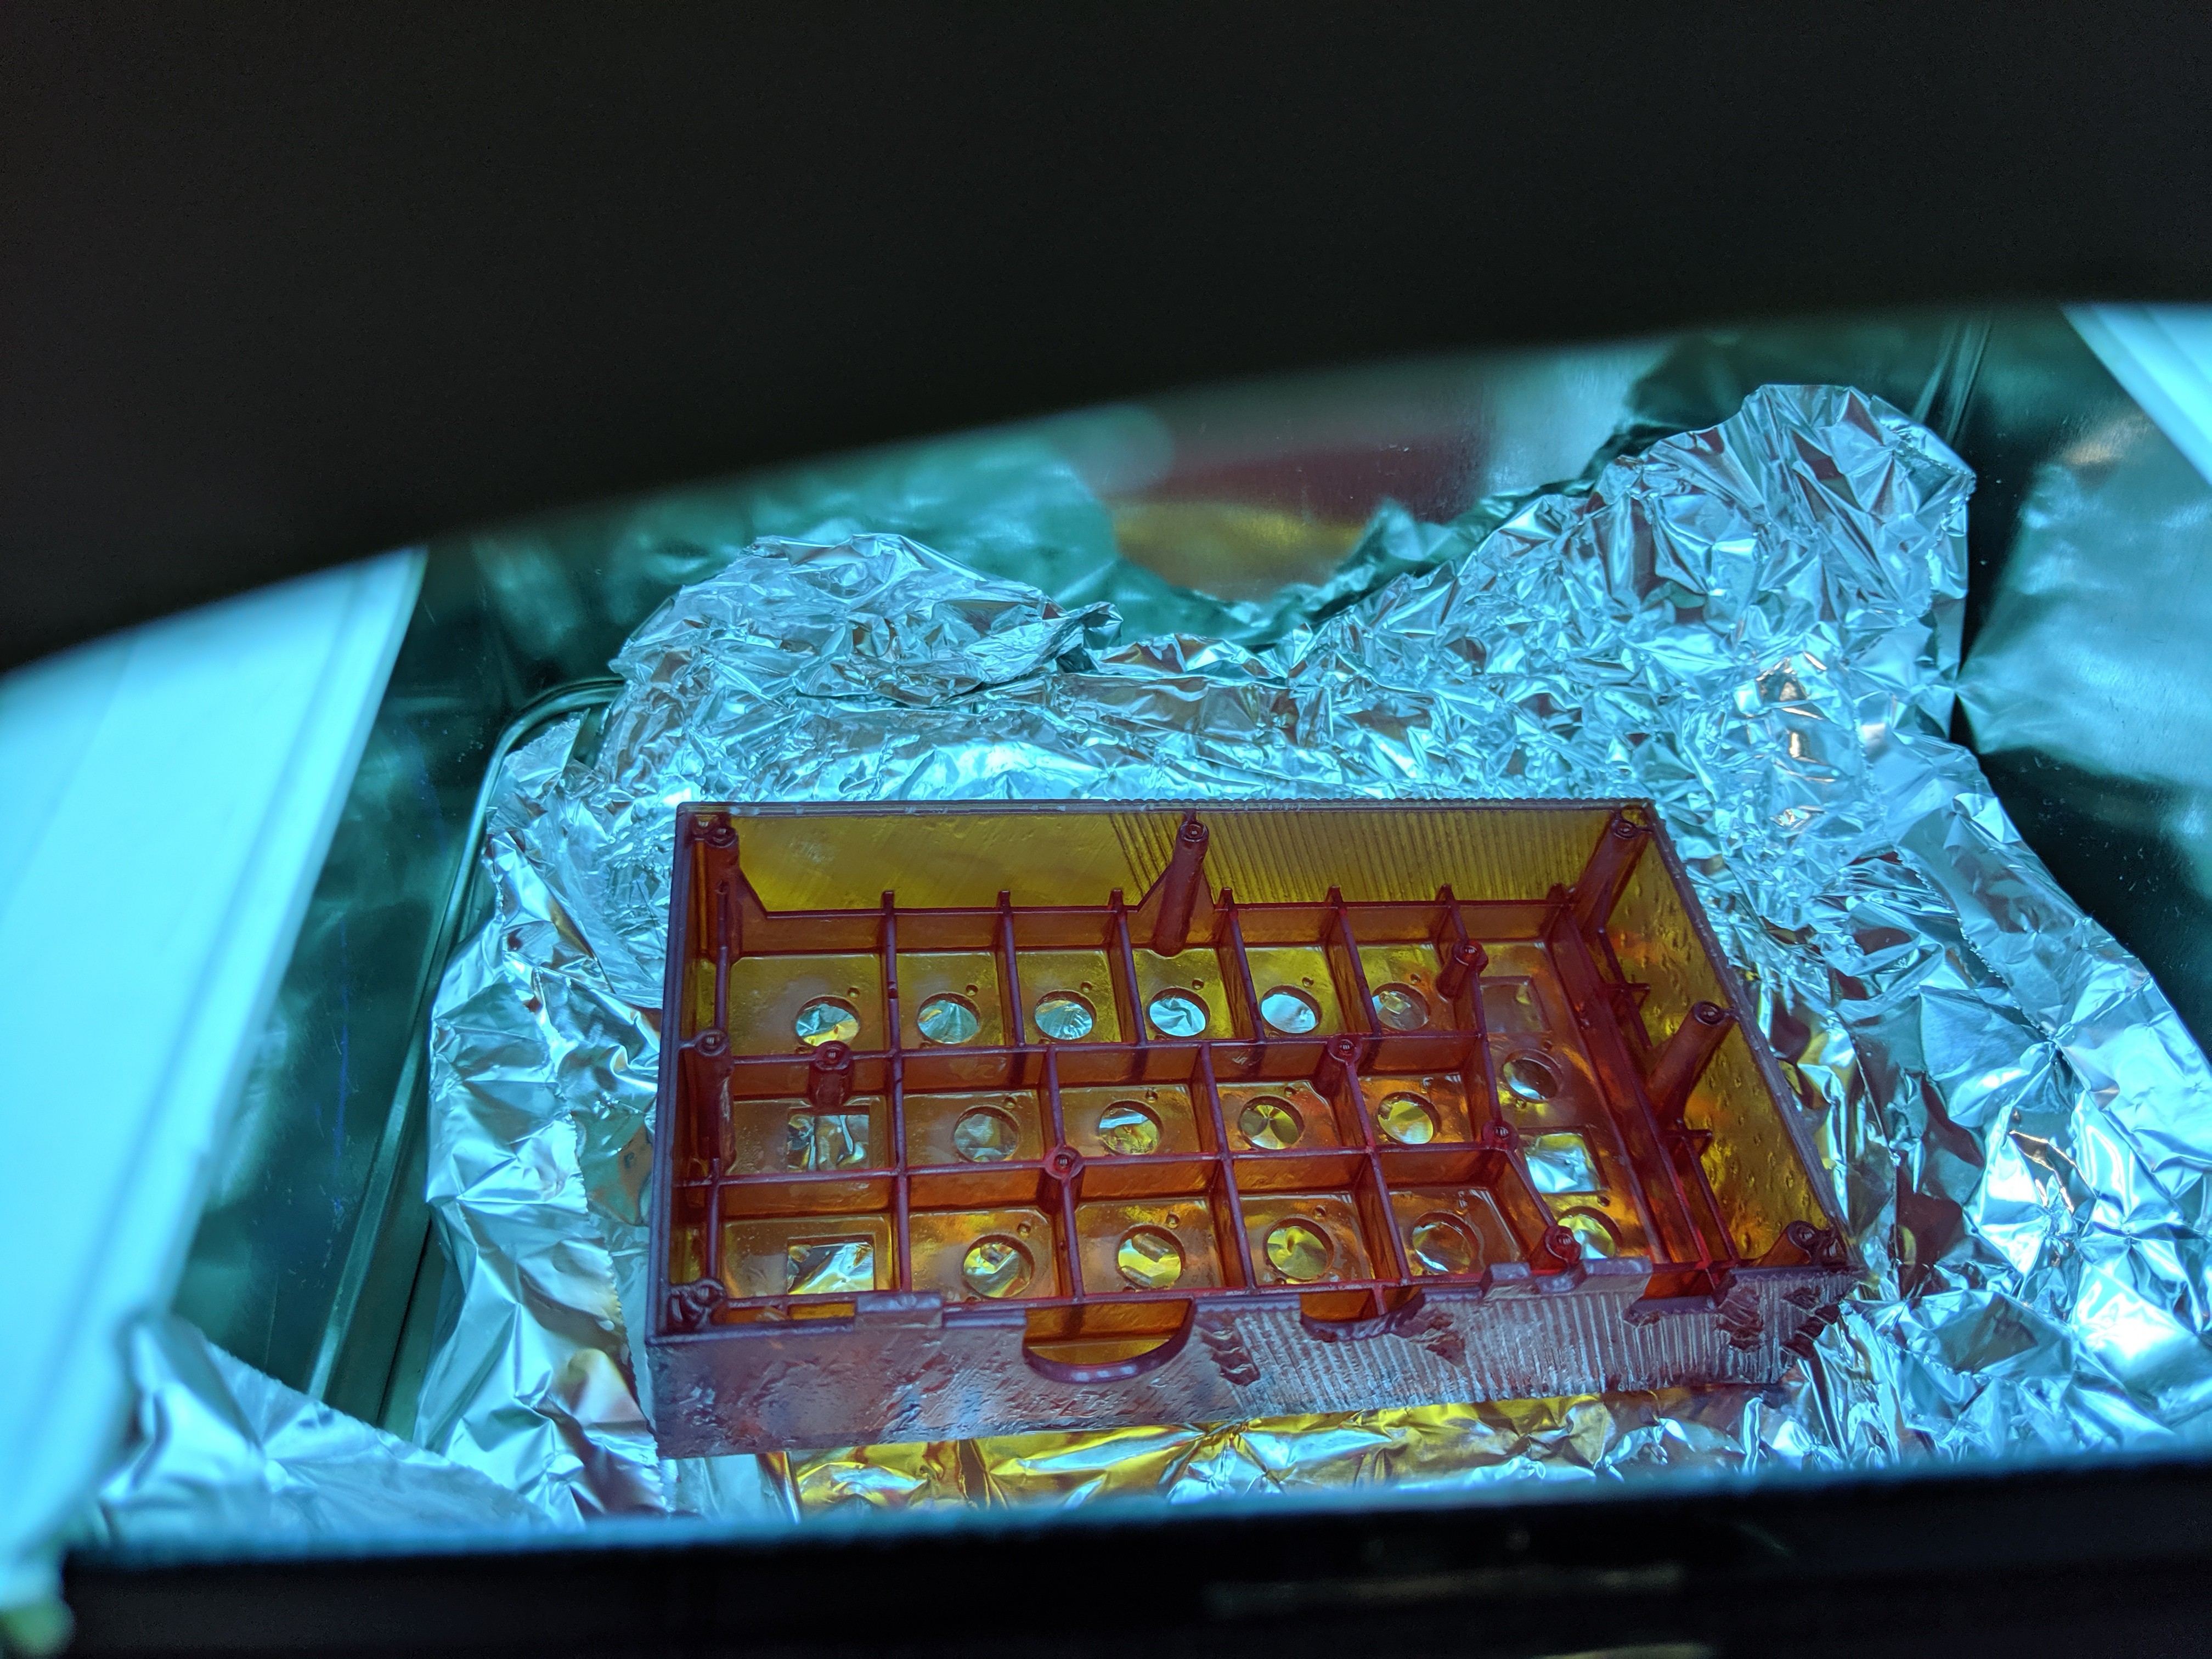
I started off knowing that I wanted to use the Teensy Audio platform as the core since I had so much fun with it last year, and I felt like there was still a lot of exploring to do. I selected some basic electronic components that would define the layout of the mechanical design, including the large MIDI and phone jacks, knobs, and LED buttons. I fired up a Fusion 360 + Eagle joint project and started the initial layout of the PCB. I was very diligent about adding 3D files to all my Eagle library components because I didn’t want any surprises down the road during prototyping.
Once I was confident in my mechanical layout, I spent a lot of time interpreting and translating the Teensy 3.2 reference board and Audio schematic to create my own custom controller board. When I was ready, I had some boards manufactured and started on the industrial...
Read more »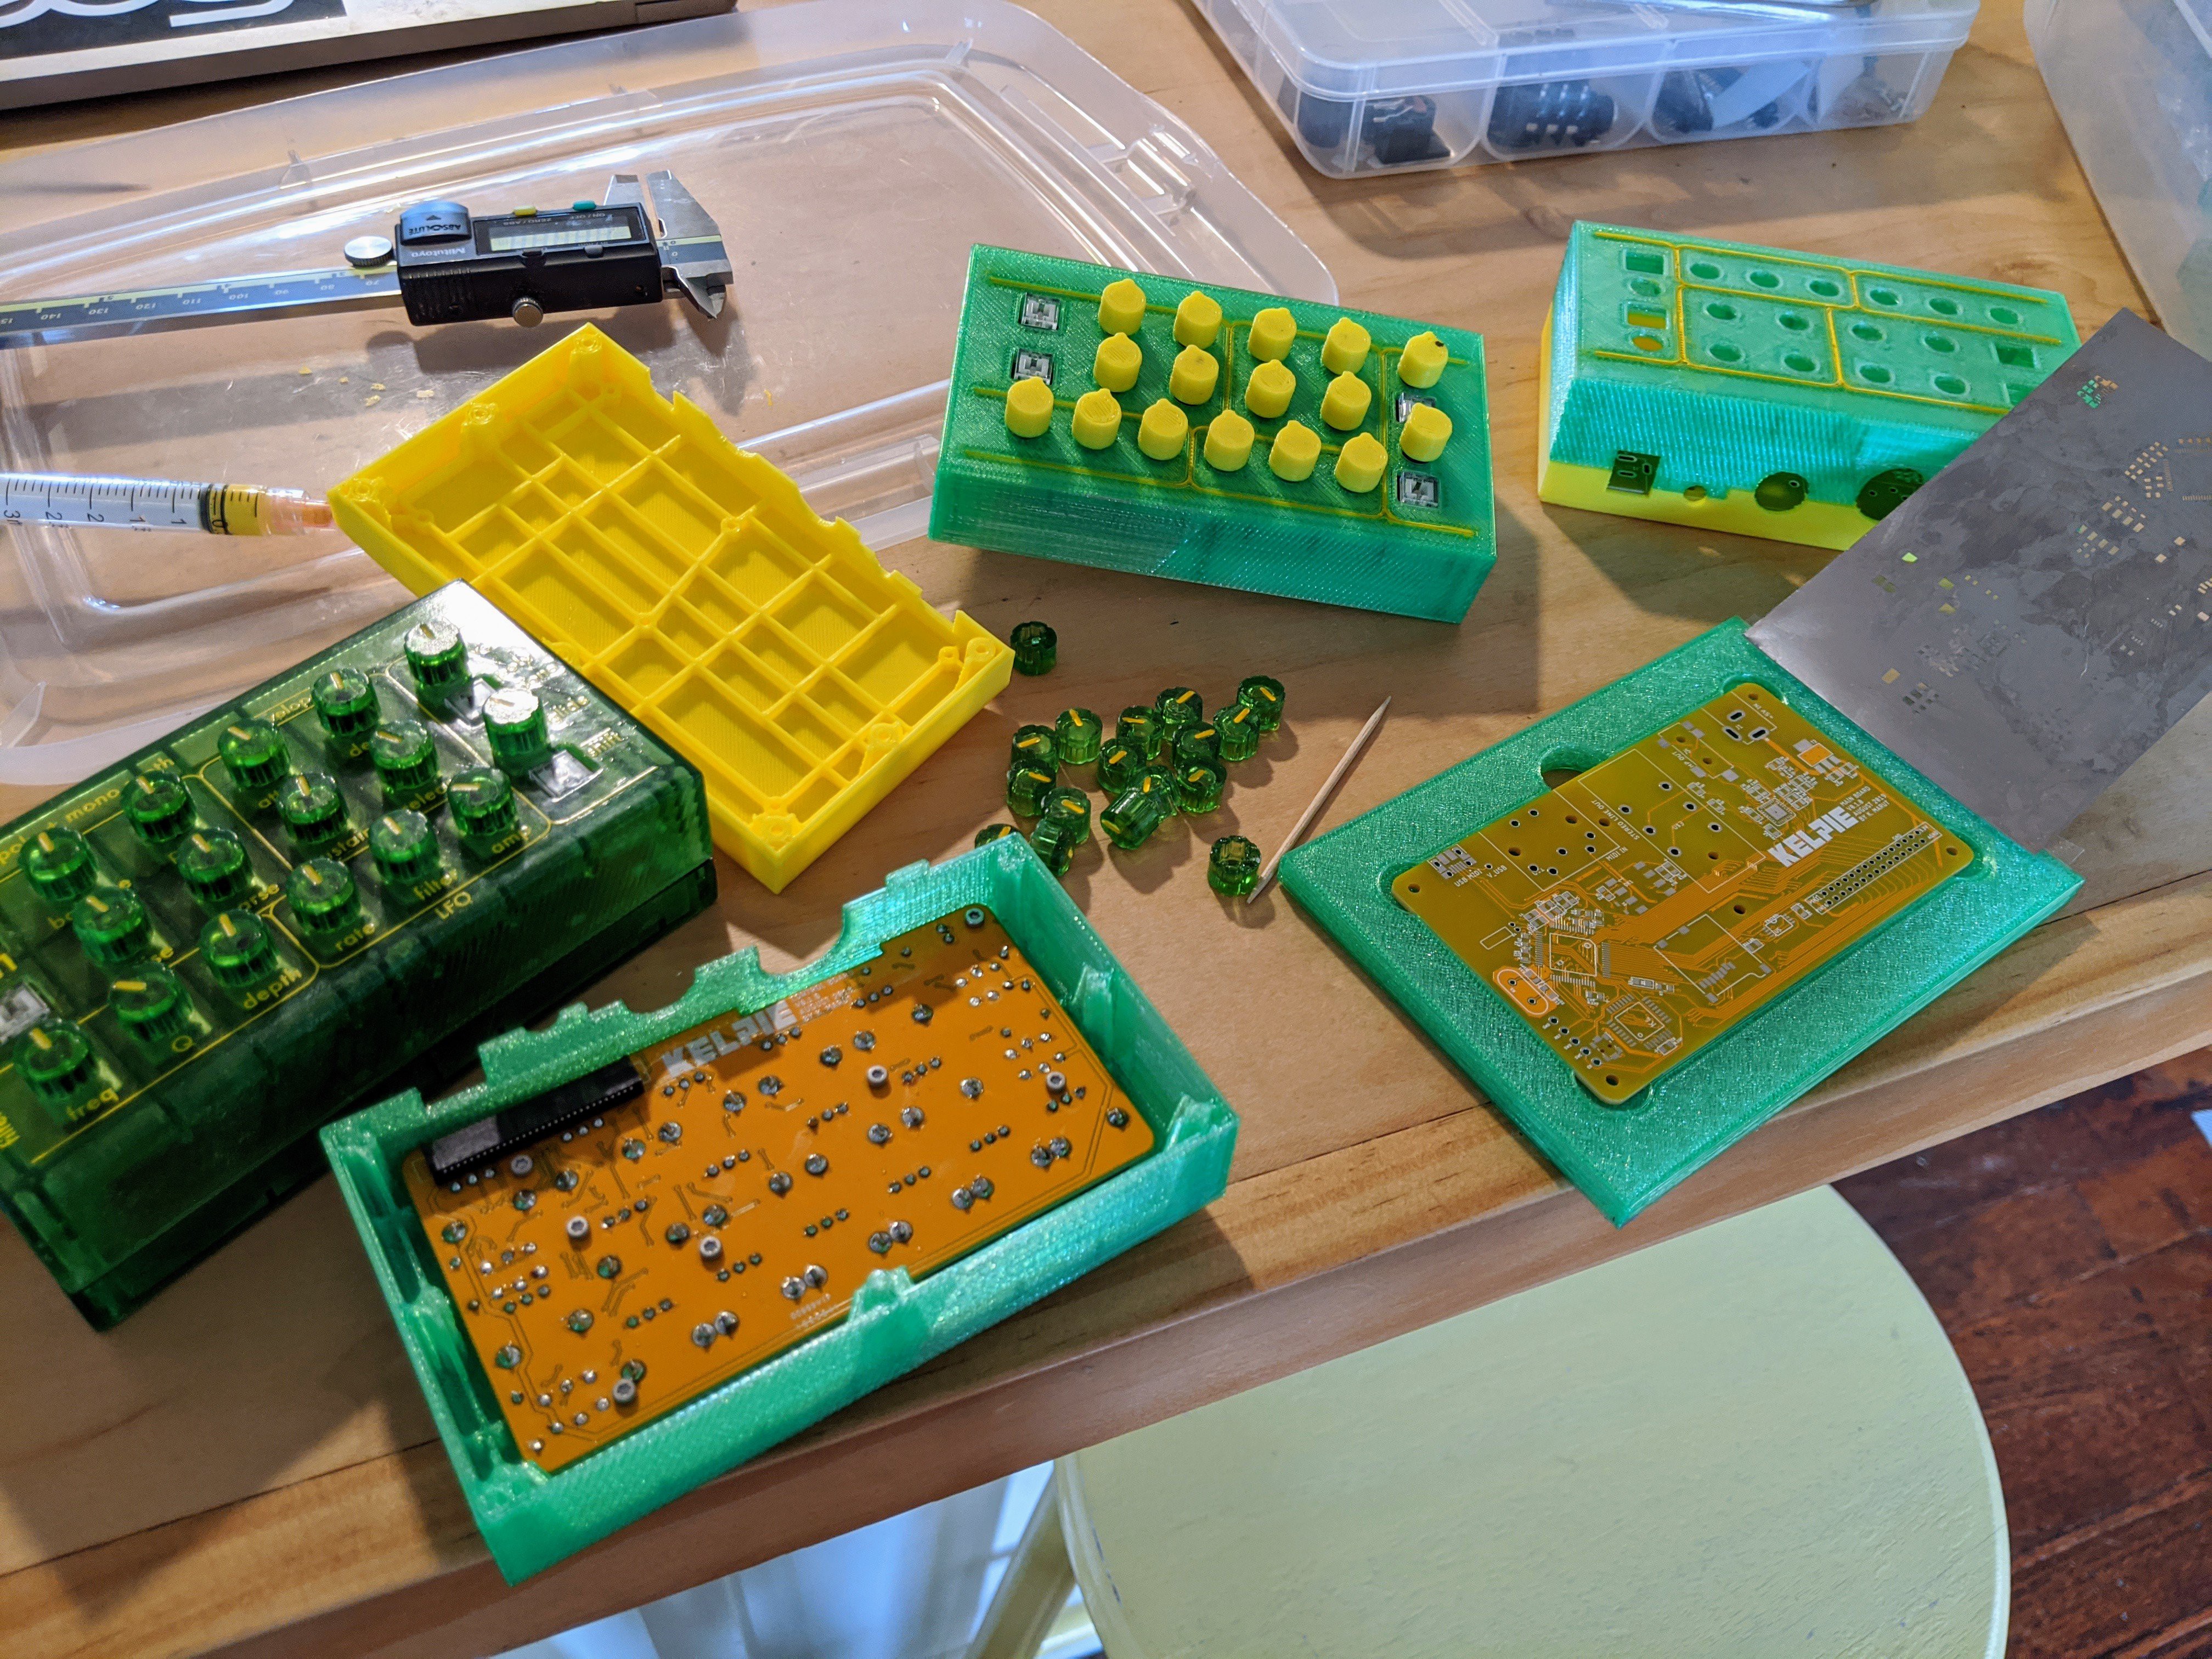


 uri.shani
 stupid
 shlonkin
 Matt Bradshaw
Very nice project !
I just made a multiFX box with my Teensy 4 and audioshield, this plateform is amazing :)
I would be very interested to buy a Kelpie. The form factor looks a little tiny for my big fingers but I can probably handle it ^^
Any plans to sell a kit or something ?