-
Z Axis motor mount
08/16/2019 at 22:11 • 0 commentsZ axis mount is both machinable and printable. Because the goal is to have a heated chamber print in a high temp plastic like ABS or better PC, PEEK, Ultem etc. Depending on mounting it is possible this mount will not have any direct heat within the chamber. More on that later.
![]()
Potential mounting solution. Still searching for a 6mm ID GT2 belt.
![]()
-
Increasing dehydrator temp
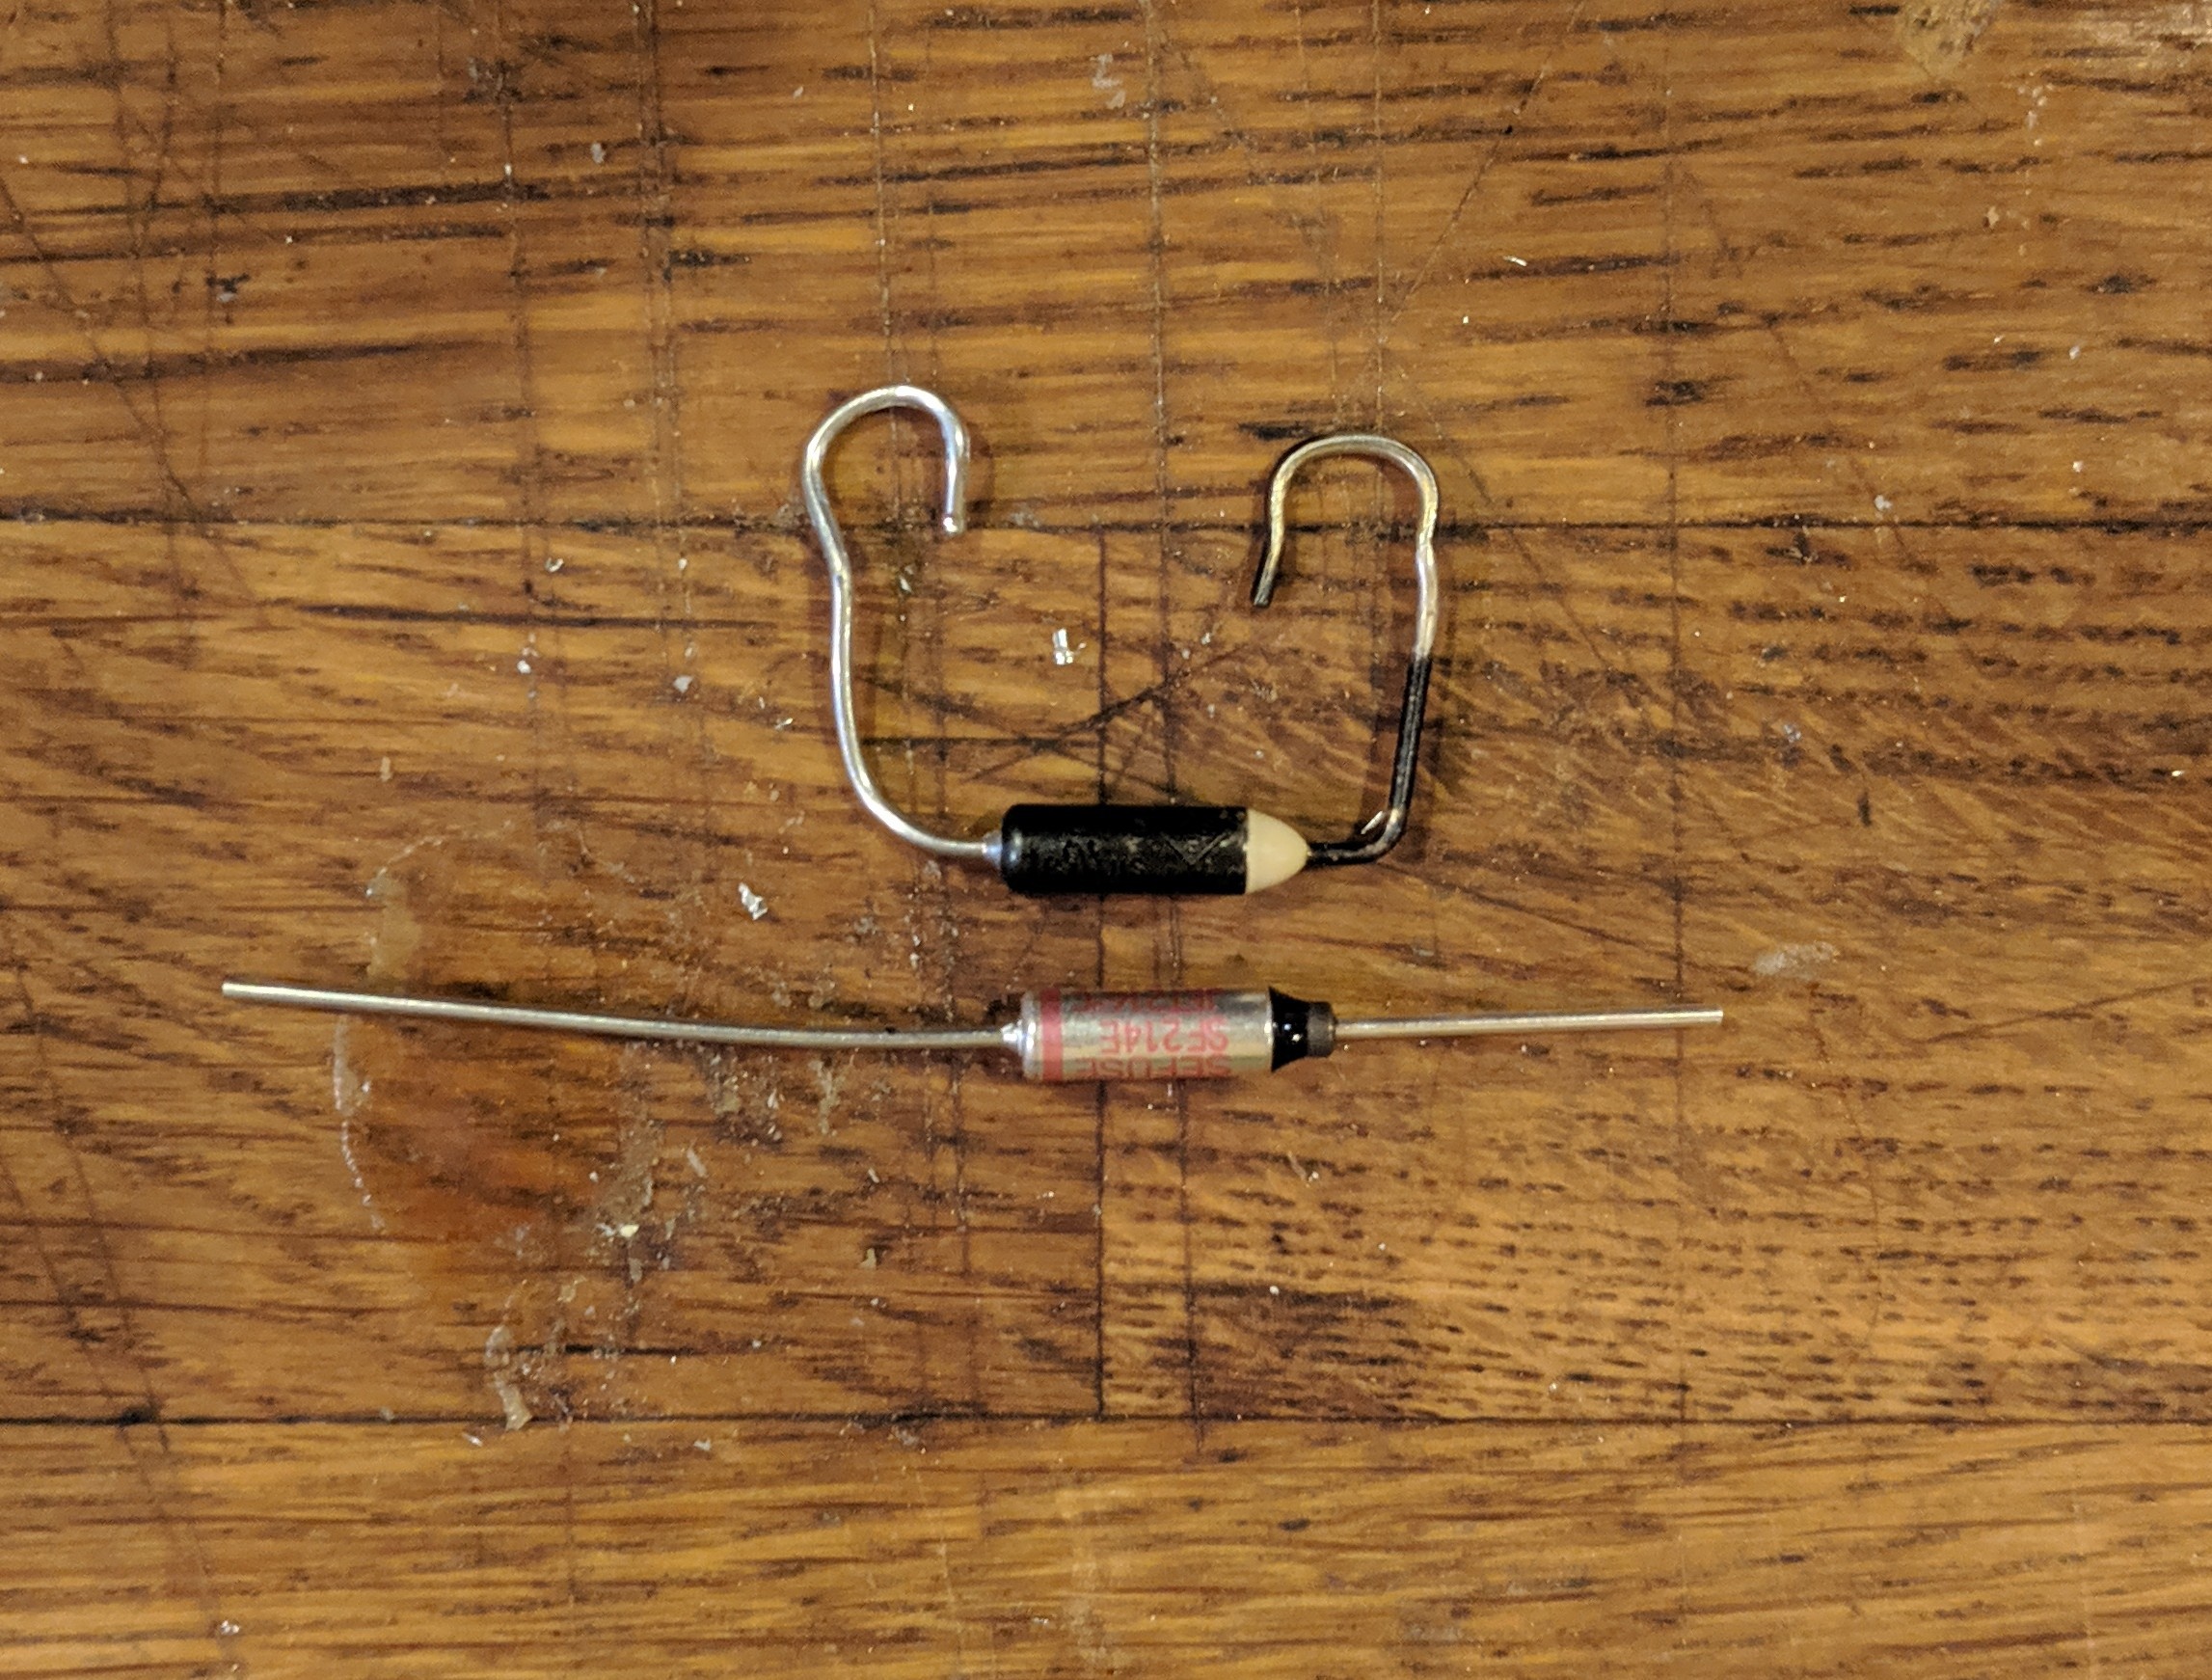
08/15/2019 at 17:20 • 0 commentsFood dehydrators, toasters and many other coil driven heating systems have very simple circuits. The upper limit of the system is controlled by a thermal fuse and have a potentiometer for adjusting temperature. For this loaner unit original fuse was rated for about 80c. Perfect for pla and petg which have lower then 80c glass transitional temps. Because this build is focusing on the higher temp ABS the requirements are for at least 110c. Opting for a much higher rates fuse a 216c fuse was selected so further testing at higher temps can be tested. DISCLAIMER AND WARNING! This is so far untested and might burn out if full power is used. Please use caution when altering heating devices!
Original on top. New on the bottom.
![]()
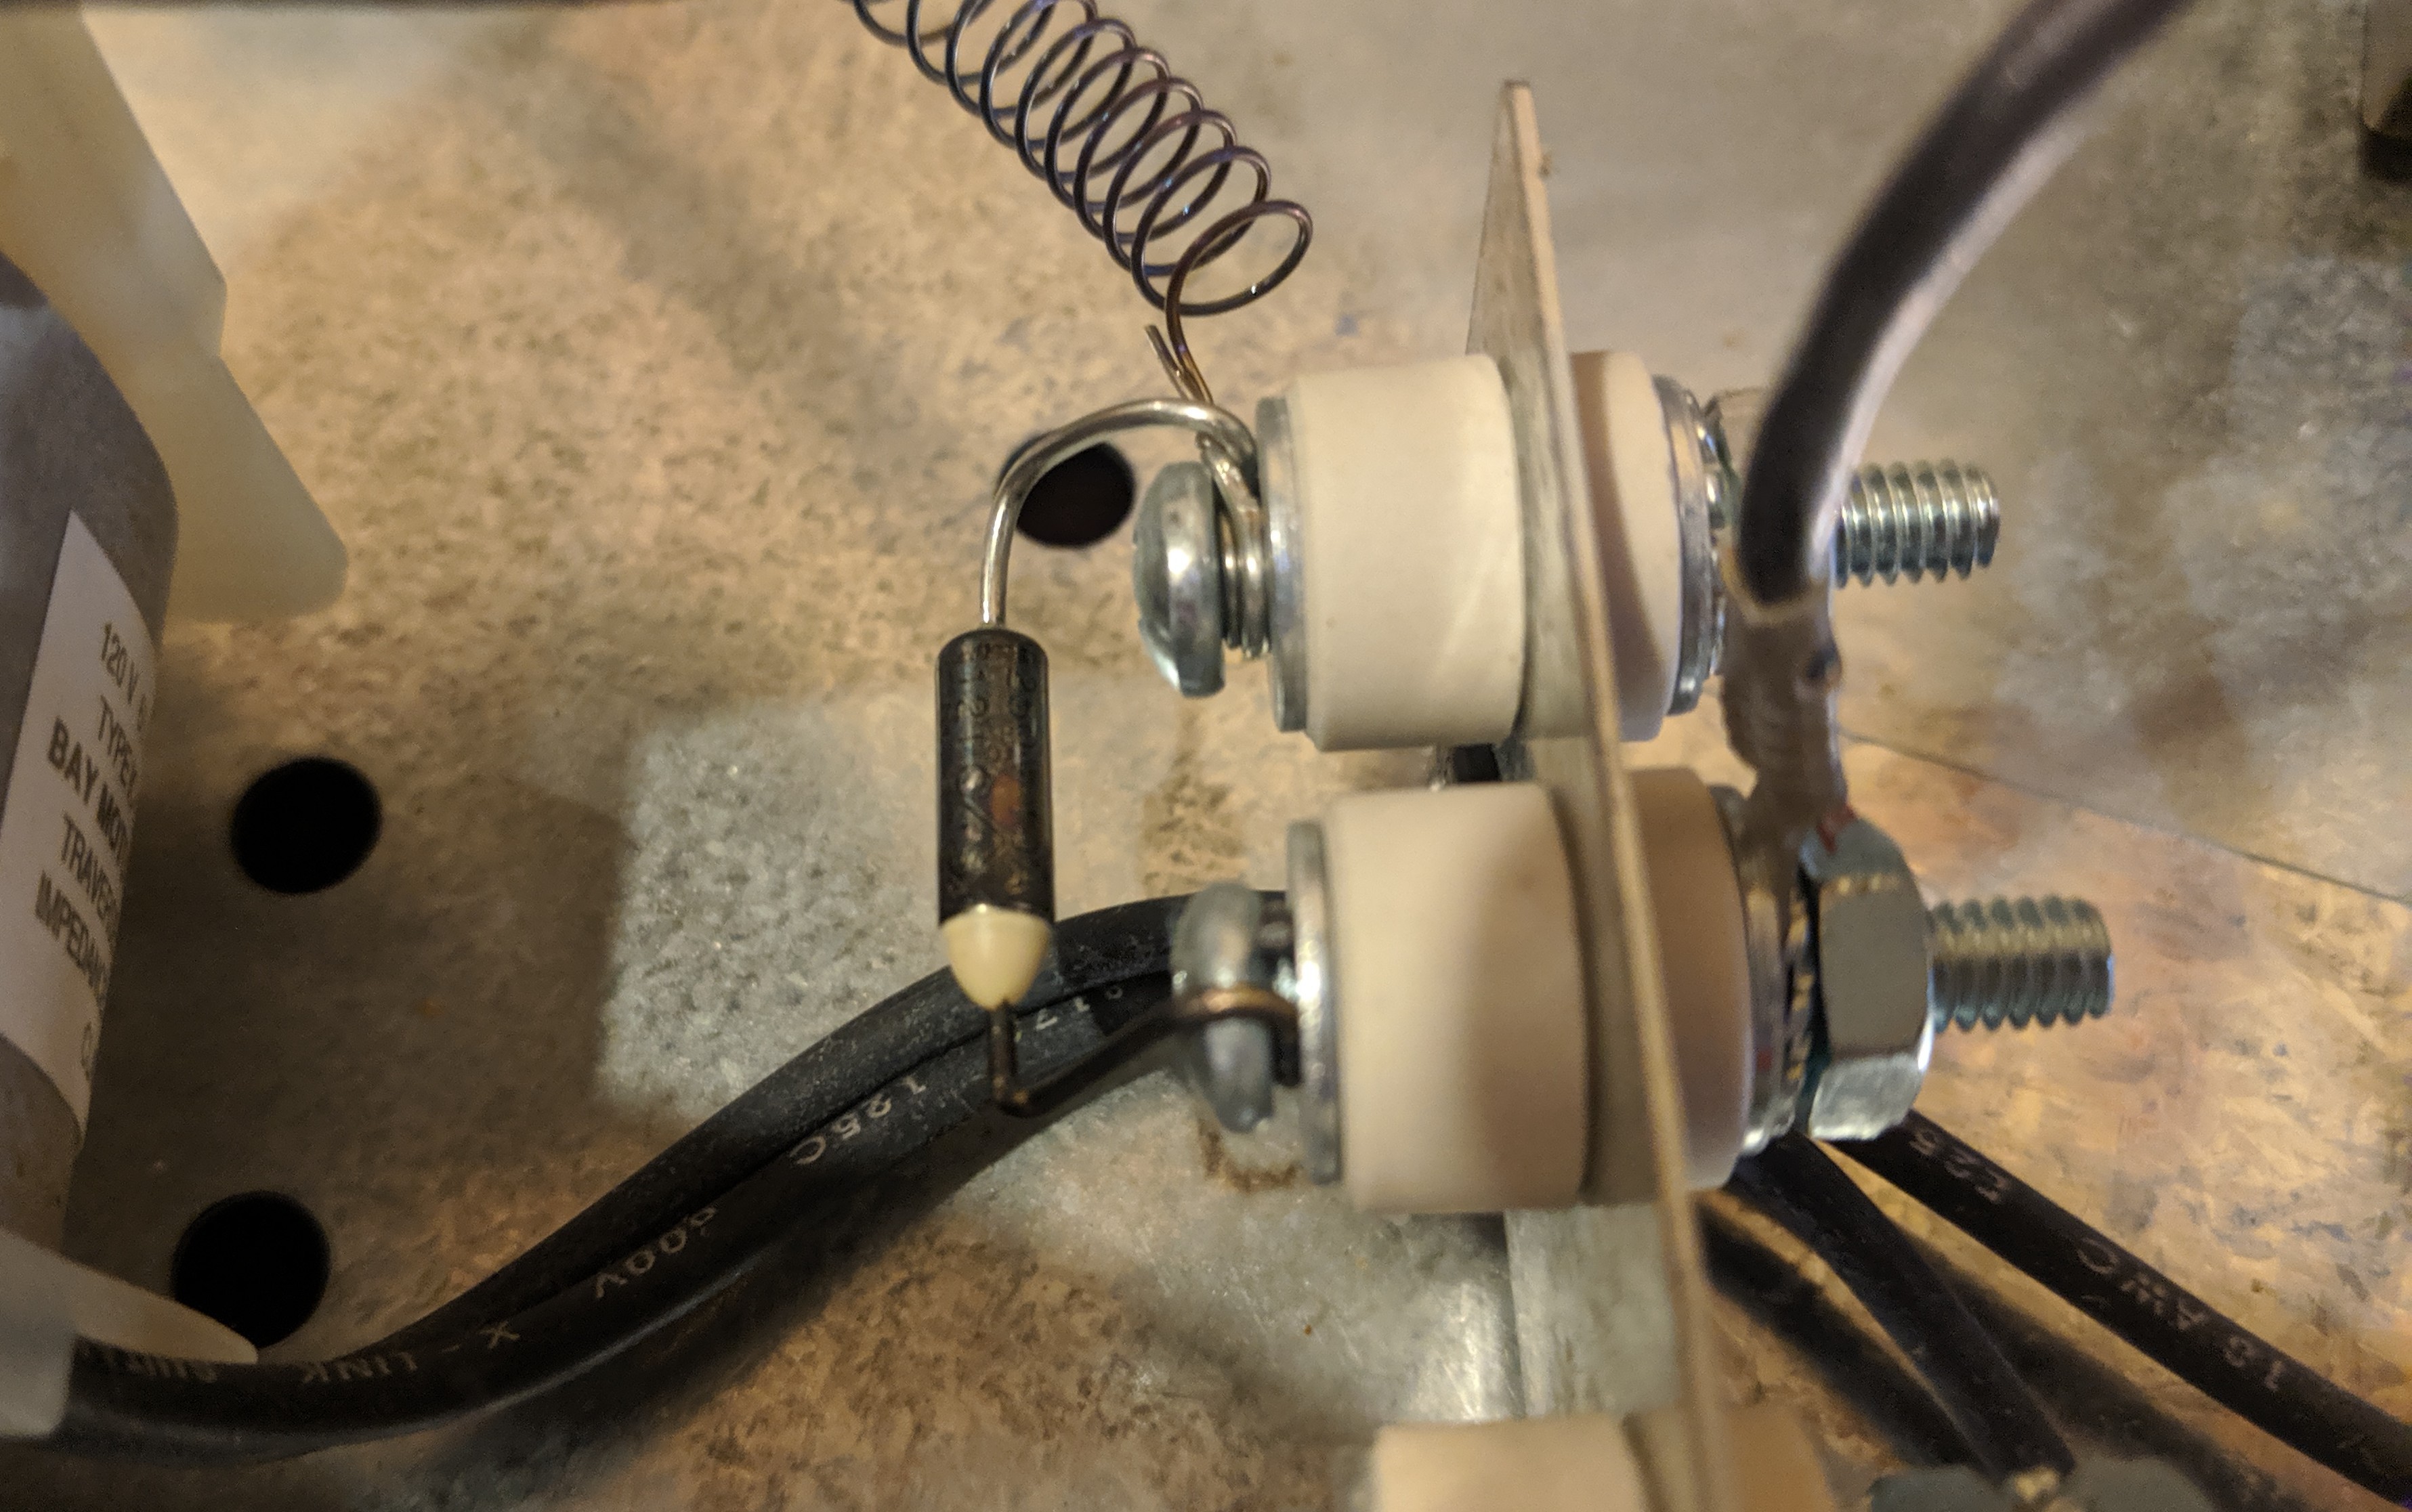
Original fuse in place.
![]()
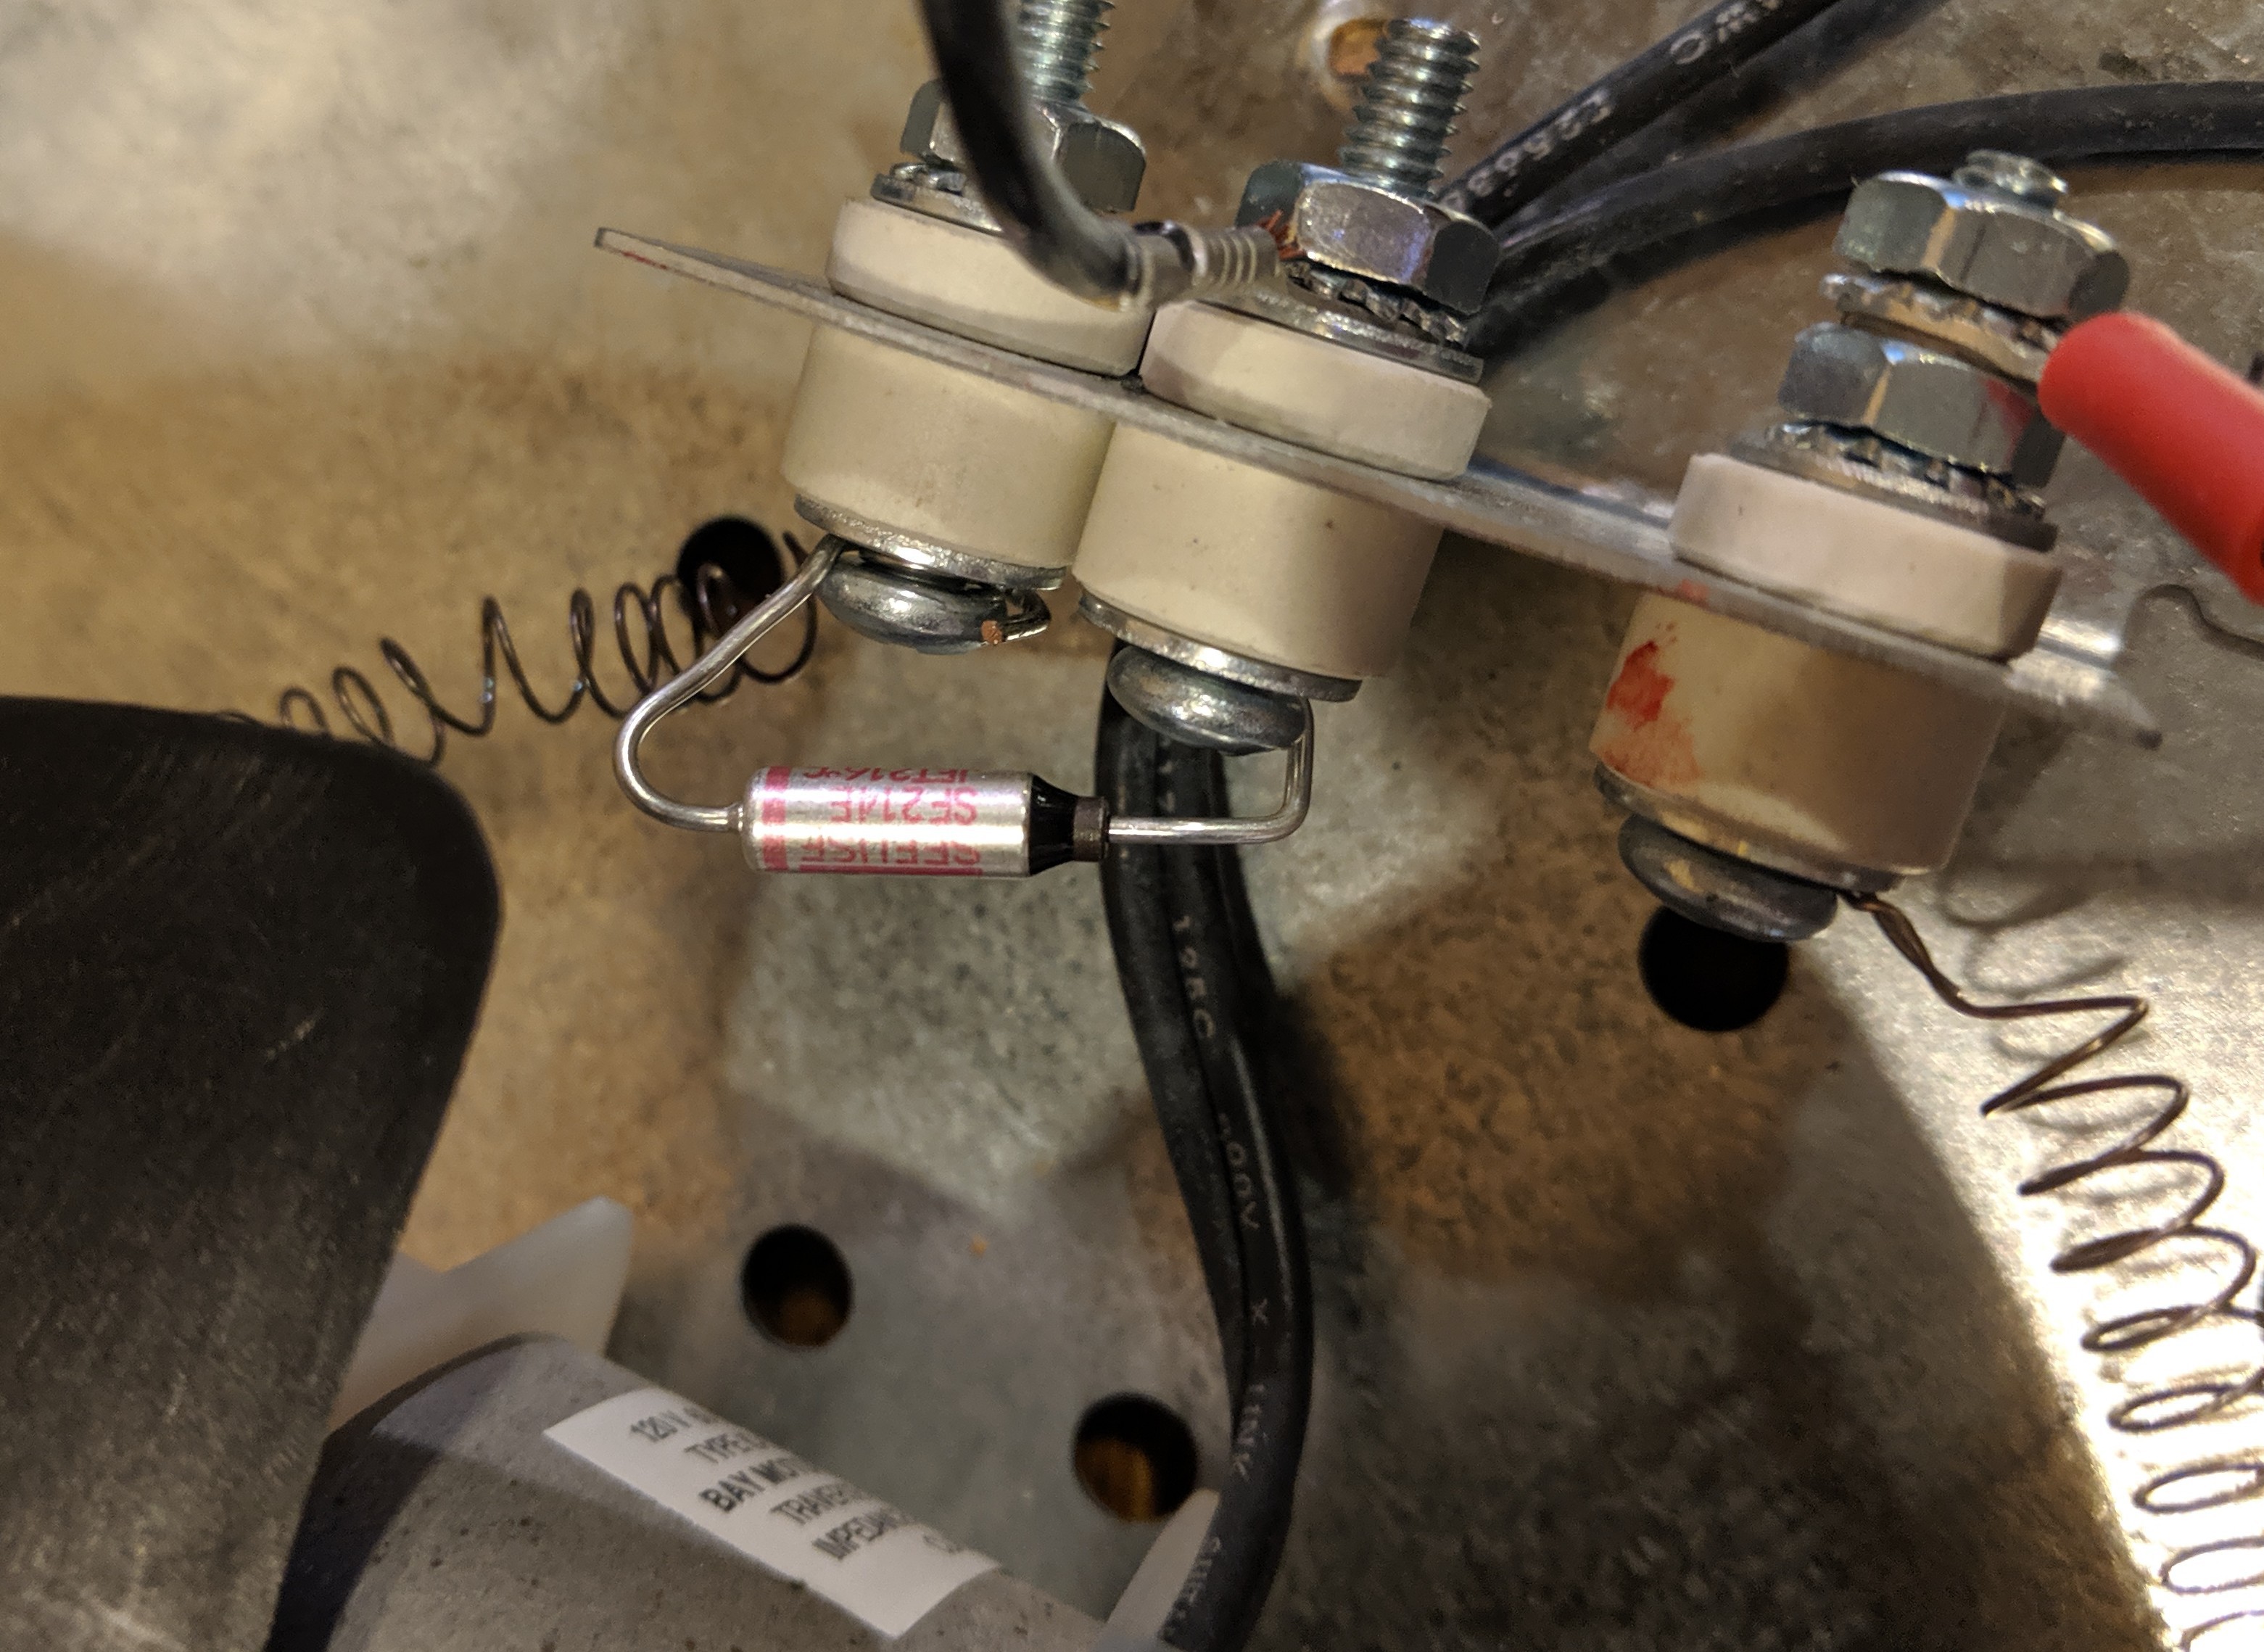
New fuse in place.
![]()
-
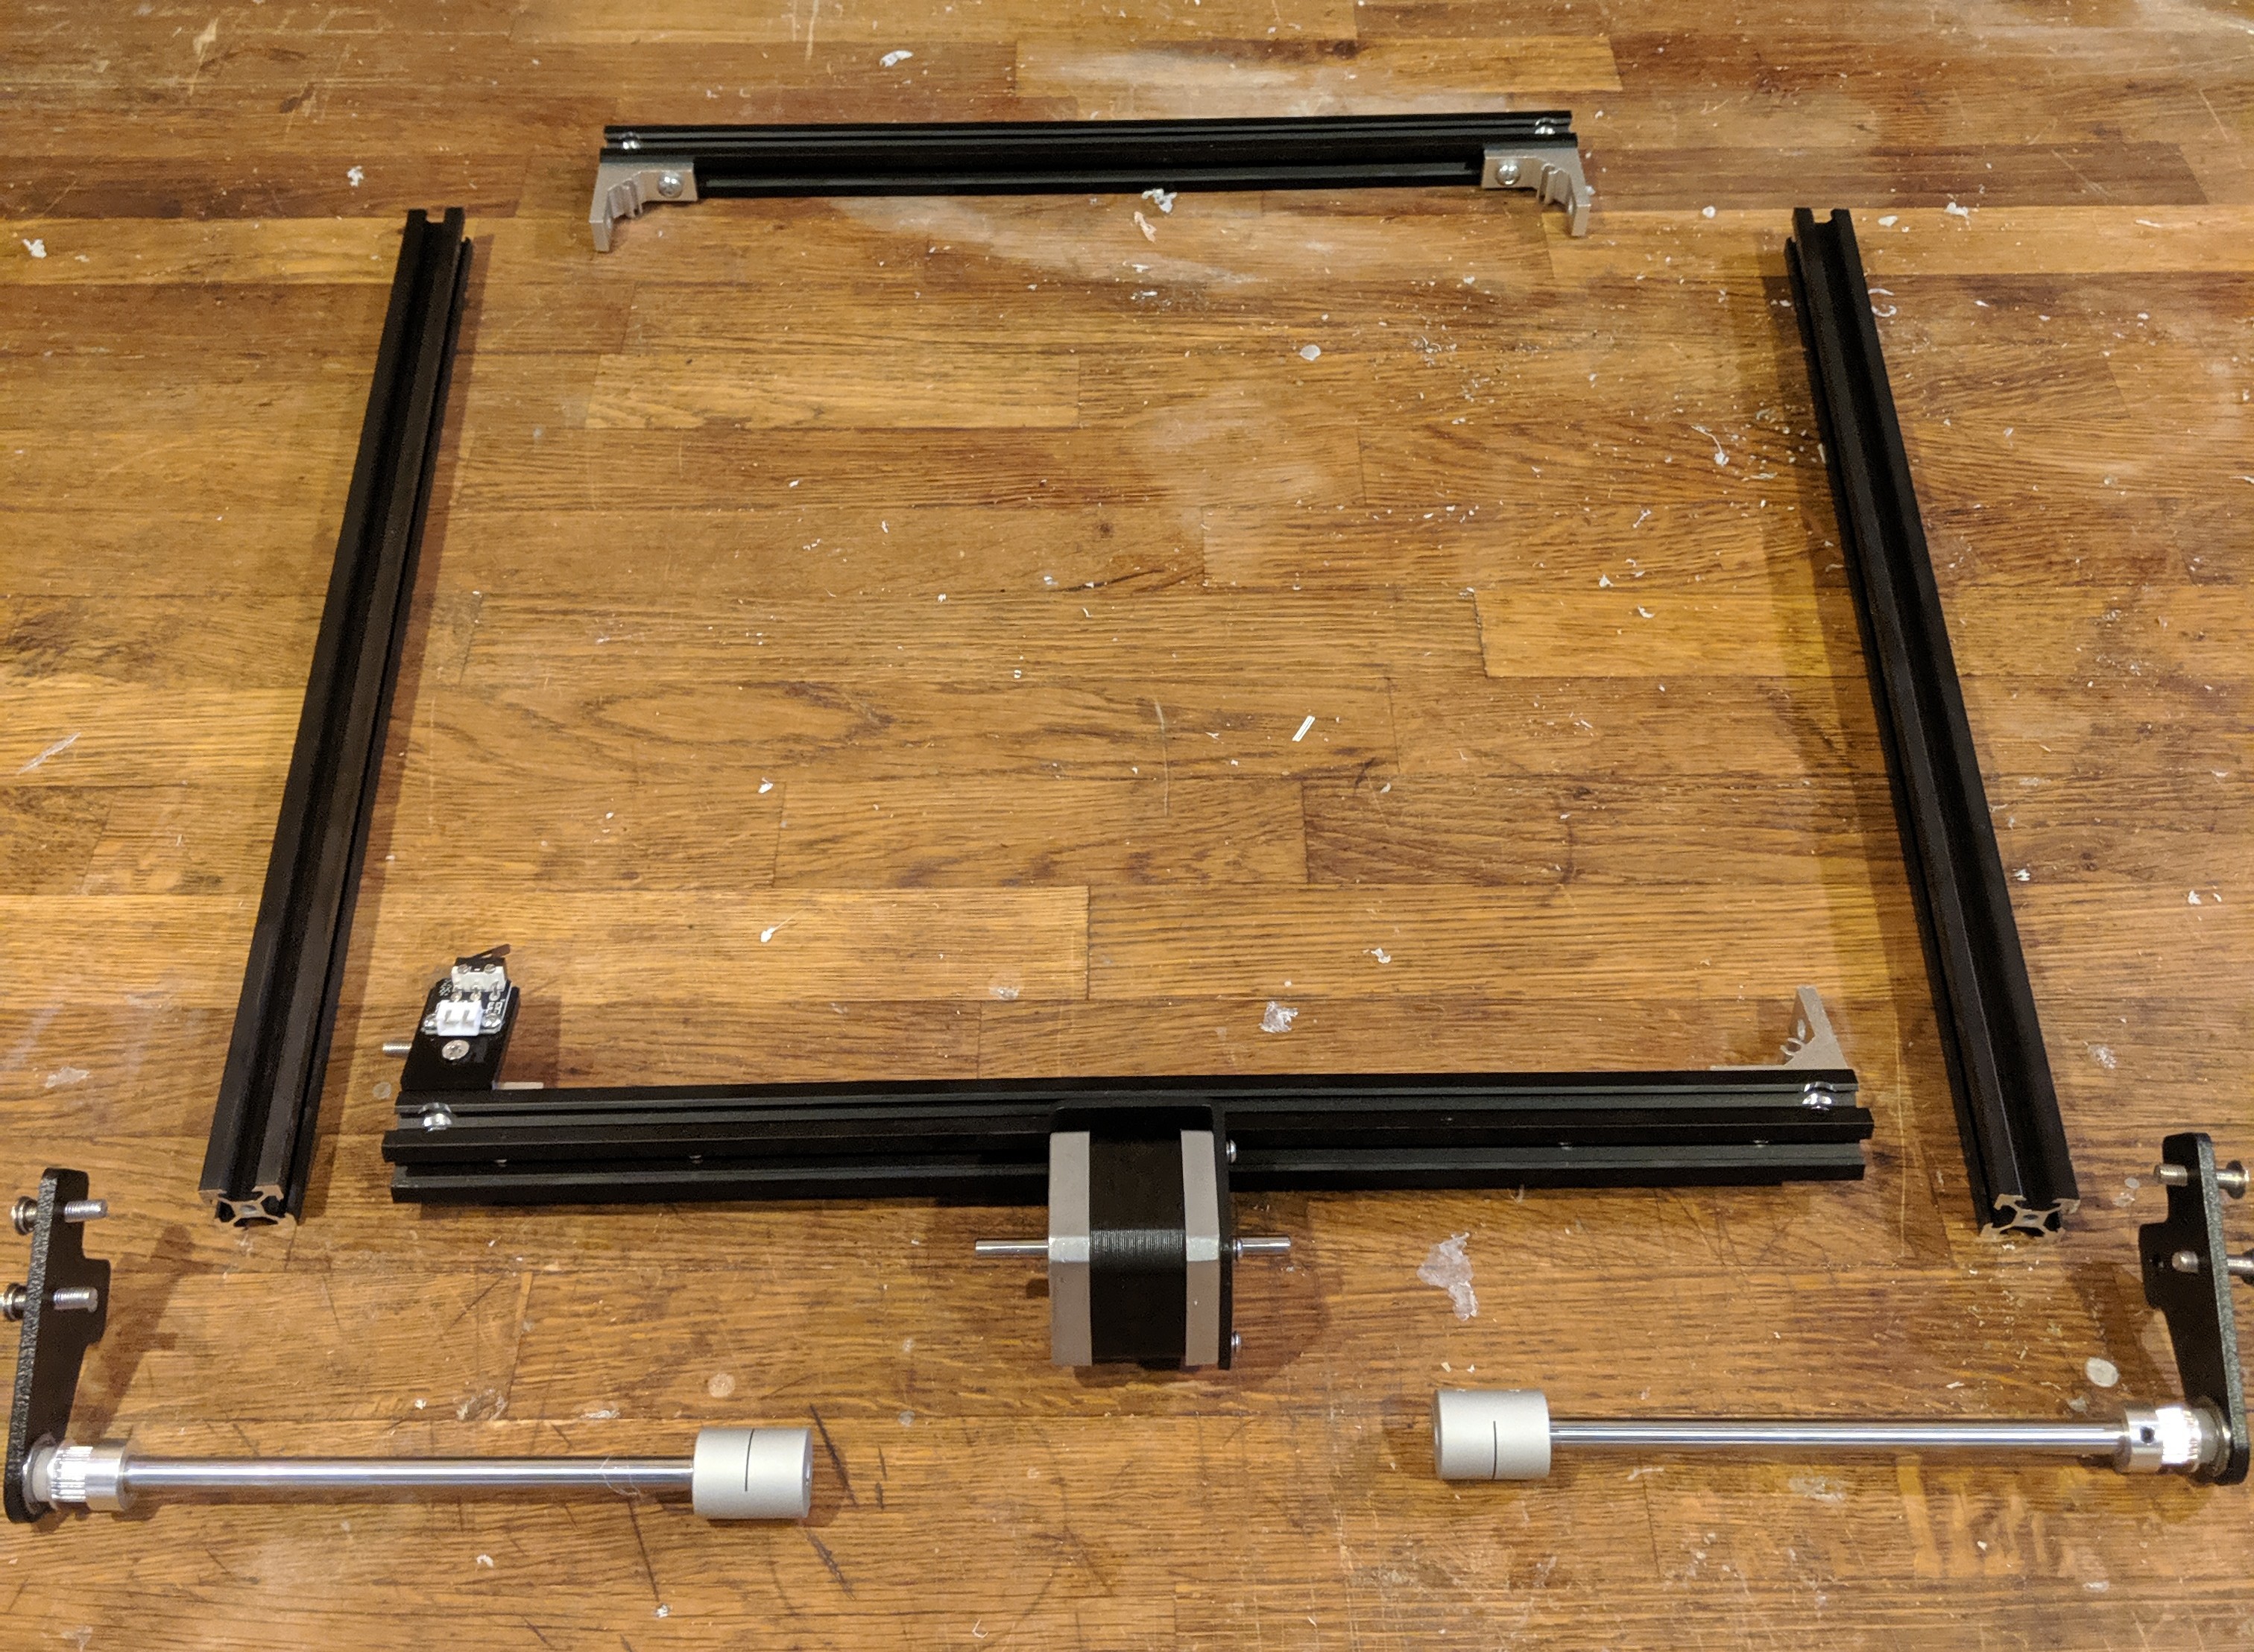
XY gantry assembly
08/15/2019 at 00:01 • 0 commentsStart disassembling your ender5. You want to remove all electronic wires and set the lower portion aside leaving what you see here.
![]()
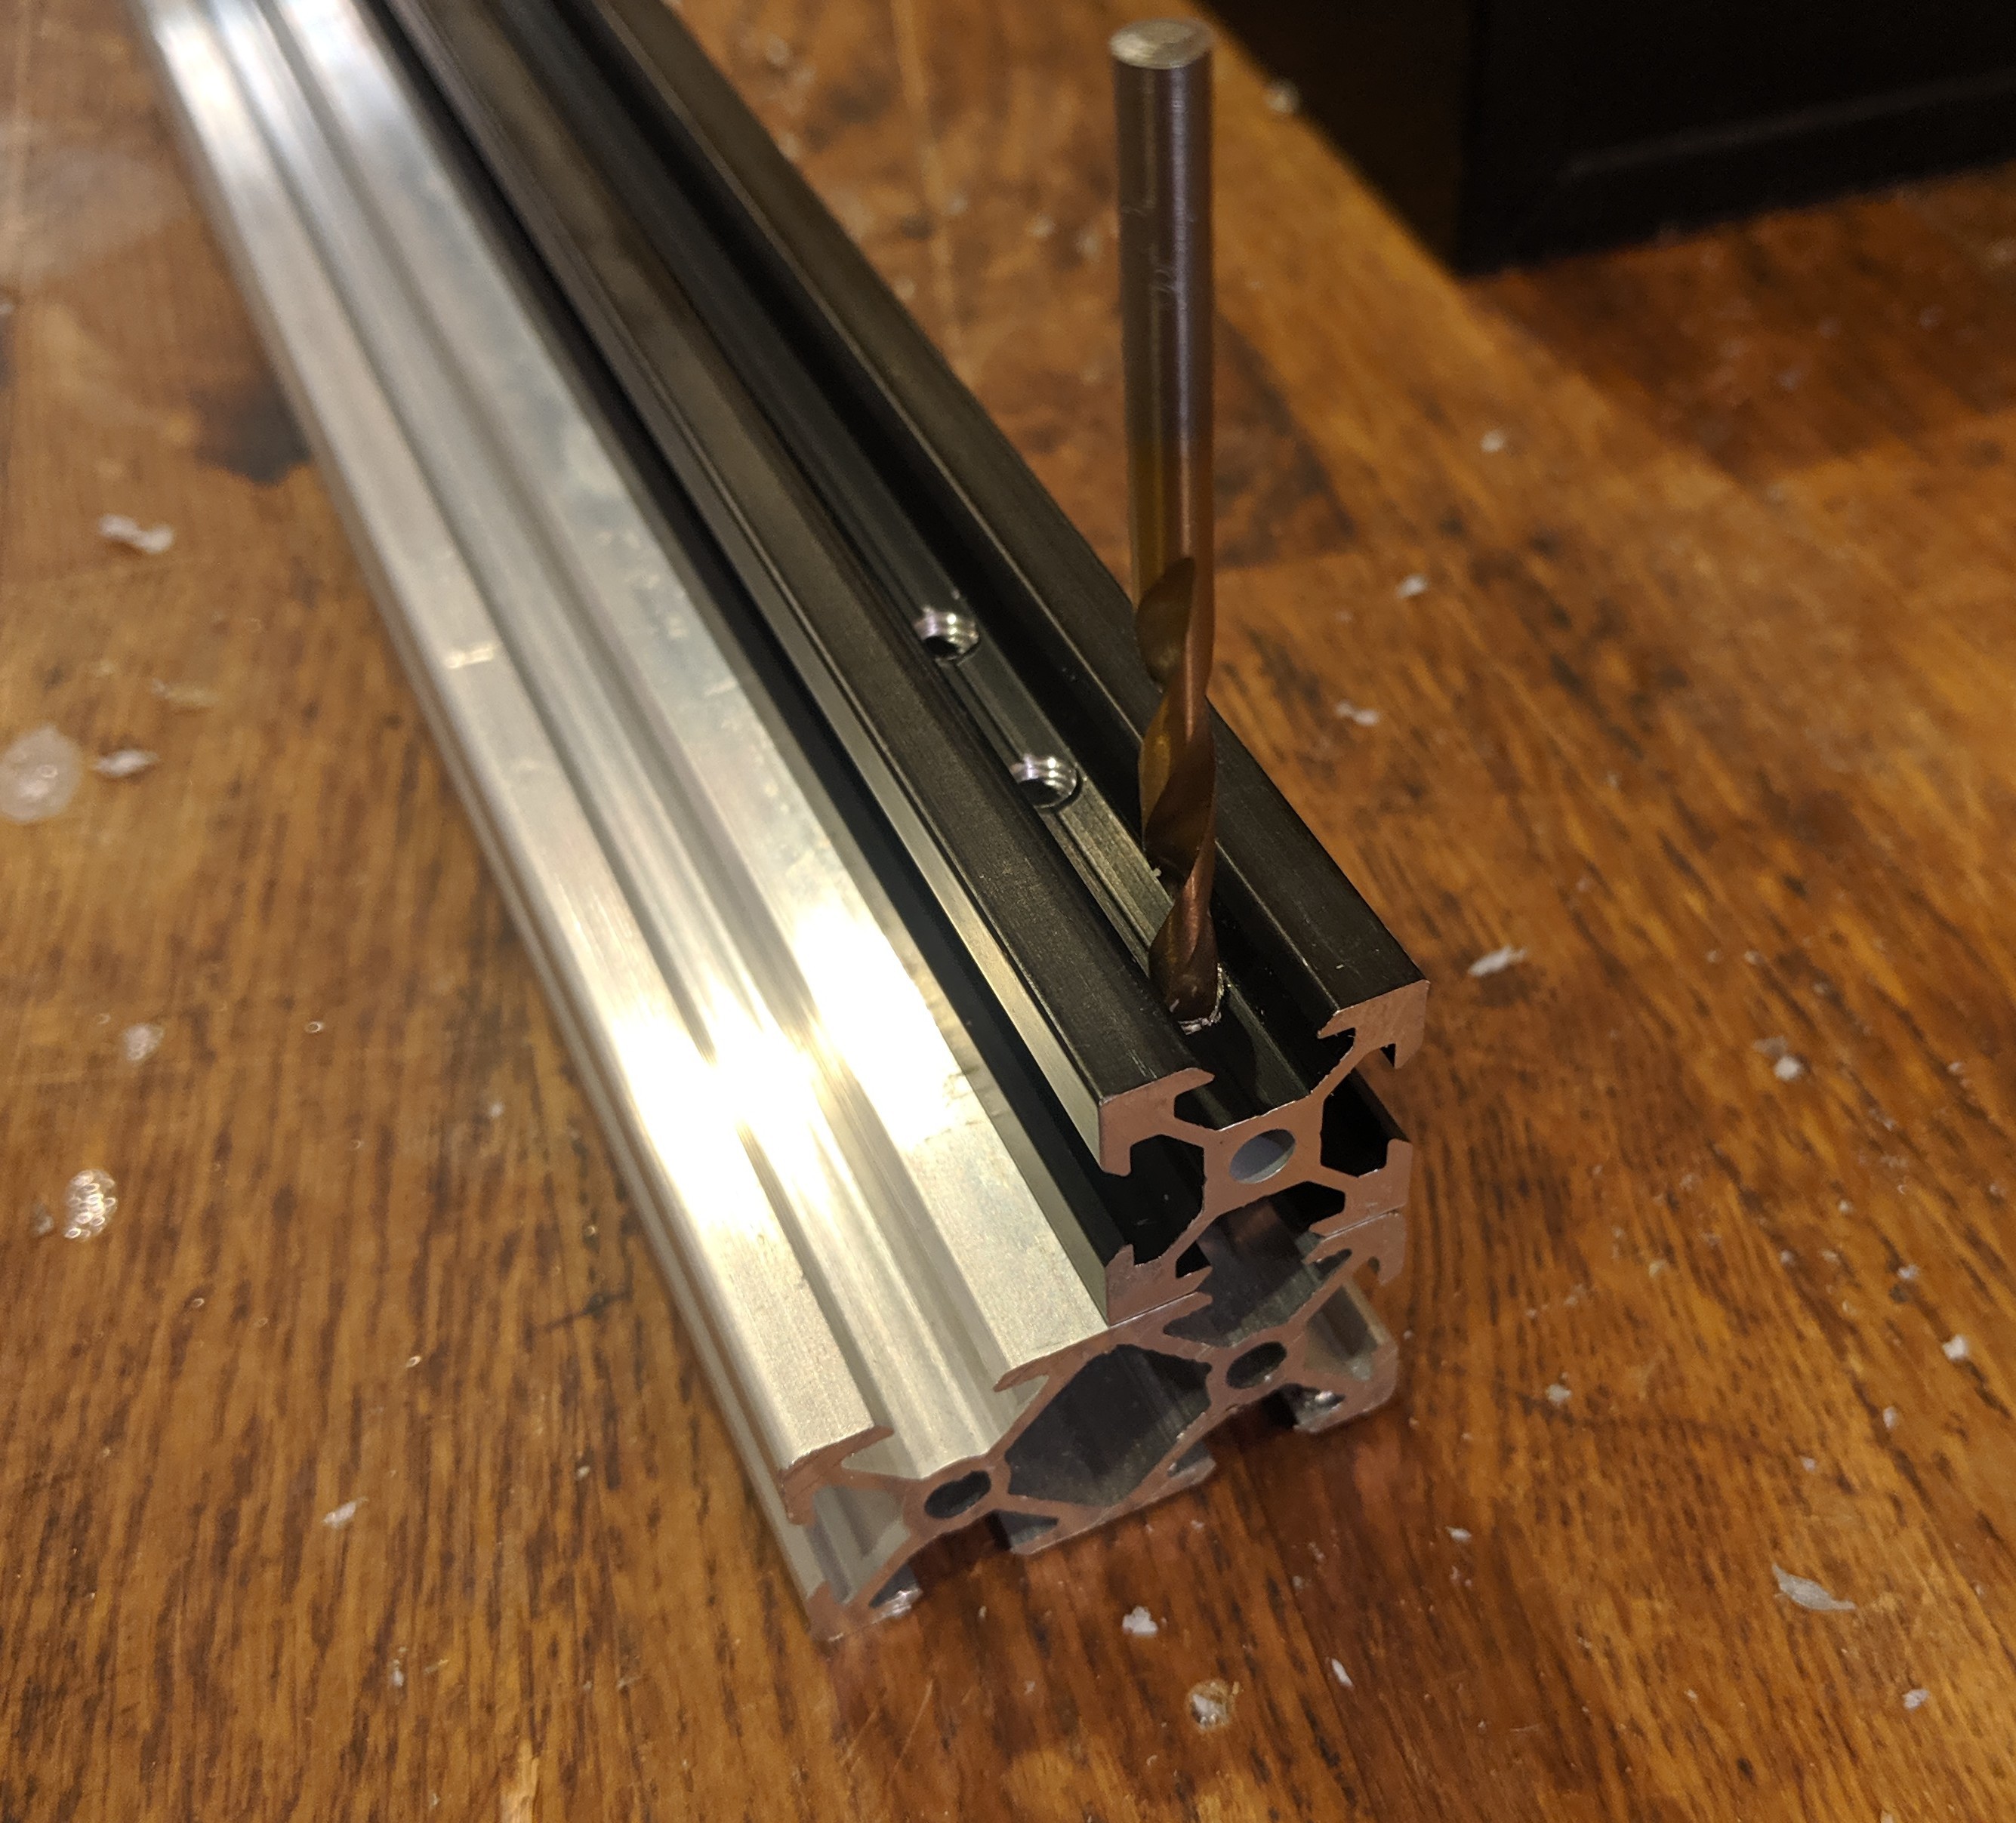
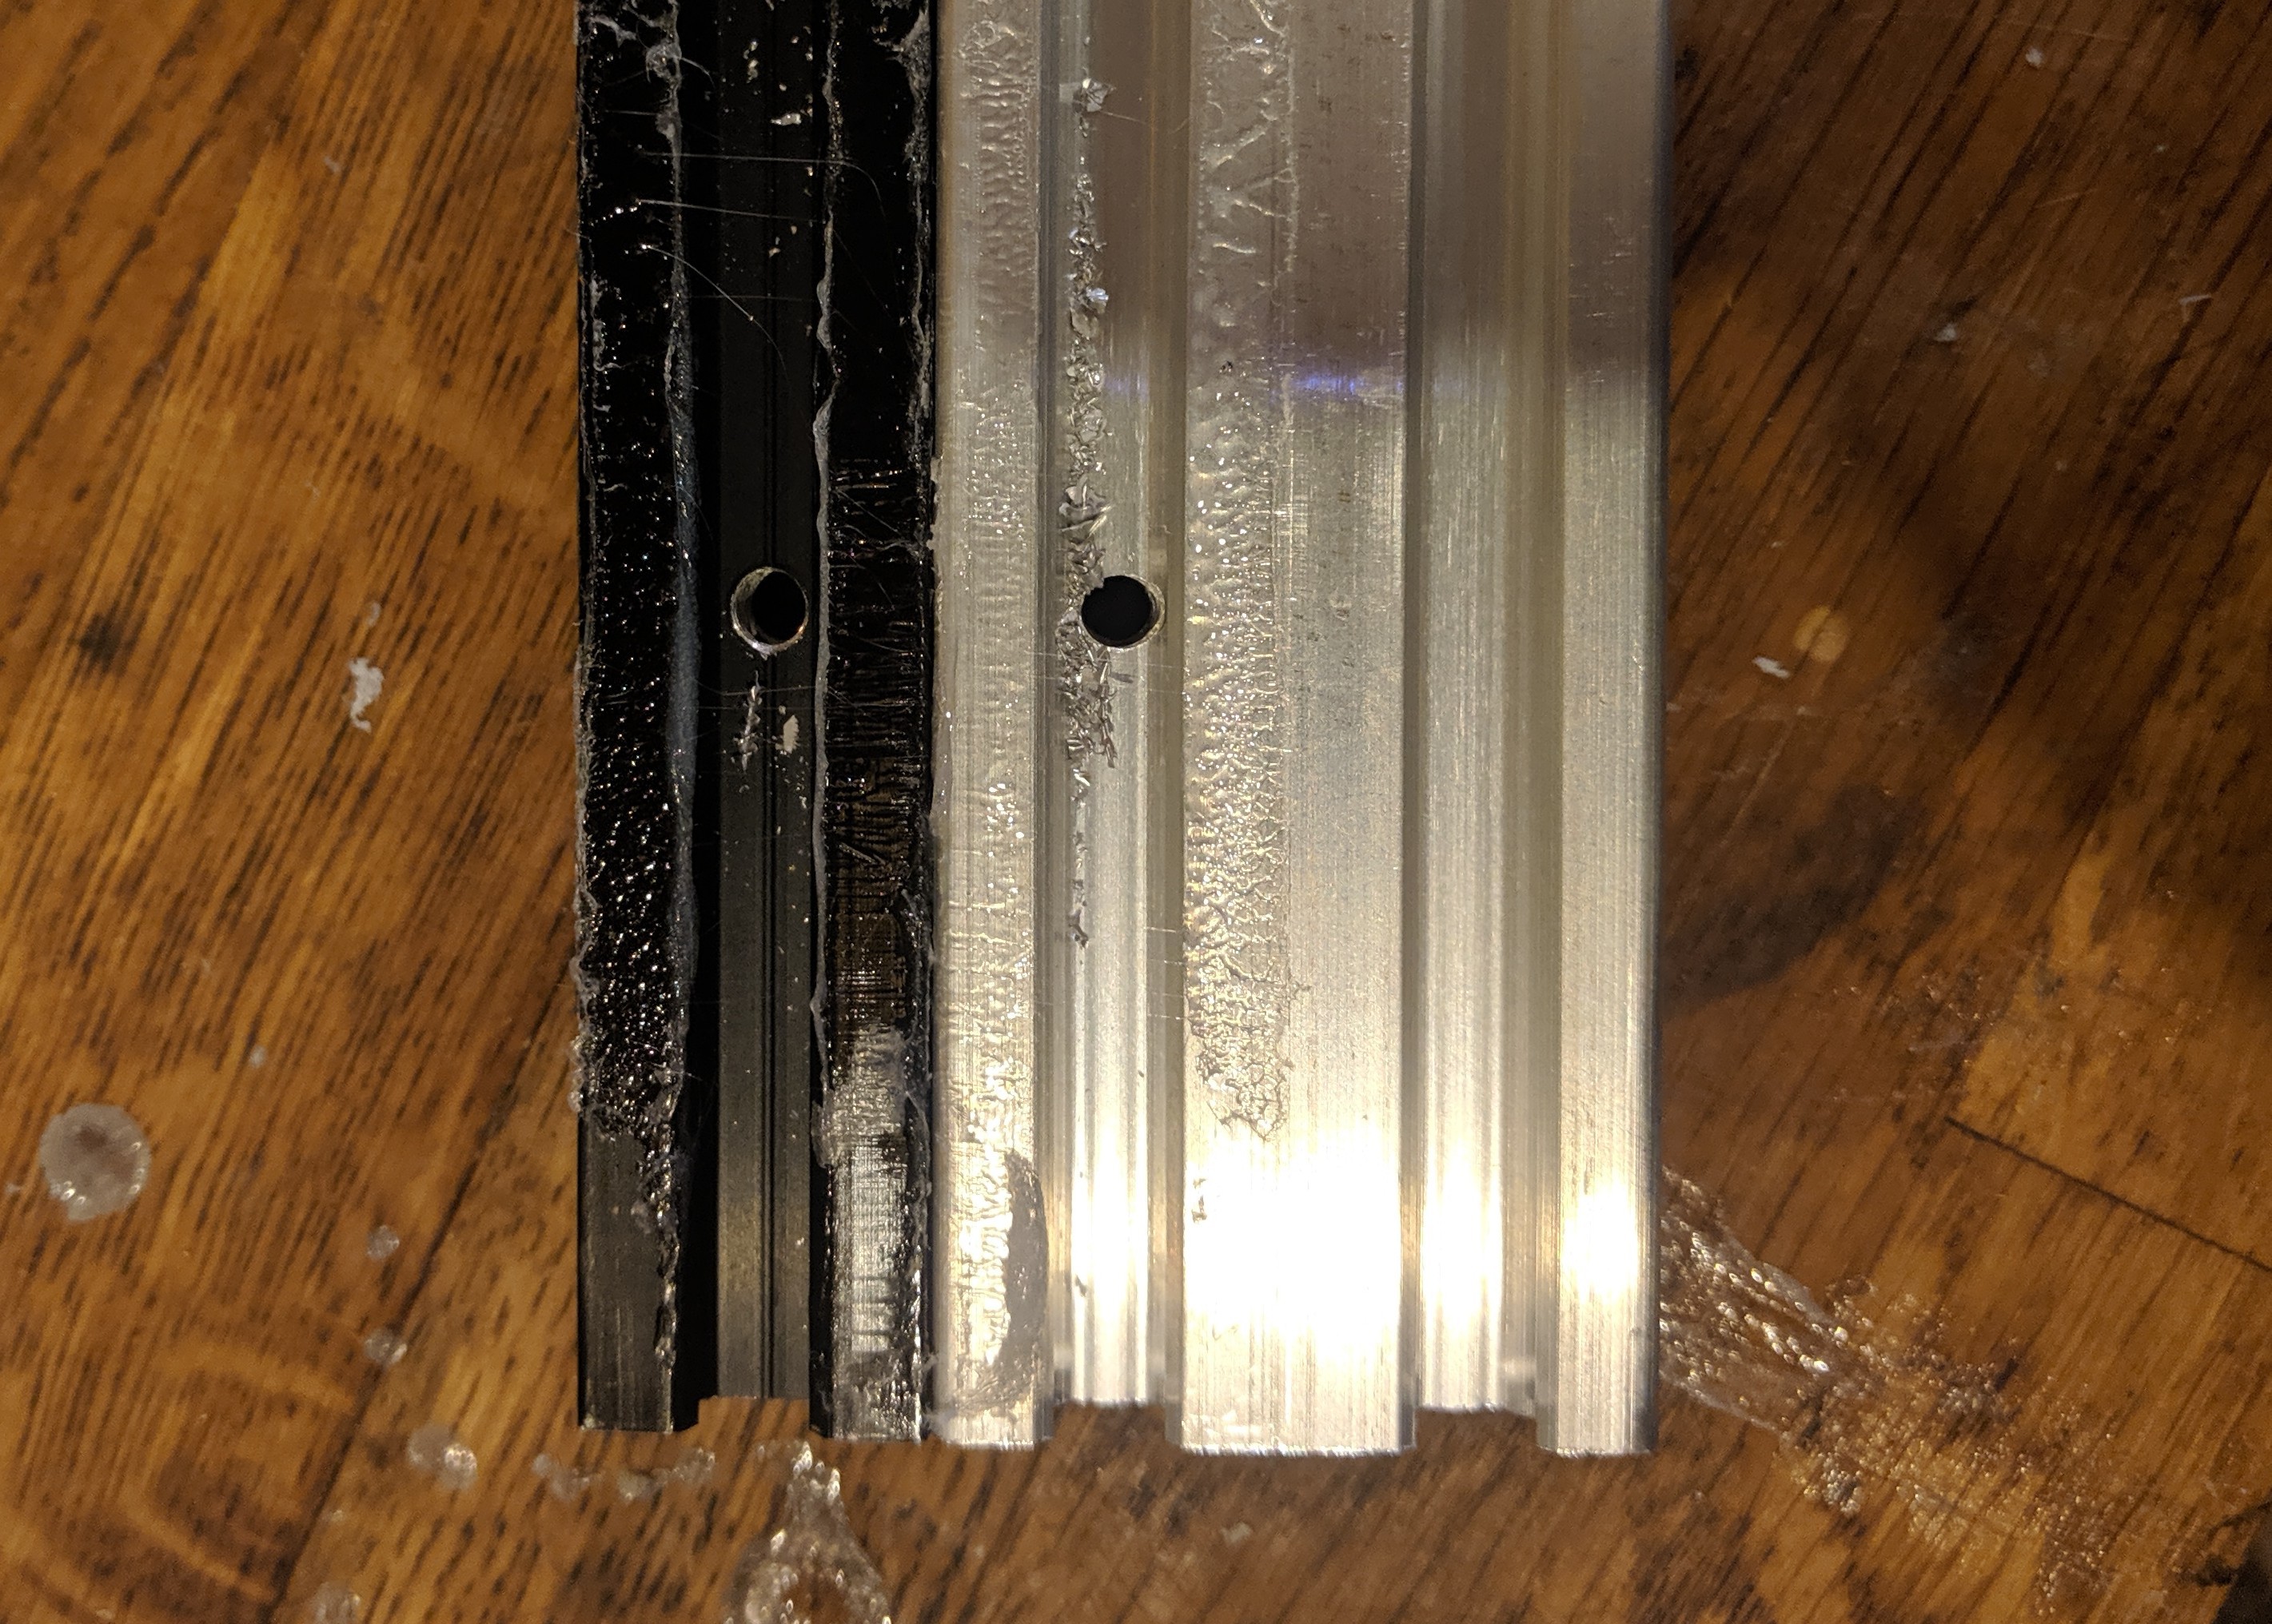
Use the side rails as a drilling guide. As shown below. Notice for this build 2040 extrusion was selected but is not required. The ender5 has 3x M5 threaded holes on one end and the other is a single M5 threaded hole. The drill bit should be properly sized for threading. Because in the US it is expensive to source metric drilling bits the imperial equivalent is 0.161 inch or a #20 if you have a full drill set.
![]()
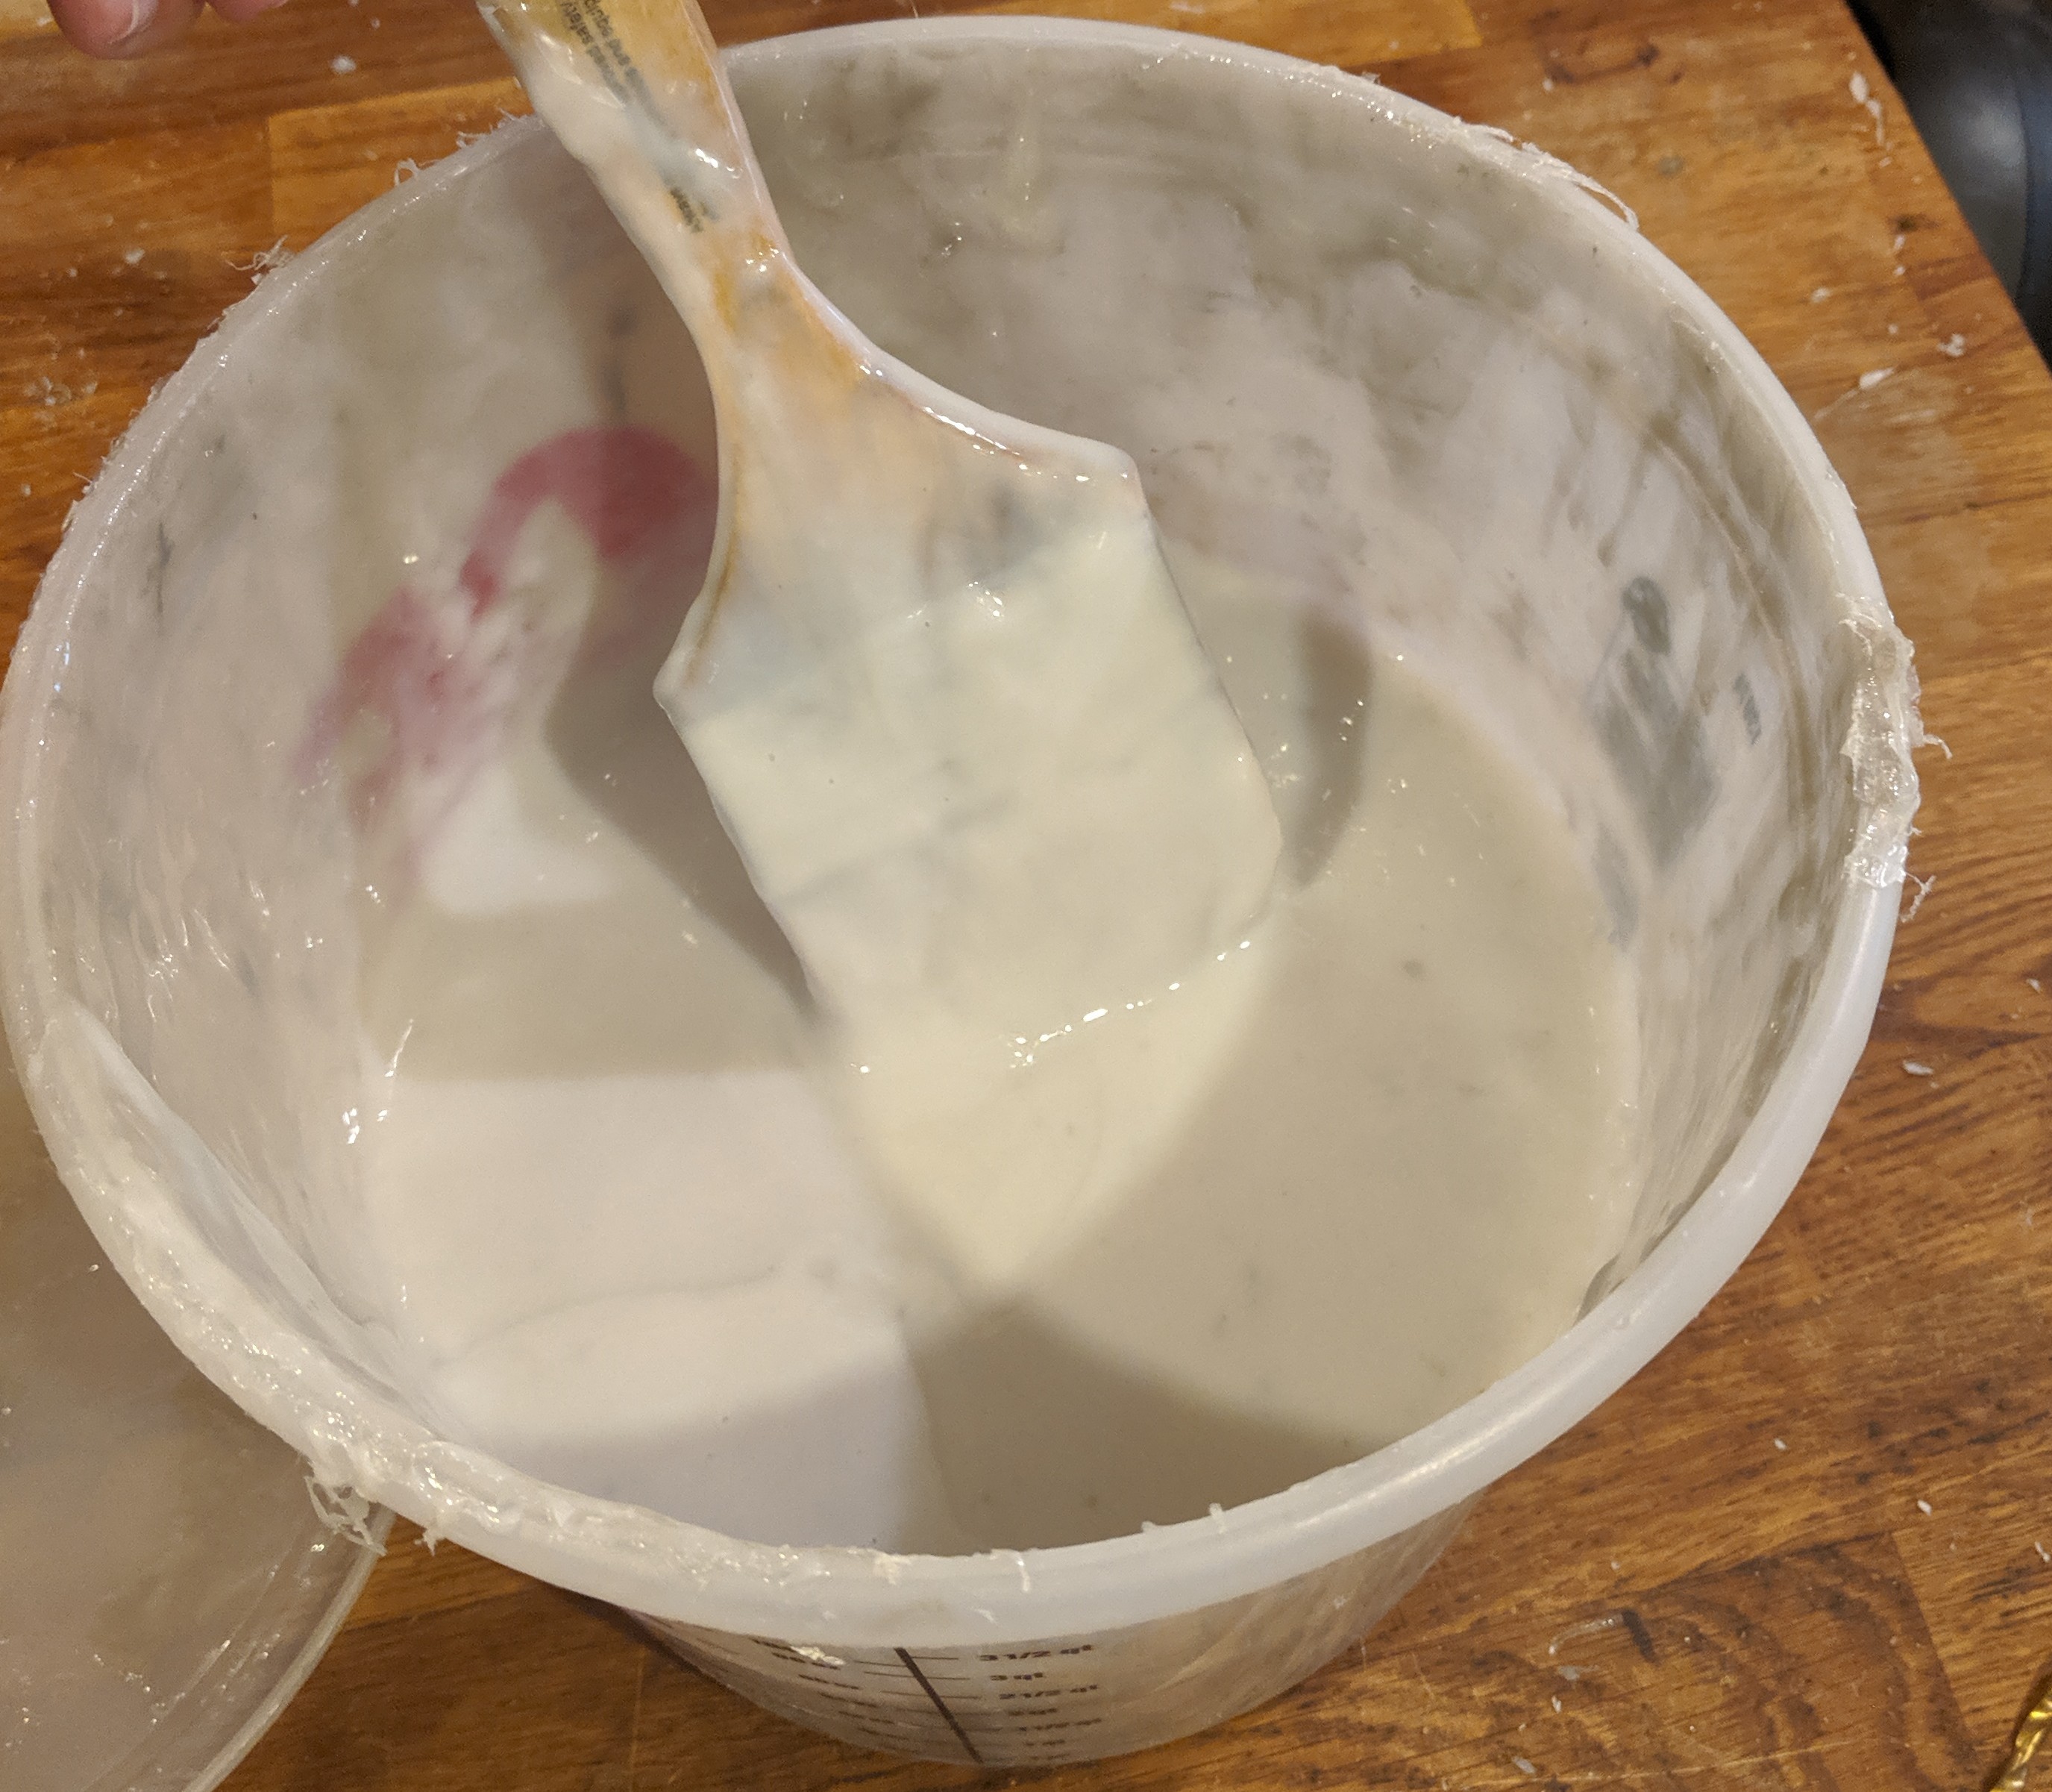
If you have clamps great grab them and lock that firmly to the end. If you don't and have been printing with ABS you can use ABS juice to hold the extrusions down making temporary glue for drilling.
![]()
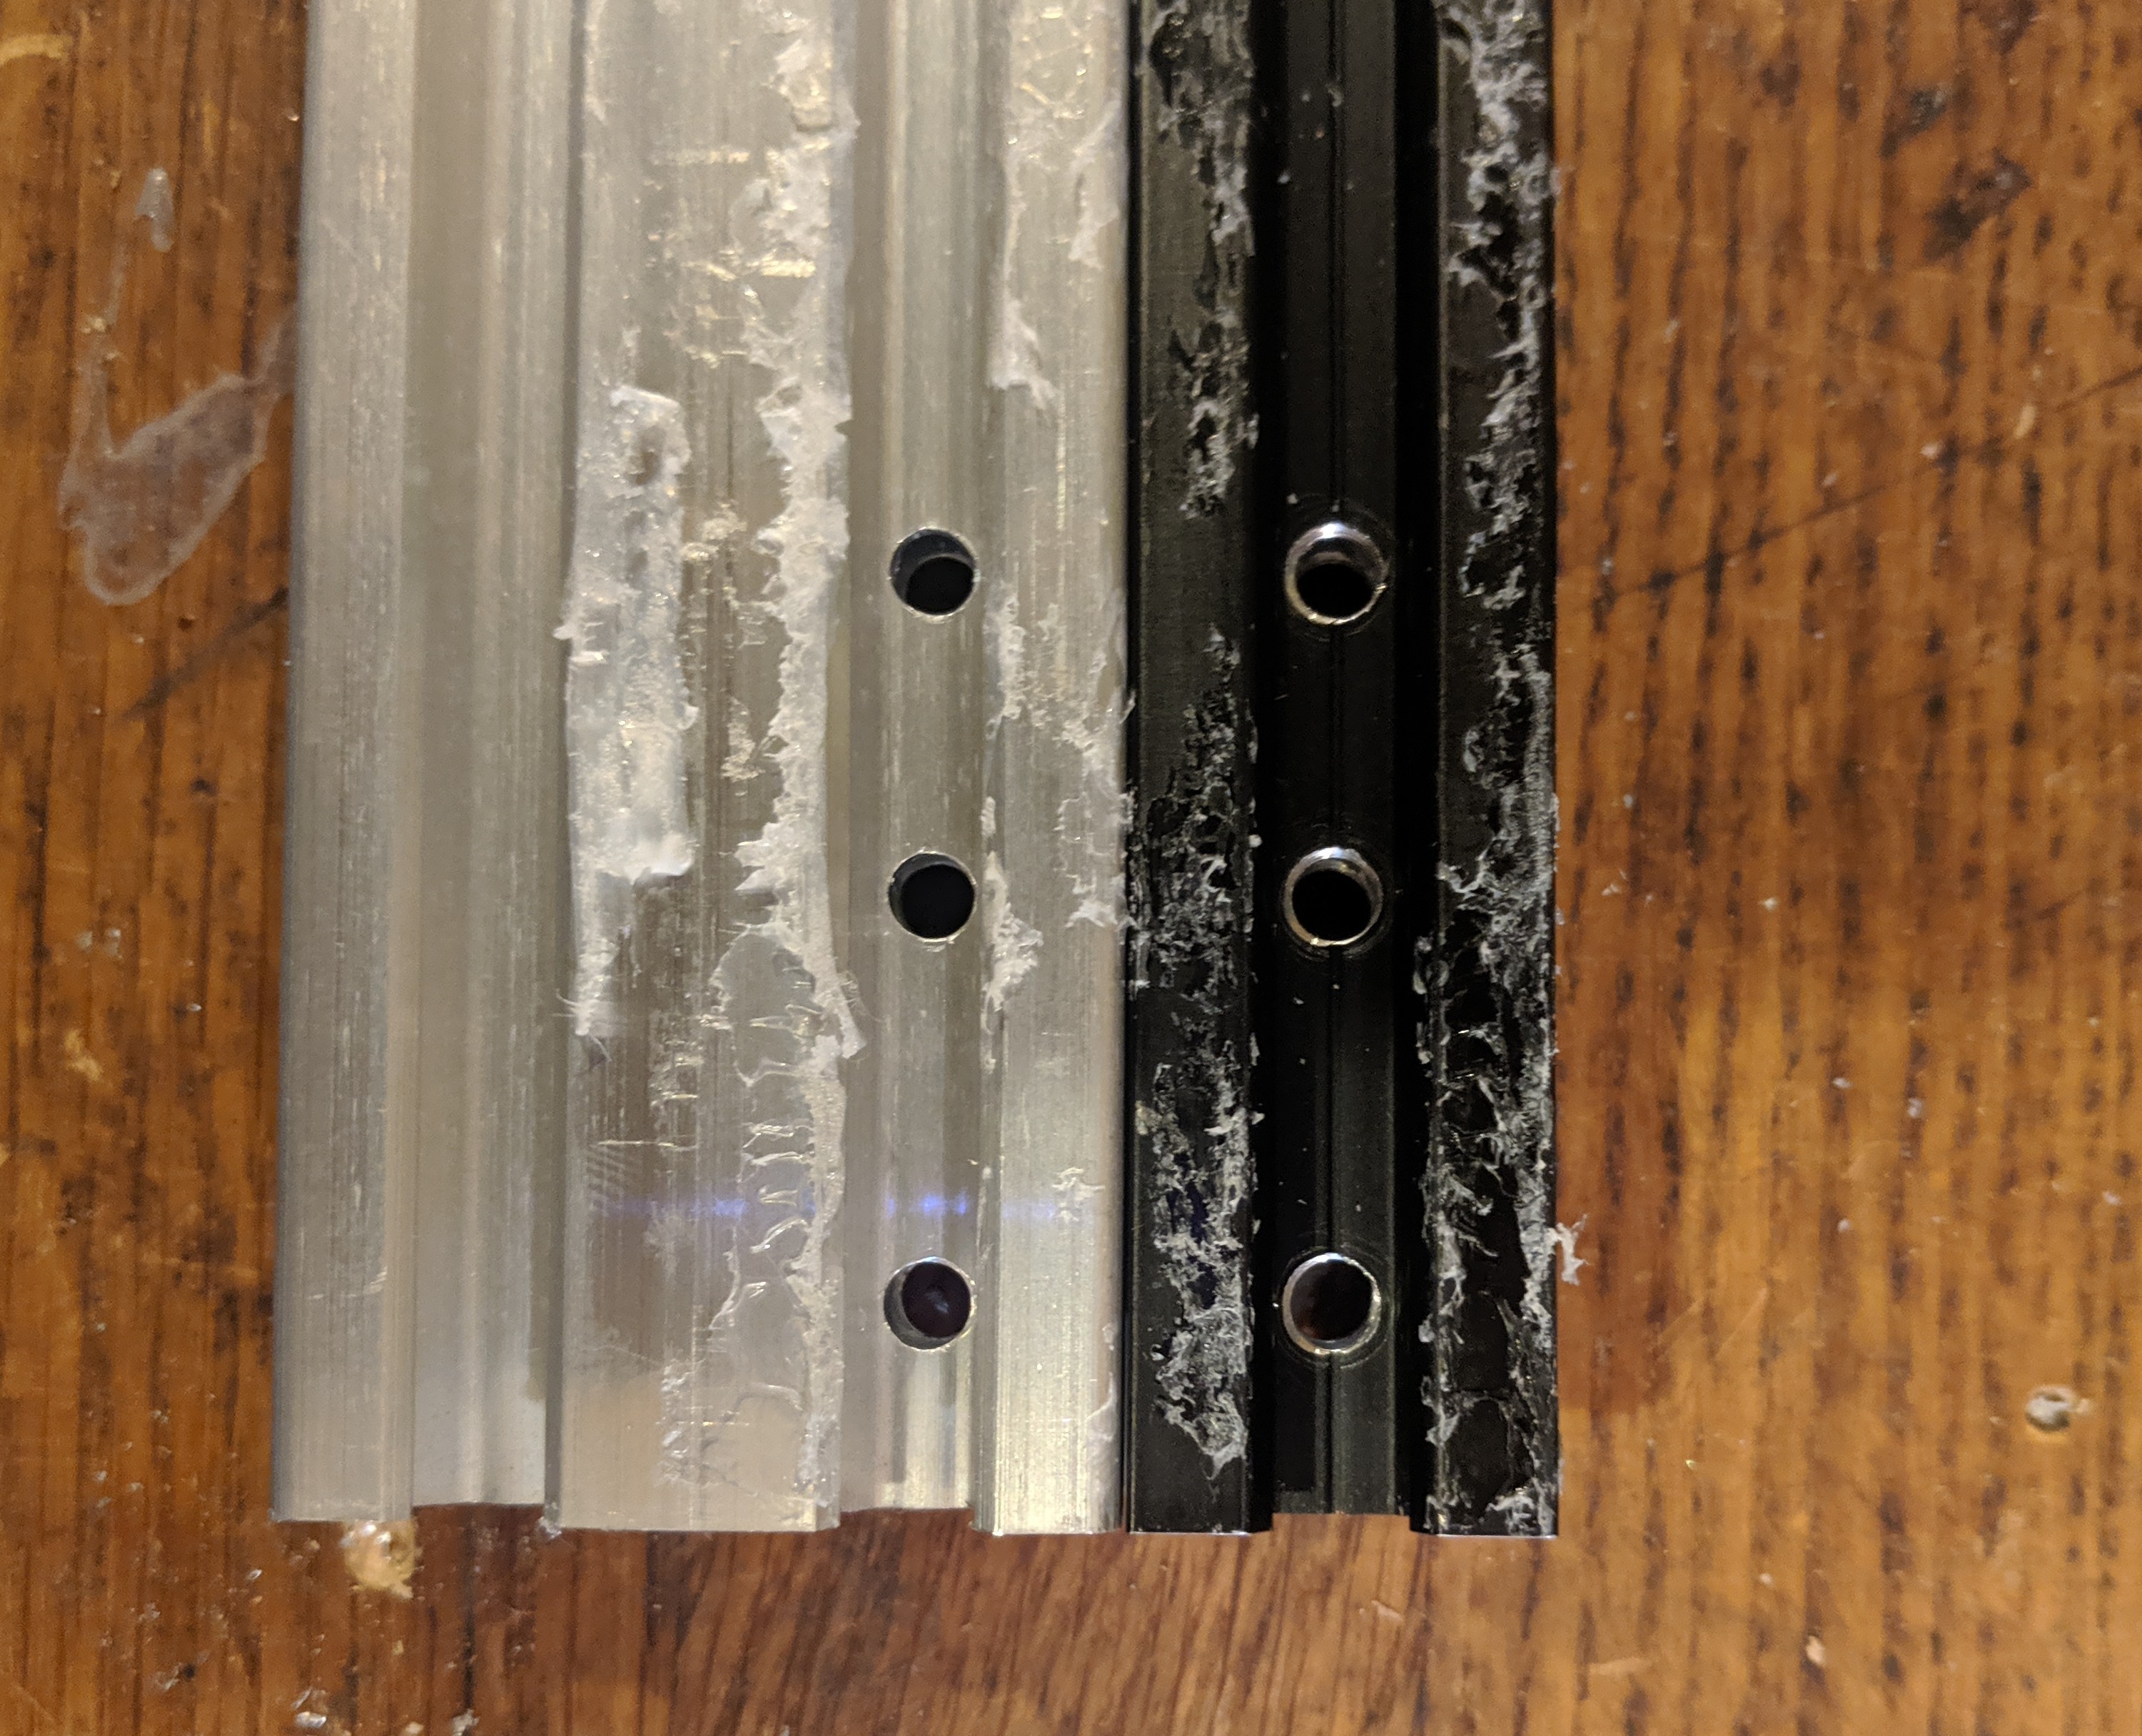
Your drilling should be very close to factory. Don't worry about the remaining glue it rubs off without any challenge.
![]()
Now let's do the same to the other side.
![]()
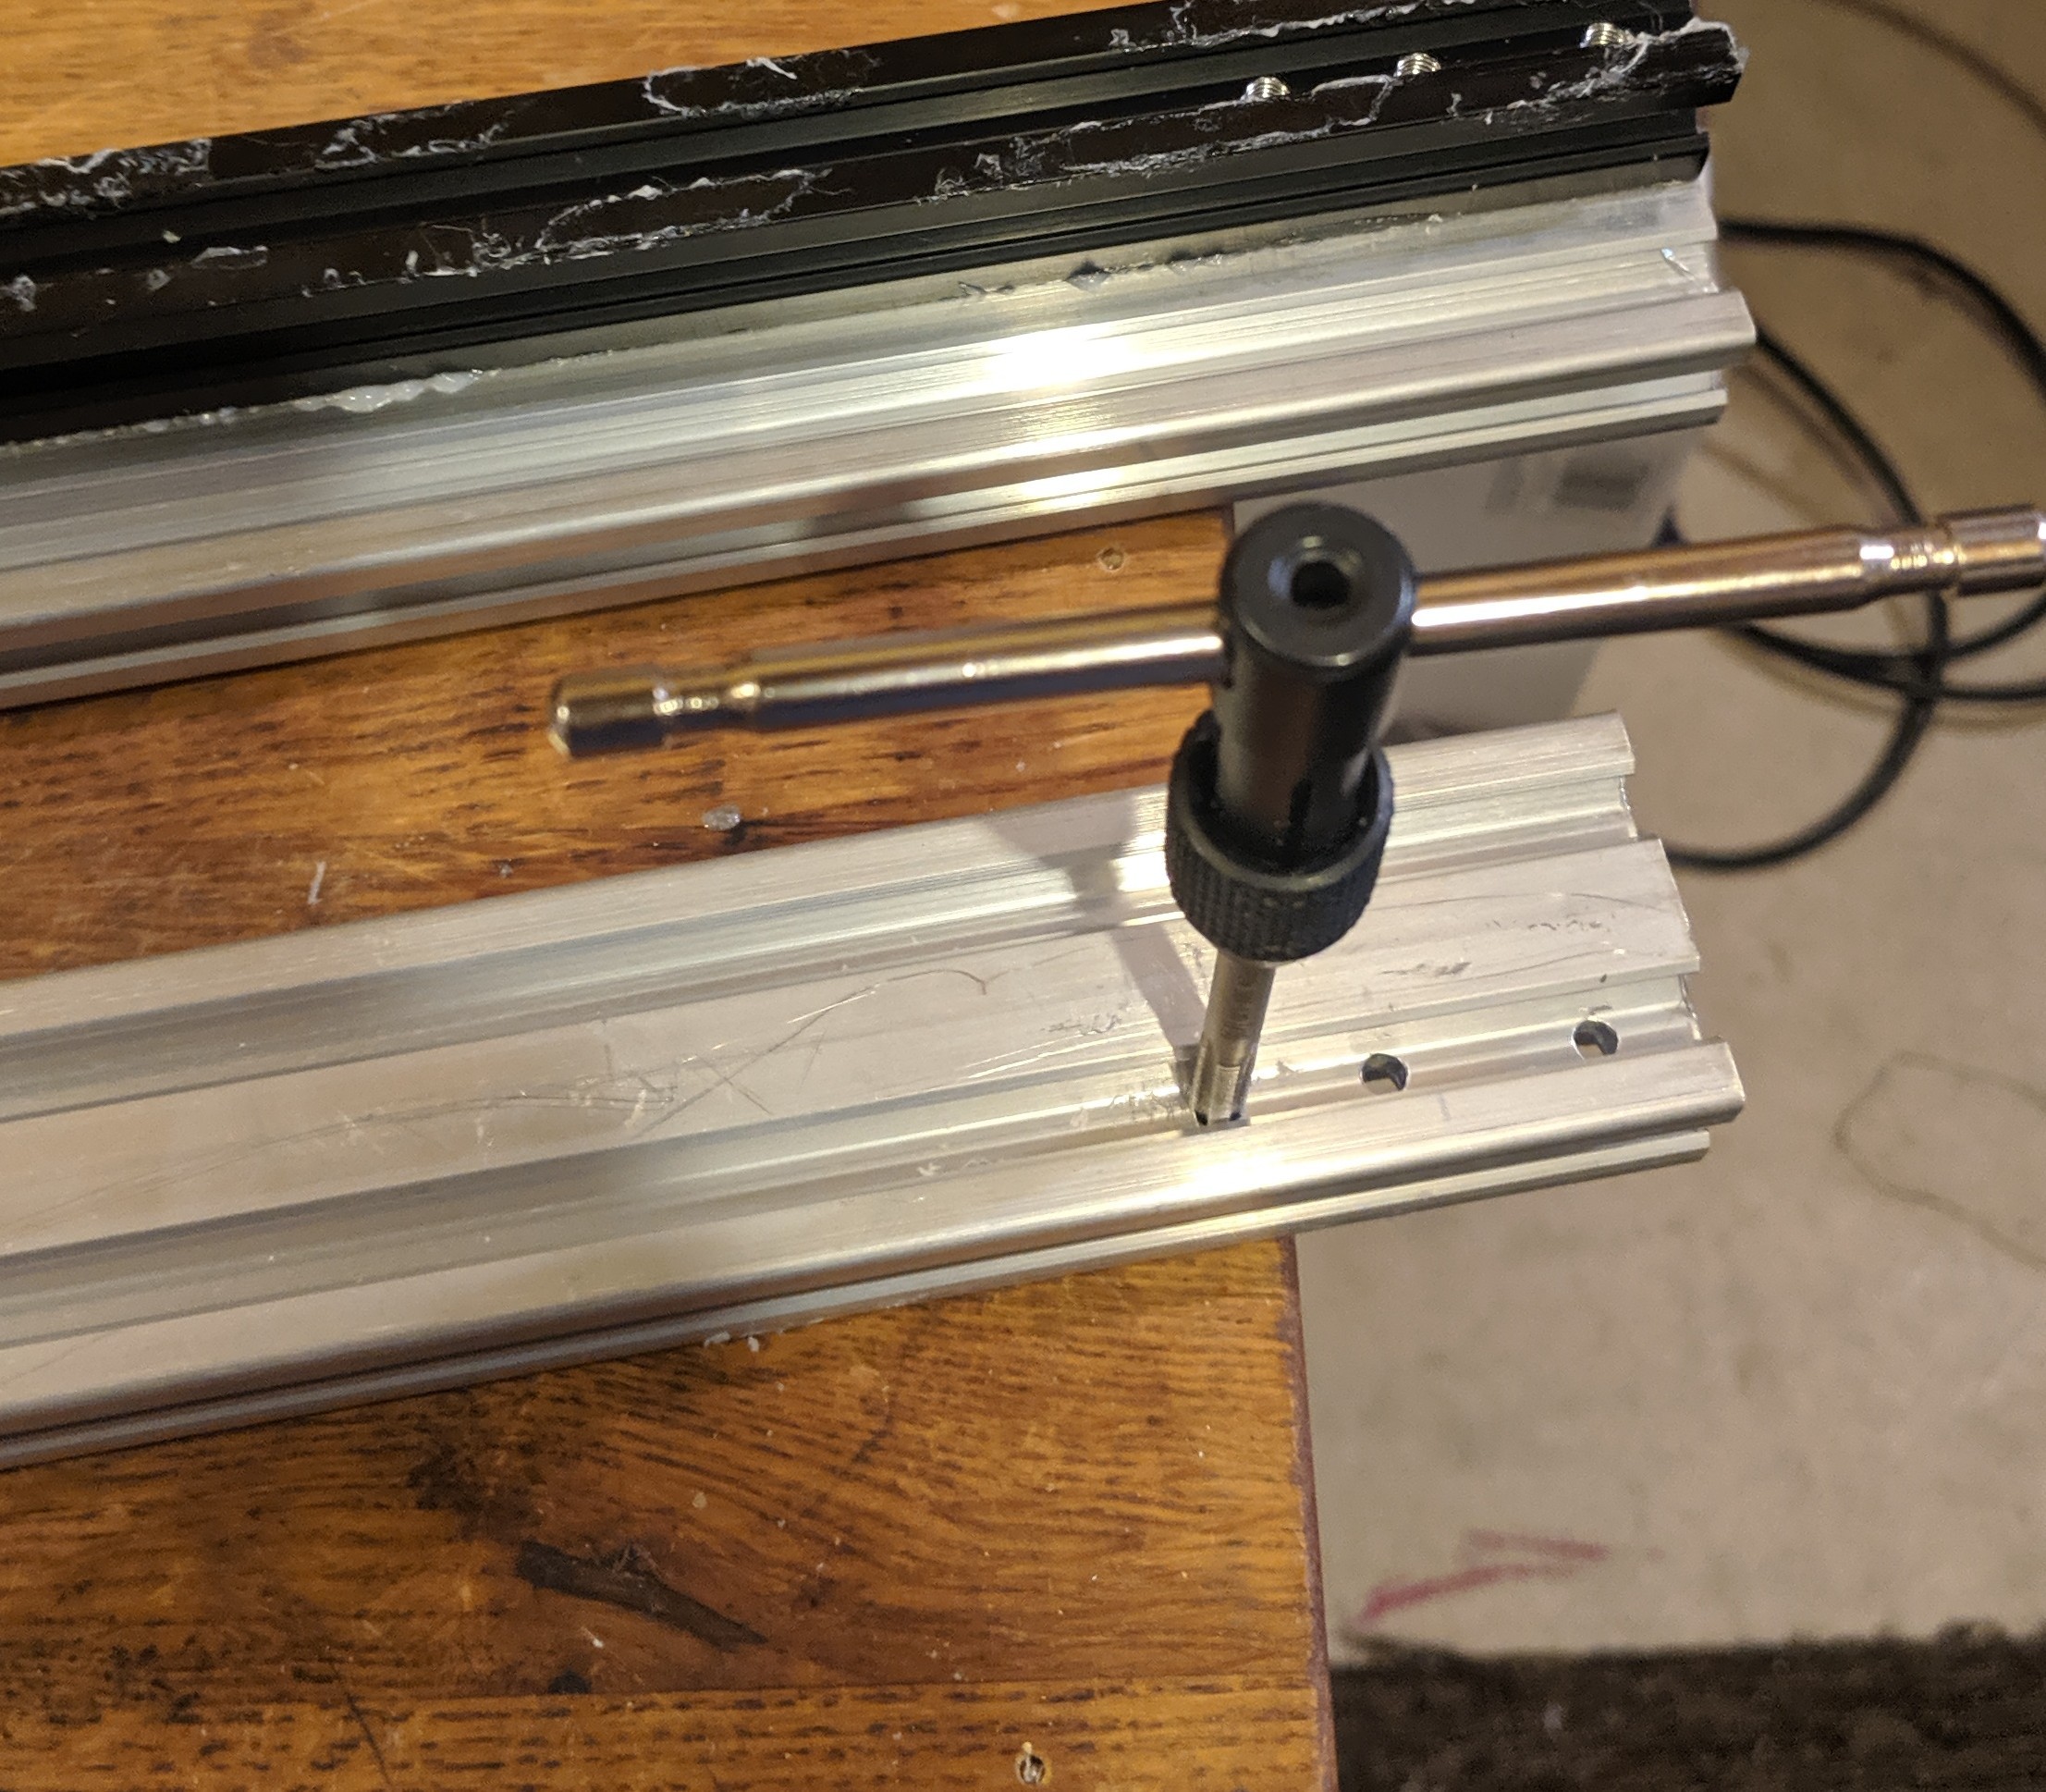
Next tap all 4 holes you just made with an M5 thread tap. At the same time glue your next extrusion down so it has time to set while you tap threads.
![]()
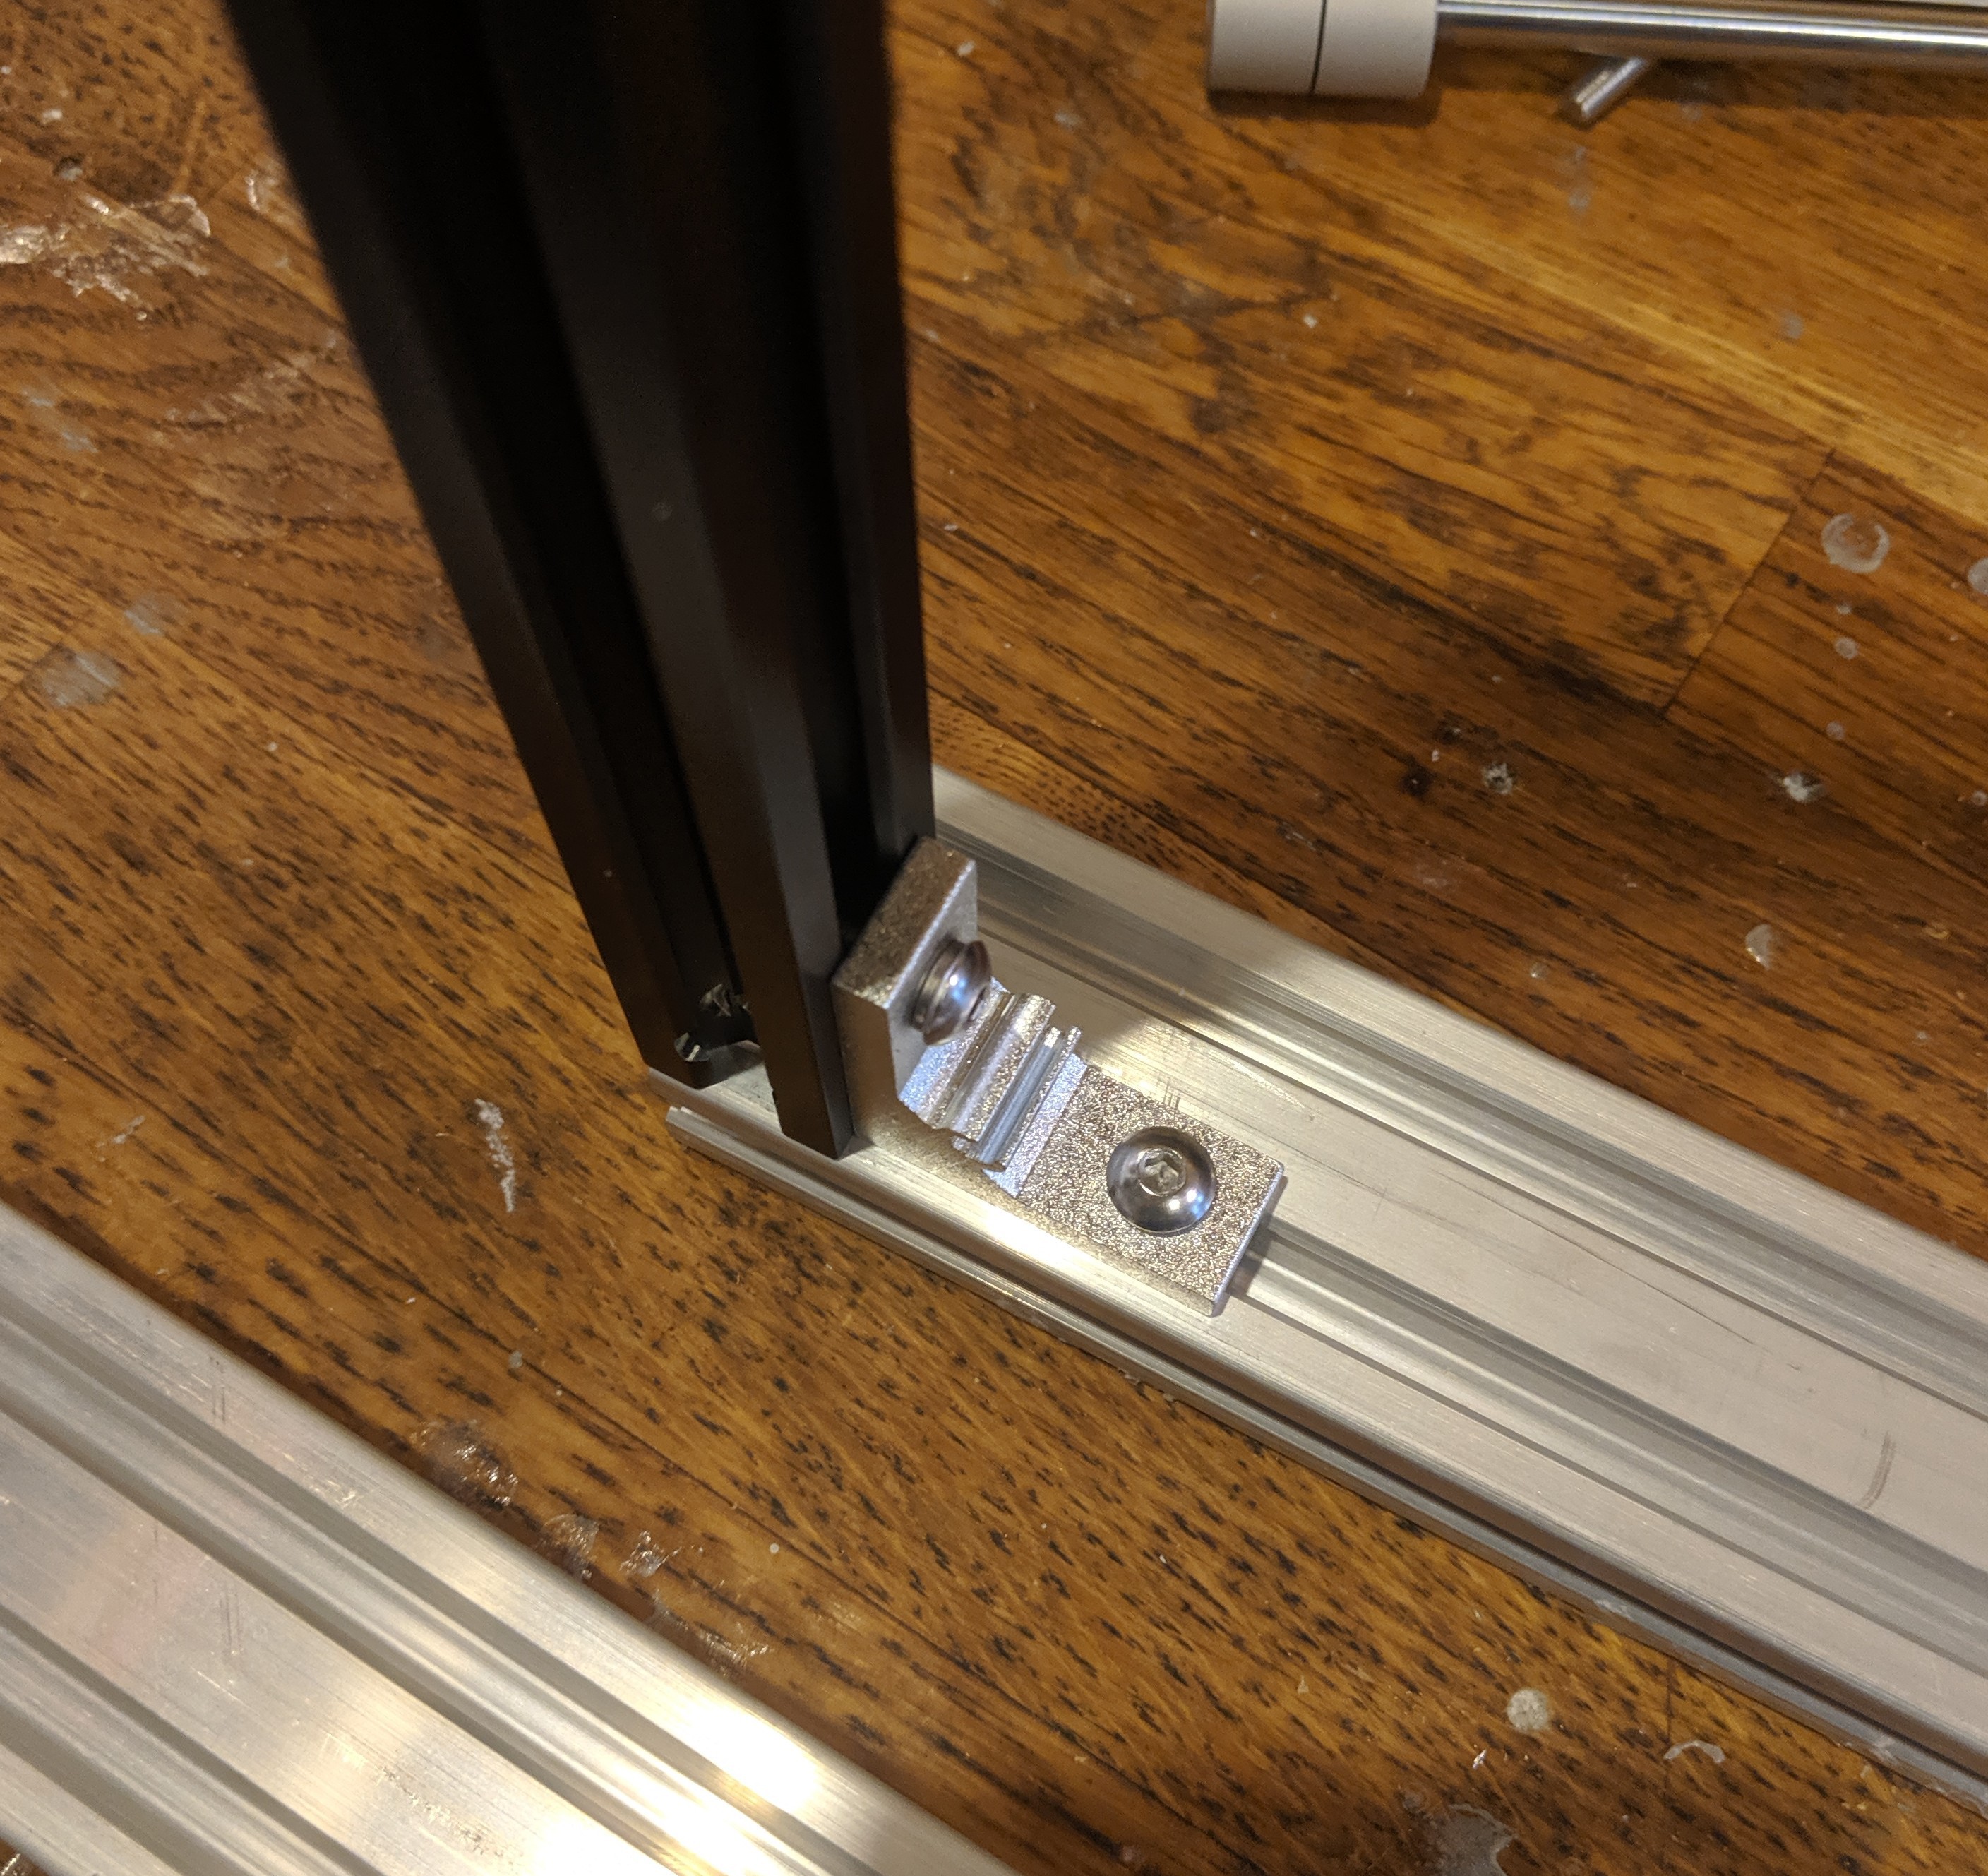
After you are done drilling and taping you can start reassembling using all the original hardware. If you did a good job of aligning your new screw holes the frame should fit square as it did out of factory.
![]()
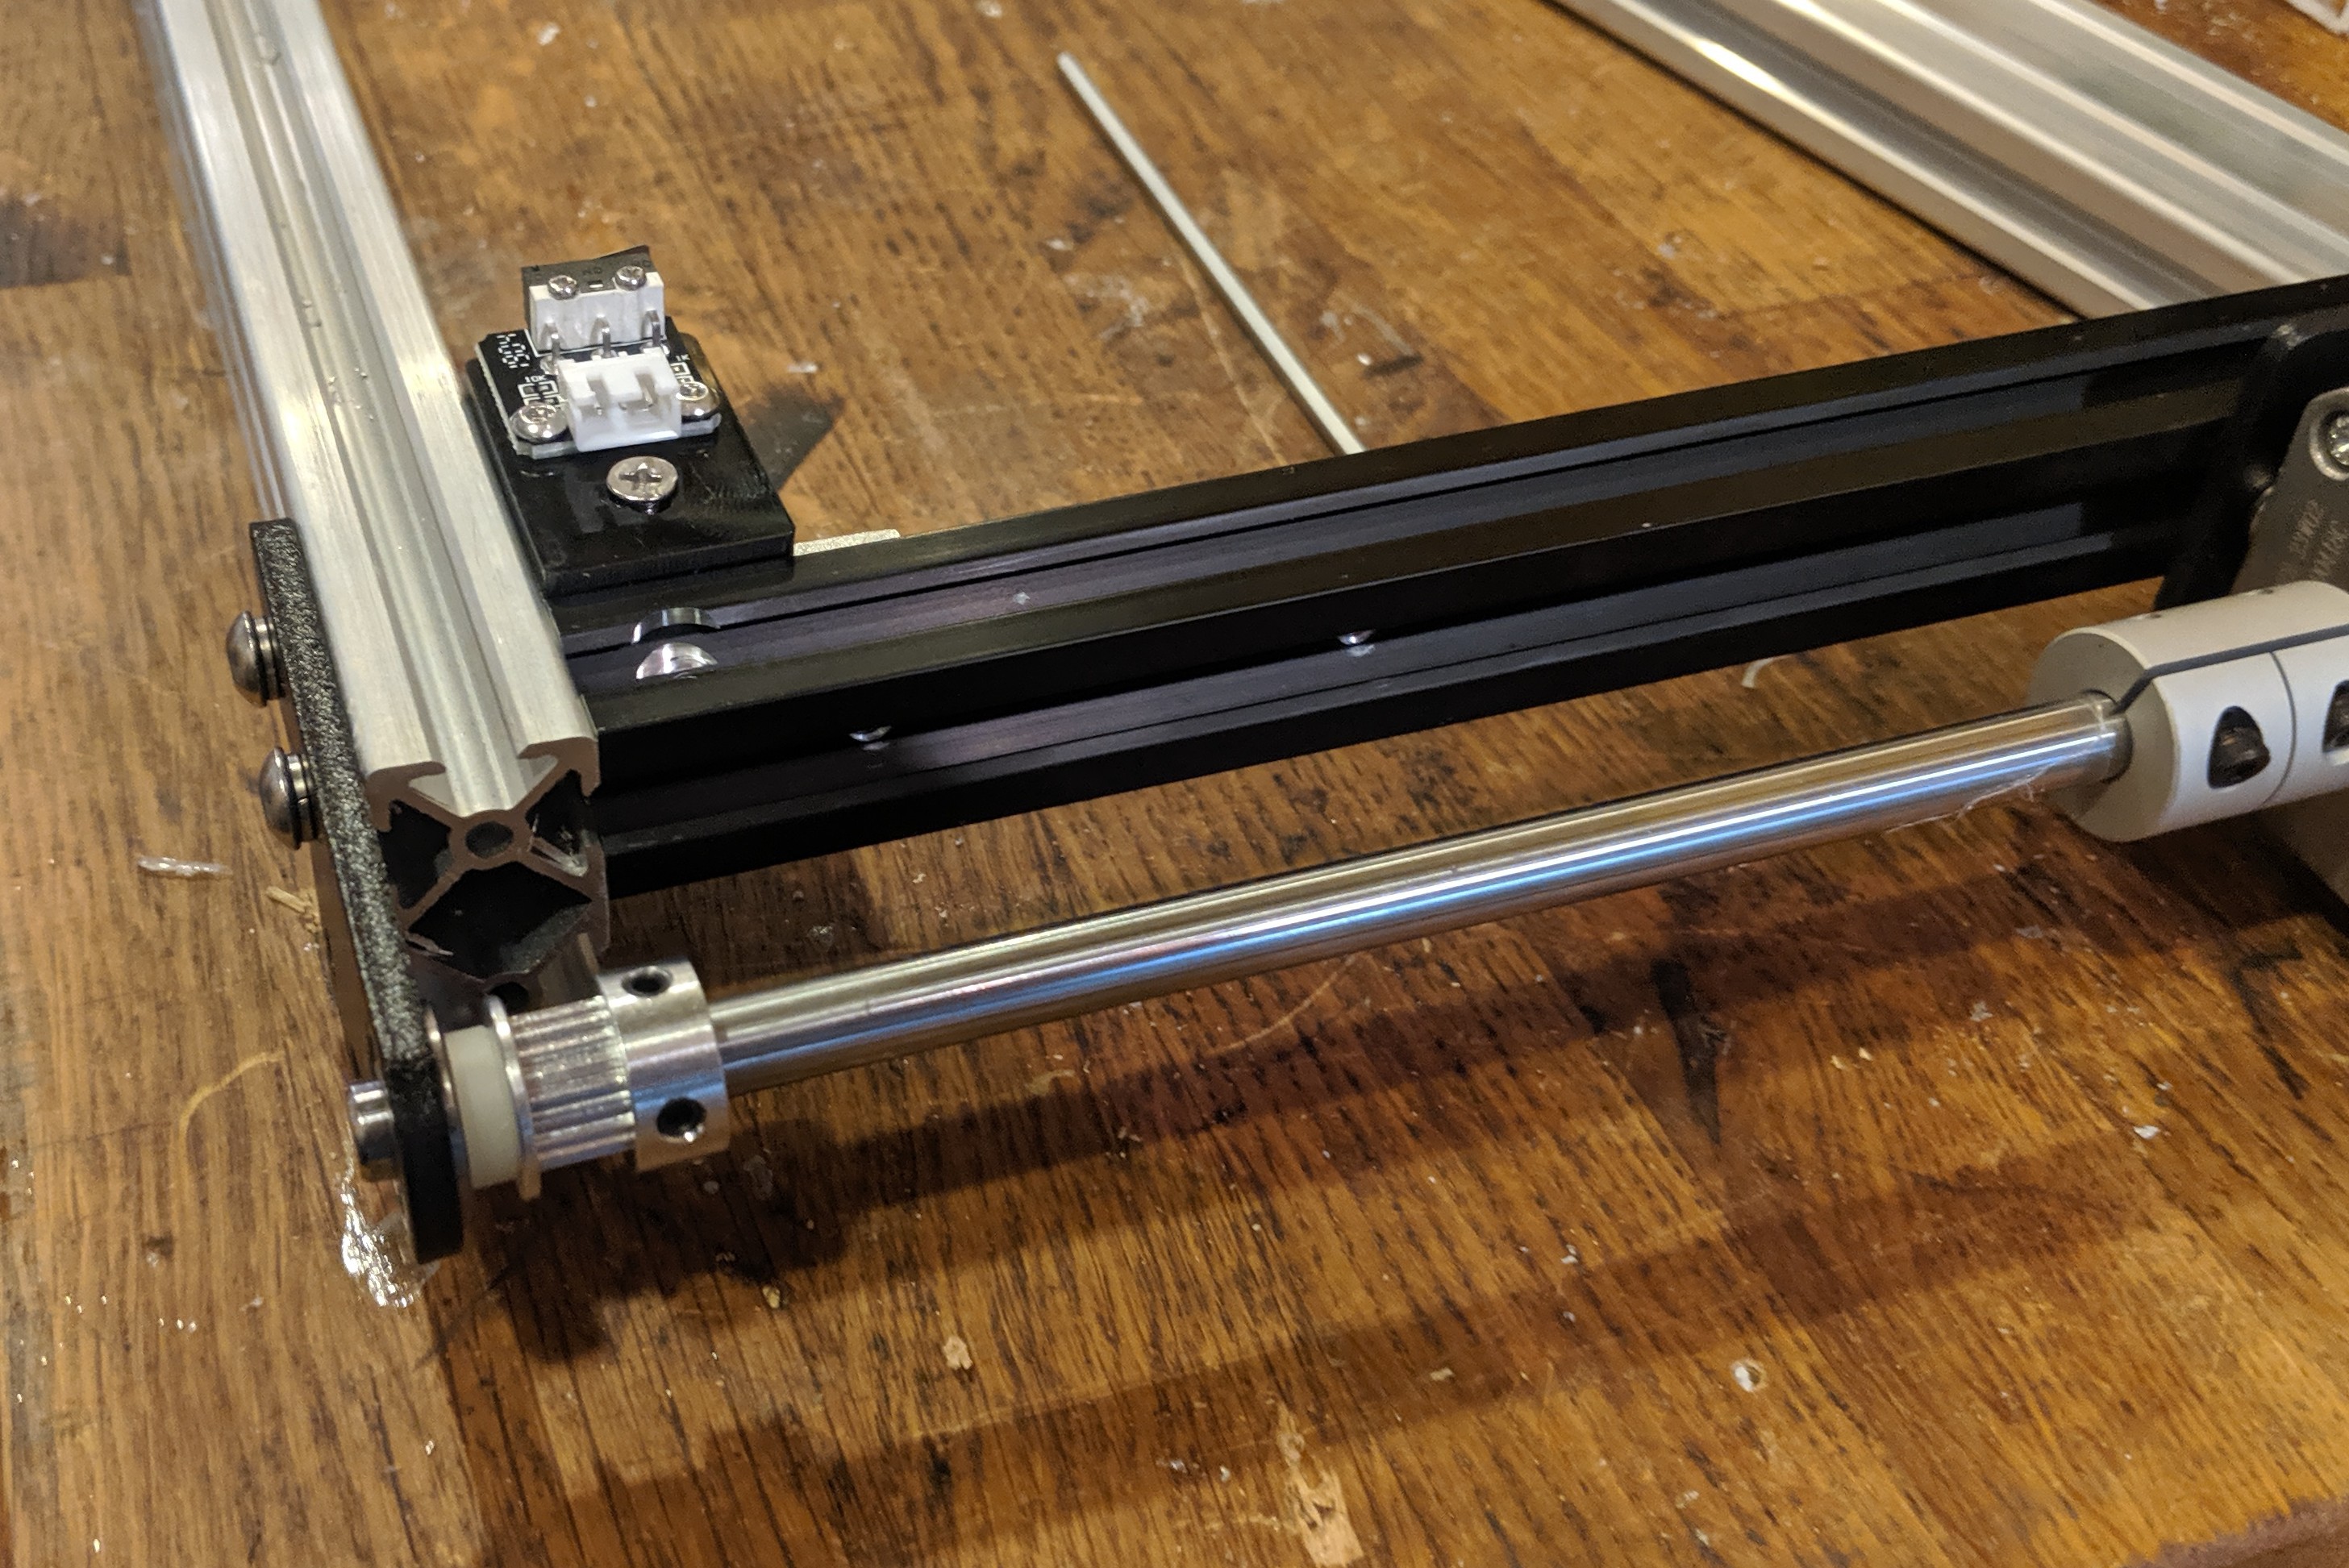
Fit all the belt system on to your newly assembled frame.
![]()
Run the GT2X6MM belt in the center hollow channel.
![]()
Install the original x axis and zip tie the belt to the original belt hooks. This is temporary so you can test movement and make adjustments as needed.
![]()
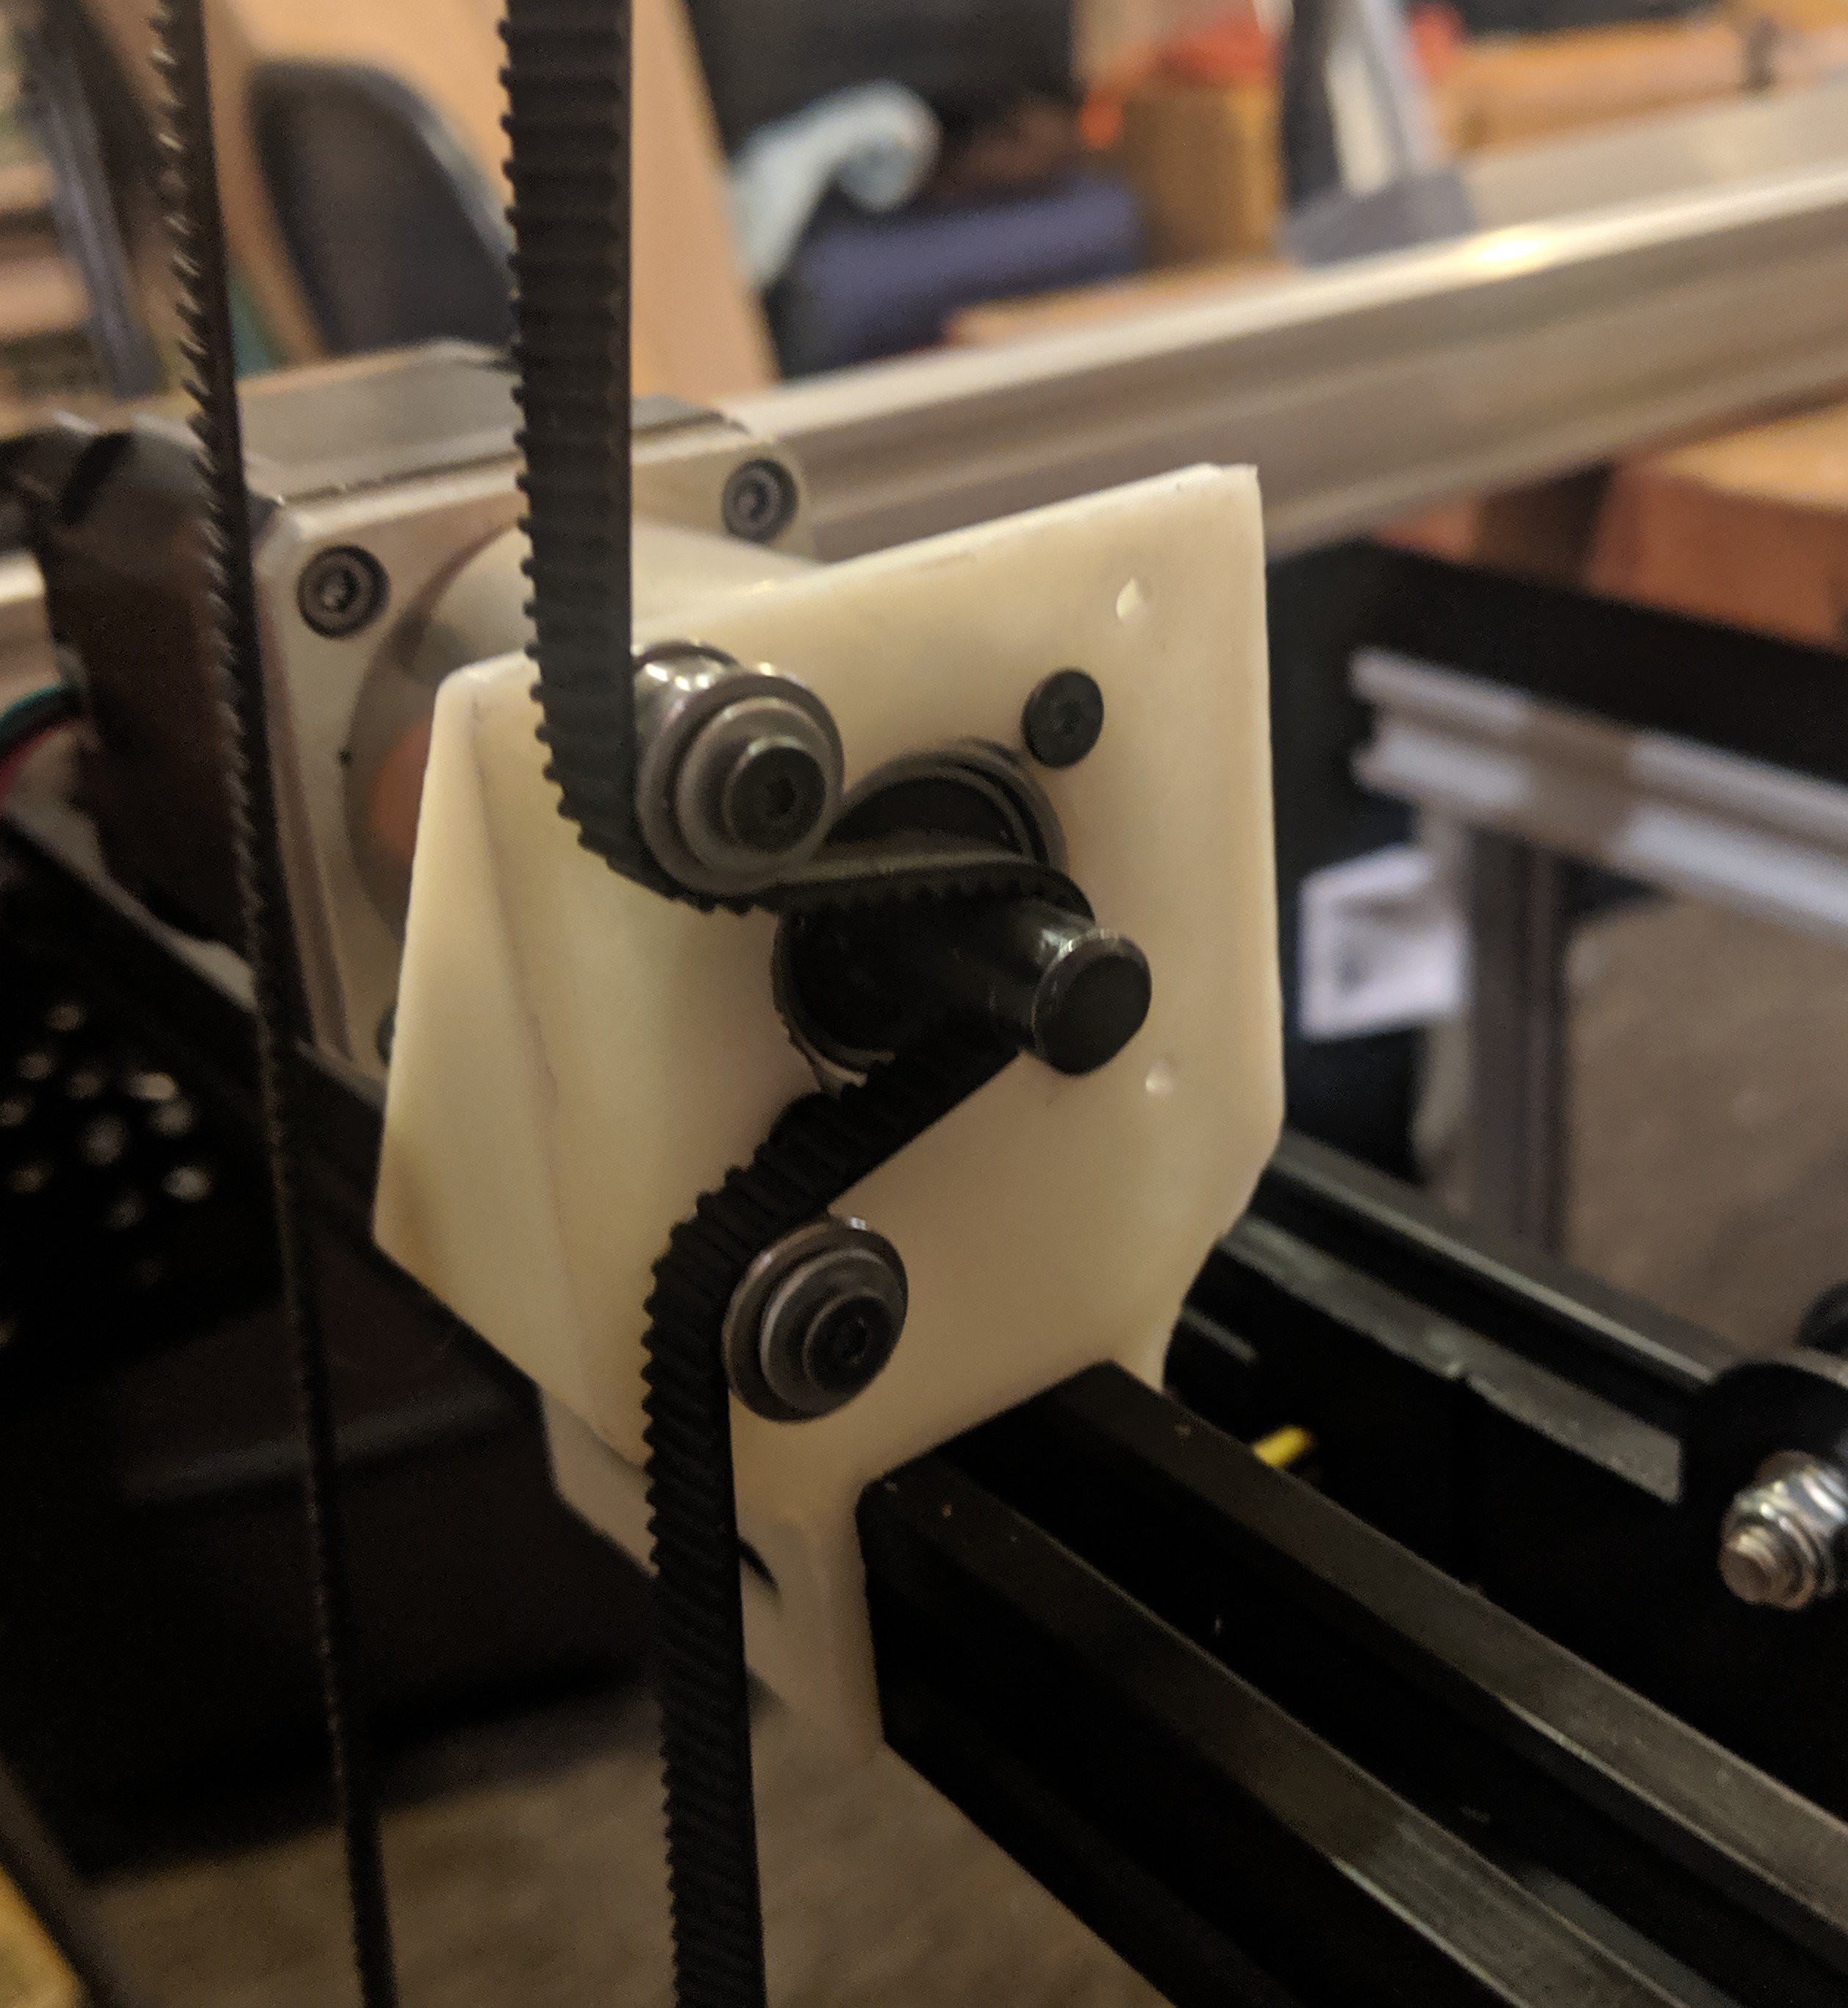
You should have a fully assembled XY assembly. From this point if you are using linear shafts you are on your own. For this build we are adding 4 gantry plates to the ends and using the 2040 extrusion as the z axis rails.
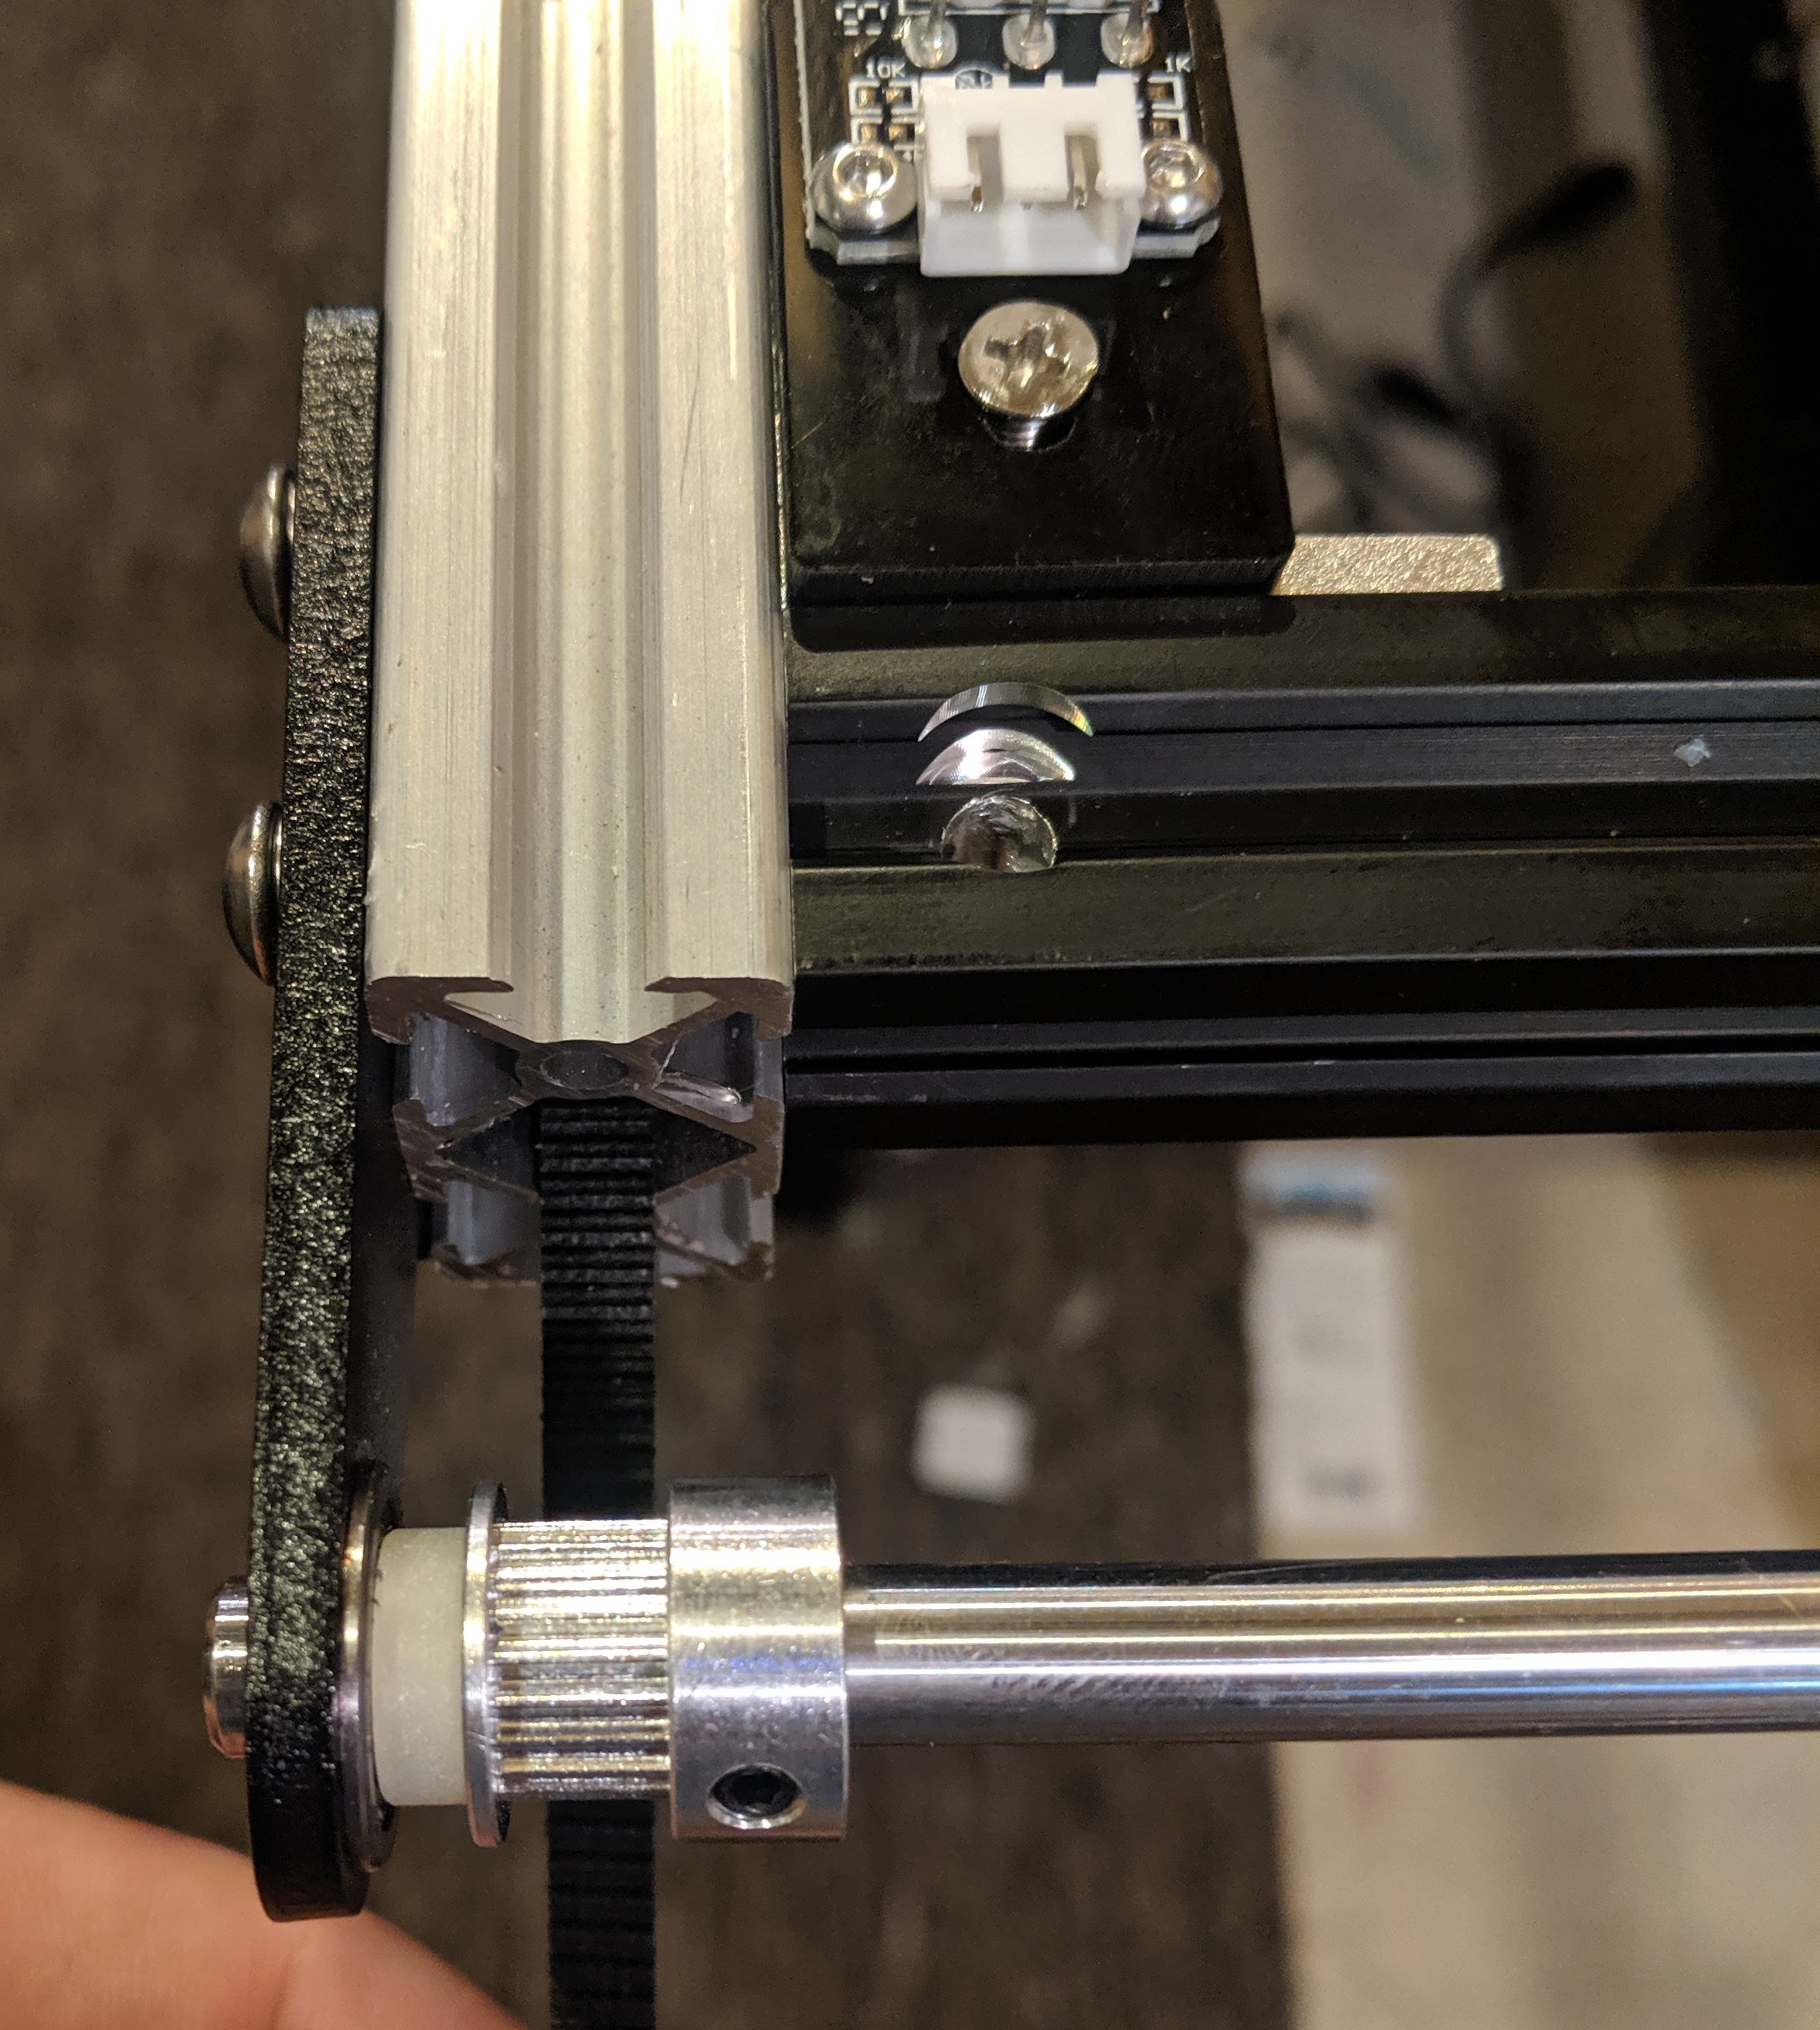
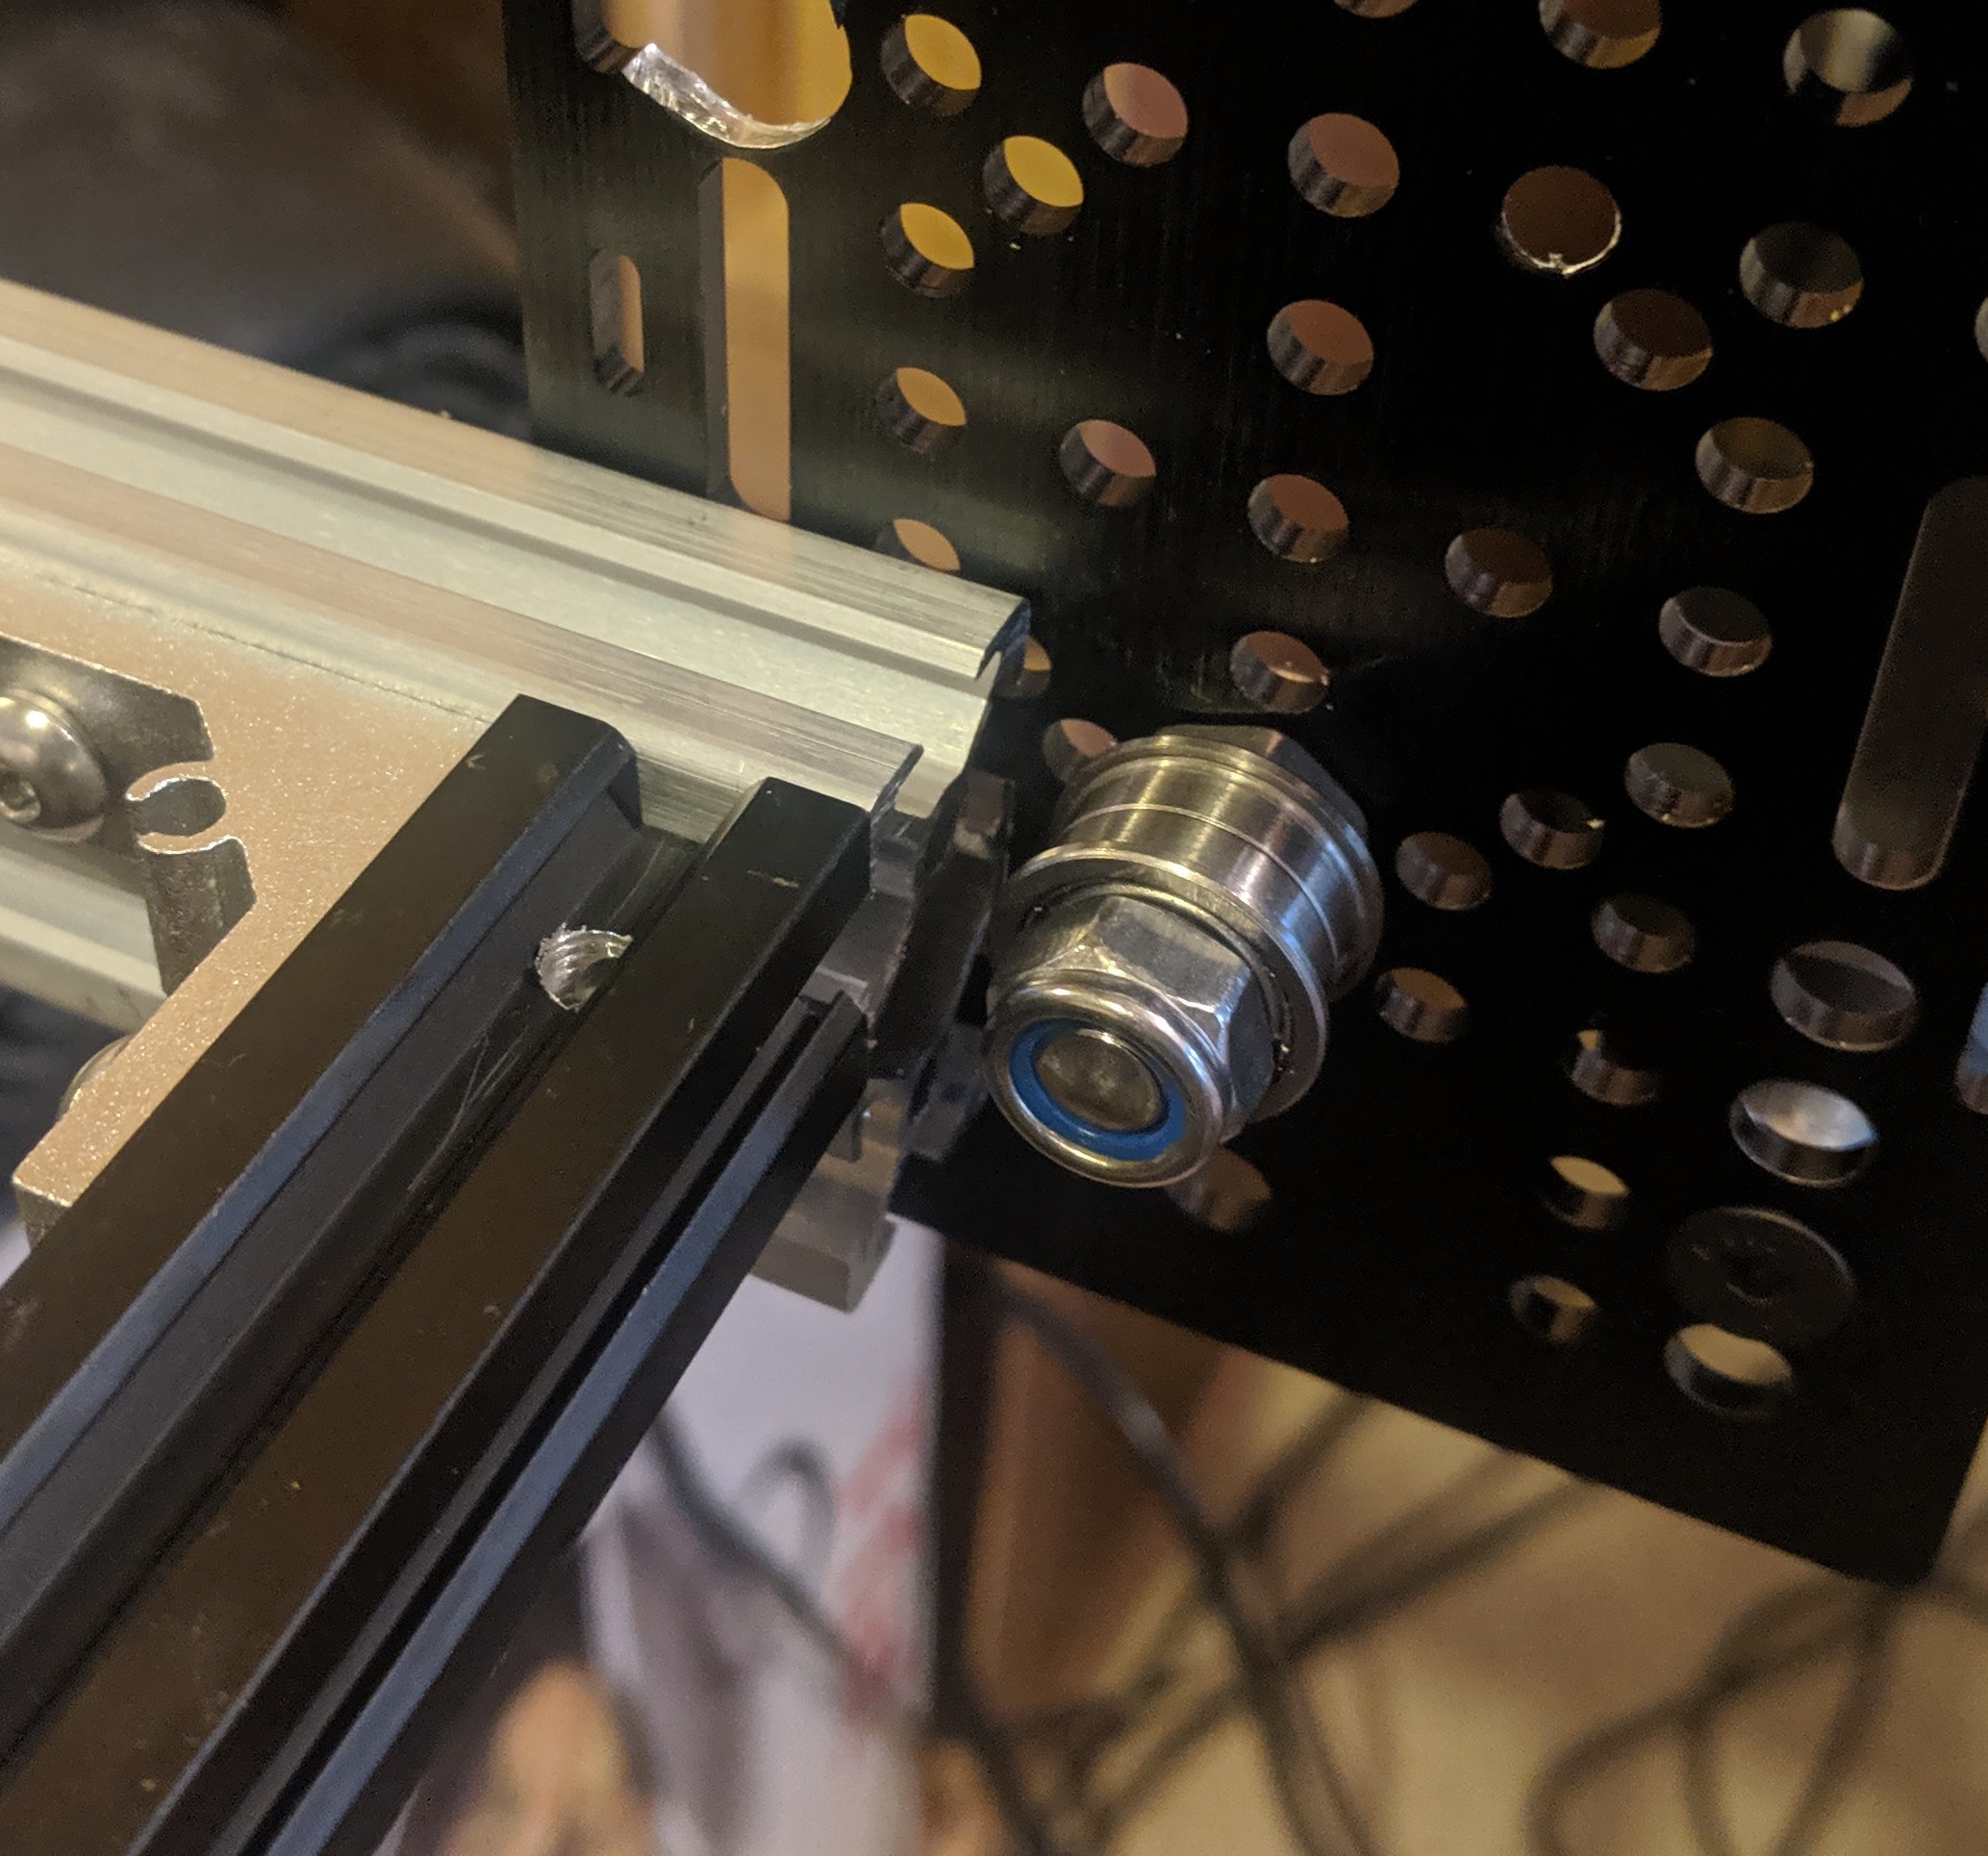
Fit the gantry plates you source the best you can. The parts sourced for this build nicely aligned with original Y axis bracket. The only ugly was drilling space for the 8mm belt shaft and the replacement to a flat M5 because the stock screw prevented the 2040 extrusion from sliding down the new Z bearing.
![]()
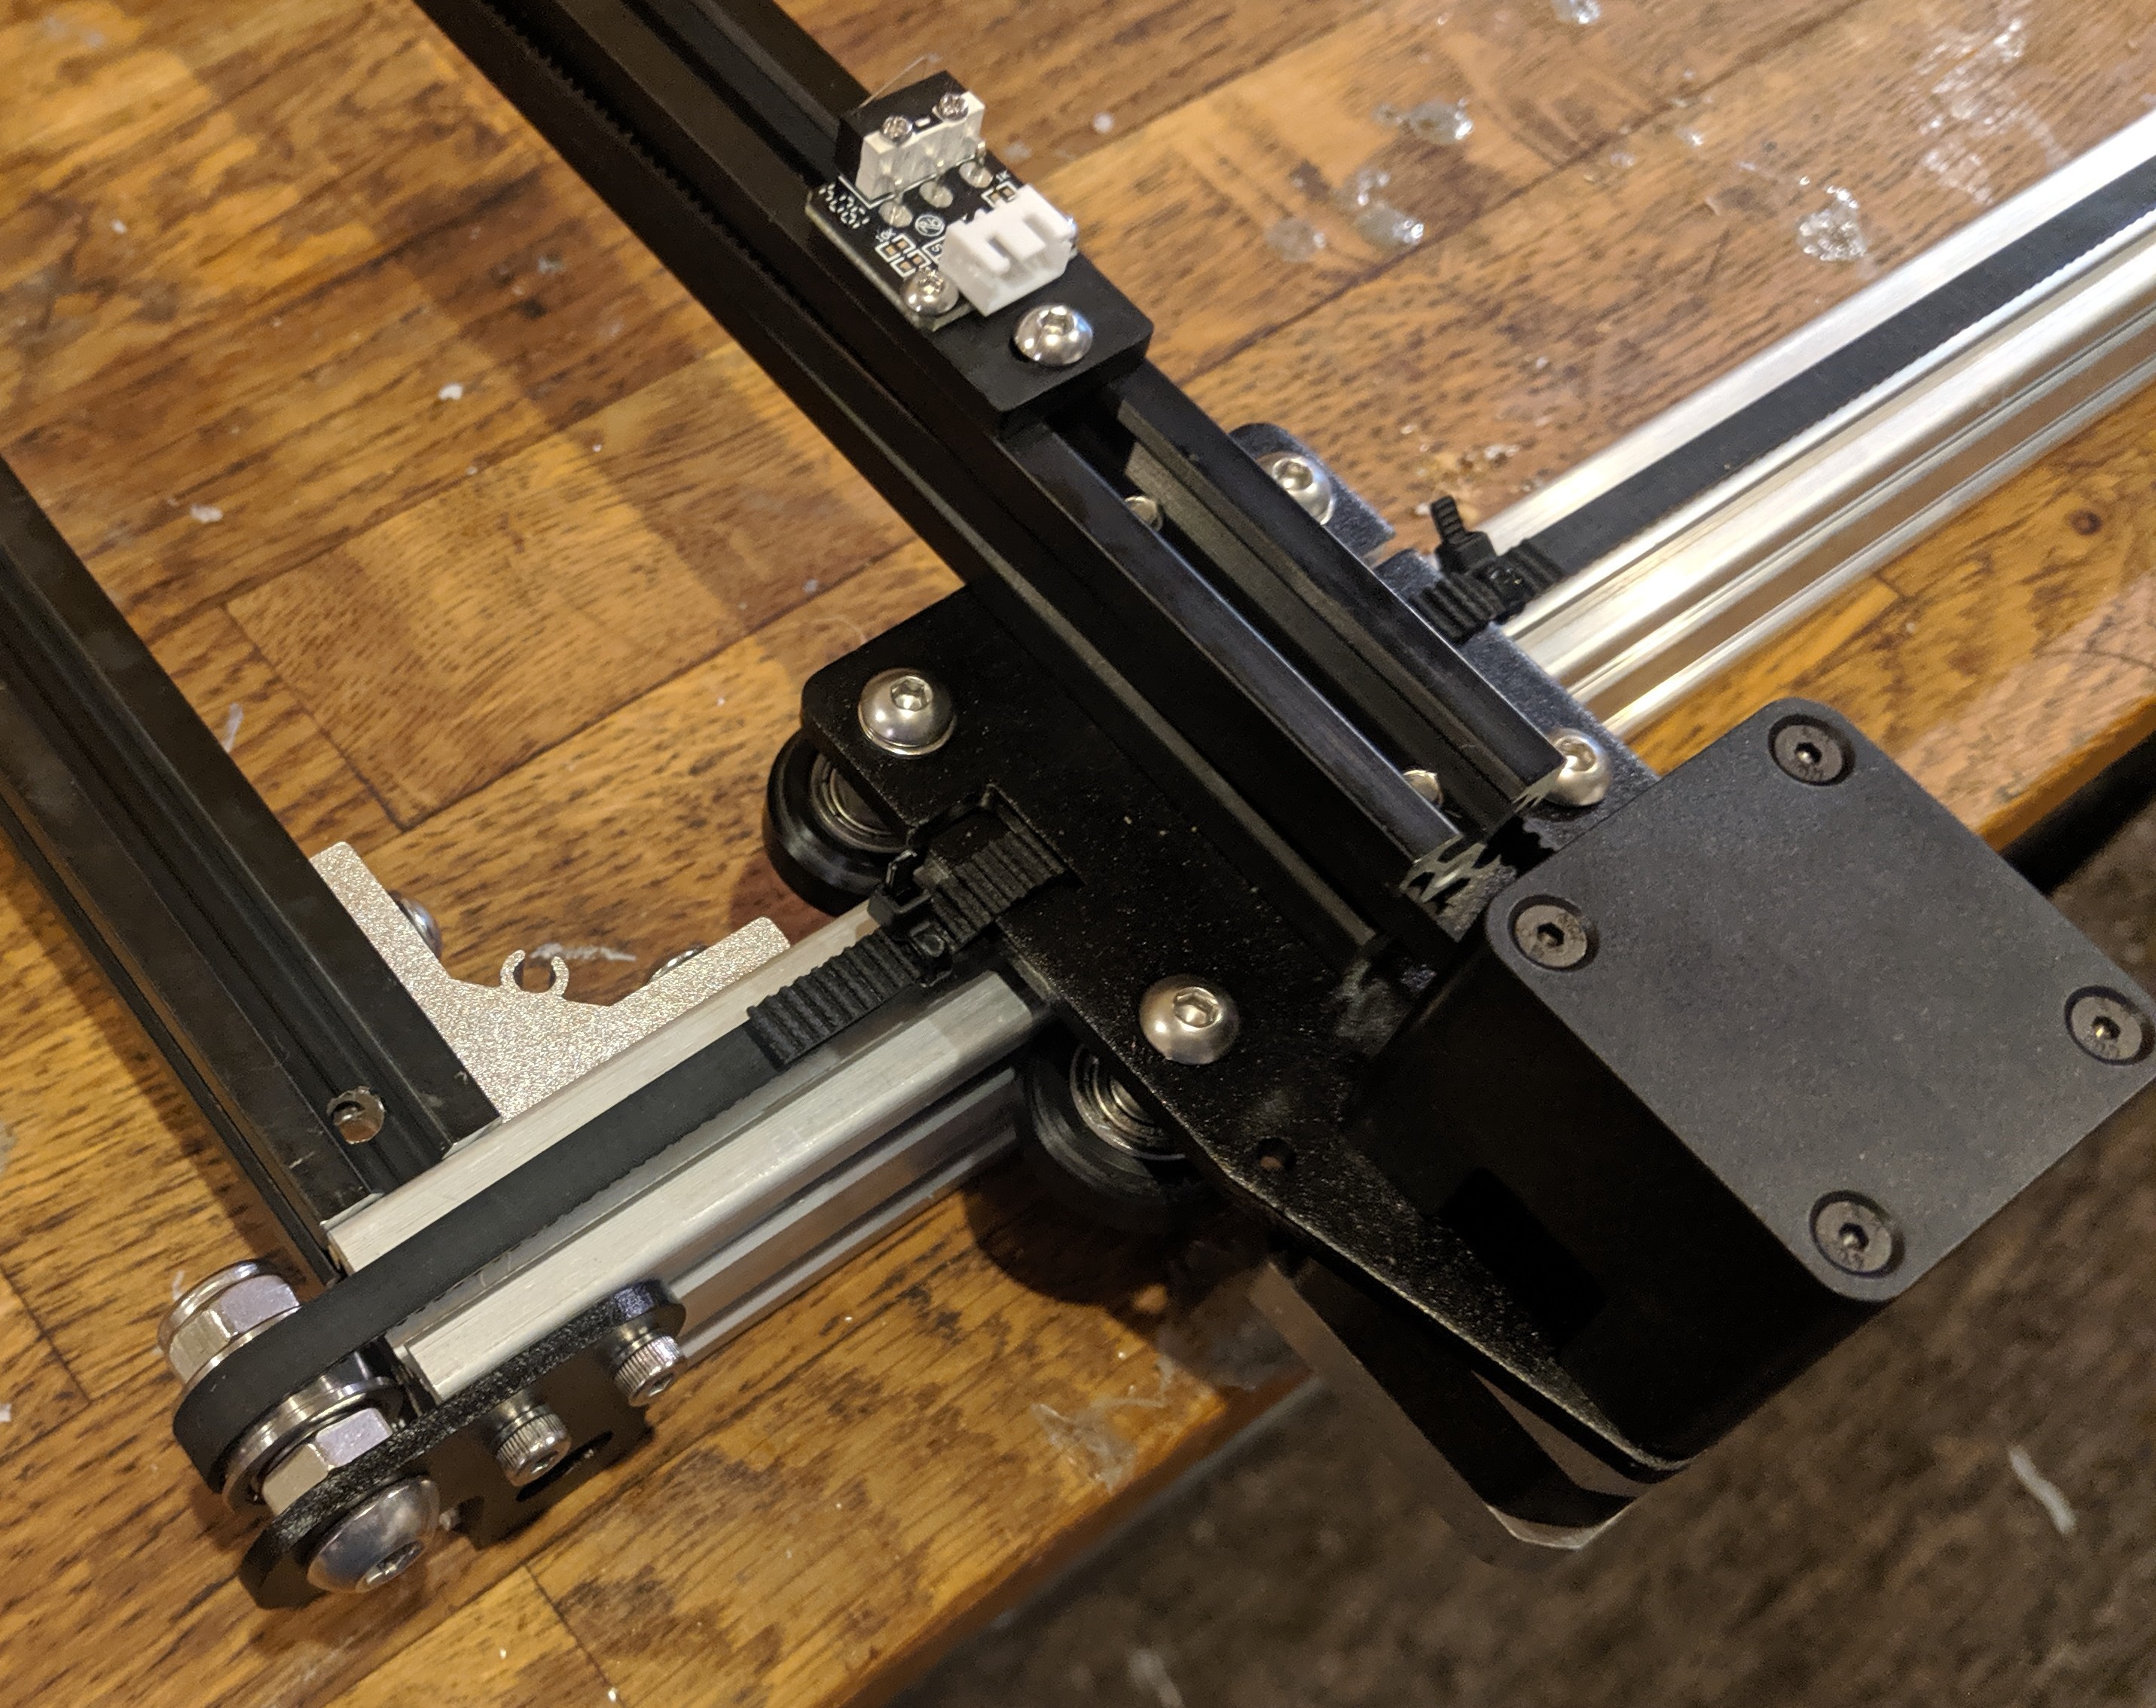
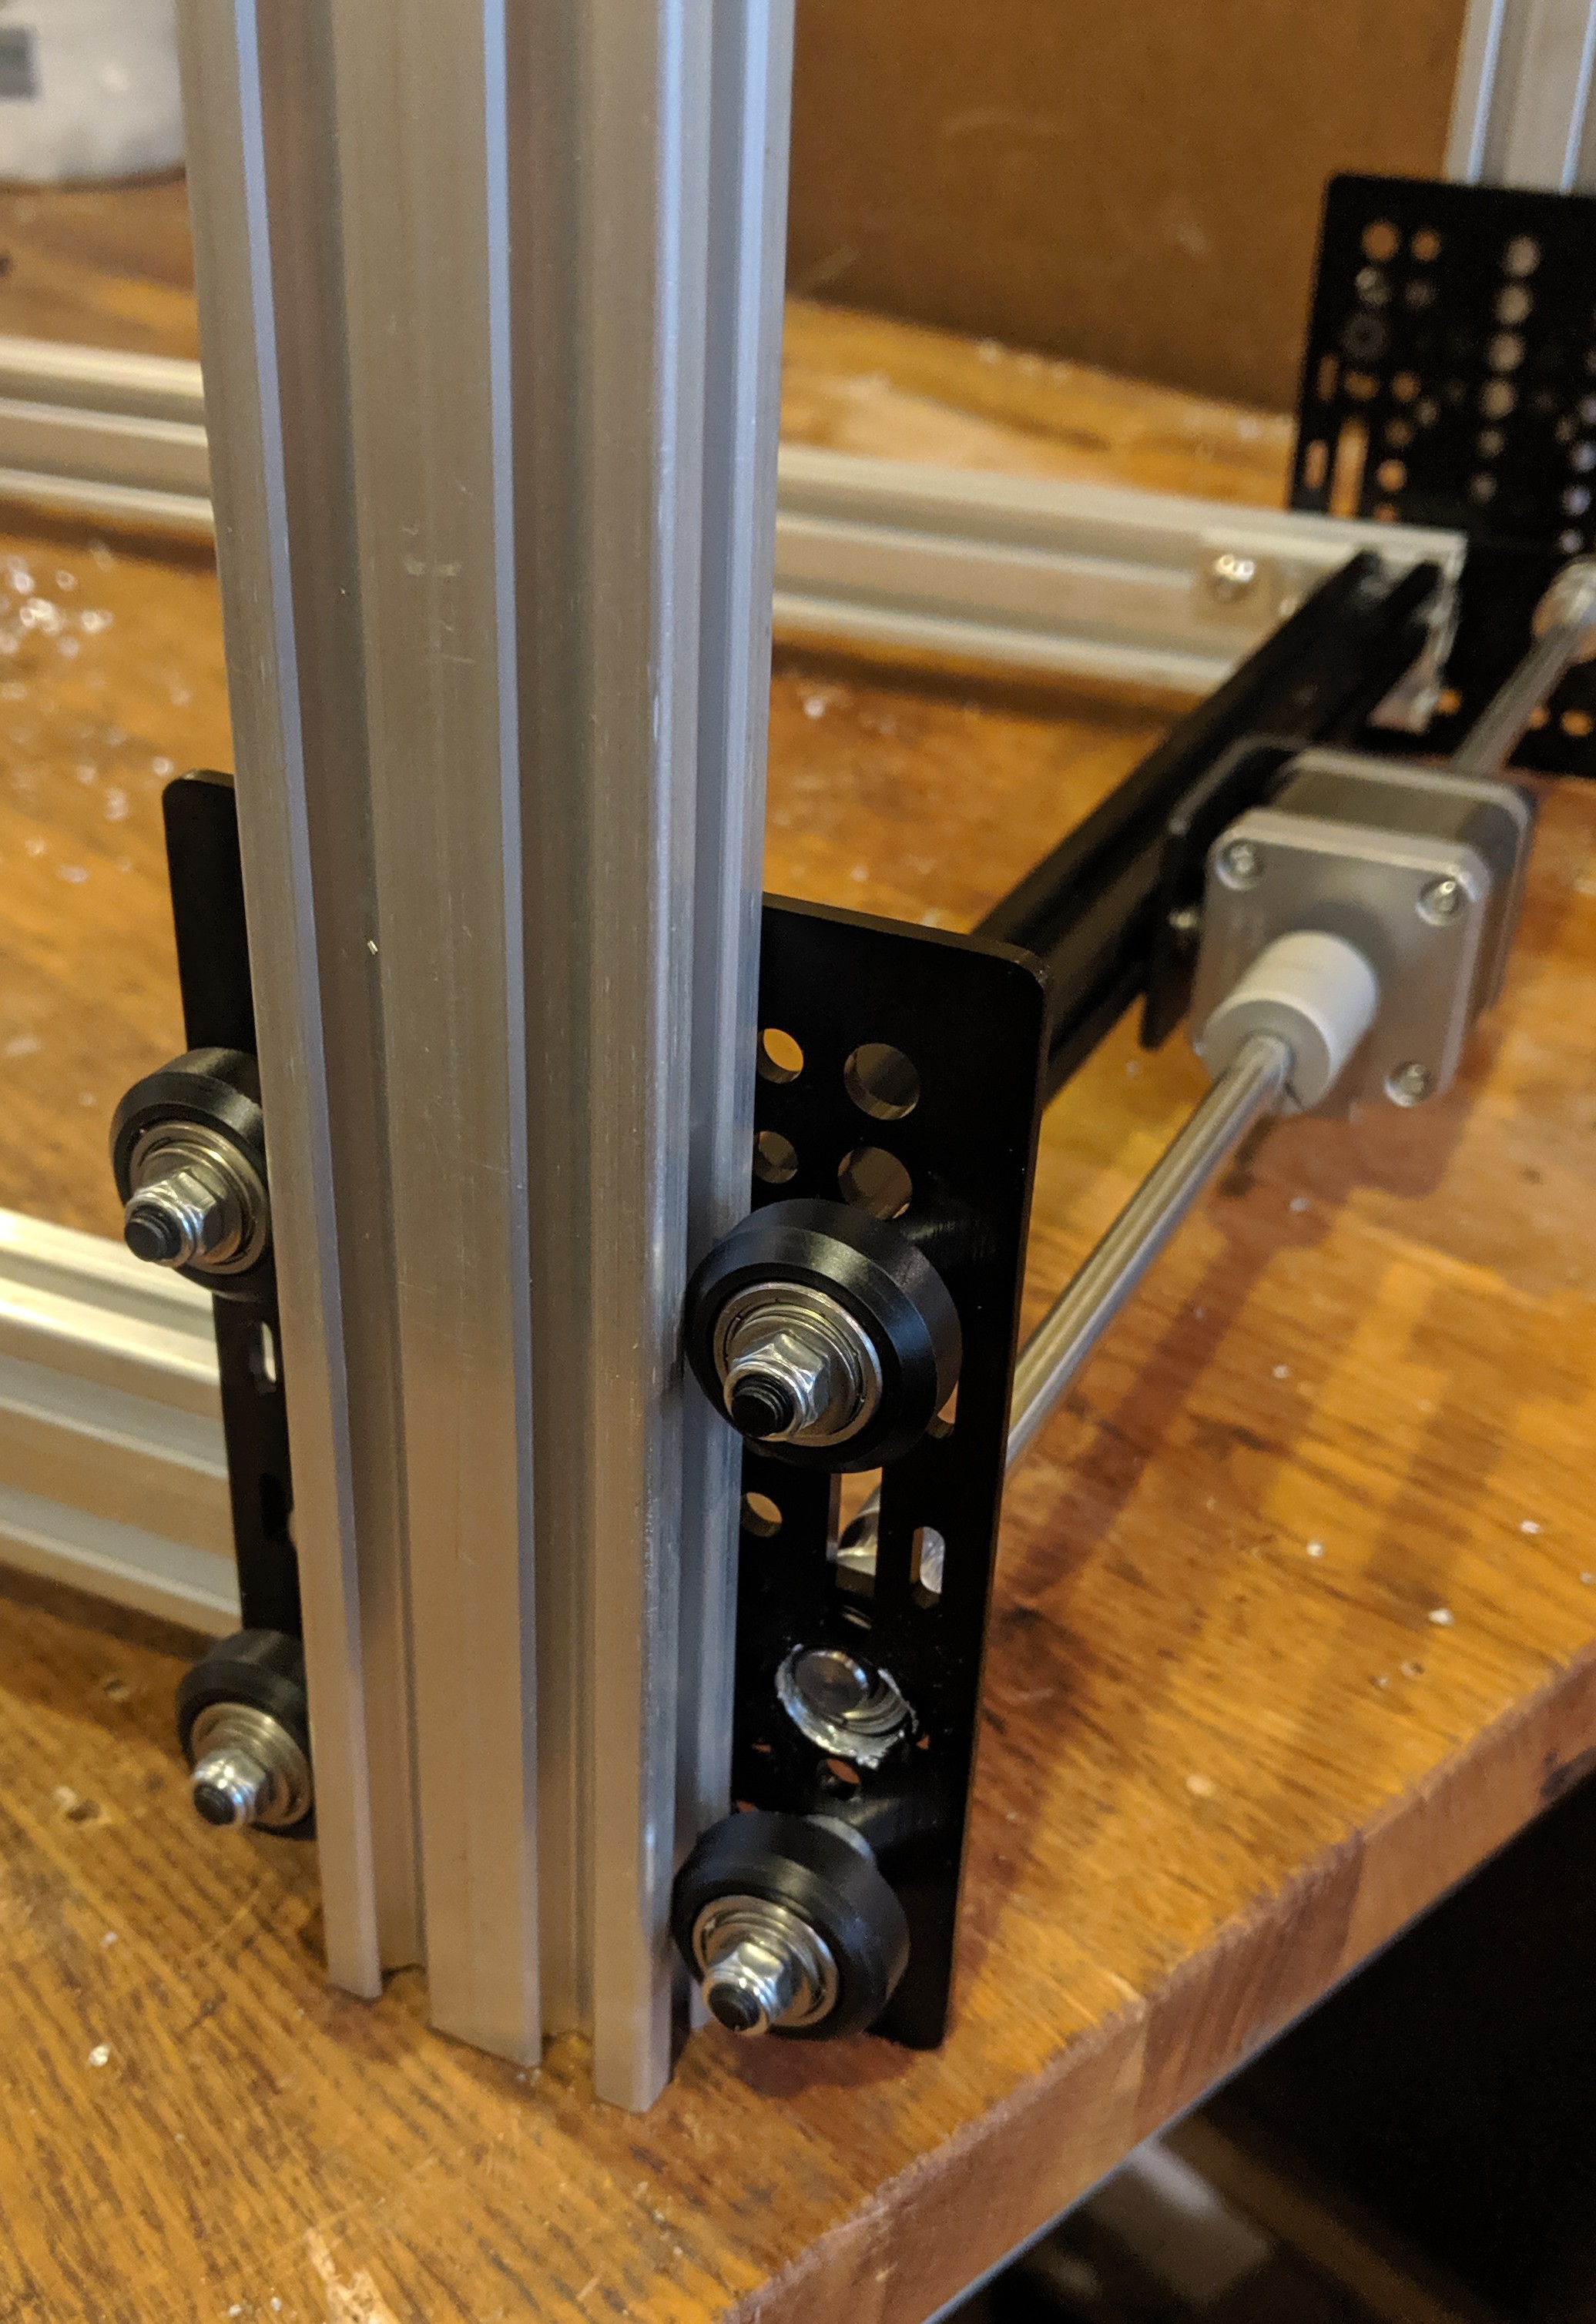
The idler side is a bit more tricky because it does not align with any of the gantry plate holes. However it is a quick modification to use the gantry plate as the new idle pulley bracket. Please note the motor side still has a 3mm plate between the gantry plate and the extrusion. Make sure to add a 3mm spacer to the front idle plate so the frame remains square. The original idler bolt will need to be replaced or grinded down for the extrusion to fit properly.
![]()
![]()
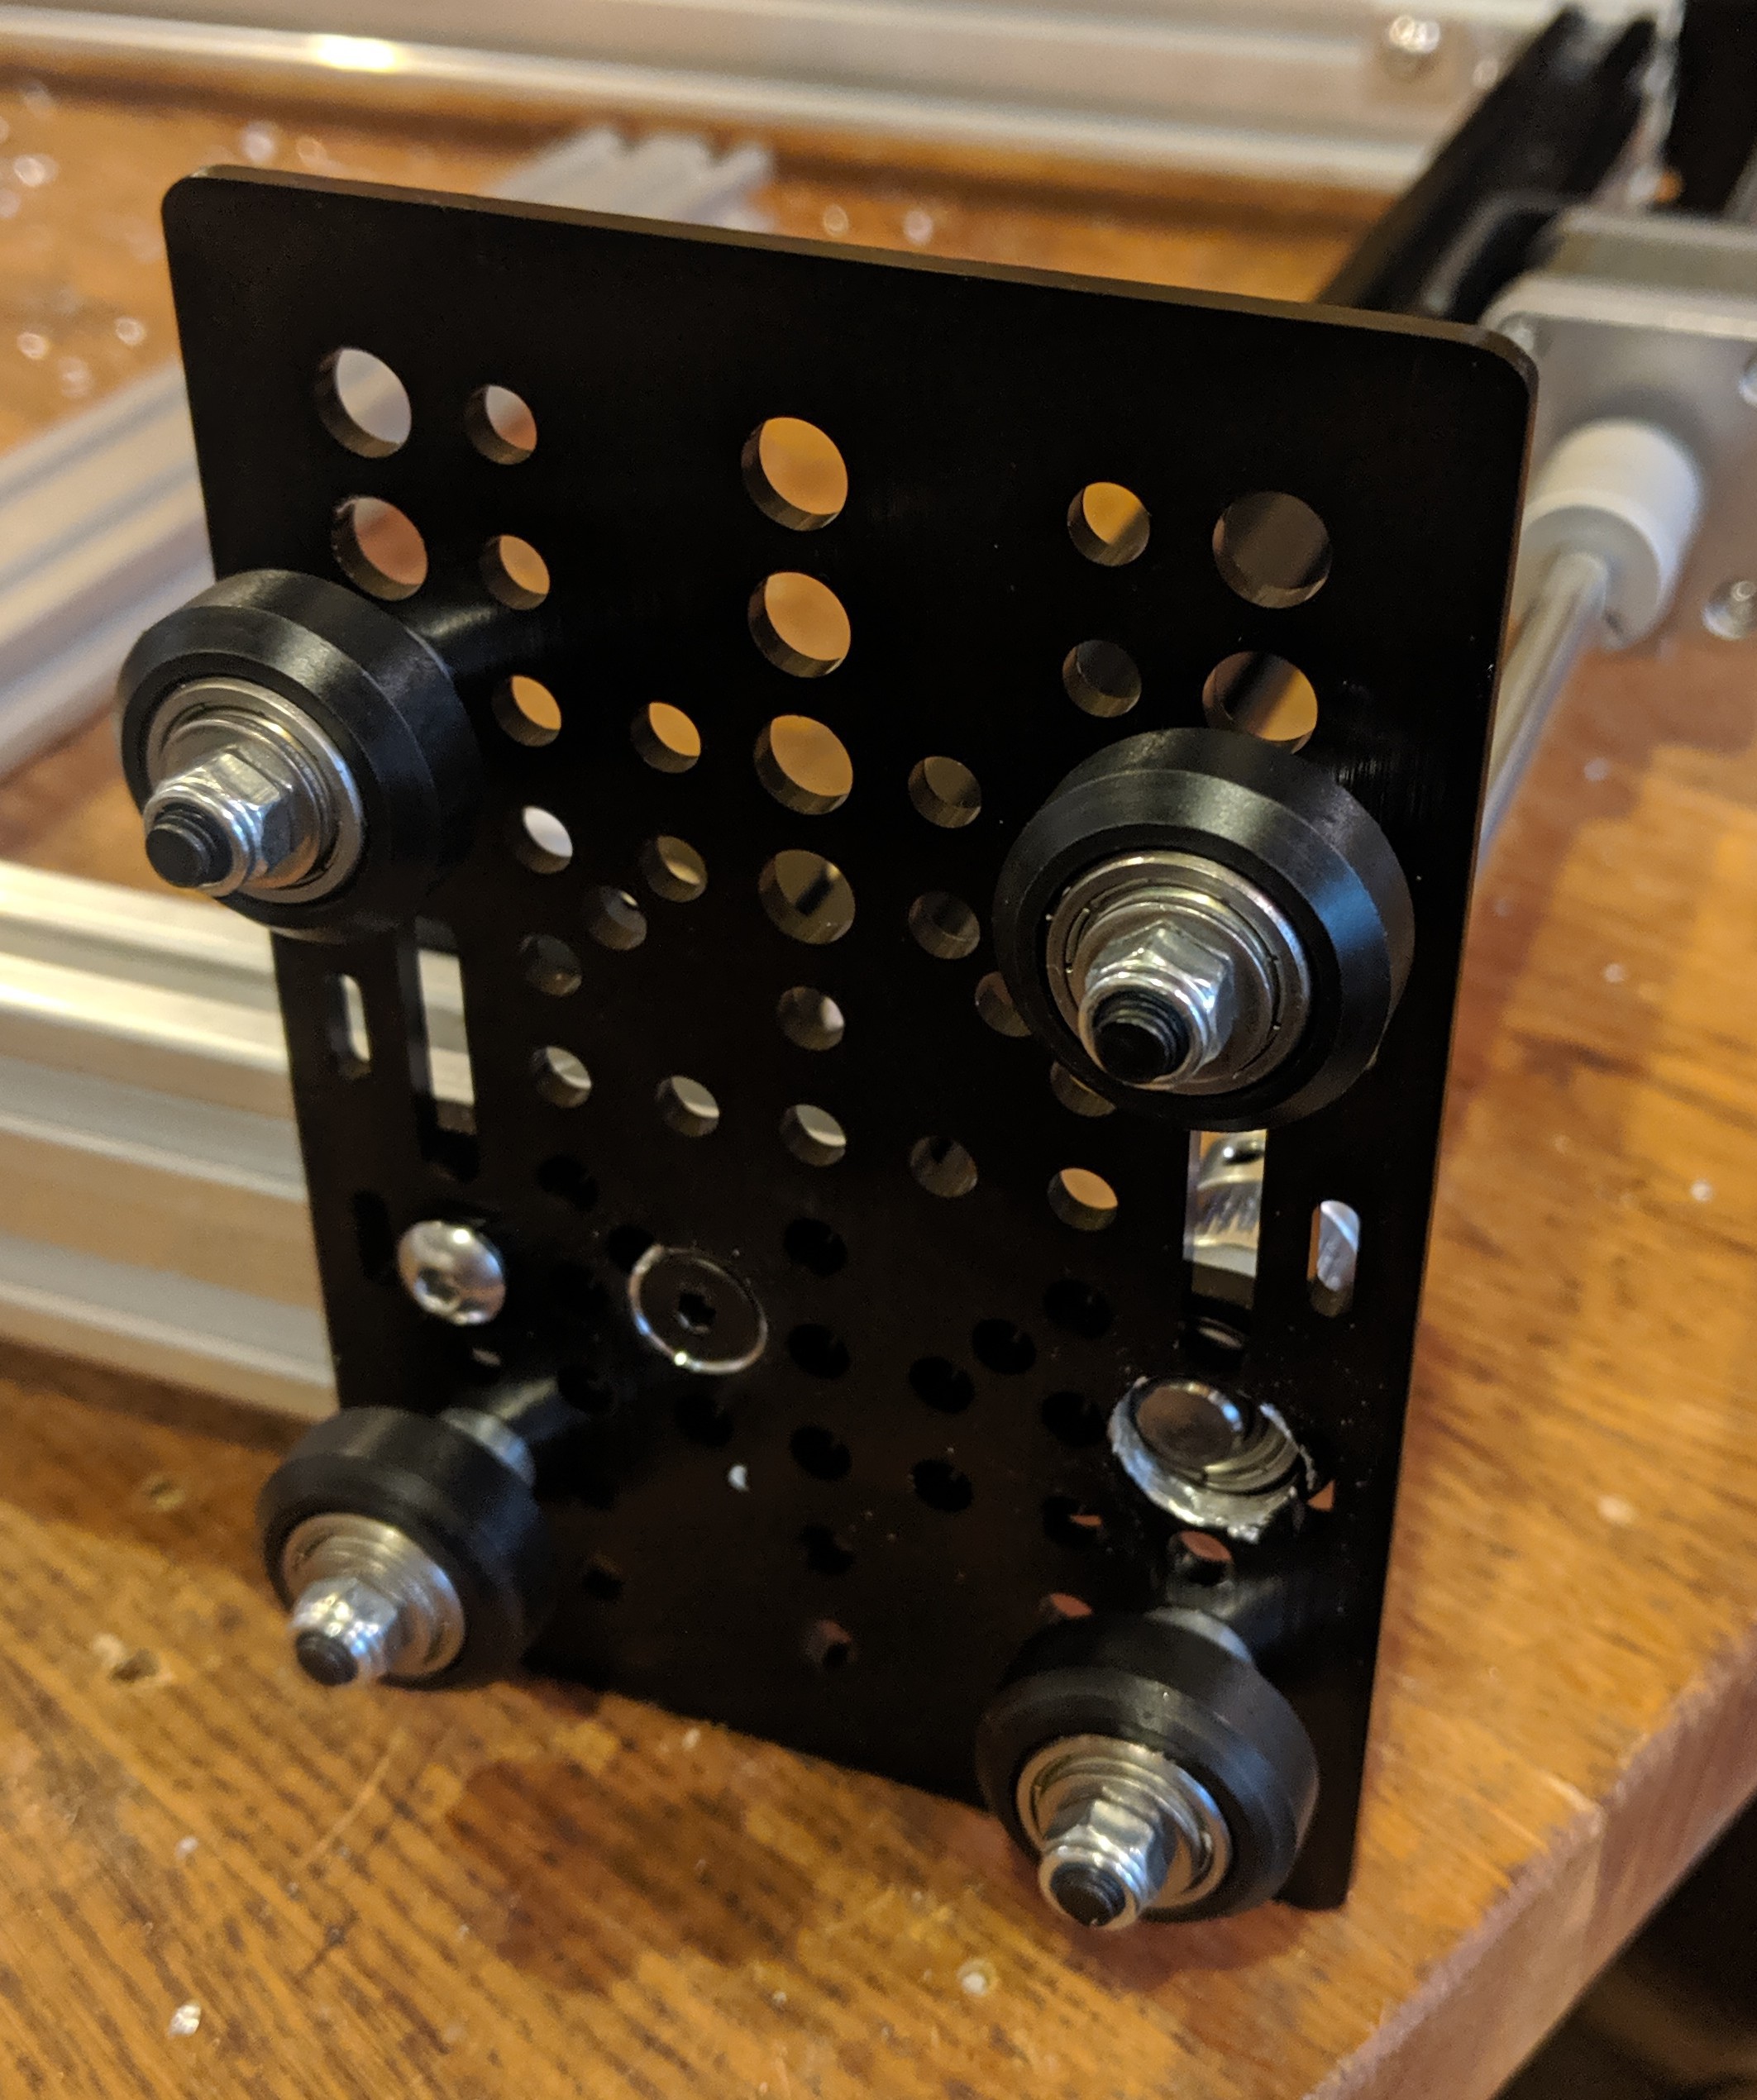
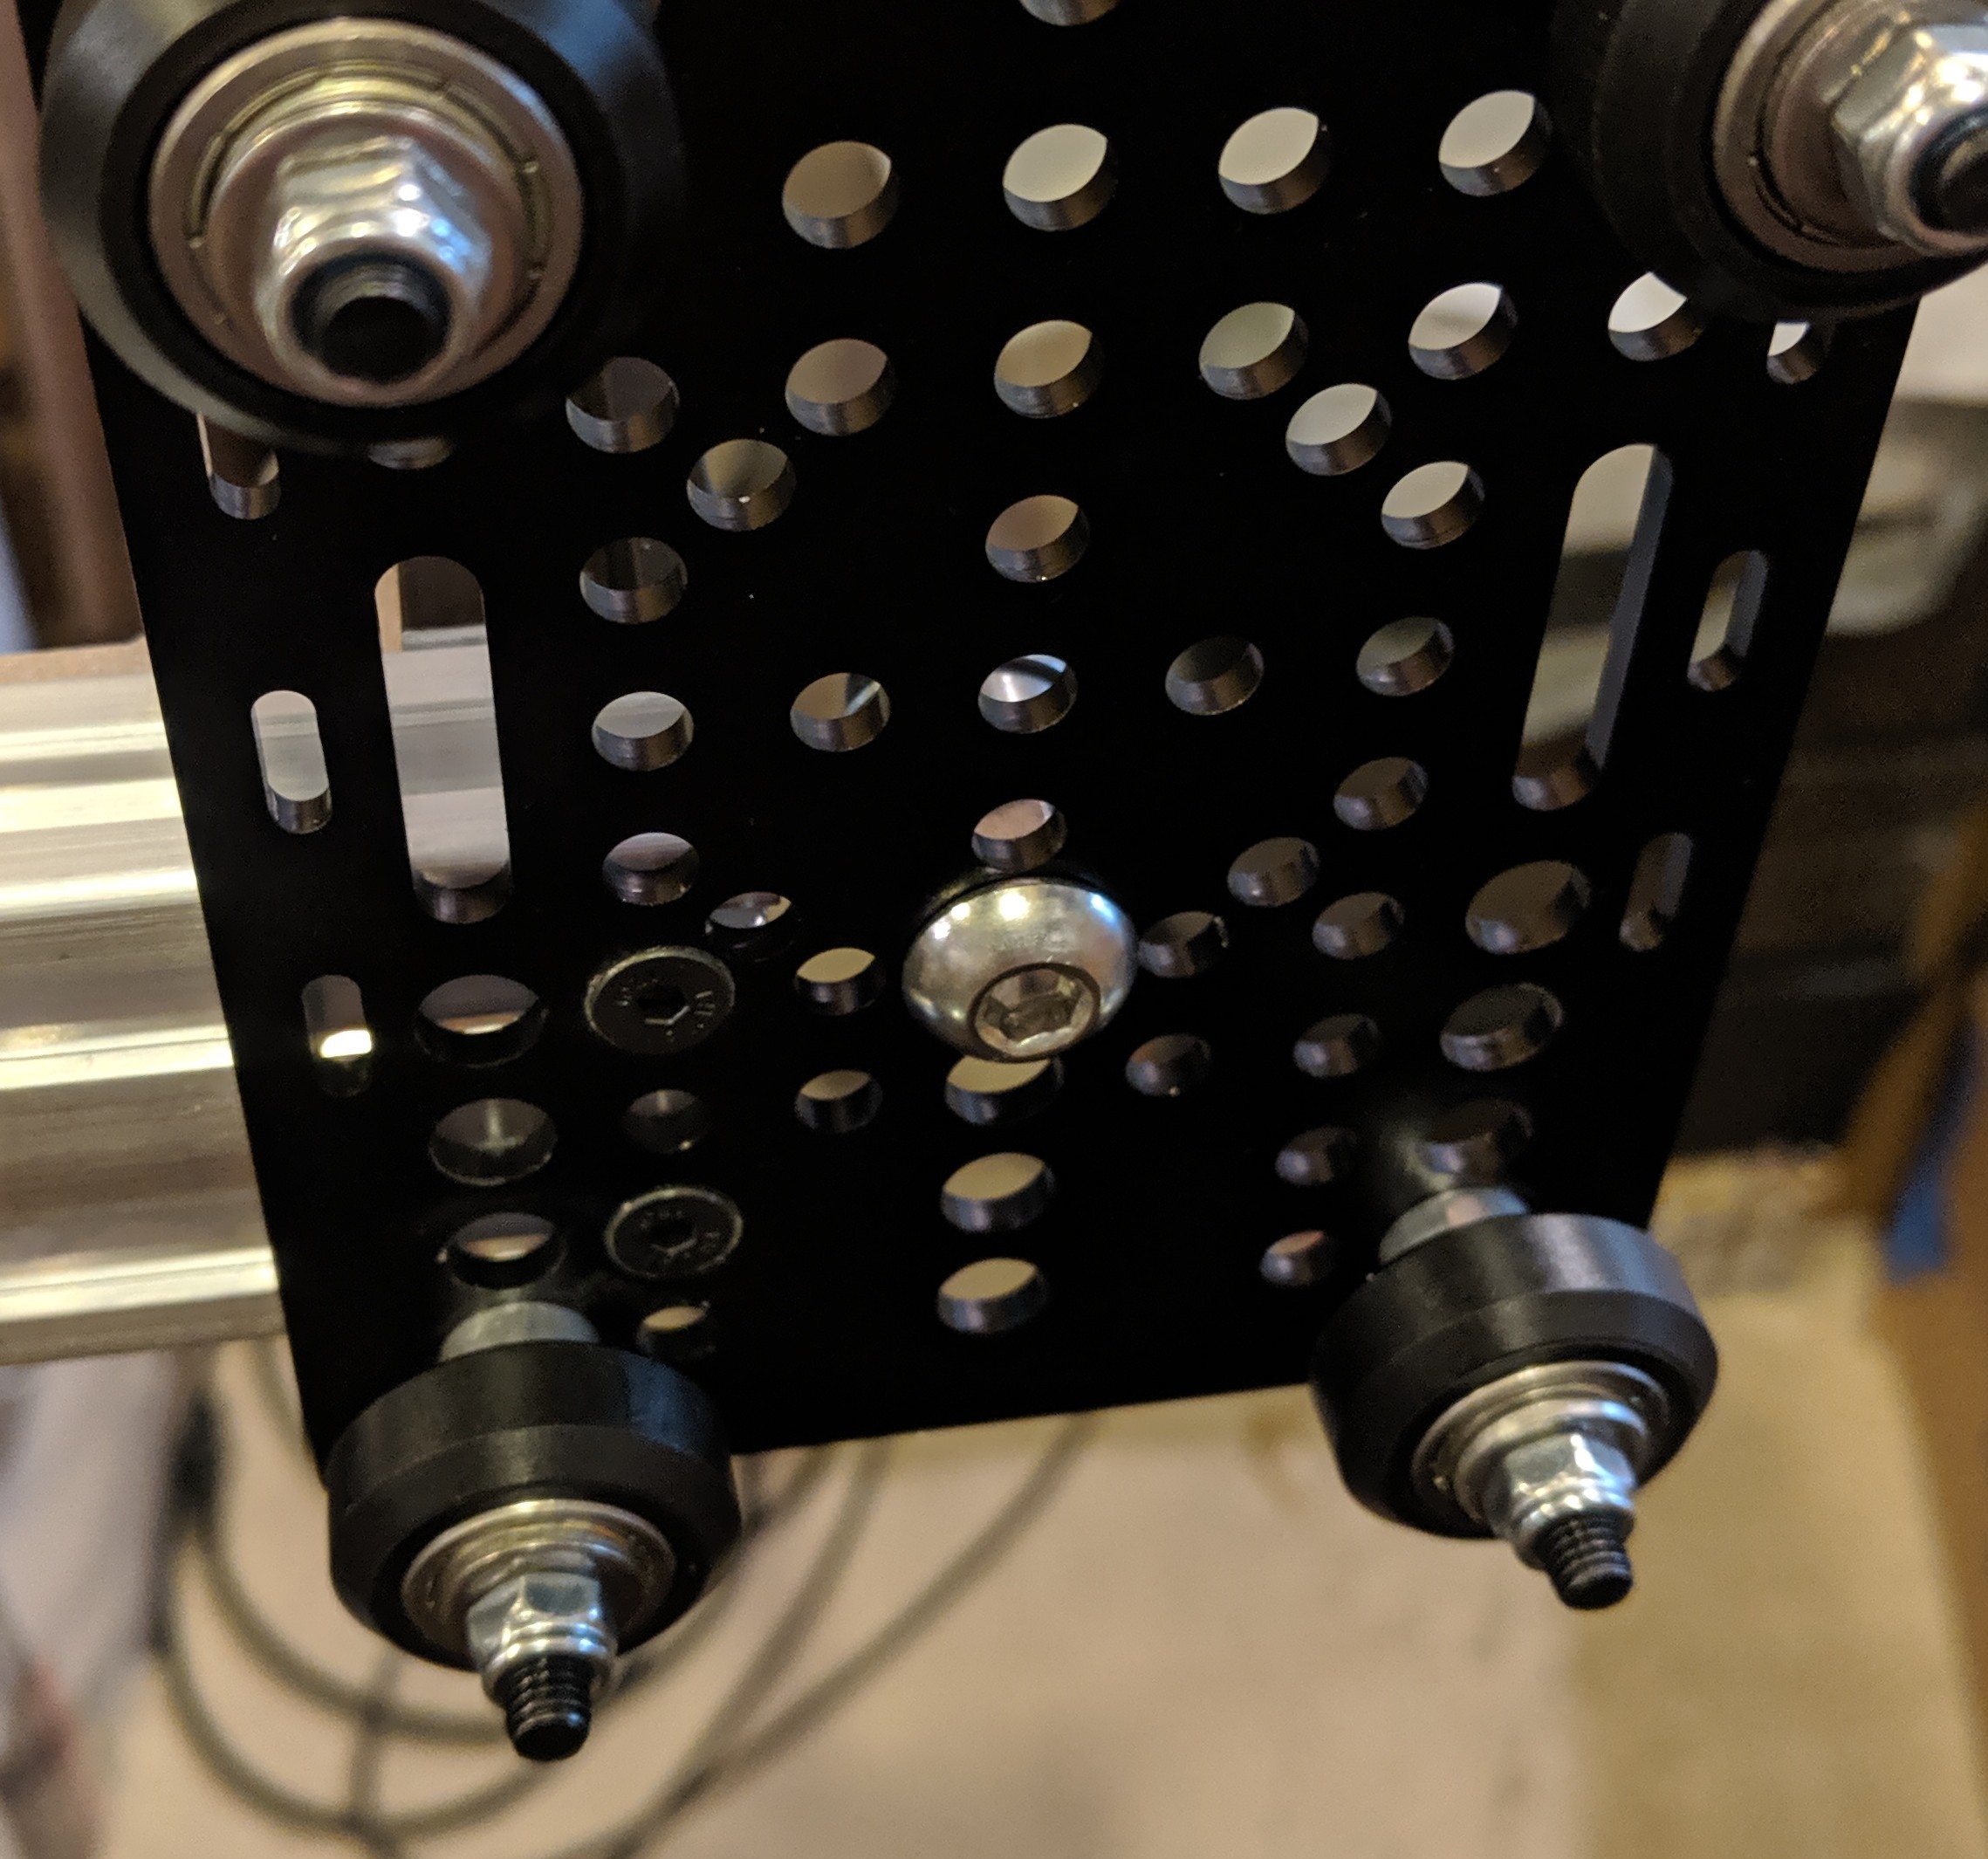
The upper XY gantry is now mostly complete with the exception of the z motor mounts. This is currently in design and will be added to the next build log.
![]()
-
The build out in theory
08/13/2019 at 18:29 • 0 commentsThe ender 5 is based on 2020 & 2040 extrusions which are 20x20mm and 20x40mm V slot. Important to use V slot as standard T slot extrusions are not the same dimensions. The build plate style is a cantilever with its support rails on only one end. This design is just fine for small light weight parts but not possible for the 20kg+ weight which is possible to print with this large scale. In this build the building plate will be completely stationary and be integrated into the lower frame with the XY frame being in motion along the z axis. This has several advantages like all motors and electronics can be attached to the moving frame allowing for short wiring to motors and reduced electrical noise.
Frame
Source the applicable length for your build in this case the Y axis is going to use 2x 2040 extrusions because of the long length the weight of the X arm traveling the center would potentially bend but more on that fix later. The X axis will retain the stock size extrusion but could be made to any length also. This allows for only 2 extrusions needed for the upper gantry.
Z axis frame
You will also need 4x extrusions for the z axis which currently is using 2x 10mm linear shaft. You will be replacing those with the 4x 2040 extrusions with the same gantry style plates as the stock Y axis
Using Gantry plates is optional and can be replaced with linear shafts/ rails depending on your requirement. The 2040 extrusions have enough accuracy for this build and the gantry plates can be found from several sources for very little cost in comparison to industrial linear rails.
Z axis motion
Z motion normally is done with a lead screw which has many advantages and disadvantages. To start with the major disadvantage the stepper motor is holding all the build weight axially which will reduce the service life and be ruined unless you change the internal bearings to a thrust style bearing. This is not recommended as some motors can be damaged during disassembly. The alternative is to use a belt driven Z axis. The major issue is if power loss occurred the motor will give way and potentially break something as the gantry comes crashing down. This can be solved by using a planetary gear set which mounts to the stepper motor. This has a larger holding force because the planetary gears are setup to be torque amplifiers meaning a single turn on the input shaft will turn less times then the output shaft. With a high enough ratio the internal magnetism of the stepper can hold without power. Additionally this rotates the force transaxial and into the planetary gear set so the motor will never see axial force and should have great service life. The biggest con to this setup is belt selection. Cheap belts without fiber or steel reinforcement will stretch over time and have a slightly lower service life. Luckily belts are very inexpensive and are easy to replace which is why this style of motion system has been selected.
Building surface
Many build surfaces can be used to fit the material needs. In this case the best option is granite because it is stiff, heavy weight, handles moderately high temps without any expansion or bending, and can be sourced locally in every major city at a decent price if a remnant can be used. Because of the mass and thermal conductivity of granite the preheating process will be extended but the trade-off is if power loss occurred the heat will last for longer and allows for more time to save a build if a failure occurred.
Enclosure
The enclosure will be mounted to the frame adding stiffness and thermal insulation value. The load acting on the exterior is relatively low but needs to account for the XY motion during printing. The exterior can be almost any sheet of building material even wood has an ignition point well above the environment temperature. The simplest and cost effective option is reflective XPS foam and hardboard sourced locally.
Because abs releases fumes which are not great for your health a carbon filter system will be added.
Electronics
The electronics that are needed. A more capable controller board, touch probe for mesh leveling, 2 stepper motors with planetary gearing, and a dehydrator for environmental control. Potentially more items are needed like additional fans for circulating air within the chamber and maybe some upgrades to existing components.
Project BFE
This project is to outline building an ender 5 into a large scale 3d printer.