 Bram Peirs @ FW2W
1. Problem: The challenge the project addresses
SuperAdobe structures have been built in 54 countries all around the world. Often in distaster-struck or remote places where there is no acces to electricity.
Being off-grid means being dependent on other sources of energy, like wind and solar. When the sky is cloudy, the production of solar panels diminishes quickly. When not complemented with batteries, there is also no power at night when using solar only. This is why solar and windpower are complementary. There is also the problem of plastic waste. In many countries plastics are just dumped into wastelands.
2. Solution: How the project will alleviate or solve the problem
The Propel-E 450 produces enough electricity for the basic needs of a small household, for example powering a fridge, an infrared heater or lighting. The Propel-E 450 can quickly and easily be mass-produced through crowdsourcing. This approach has recently proved to work, where the 3D-printing community resolved the shortage of Covid-19 faceshields. The windturbine can be printed in a few days with any household 3D-printer.
It has a very sturdy design with as less components as possible, while still ensuring maximum power output.
i. Design process & design decisions
---- Material choice ----
The Propel-E 450 is made from PLA, wich is one of the stiffest plastics (tensile modulus of 3,5MPa). It also brakes down much faster than regular plastic when burried in organic matter. If a windturbine would be disposed or broken down, the copper and the magnets can be recycled, and the PLA breaks down.
With a good solvent, other materials like PET(G), or ABS (dissolves in aceton), can also be used. For example, we designed a smaller windturbine made from recycled PET-bottles: https://hackaday.io/project/174283
The Propel-E 450 has been tested in different environments, including weather as hot as 38°C.
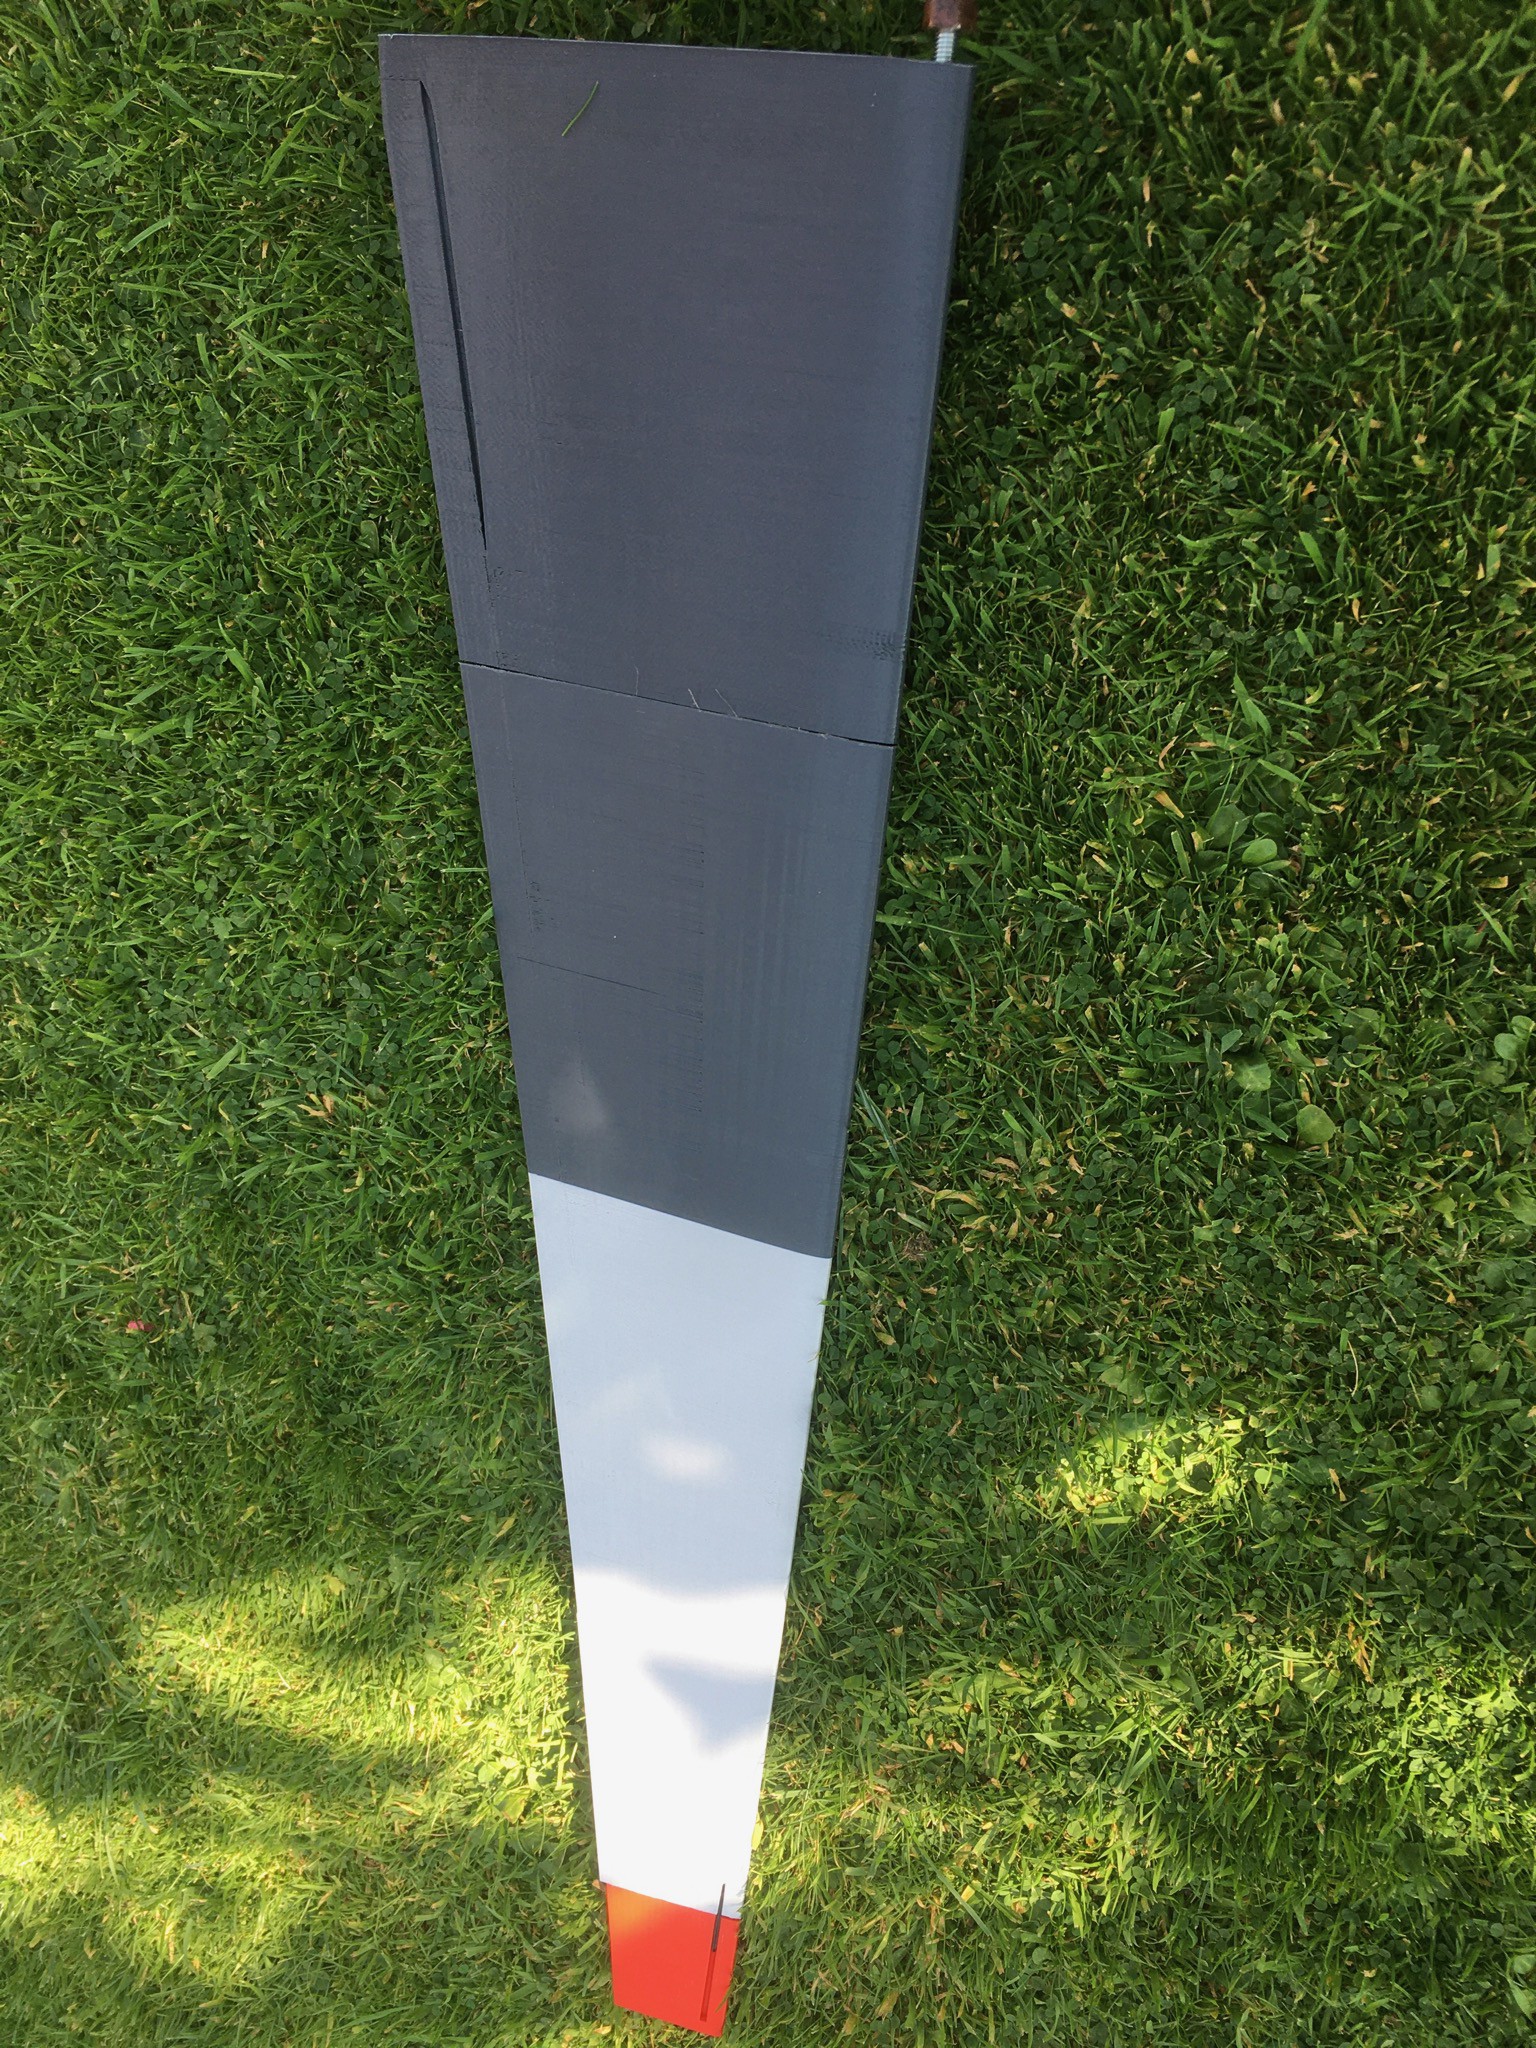
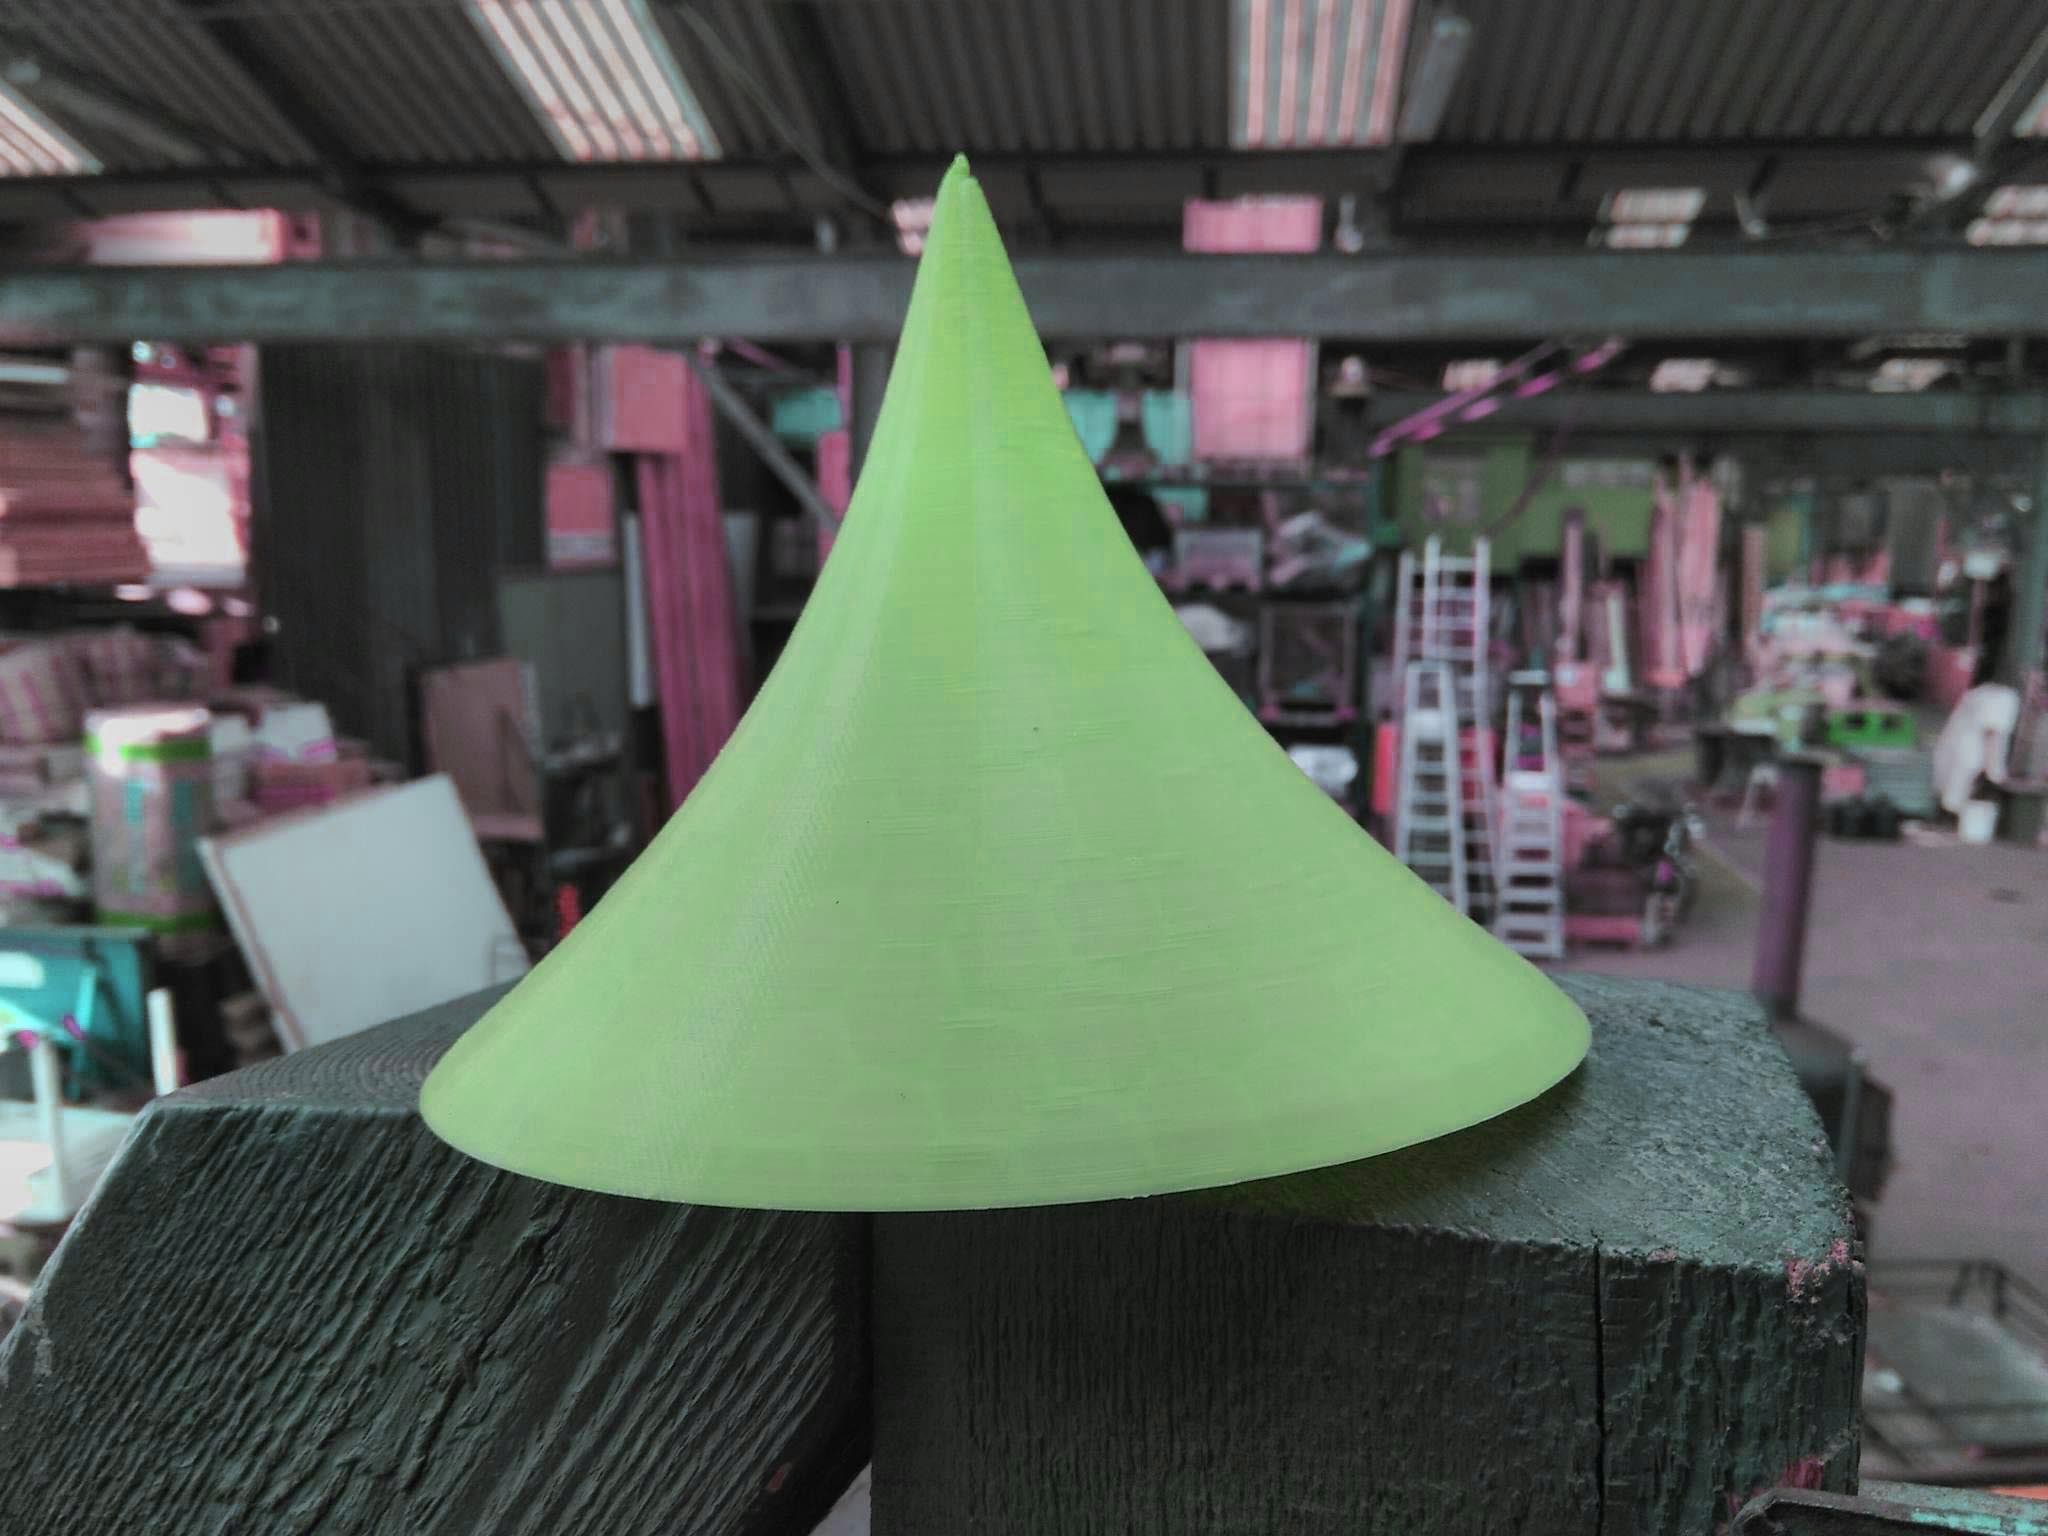
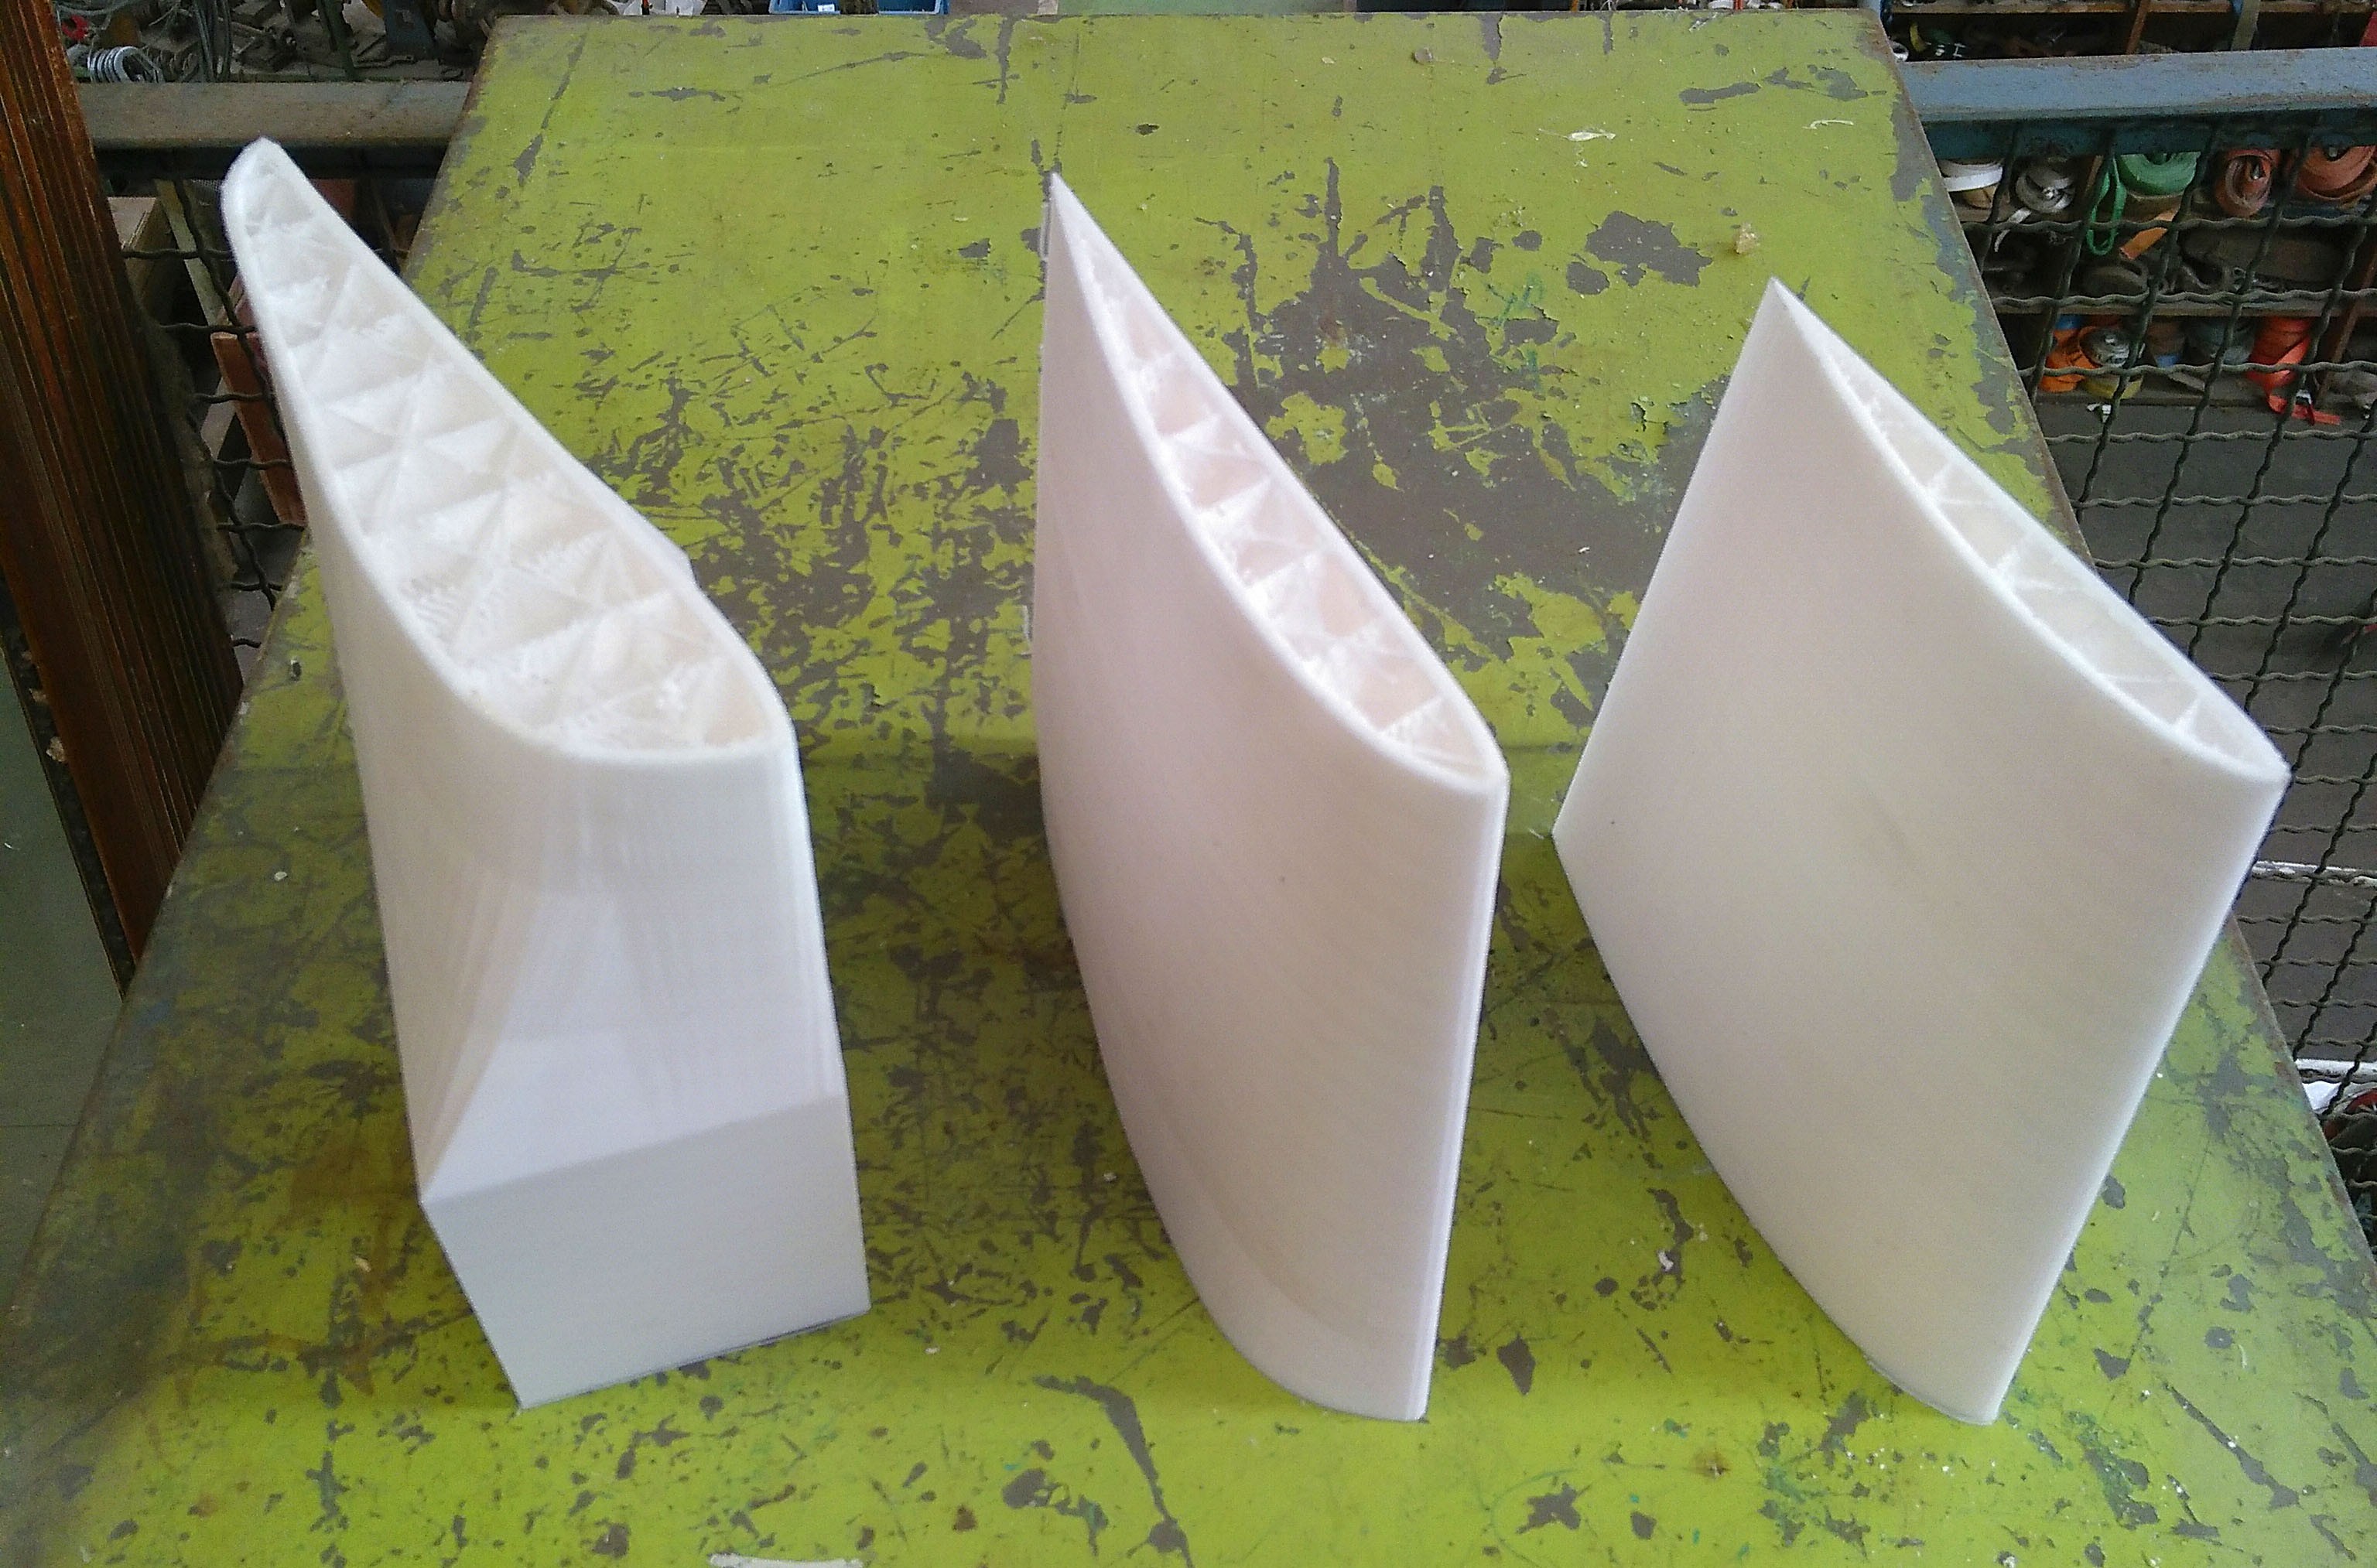
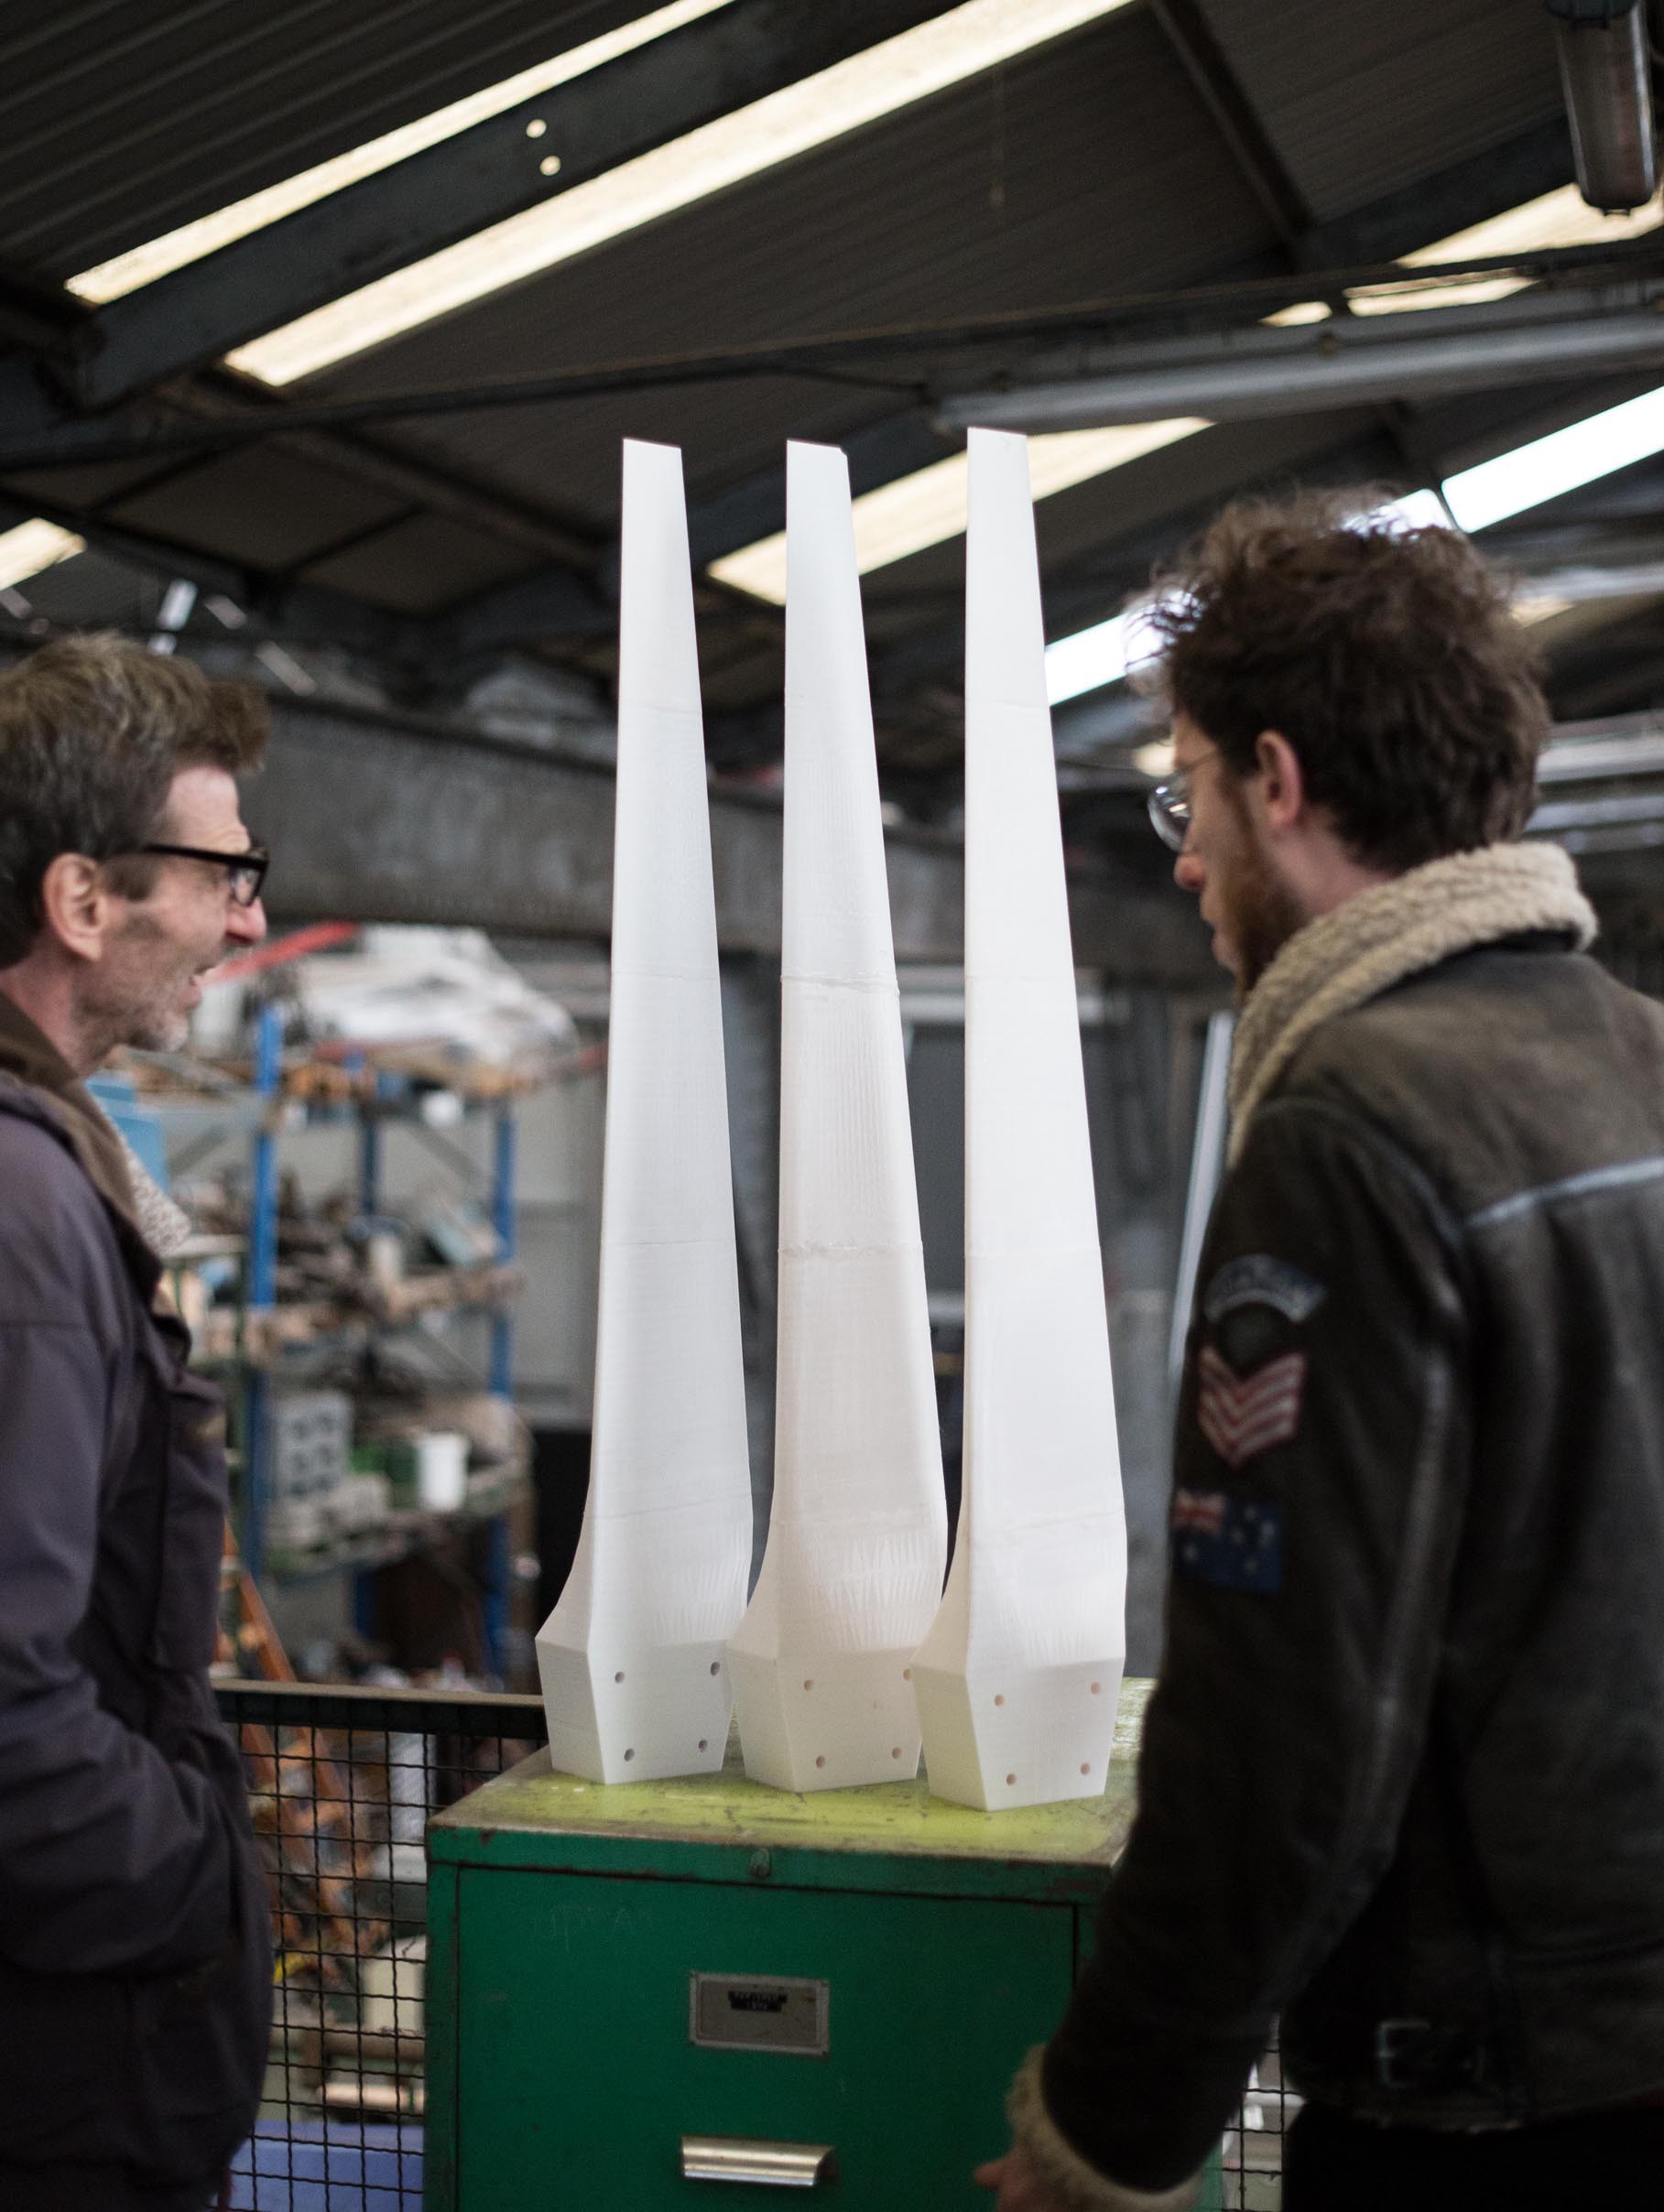
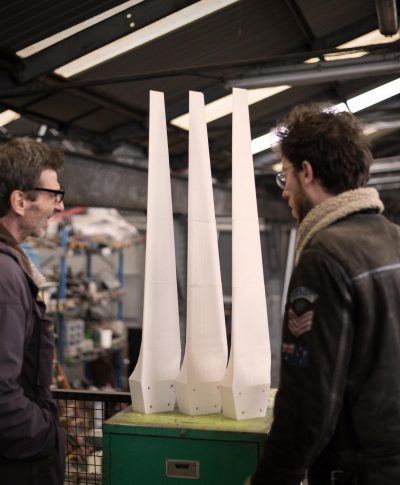
---- Wing design -----
We opted for fixed blades, meaning the blades are attached to the axle. Disadvantages of adjustable blades, like being prone to damage and increased material and maintenance costs do not add up to the advantage of having the blade angle perfect everytime. Also, a near-perfect blade can be made by twisting the blade along its length. Because of this, fixed blades have become the mainstream in the wind DIY-community.
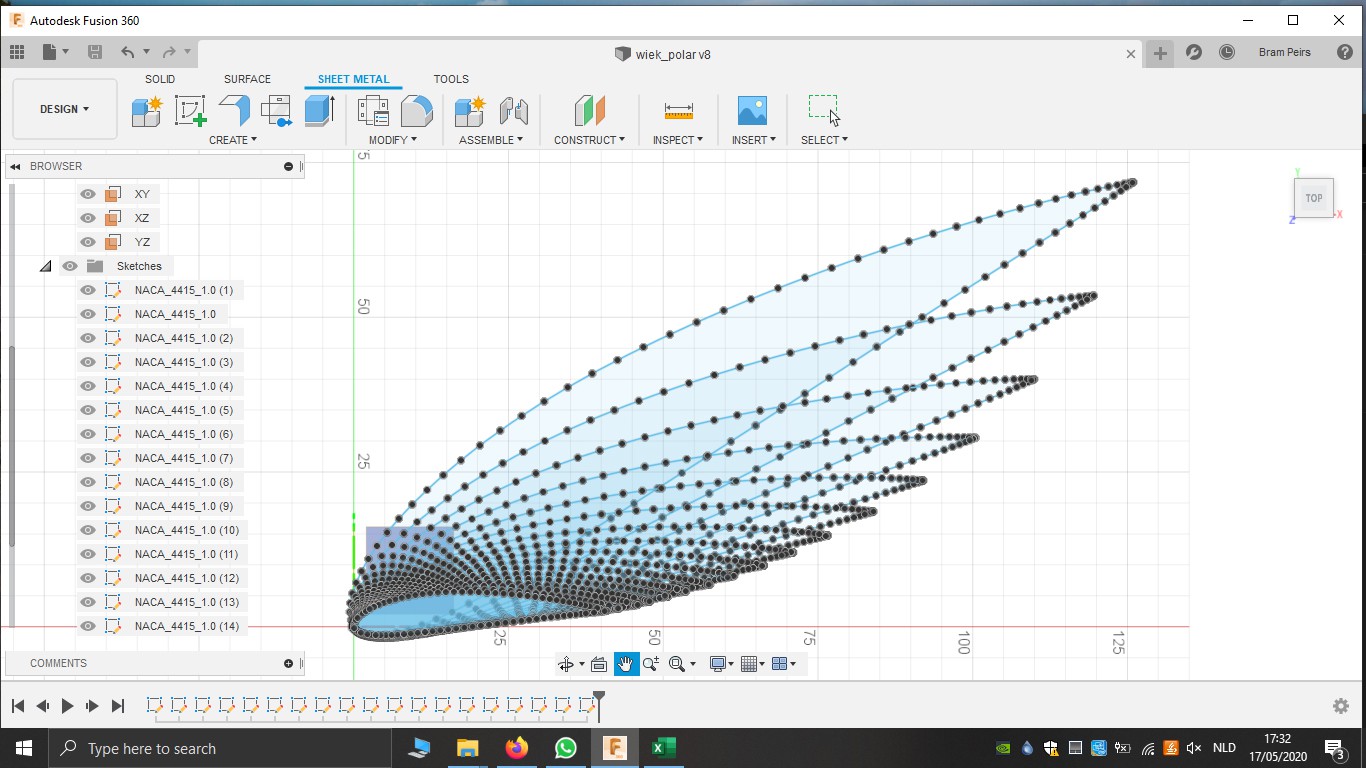
To be sure we have the correct twist and taper, we used Hugh Piggot's Blade Design spreadsheet. Furthermore we choose the NACA 4415 airfoil for its good suitability for small windturbines.
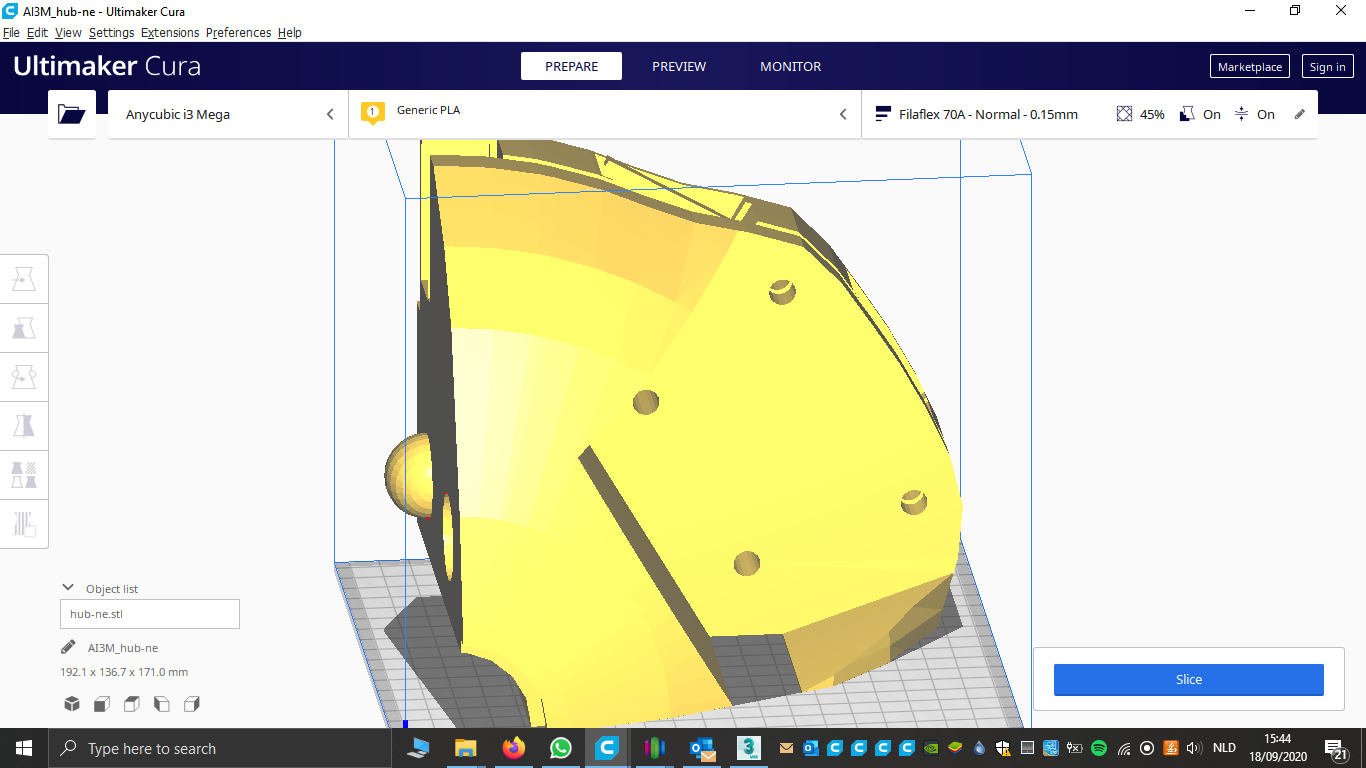
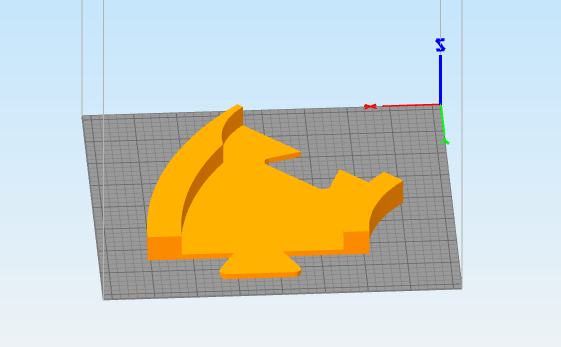
We modeled the entire blade in Fusion360, with some small tweaks in 3DS Max.
To safeguard birds, recent studies have showed that colouring 1 blade black decreases fatalities significantly. One of our Patreon-supporters is currently working on this:
For bats there is only an issue if there is a vacuum behind the blades, which only is the case with big industrial windturbines having blade diameters of >60m. (Bats are, unlike birds, mammals and have weaker lungs that implode after fying through the vacuum. After a few 100 meters, they drop dead out of the sky because of oxygen depletion).
Other studies have selected purple for all 3 the blades as the best colour for both bat and birds (study on big industrial windturbines of >60m).
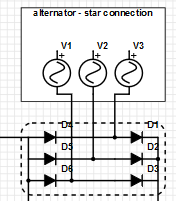
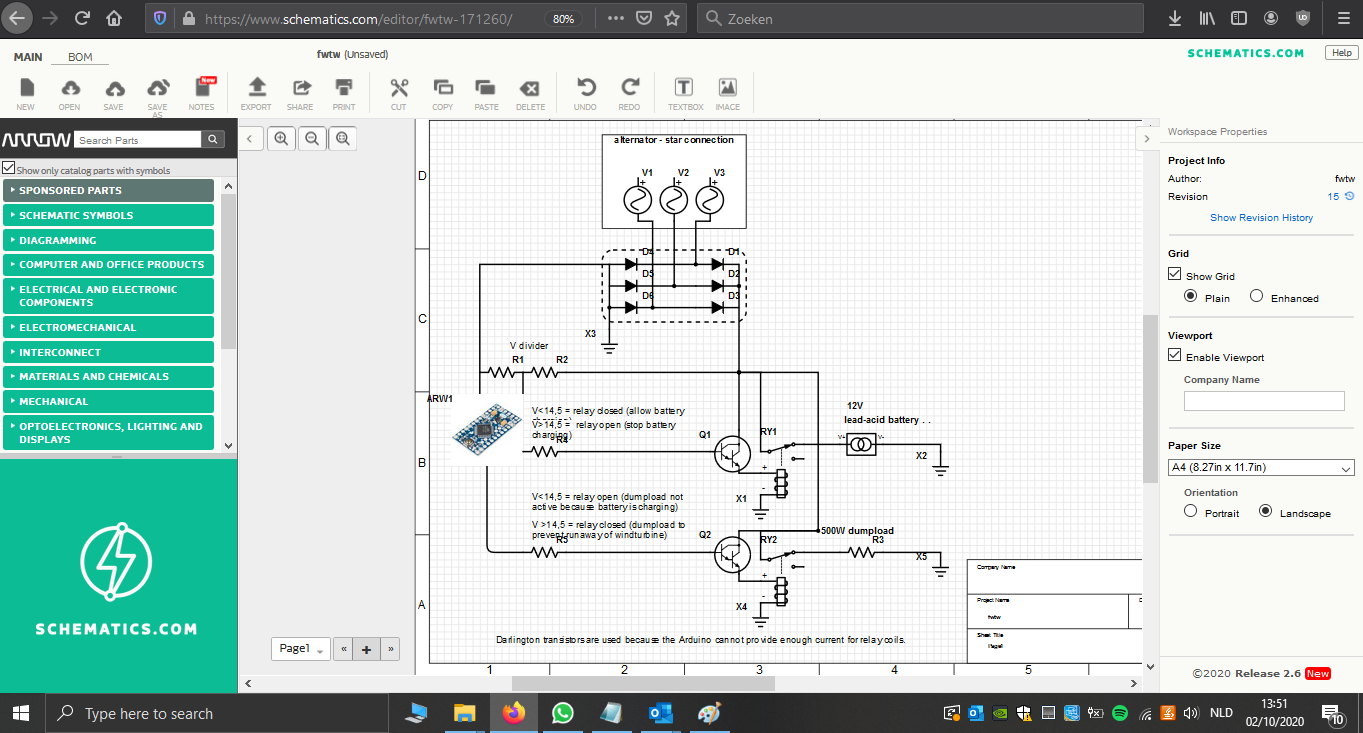
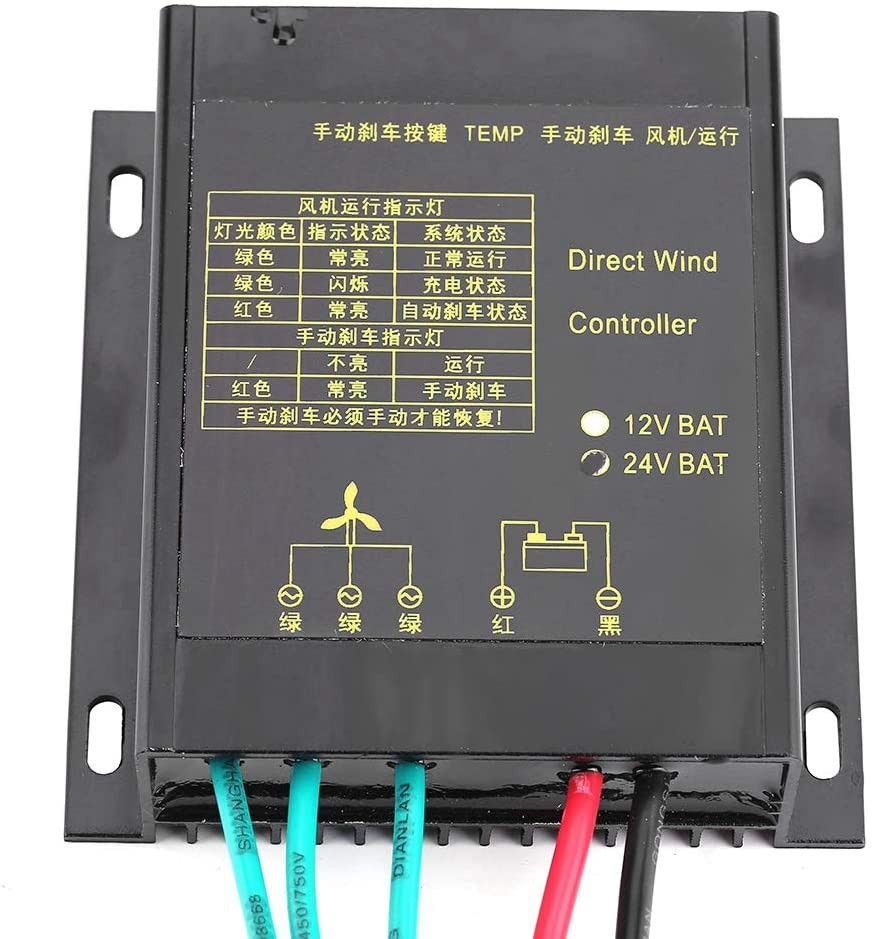
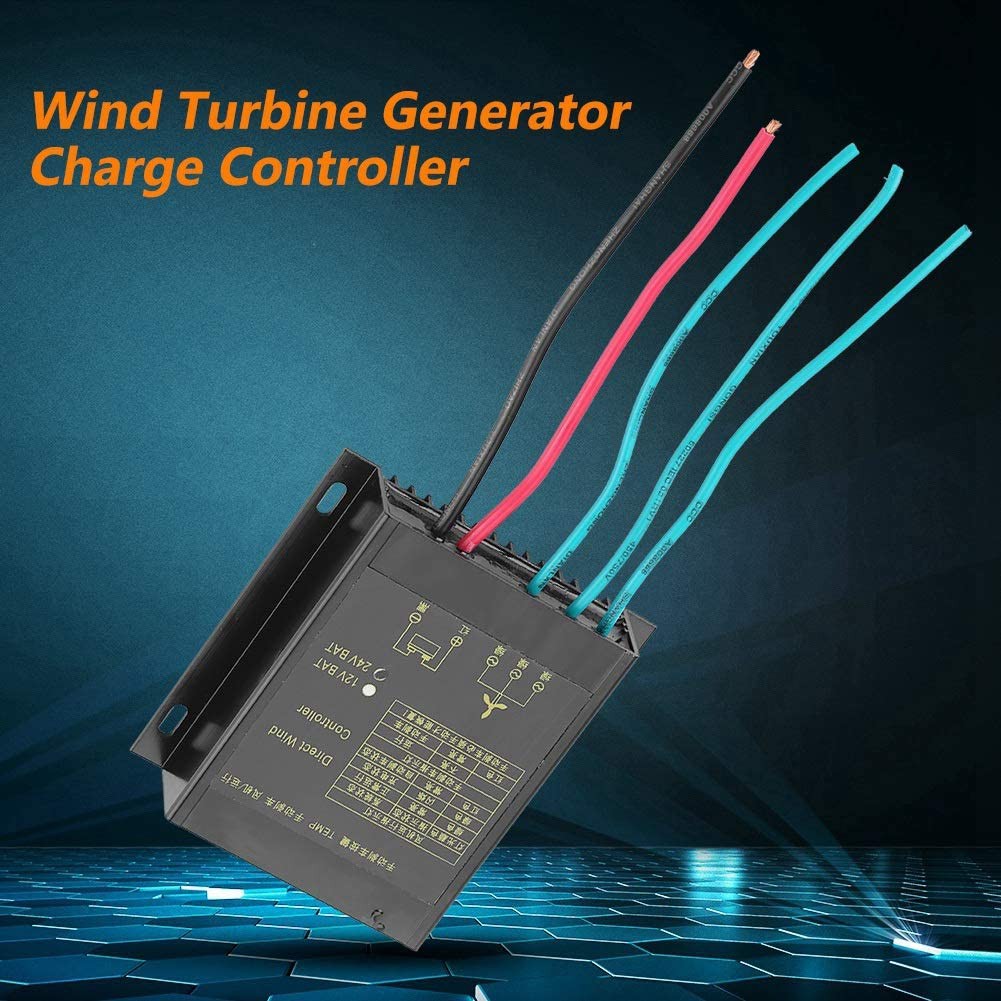
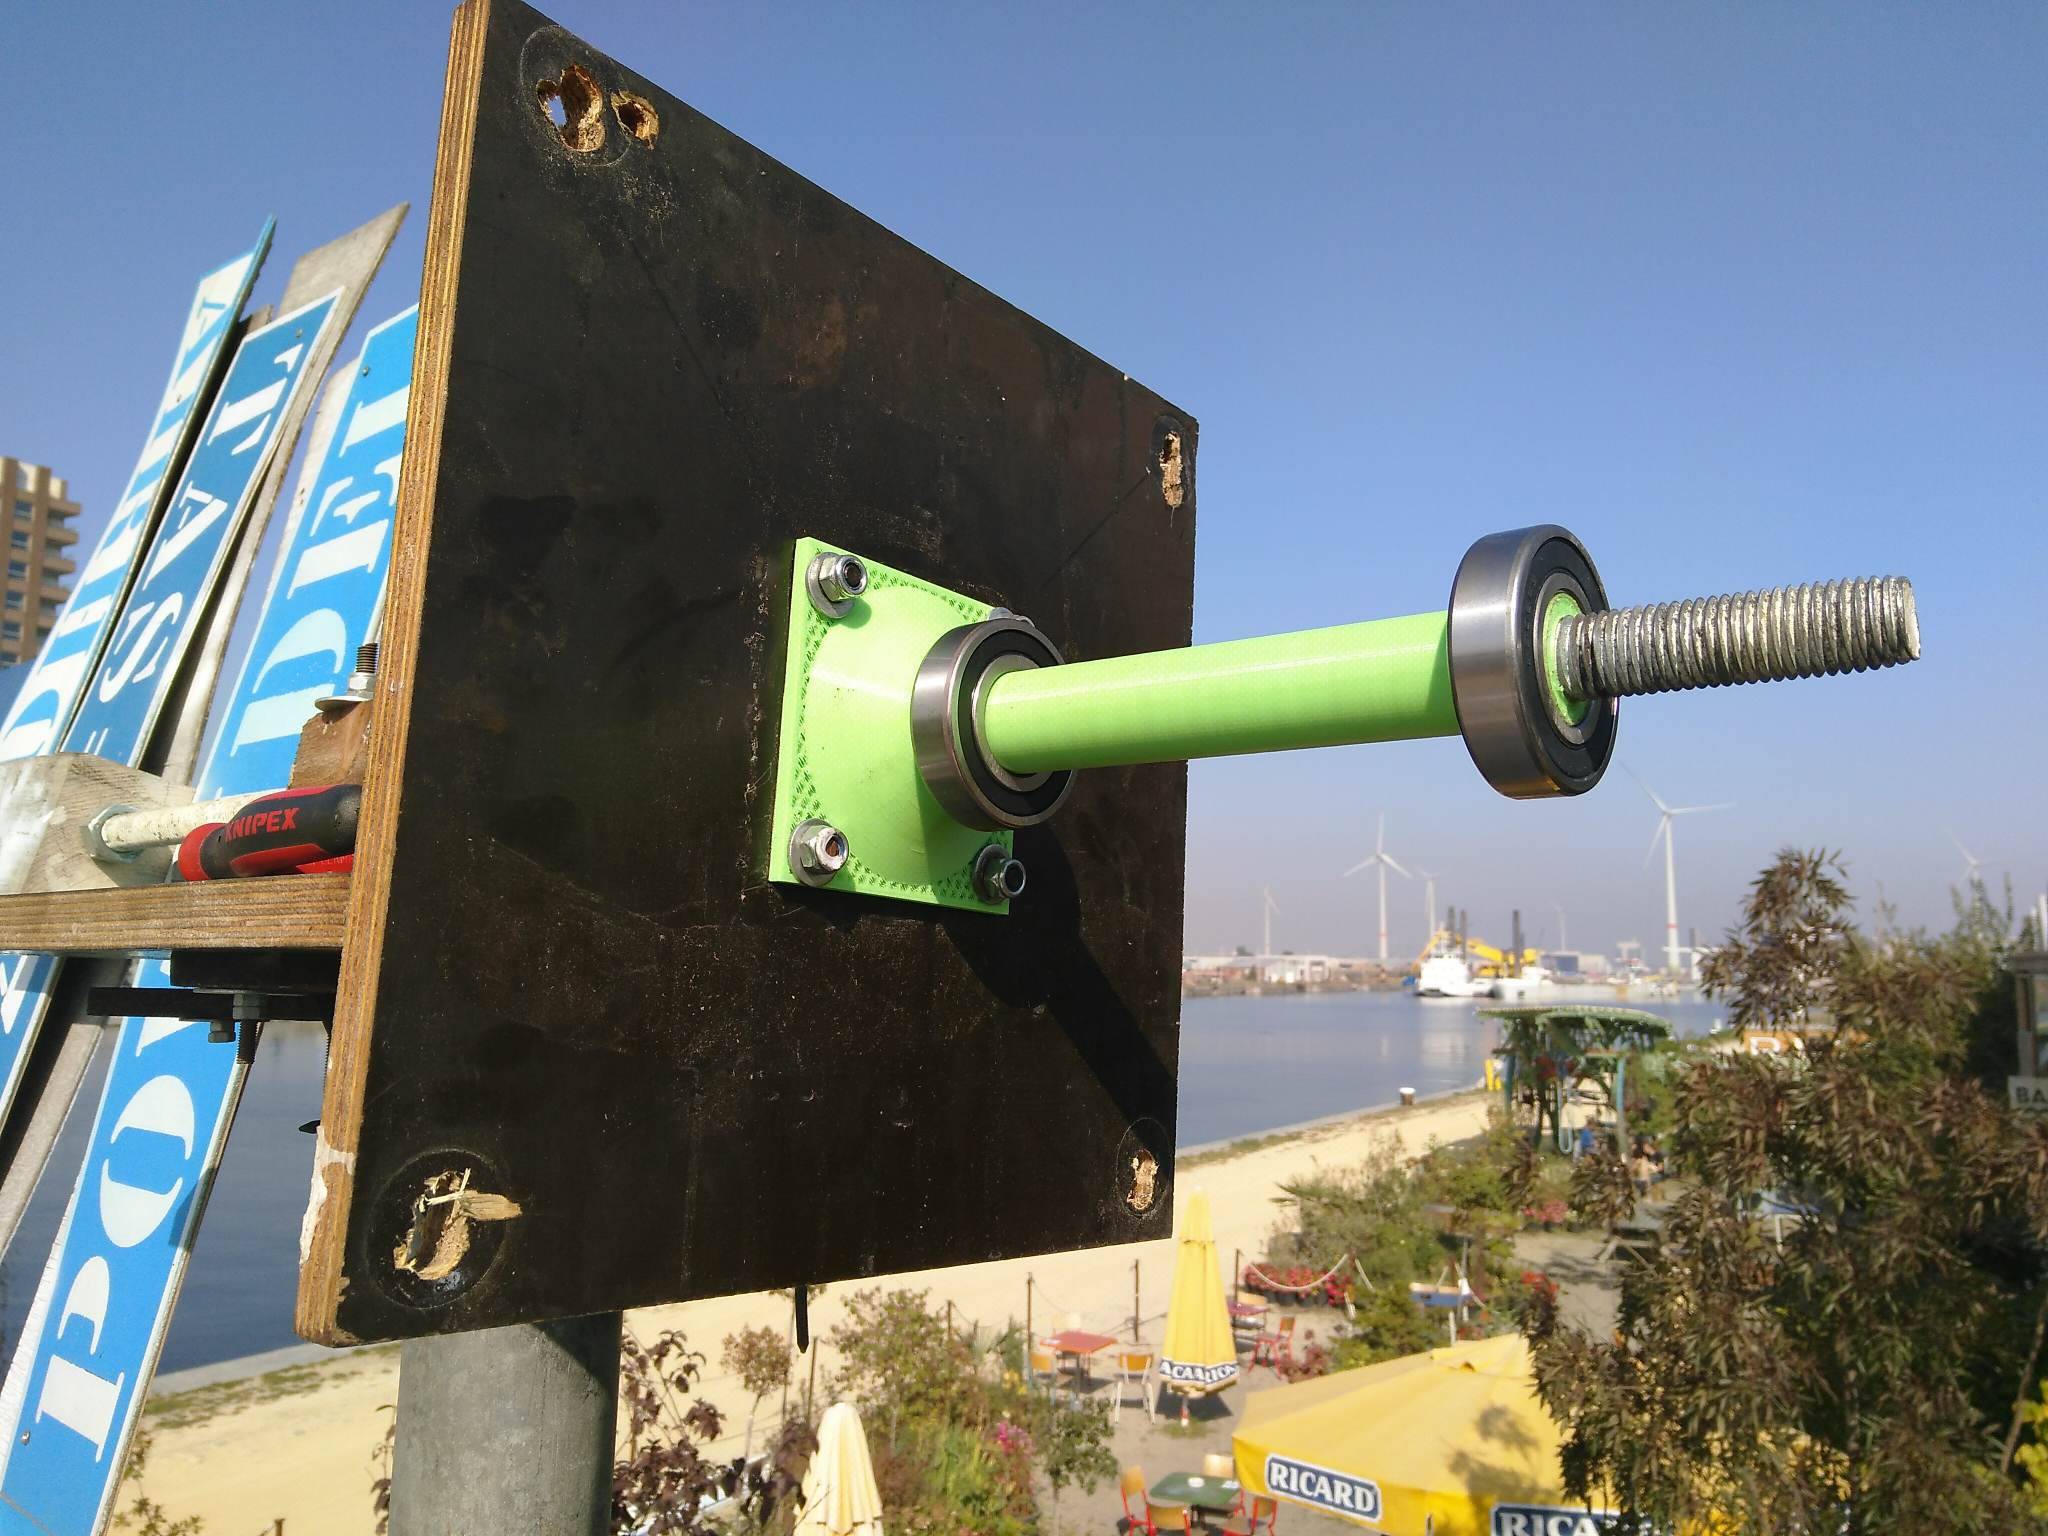
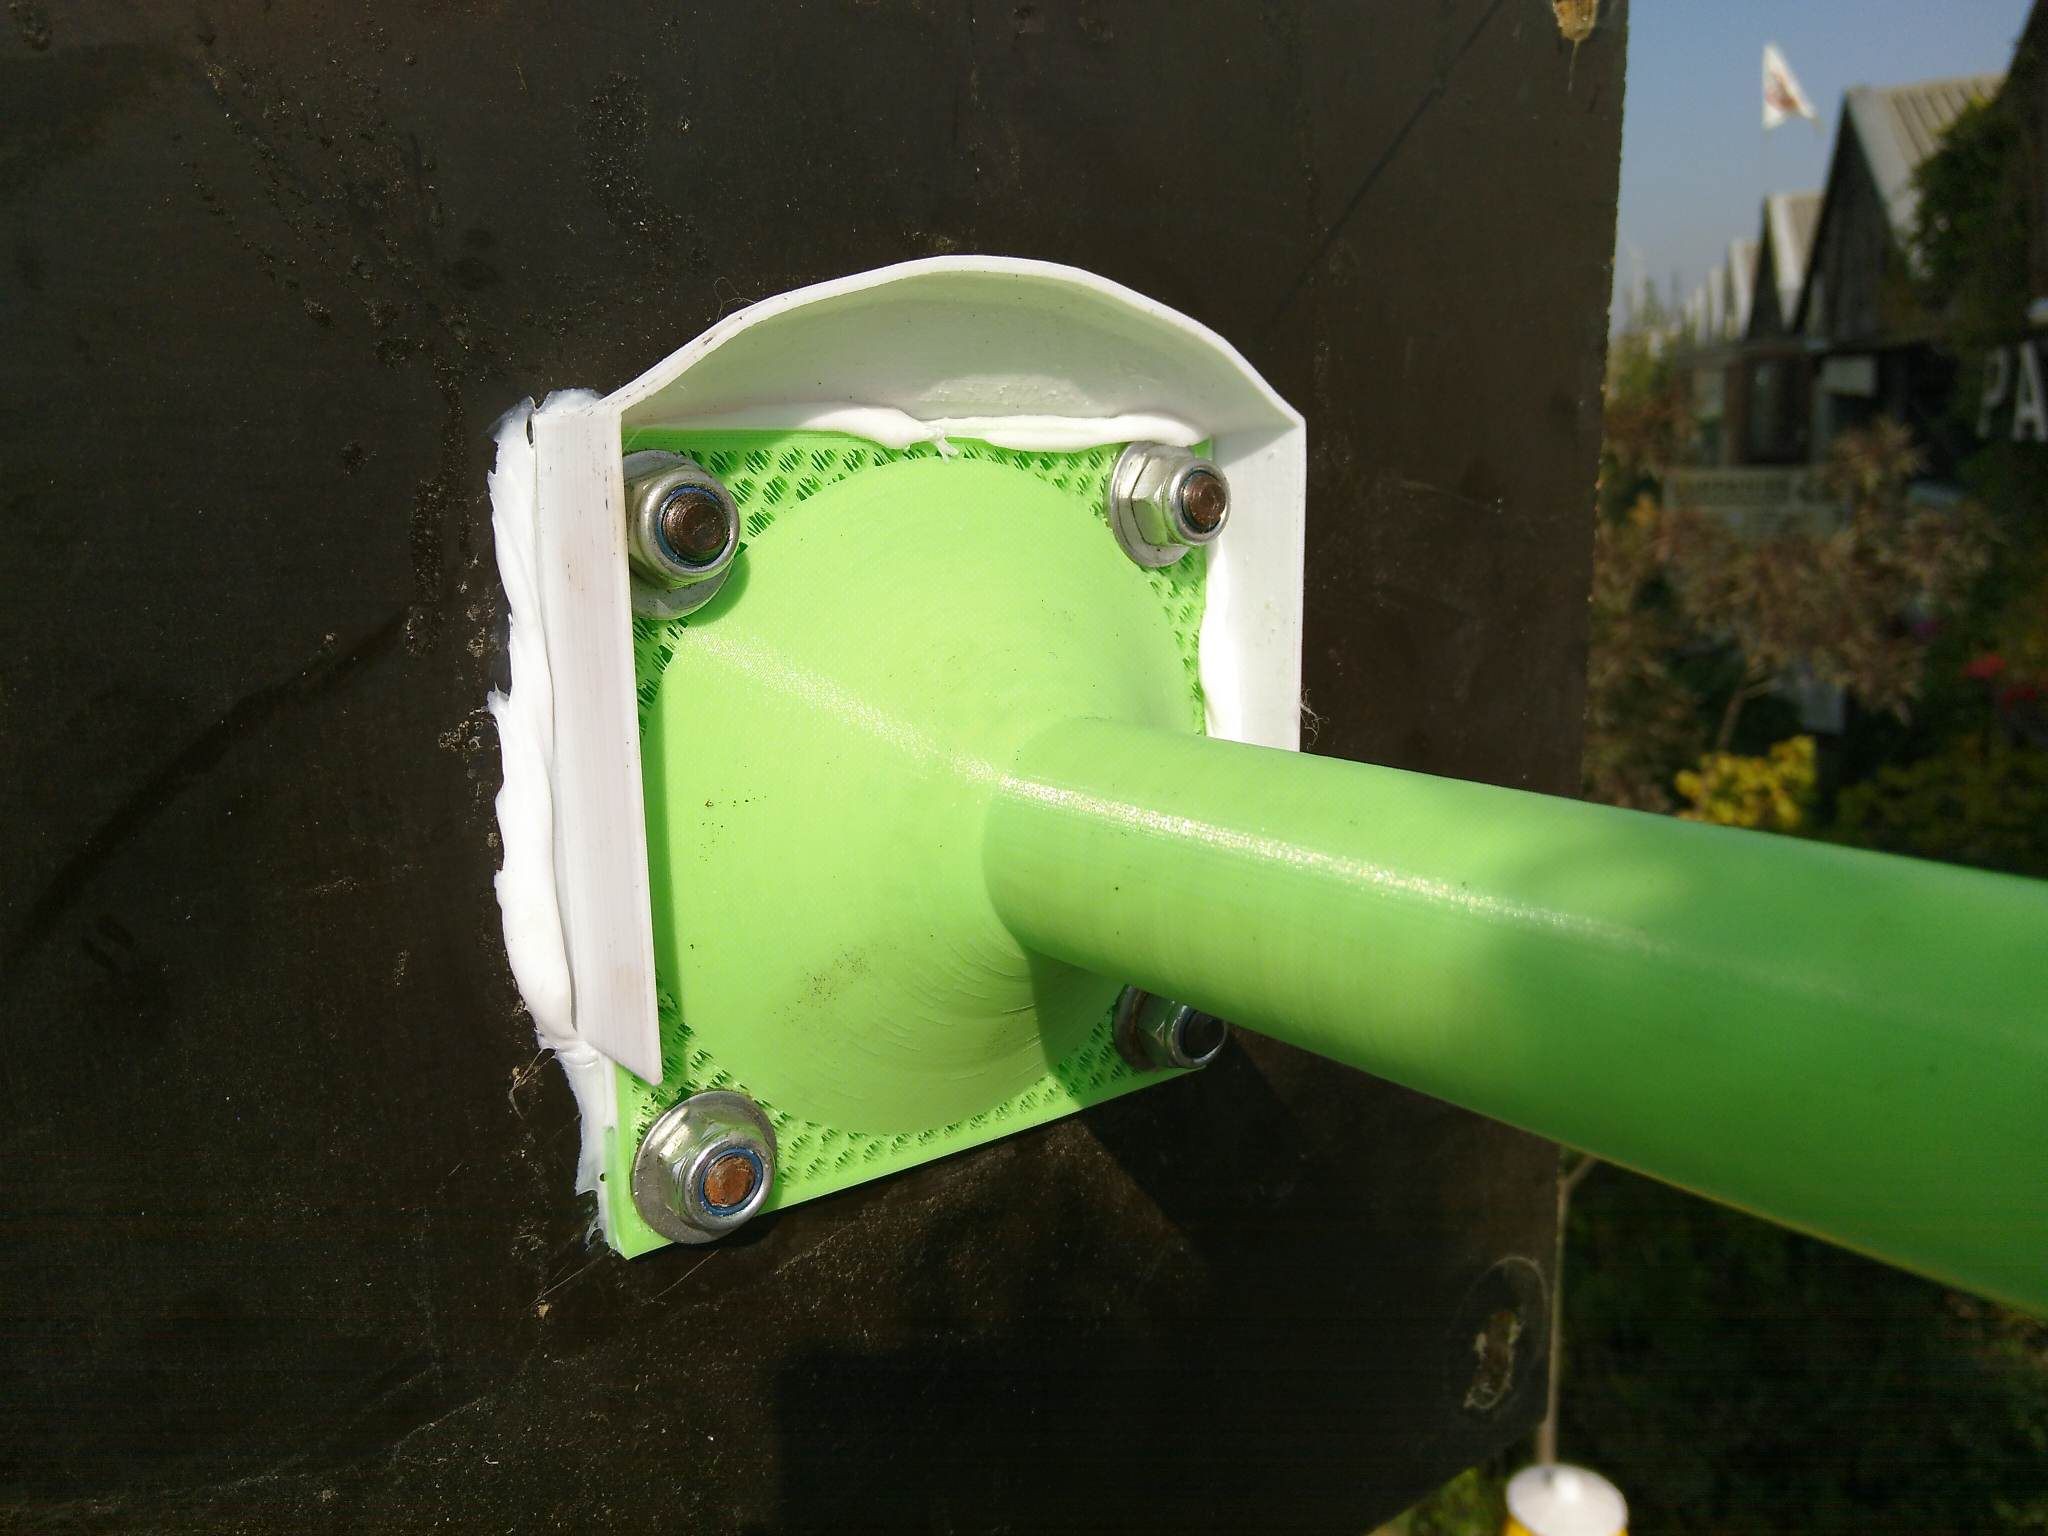
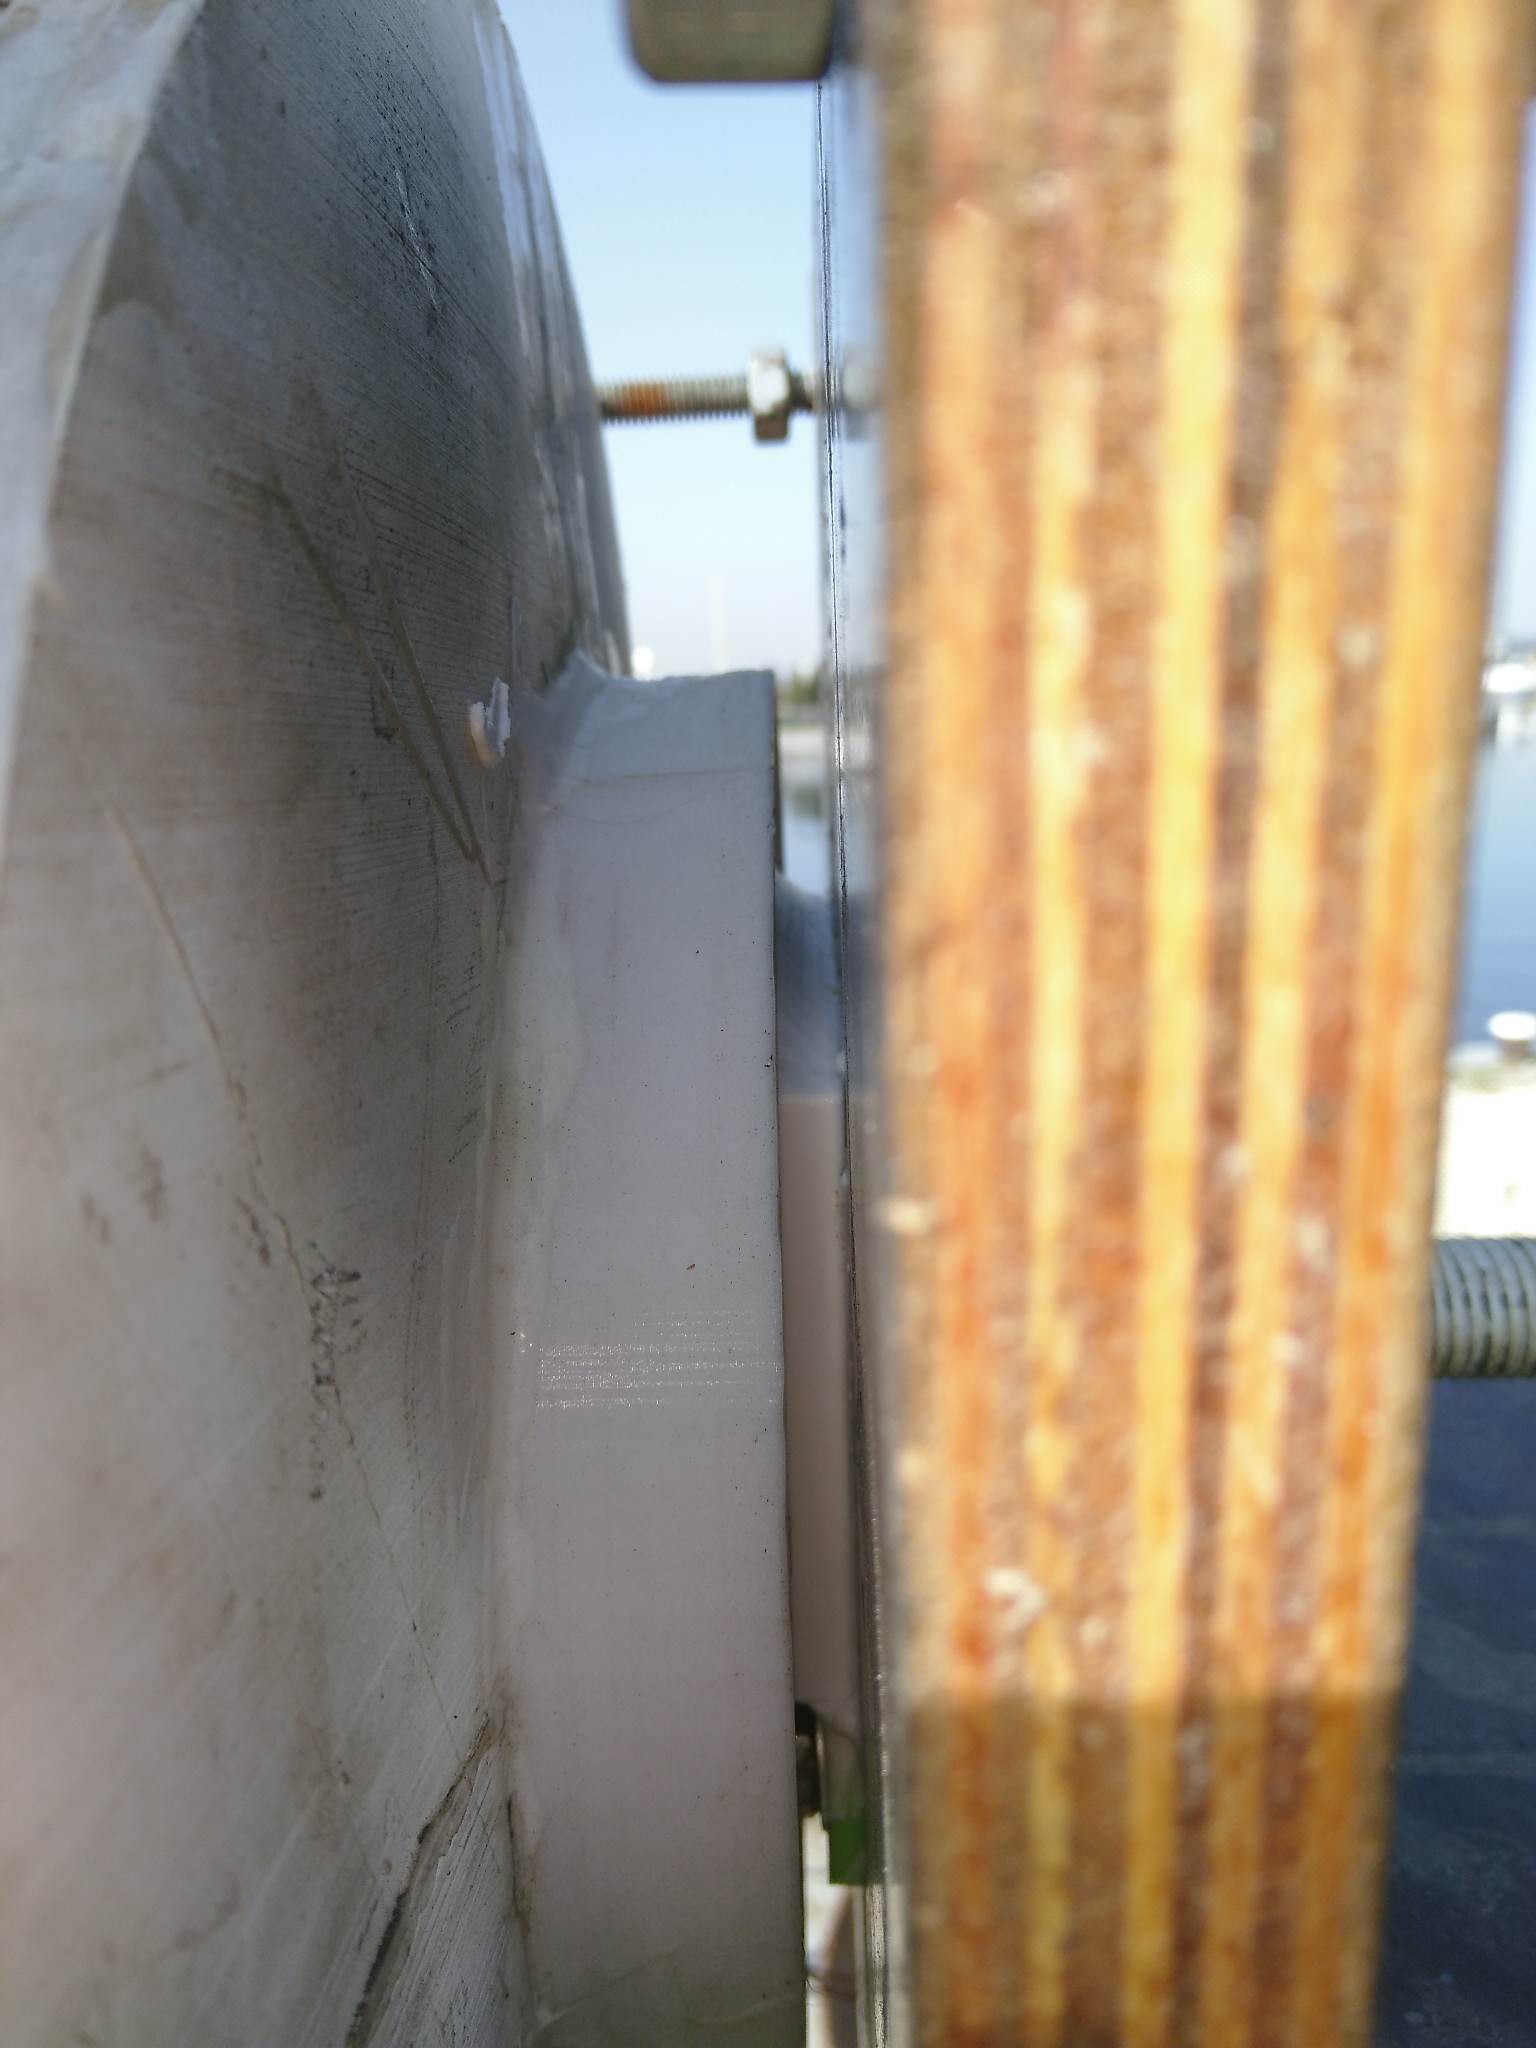
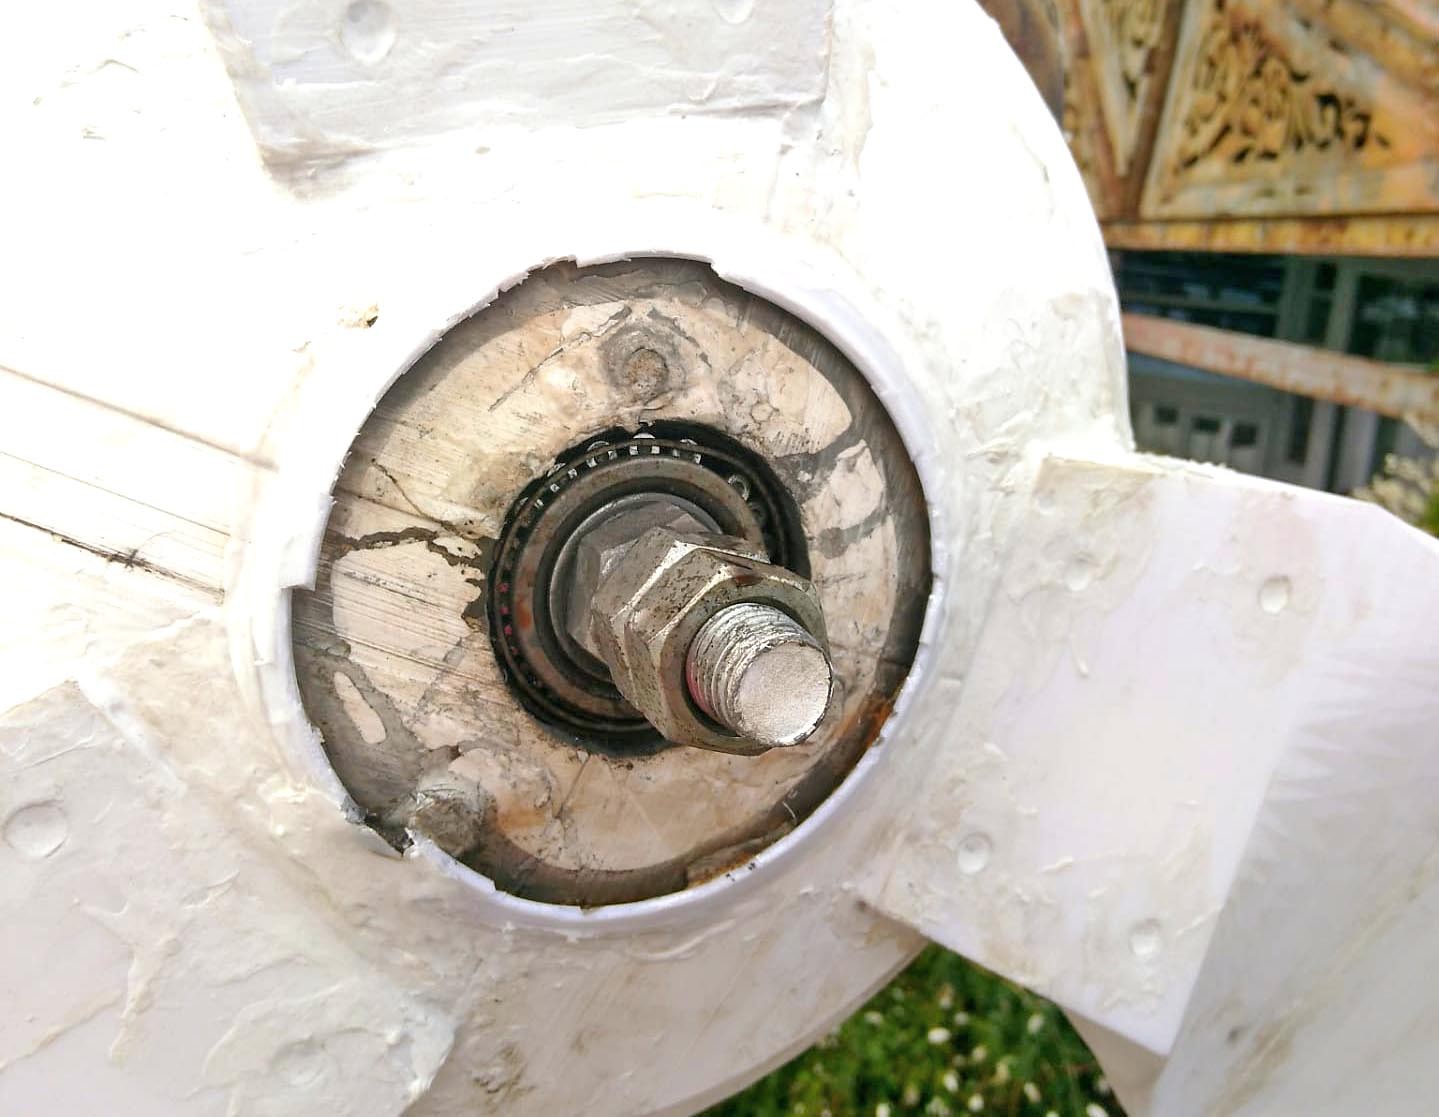
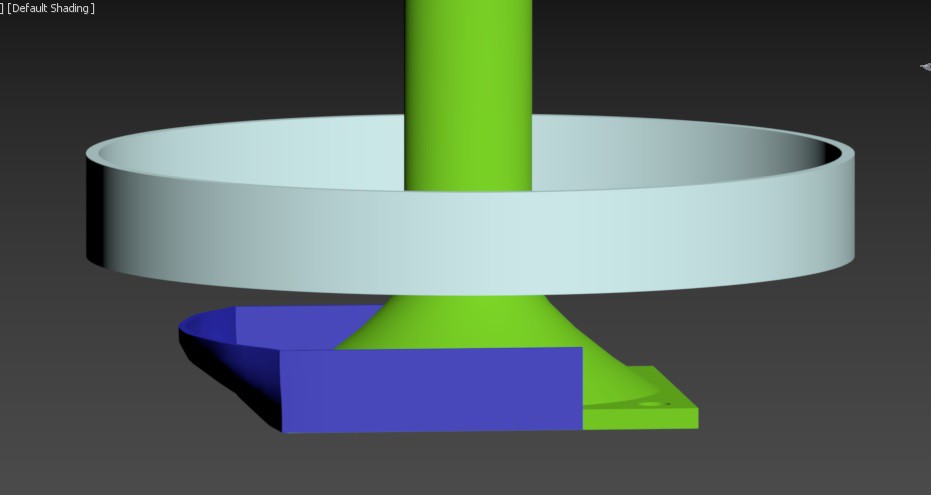
----- Alternator design -----
We choose for an air-core 3-phase axial flux alternator because it is perfectly suited for windturbines. The air-core makes that the windturbine starts very easy, and the 3-phase star connection reduces vibrations and makes the turbine more efficient when the current is rectified for battery charging.
Therefore we decided to base the design of the alternator on the 2F Ferrite Windturbine from Scoraigwind. It uses ferrite magnets that are not relying on rare minerals like neodymium magnets do, which makes the windturbine even more environment-friendly. Ferrite magnets are also not prone to humidity, which is an often seen issue with neodymium magnets....
Read more »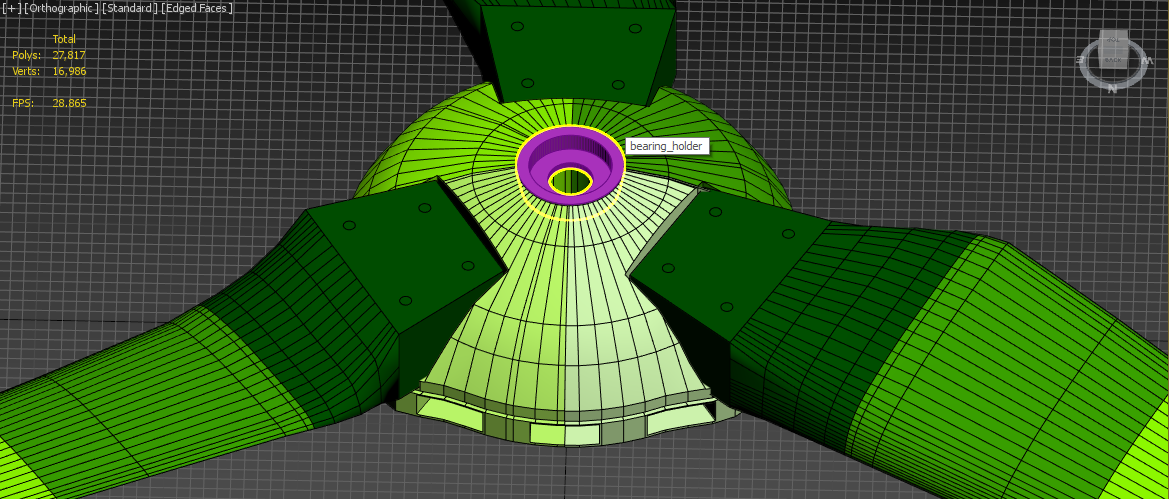


 Andrea
 leadacid44
 Andy Shinn
hello wind stl 2 is not works.