 leadacid44
If you are interested in the background on this project, I would encourage you to start here:
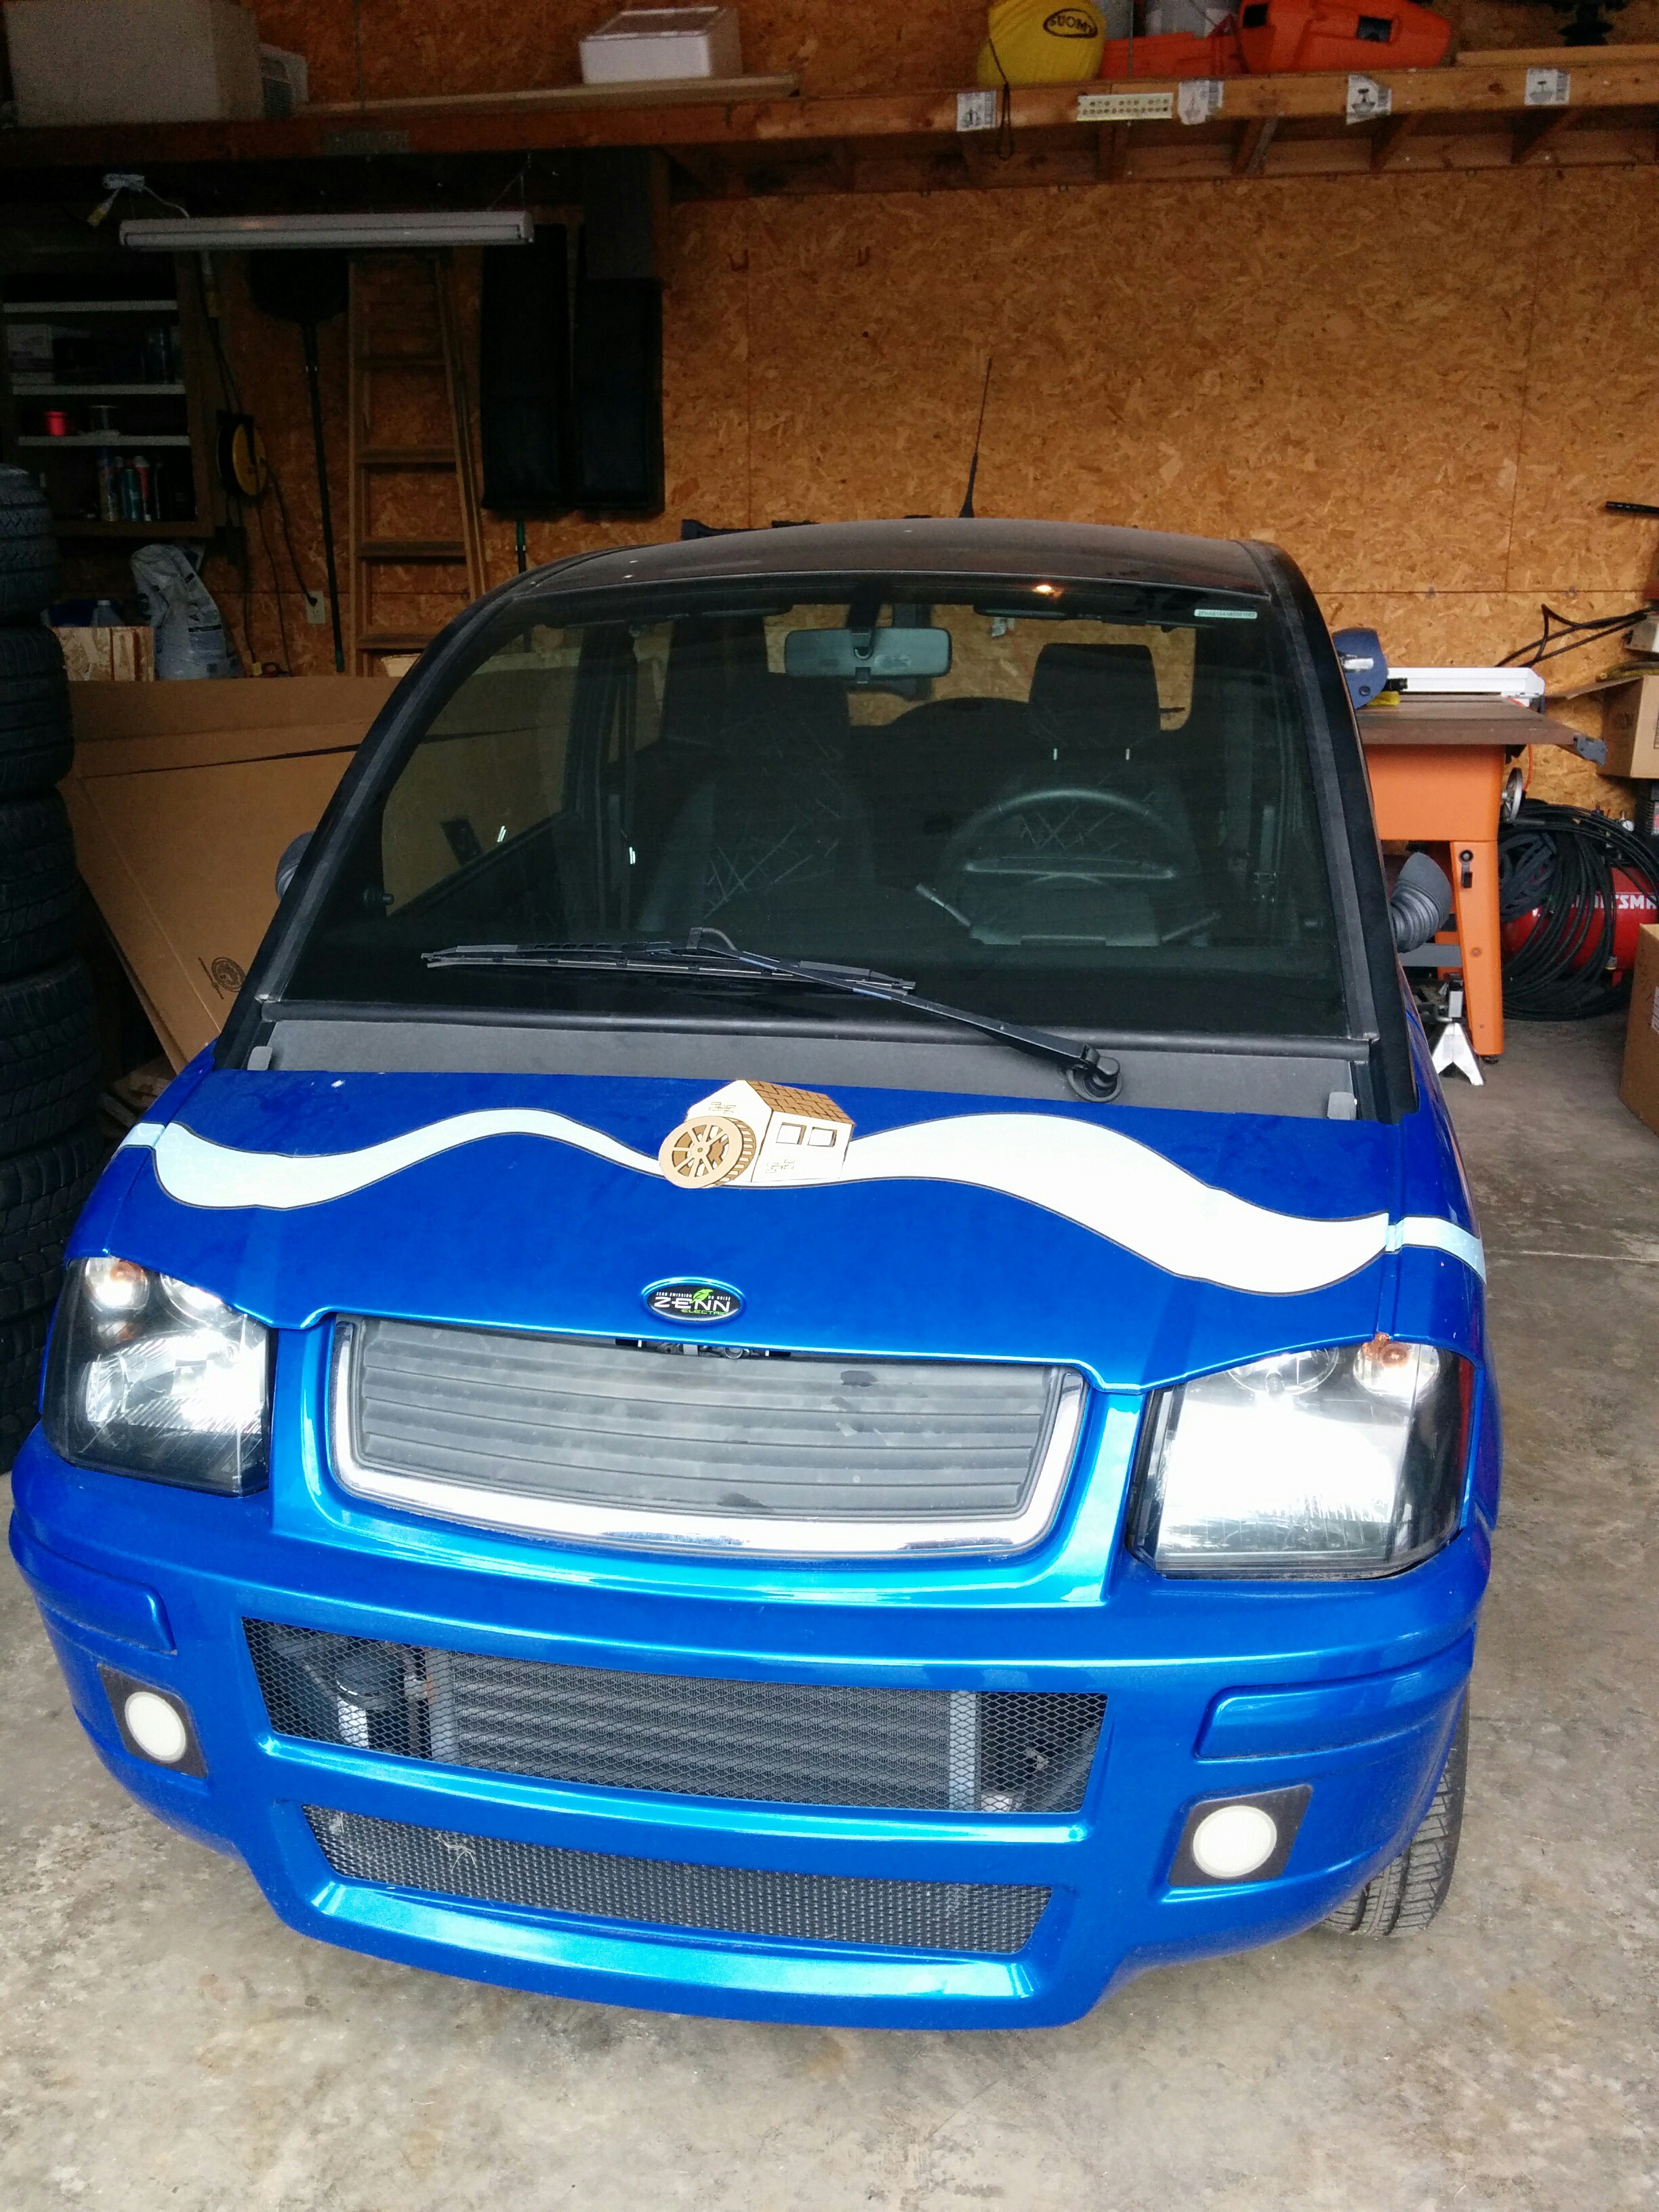
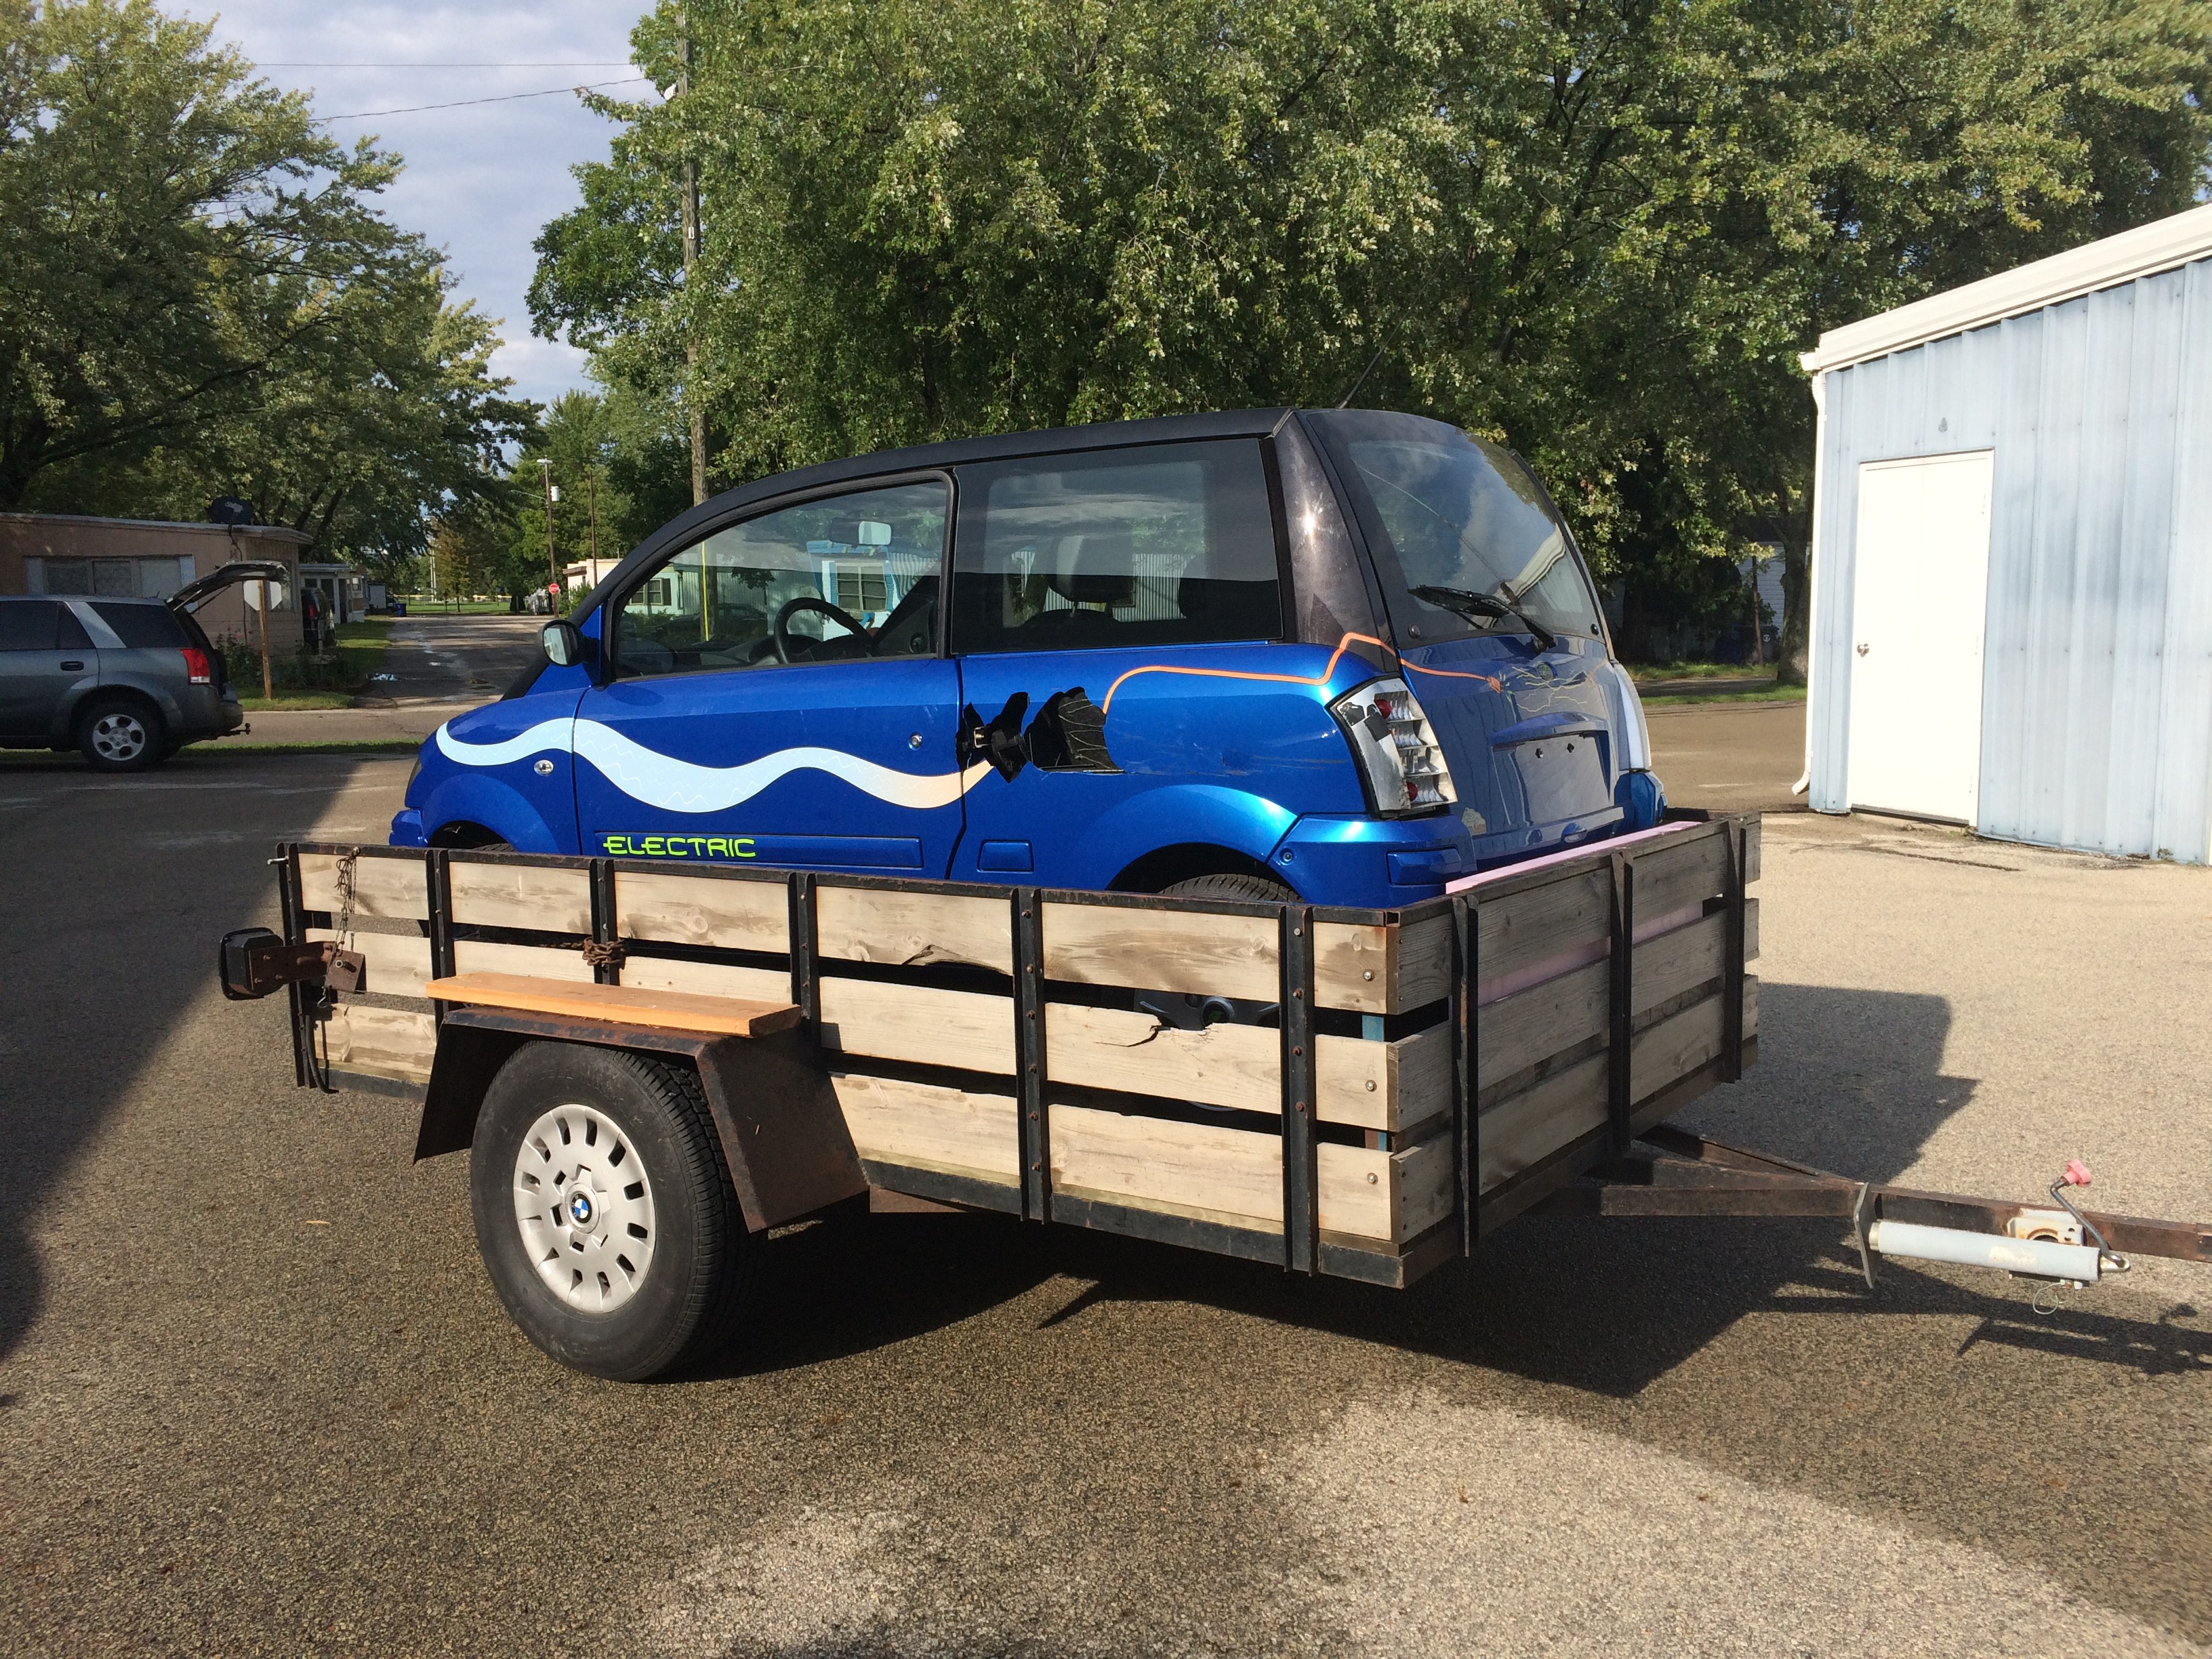
Introducing the ZENN Electric Car
In that post, I explain why on earth I have a Delta-Q QuiQ charger, and its a fun little read on my newest project.
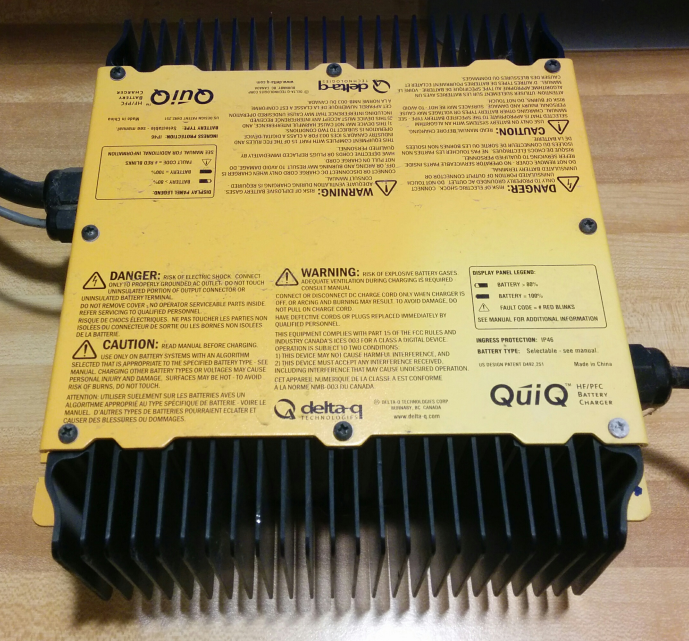
Next, for some details on the charger itself:
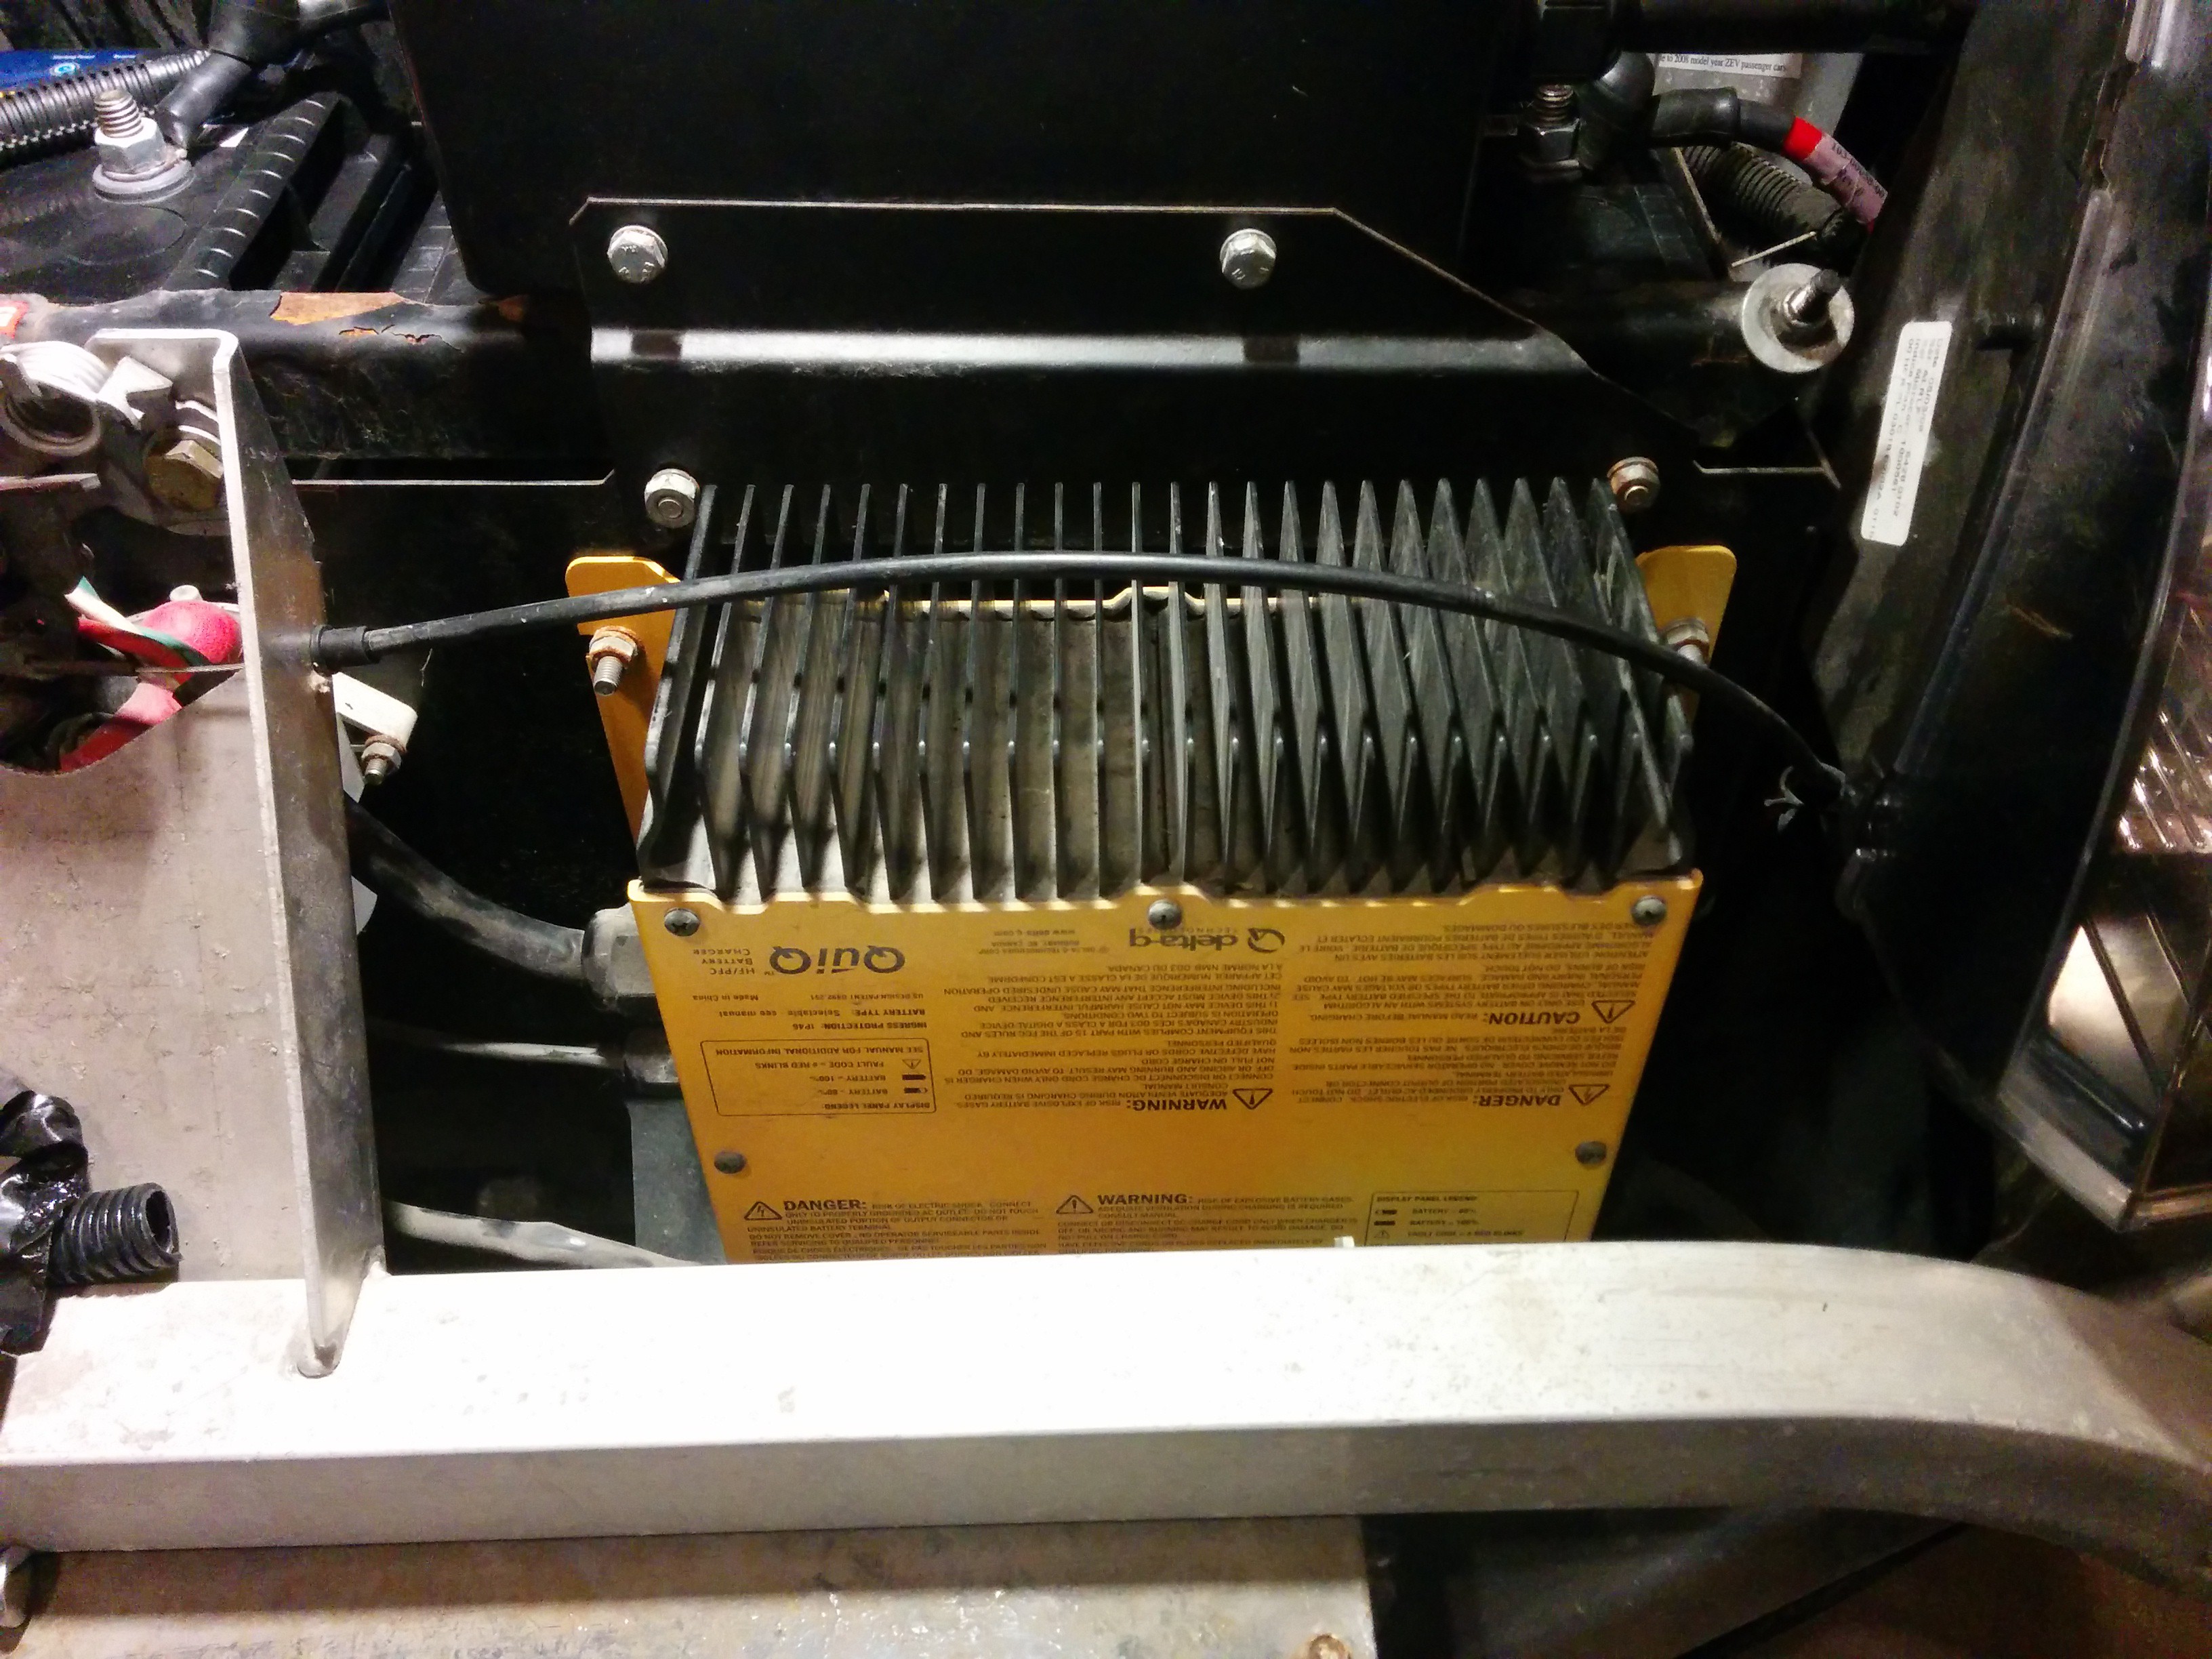
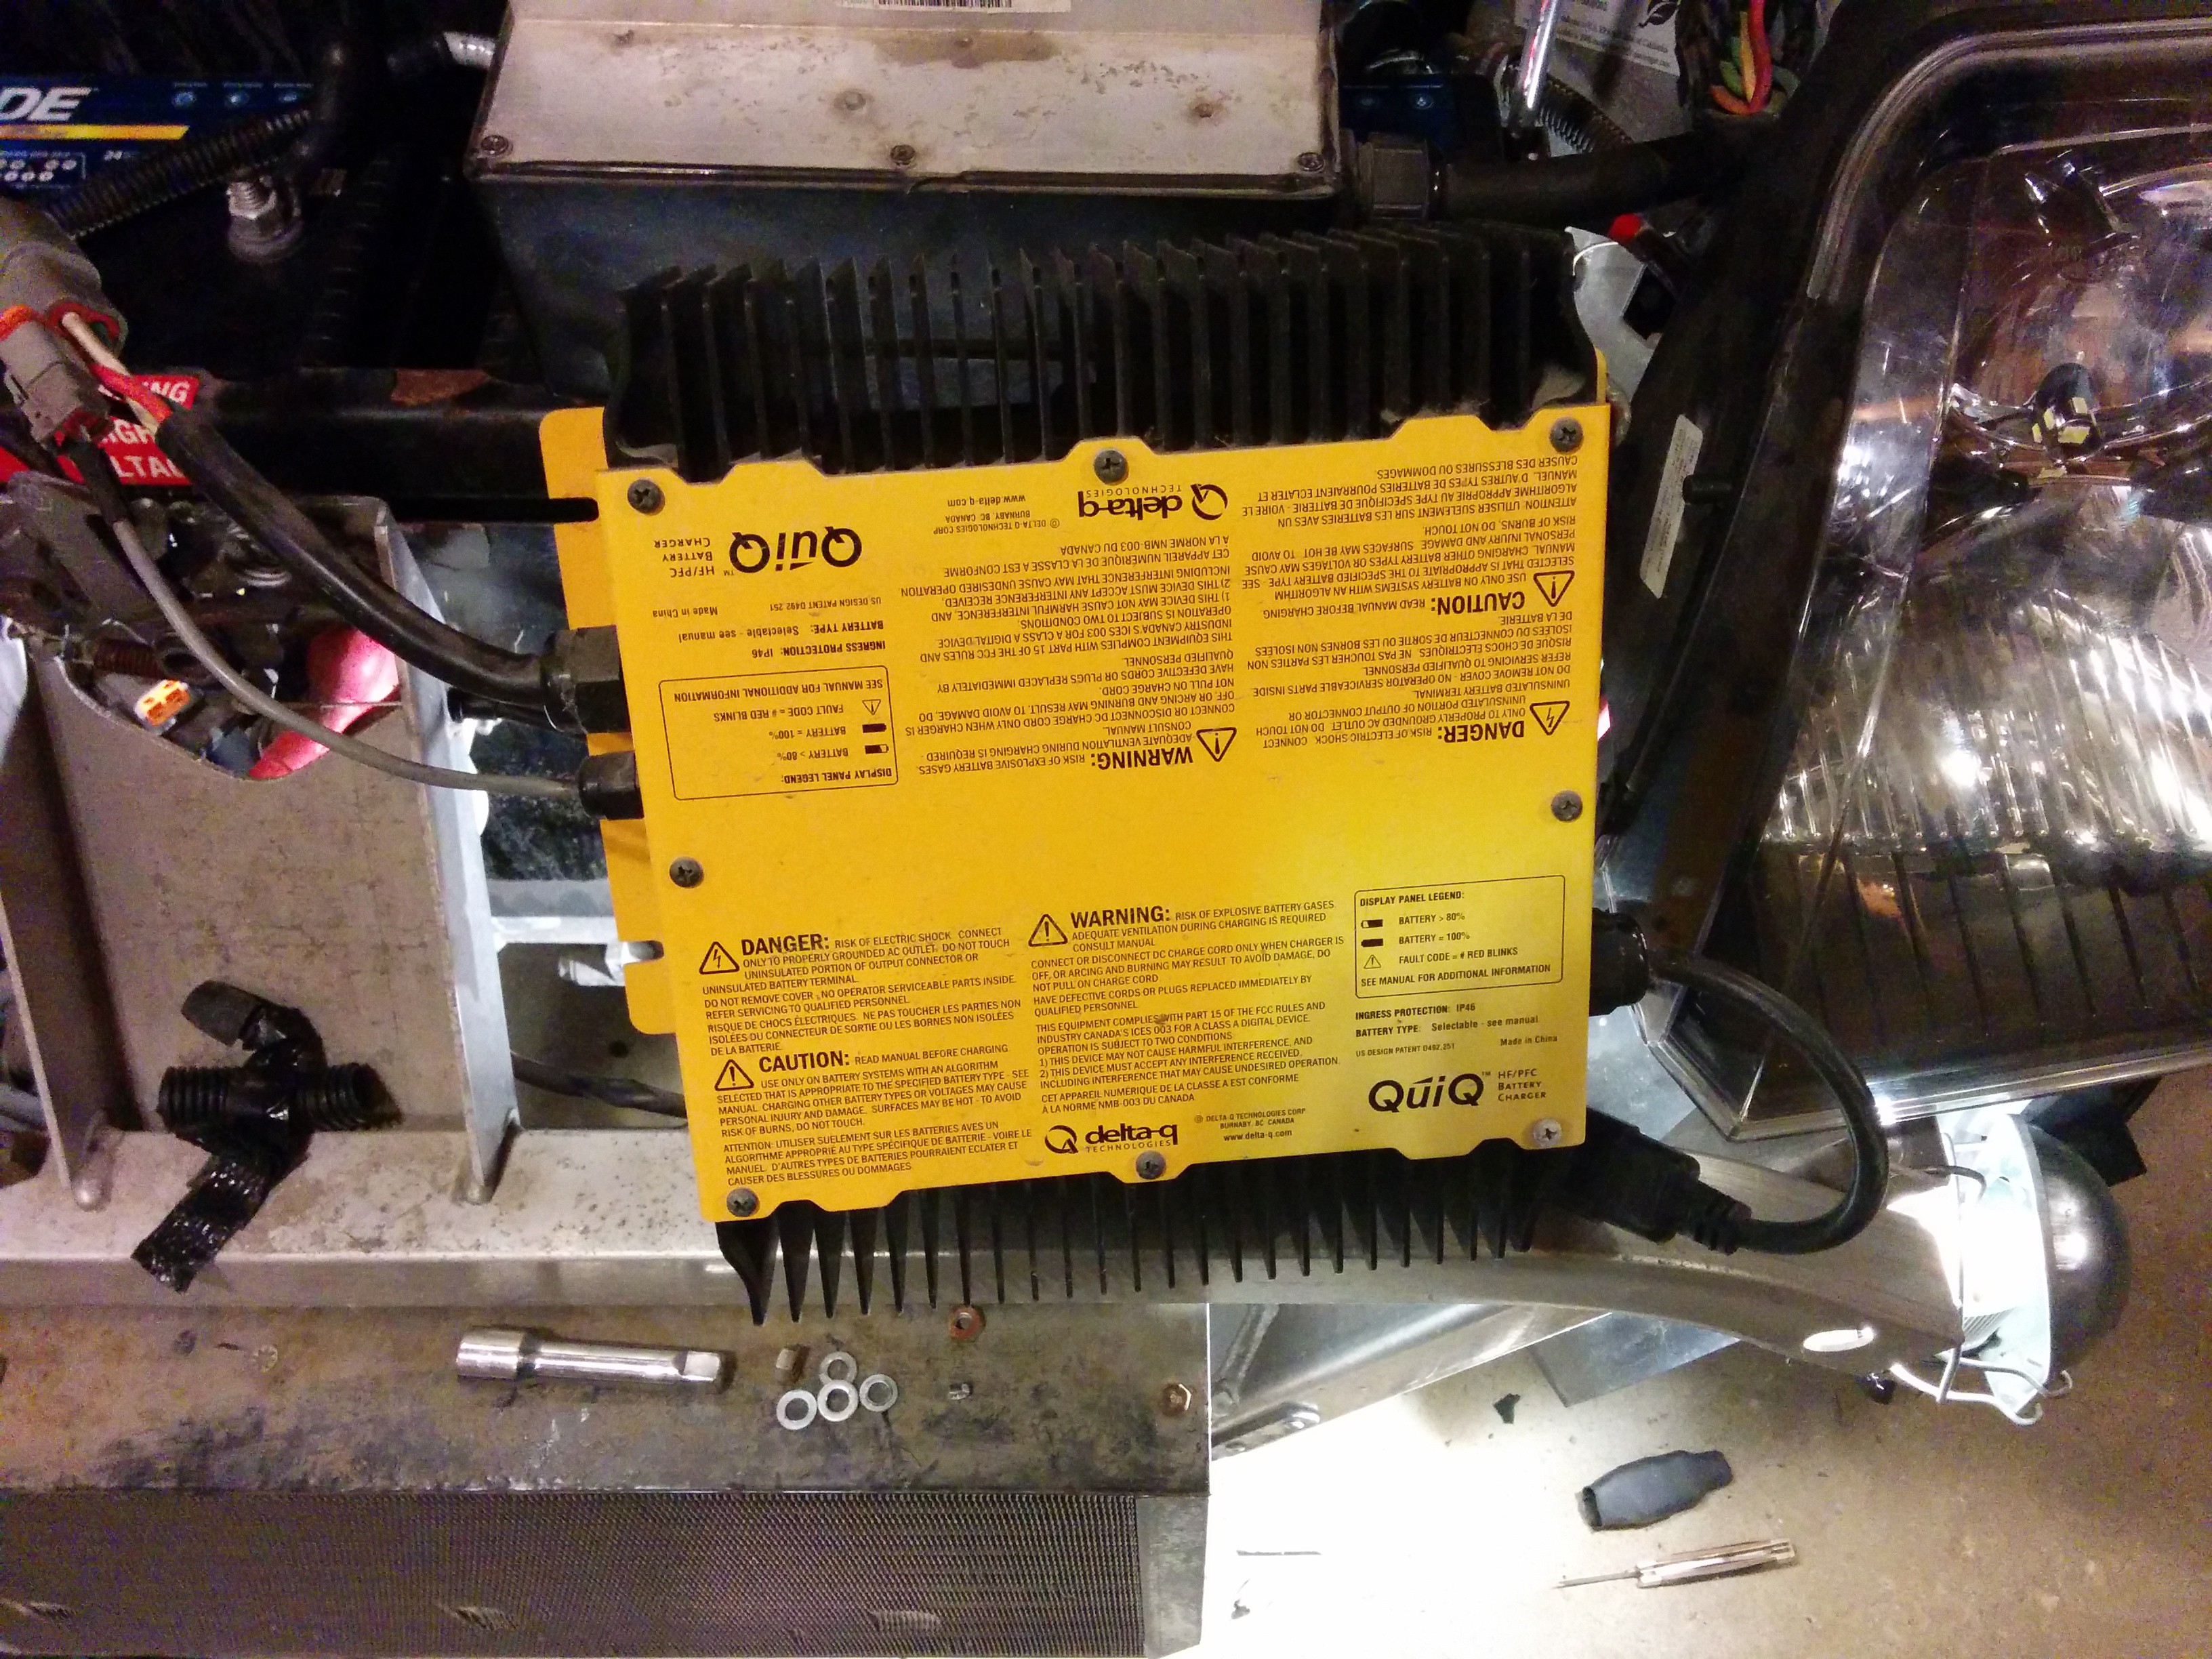
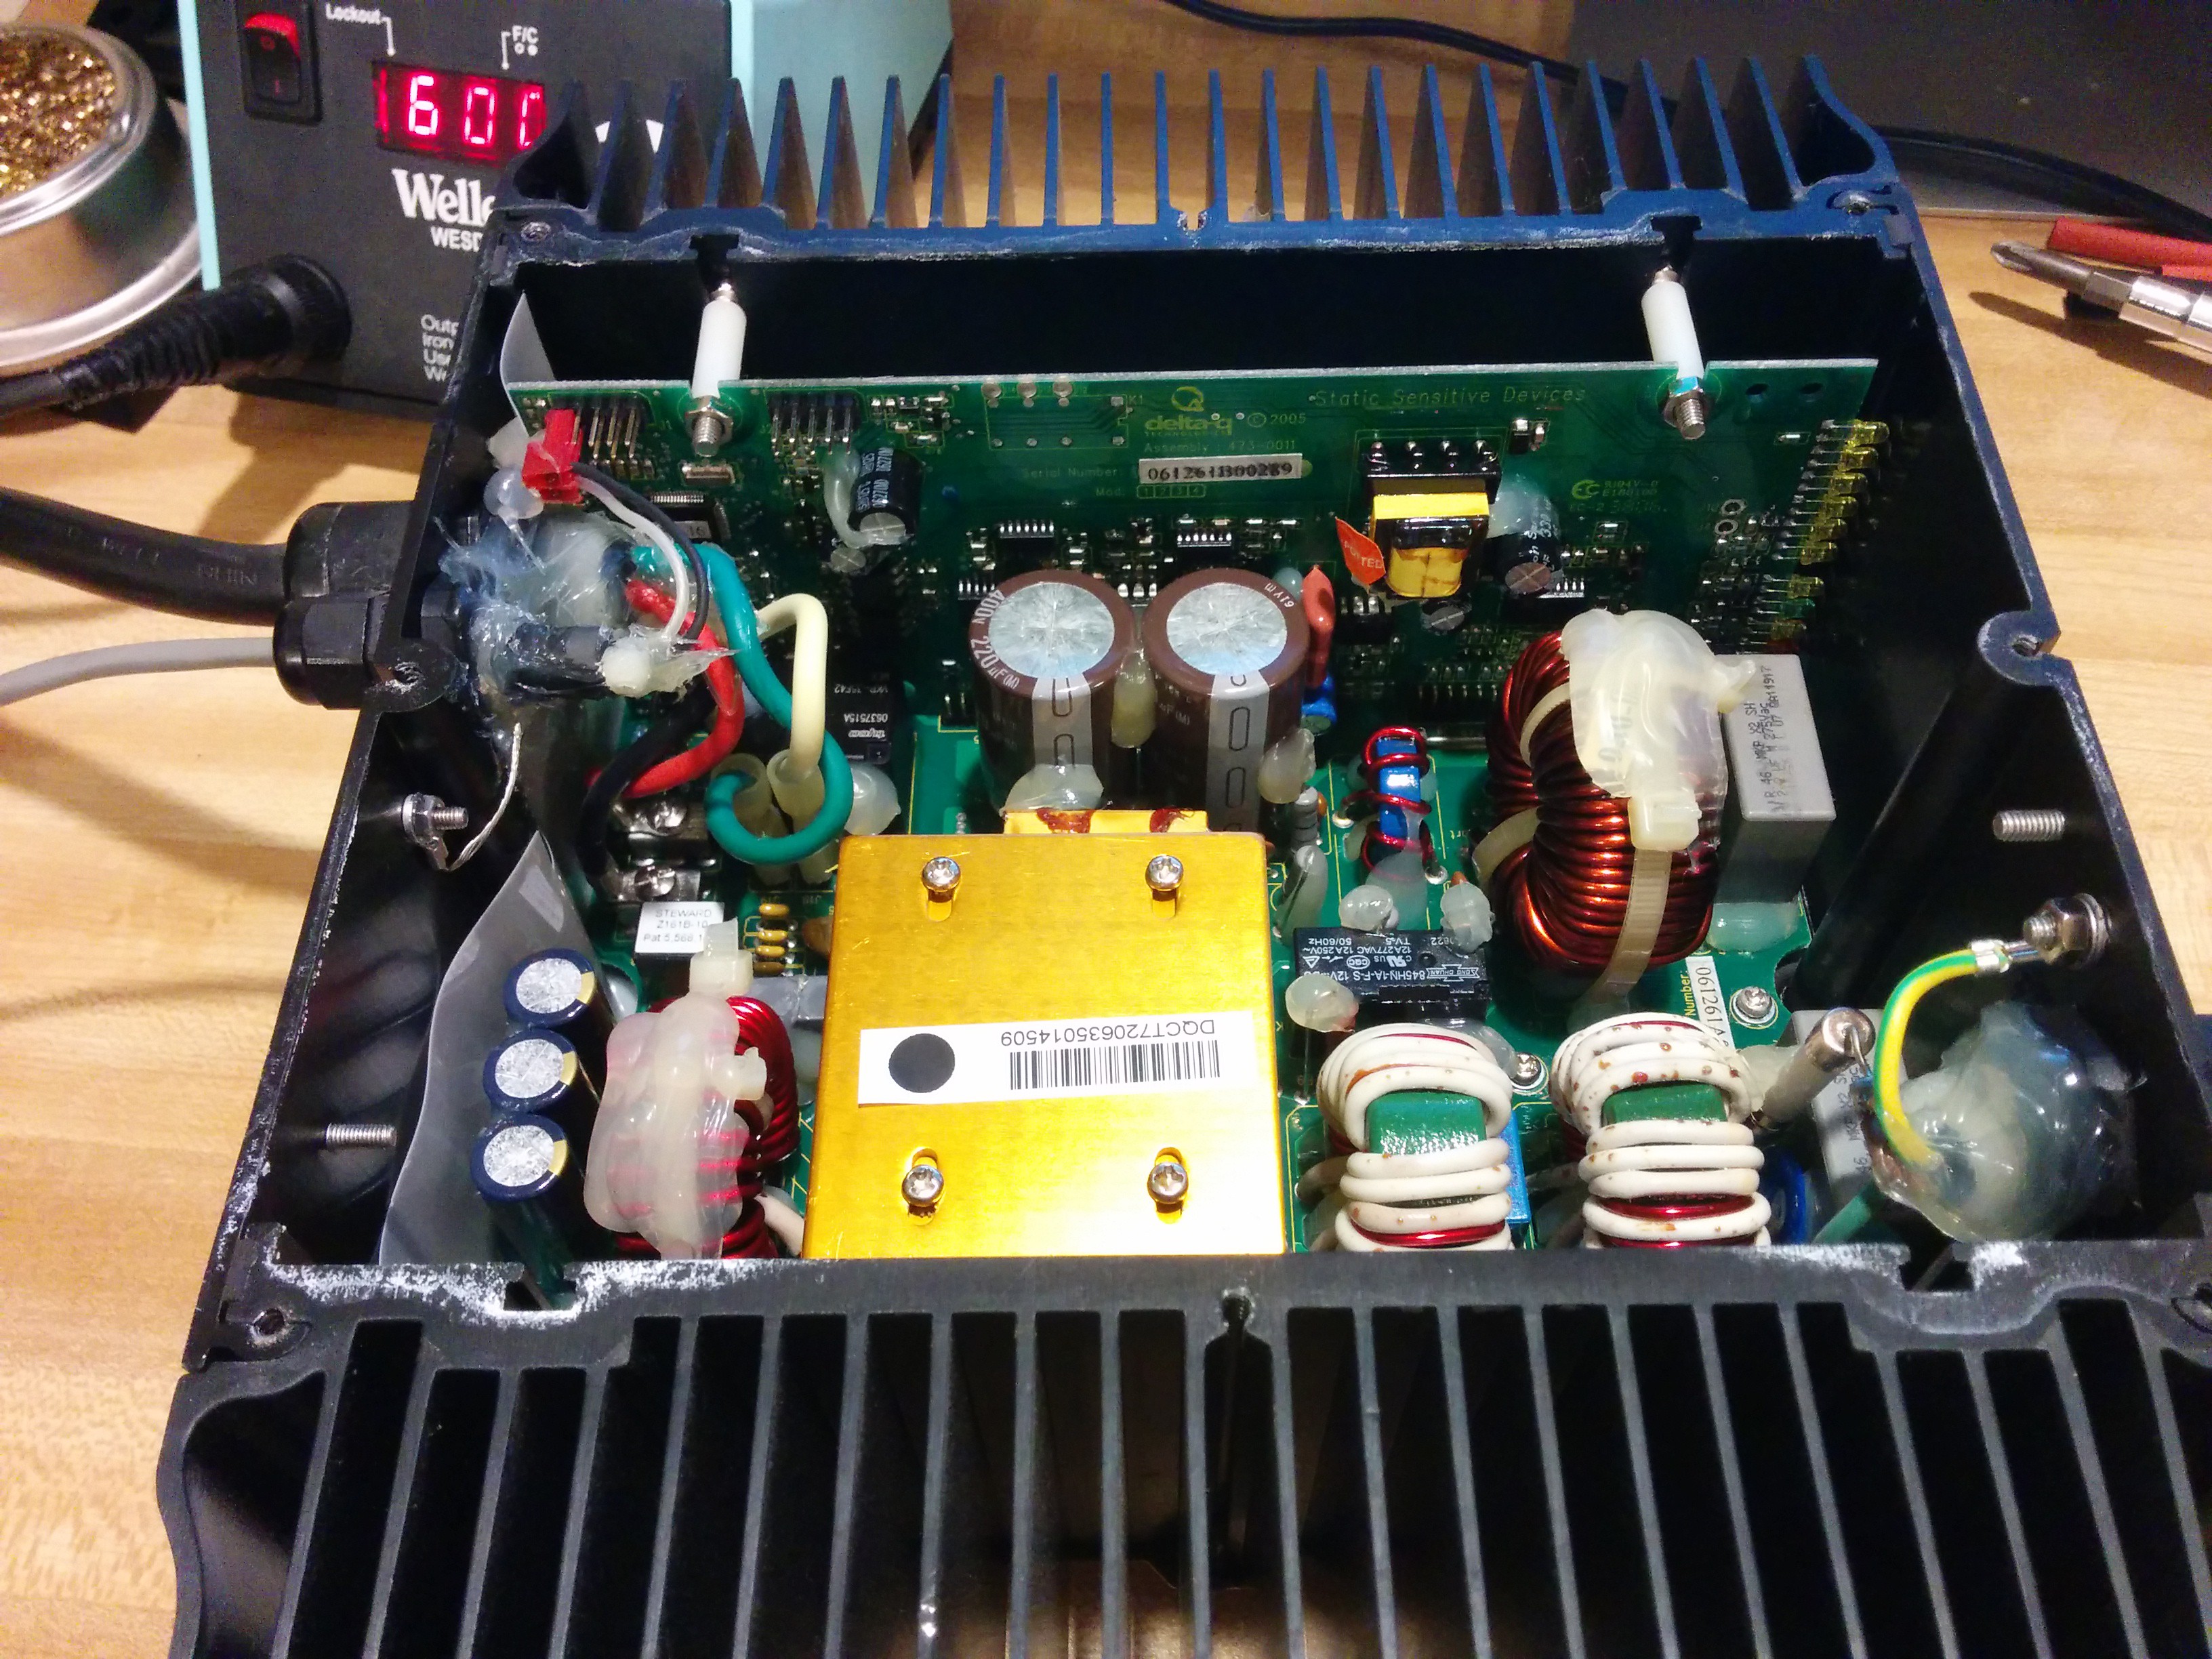
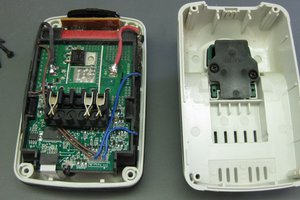
The Delta-Q QuiQ Charger
Now that we know about the patient, what are the symptoms?
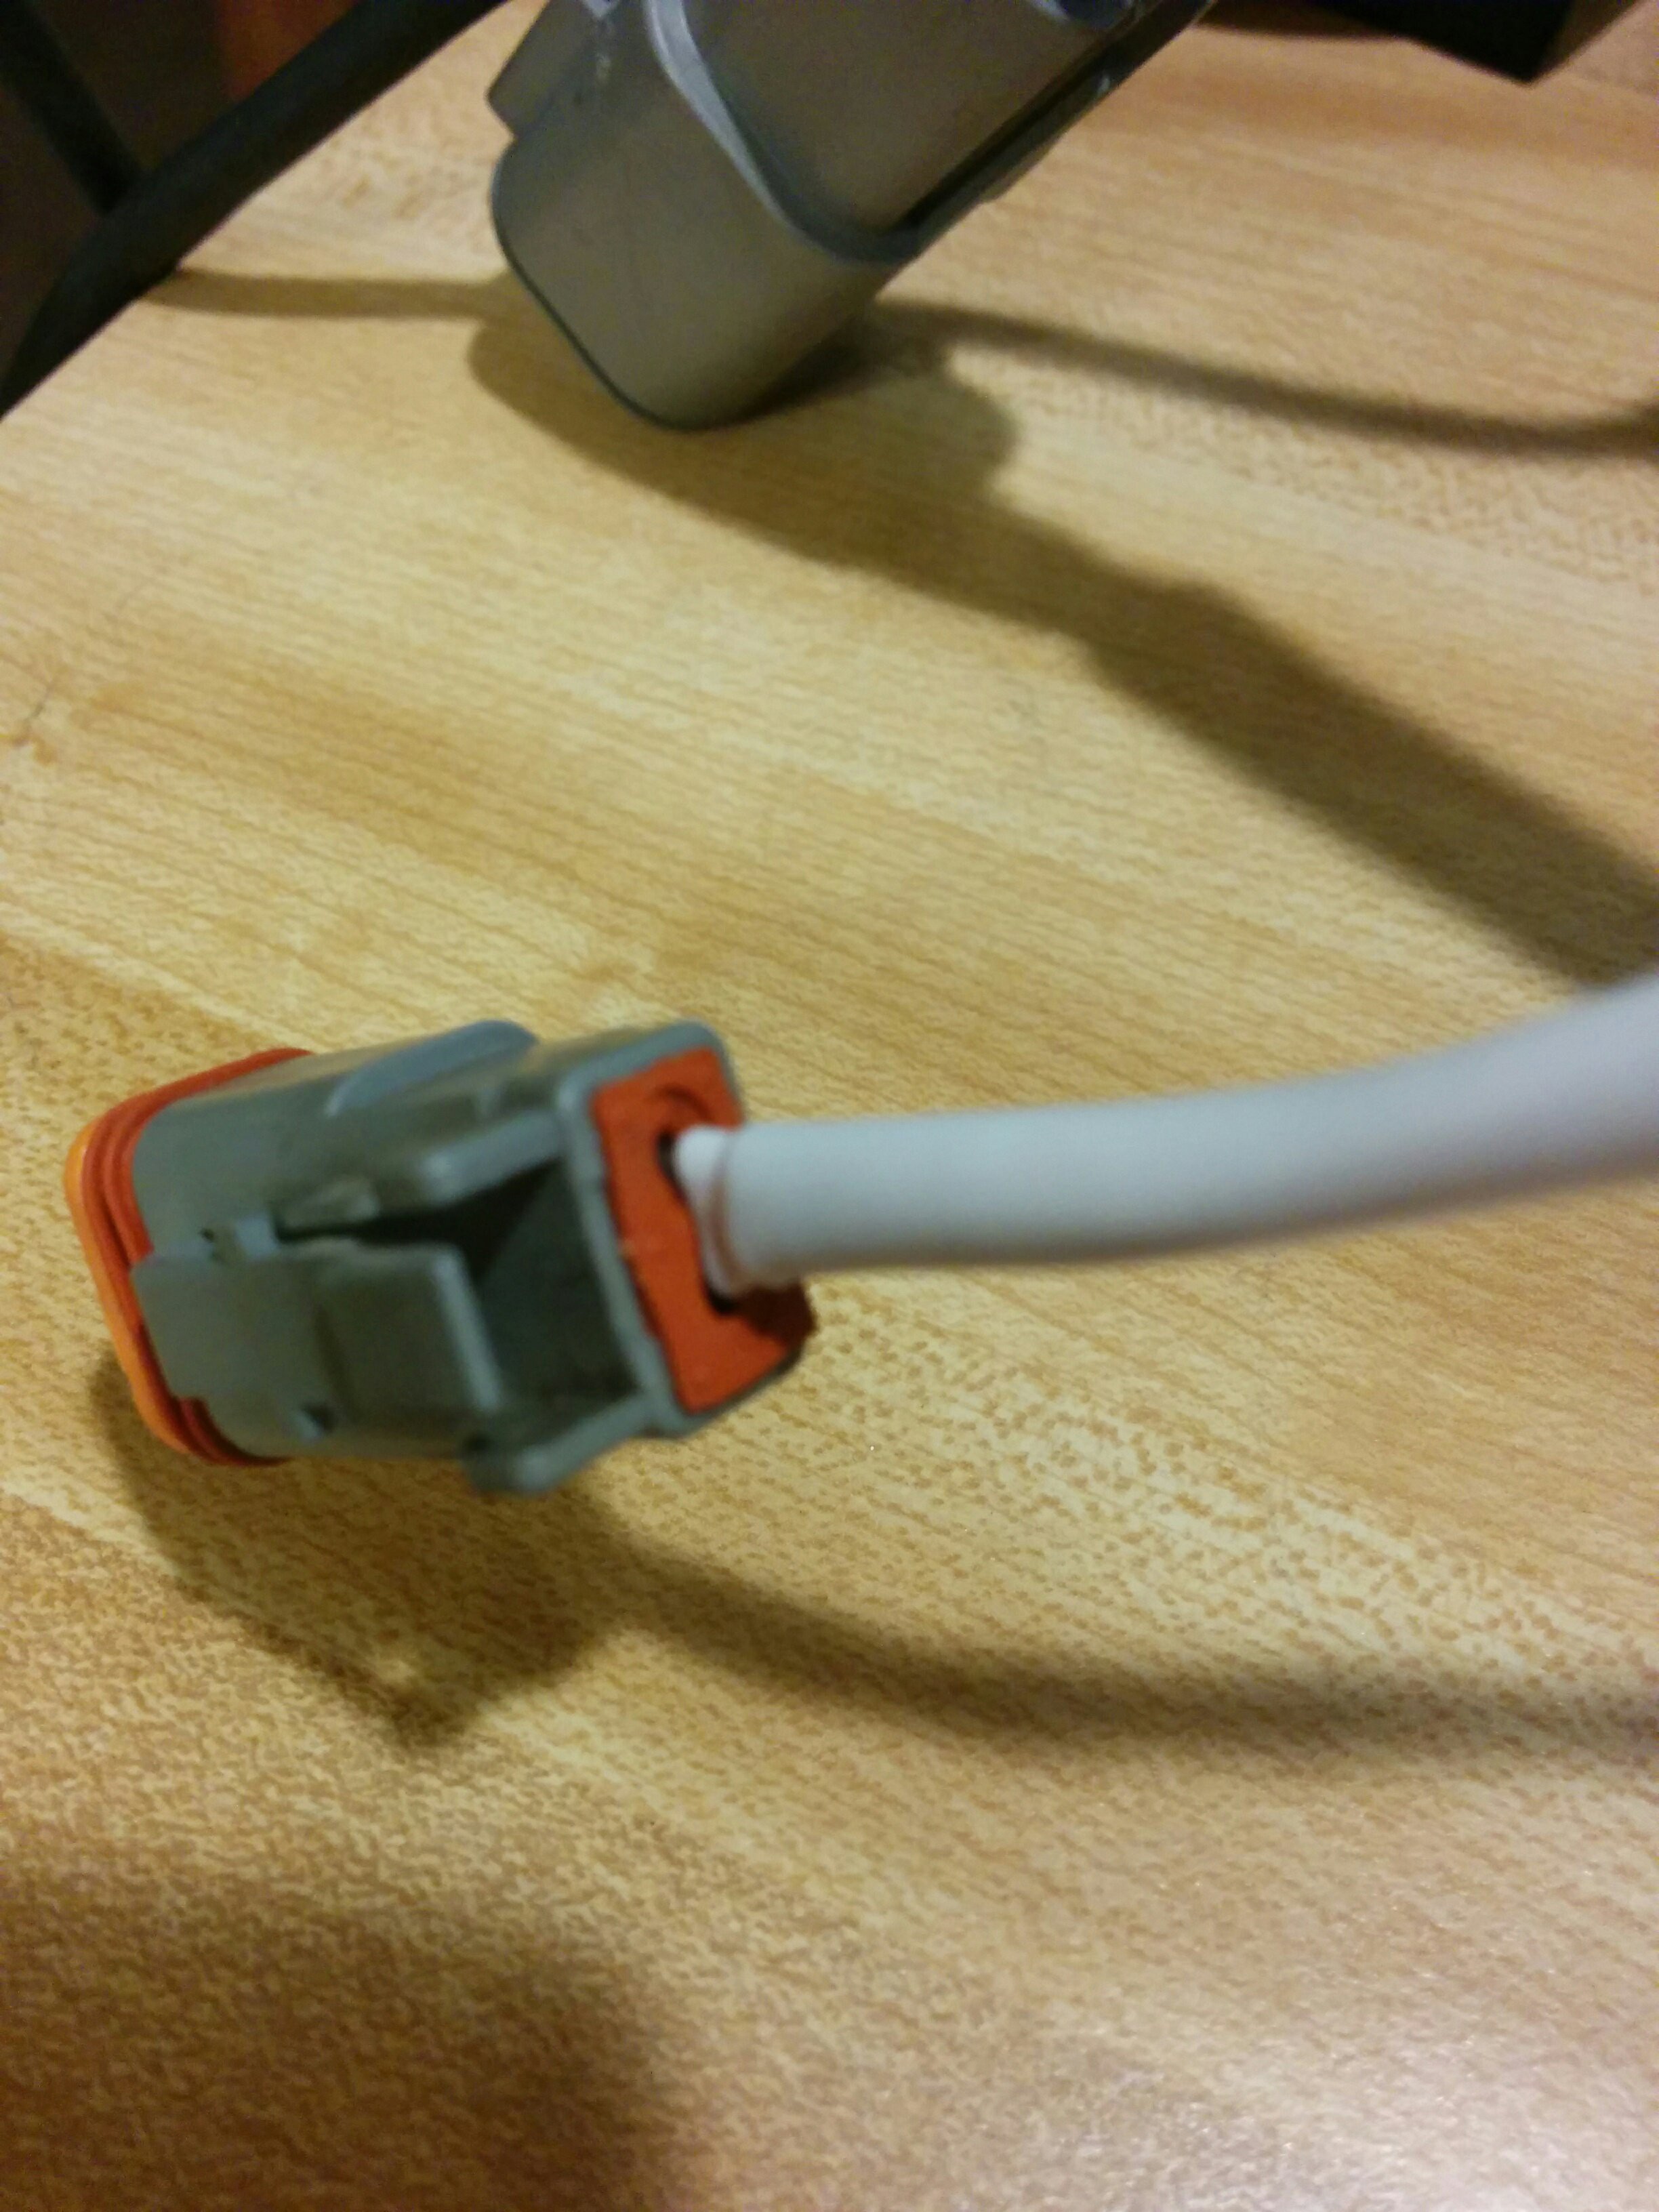
Problem Determination
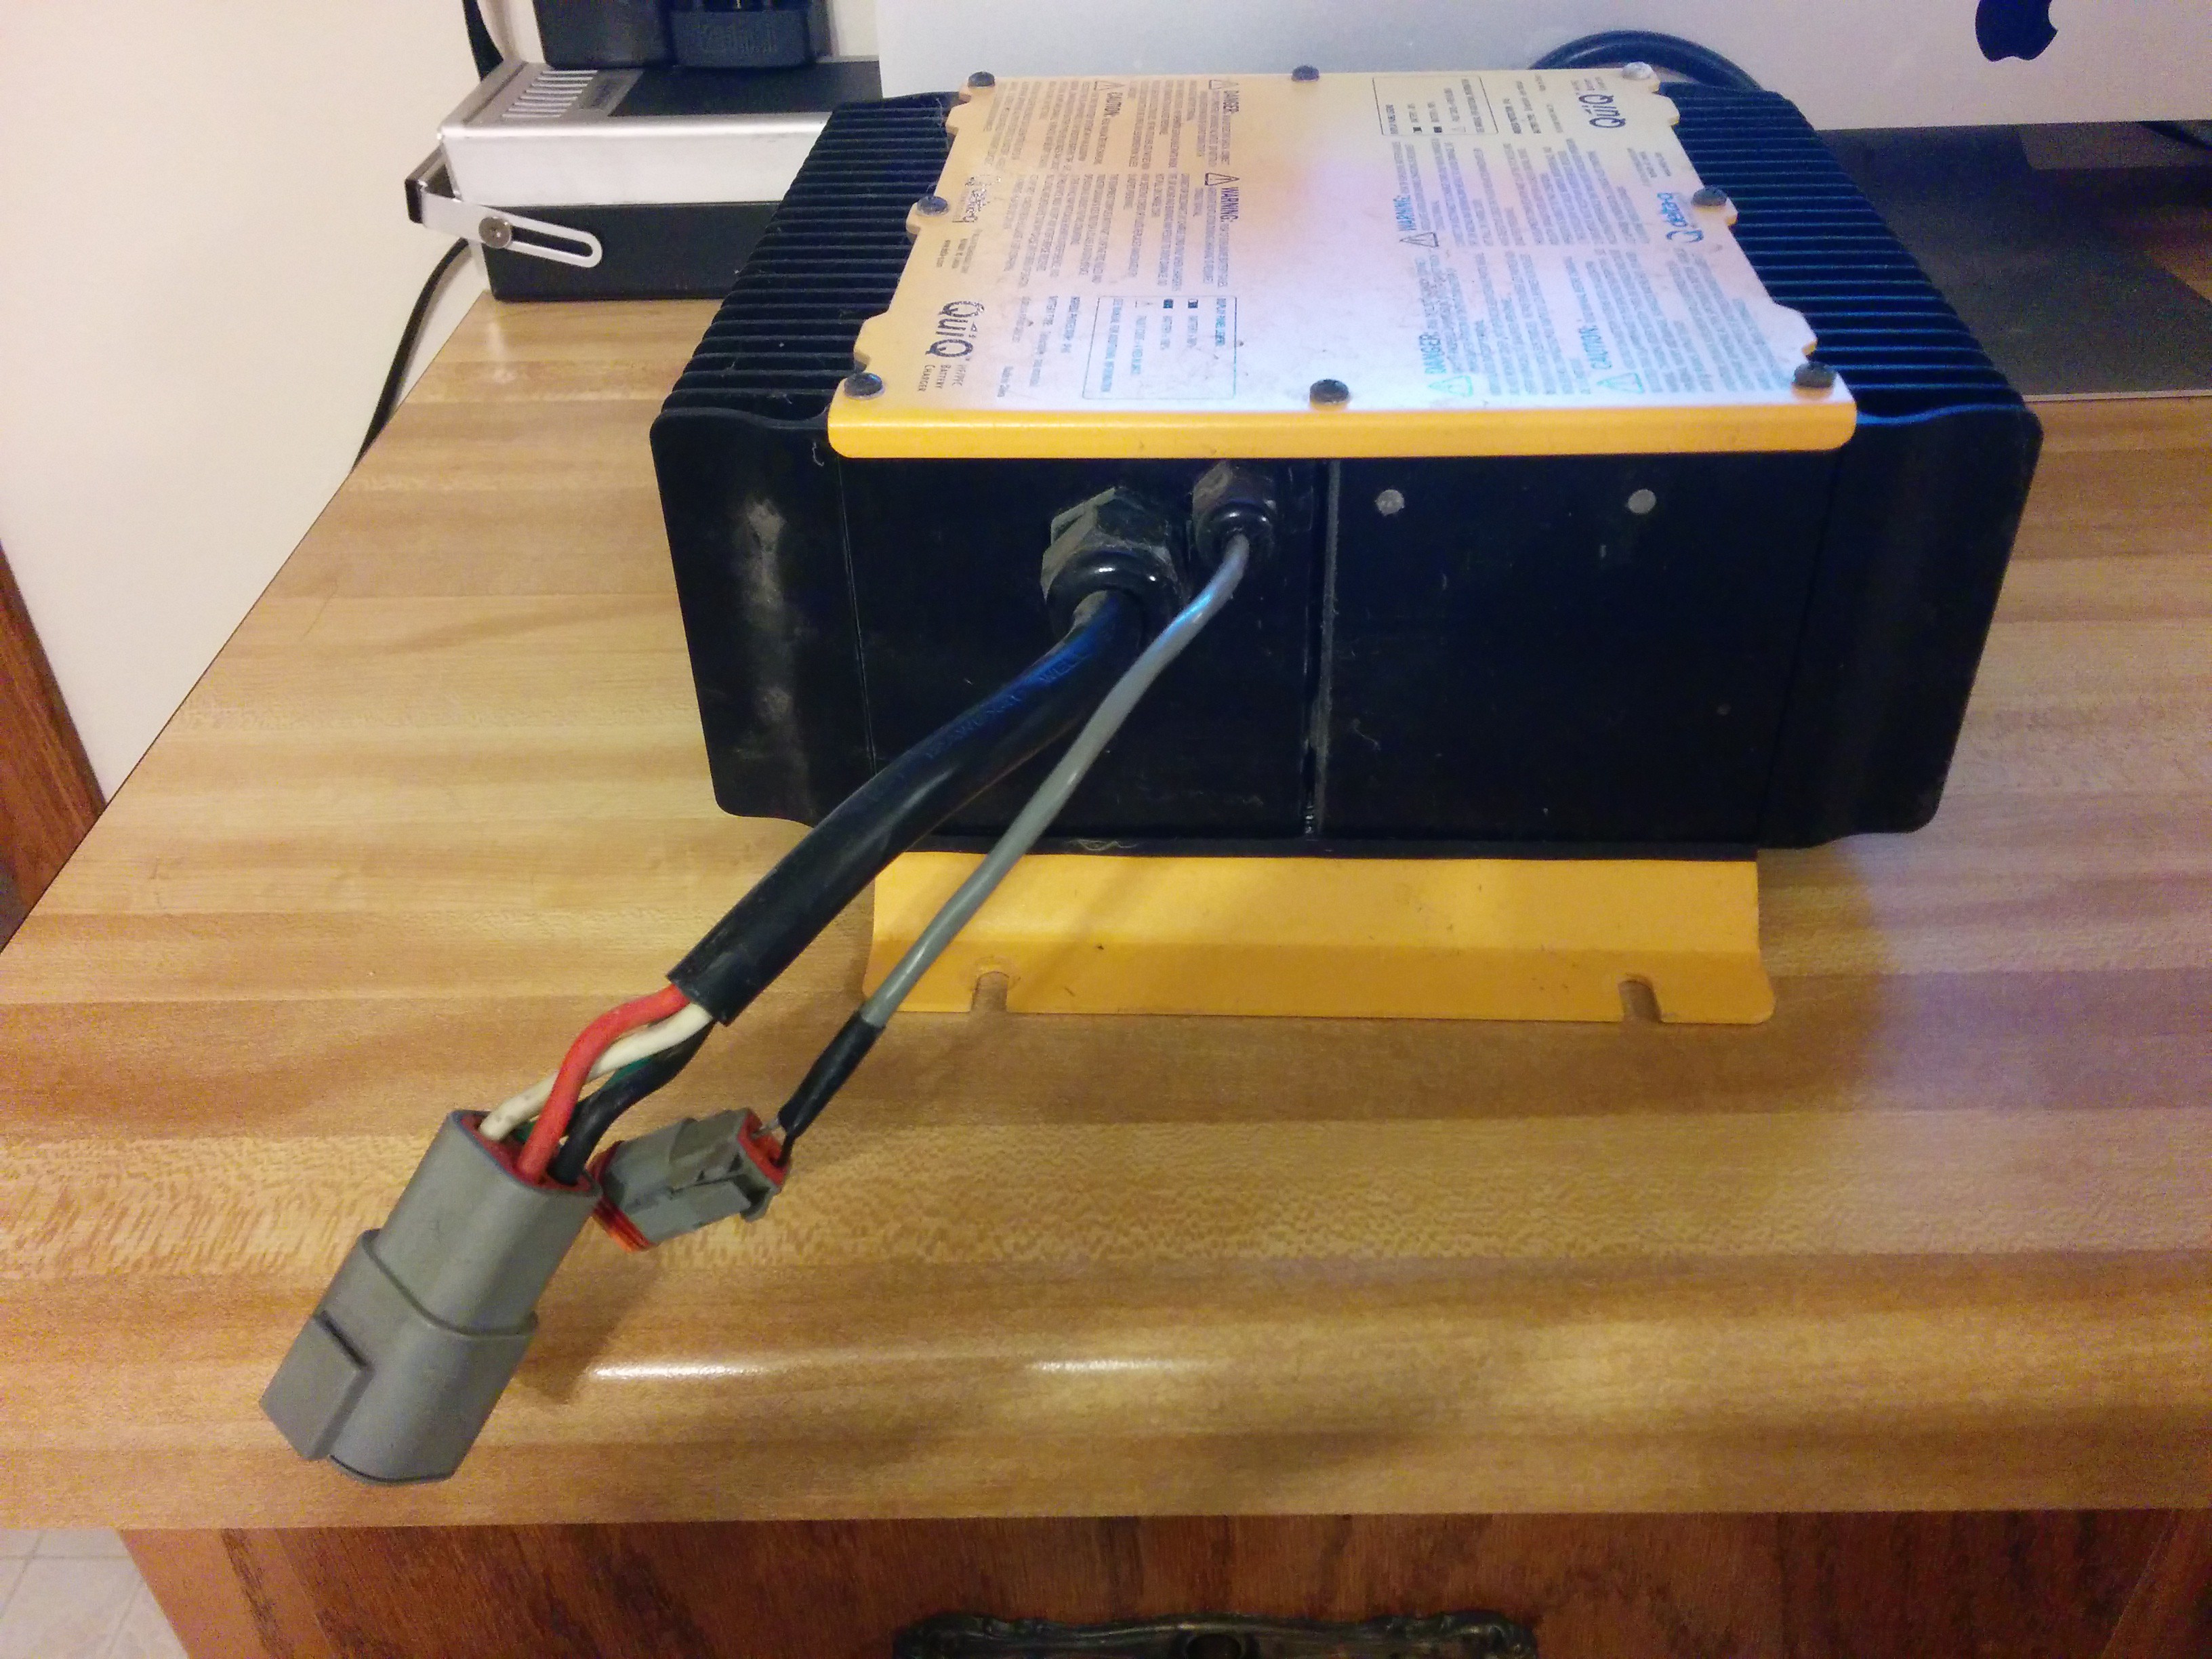
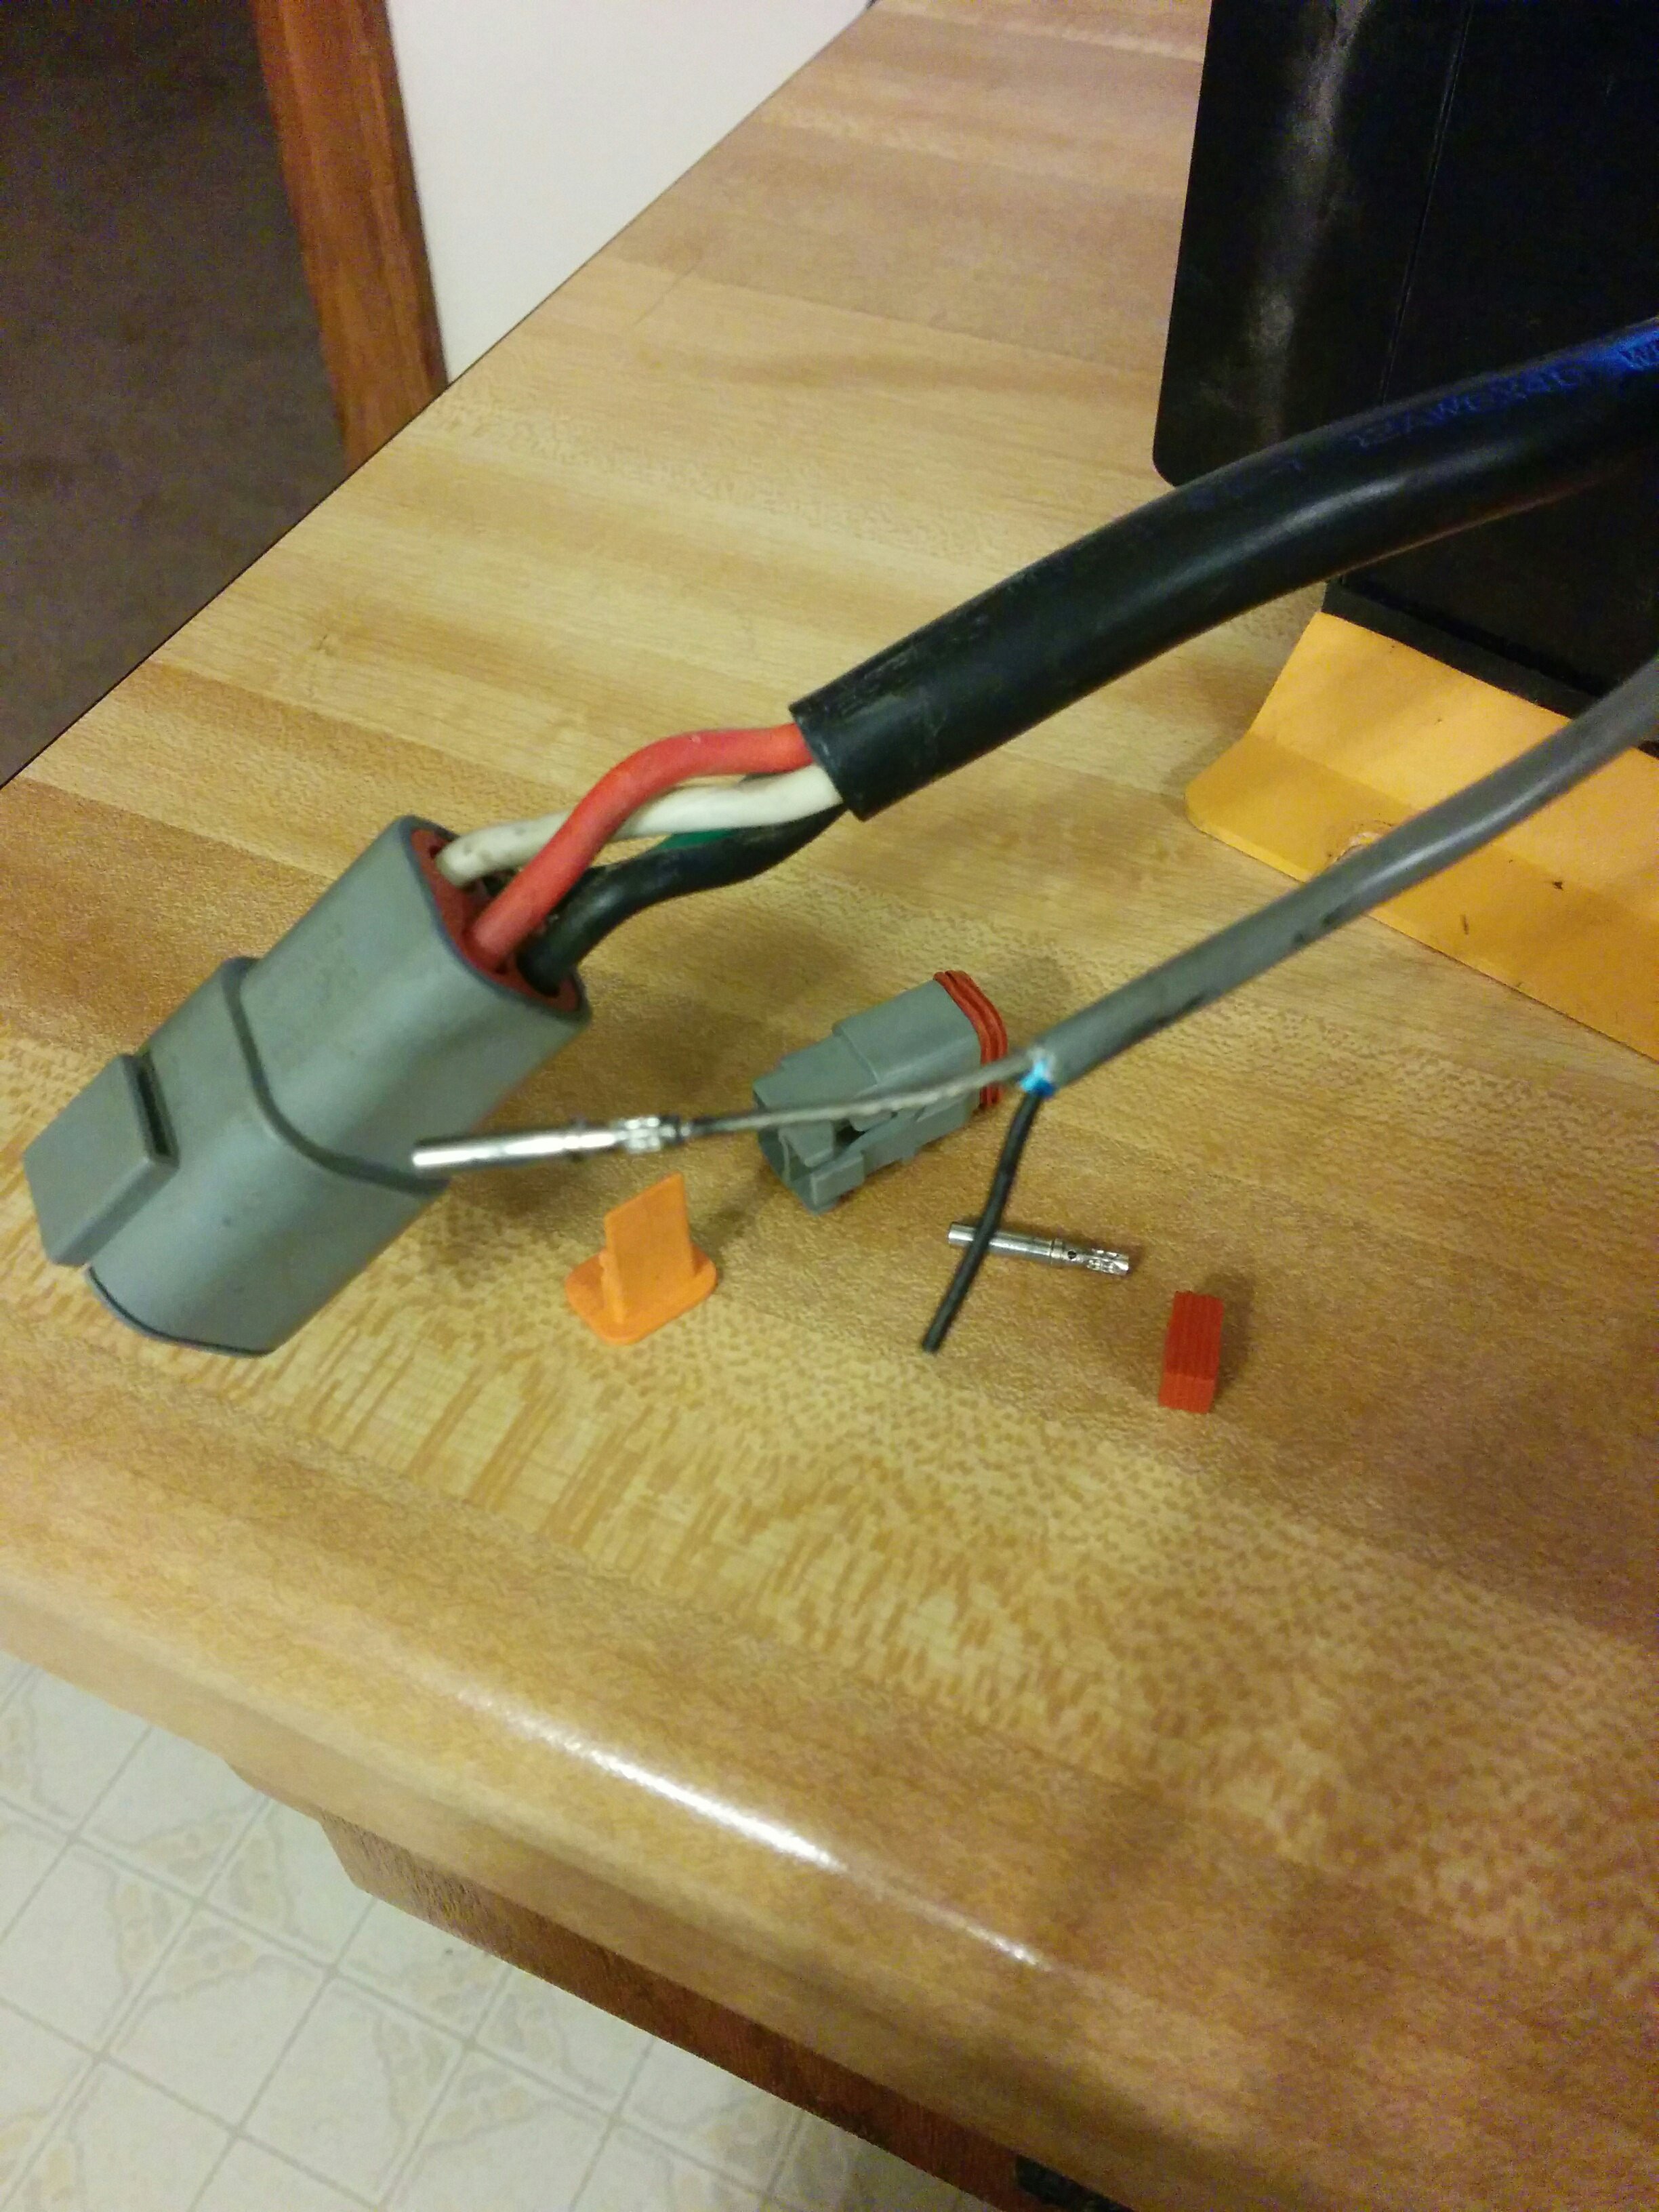
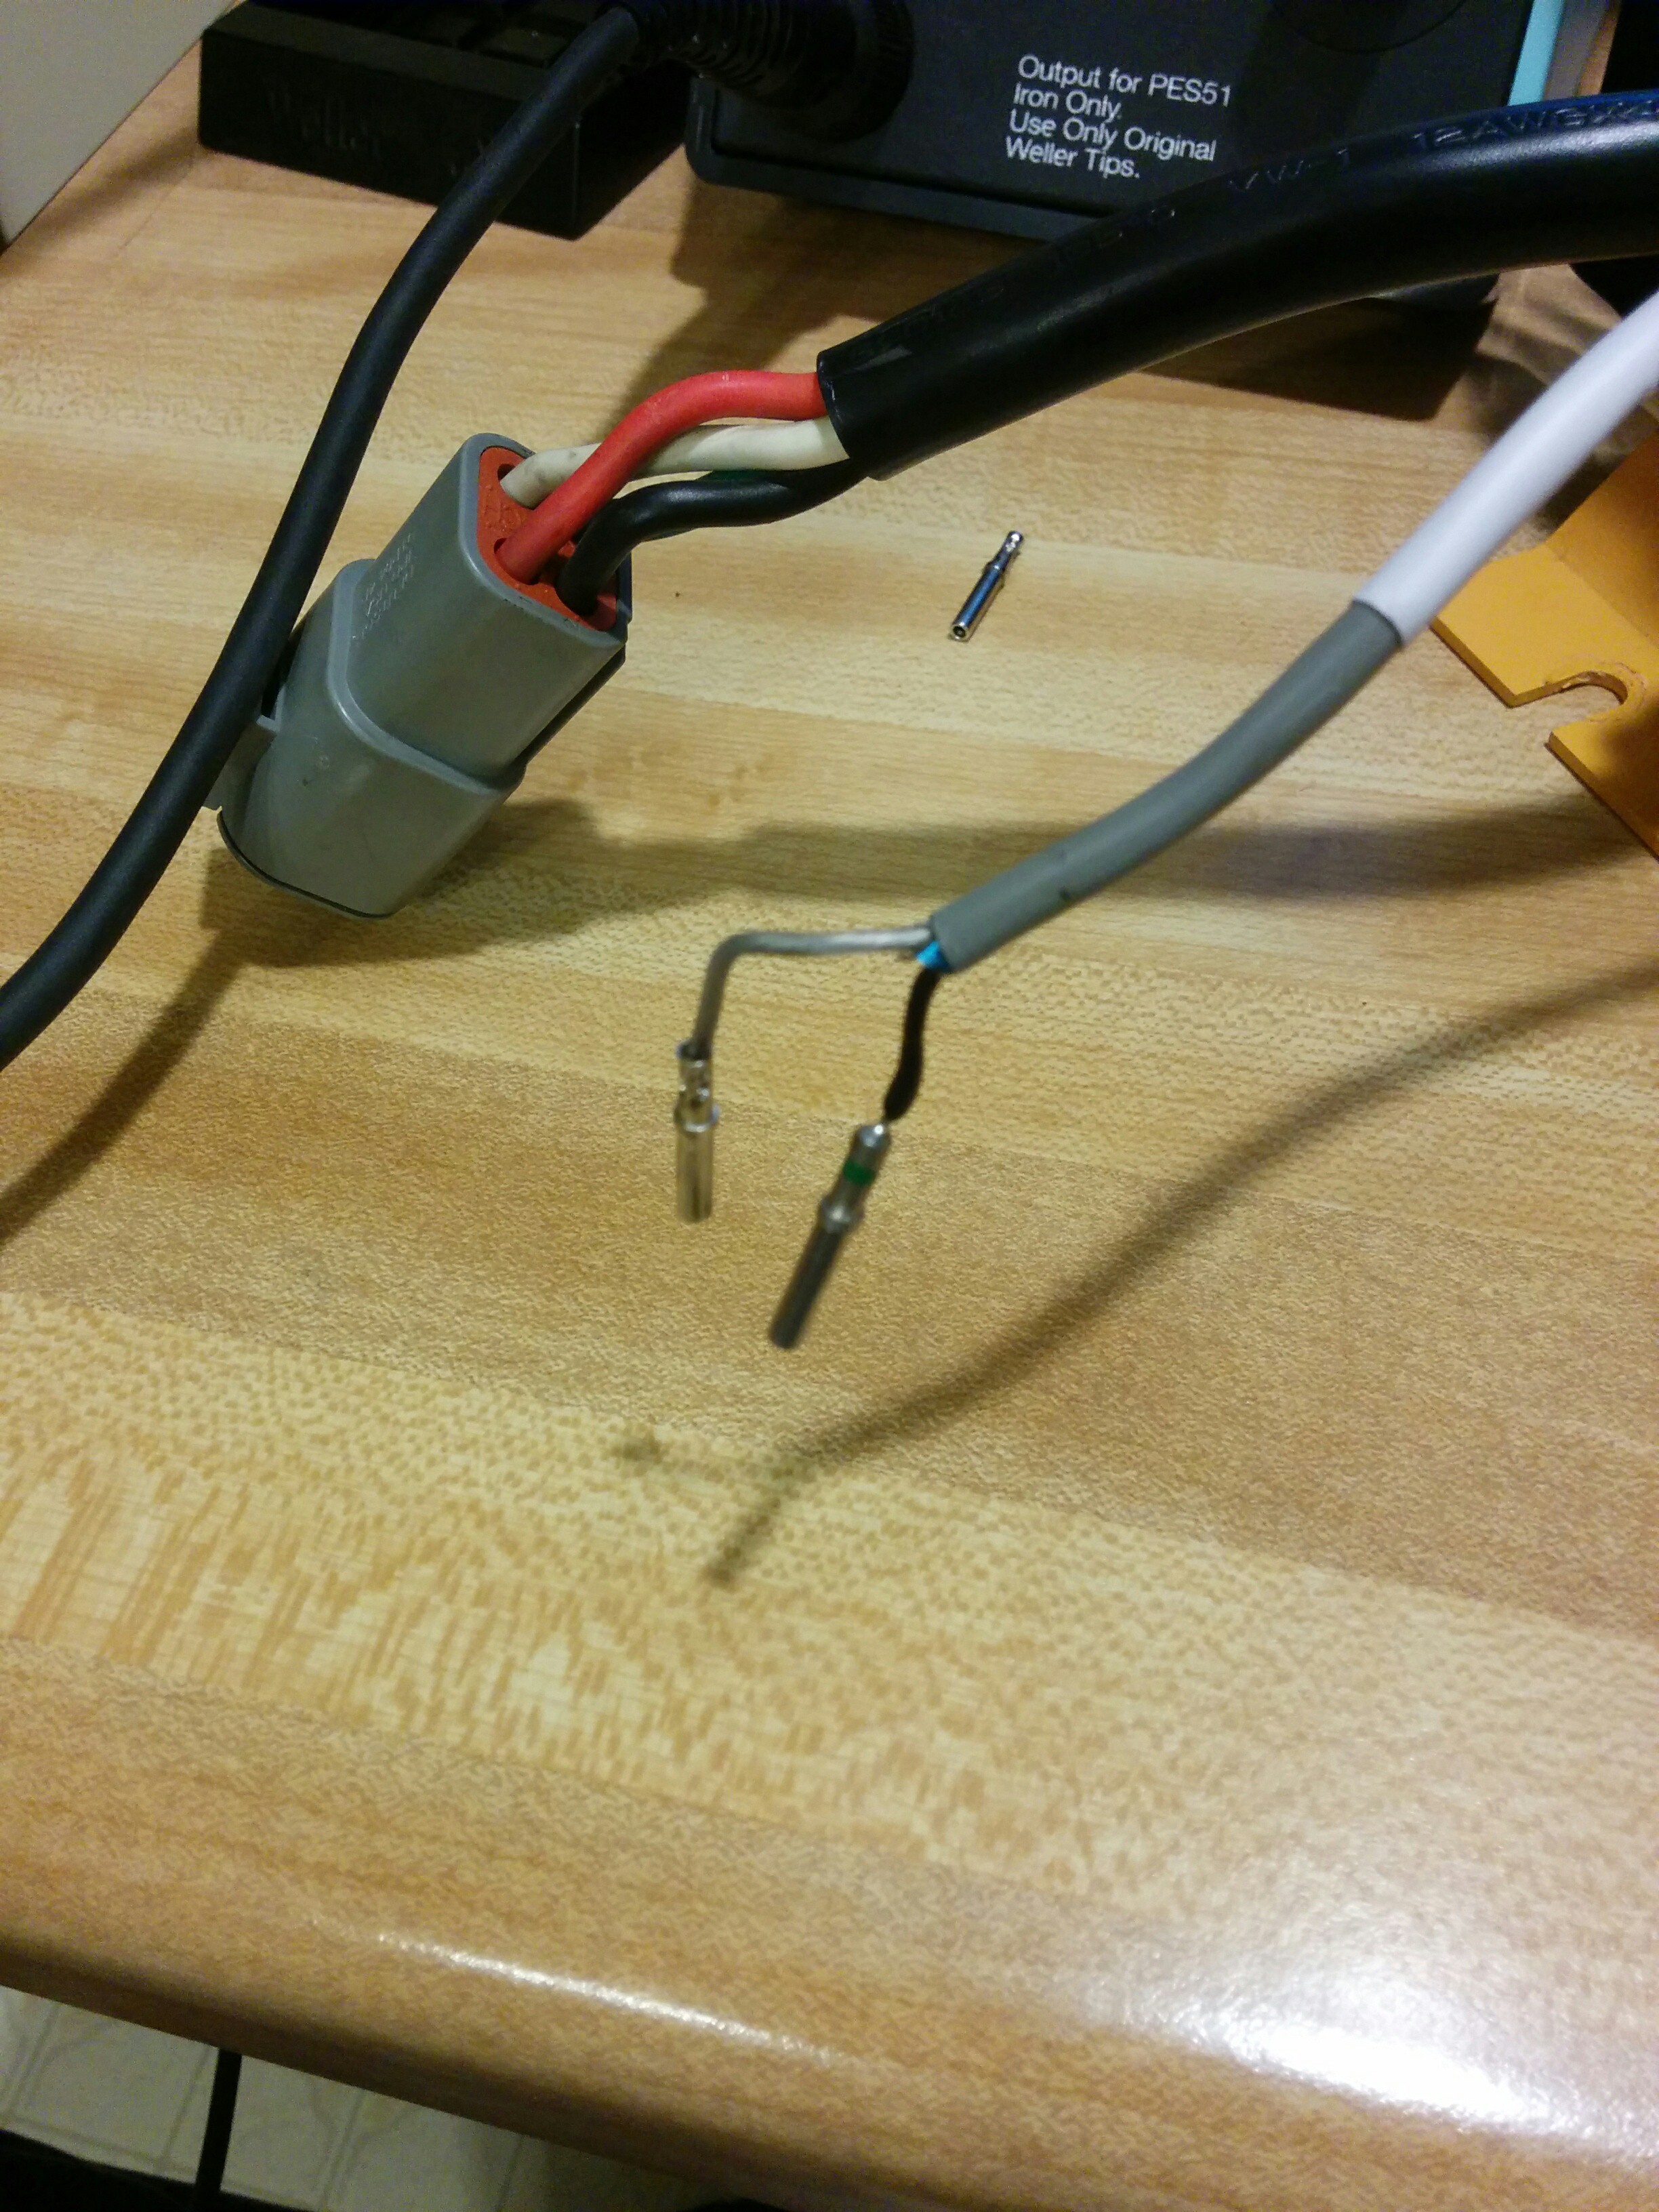
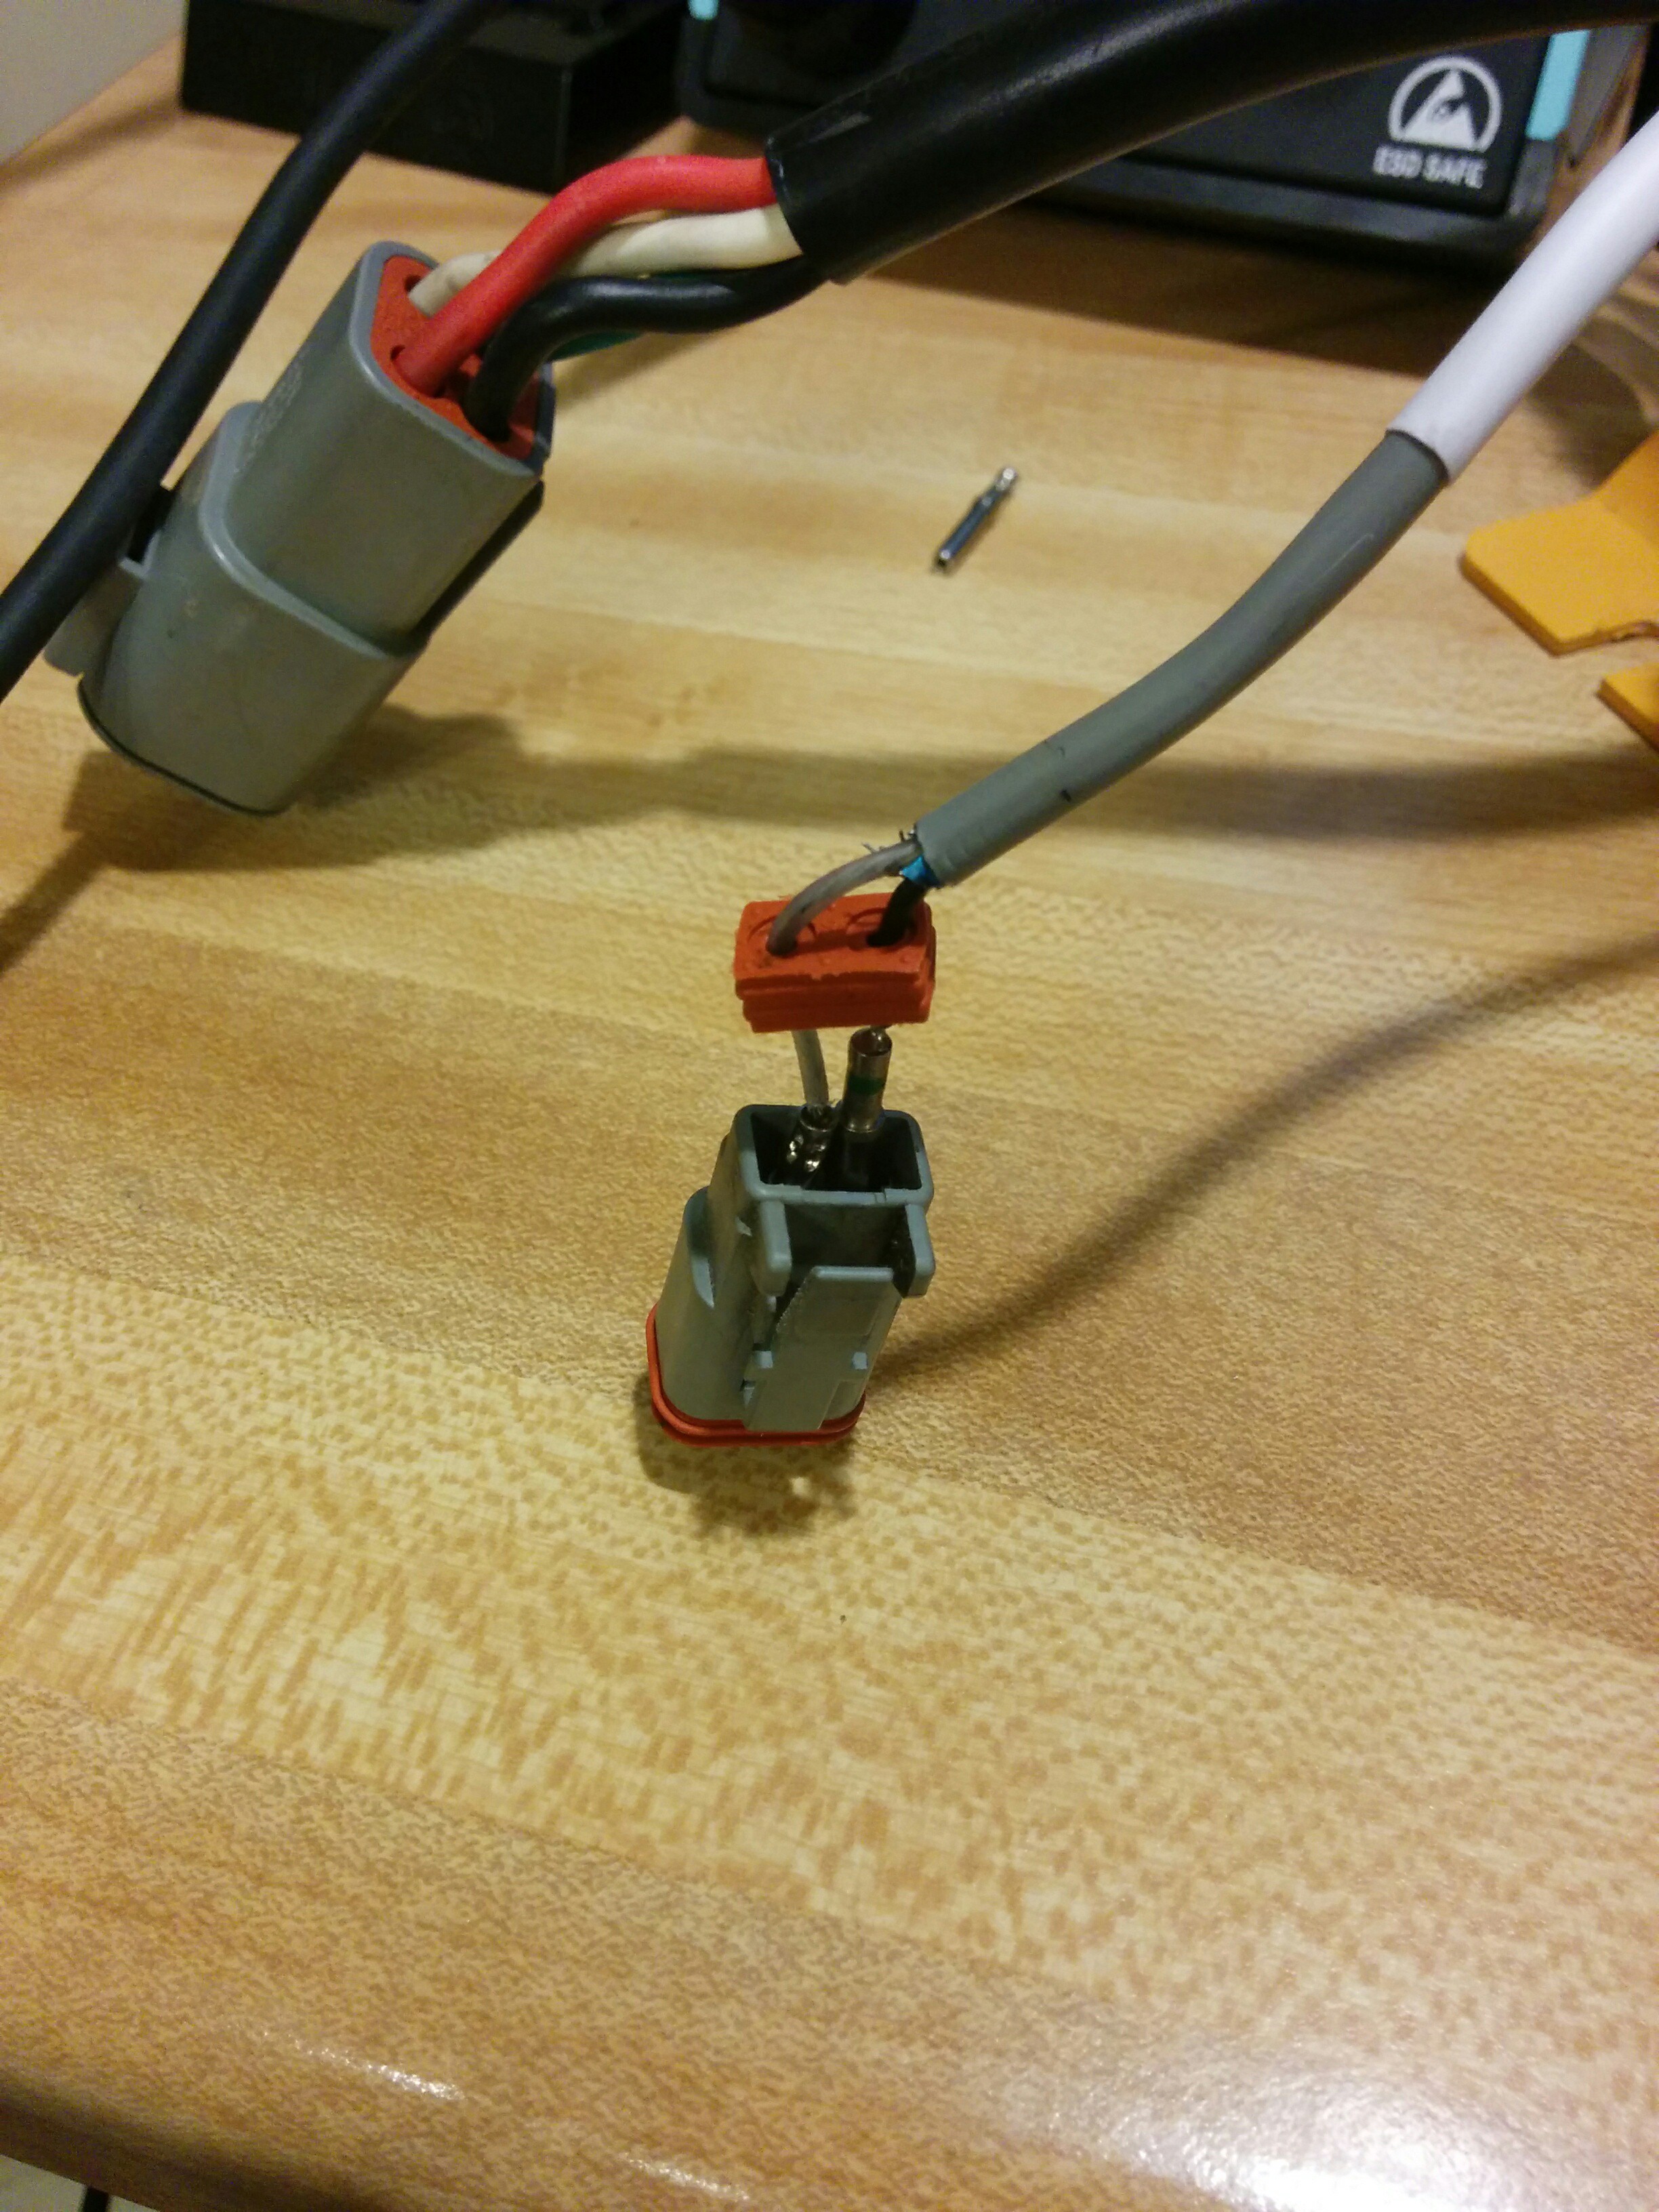
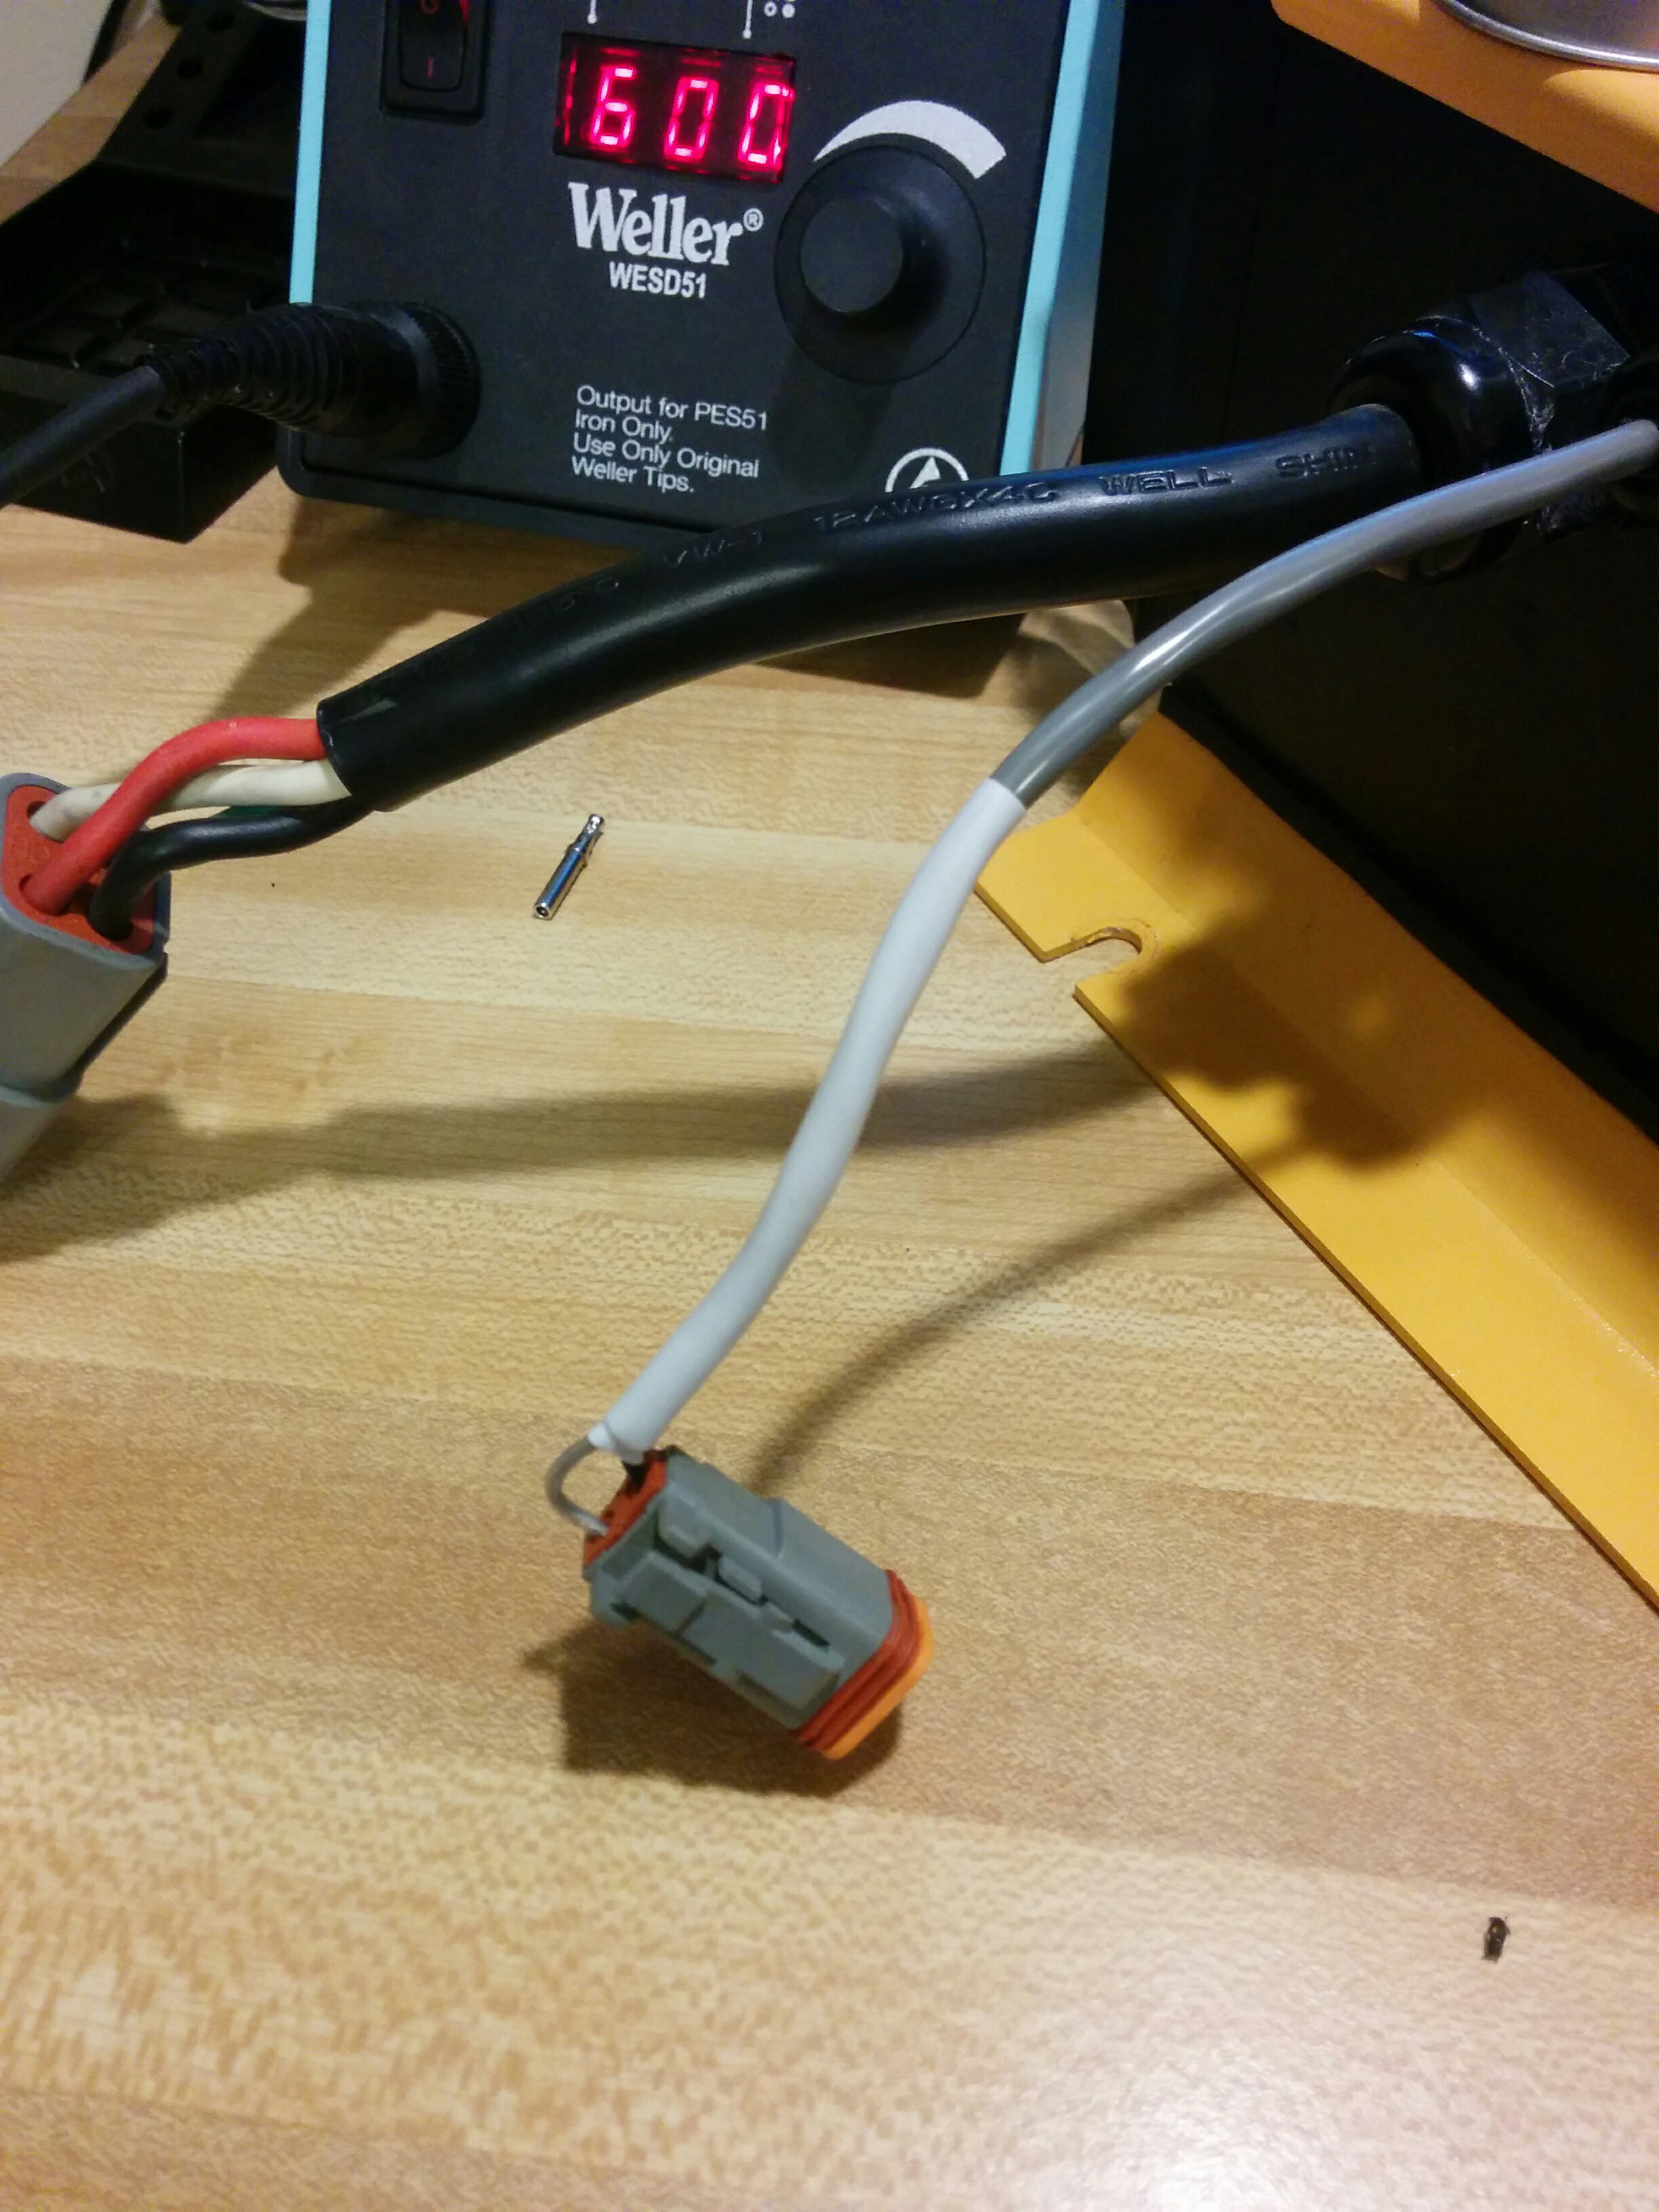
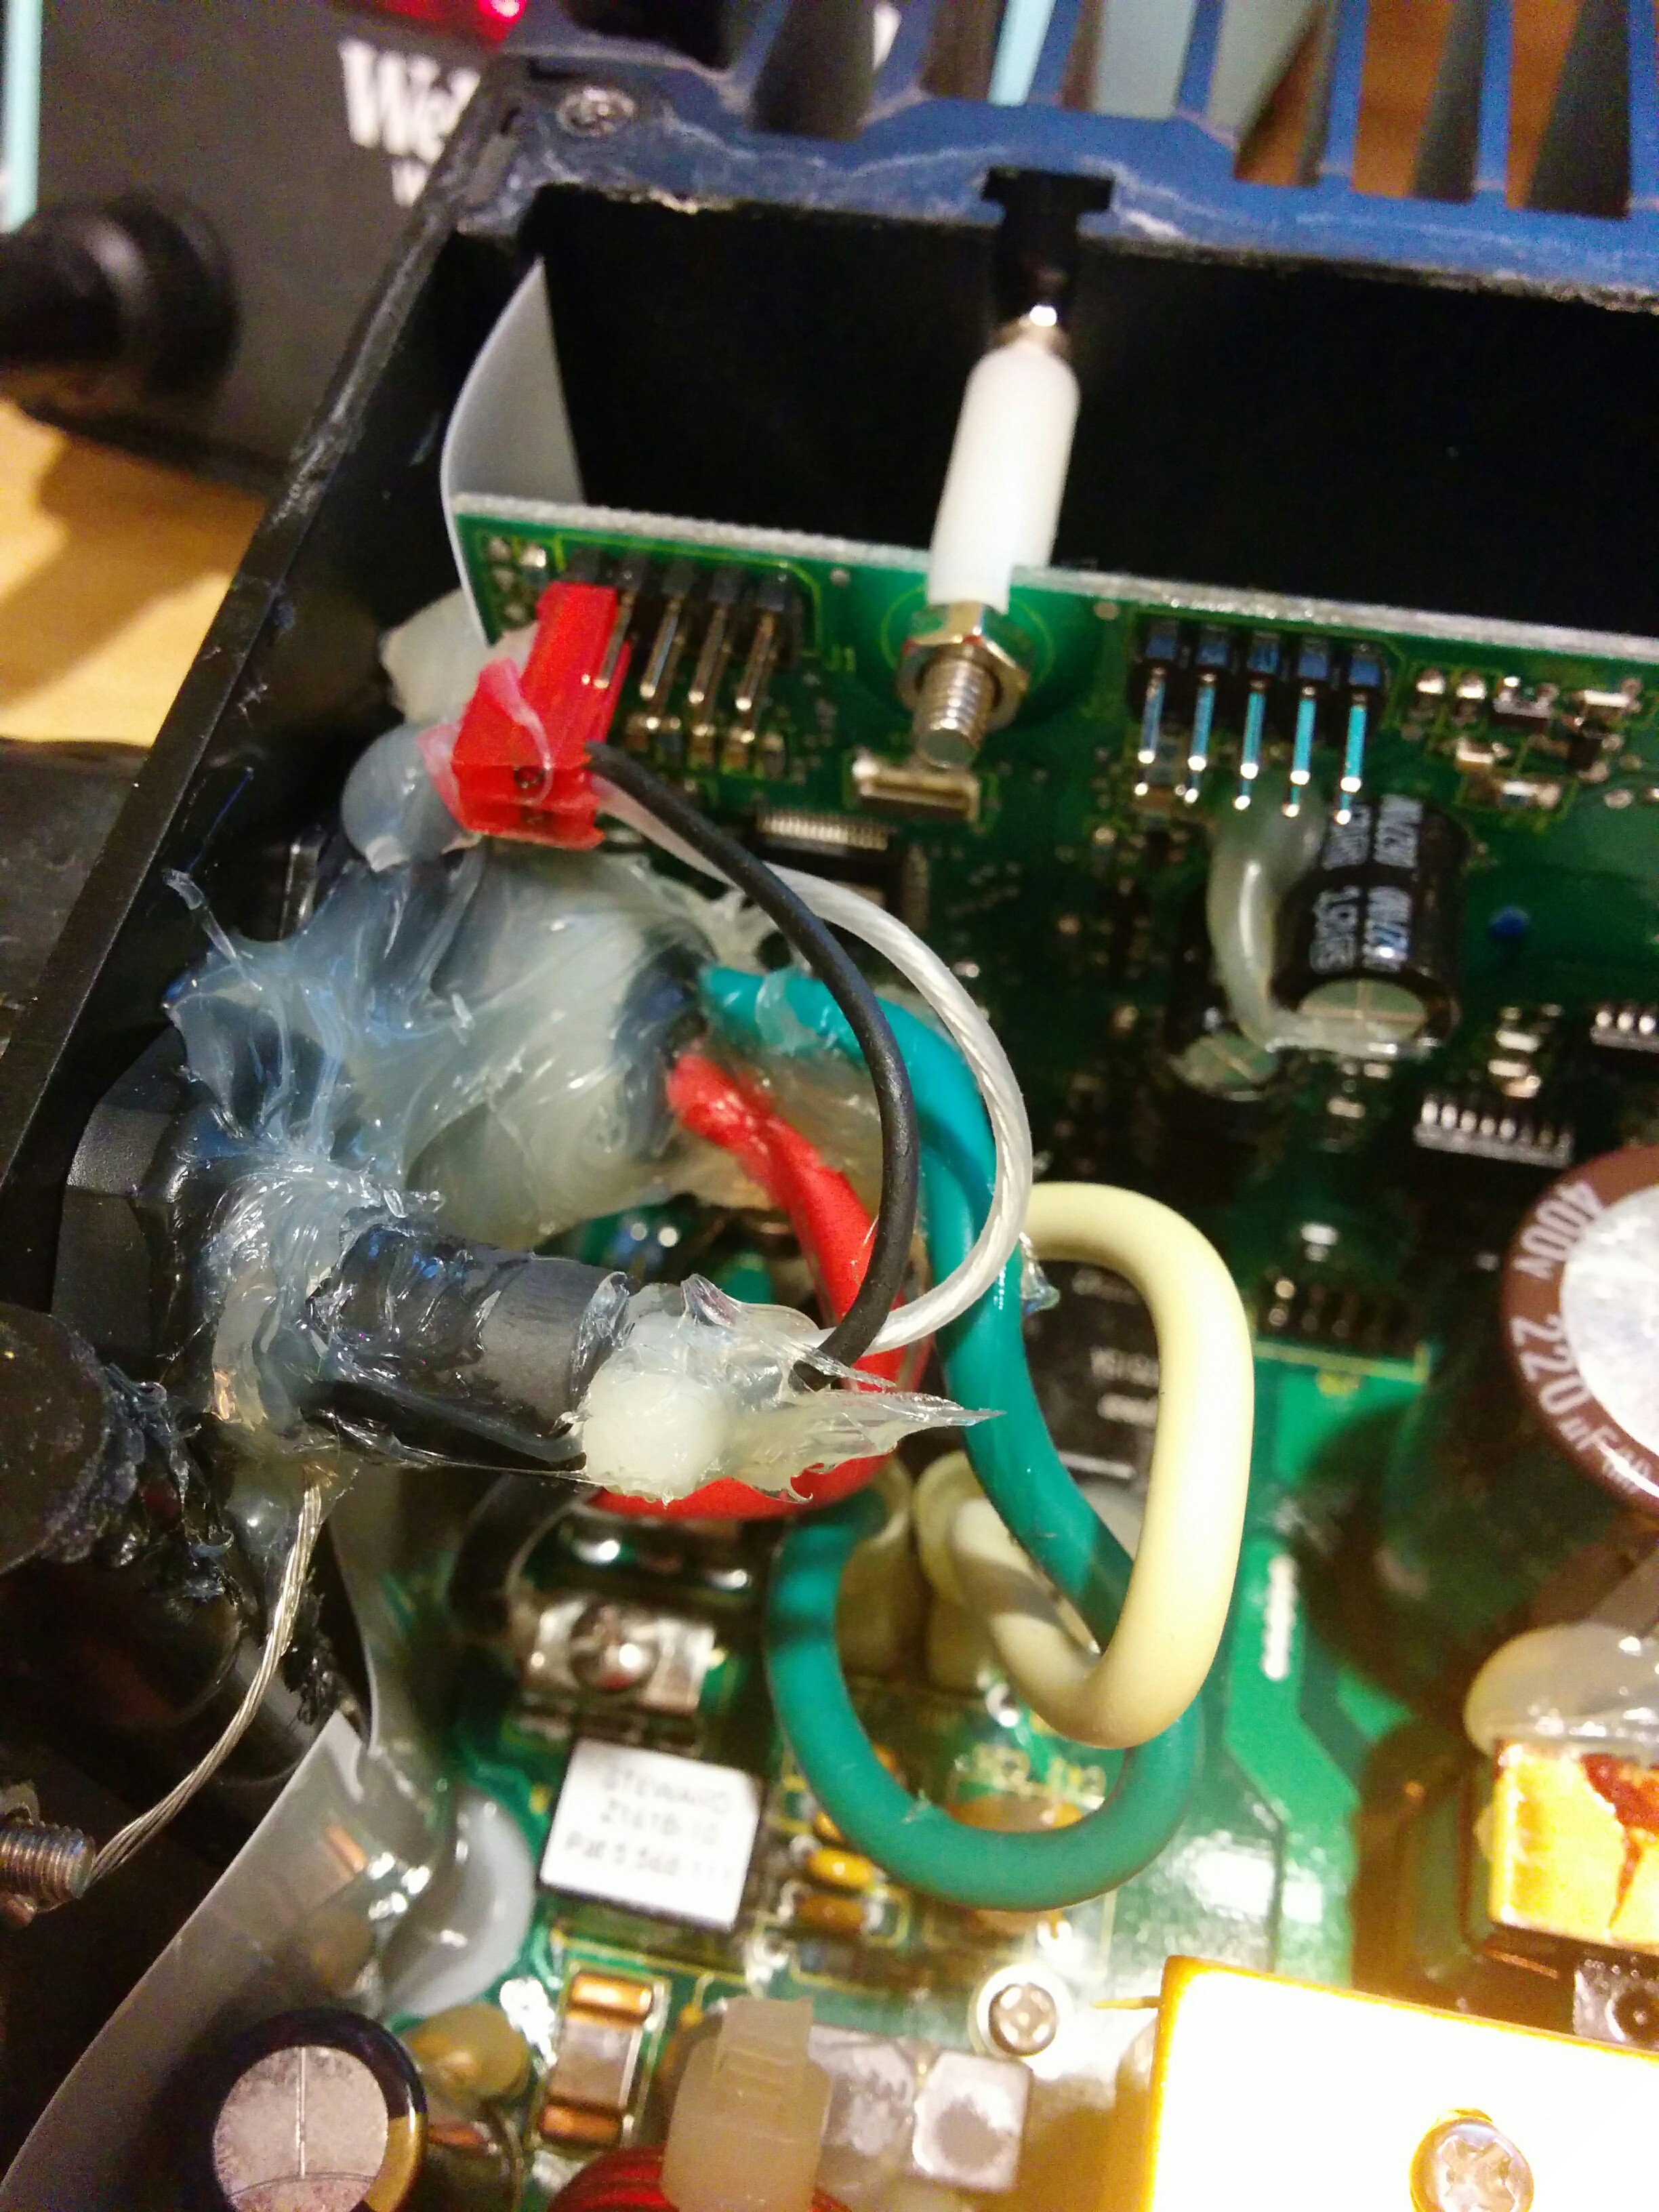
Performing the repair:
The Repair
Did it work?


 Quinn
Quinn
 Dixbit
 Andrea
Is there anyone can help me by assisting how to fix my charger, since it doesn't work after lightning struck. Please.