 Dave's Dev Lab
NOTE: COMIX-35 IS NOT MY PROJECT!
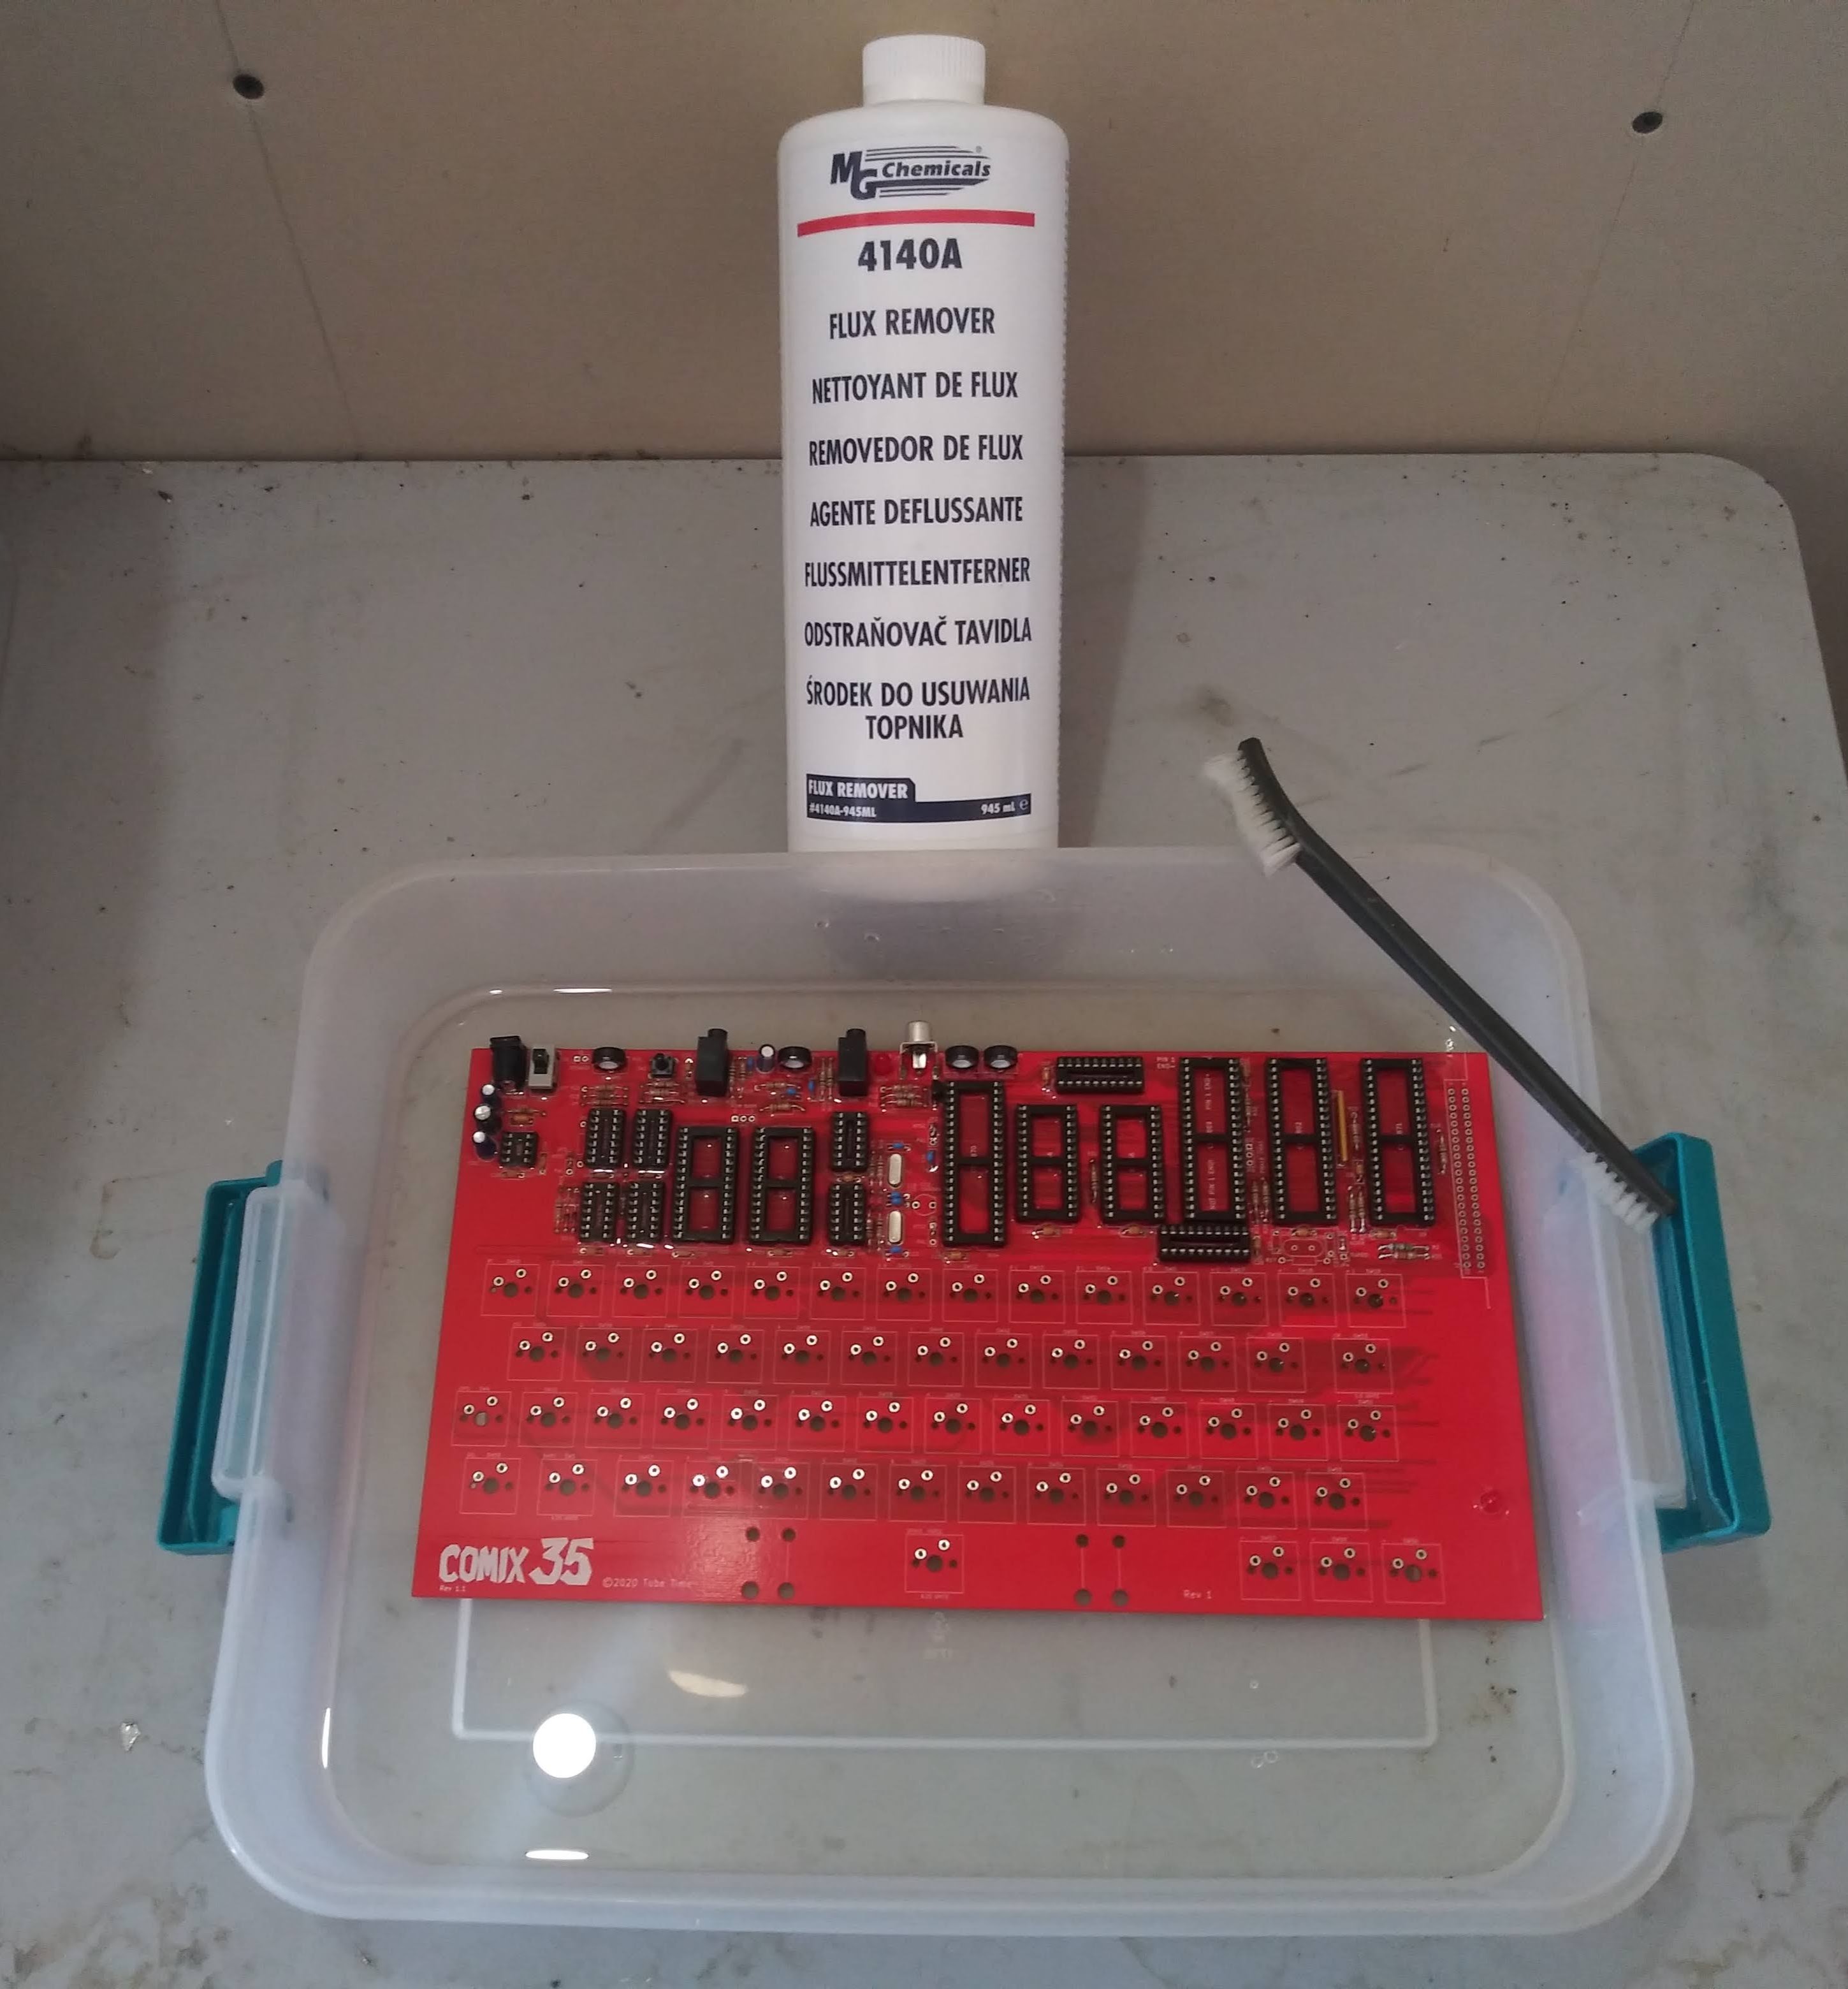
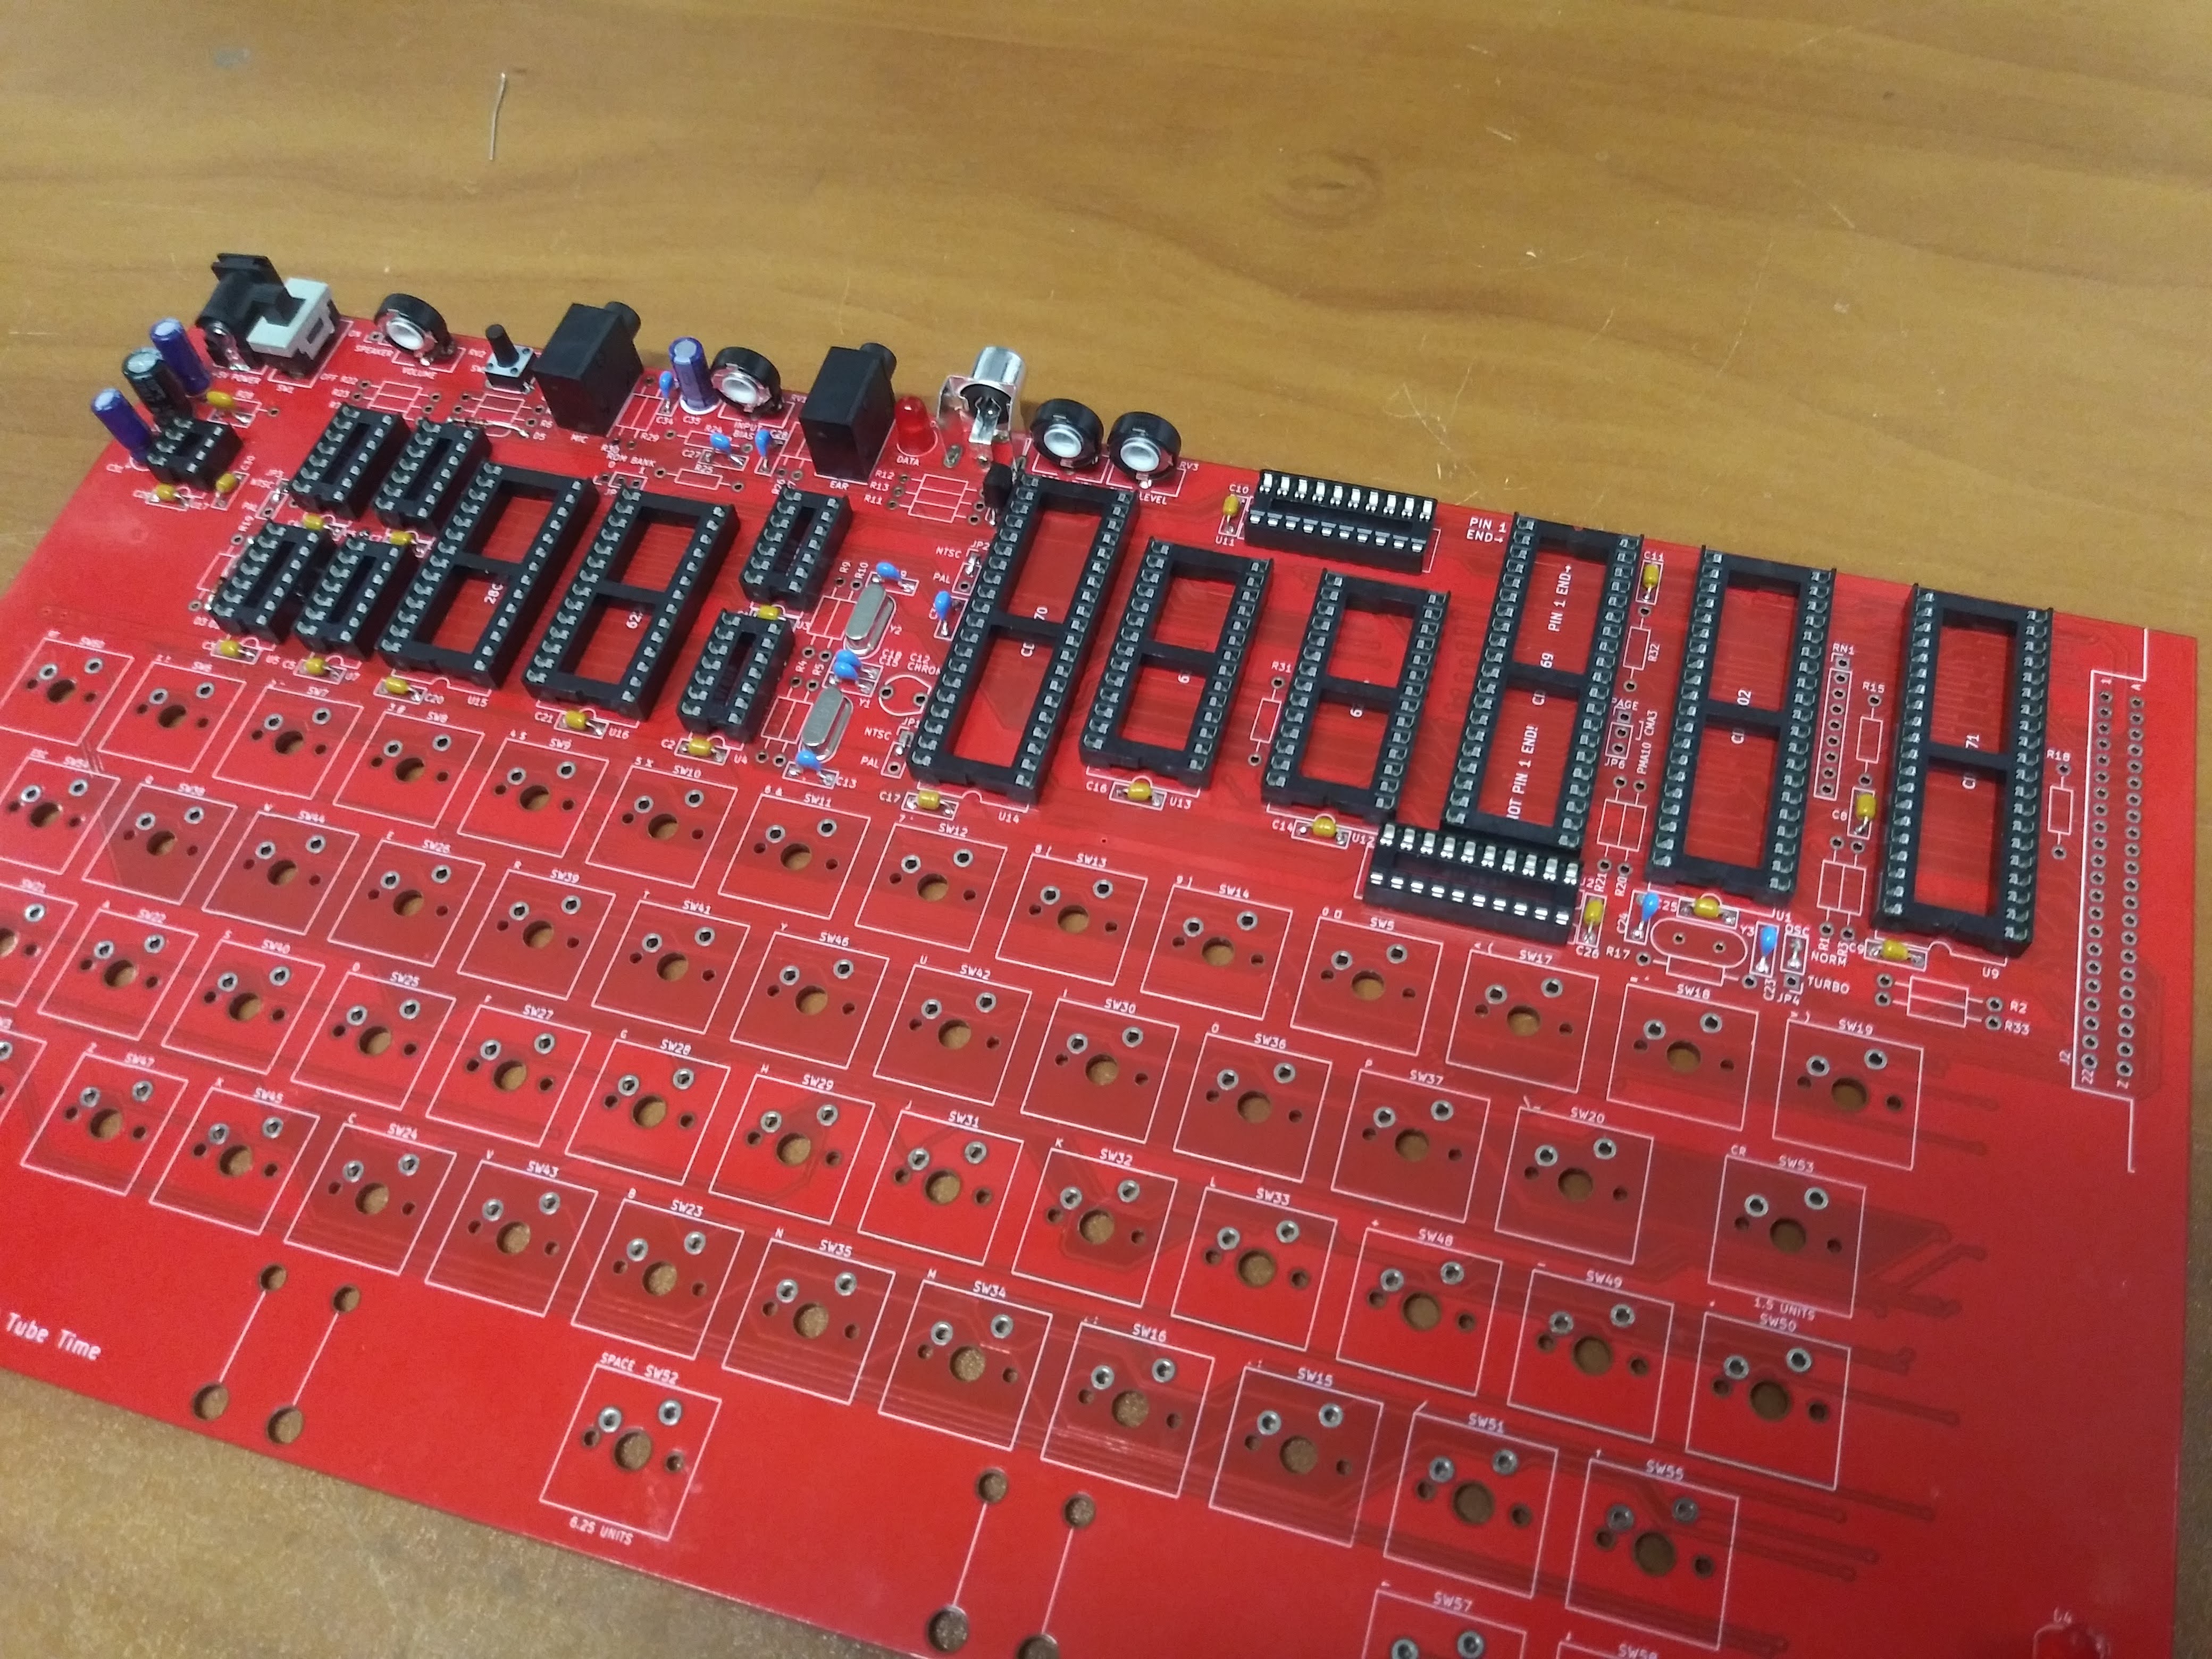
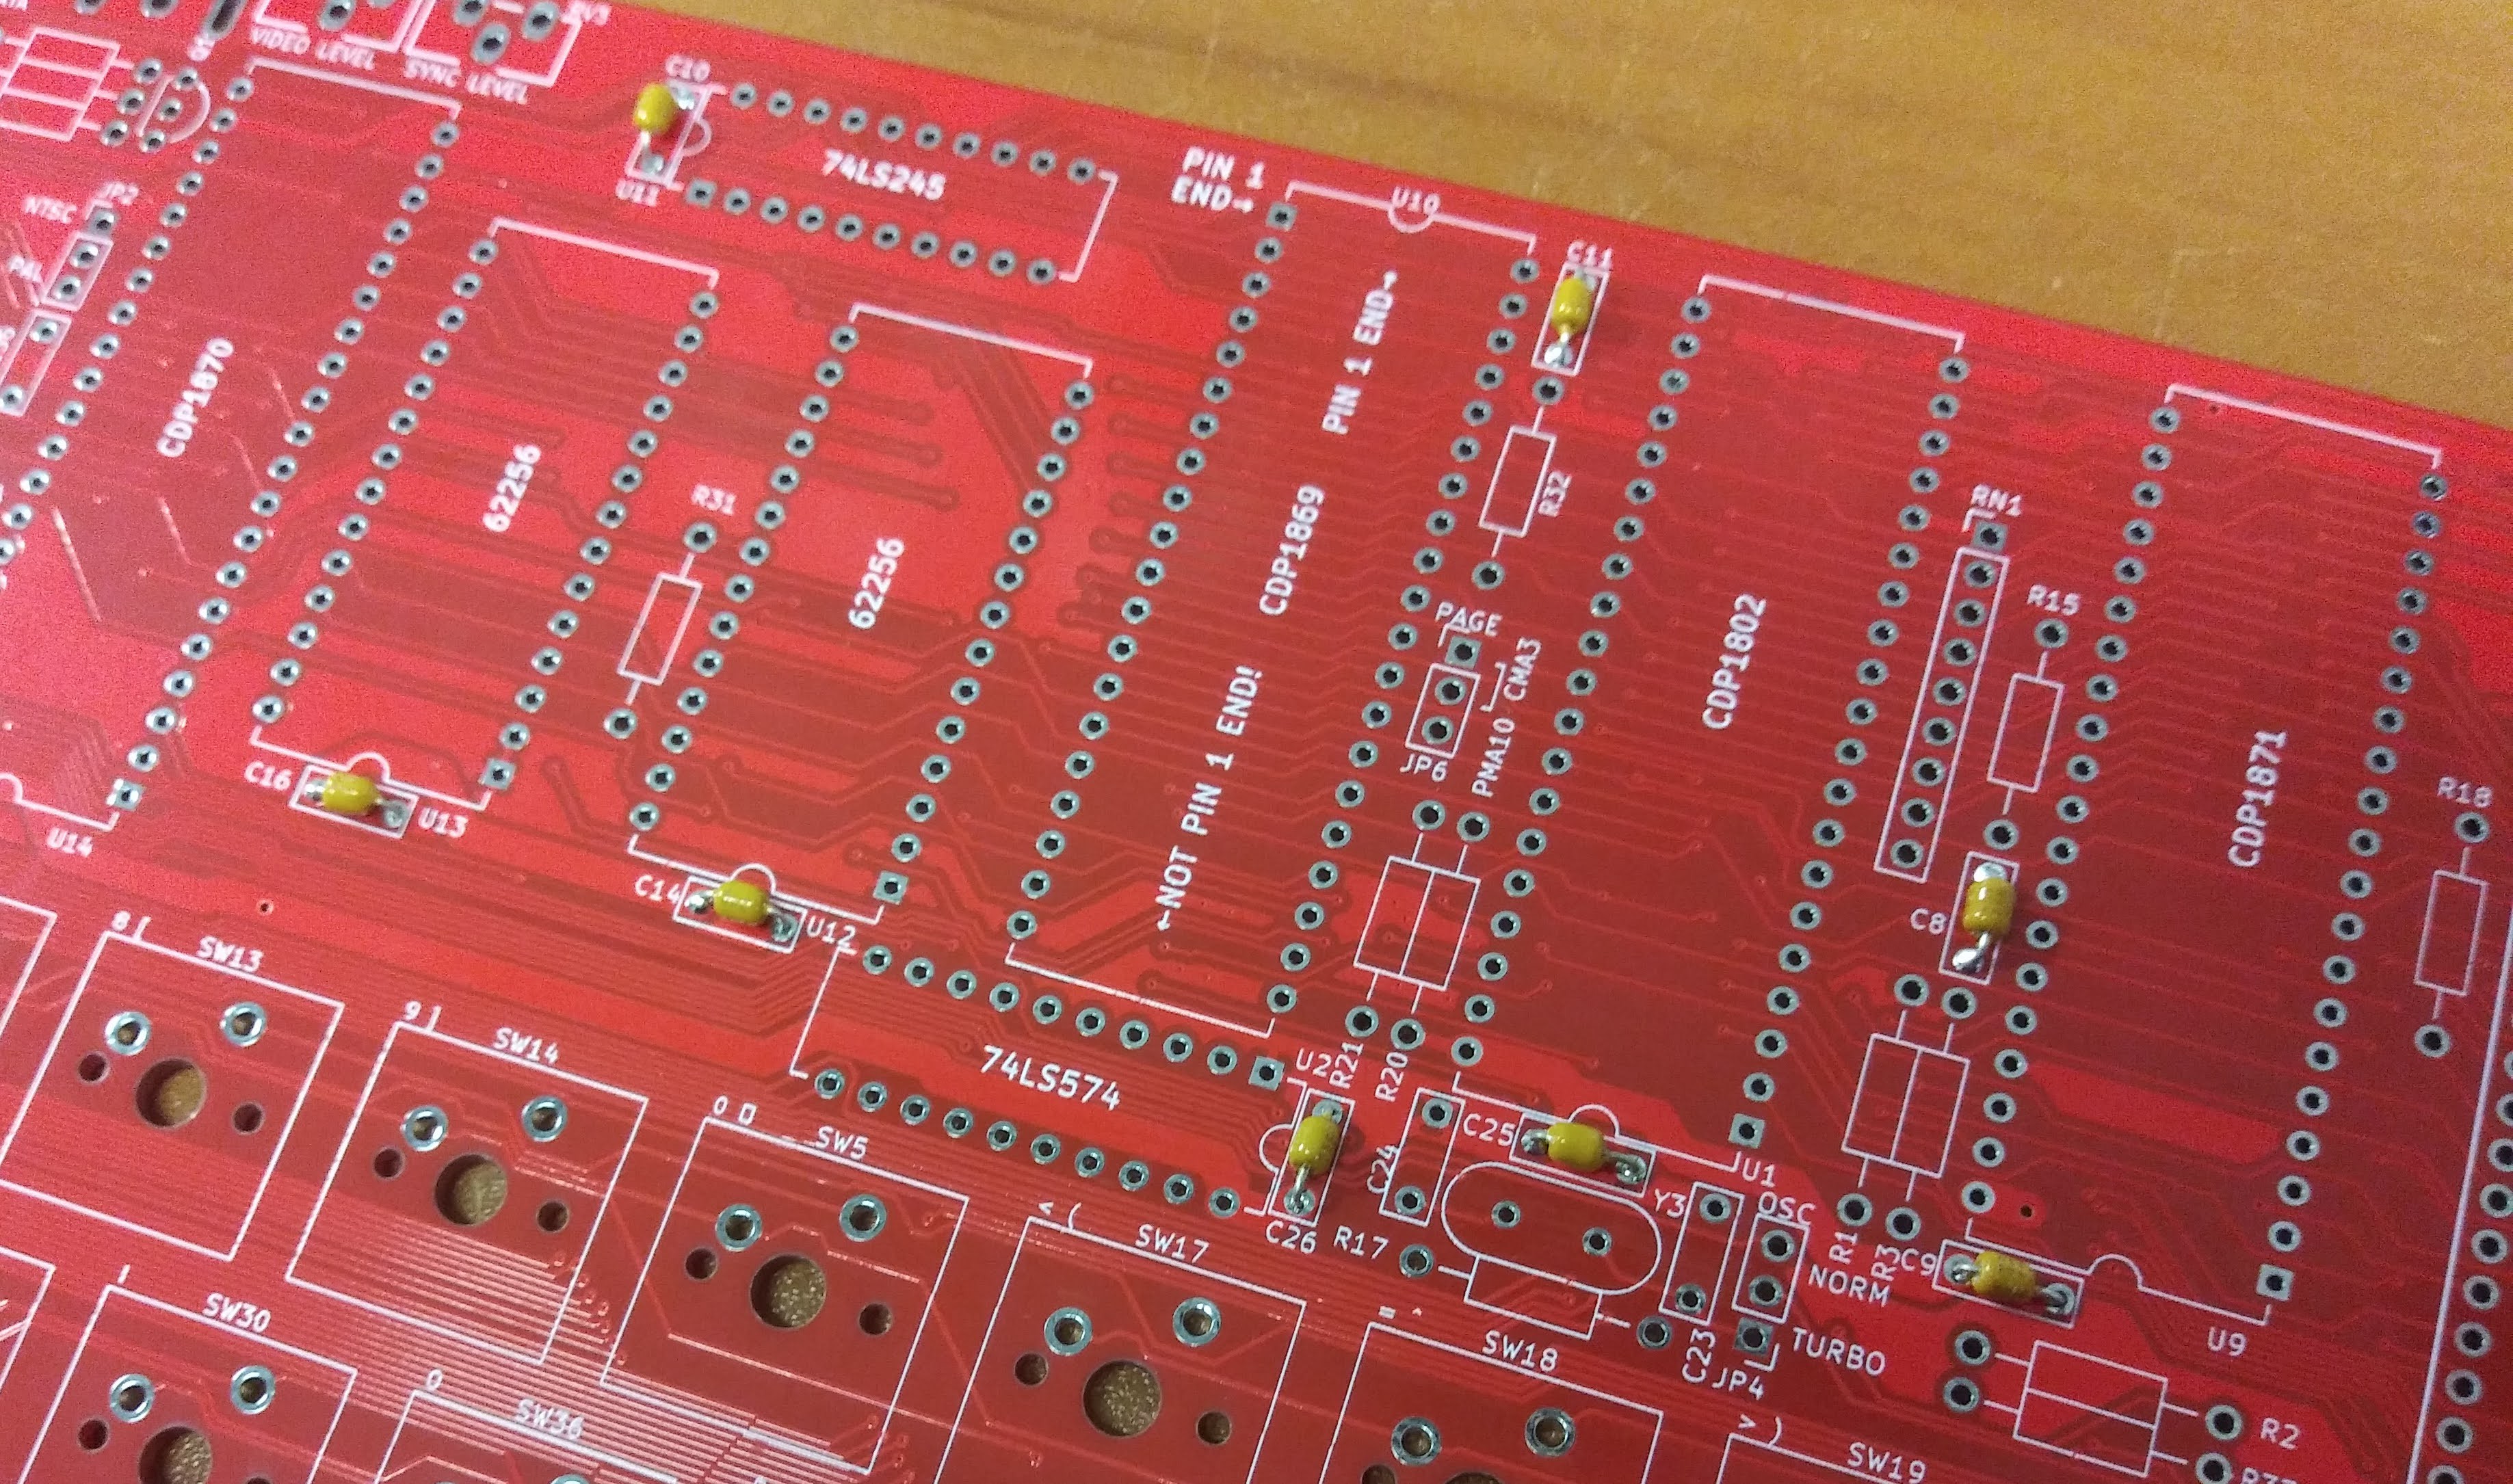
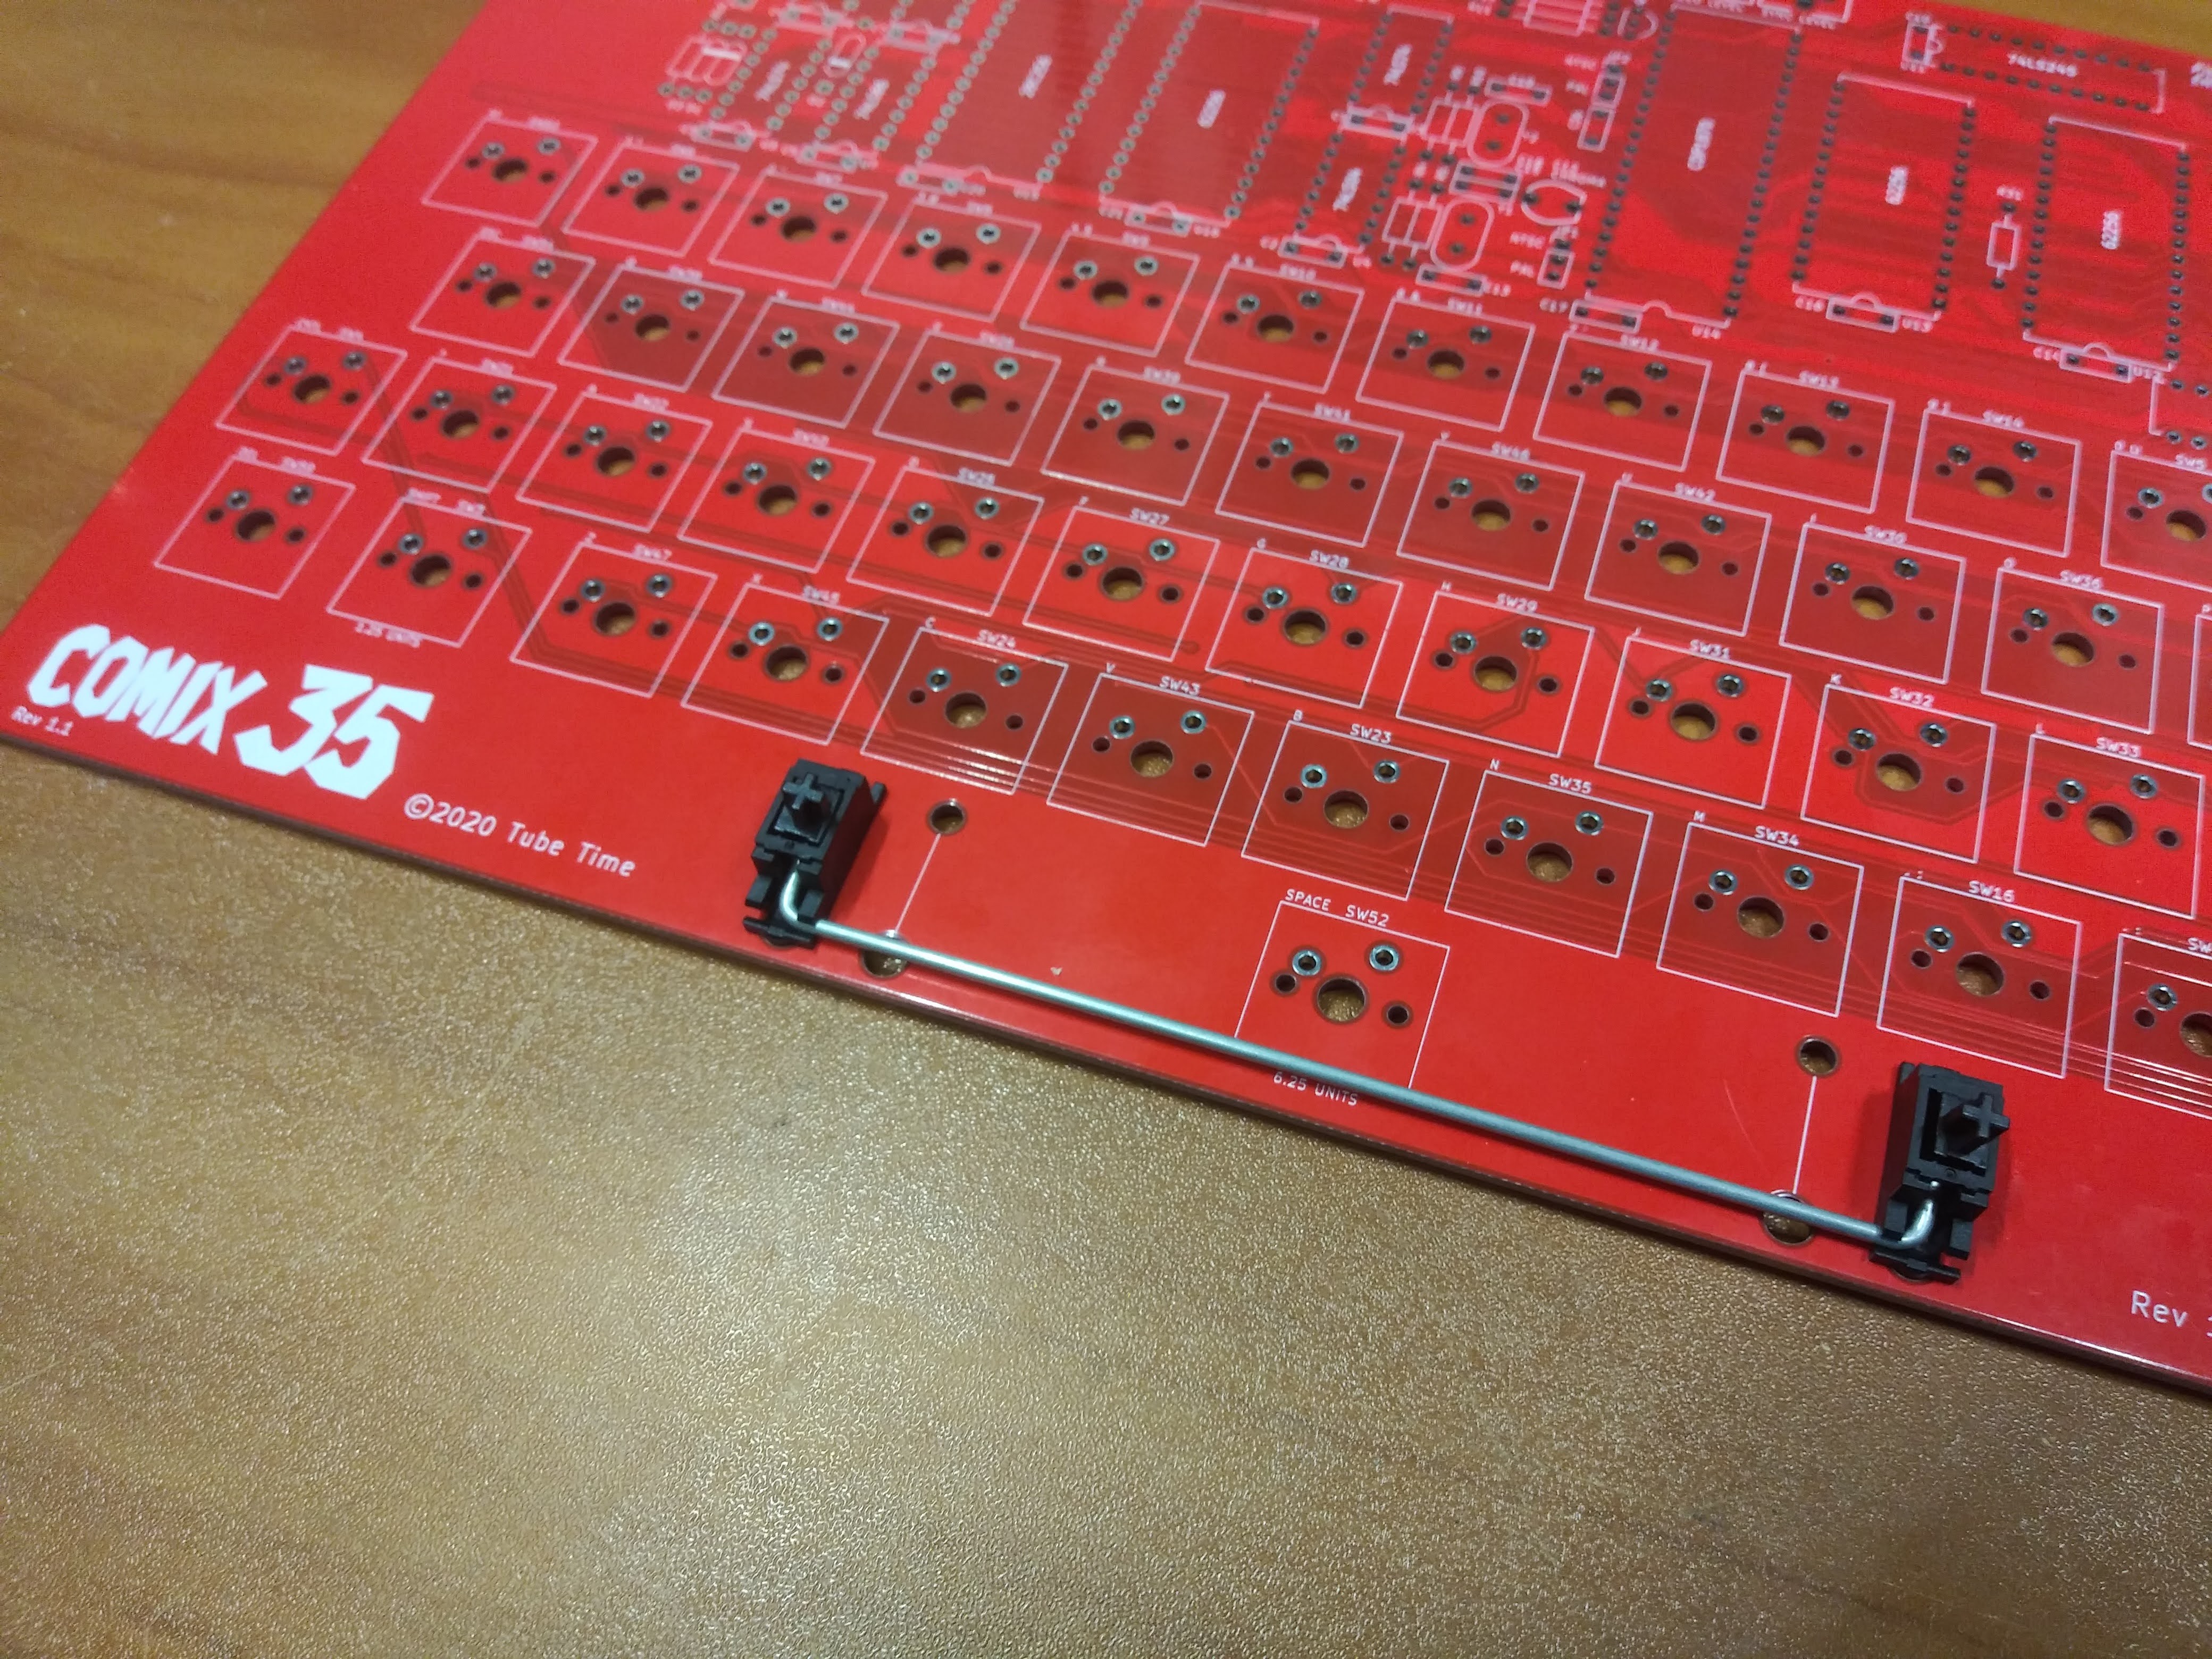
The COMIX-35 is an open-source clone of the 1980s COMX-35 8-bit home computer. It uses the RCA 1802 microprocessor which is strange and slow but holds the distinction of being the first CMOS microprocessor. The "35" is because the original computer has 32K of main memory + 3K of video RAM.
There are a number of differences between the COMIX-35 and the original:
- Single +5V power supply
- Uses SRAM; no stolen cycles for DRAM refresh
- Configurable PAL or NTSC by changing three jumpers and swapping a crystal
- Additional CPU crystal for a new turbo mode
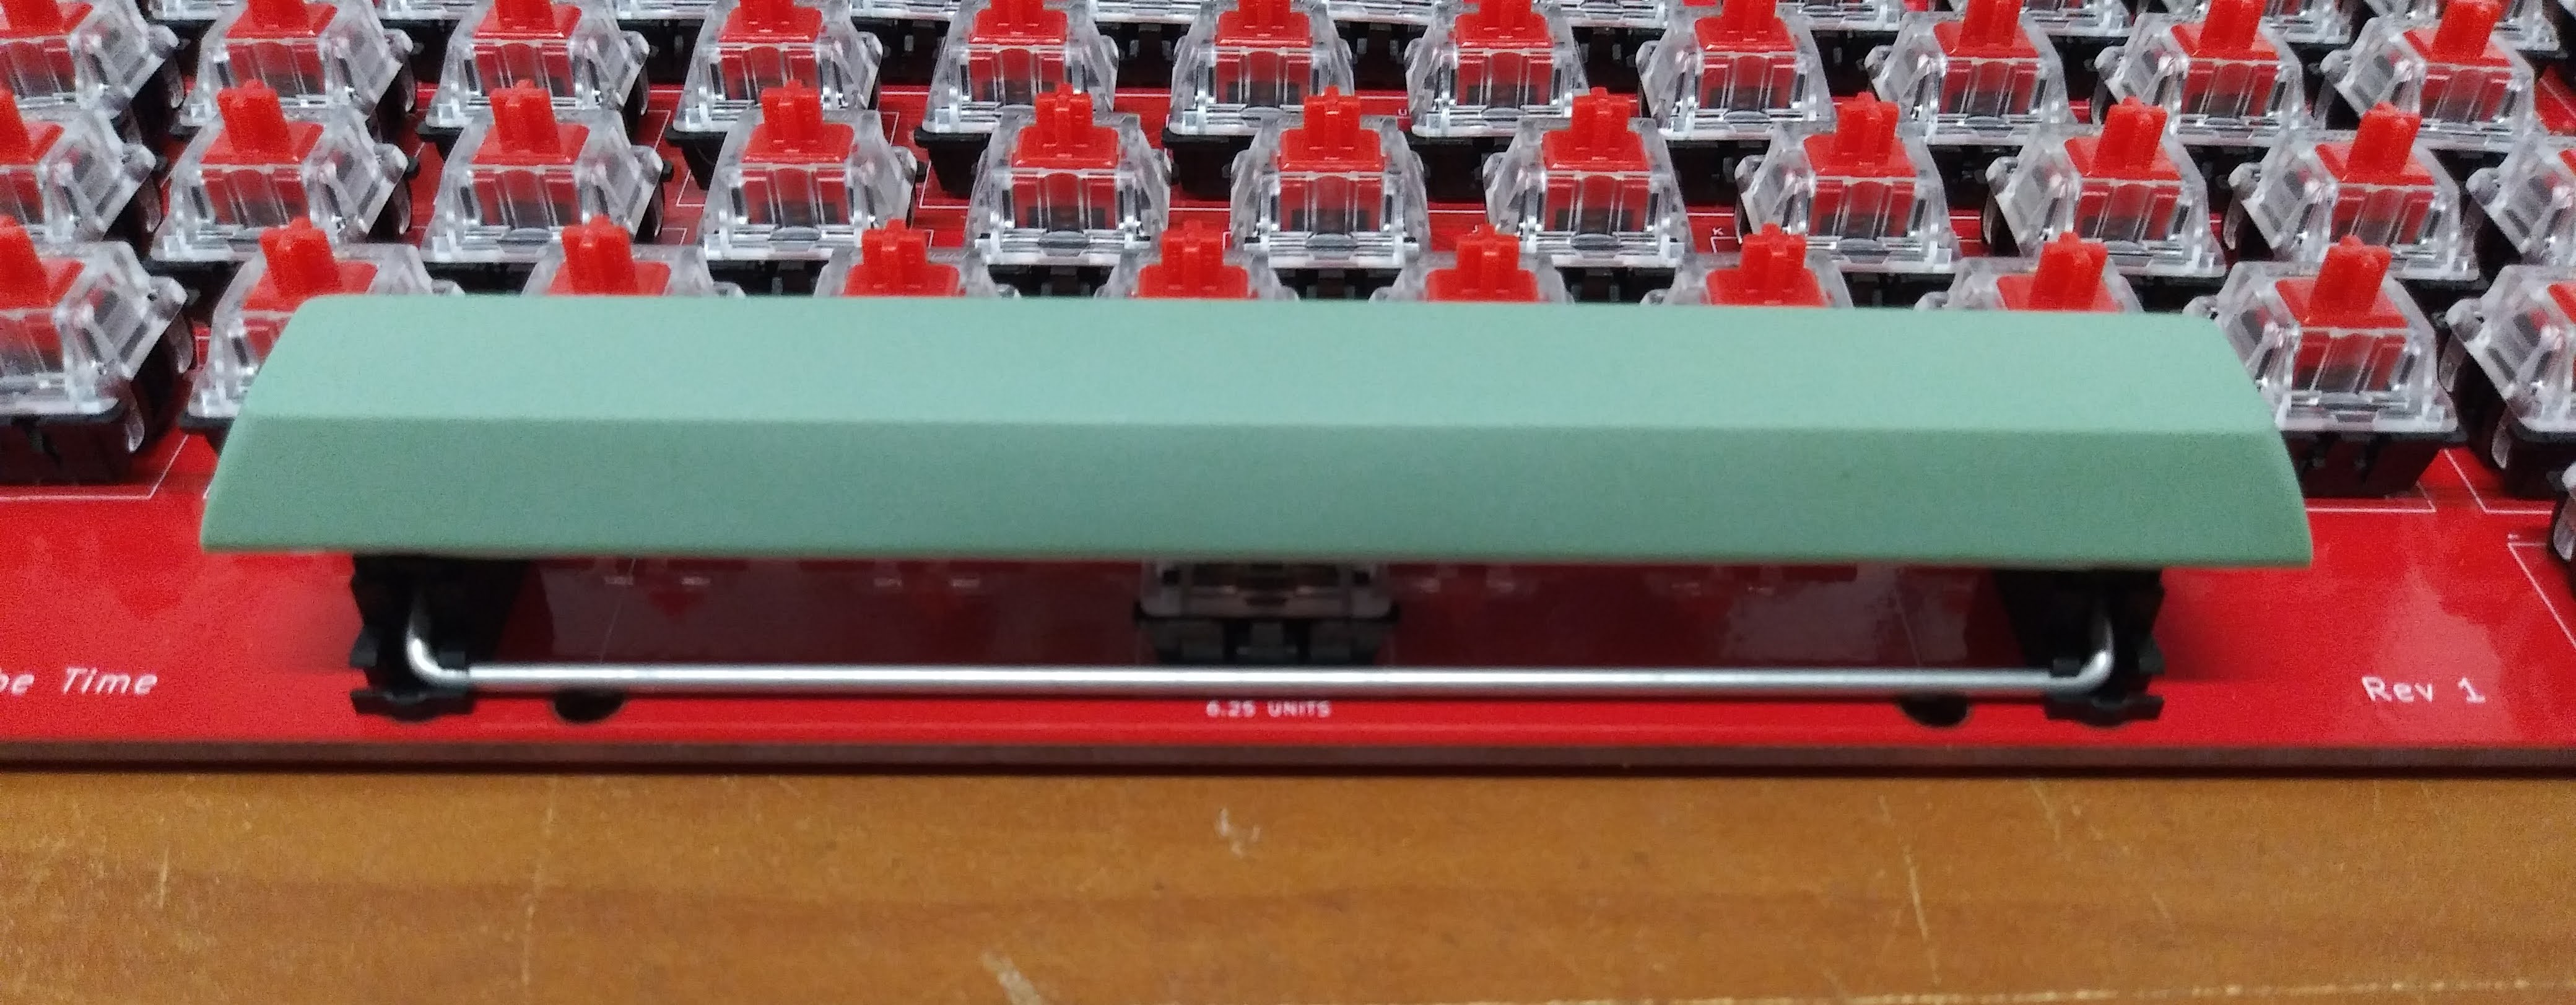
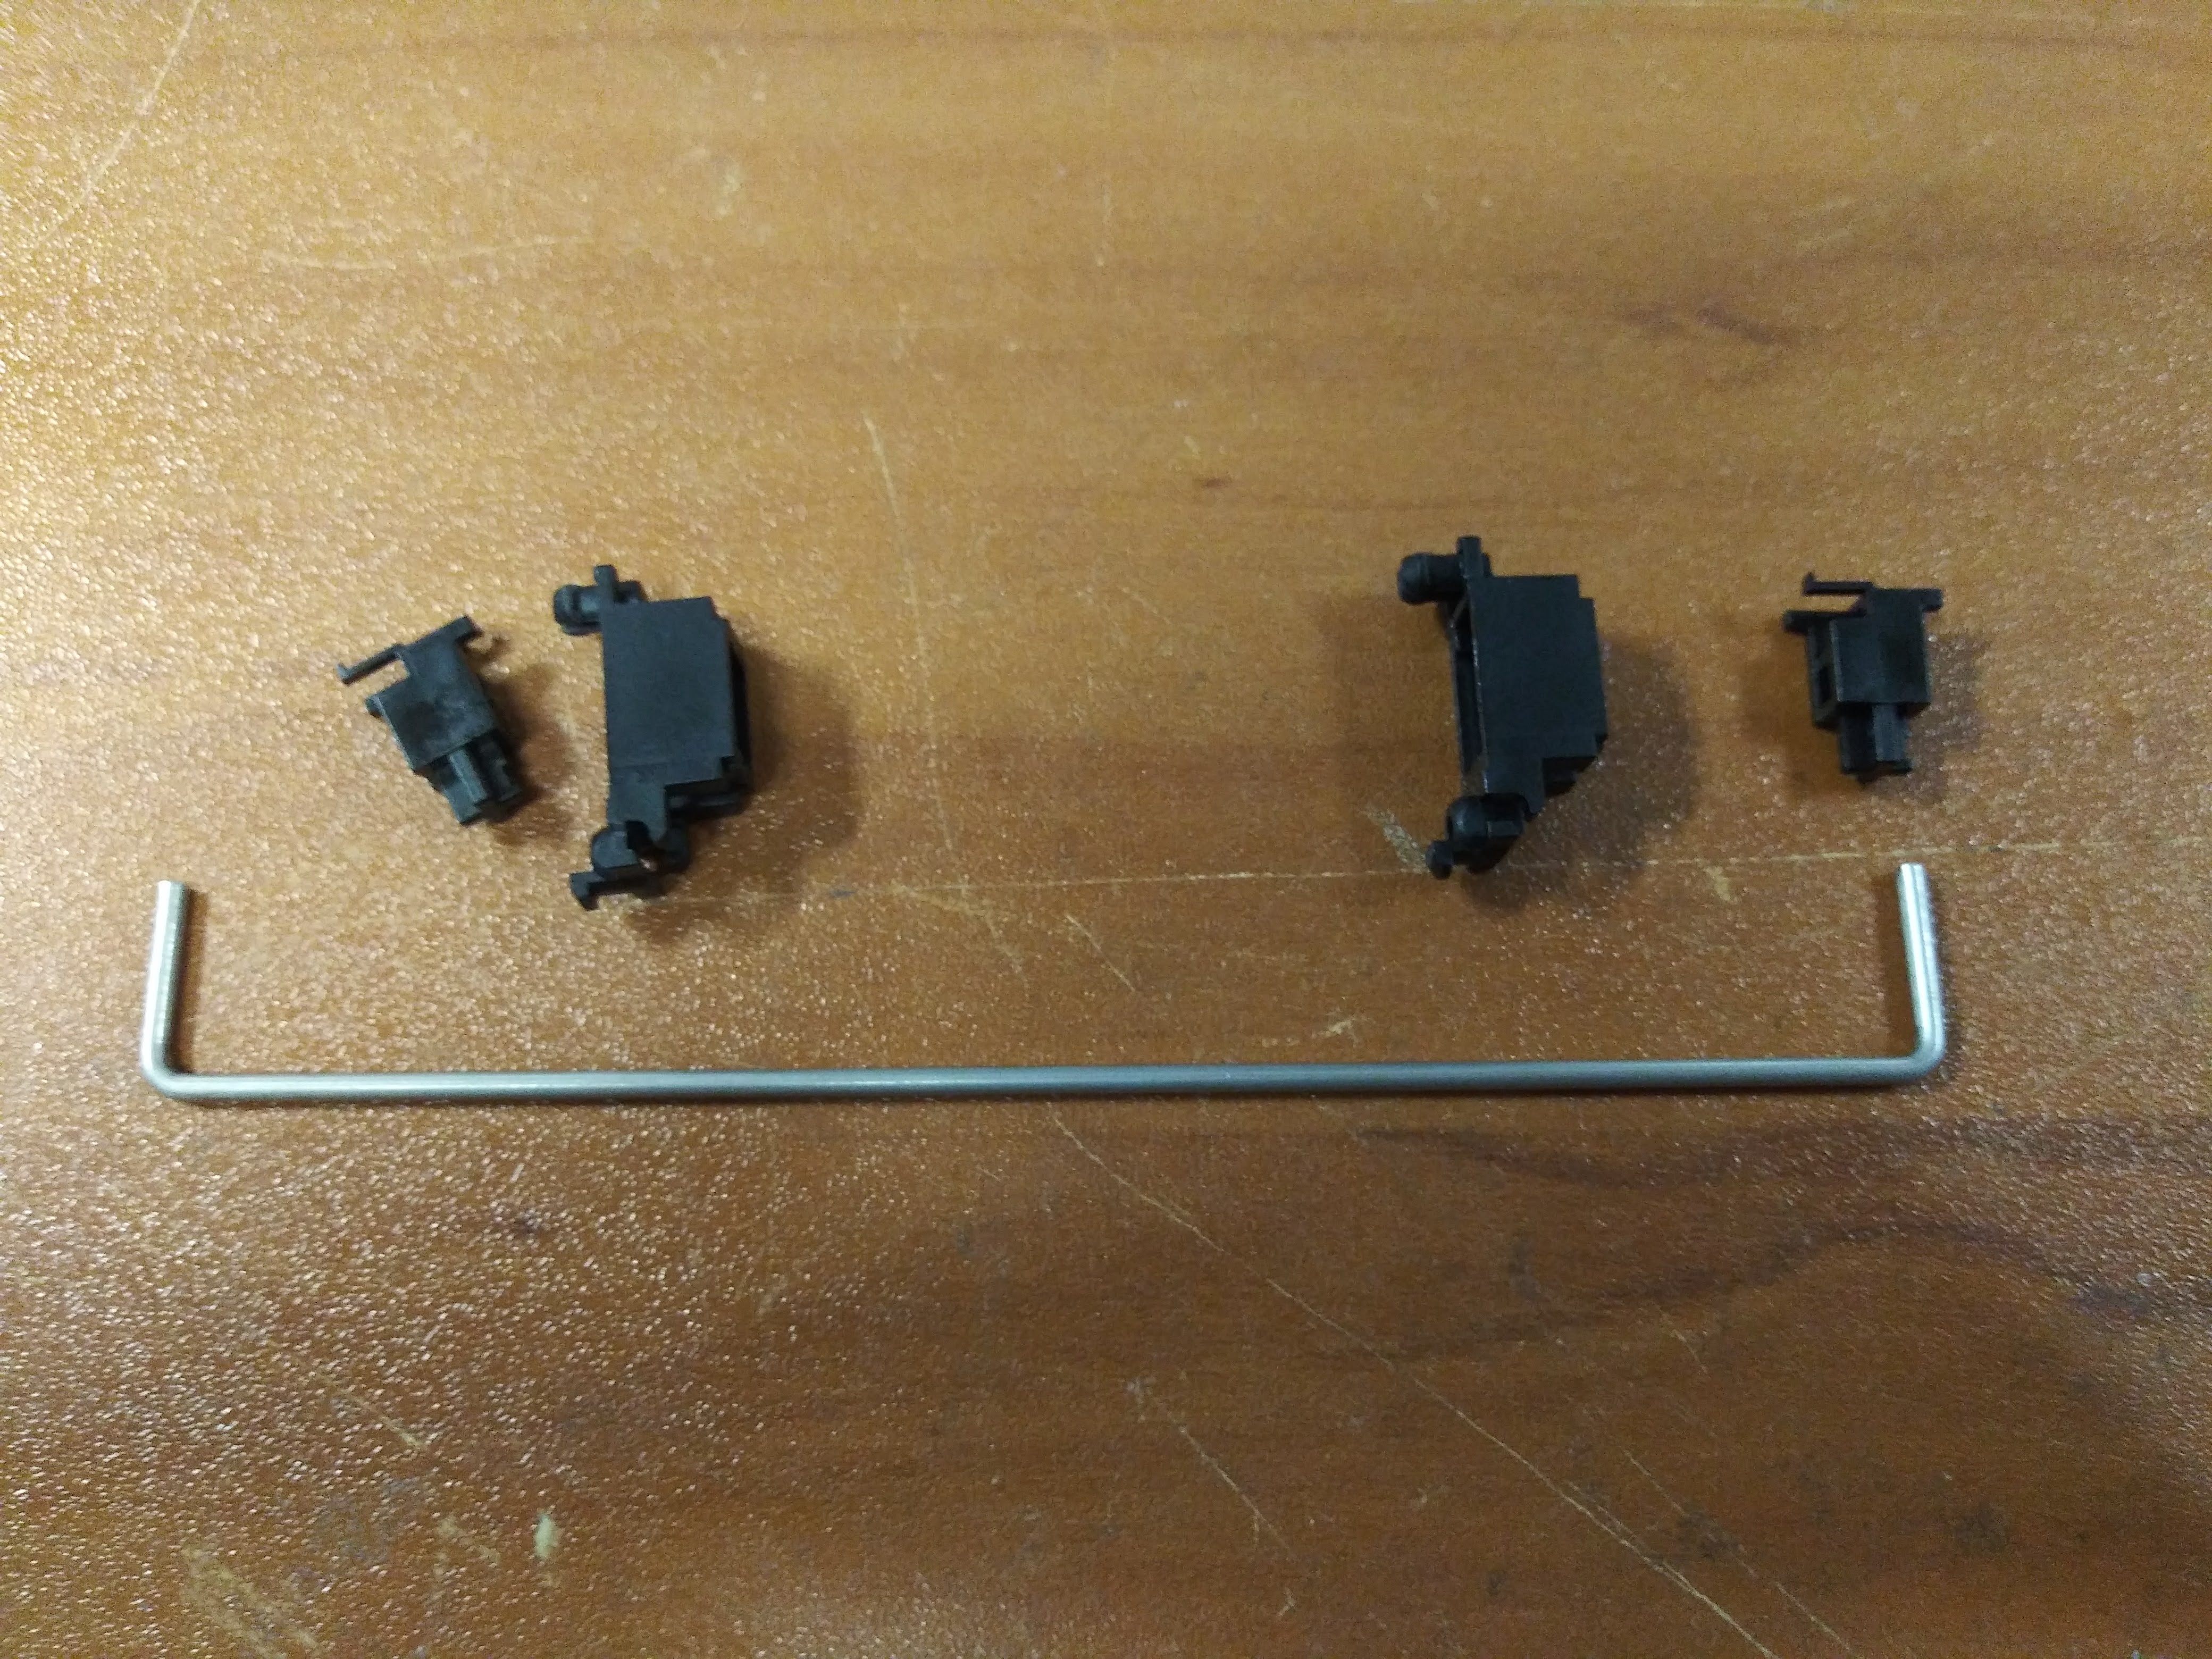
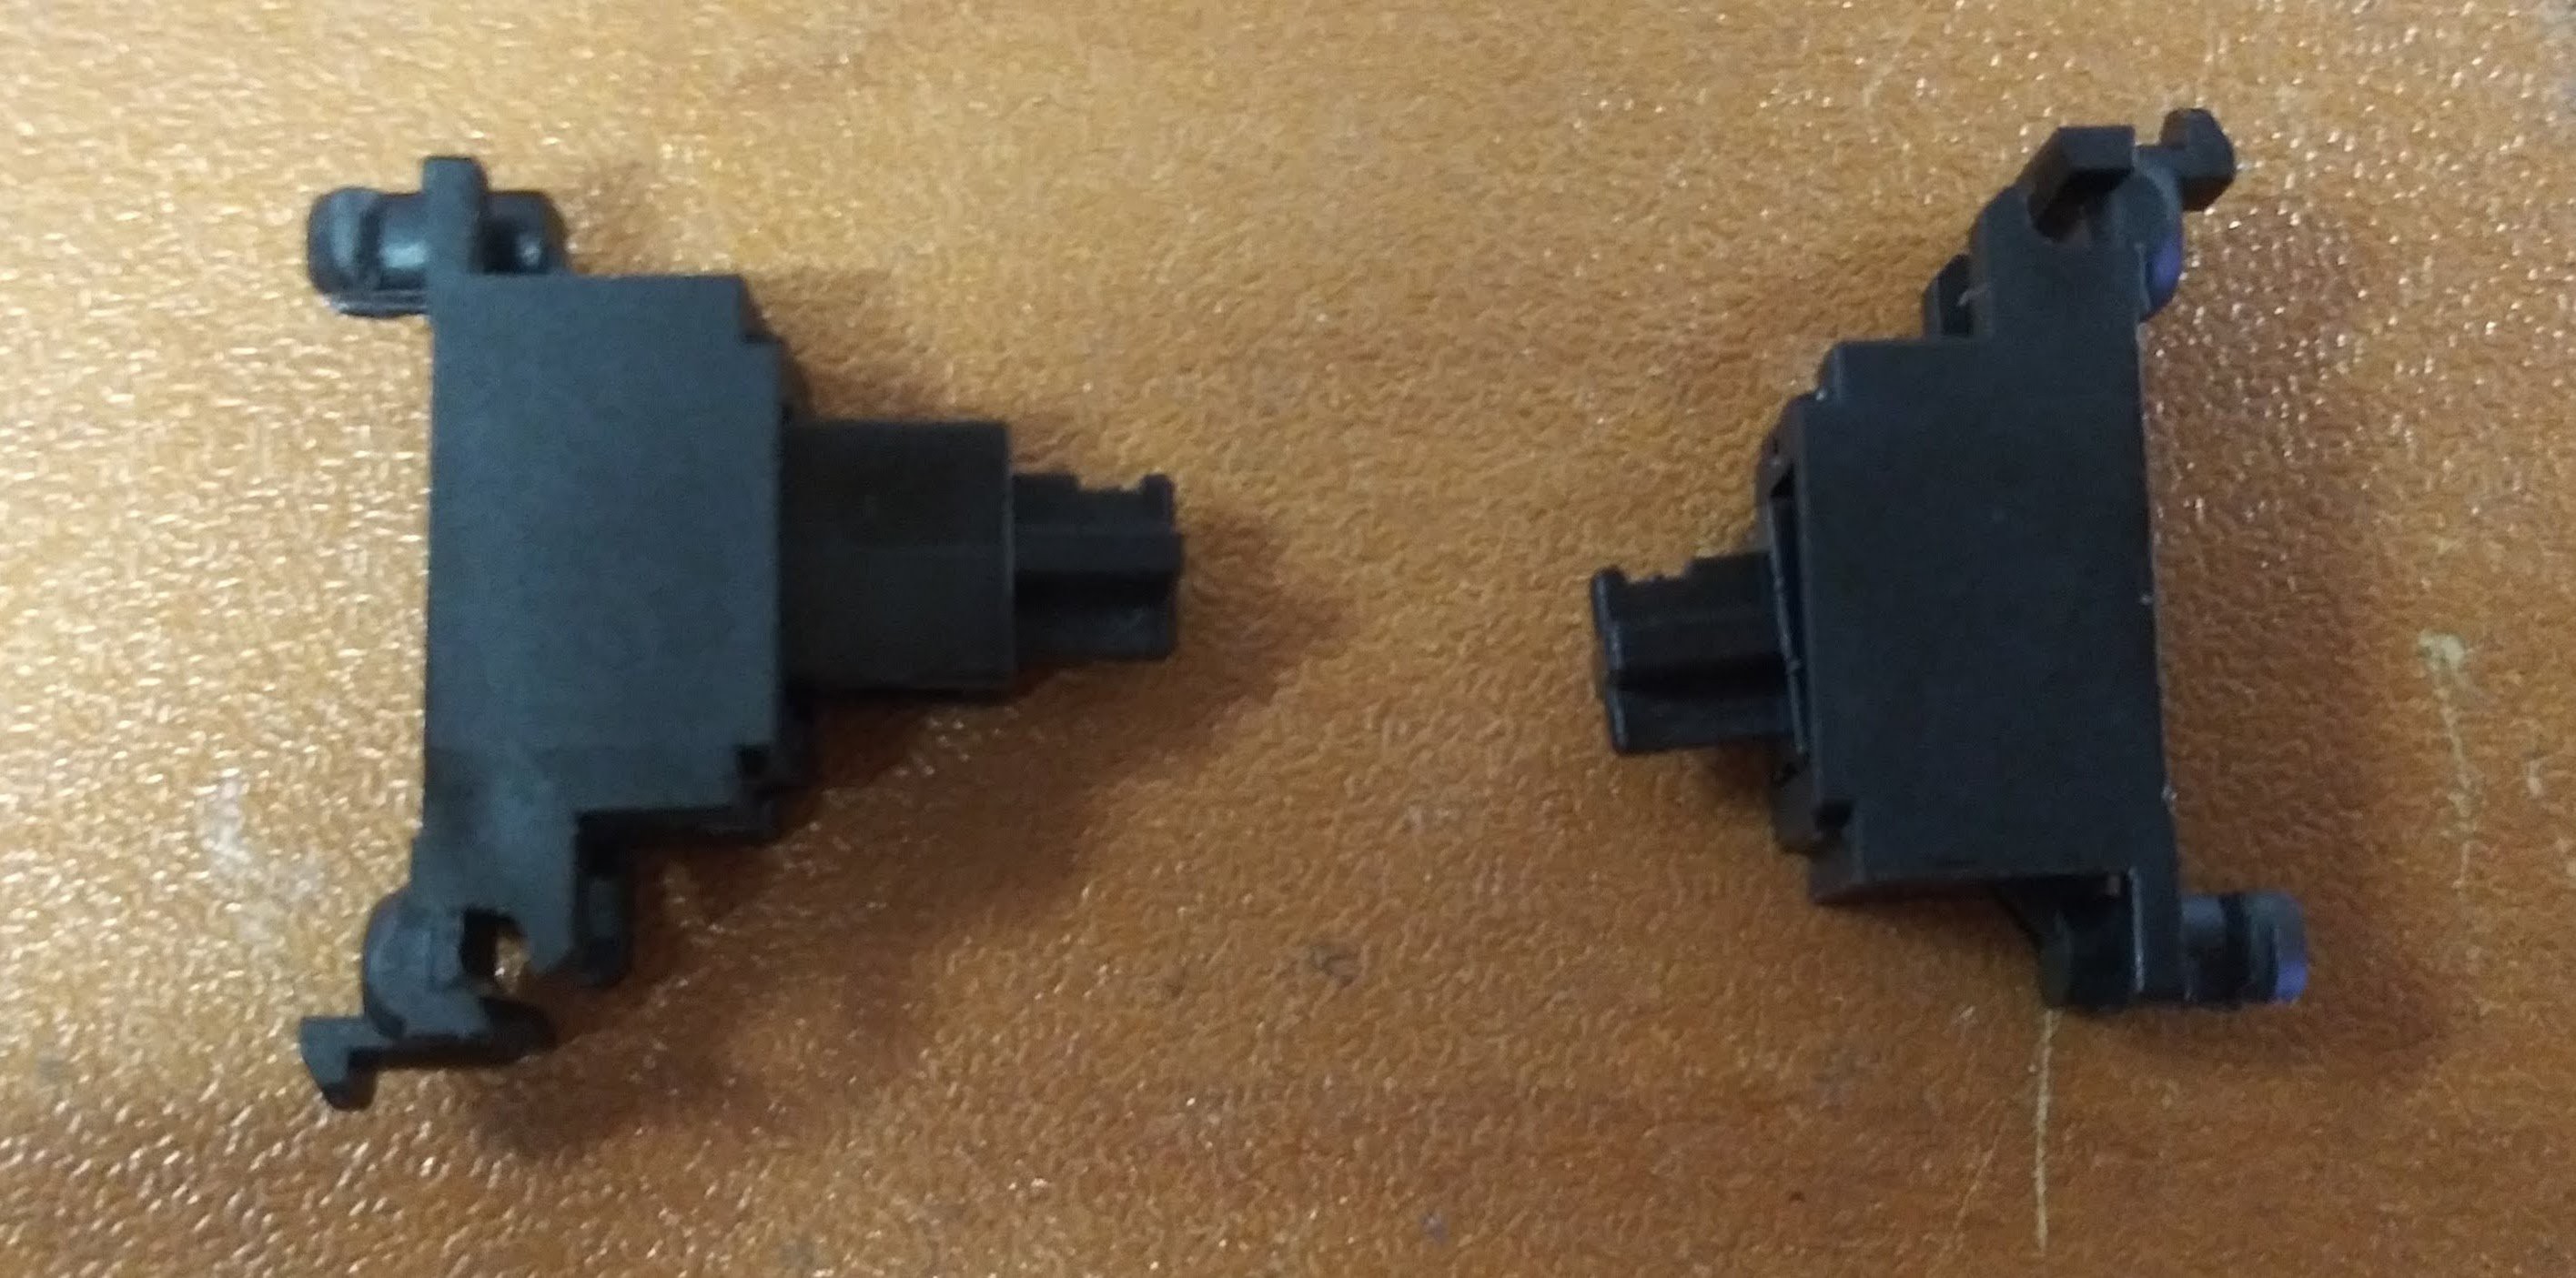
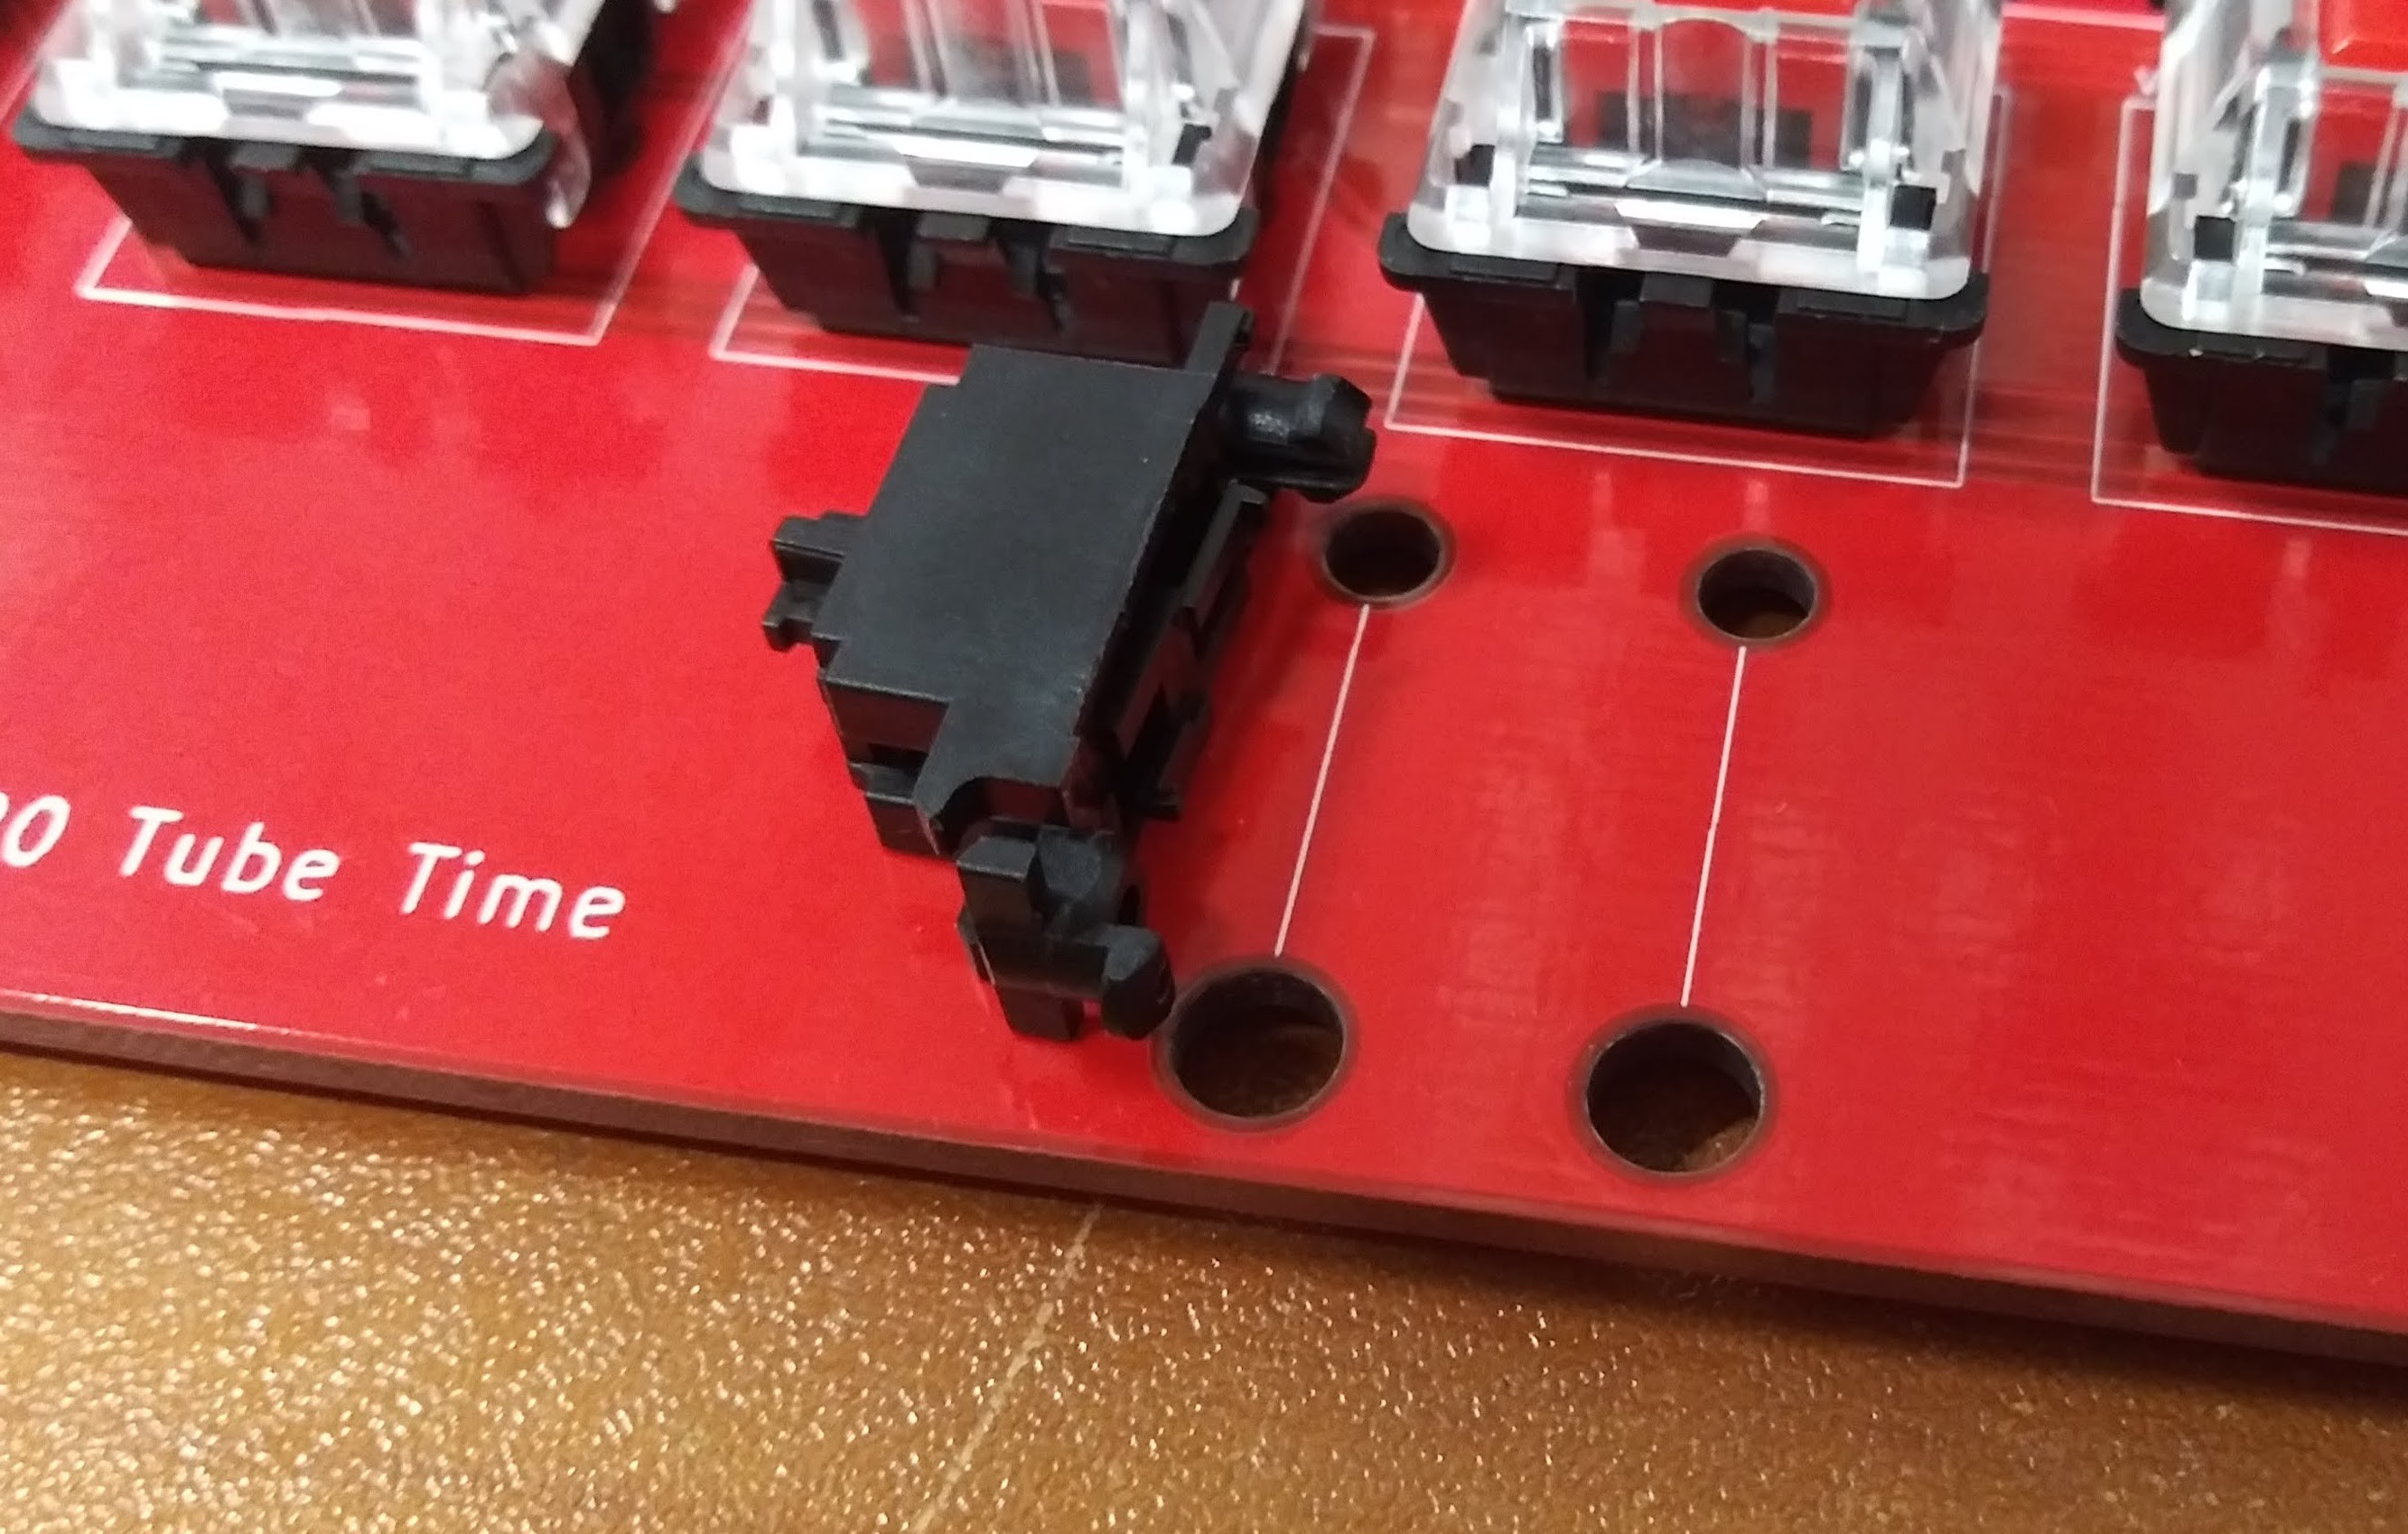
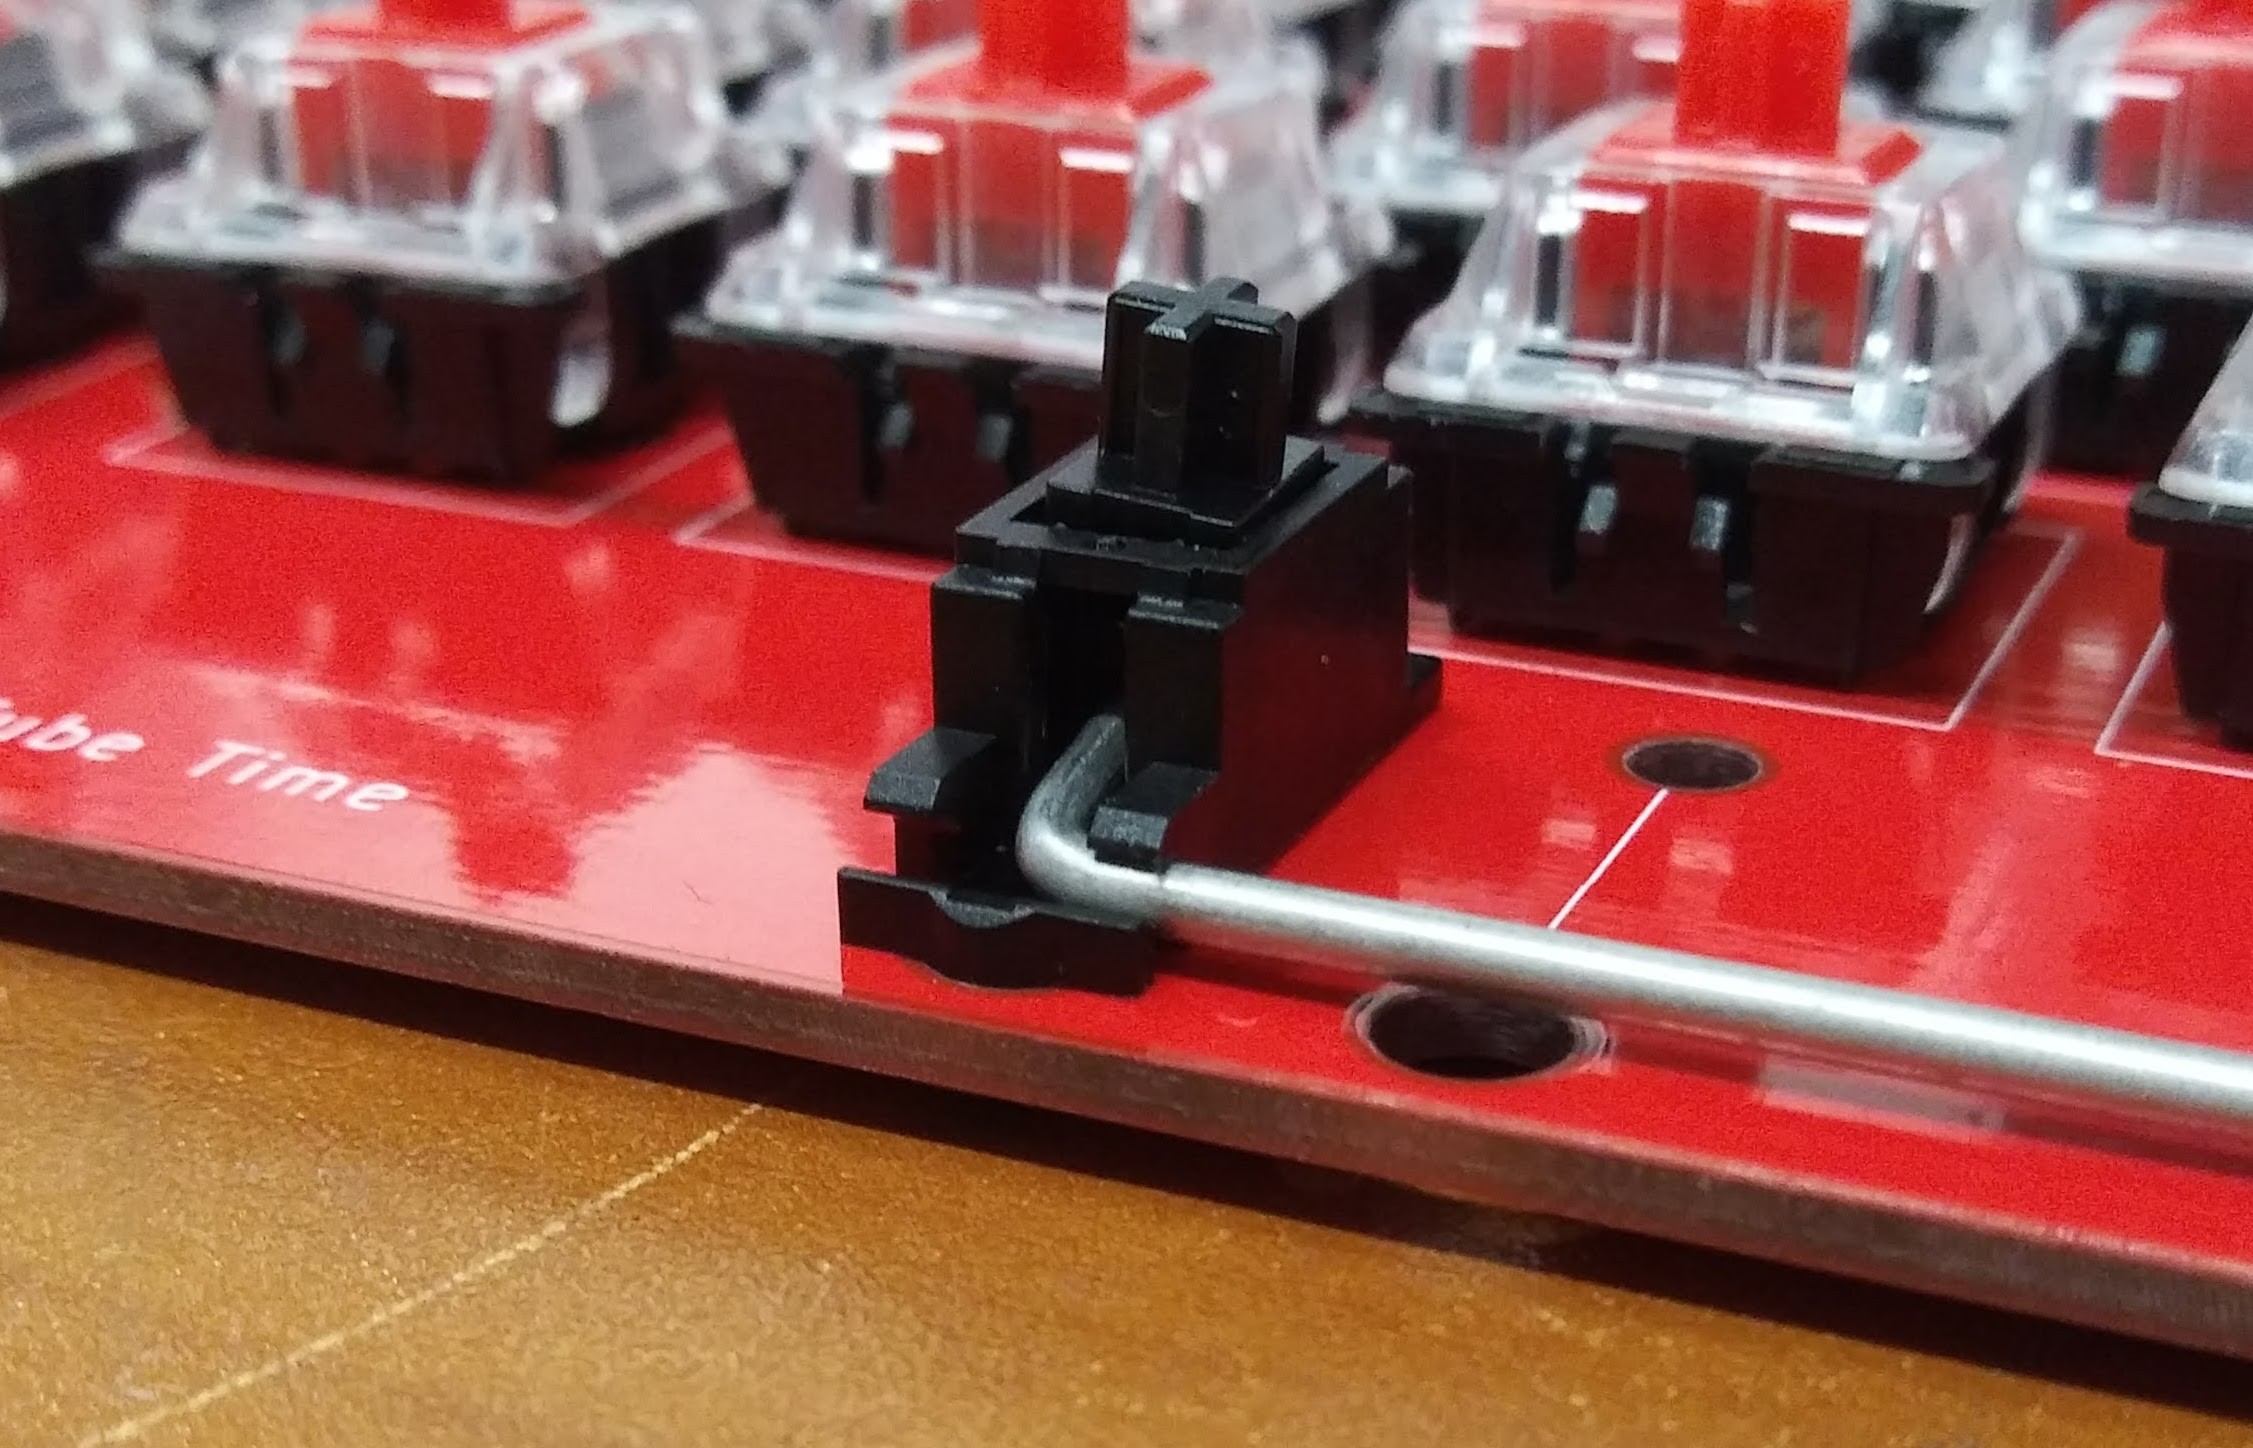
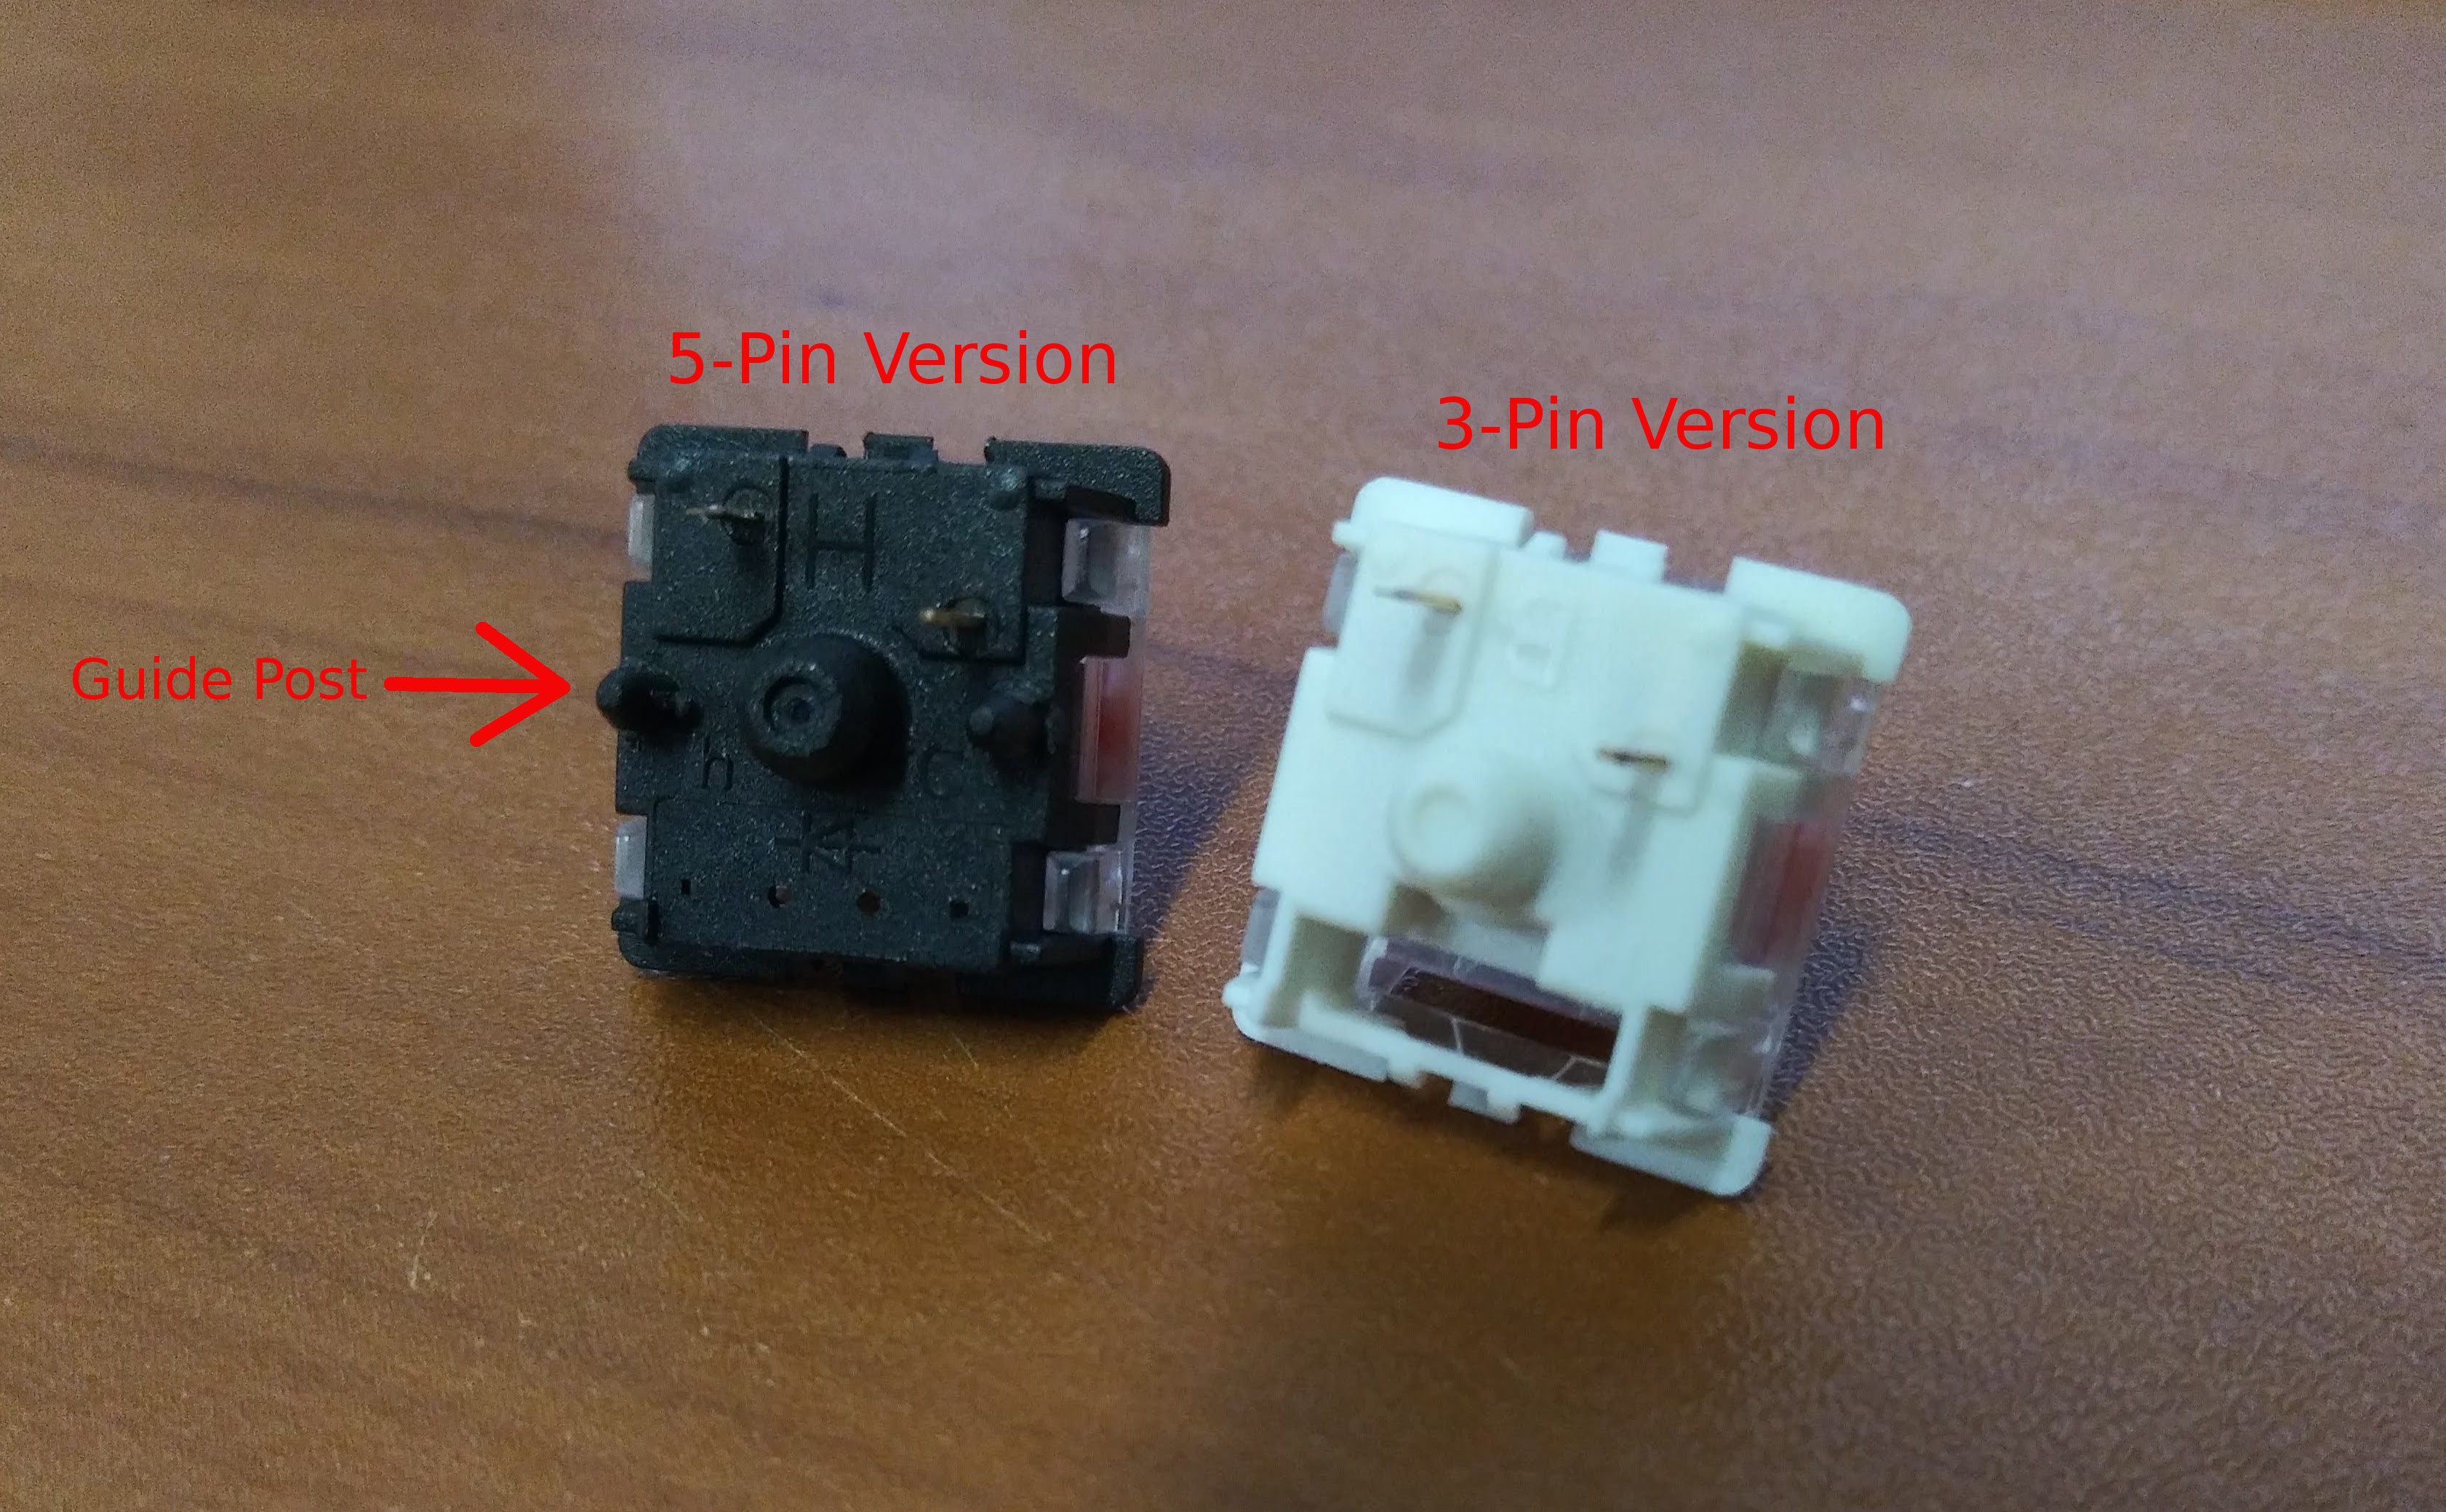
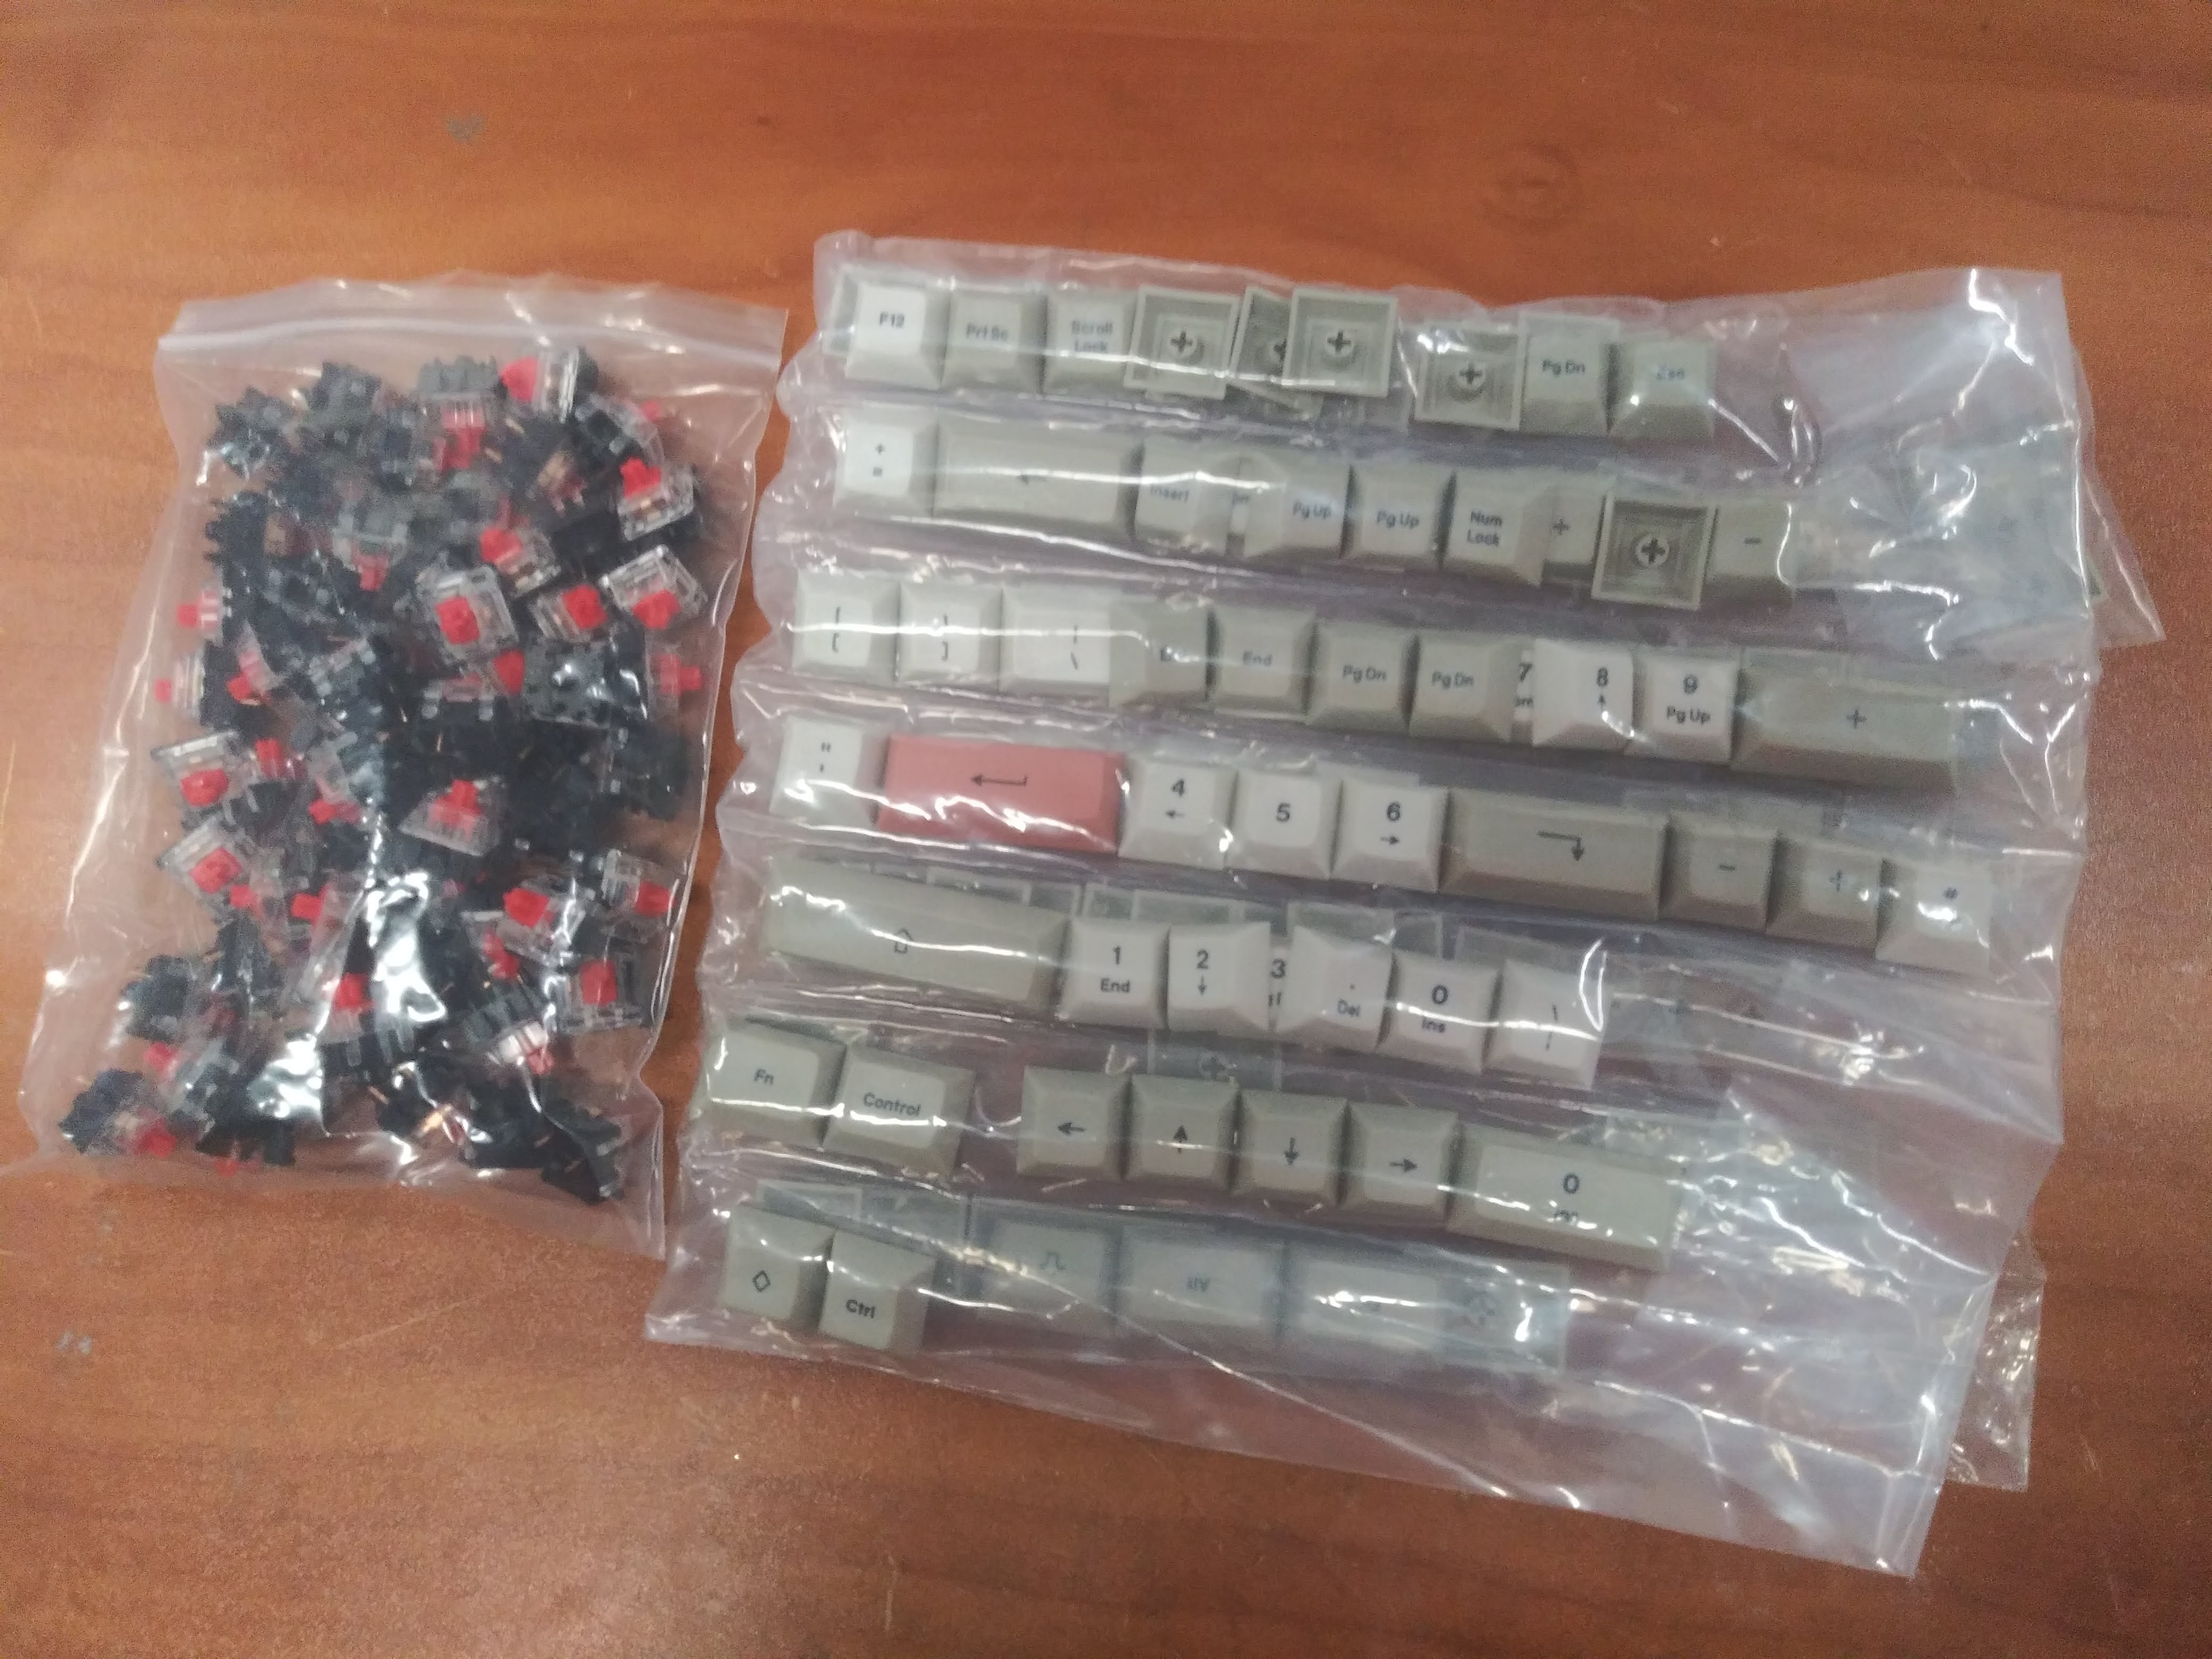
- Mechanical key switches for your typing comfort
- Cassette input data light indicates incoming information


 Peter Lyons
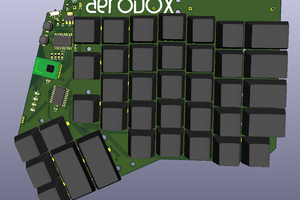
 Simon Merrett
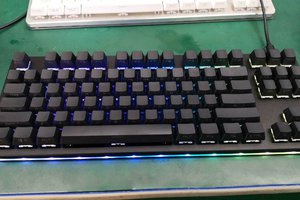
 Brian Barrett
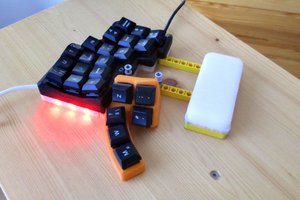
 JohSchneider
Does anyone know where I can download good images for the system rom. The one I found has garbage text and wont go to basic.