Arshmah Shahkar
Working Description:
This Arduino motor driver board can work on both 12V or 5V power supplies. It has 2 L293D Motor driver ICs, 1 Shift register IC, and an ATMEGA328P MCU. Following are the major components with their explanation:
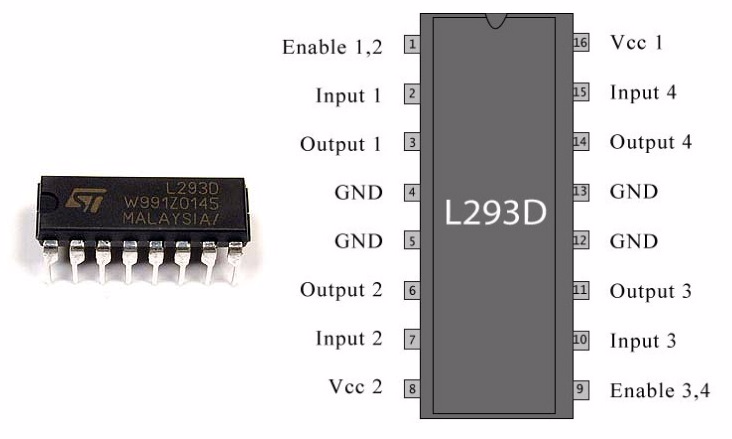
- L293D Motor Driver
It is a motor driver IC used to drive the motors in multiple directions efficiently. It has 16 pins that can control 2 DC motors simultaneously. It can control both small and big motors. The working principle of L293D IC is based on H-bridge. H-bridge allows the voltages to flow in either direction. The voltage needs to change its direction for being able to rotate the motor in a clockwise or anticlockwise direction. Inside the L293D IC, there are two H-bridge circuits that help the driver two control two motors at a time. It can provide a maximum current of 600mA per channel. The maximum voltage ranges from 5V up to 36V.
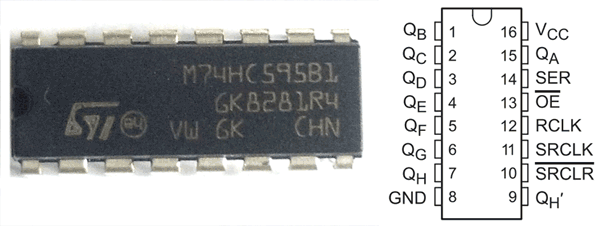
- 74HC595 Shift Register
It is an 8 bit Serial in parallel-out shift register used in communication with the microcontroller. It can receive data serially. It can be used to control 5V loads through a 3.3V microcontroller. It has a range of operating voltages from 2V to 6V. It has 3 pins connected with the MCU data, latch, and clock pin to communicate with the MCU.
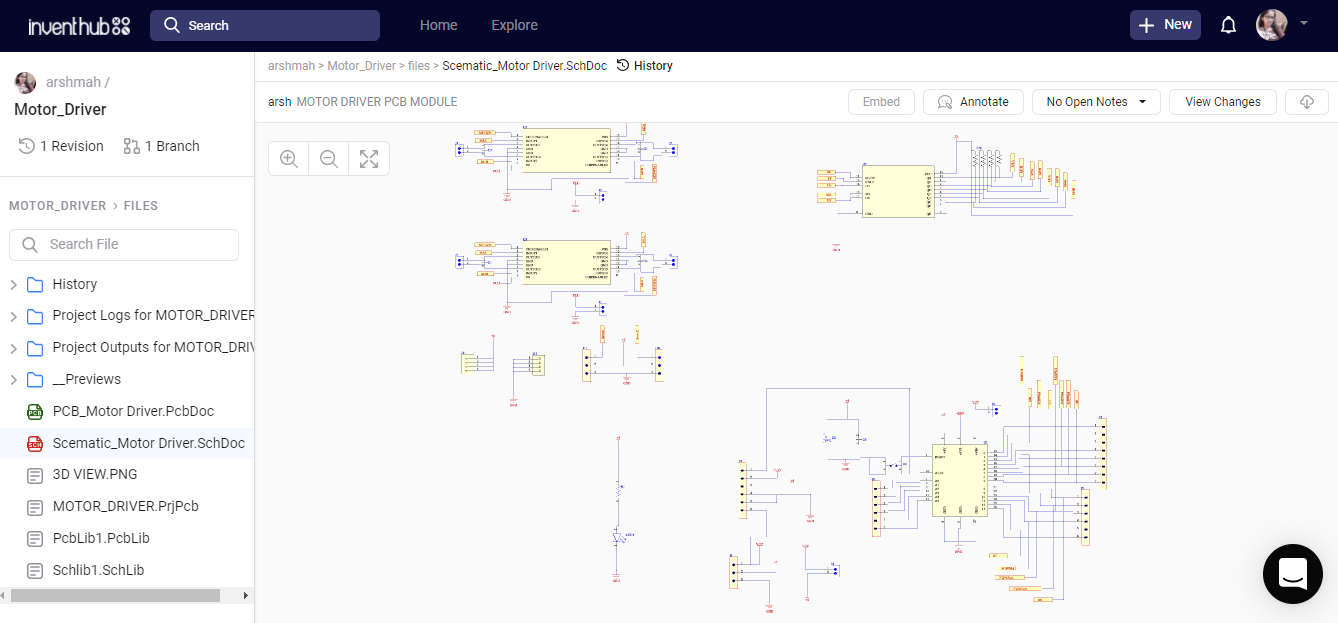
Schematic Diagram:
I have implemented the design on Altium Designer. After designing the symbols and footprints of the circuit on the schematic and PCB library, I have created the schematic design on a schematic sheet.
I have uploaded the schematic file online on Inventhub from where the user and manufacturers can download my design files and implement my design.
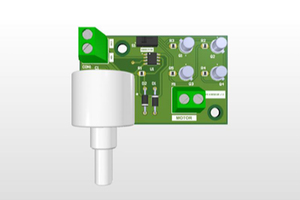
PCB Board:
For the fabrication, I converted my design from the schematic file to the PCB file. In the PCB file, I can make connections, route them, write the specifications of my board, and can view the 3D view of my PCB board. Then I uploaded all the PCB designing files online on Inventhub, the benefit of doing this is that mow I do not need to visit my manufacturer, I can send this PCB file to him so that he can fabricate my PCB.

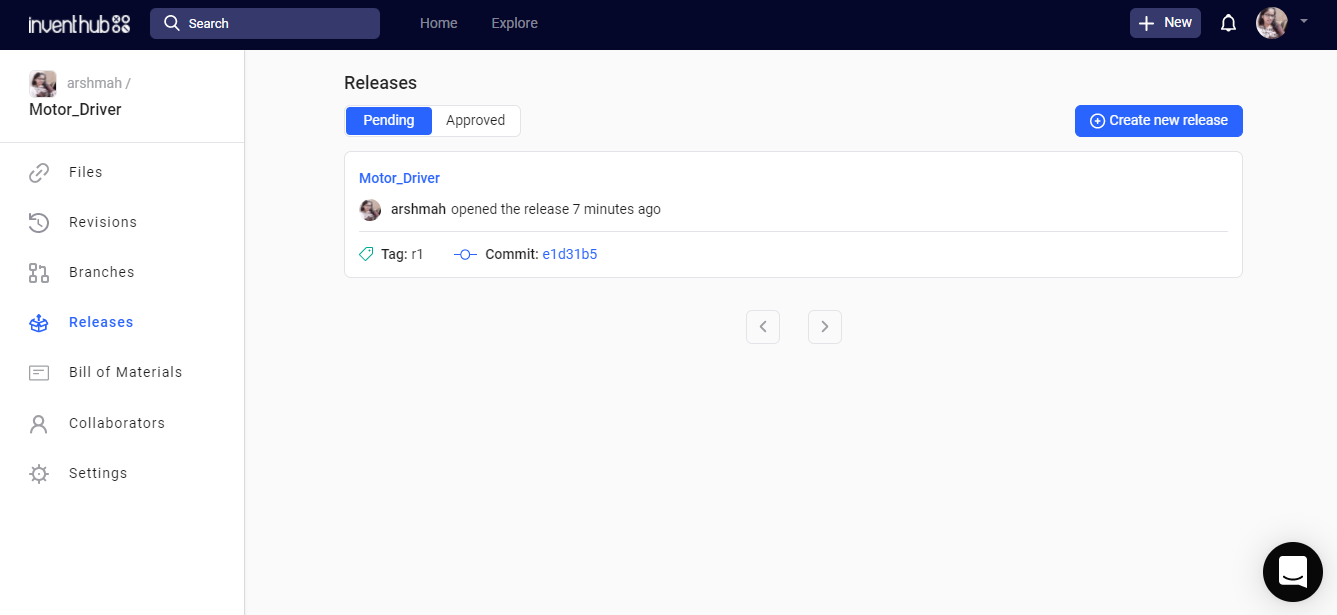
Design for Manufacturing:
I have created the release of my project online on Inventhub for users, manufacturers, and component providers. They can view and download all my design files and library files in a ZIP file format to avoid any conflict in the design.
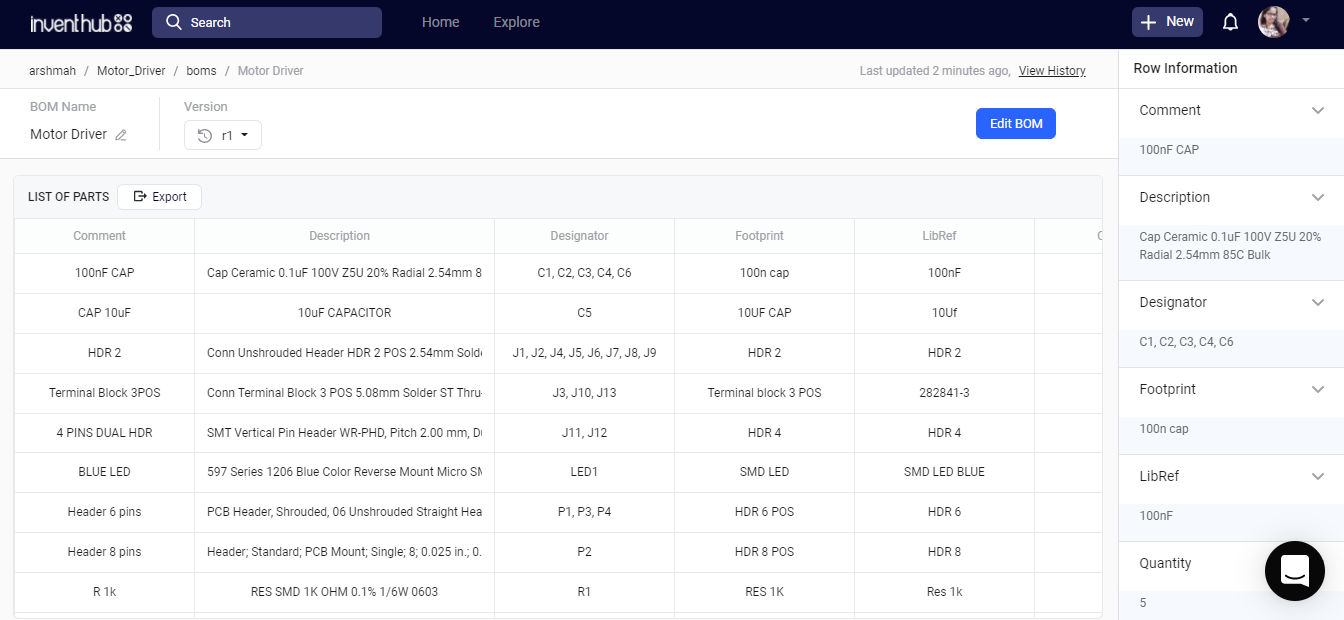
Bill of Materials:
My BOM file contains the detail of each component with exact dimensions, library reference, manufacturer, and quantity. After the fabrication, I need to embed components on my board for which I can contact my component provider. He can view and download my BOM file in CSV format and can deliver my components as per my design requirements.
For any queries contact me at arshmah@inventhub.io
 Mrinnovative
 Jithin Sanal