Sterling Baird
-
Data logging and backup
11/06/2022 at 05:12 • 0 commentsOn the Pico W device, logs backup data to an SD card if available (JSON strings in a .txt file, one line per experiment), and sends the dictionary data to a free MongoDB server. https://github.com/sparks-baird/self-driving-lab-demo/blob/main/src/public_mqtt_sdl_demo/main.py
-
The sculpting wire is a nice low-cost DIY solution, but what about alternatives?
10/23/2022 at 06:08 • 0 commentsThe sculpting wire is a pretty nice substitute for a gooseneck fixture. The sensor is adjustable yet steady, and additional sensors can be easily added.
![]()
However, for a more scalable solution, a gooseneck fixture with an appropriate adapter to connect to the PCB might be a better choice. For now, I'll stick with threading and twisting some cheap wire :)
-
Batch optimization: three ☁️-based experiments controlled by a central "brain"
10/22/2022 at 23:30 • 0 comments -
Advanced optimization topics underway
10/21/2022 at 04:45 • 0 commentsThe notebook mentioned in the previous log post illustrates a basic comparison of grid search vs. random search vs. Bayesian optimization. One of SDL-Demo's appeals is the ability to illustrate more advanced optimization topics such as multi-objective optimization, constrained optimization, multi-fidelity optimization, high-dimensional optimization, and combinations thereof.
So far, I've made example notebooks for multi-objective and continuous multi-fidelity optimization, with more to come. Feedback welcome!
Multi-objective:
In this notebook, we will use multi-objective optimization to find optimal trade-offs between each of the 8 recorded wavelengths. This is in contrast to minimizing a scalarized objective such as MAE, RMSE, or Frechet distance relative to a target spectrum. ...
![Open In Colab]()
Multi-fidelity (Introduction):
In the previous notebook, we covered multi-objective optimization: i.e. looking at optimal tradeoffs between multiple, sometimes competing, objectives. Here, we'll take a look a multi-fidelity optimization. First, let's start off by loosely defining a fidelity parameter as a parameter that controls the quality of the information being obtained. ...
![Open In Colab]()
Continuous multi-fidelity:
In the previous notebook, I provided a brief introduction of multi-fidelity optimization in the context of the physical sciences. This notebook will cover Bayesian optimization using two continuous fidelity parameters (atime and astep). We'll compare the total integration time using the multi-fidelity optimization with the integration time costs of running the simulation ...
![Open In Colab]()
-
Cloud-based, publicly accessible SDL-Demo
10/21/2022 at 04:33 • 0 commentsI made a Colab notebook allowing remote, public access to an SDL-Demo sitting above my desk in SLC, Utah. The Python package and device-side code are such that you can use a unique ID associated with a Pico W device (or an ID of one's choosing) to communicate with the SDL-Demo over the internet-of-things style MQTT protocol. Give it a spin!
![Open In Colab]()
-
Basic tests with Pico W
08/24/2022 at 06:09 • 0 comments![]()
I soldered headers for two Pico W's. Unfortunately, one of the boards seems to be fried, or maybe it's a short-circuit that I need to go in and fix. Either way, my laptop wasn't recognizing it. Soldering iron was non-adjustable in terms of temperature, the soldering wire I had available was thick, and I had trouble with the debug headers. I'm pretty sure it was when I was messing with the debug headers that I messed something up with the RP2040 processor right by it. For the second attempt, I soldered underneath with the black casing of the header pins on top so that I wasn't poking the soldering iron around the surface mount electronics.
I inserted the headers into the Maker Pi Pico base to act as the soldering mount (similar to the guide here) and taped the Maker Pi Pico base to the table I was working at. I watched a video, though I think the tutorial I linked previously would have been good to go through first. Even better, I should have gone out and bought thinner soldering wire and been more careful where I put the hot soldering tip.
Many of the indicator LEDs on the Maker Pi still light up for the Pico W that wouldn't connect, but I'm not sure if that means it's worth it to try to fix.
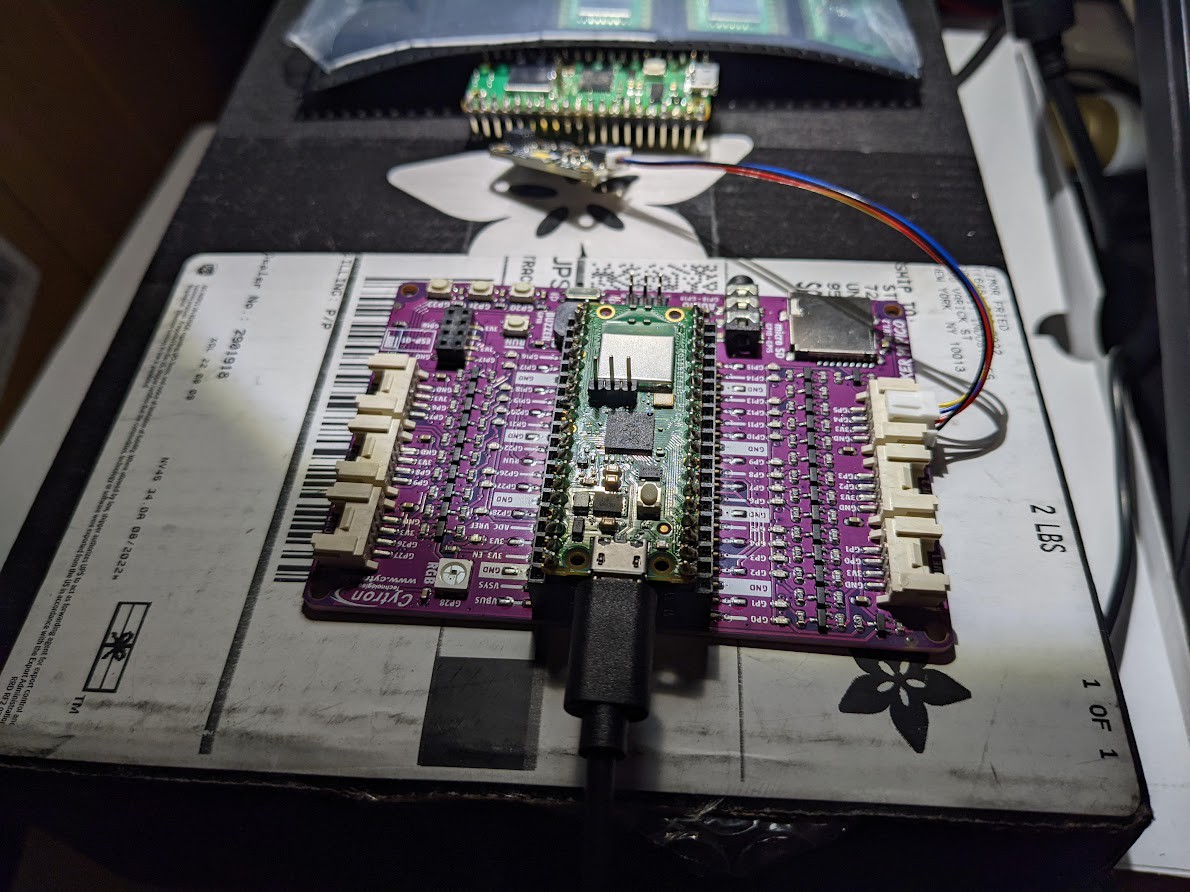
After that, I set up VS Code with the CircuitPython extension and started testing out the Pico W. `circup` made it pretty easy:
pip install circup
circup install neopixel
circup install adafruit-circuitpython-as7341
(maybe instead of neopixel I should have installed adafruit-circuitpython-neopixel, but it worked nonetheless).
I guess the cached directory was getting larger than the drive storage allowed due to mypy linting, so I made it so it caches elsewhere via a .vscode/settings.json file with the --cache-dir mypy argument:
{
    "python.linting.mypyArgs": [
        "--follow-imports=silent",
        "--ignore-missing-imports",
        "--show-column-numbers",
        "--no-pretty",
        "--cache-dir=C:/Users/<my username>/.mypy_cache",
    ]
}
I ran an AS7341 example and the Maker Pi Pico Neopixel example. See a snapshot of those examples here. I was able to control the NeoPixel brightness and RGB values and read the spectrophotometer measurements.
Next, I need to set up a web server per these instructions. Oof, do I need to switch to using MicroPython instead of CircuitPython? I think probably not.
---------- more ----------https://github.com/MrYsLab/telemetrix-rpi-pico-w/discussions/3
-
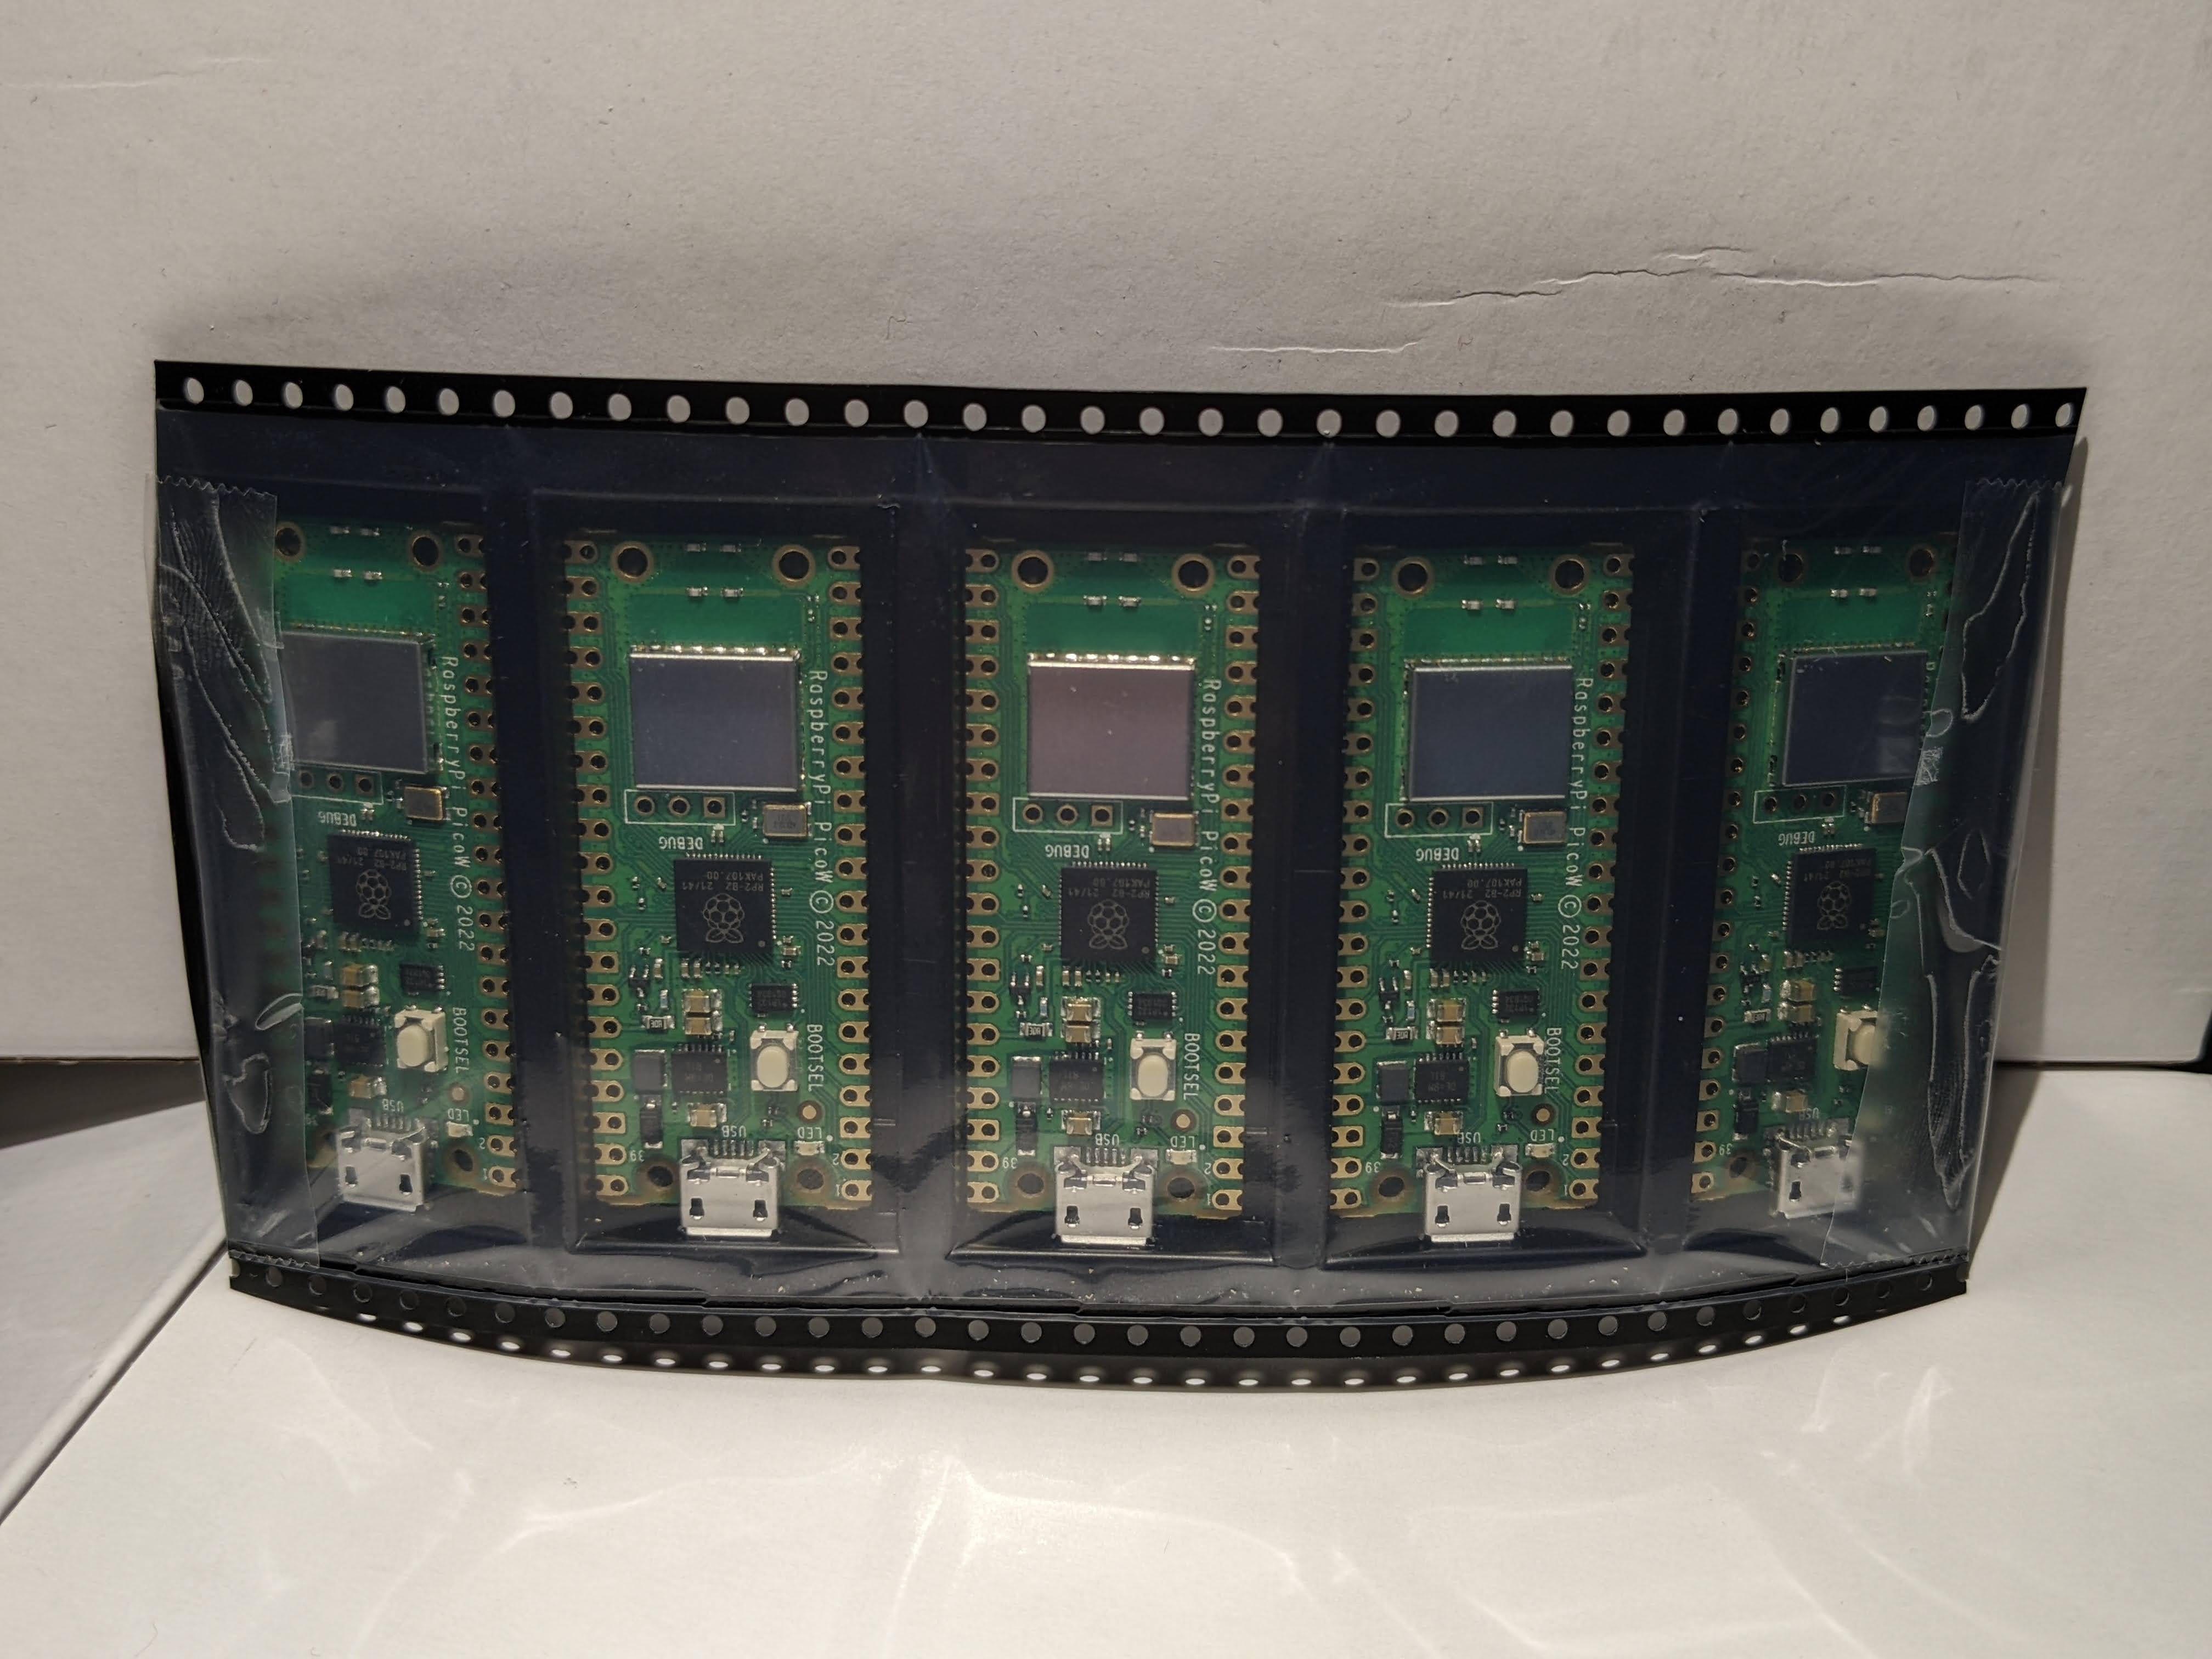
5 Pico W's just came in
08/18/2022 at 02:06 • 0 comments![]()
-
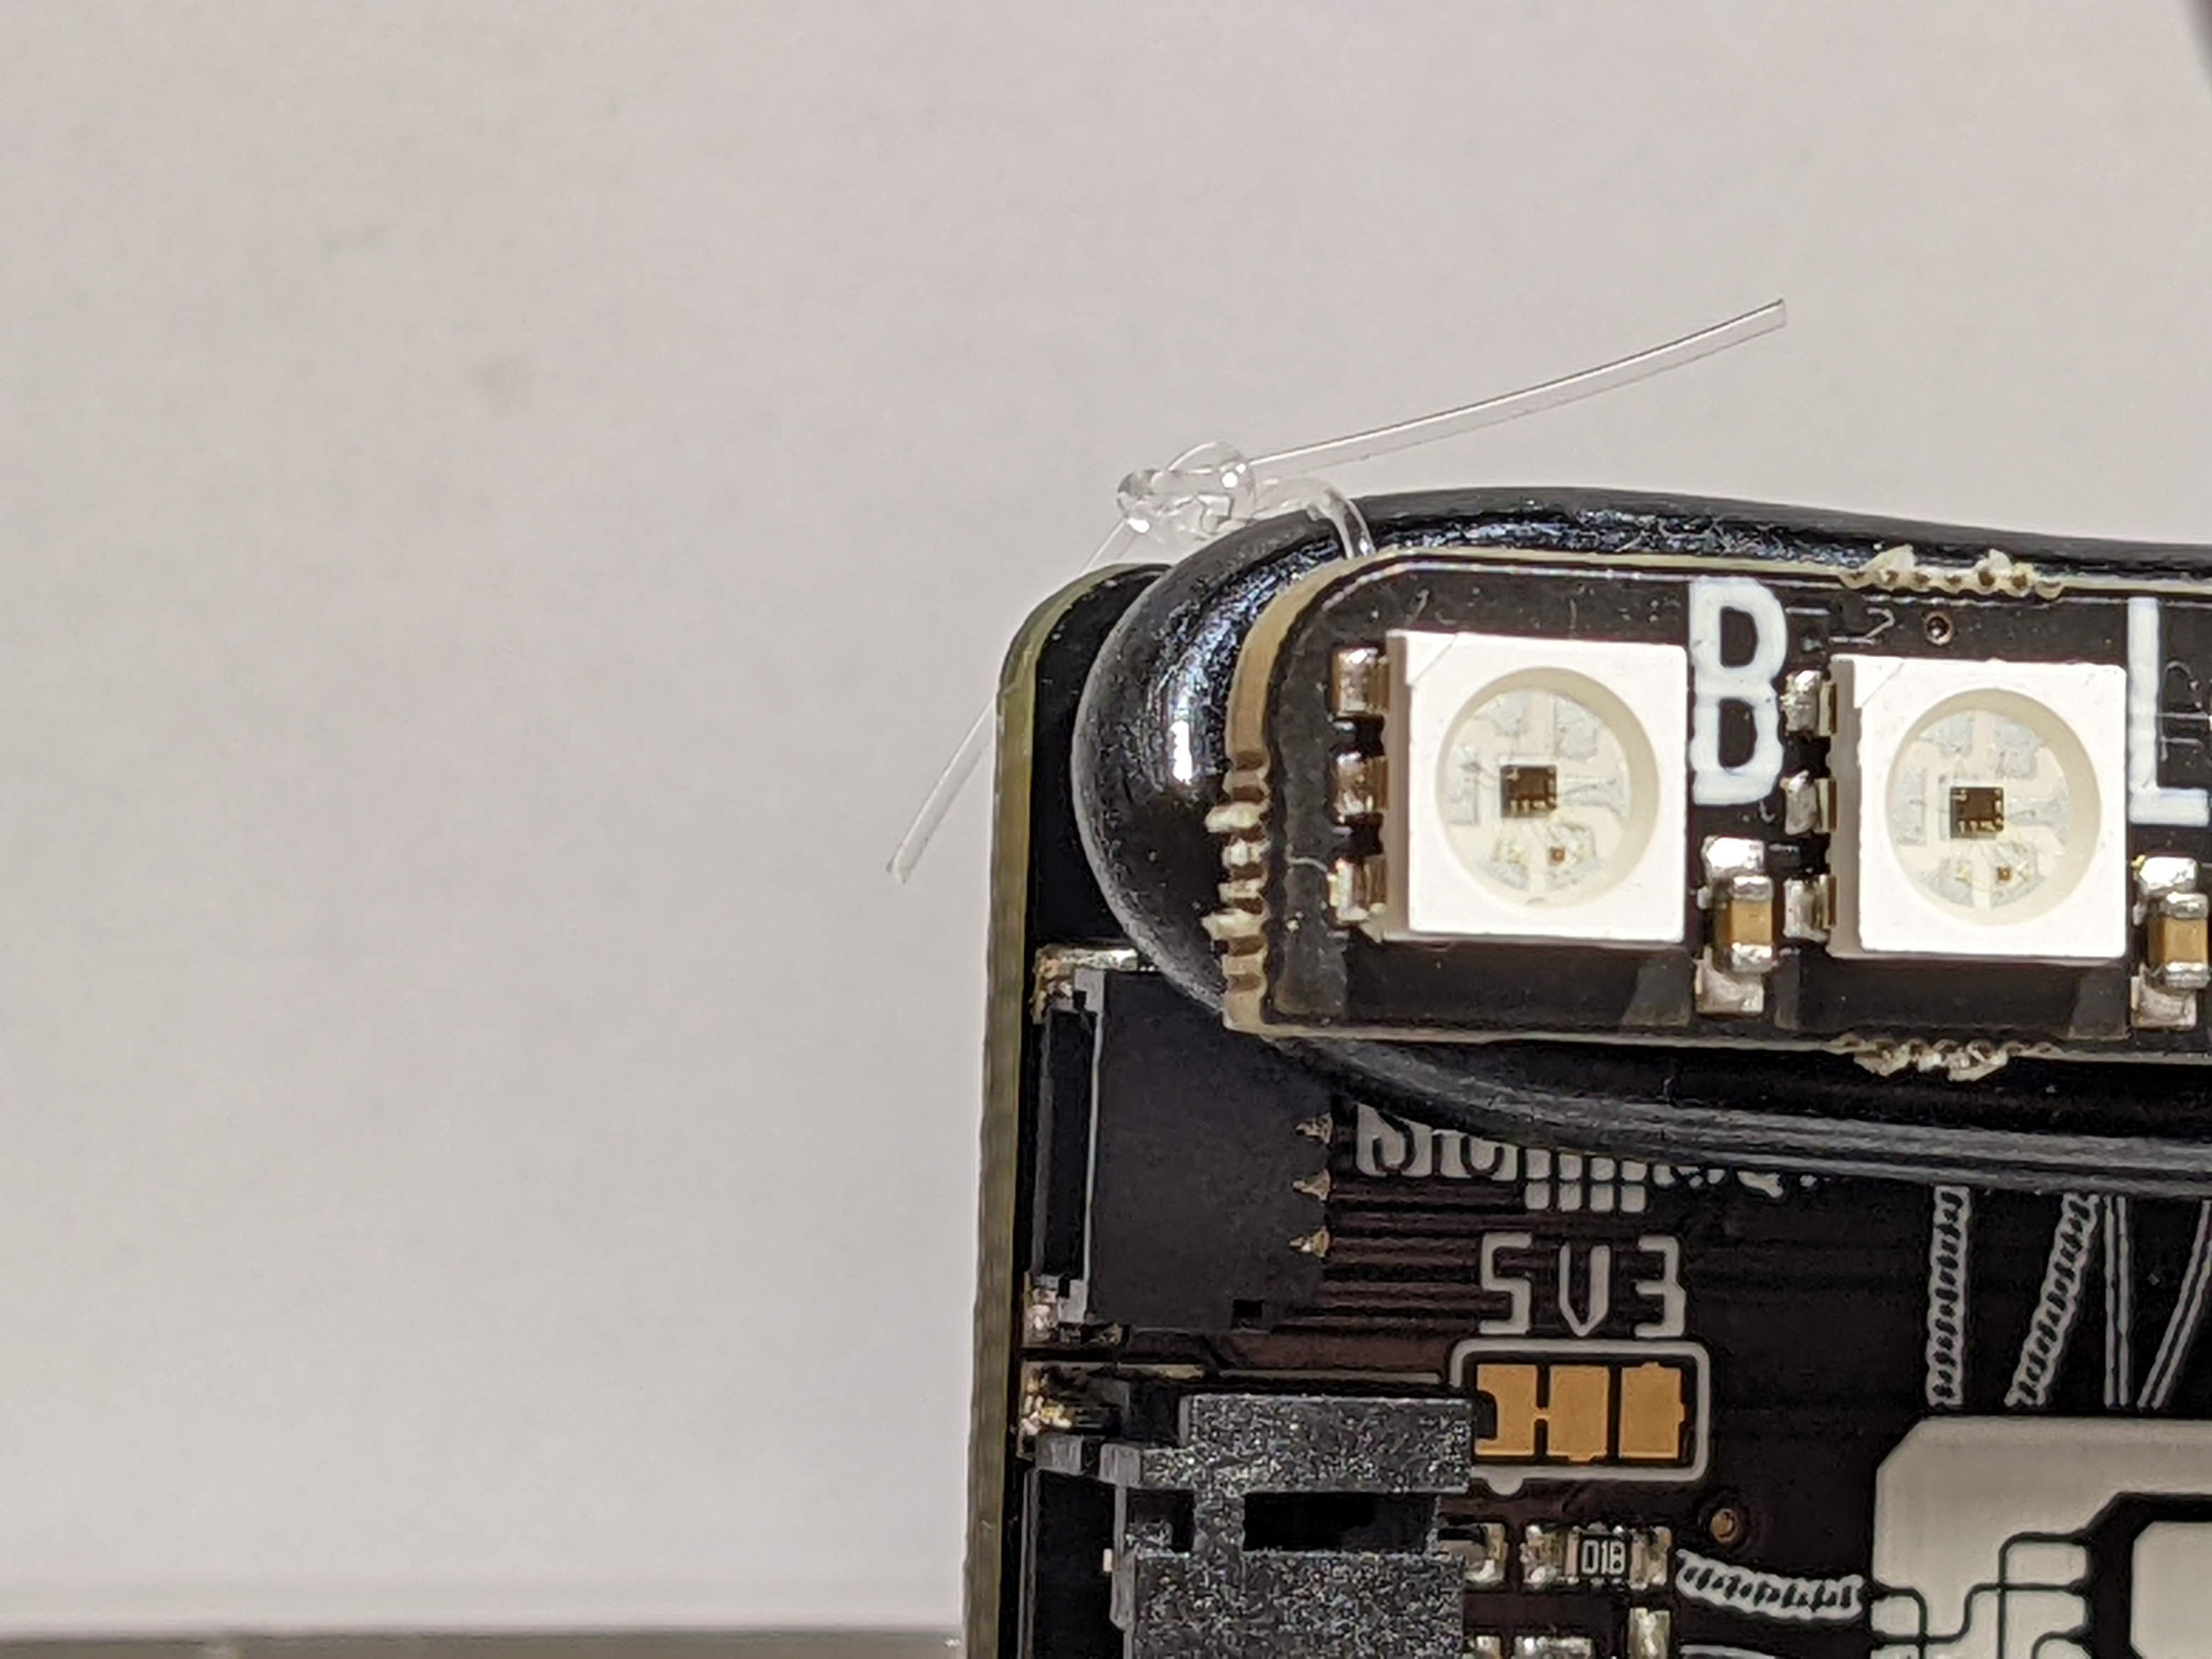
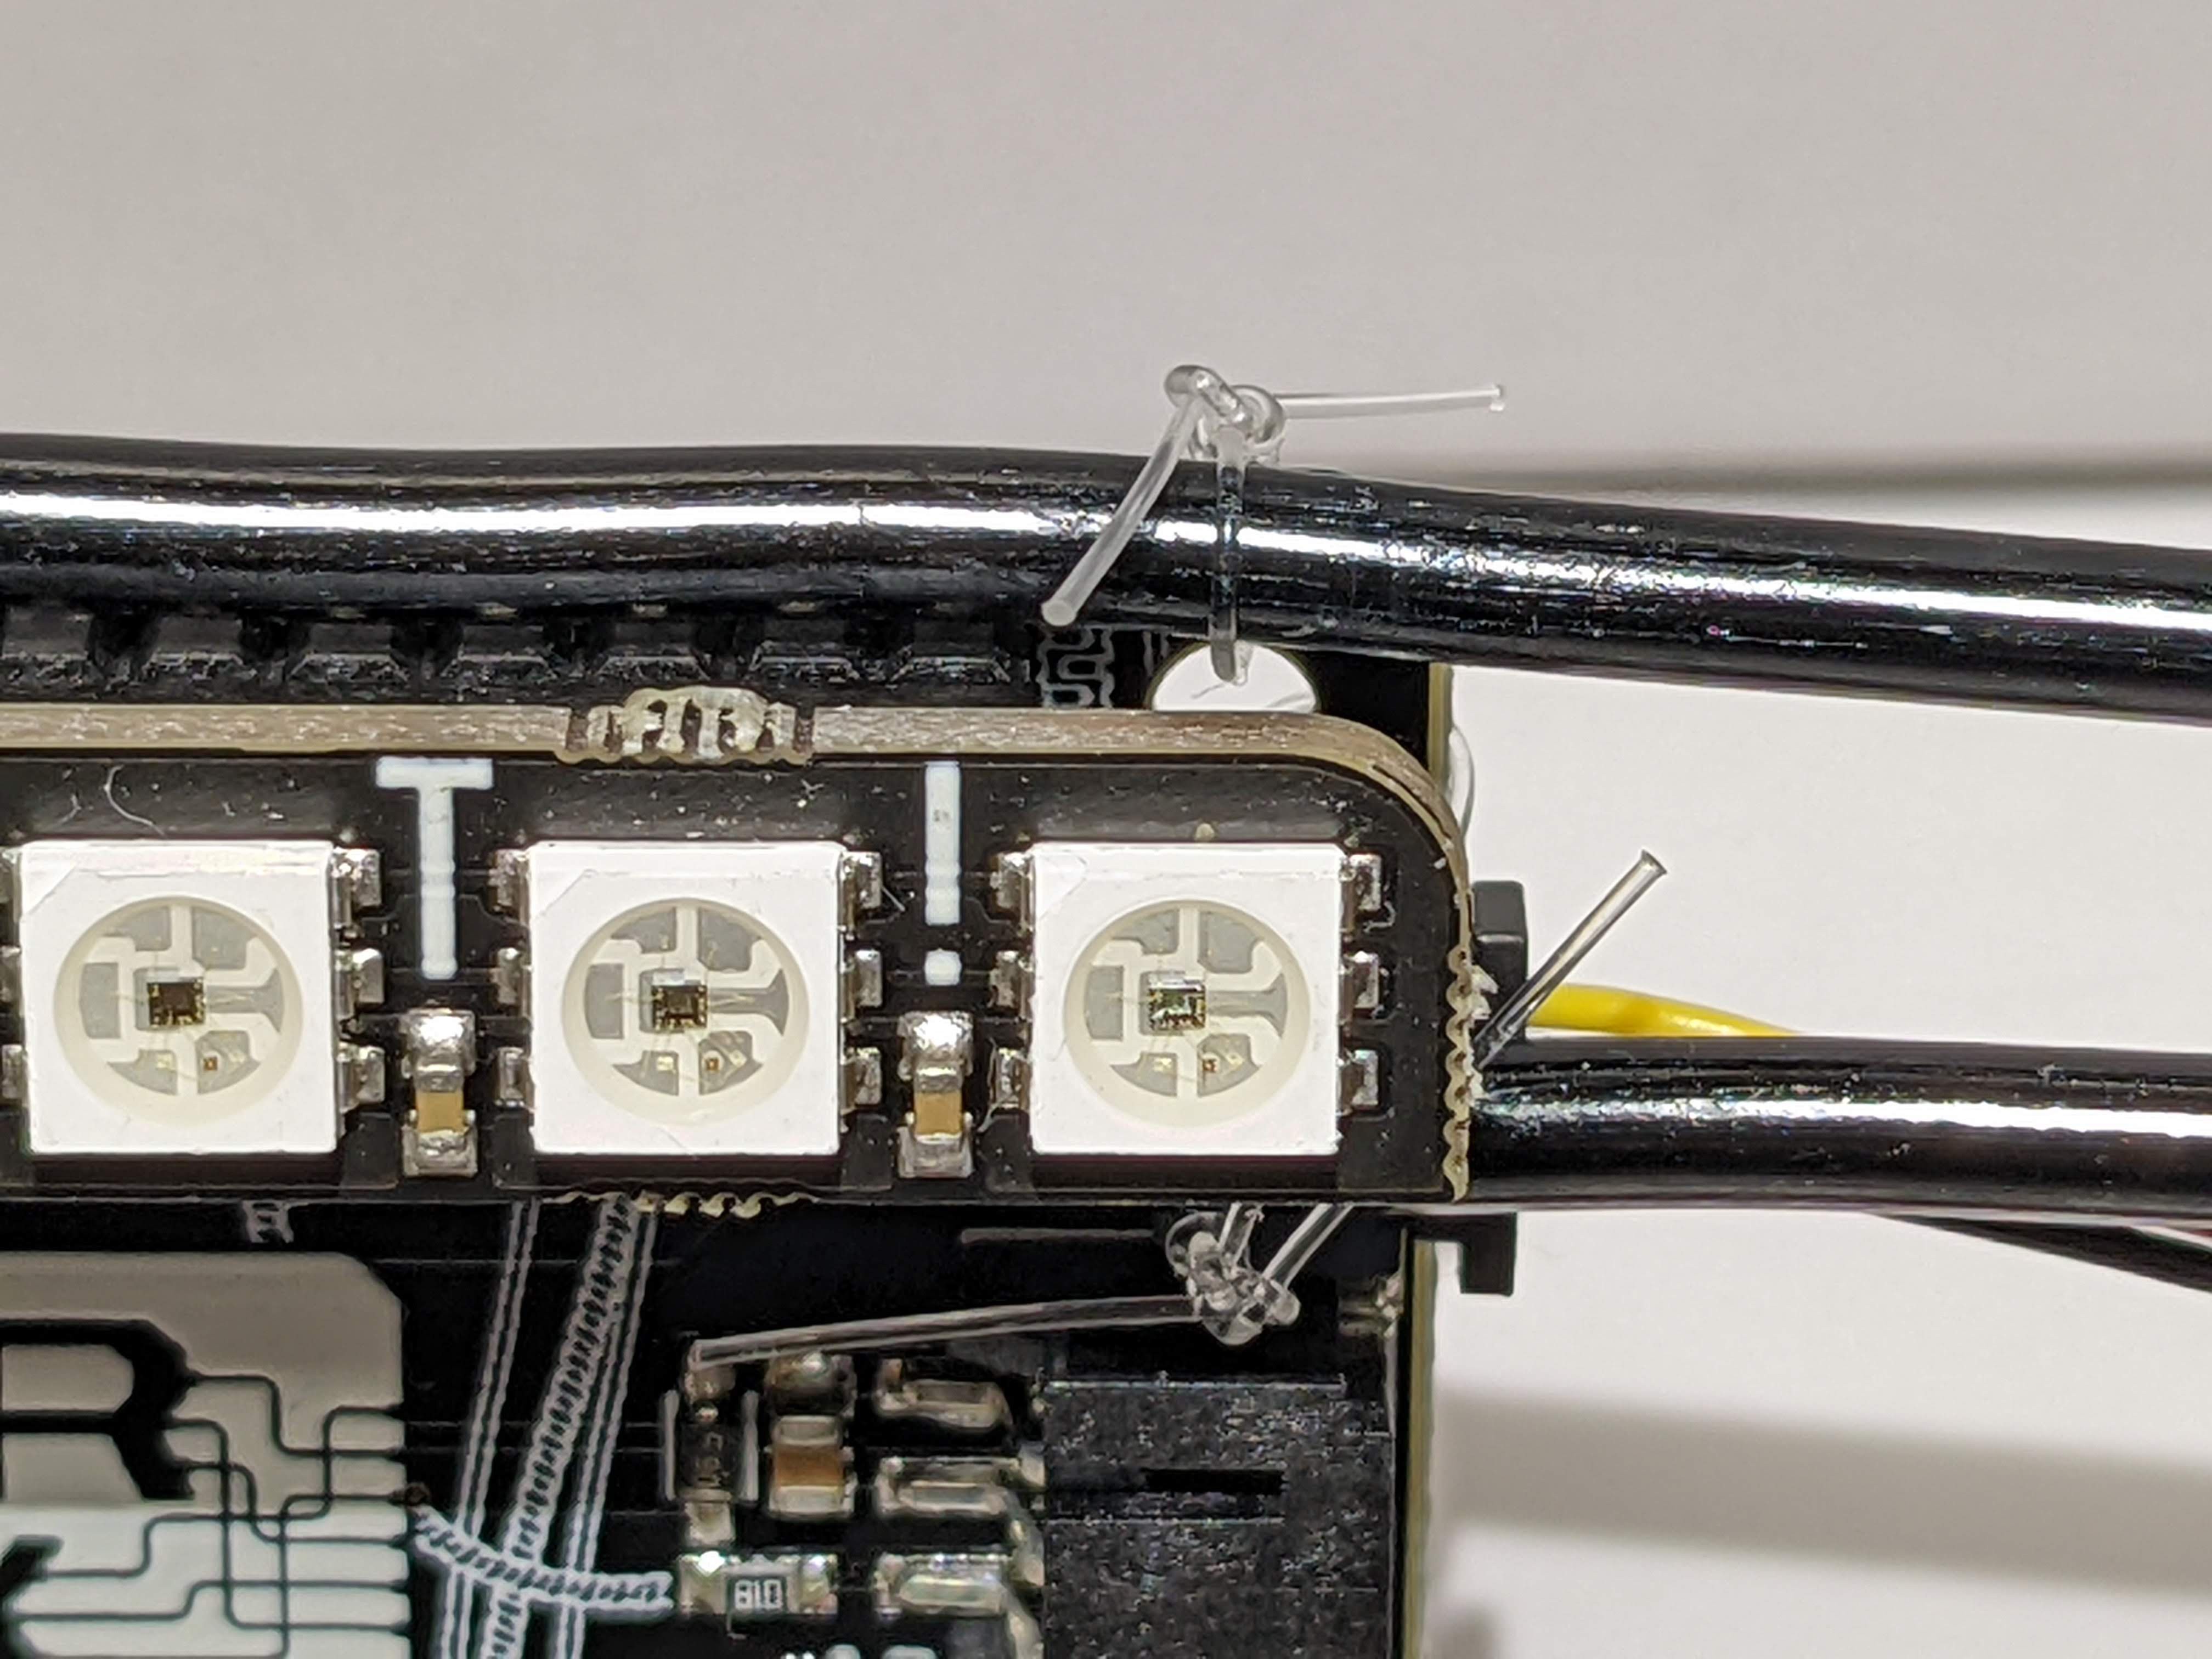
Mounting
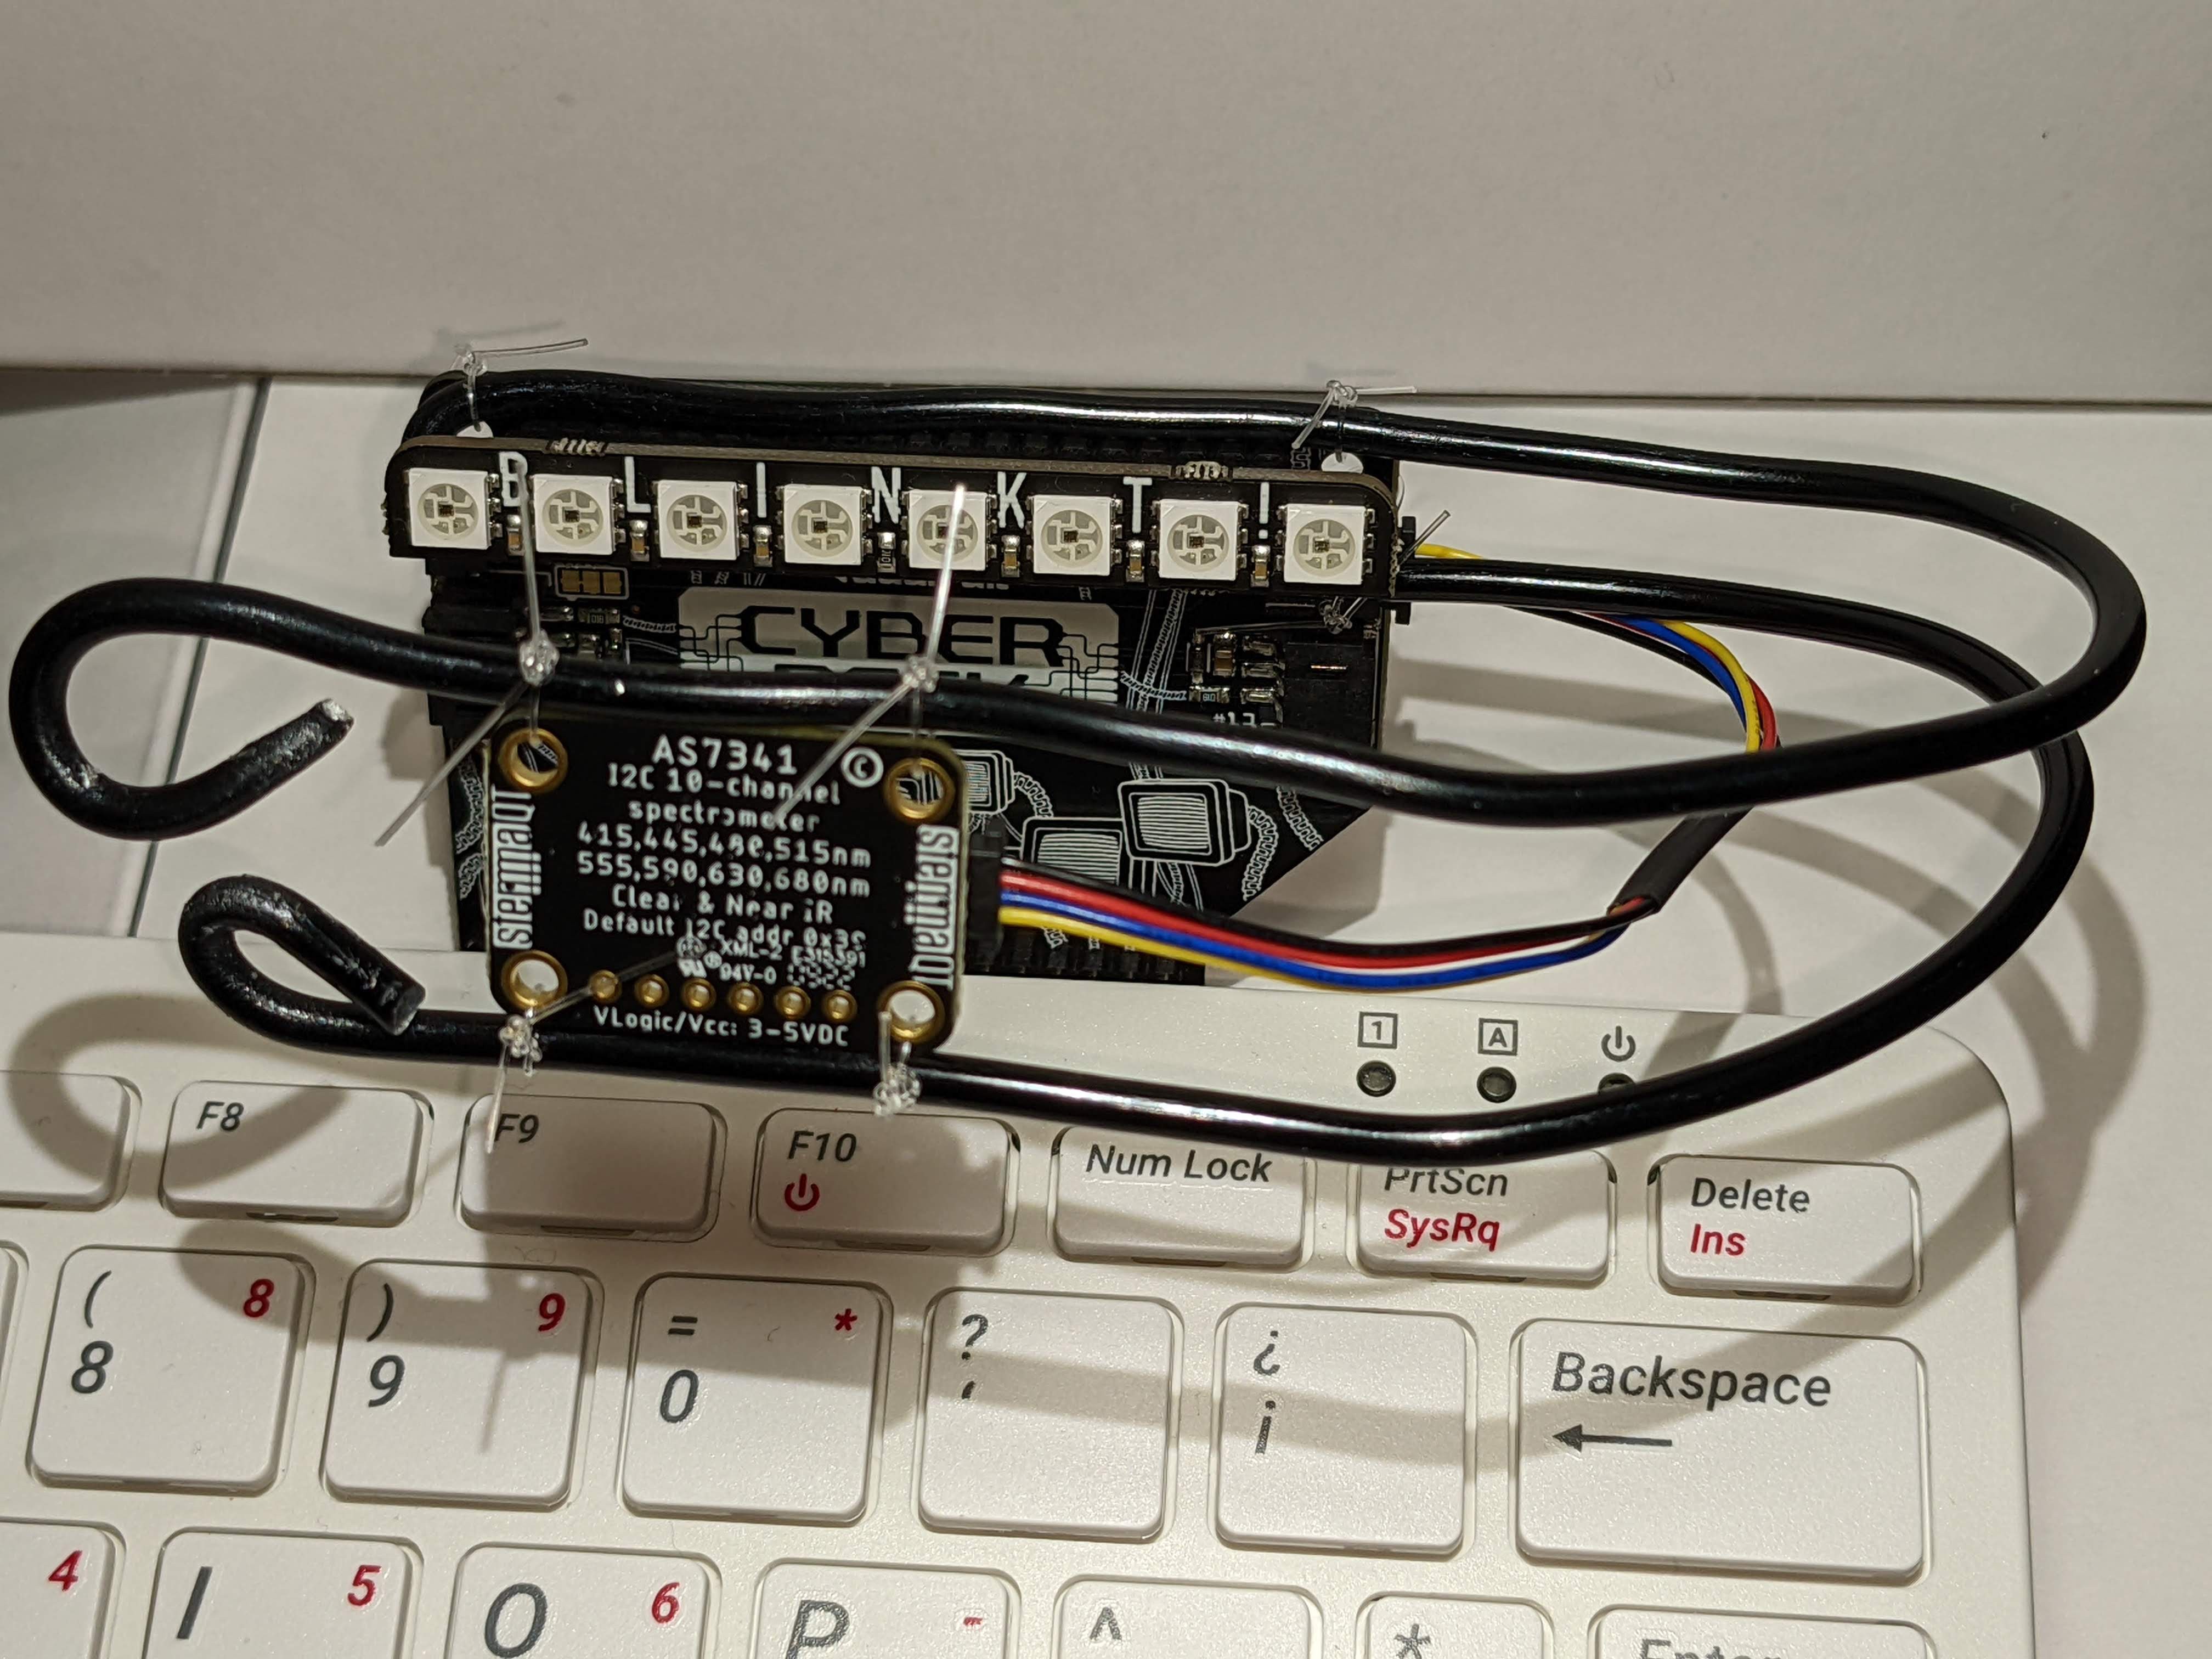
08/18/2022 at 01:44 • 0 commentsFor my first mounting test, I used what was on hand and formed strips of aluminum foil around the wire and added an arm to support it. While it had a nice trade-off of maintaining its position and adjustability, it was too kludgy. I ordered some sculpting wire from Amazon and tried a near-identical setup to the Al foil, but it was also lacking. Unfortunately, the wire was too large to fit through the mounting holes. So, instead, I wrapped the wire around the Blinkt! module and fastened the wire using fishing line.
![]()
![]()
![]()
![]()
-
Redesigned for Pico instead of Zero 2 W
08/13/2022 at 23:27 • 0 comments- Adafruit Pico version bill of materials
- For mounting (all versions), thick sculpting wire wrapped around Stemma-QT cable
- I ordered 5 Pico W's with unsoldered headers at PiShop instead of Adafruit (out of stock)
- I couldn't find a solderless JIG for the Pico W, but maybe someone will come up with one eventually
- When the Pico WH is available (and assuming it can be sourced), this is the preferred option
- The Maker Pi Pico is a version that comes with the Pico directly soldered on, but this didn't seem to be in stock, and I'm not sure if it would come with the Pico W
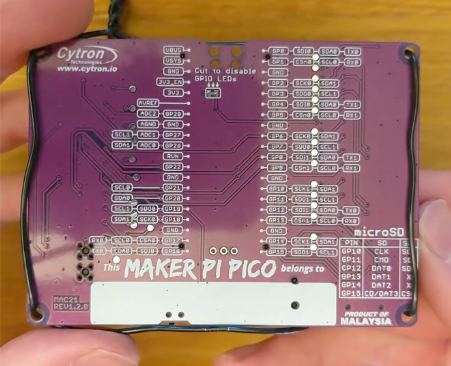
The key difference in the switch from RPi Zero 2 W to the RPi Pico W is the Blinkt! module has been replaced by a single NeoPixel LED on a Maker Pi Pico base. The Maker Pi Pico base has Grove ports instead of Stemma-QT, so a Grove to Stemma-QT adapter is included in the parts list.
Maker Pi Pico has an example script for the NeoPixel LED. Setup for the Pico can be found in this Adafruit guide or similar guides.
Autonomous Research Laboratories
A closed-loop spectroscopy laboratory demo using dimmable LEDs and a spectrophotometer. < $100, < 1 sq. ft, < 1 hr setup.