ElectroBoy
I am working on class D amplifiers for a long time and today I will show you how to make your own class D amplifier. Which parameters should you keep in mind when building circuit for it? See working of class D amplifier from here. Previously I embedded the board cutout on the breadboard and perform some tests to know the best component configuration. There I am using TPA3118D2 (30+30 watts) IC. But due to the same pin configuration and availability I switched to TPA3116D2.
TPA31XXD2 Series:
The TPA31xxD2 series are stereo efficient, digital amplifier power stage for driving speakers up to 100 W / 2 Ω in mono. The high efficiency of the TPA3130D2 allows it to do 2 × 15 W without external heat sink on a single layer PCB. The TPA3118D2 can even run 2 × 30 W / 8 Ω without heat sink on a dual layer PCB. If even higher power is needed the TPA3116D2 does 2 × 50 W / 4 Ω with a small heat-sink attached to its top side Power PAD. All three devices share the same footprint enabling a single PCB to be used across different power levels.
Features:
· Supports Multiple Output Configurations: 2 × 50 W Into a 4-Ω BTL Load at 21 V
· Wide Voltage Range: 4.5 V to 26 V
· Efficient Class-D Operation
· Multiple Switching Frequencies
· Feedback Power-Stage Architecture with High PSRR Reduces PSU Requirements
· Programmable Power Limit
· Differential and Single-Ended Inputs
· Stereo and Mono Mode with Single-Filter Mono Configuration
· Single Power Supply Reduces Component Count
· Integrated Self-Protection Circuits Including Overvoltage, Undervoltage, Overtemperature, DC-Detect, and Short Circuit with Error Reporting
· –40°C to 85°C Ambient Temperature Range
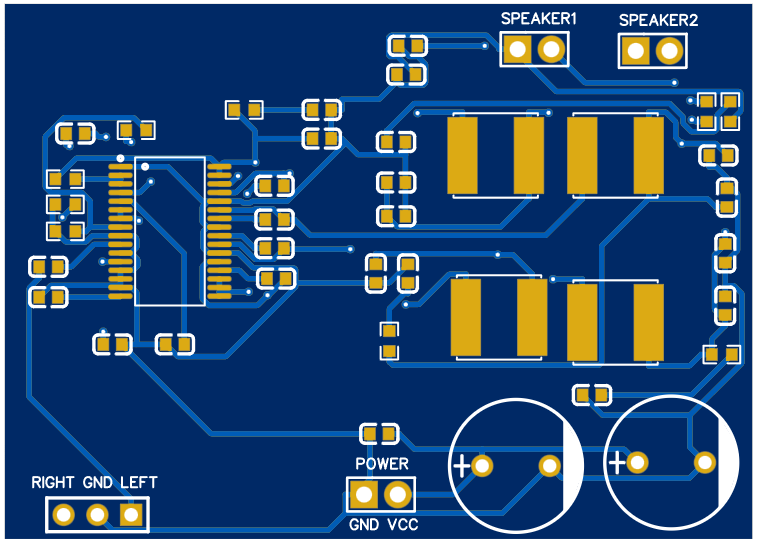
Circuit diagram:
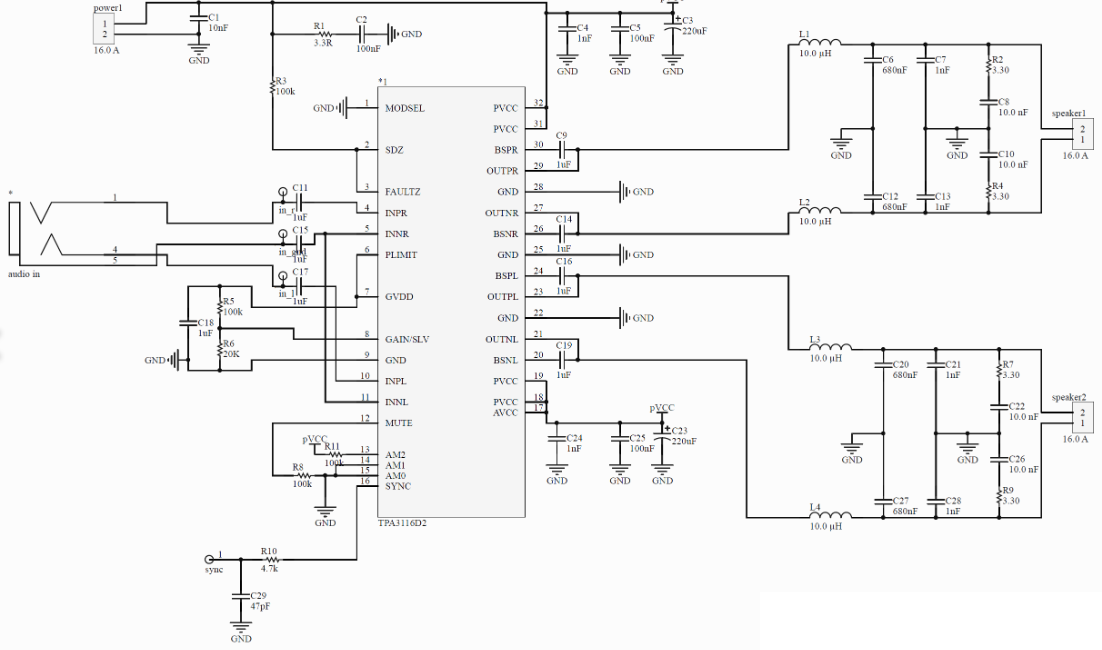
After trying a lot of circuits and checking the sound quality, noise, pop sound and amplifier response curve for gain. I designed this schematic in EasyEDA. This IC can work in both stereo and mono channel mode but for now we are only using it in stereo mode. The mono mode is tested in previous article. In the circuit LC filters are used to reduce the noise and high frequency signal.
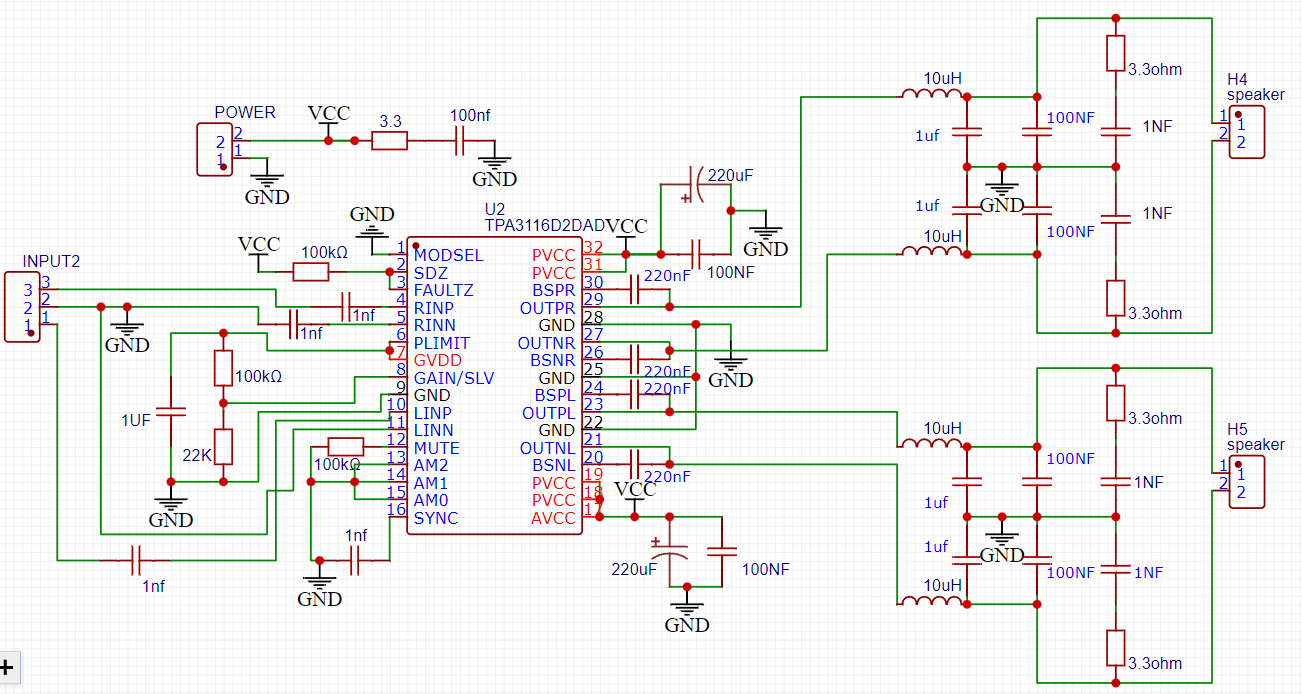
The recommended value of capacitor and inductor is 0.1uf and 10uh respectively. But bigger values also work without any issue like 1uf and 330uh.
PCB Assembly:
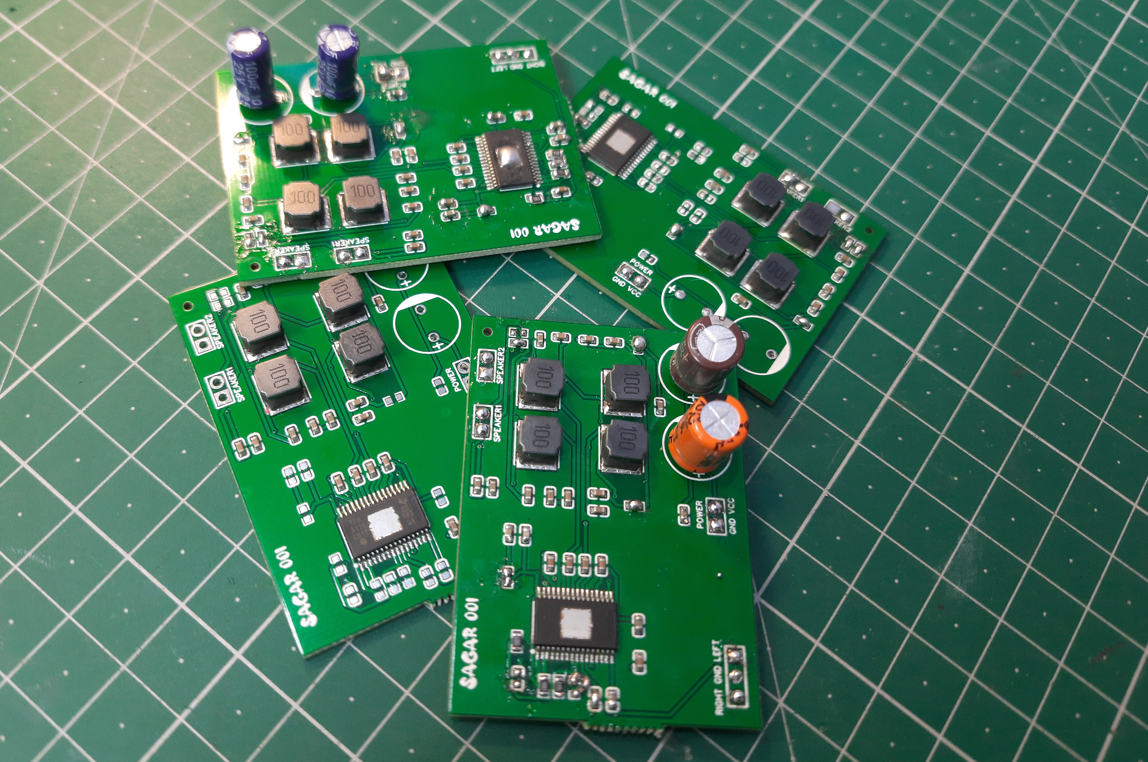
IC package has 40 pins and single IC is not available in India due to some reason. That’s why here JLCPCB SMT Assembly service come into play. I designed my schematics in EasyEDA and supplied the PCB Gerber files along with BOM and CPL to JLCPCB for SMT assembly.
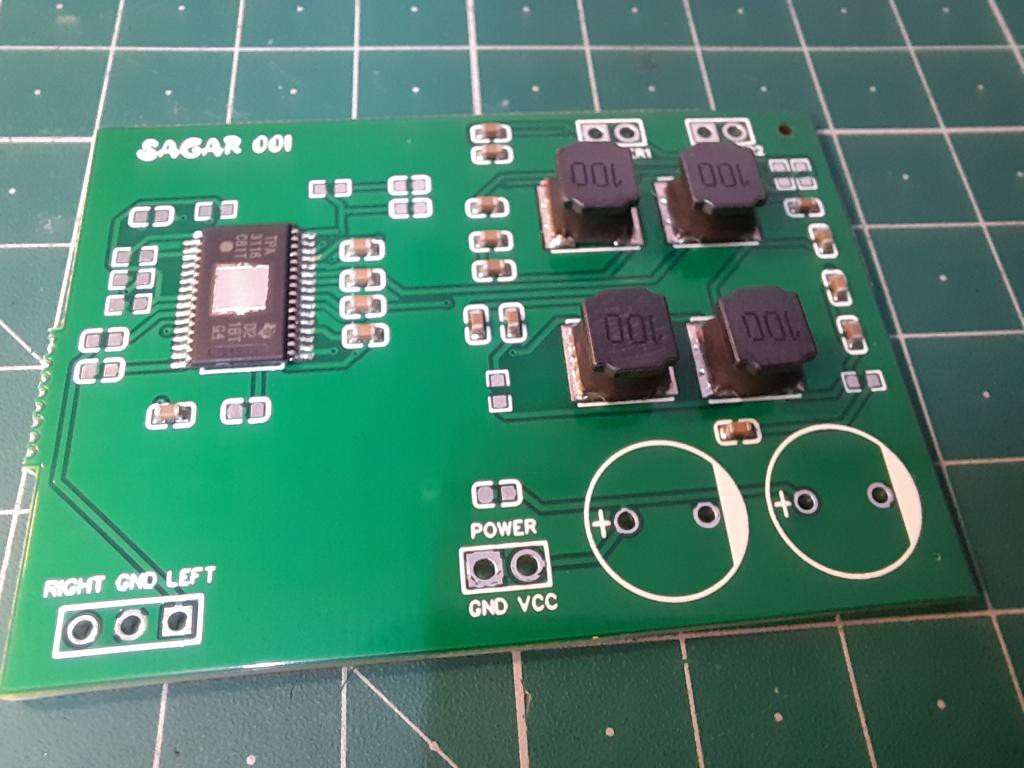
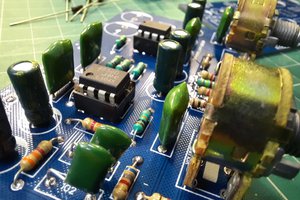
After receiving the boards, I soldered all the remaining capacitors and few resistors and my PCB is ready for the first test.
Class D ICs do not generate more heat but a small heatsink is always recommended to use to keep the sound quality stable and avoid sudden shutdown. I mounted a small heatsink that I received in my raspberry pi kit. This type of heatsinks have thermal adhesive tape so no need of screws anymore.
PCB specs and components used:
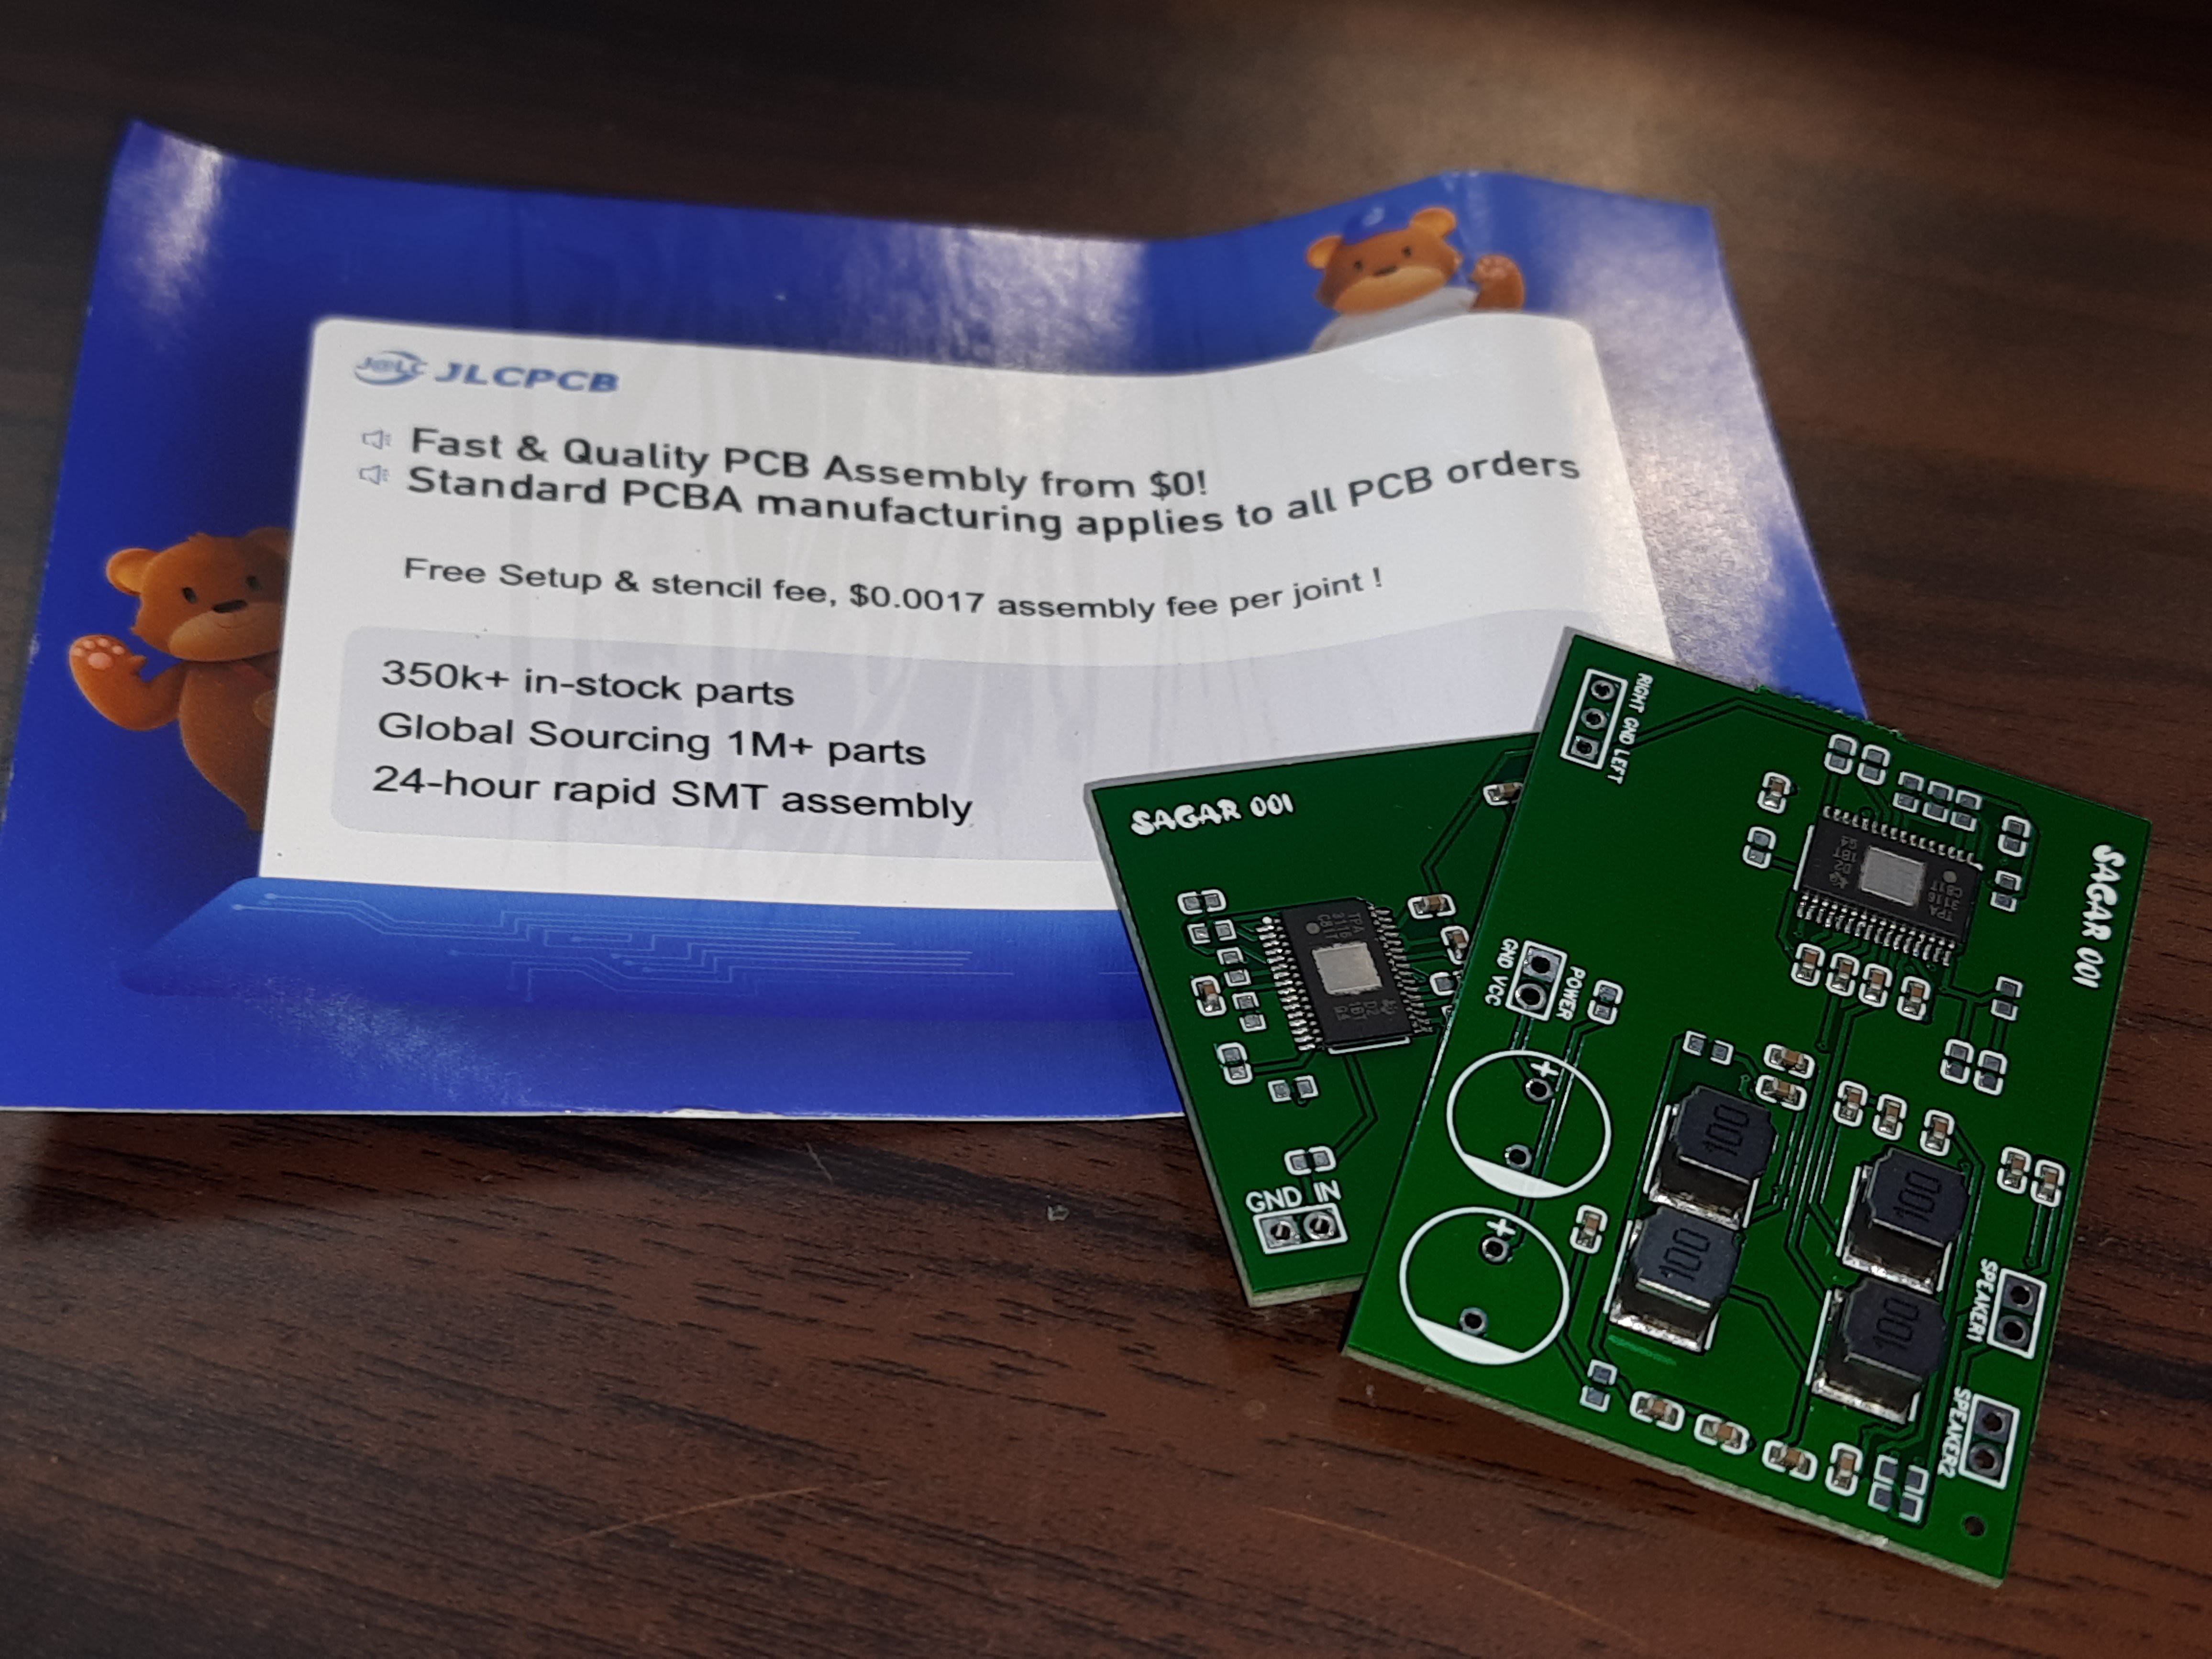
JLCPCB is offering the SMT service in very low prices. The soldering and assembling cost of a batch of 10 PCB is in just $8. The quality I got is very fantastic with all the components in working state. There is no any dry soldering or misplacing of components/value. Components used (with quantity) in PCB assembly service are also given in the BOM file.
1) TPA3116d2 Class D audio ic
2) 1uf, 100nf and 1nf multilayer ceramic capacitors (0603)
3) 100k and 22k resistors (0603)
4) 220uf electrolytic capacitors
5) 10uh inductor coils
If you sign-up to JLCPCB using this link you will get coupons of worth $54 as new user reward, which can be used to place the SMT and prototype order on JLCPCB.
Making all the connections:
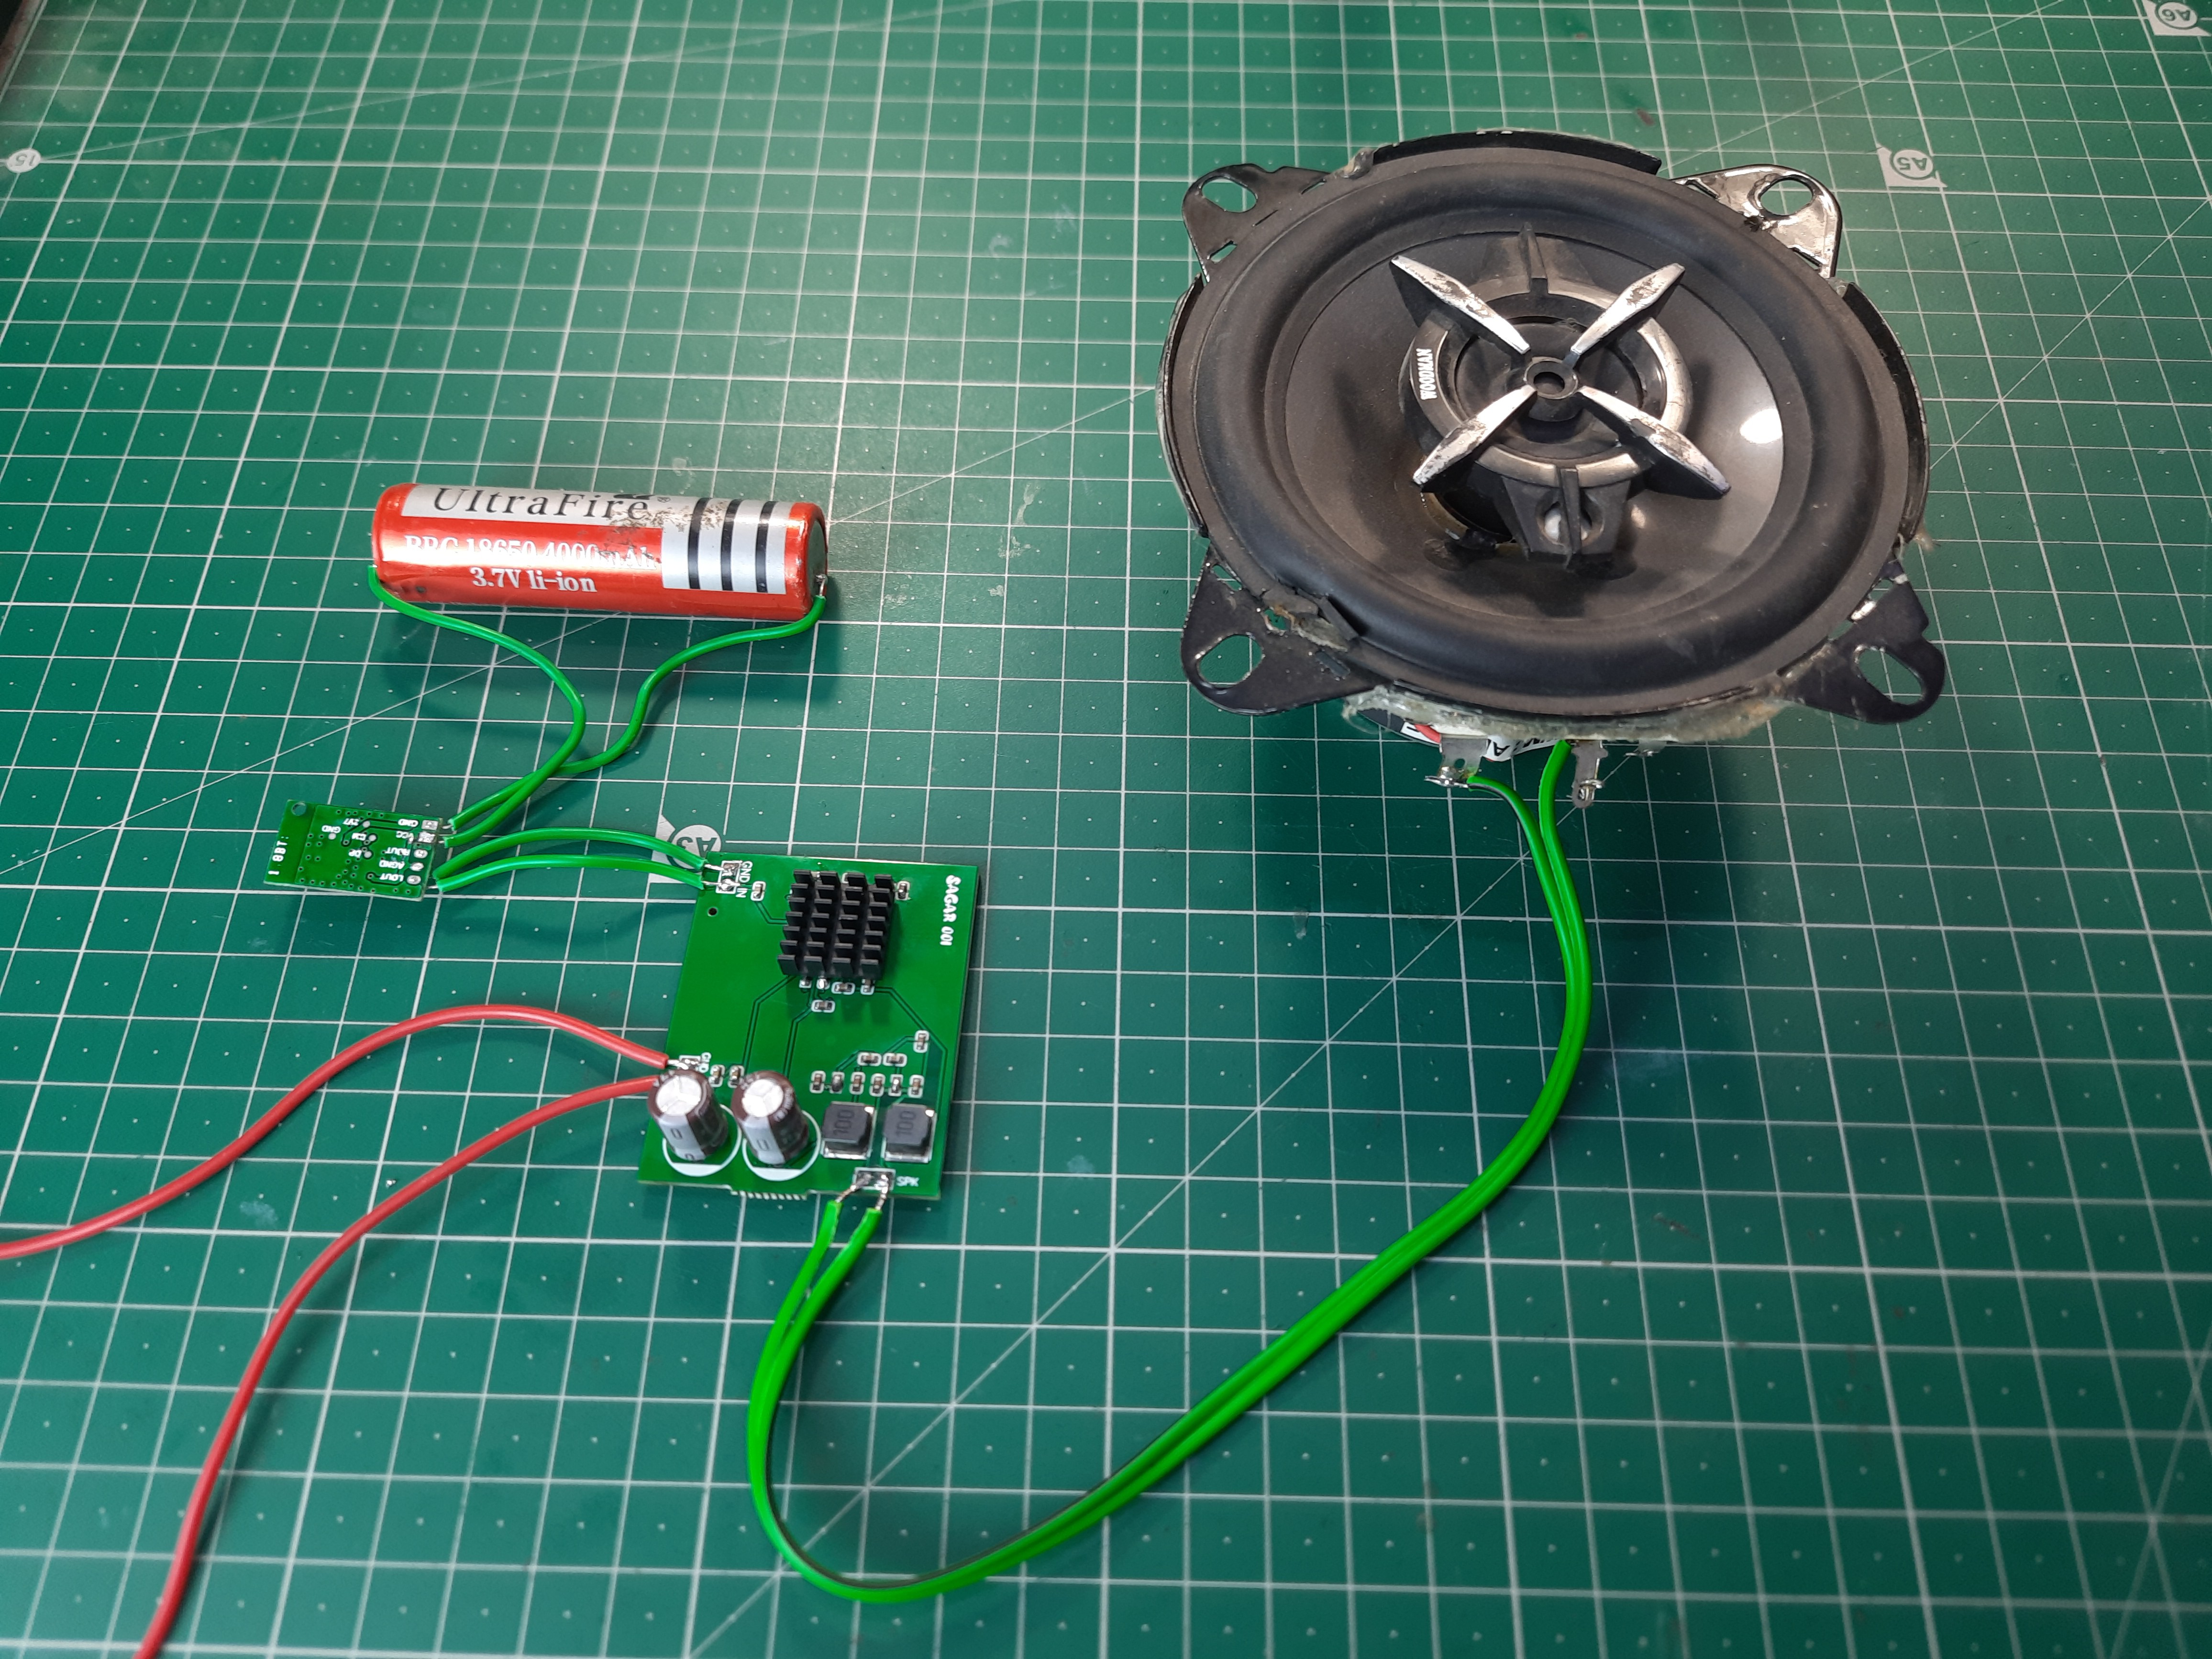
For the first test, I added a Bluetooth receiver for audio input in the amplifier board. Then I attached a small speaker of 50watts. The amplifier can be supplied using an...
Read more »
 Lithium ION