0%
0%
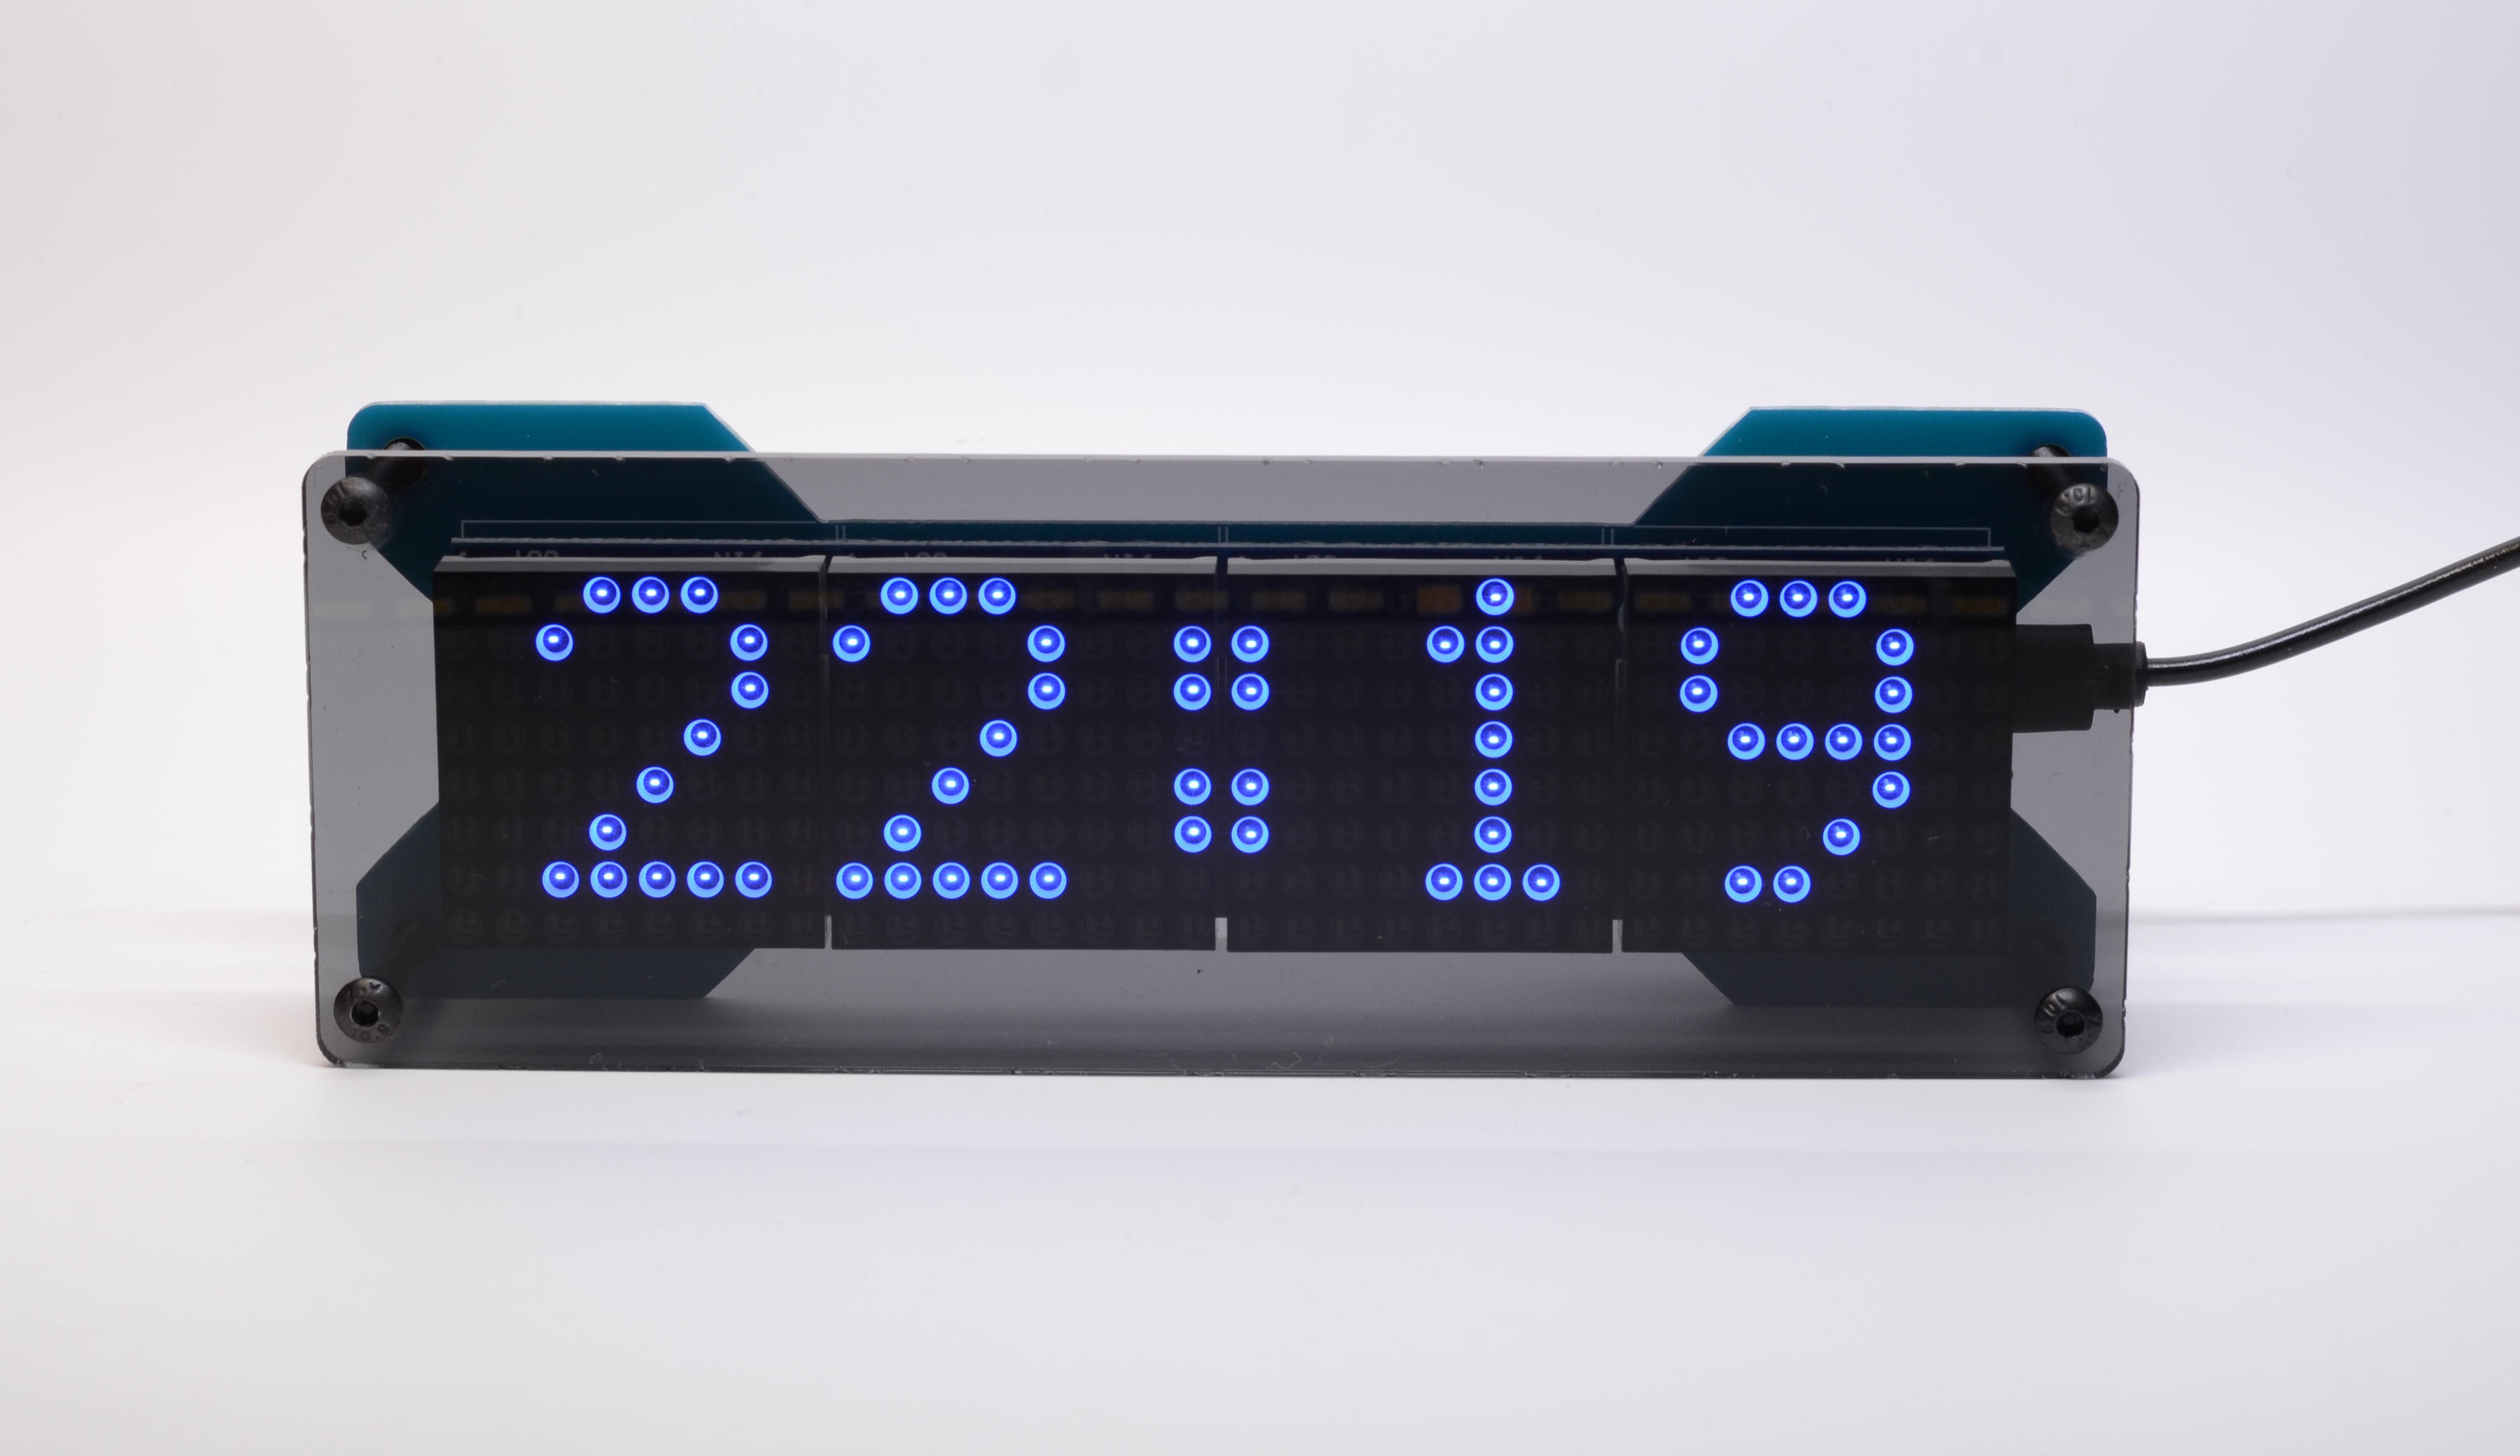
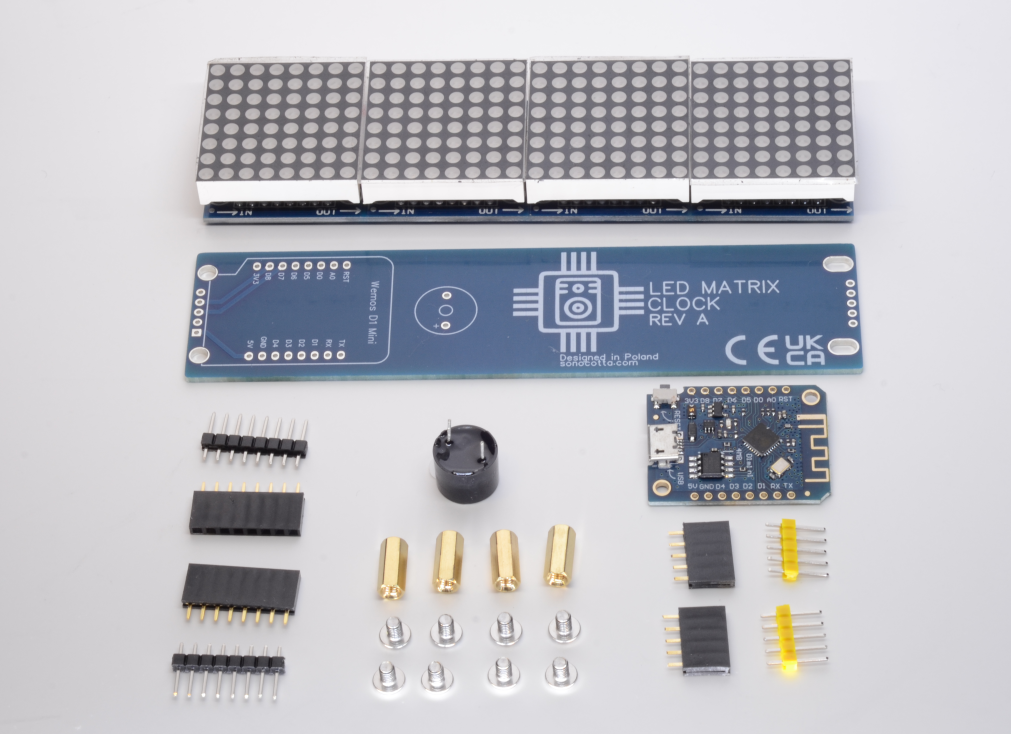
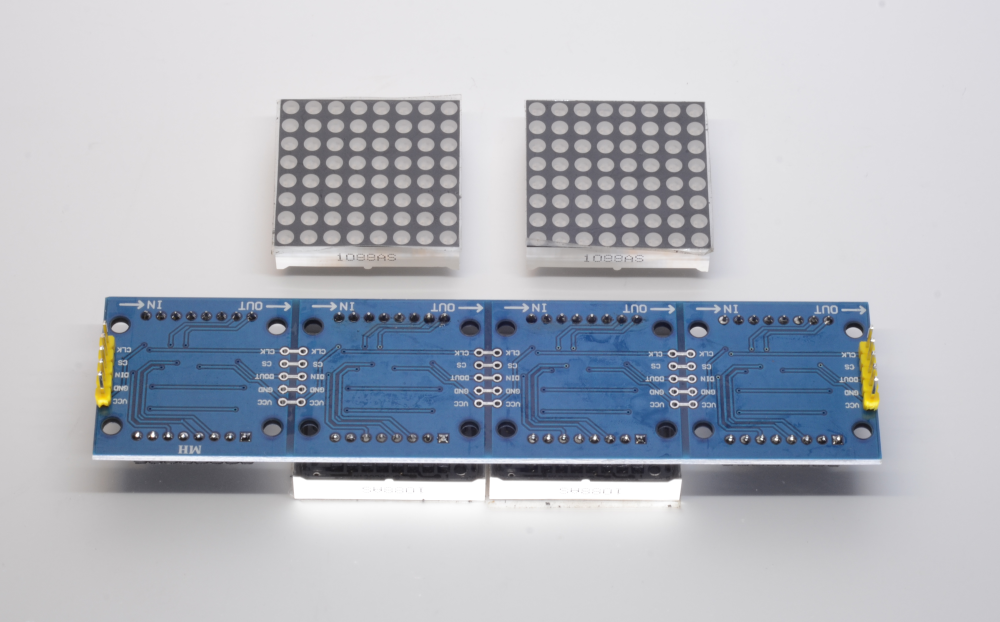
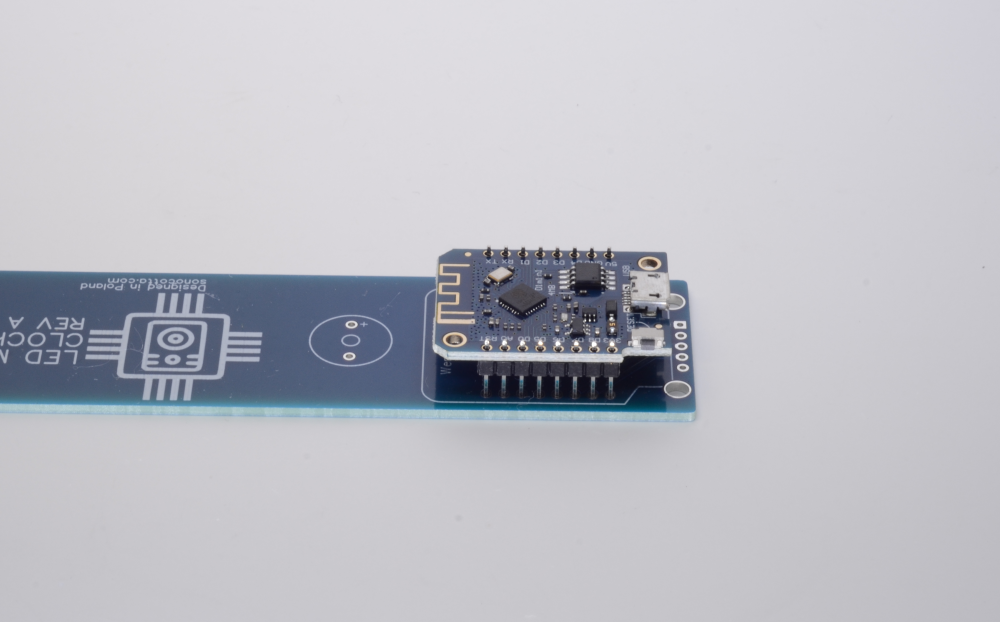
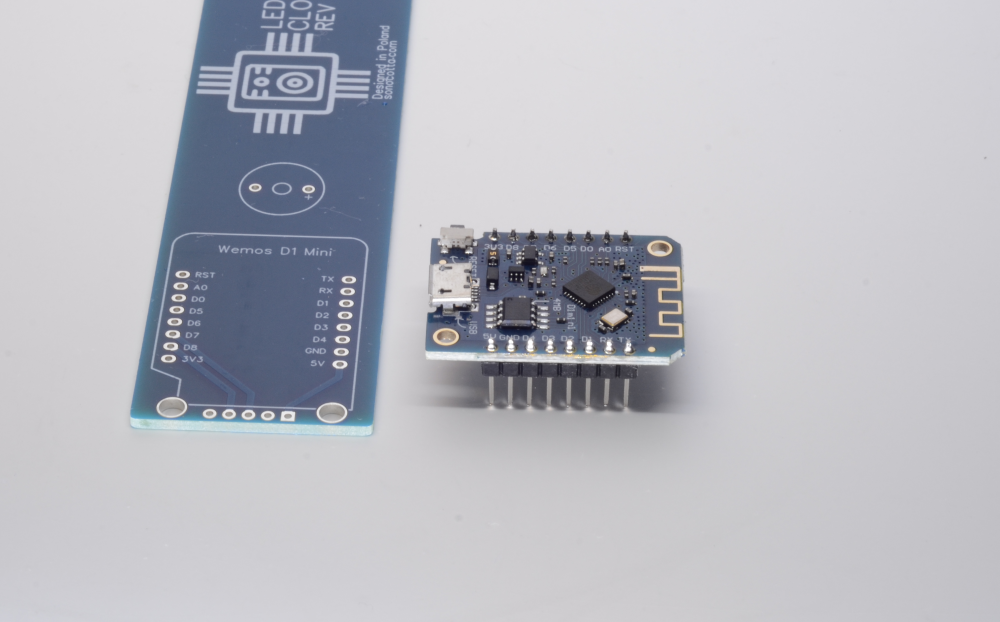
DIY ESP8266 Led Matrix Clock Kit
Entry-level DIY kit, designed as fun activity one can complete in one evening
 andriy.malyshenko
Become a Hackaday.io member
Already have an account? Log in.
Just one more thing
To make the experience fit your profile, pick a username and tell us what interests you.
Pick an awesome username
hackaday.io/
Your profile's URL: hackaday.io/username. Max 25 alphanumeric characters.
Pick a few interests
Projects that share your interests
People that share your interests


 brett.oliver
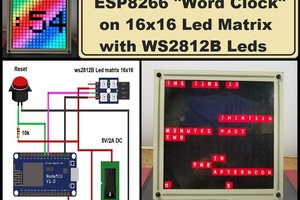
 mircemk
 Henry York
 Tamarisk Labs
This is a great little project! I do have one question, maybe others have run into similar issues? I've changed the firmware a bit (quite easy to do actually with the platformio VScode plugin!) and I am happy with the result. However, what I find is that the clock is *sometimes* off by (exactly) one hour. If I then reset it, it's on time again. Does anyone have a suggestion to what to look into to solve this.
For reference, what I changed: removed blinking and showing of (scrolling) date, turn off clock (the leds) between certain times (i.e., during the night).