 esophagoose
.
0%
0%
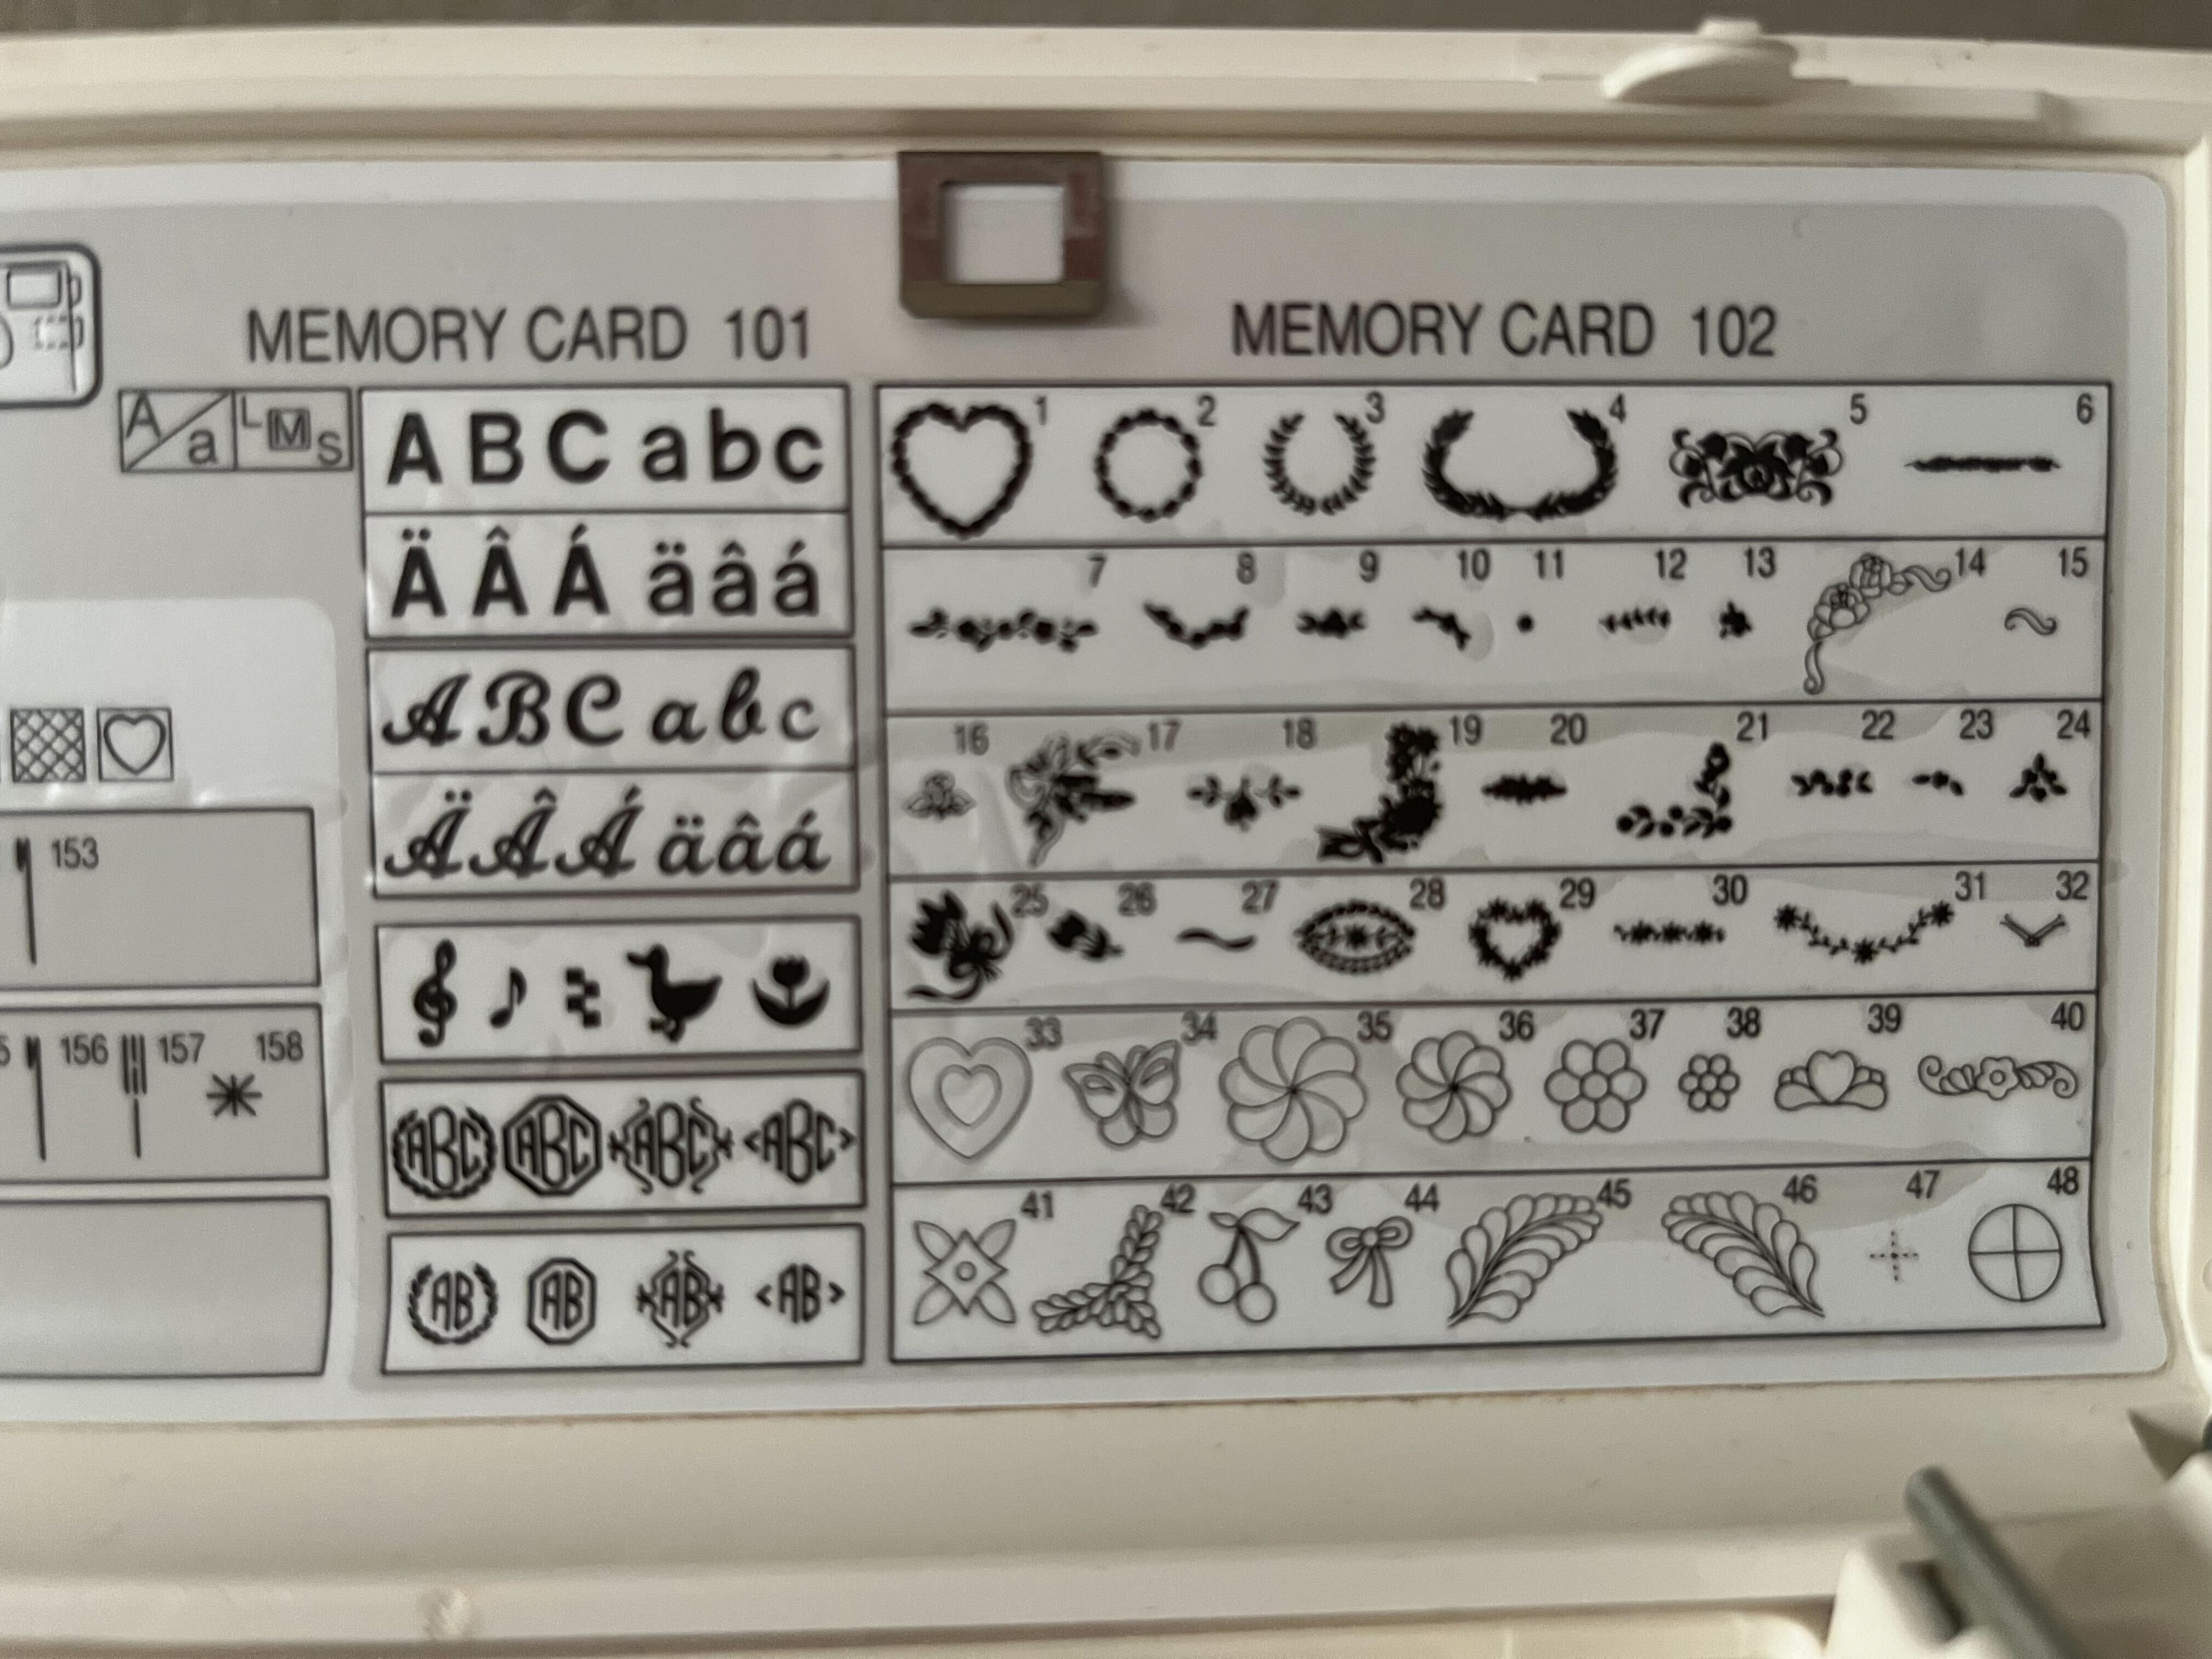
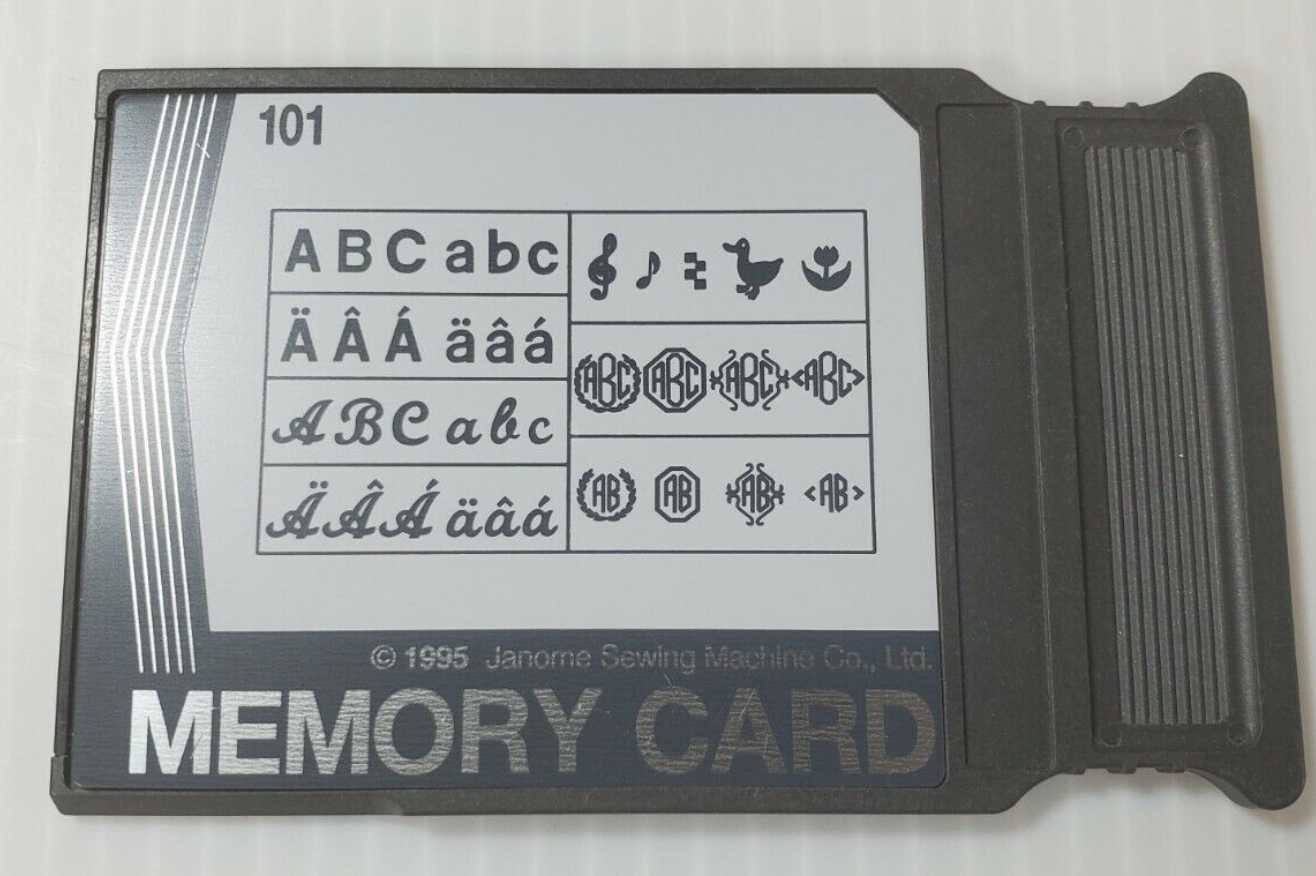
Reverse Engineering the Janome Memory Cards
Reading the ROM on the Janome MemoryCraft 9000 memory cards
Become a Hackaday.io member
Already have an account? Log in.
Just one more thing
To make the experience fit your profile, pick a username and tell us what interests you.
Pick an awesome username
hackaday.io/
Your profile's URL: hackaday.io/username. Max 25 alphanumeric characters.
Pick a few interests
Projects that share your interests
People that share your interests
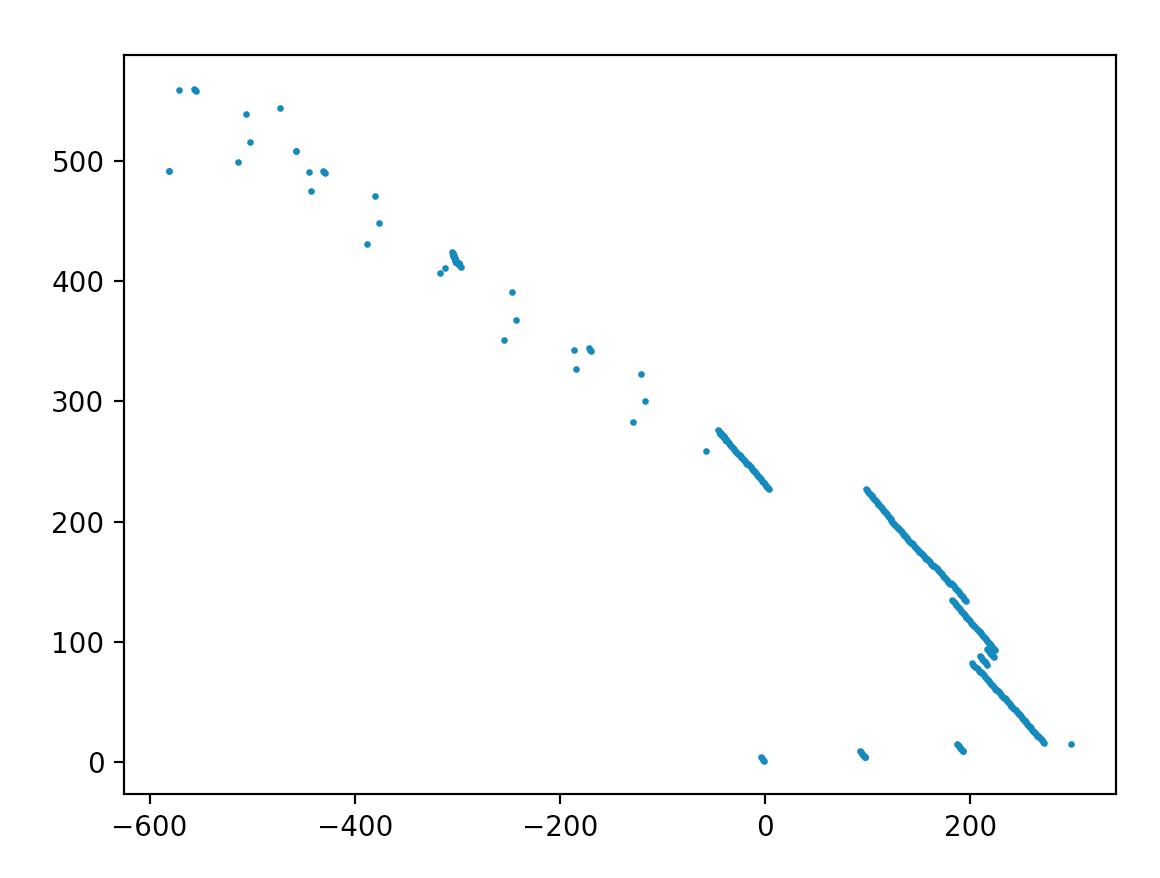
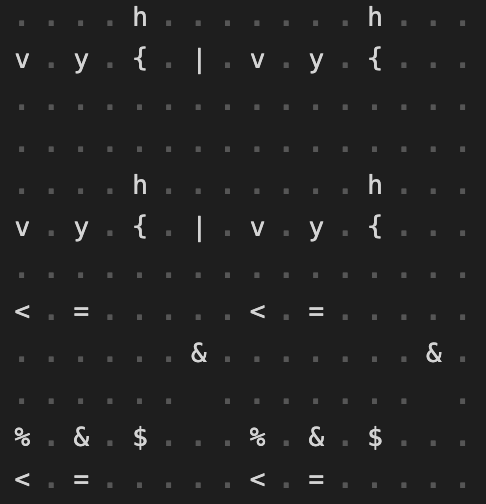 Every 4 lines the text repeats itself - which is a 64 byte offset or that the A6 pin is not toggling
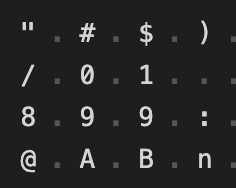
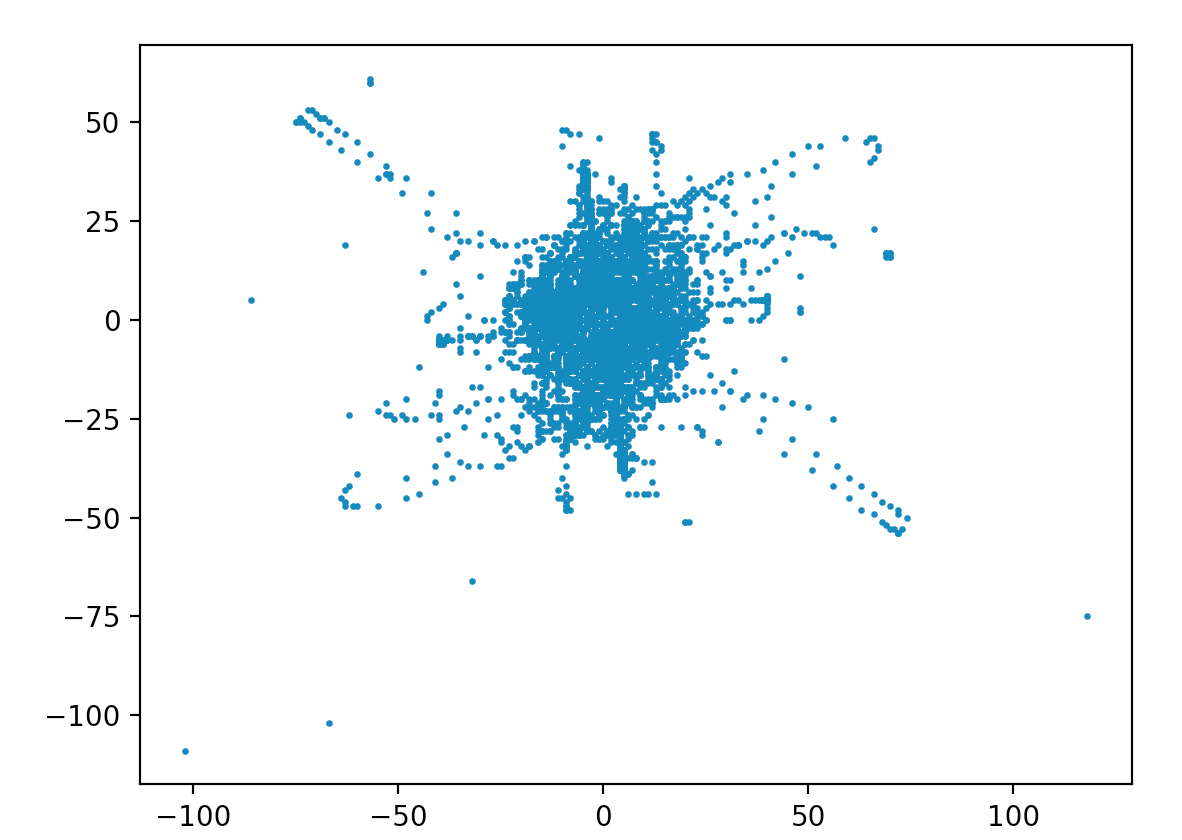 Yep - I expected it to be a circle around the origin.
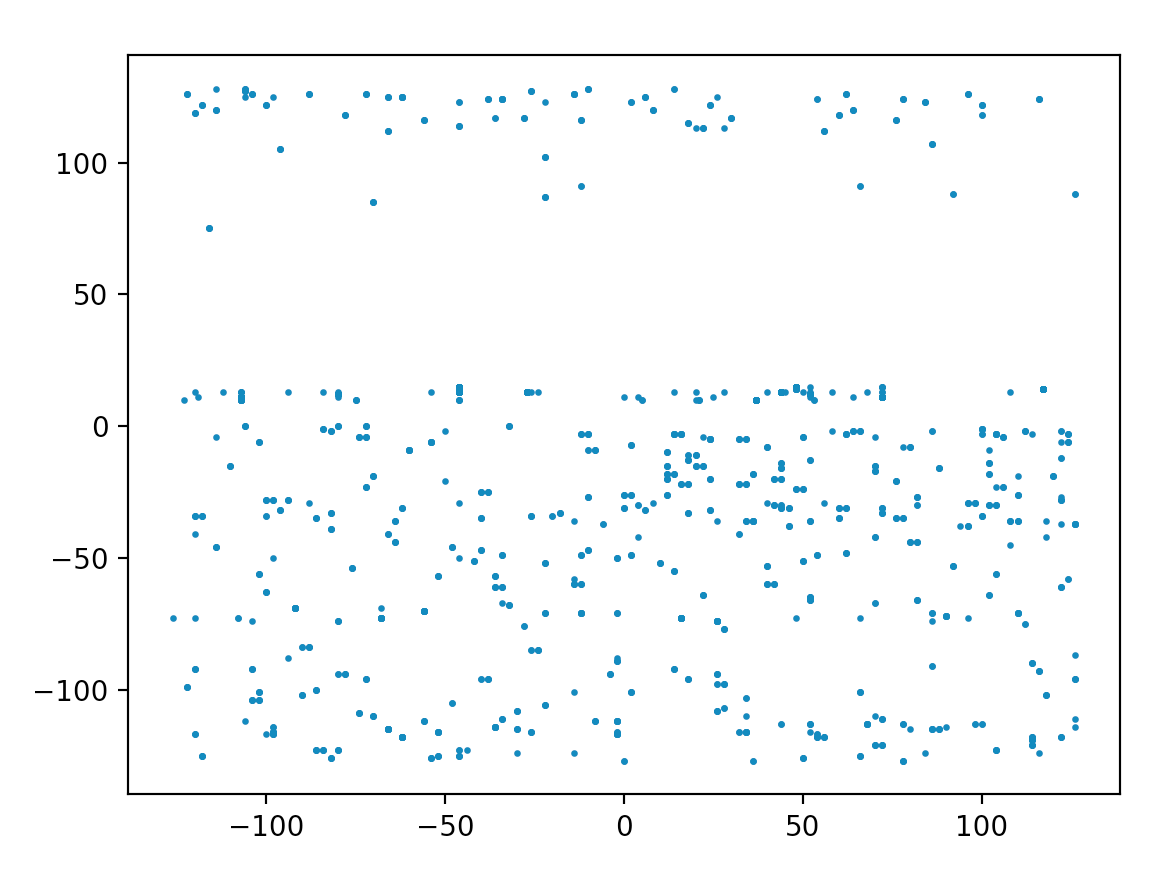 that makes no sense. Something is wrong. Which sucks because the file opens with:
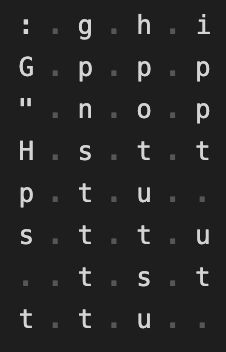
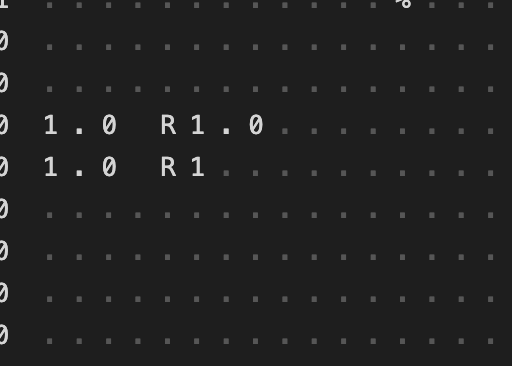 which looks very much like a version string. So I was hoping it would be right.
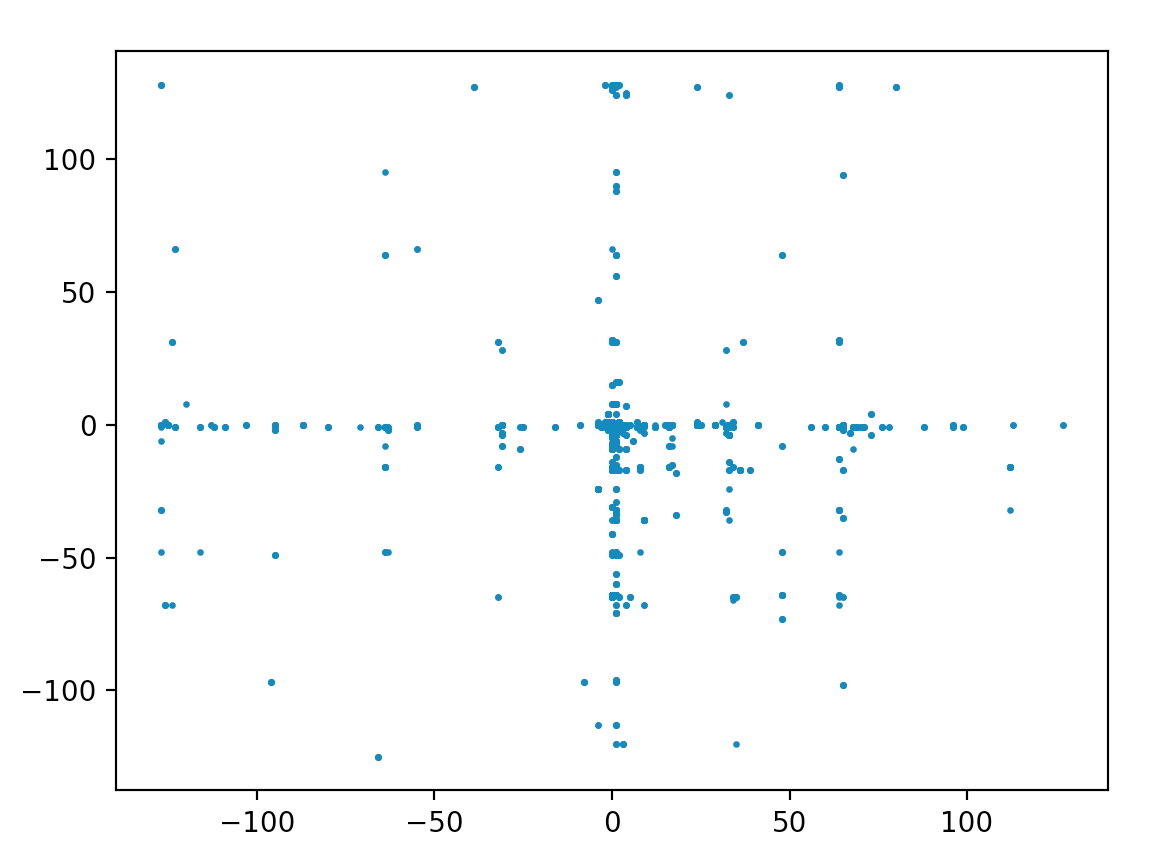 That looks good - because this card contains text, it makes since that there's only side to side and up and down motions. But converting to positions yield:
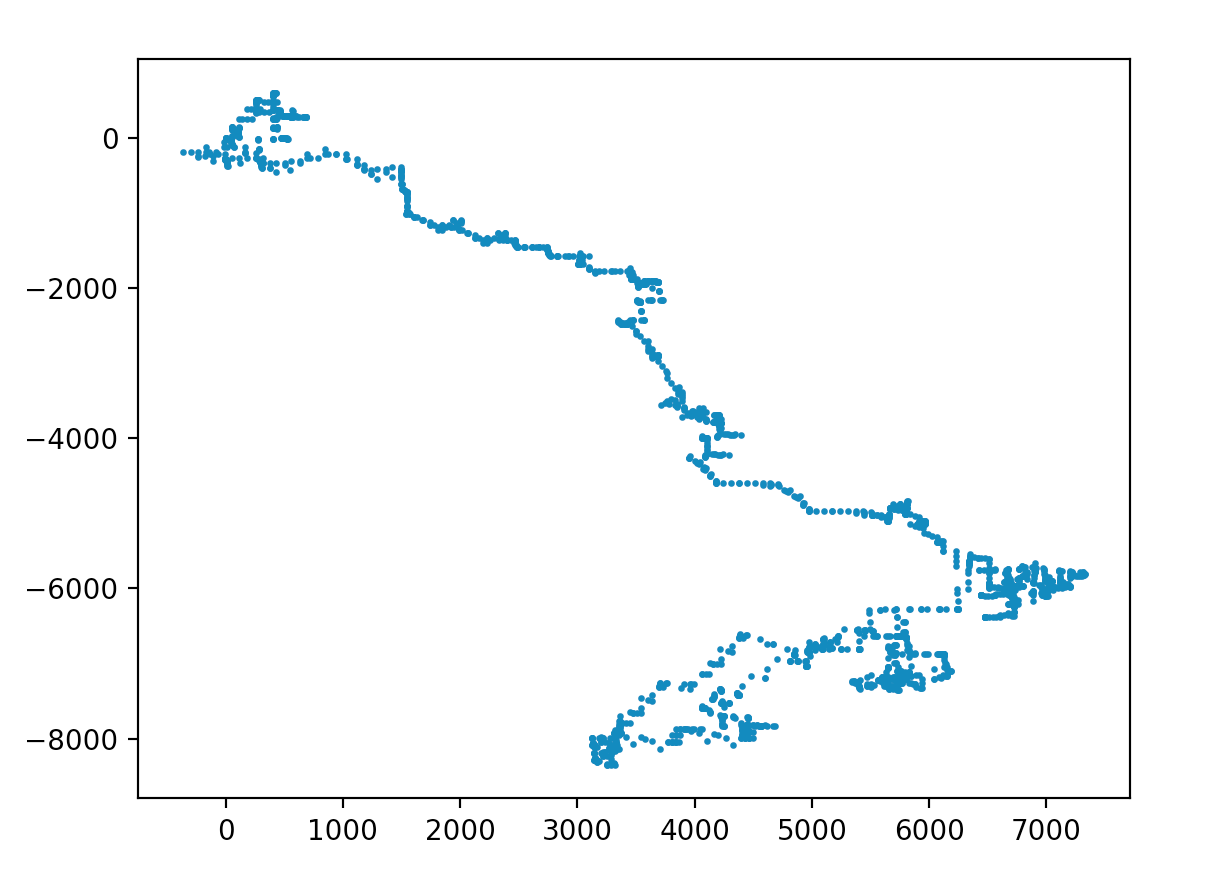
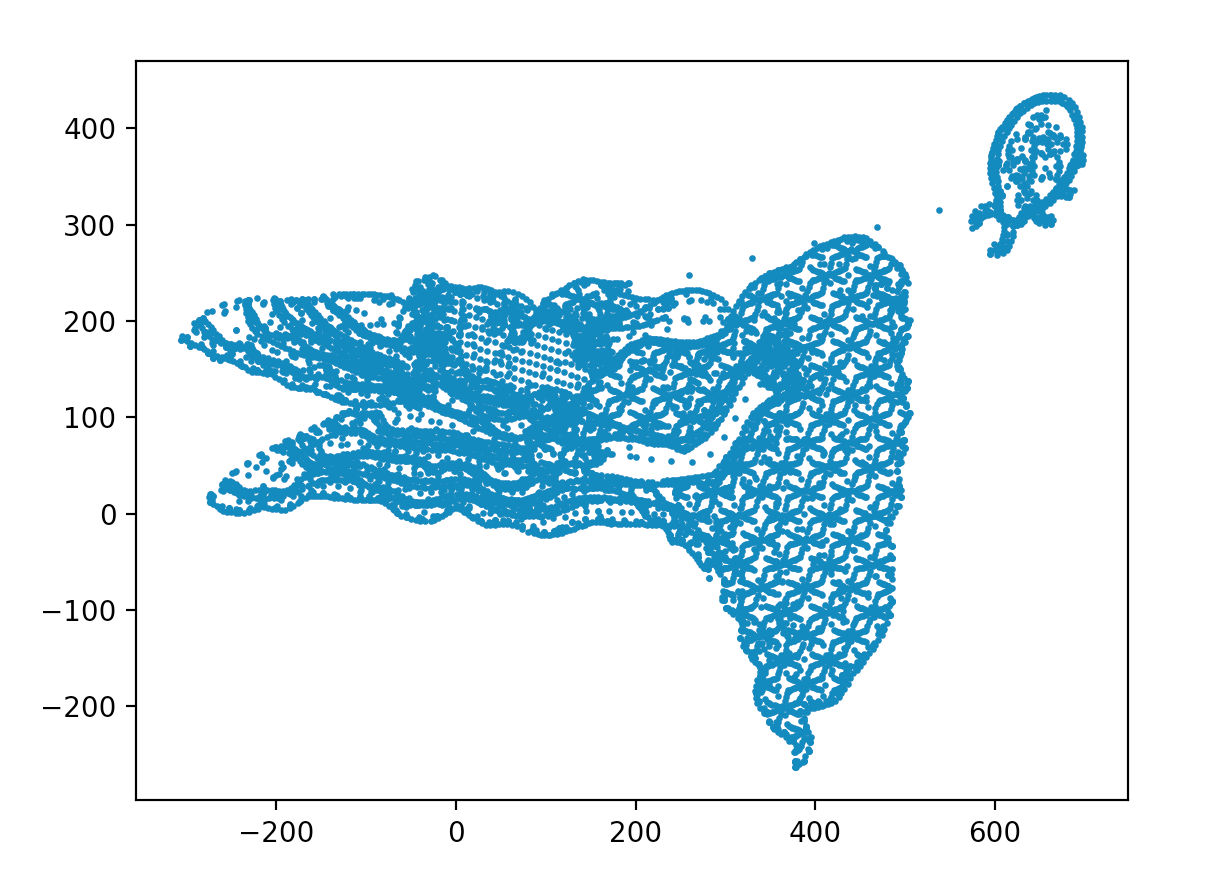
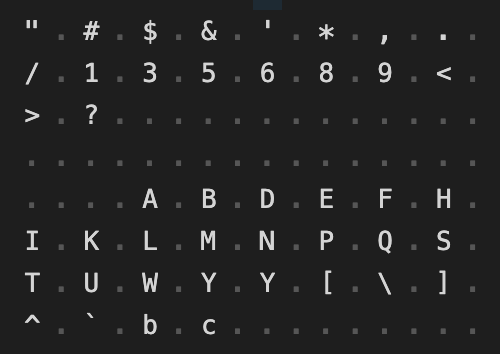
 Lovely. But it's far too few points. Looking at the source code of the parser, it seeks the file to a magic number 0x1D78. Looking at the file in a hex editor, it's all zeros until that address. On my readout, it looks like the data starts at 0x3000 so I set it to seek there. Interesting point, my filler bytes are all 0xFF not 0x00
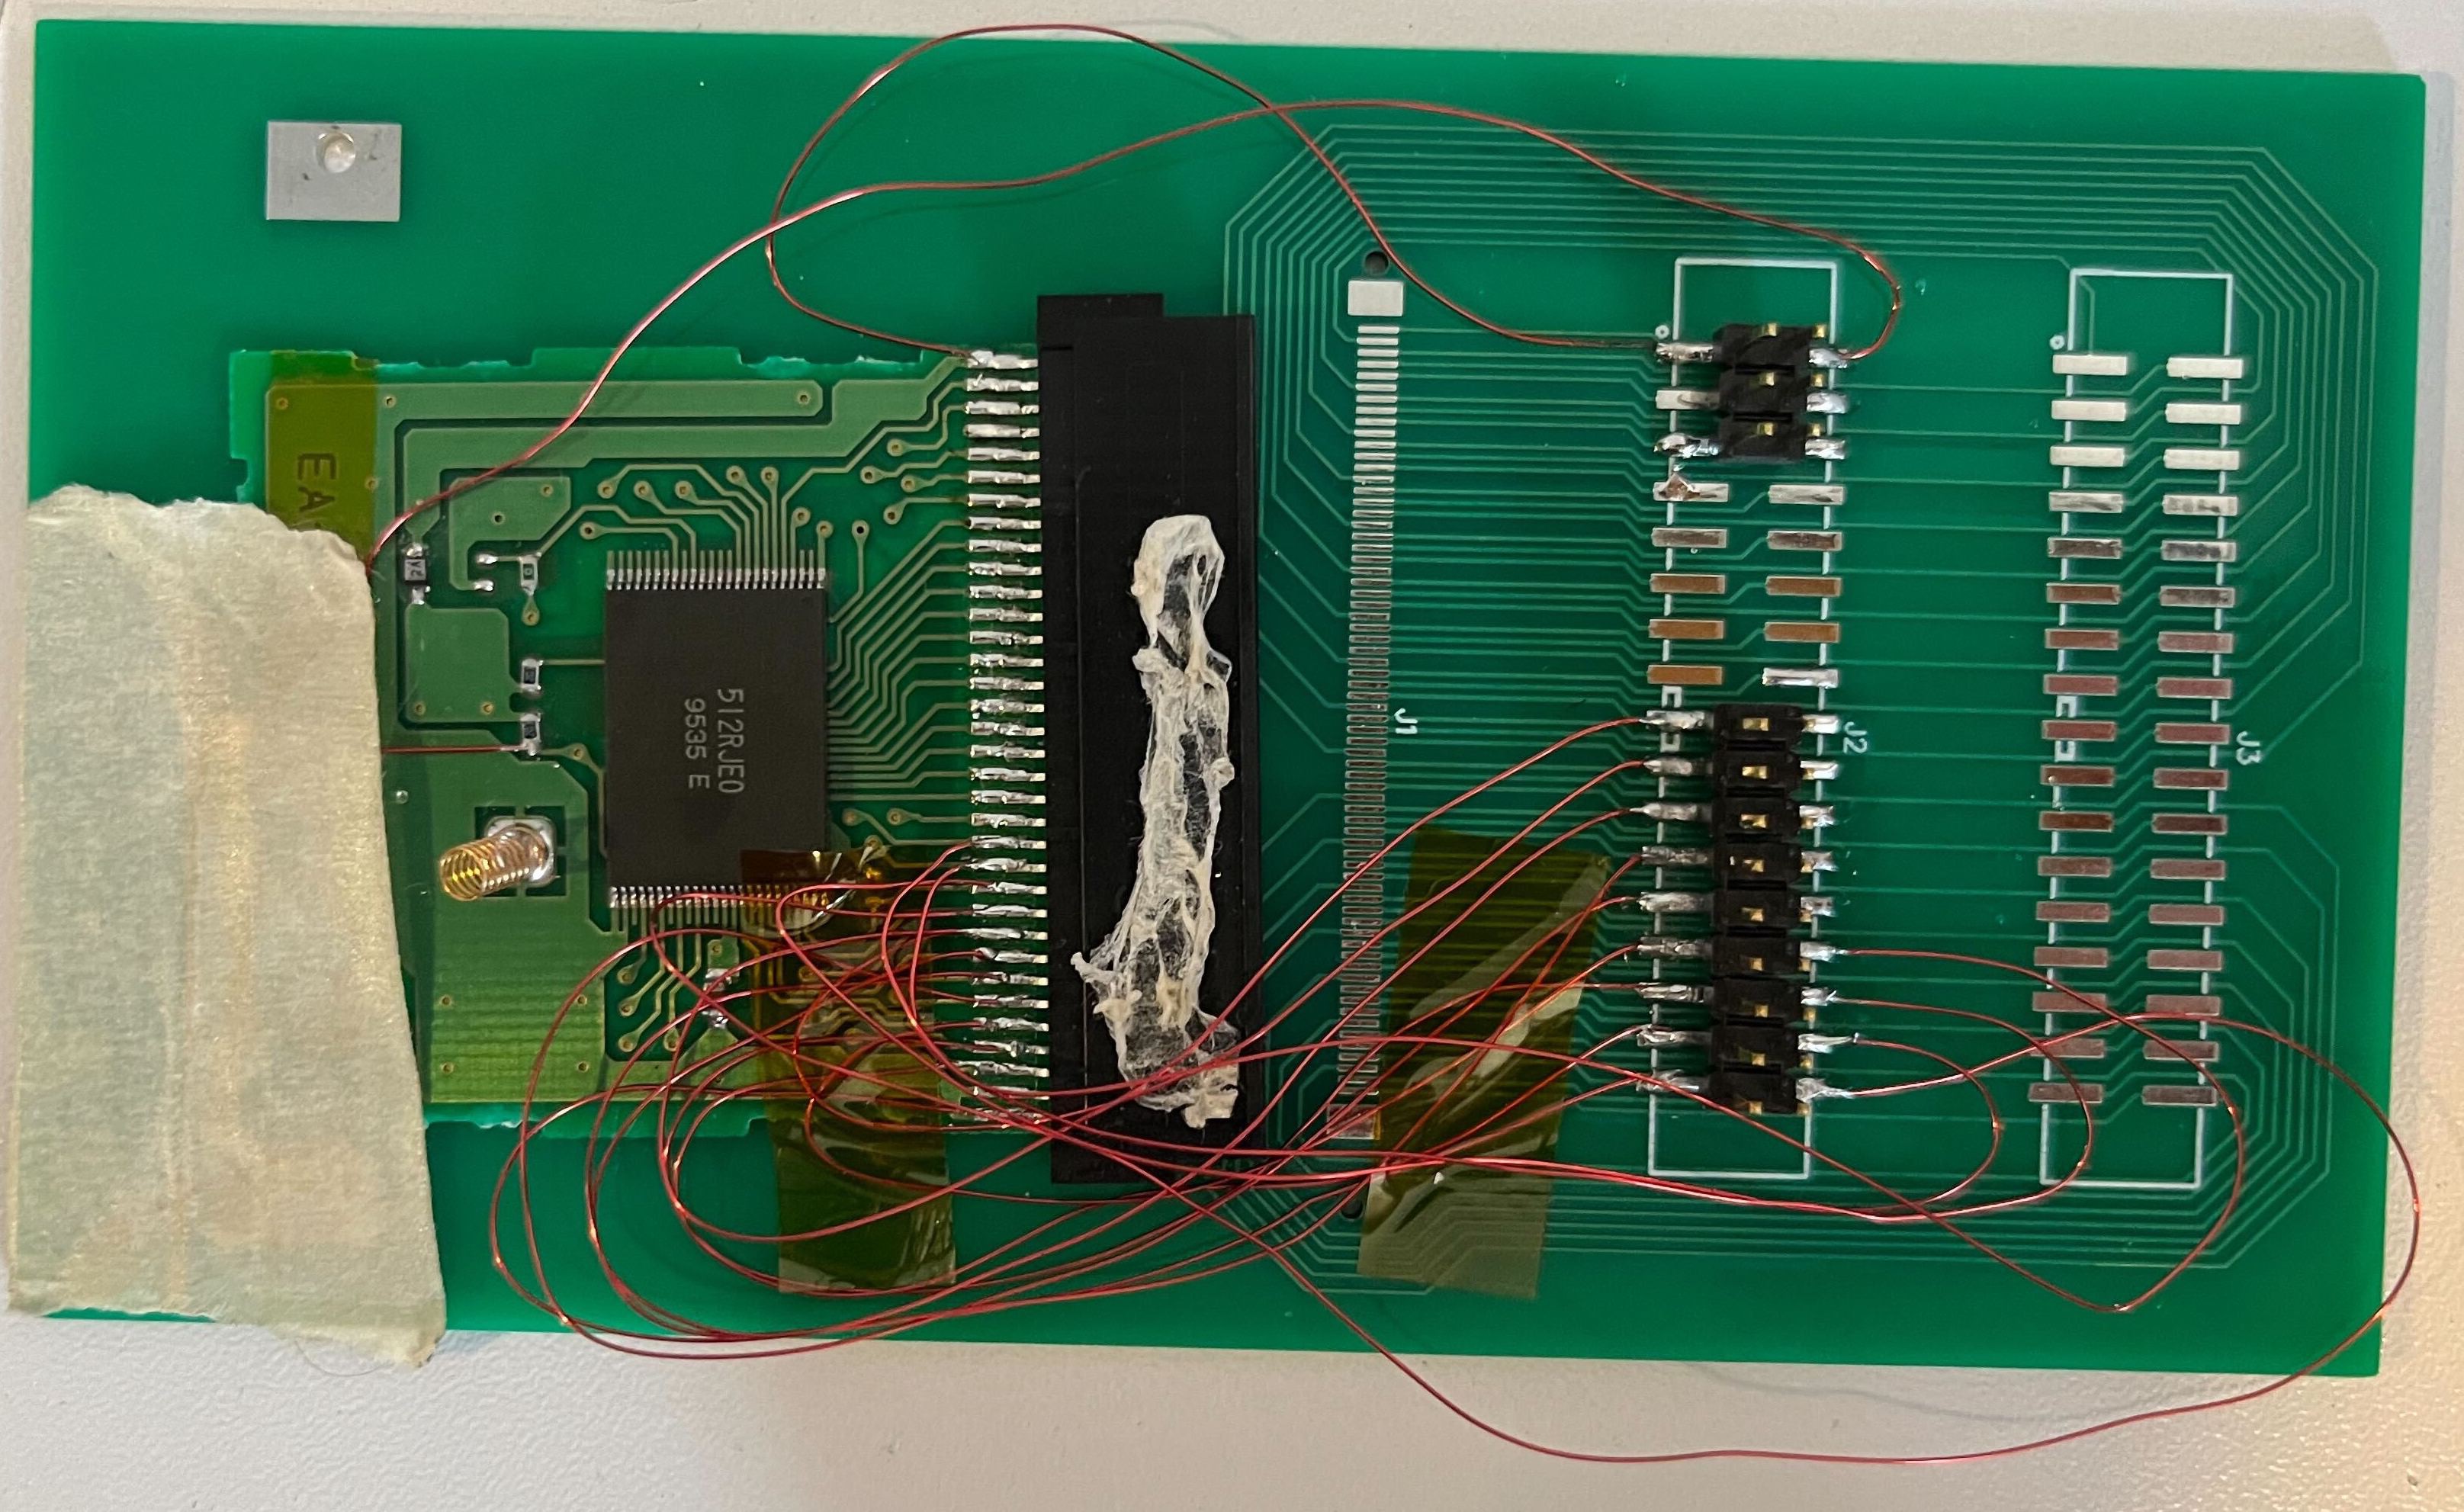
 The culprit. It's a 34-pin PCMCIA card (type I?). On inside is a few pull-ups and decoupling cap and a non-descript ROM
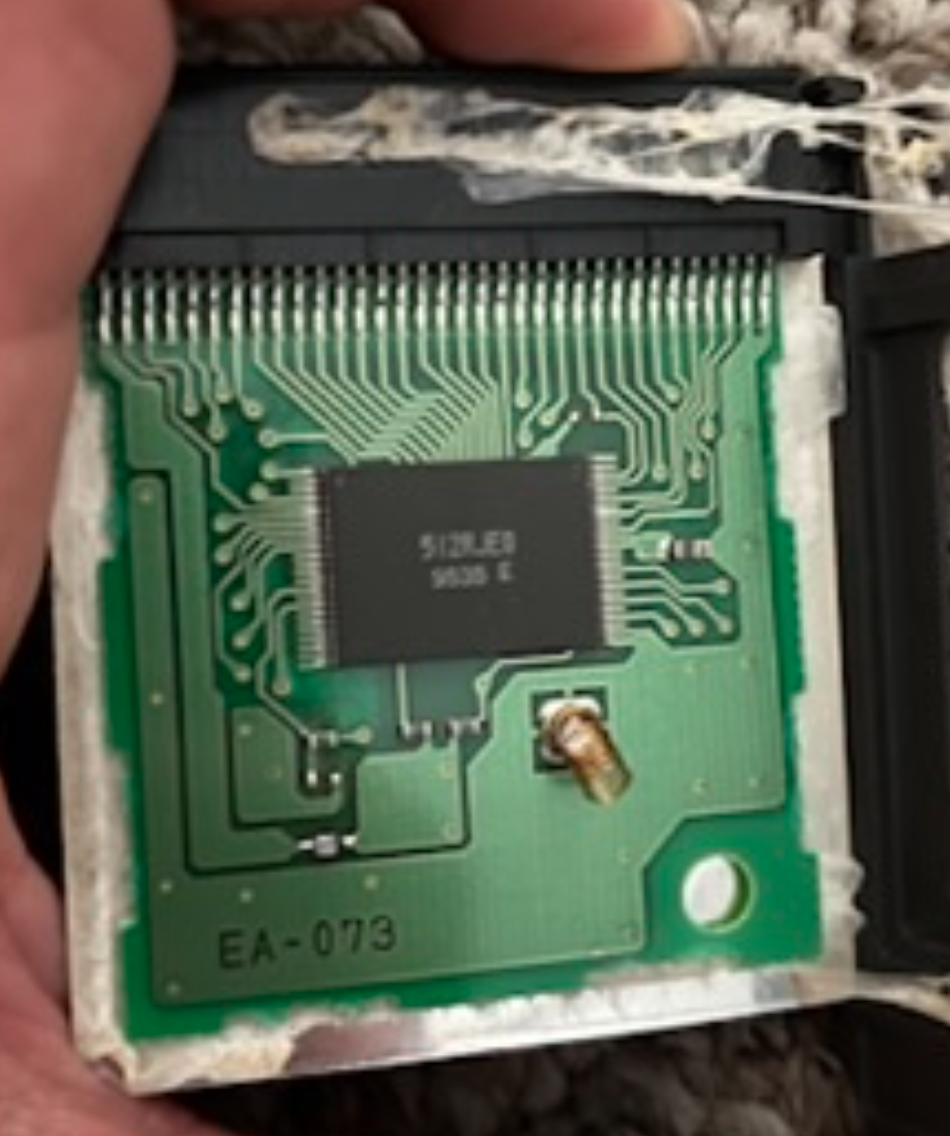 I ohm'd out power and ground and it didn't fit the standard pinouts for ROMs ICs or PC card / PCMCIA connectors. But after a bunch of digging and looking at old memory ICs, I found this:
 Power and ground matched up and after ohm'ing out the rest of the pins, I'm fairly confident it's the right part:
- BYTE is hard-tied to ground means D8-D14 are high-Z and are not connected on the memory card
- Pull-ups are present on CE and OE
- A19 and A20 are not connected which makes sense, probably a lower capacity ROM
Power and ground matched up and after ohm'ing out the rest of the pins, I'm fairly confident it's the right part:
- BYTE is hard-tied to ground means D8-D14 are high-Z and are not connected on the memory card
- Pull-ups are present on CE and OE
- A19 and A20 are not connected which makes sense, probably a lower capacity ROM


 James Ots
 techknight
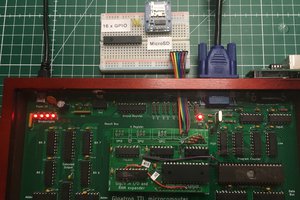
 Marcel van Kervinck
 land-boards.com
Could you upload the raw data from the card? I would like to look at.