 Vassily98
Overview
Model railroading is one of the countless way of representing our world into a small space. Miniaturization is pushing it to sizes never imagined before. Everything has to shrink down: buildings, cars, semaphores and obviously trains. And this has been the trend for the past century. As cars and helicopters got some sort of live cameras, mostly easily due to the bigger dimensions and tolerances required, less has been done regarding trains.
Getting some sort of first person control from my trains has been on my wishlist for ages, and this contest is the right time to do so. And to be even more masochistic, I'm going to do it in N scale (1:160).
Materials and equipment
N scale is small. That means getting the smallest possible camera, the smallest possible VTX and a way to power them reliably. Excluding the base wagon, the entire assembly has to fit in a space of 100x23x20mm. The power supply can't be derived from the rails, as it would suffer heavily from short interruptions and interferences. The full list of the material required is available under the components tab, but the main devices are described below.
For the camera I have chosed a RUNCAM NANO 4, featuring a decent image quality in the size of 14x14x14mm. Input voltage is 3,3-5,5V with a maximum current of 180mA. A resolution of 800TVL is sufficient enough for this application as well as light sensitivity.
The VTX is the TBS UNIFY PRO32 NANO 5G8. Is a very small device (15x13x2mm, excluding antenna) with high power (up to 500mW). My model railroad has hills and tunnels, so a good reception is important. This VTX was primarily chosed because the input voltage was indicated as 3,3V minimum, allowing for direct connection to a battery. However, after some discussion and debug with TBS, we finally found that 4,5V was now the minimum voltage required for the correct operation. So a voltage booster was now required.
Equipment needed is pretty standard and consists of:
- 3D printer;
- hot glue gun;
- soldering iron;
- hex screwdriver and pliers.
The total cost of the project is around 75€ (80USD).
For this project you also need the video receiver equipment typical of FPV(RTX, display, goggles, etc...) and a N scale wagon where you can mount the camera.
Operation
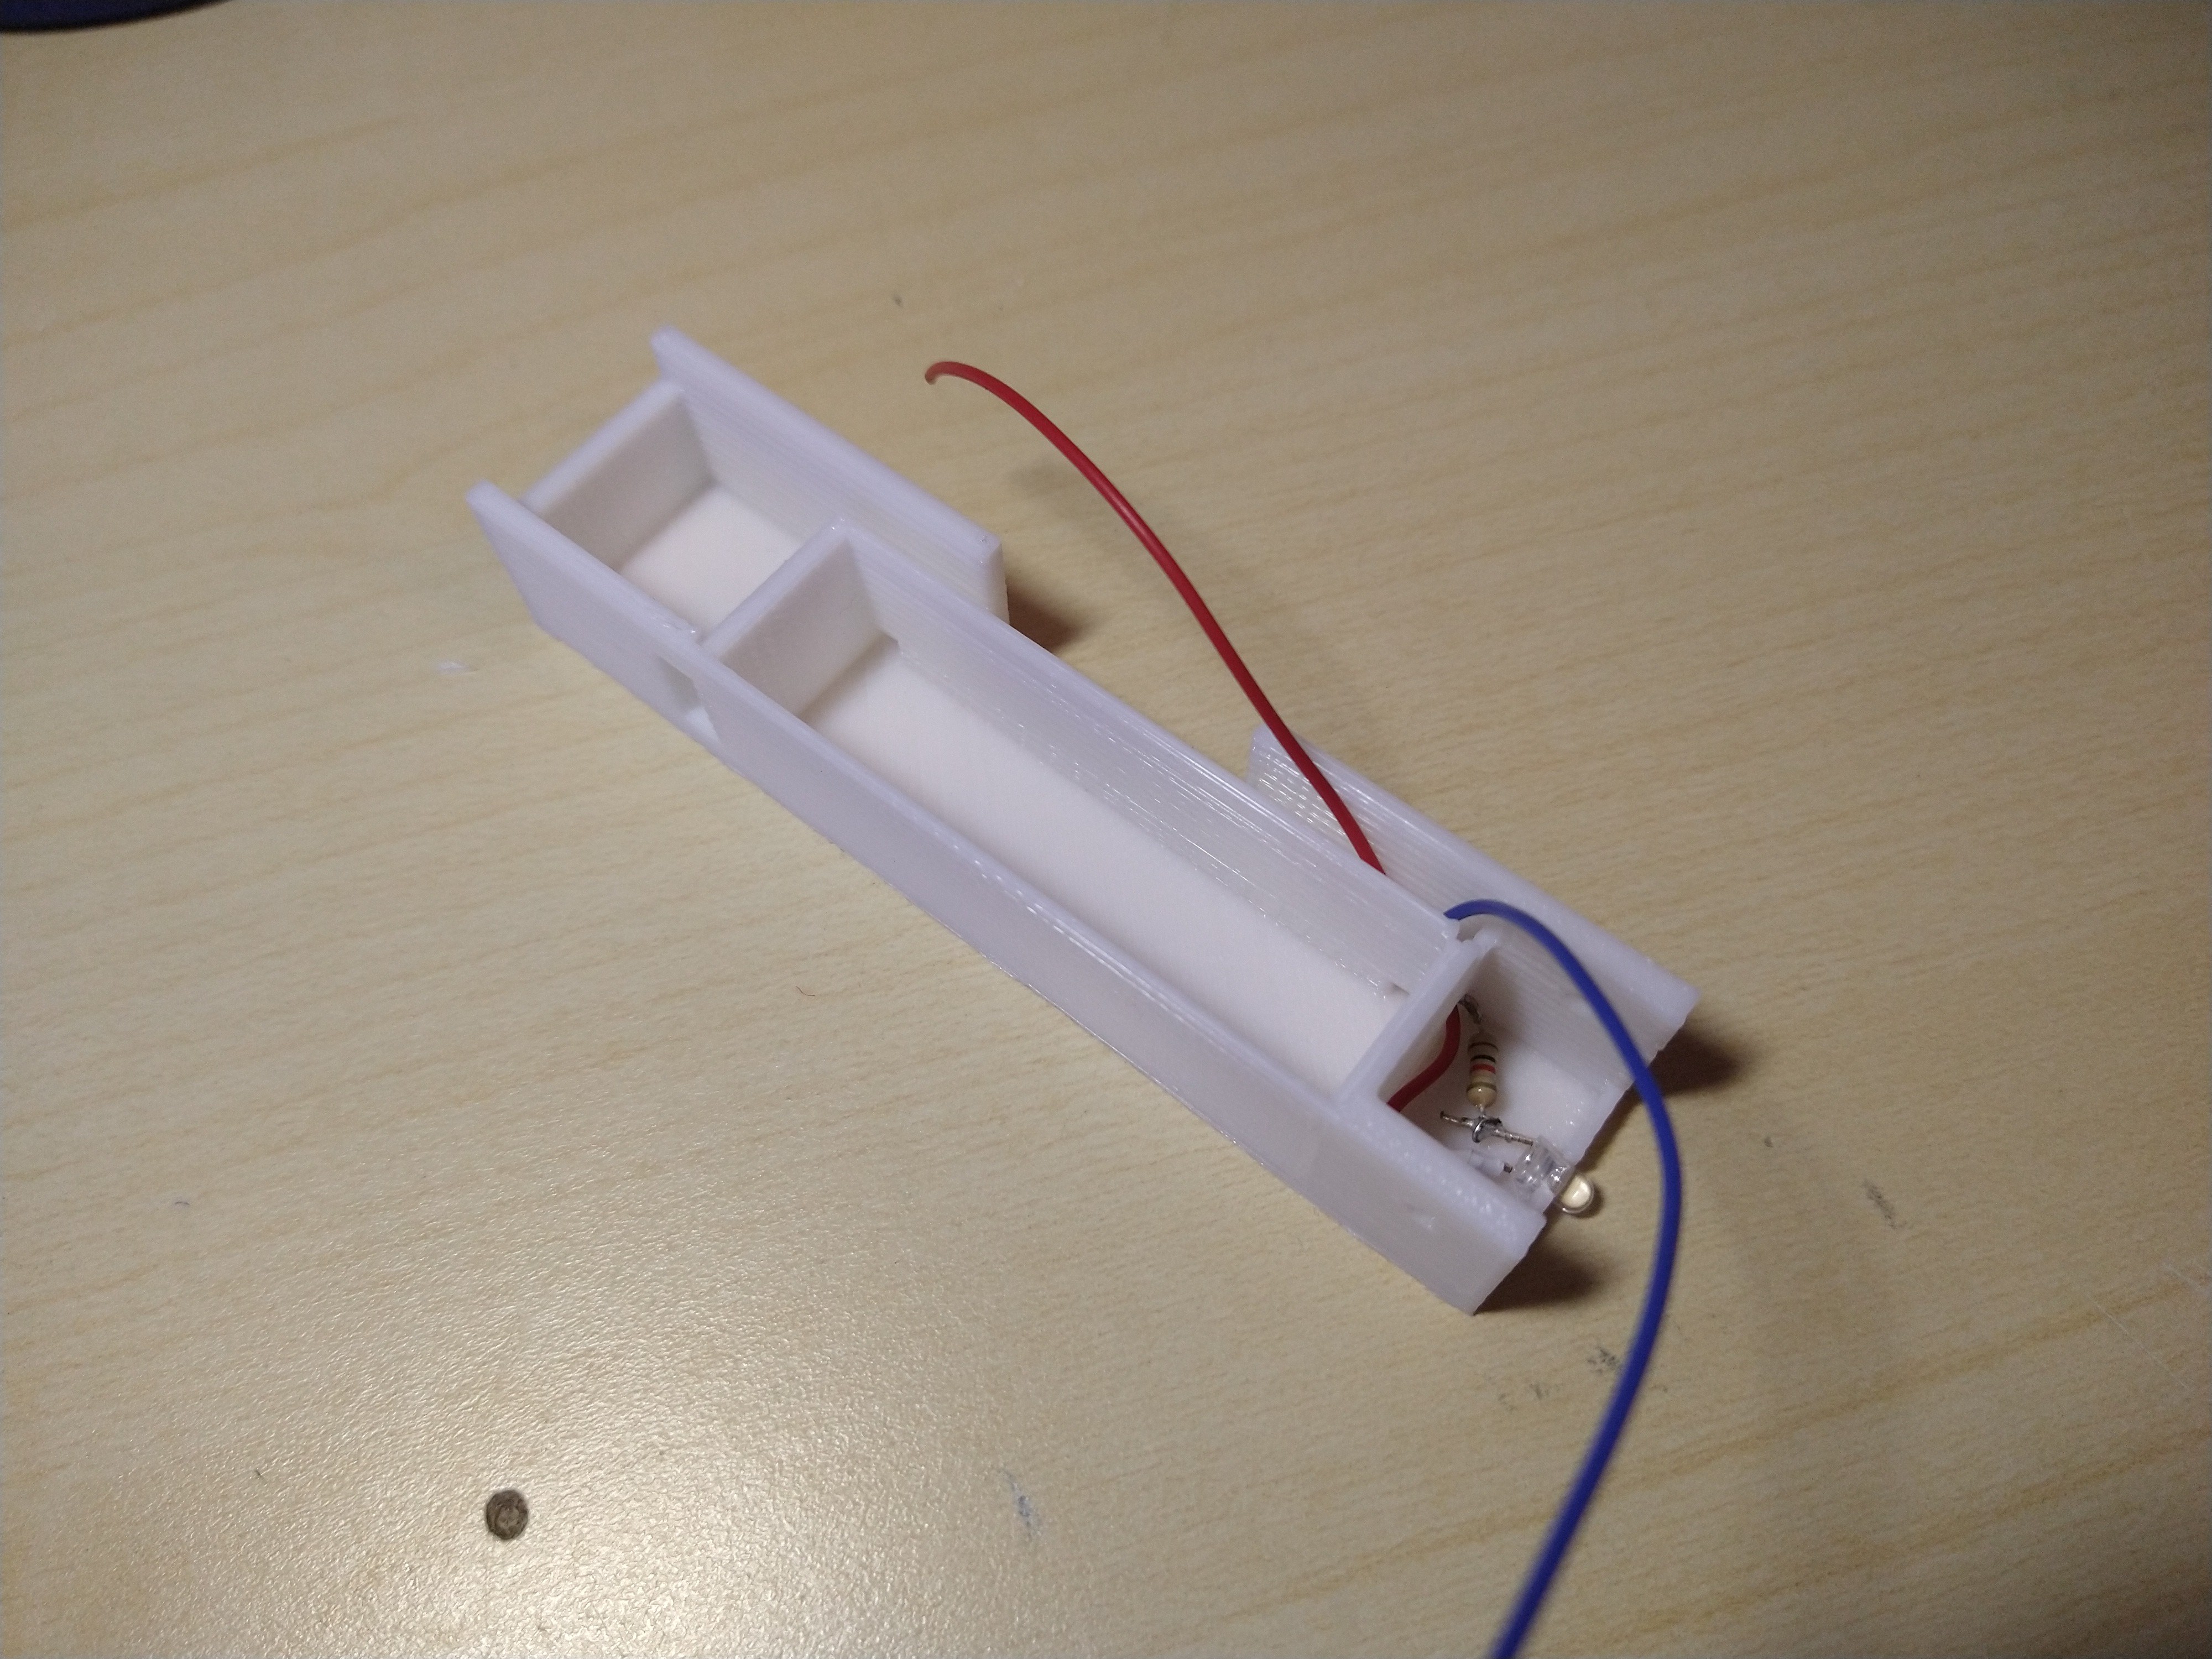
Be sure that the battery is fully charged and calculate the operating time for you battery capacity (I didn't have space for a battery protection circuit!). Be sure to avoid overdischarge. The camera will start transmitting as soon as the battery is connected. Use the microswitch to control the LED. It might be useful in dark situation, but in daylight it is not necessary.
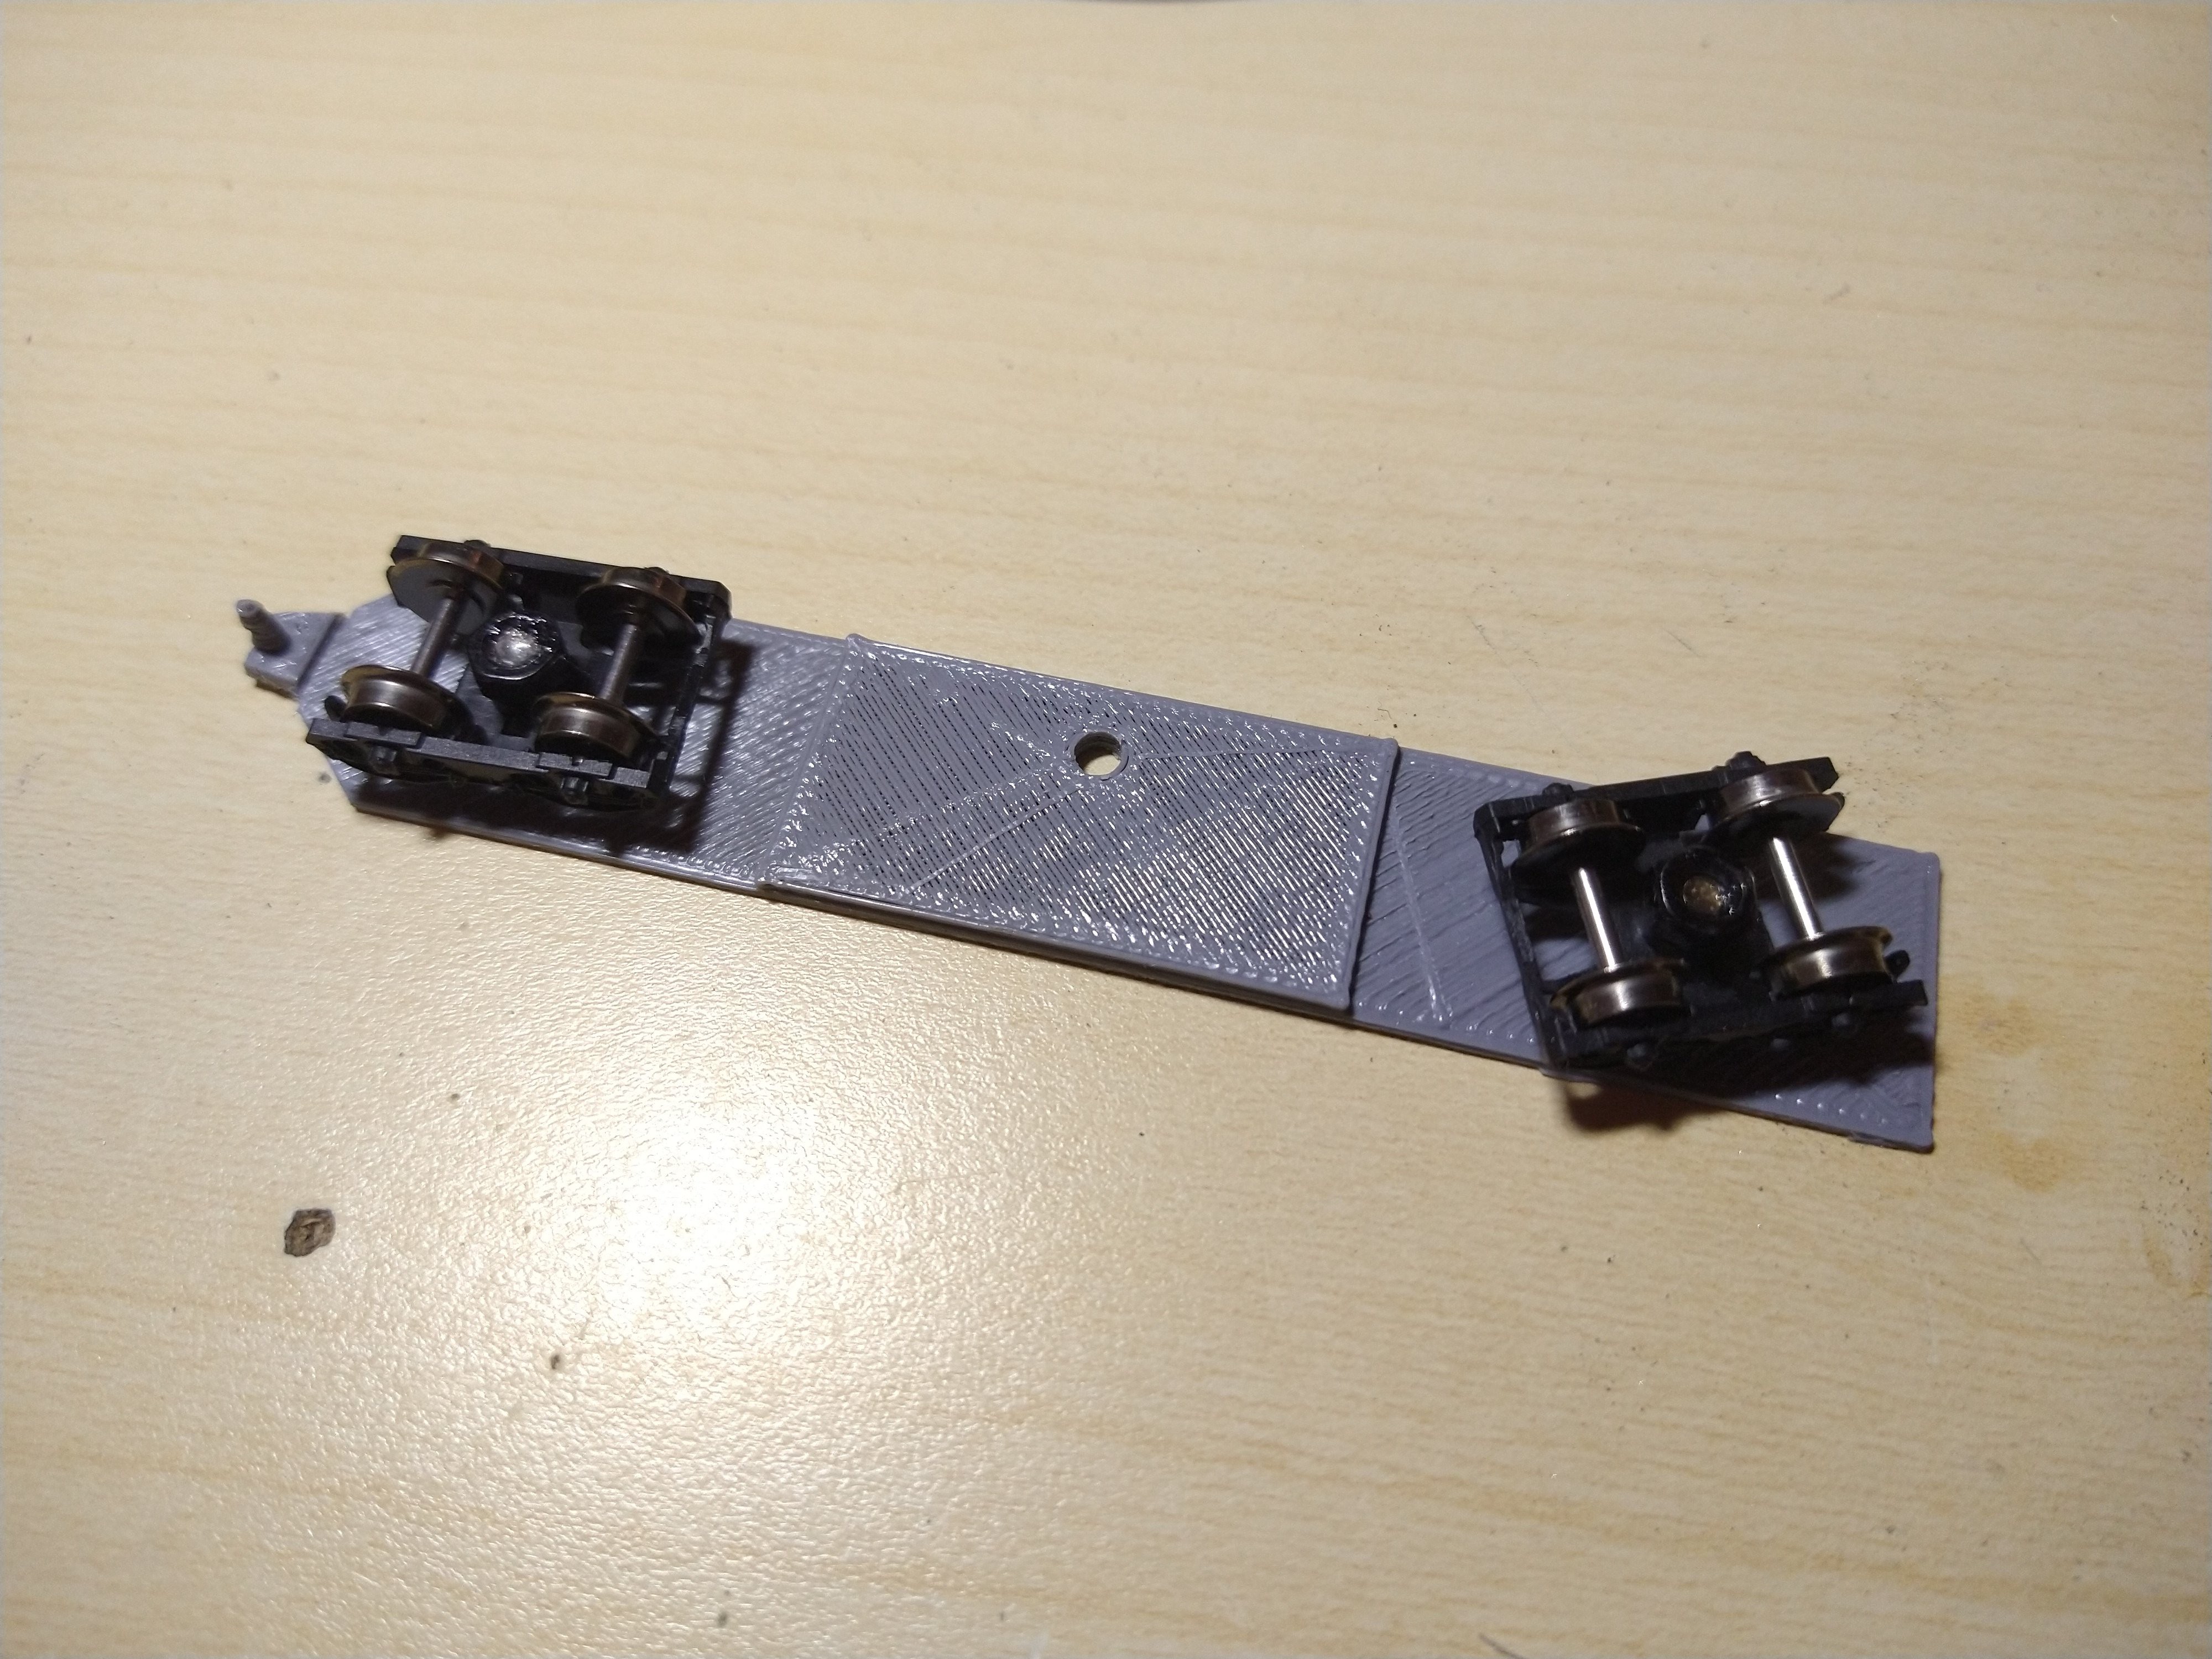
Place the system on a compatible wagon and secure it in place. A container wagon should be big enough. I had some wheel assemblies available as spares, so I decided to print a custom wagon. The 3D file is available below.
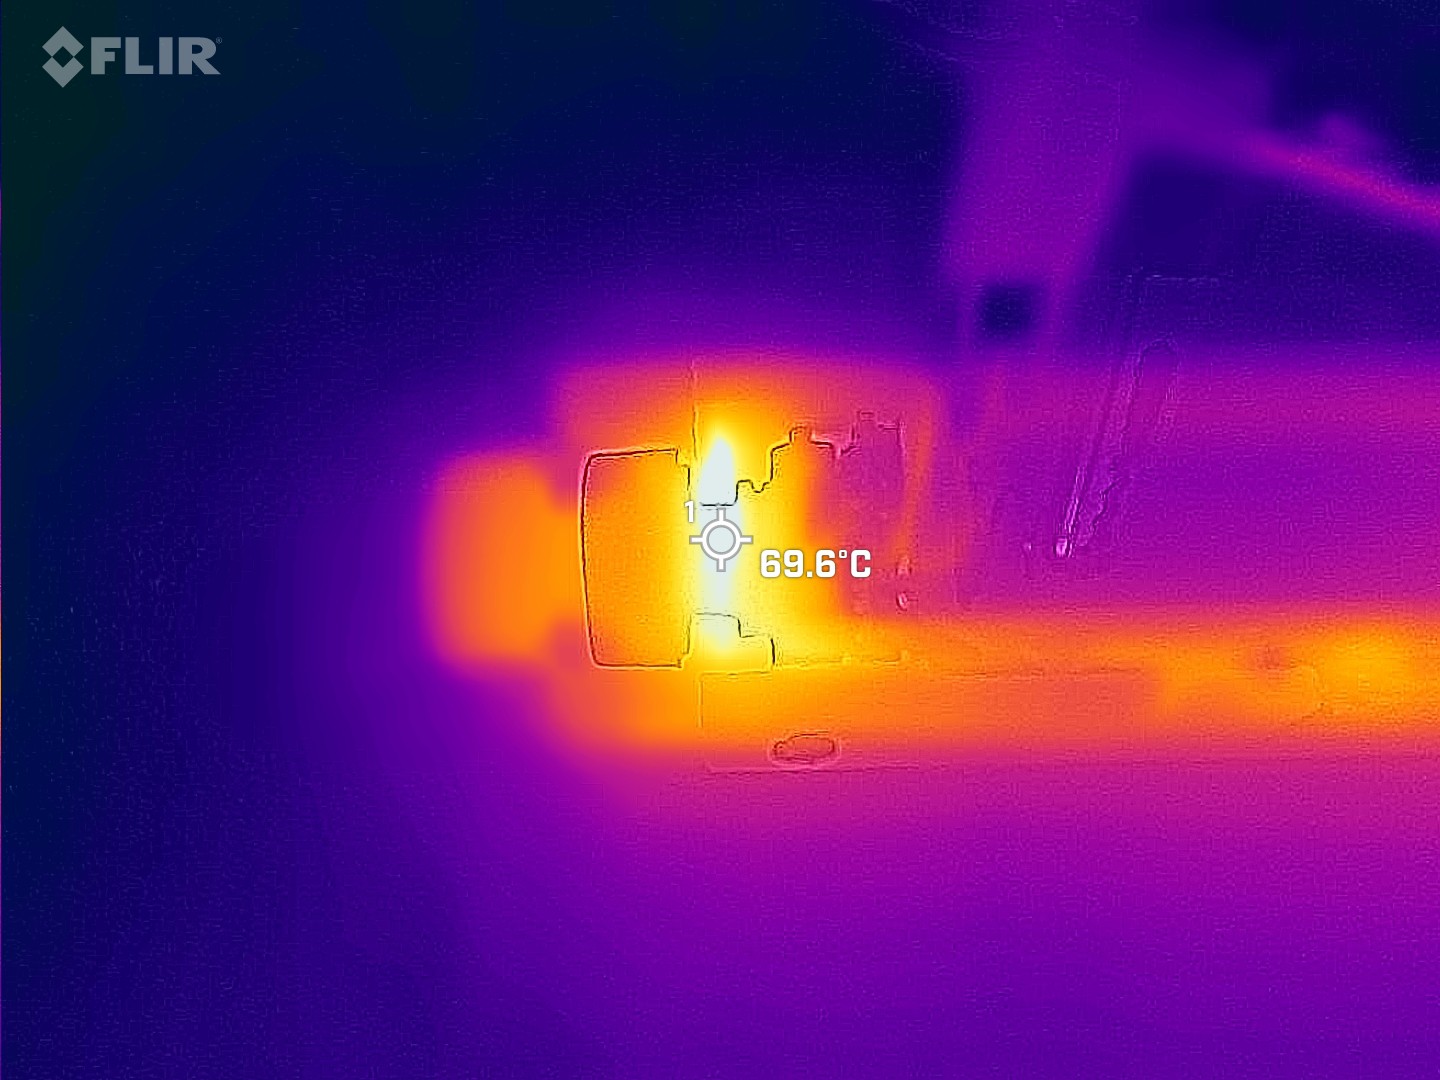
Everything is going to heat up a bit during operation, however the temperature of the plastic housing should not reach worrying values. The maximum temperature was measured at the VTX.

I did a test run on my layout, which it is currently in construction. Please don't judge it by its current state :)


 andyhull
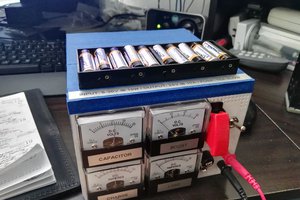
 David Scholten
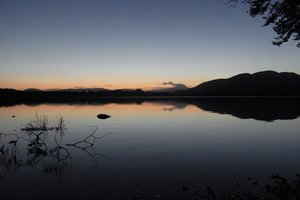
 DrYerzinia
A supercap and a little filtering (a few ordinary capacitors and maybe a choke) would solve the problem of intermittent and noisy track power.