 Michael Perrone
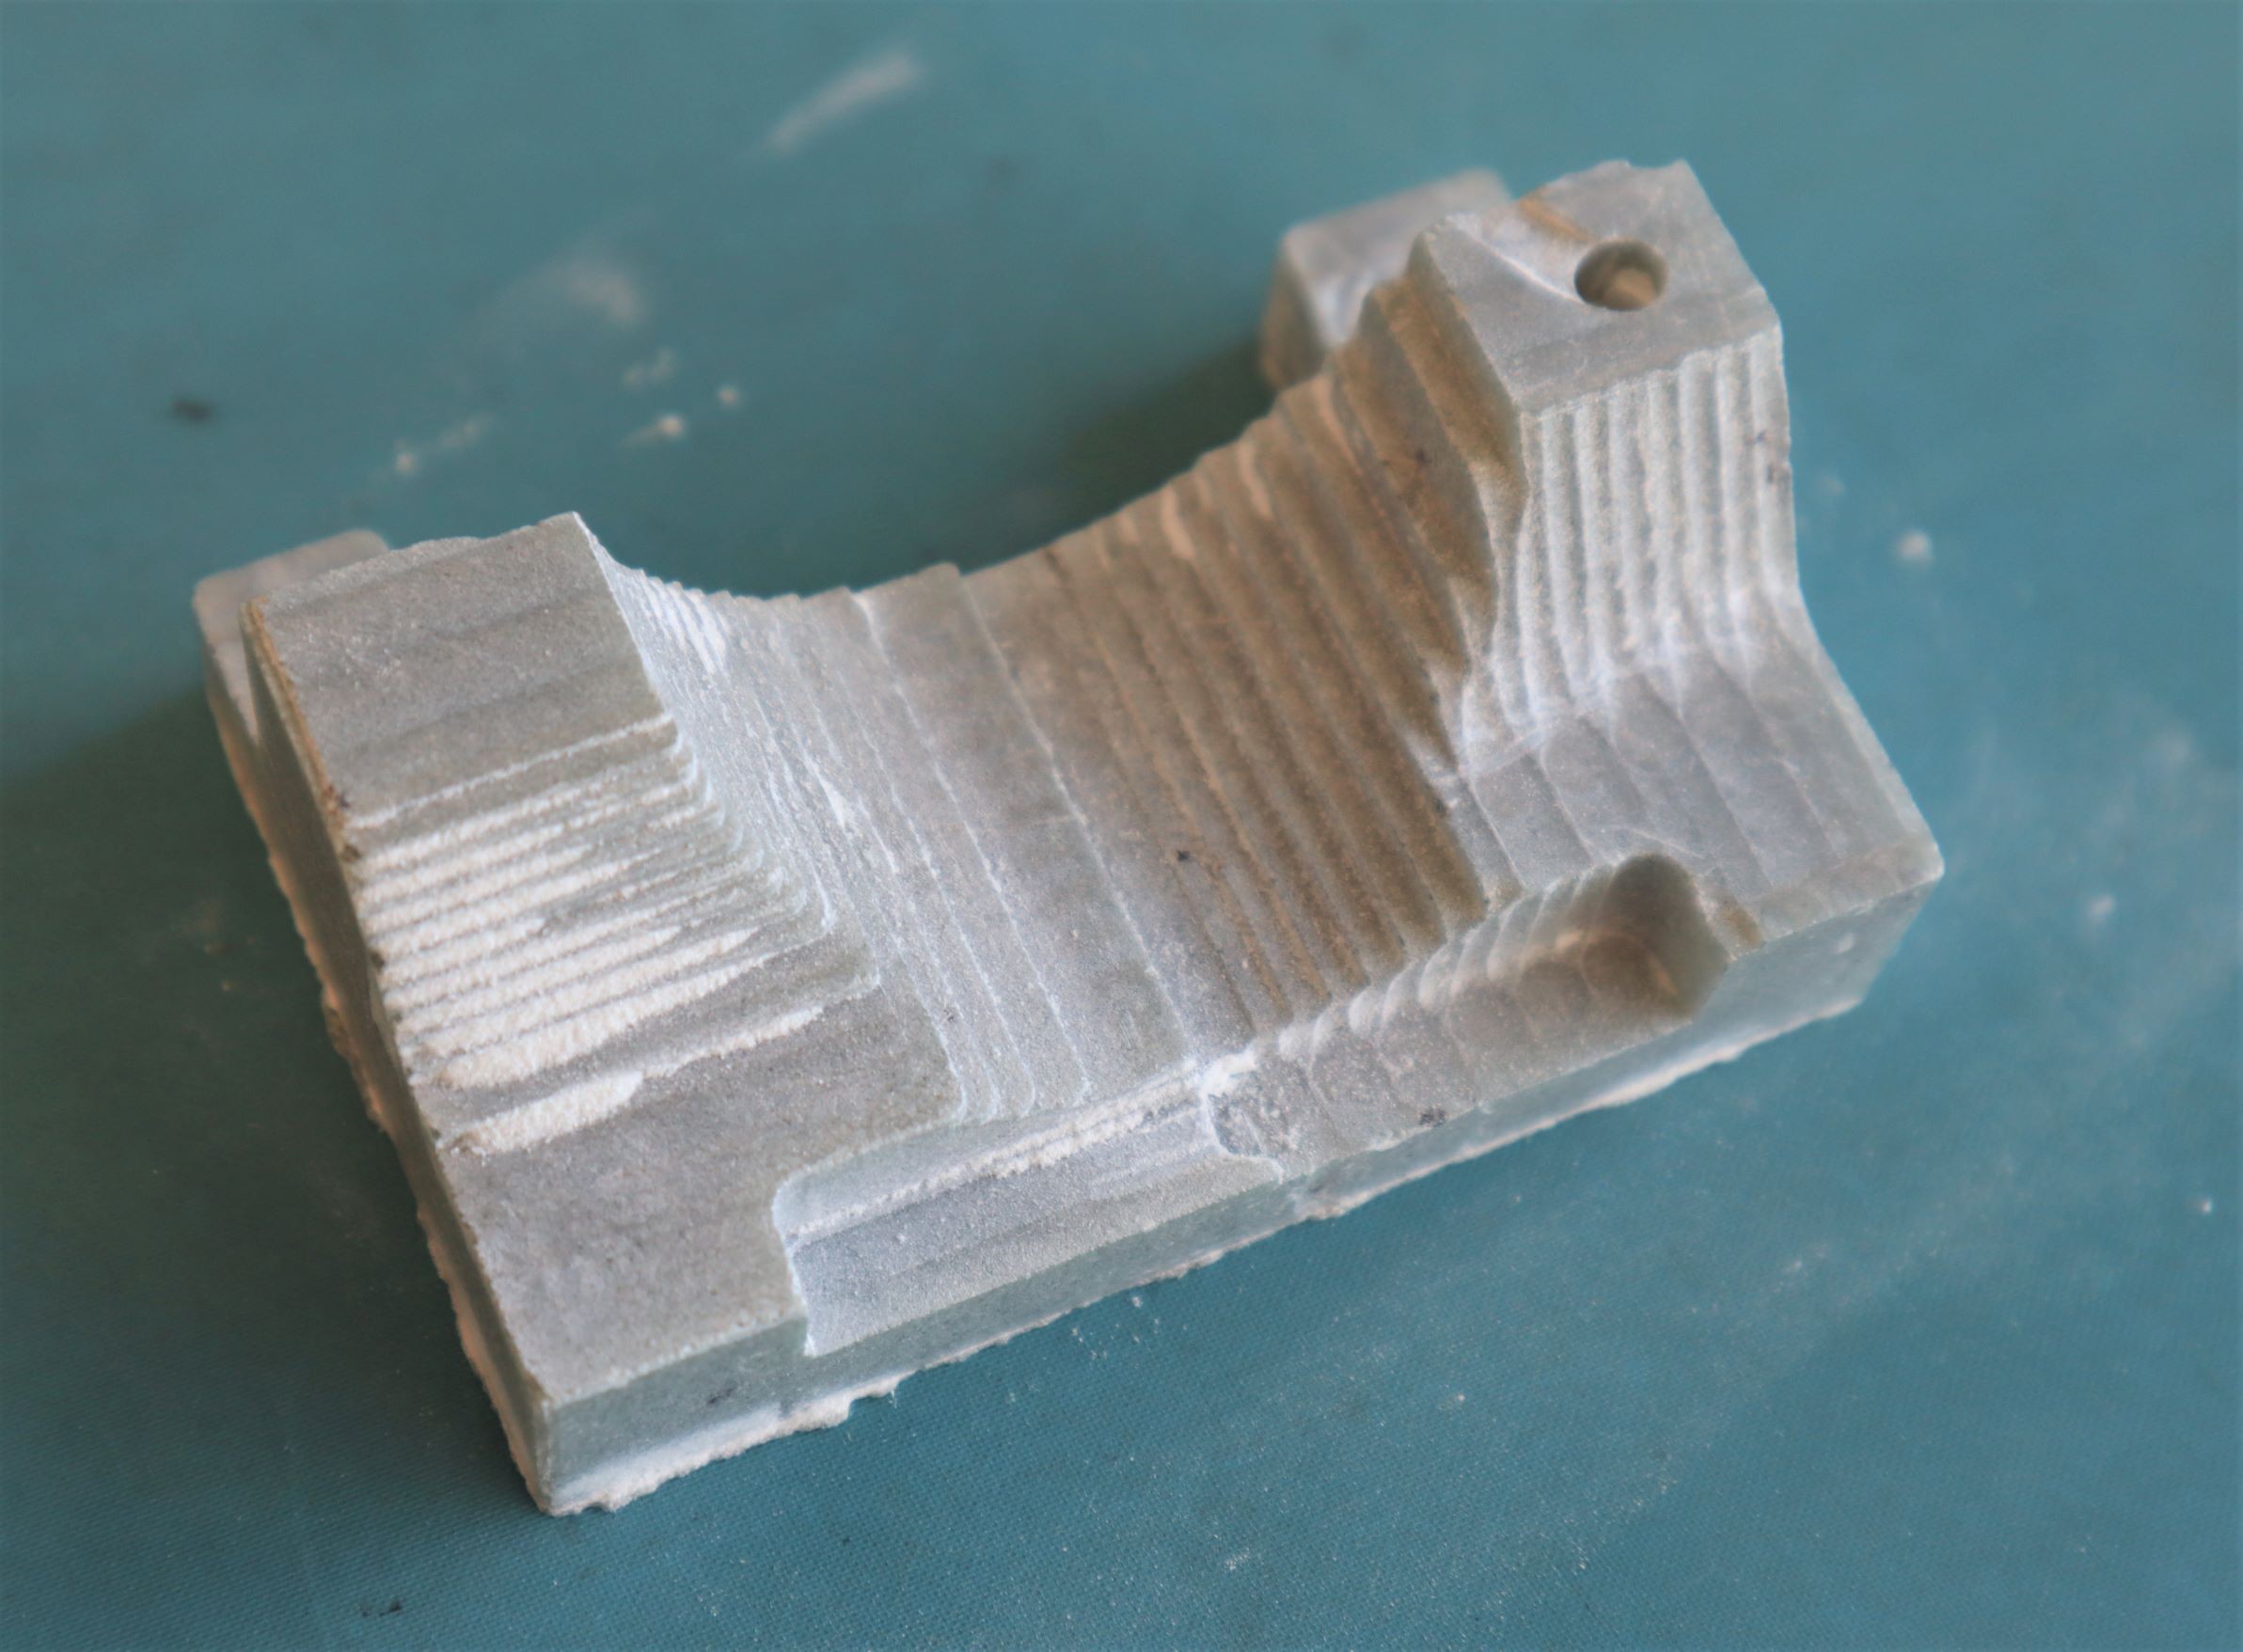
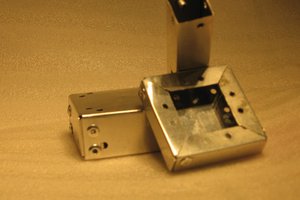
Finished part after firing
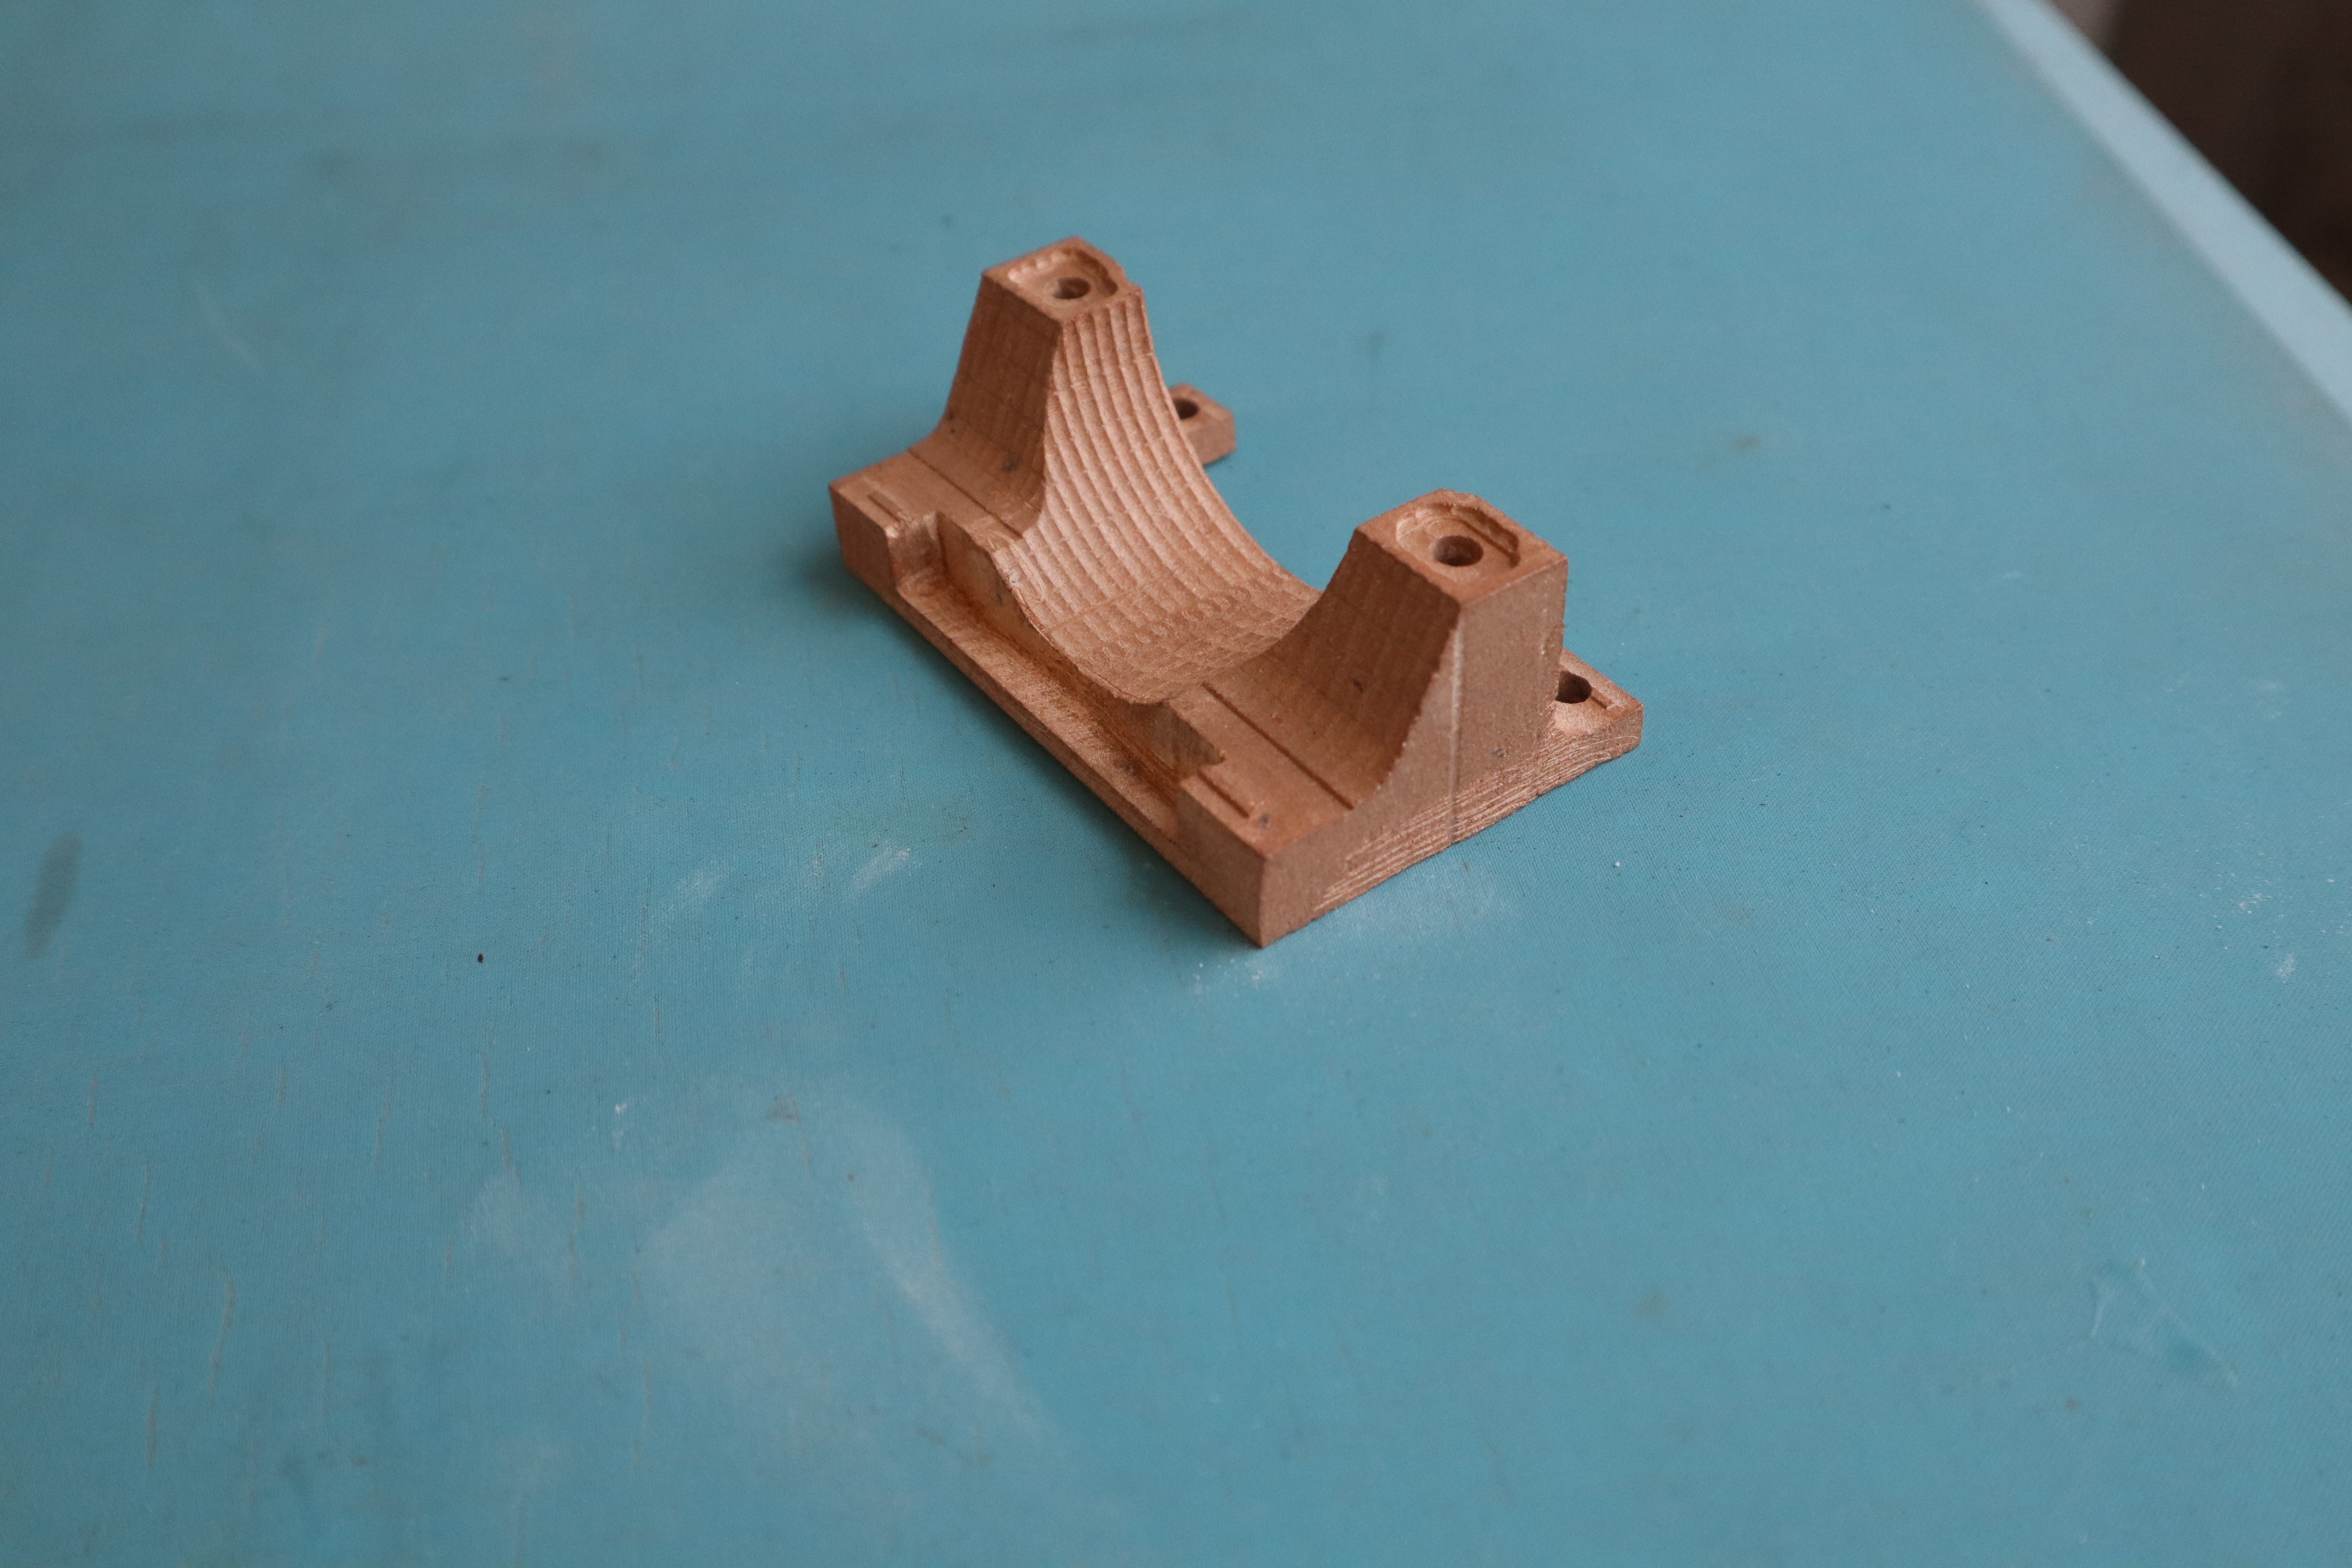
Soapstone varies wildly in hardness depending on the talc content.
Carving grade soapstone can have up to 80% talc. Being soft enough to
be machined with basic milling bits and able to hold small details
makes soapstone an excellent candidate for machining parts. The fired
stone ranges from 5.5-6.5 on the Mohs hardness scale, making it more
durable.
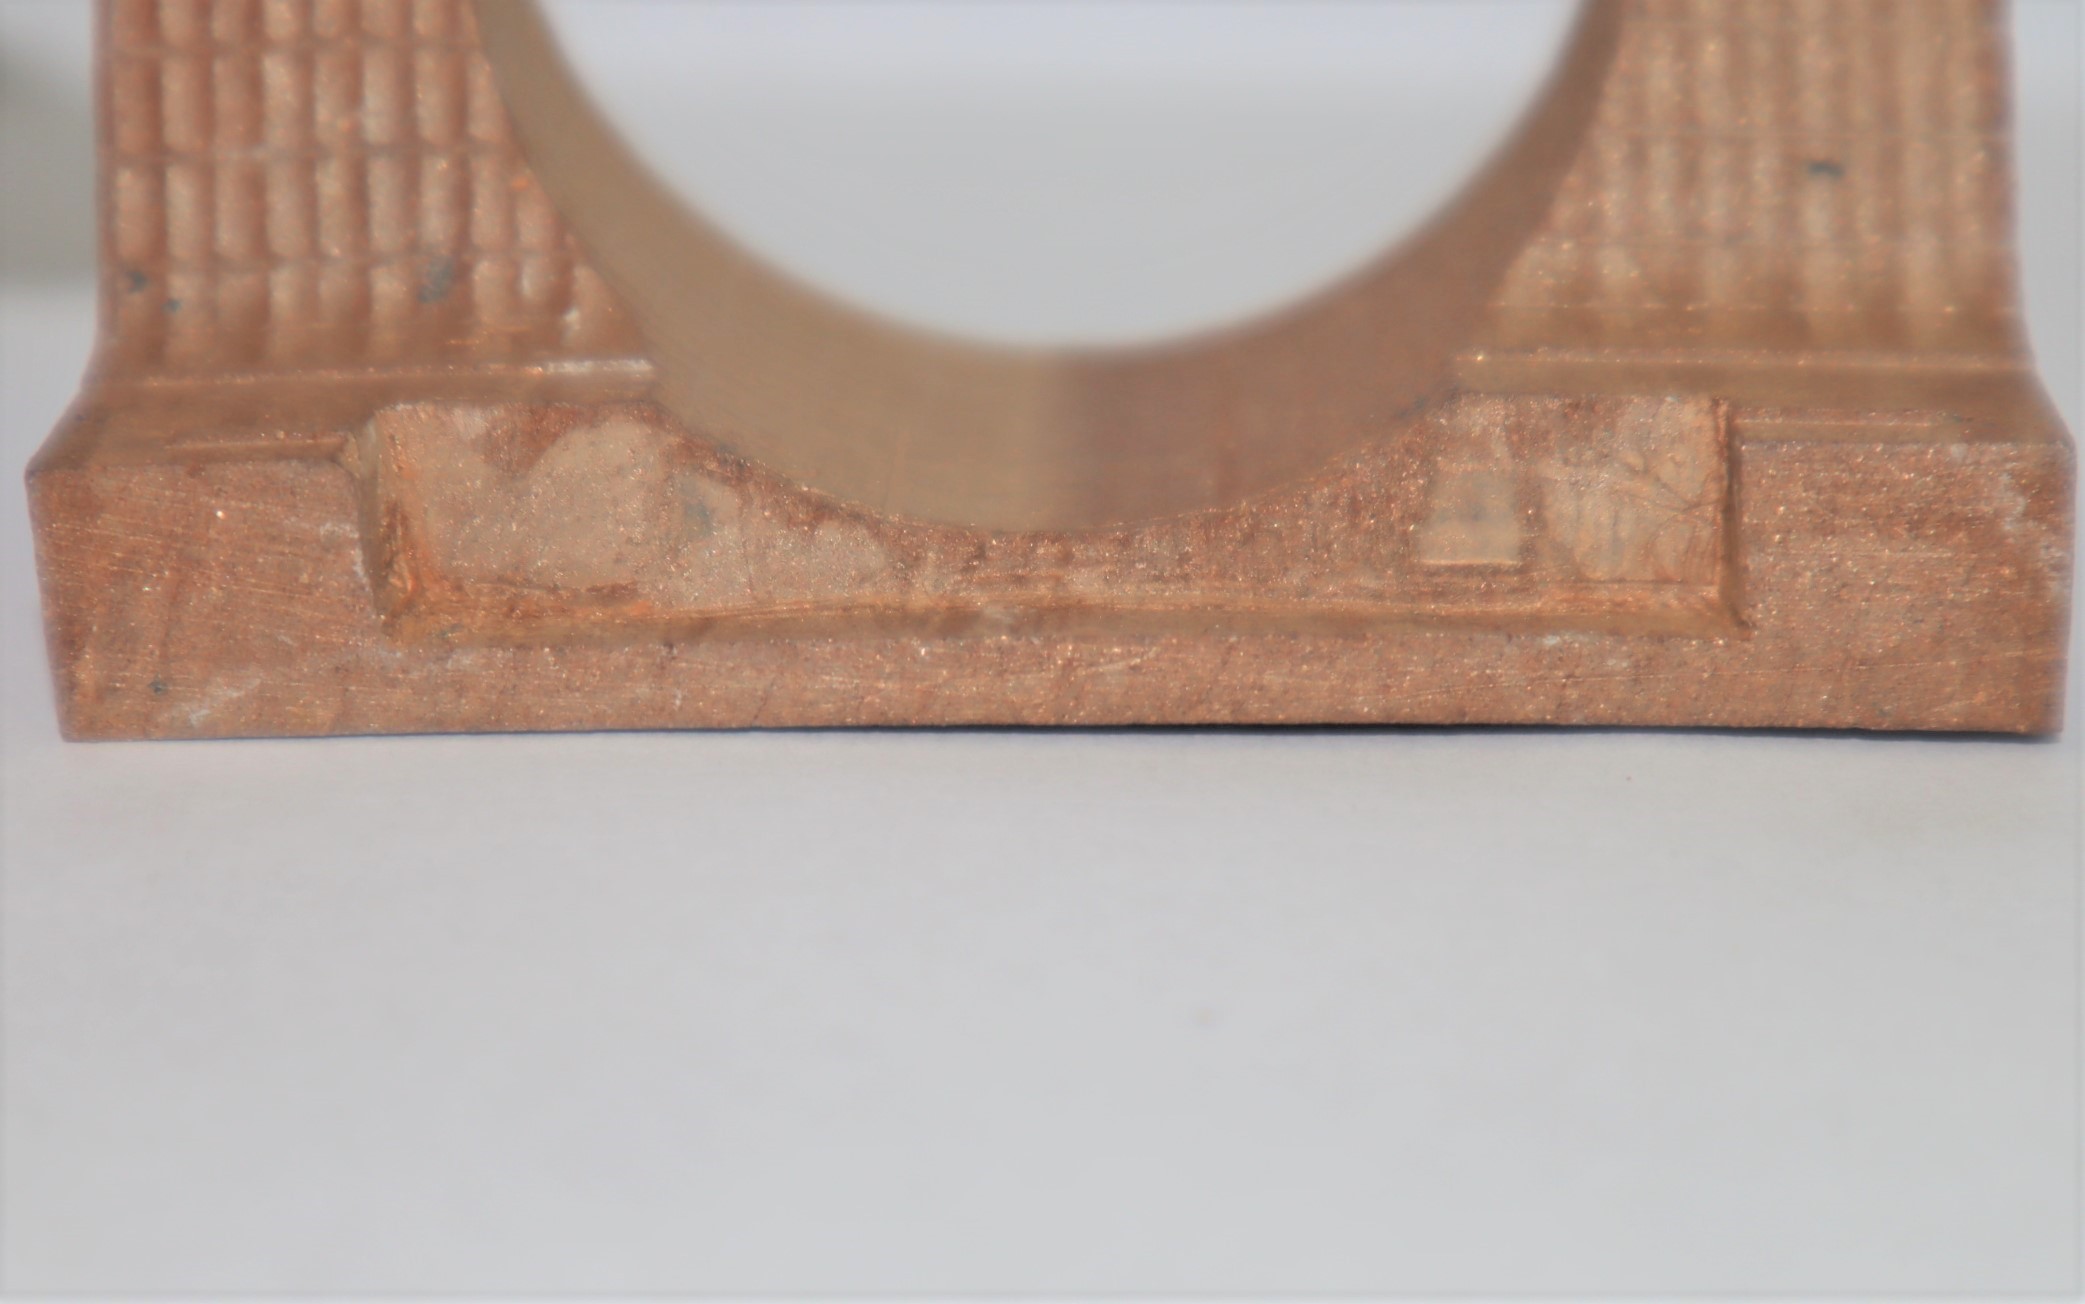
While there is some warping during the firing, there is potential to mitigate that through homogenizing the makeup of the stone and supporting it during the firing process.
- Potential
Uses include:
- Heat resistant parts
- Molds for metal casting
- Custom Insulators
- Sculpture
- Parts subject to moderate wear
Files
- Files
- 3” x 3” mount
- 4” x 4” mount
Components
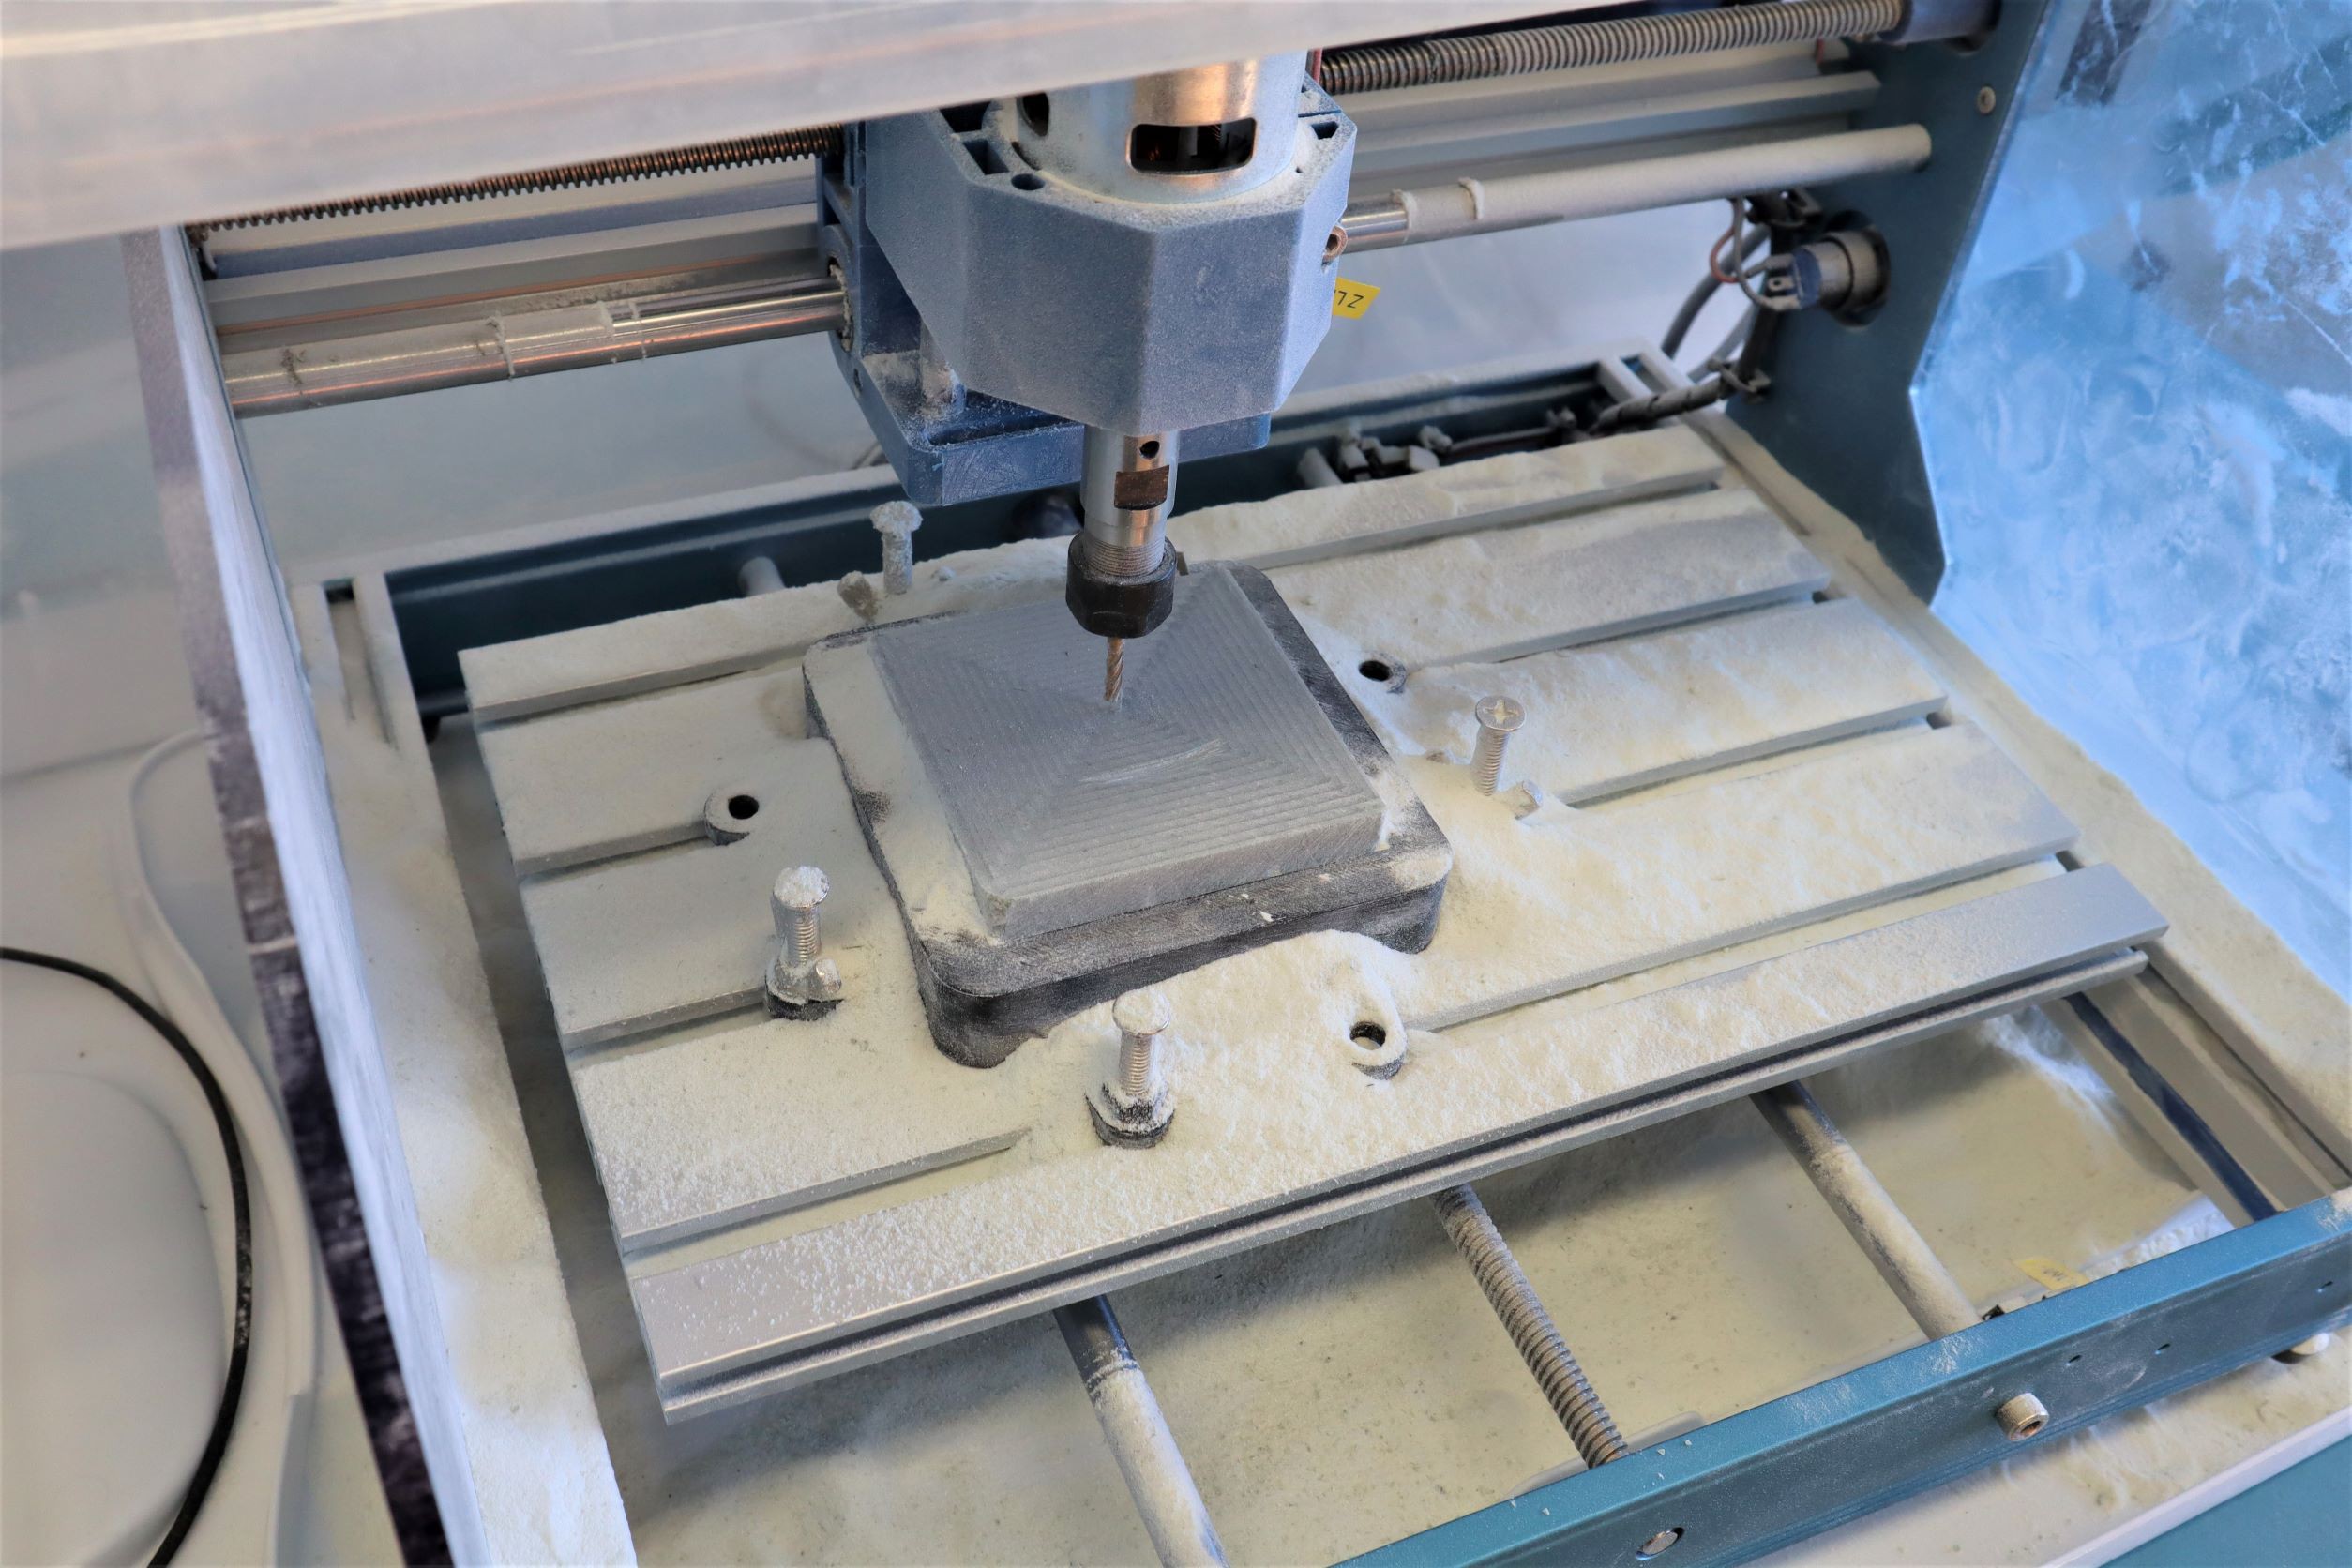
- Components
- CNC machine
- We used the Genmitsu 3018
- Any should work
- Soapstone
- Works best with soapstone that has a higher talc content
- Blocks intended for carving are a good source
- Currently looking into production of artificial soapstone for consistency
- Potential to form dust back into blocks
- Clear
plastic bin
- We used Sterilite 1497- 64 Qt latching box
- Any box that will fit your CNC will suffice
- Kiln
- Needs to reach 1,000-1,200 C
- Equivalent to Cone 05-5
- Slow ramp up and down
- CNC machine


 willbaden
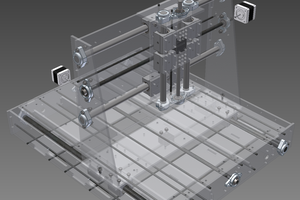
 Kert
Kert