Overview
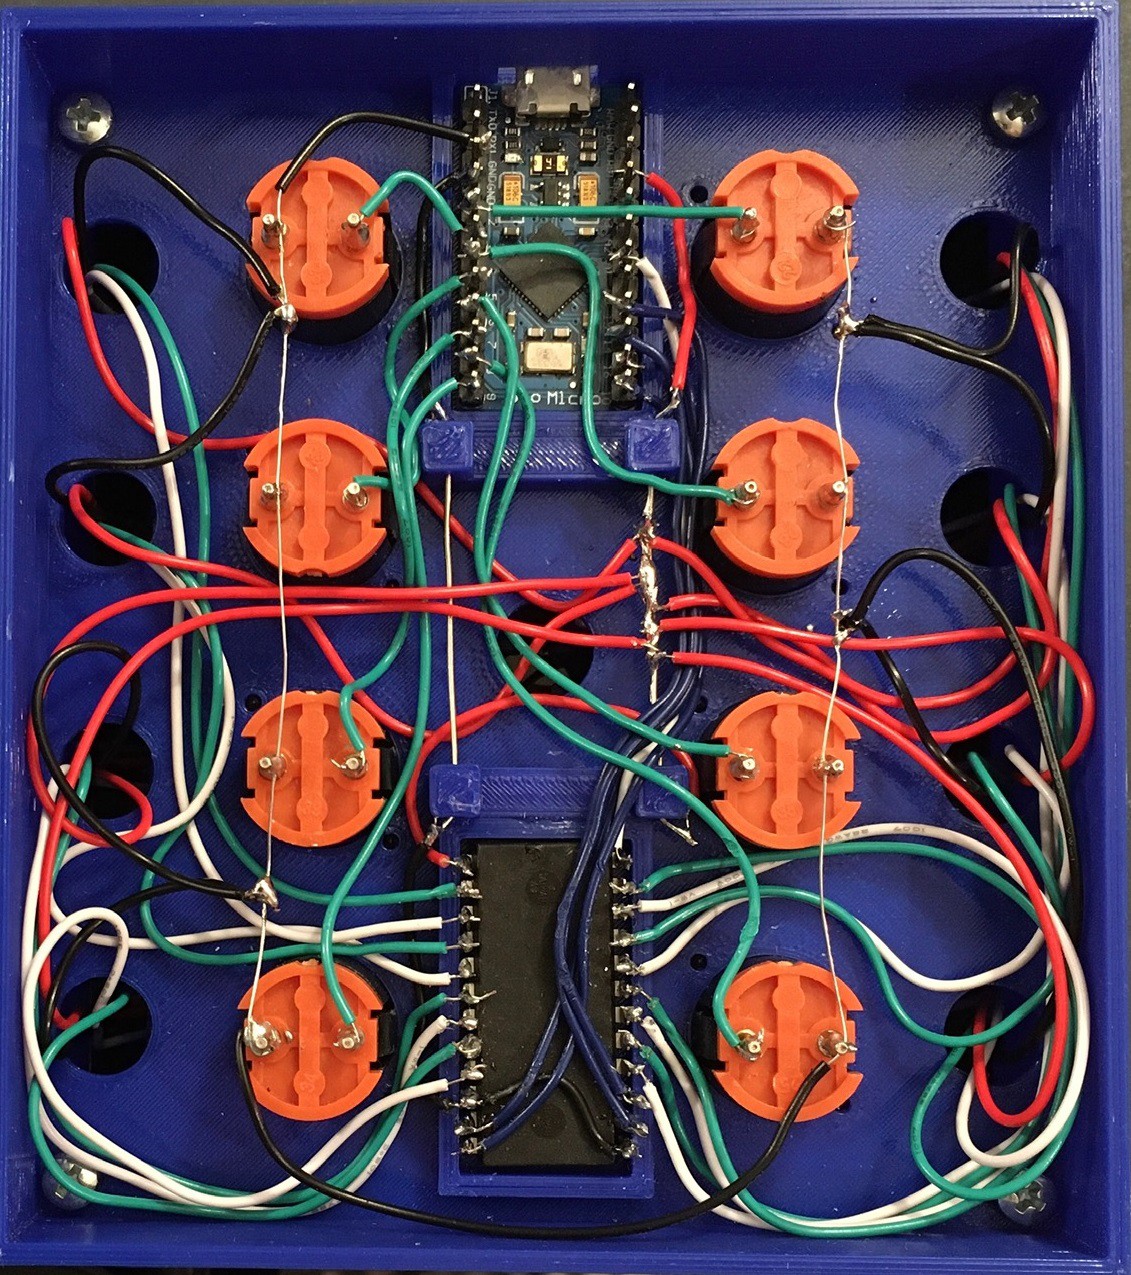
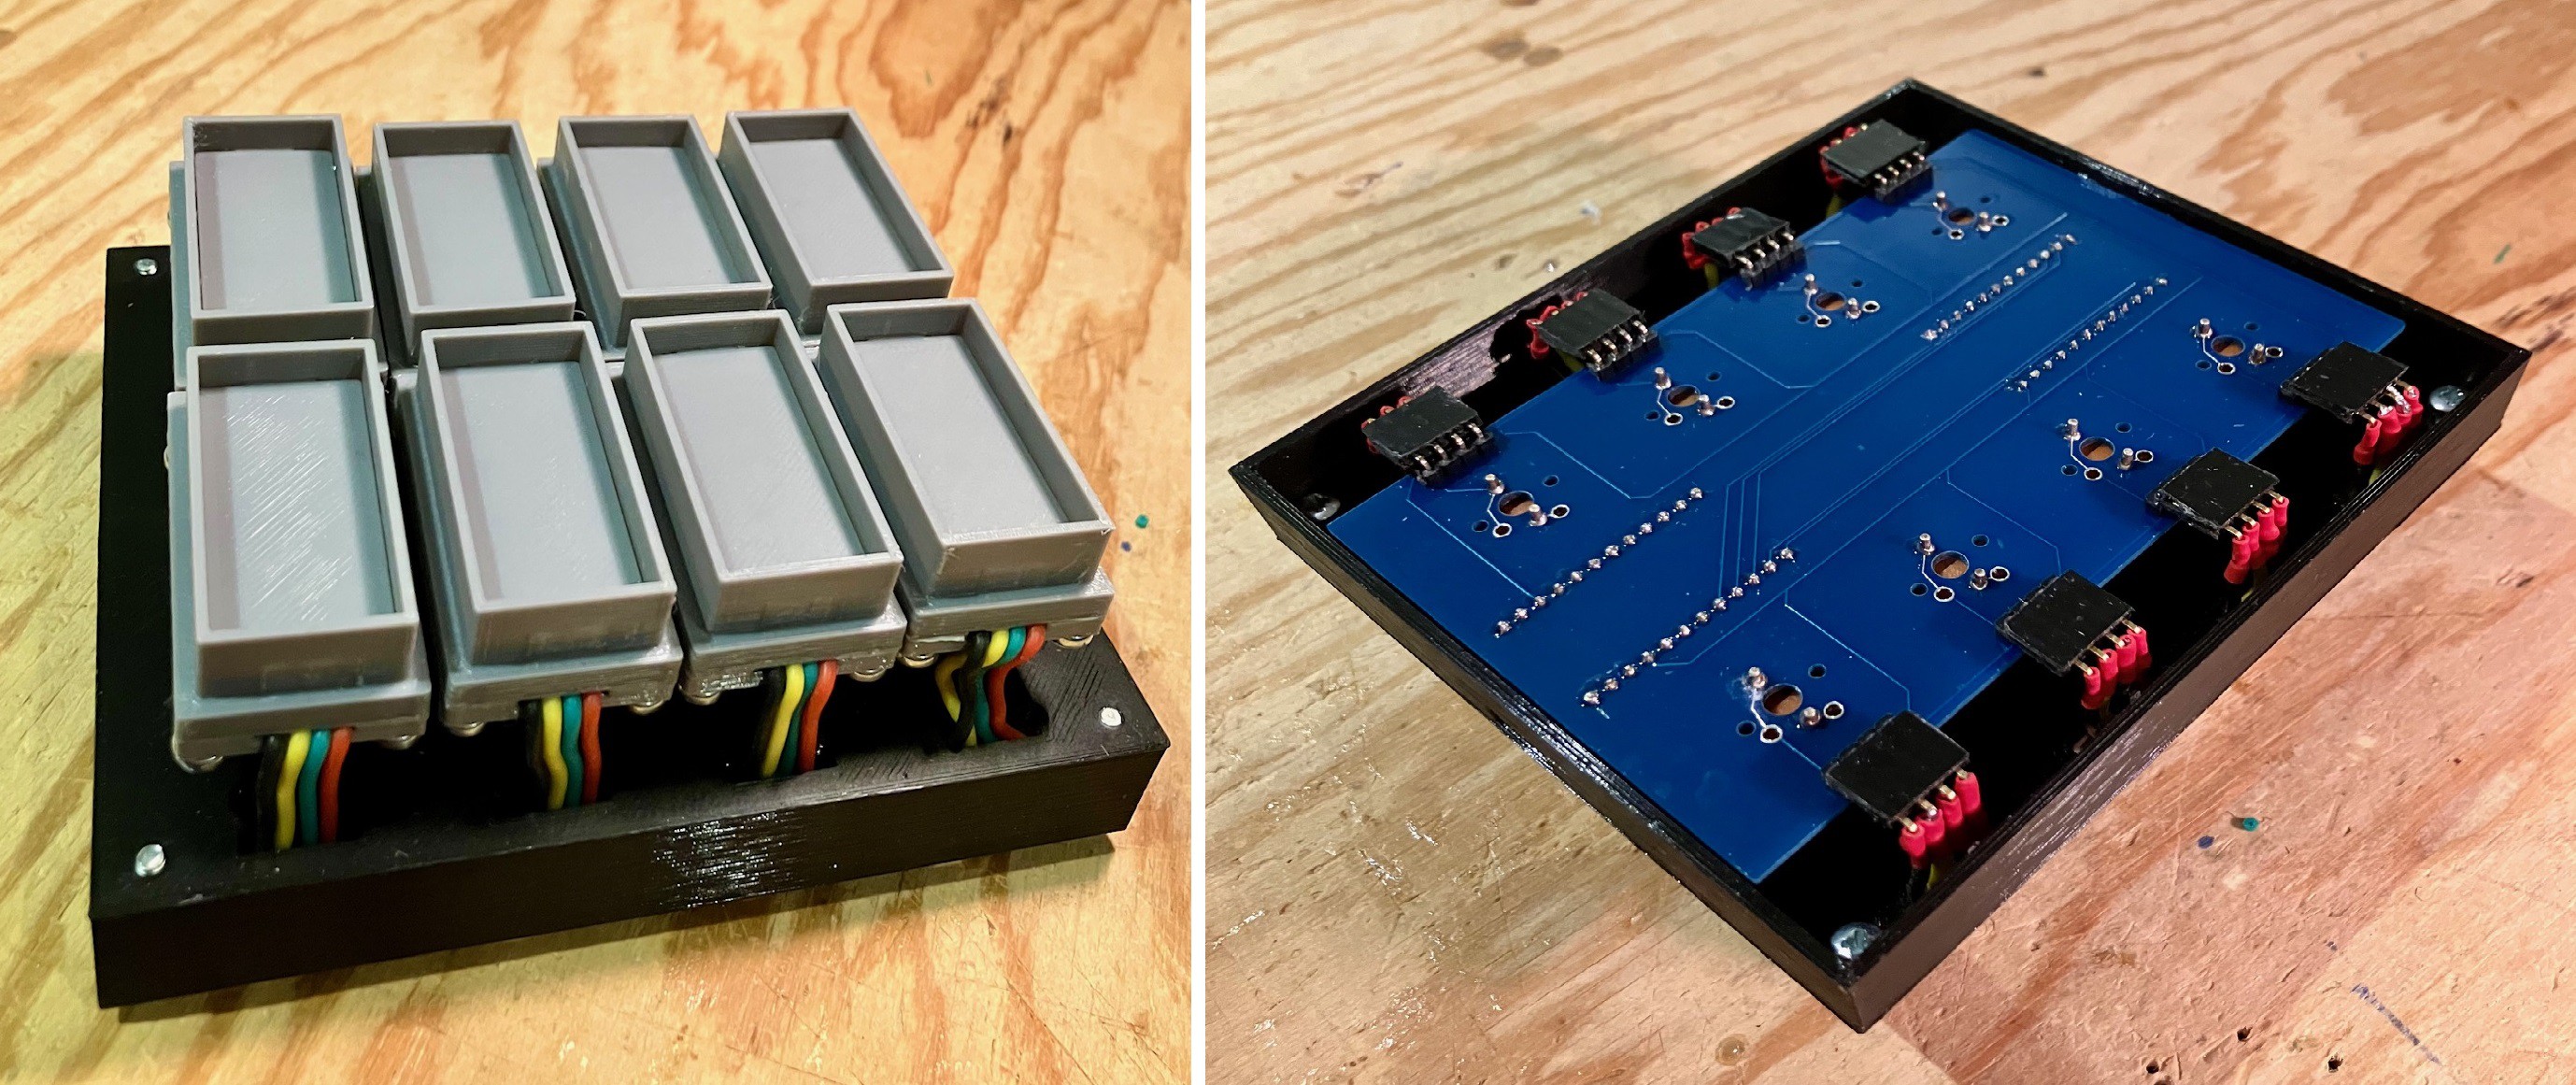
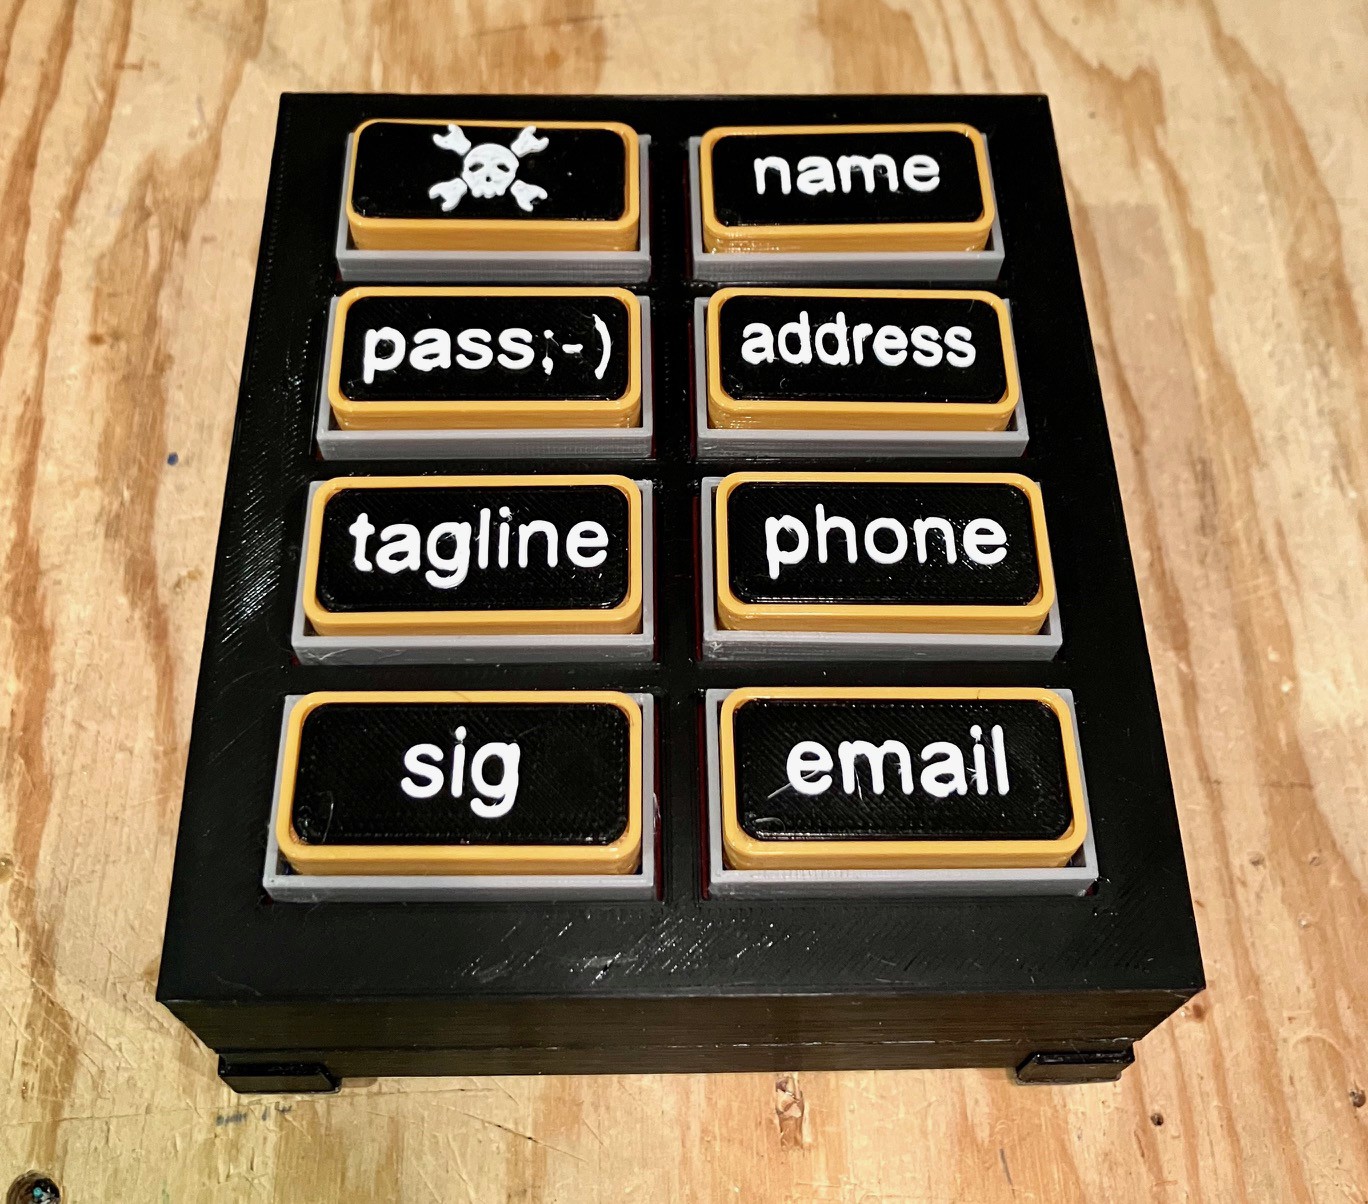
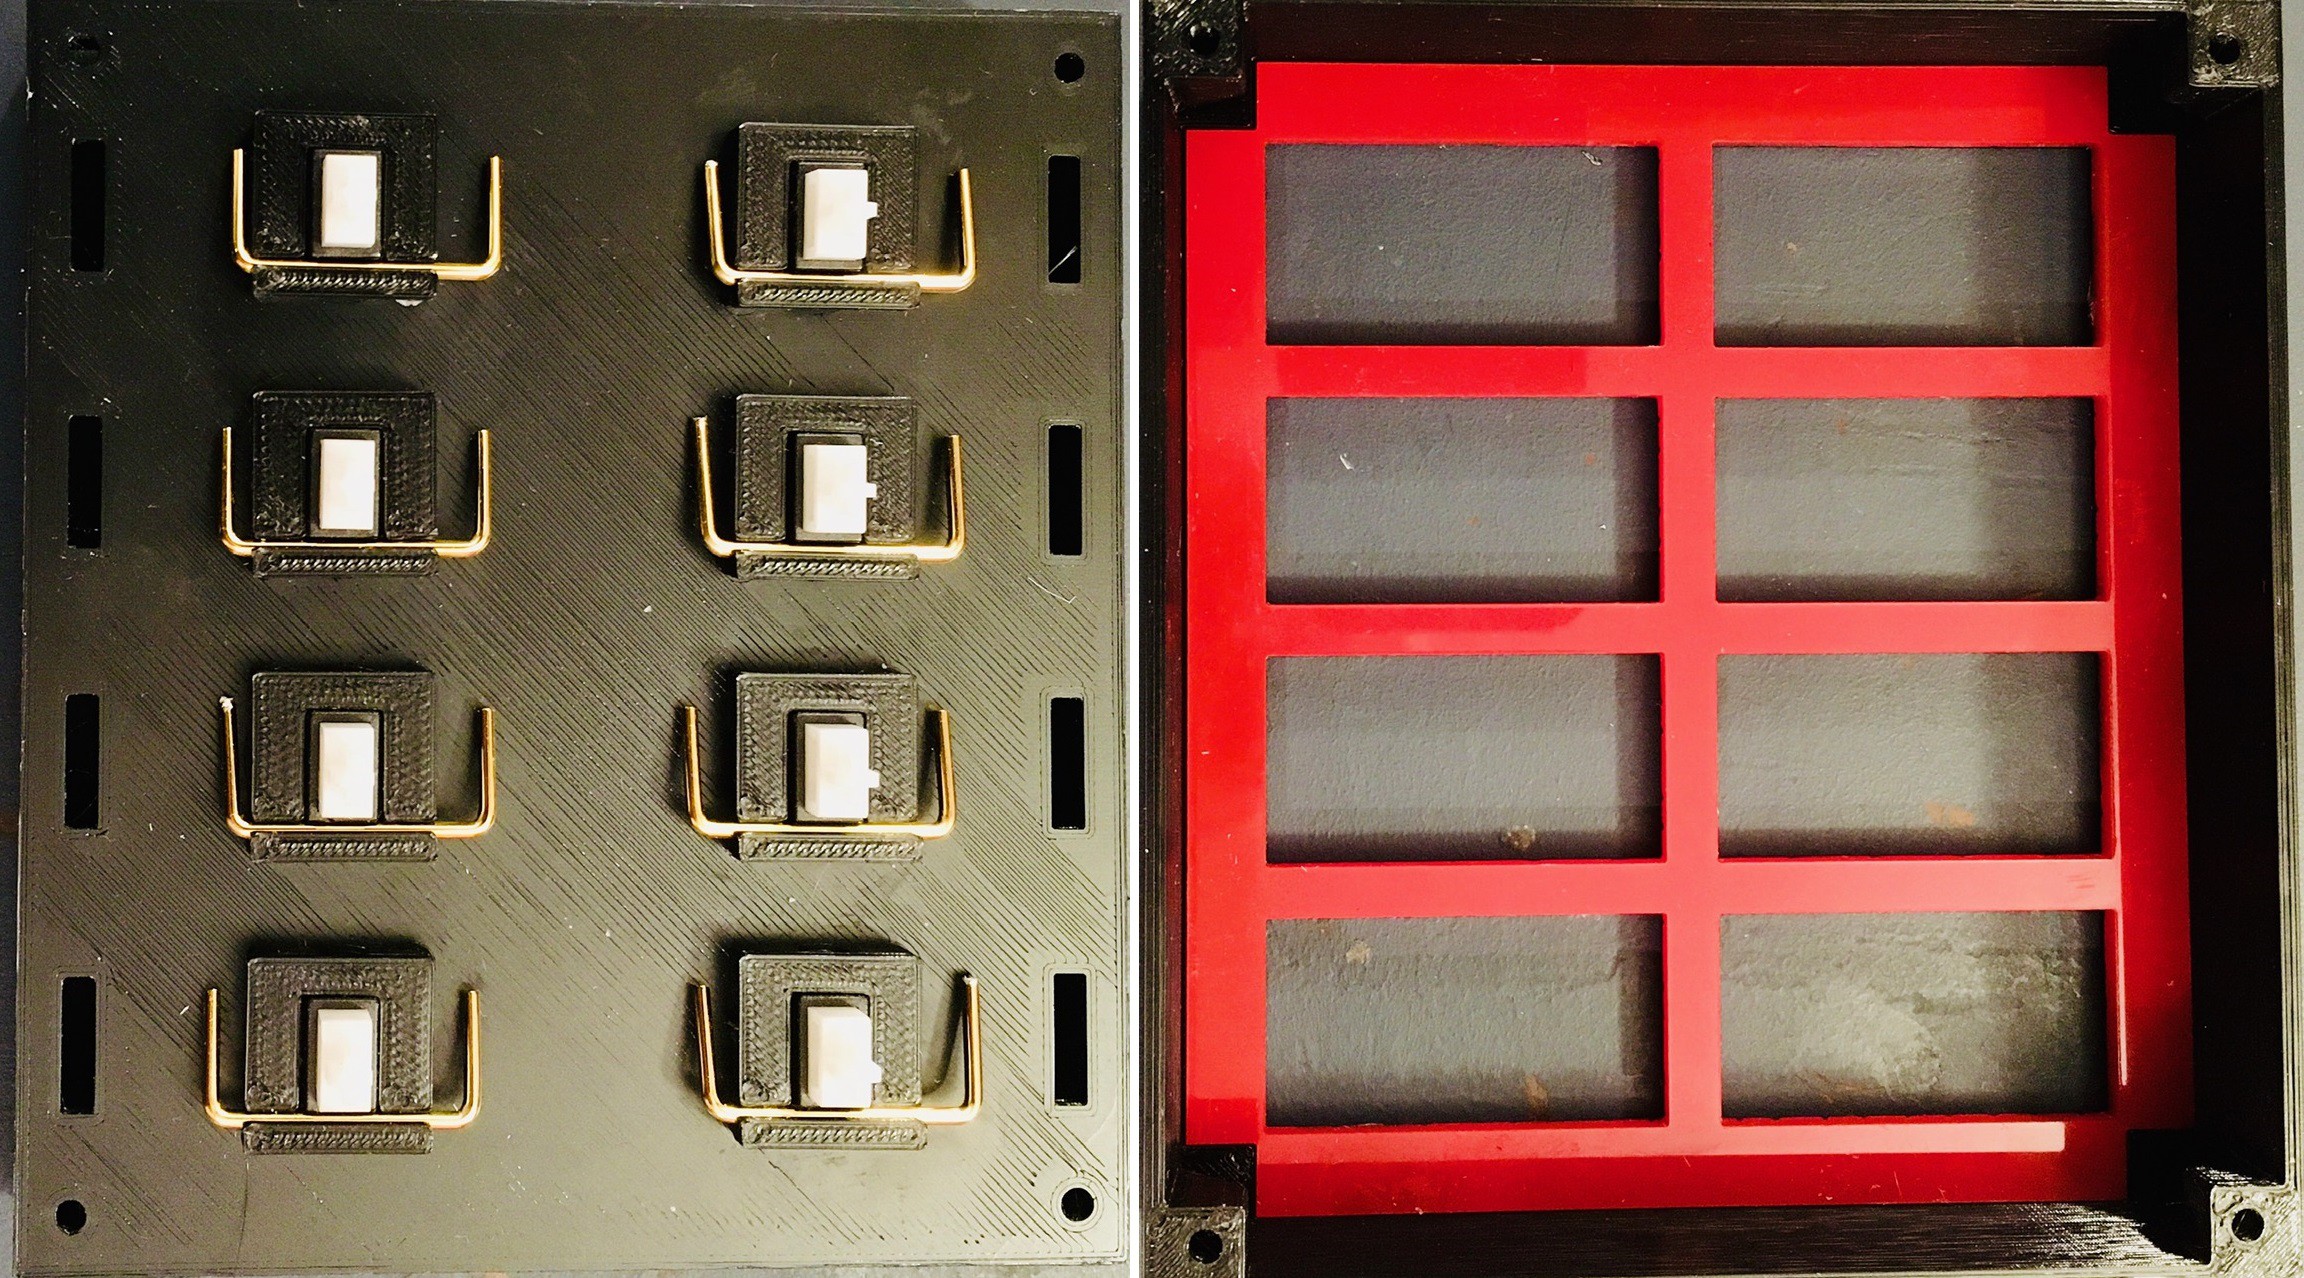
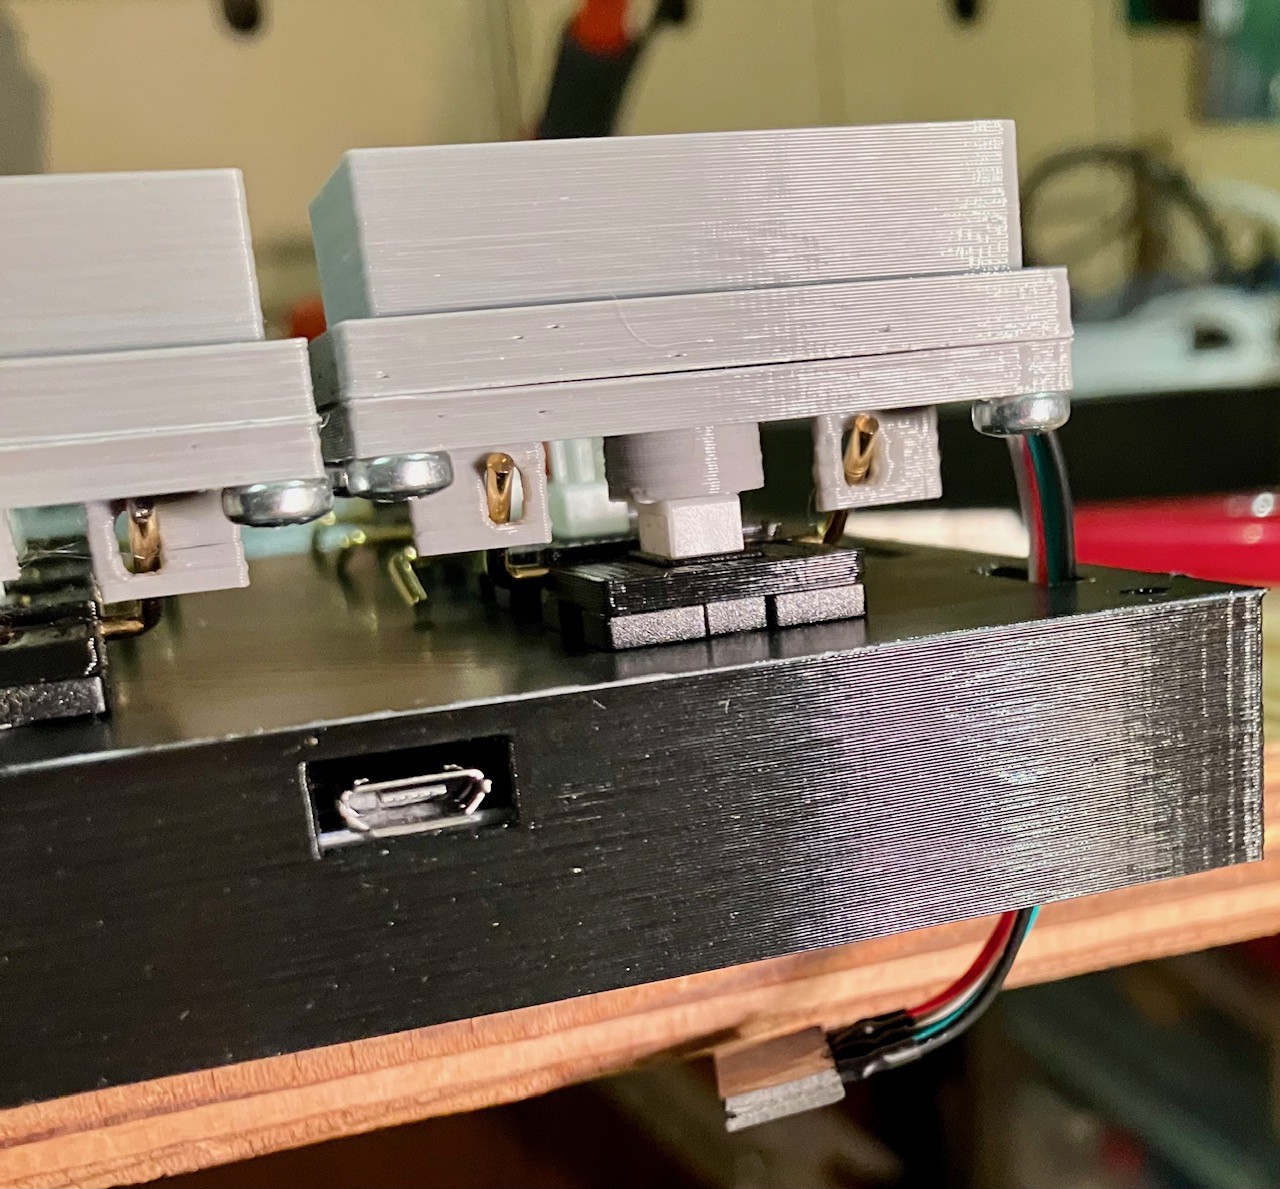
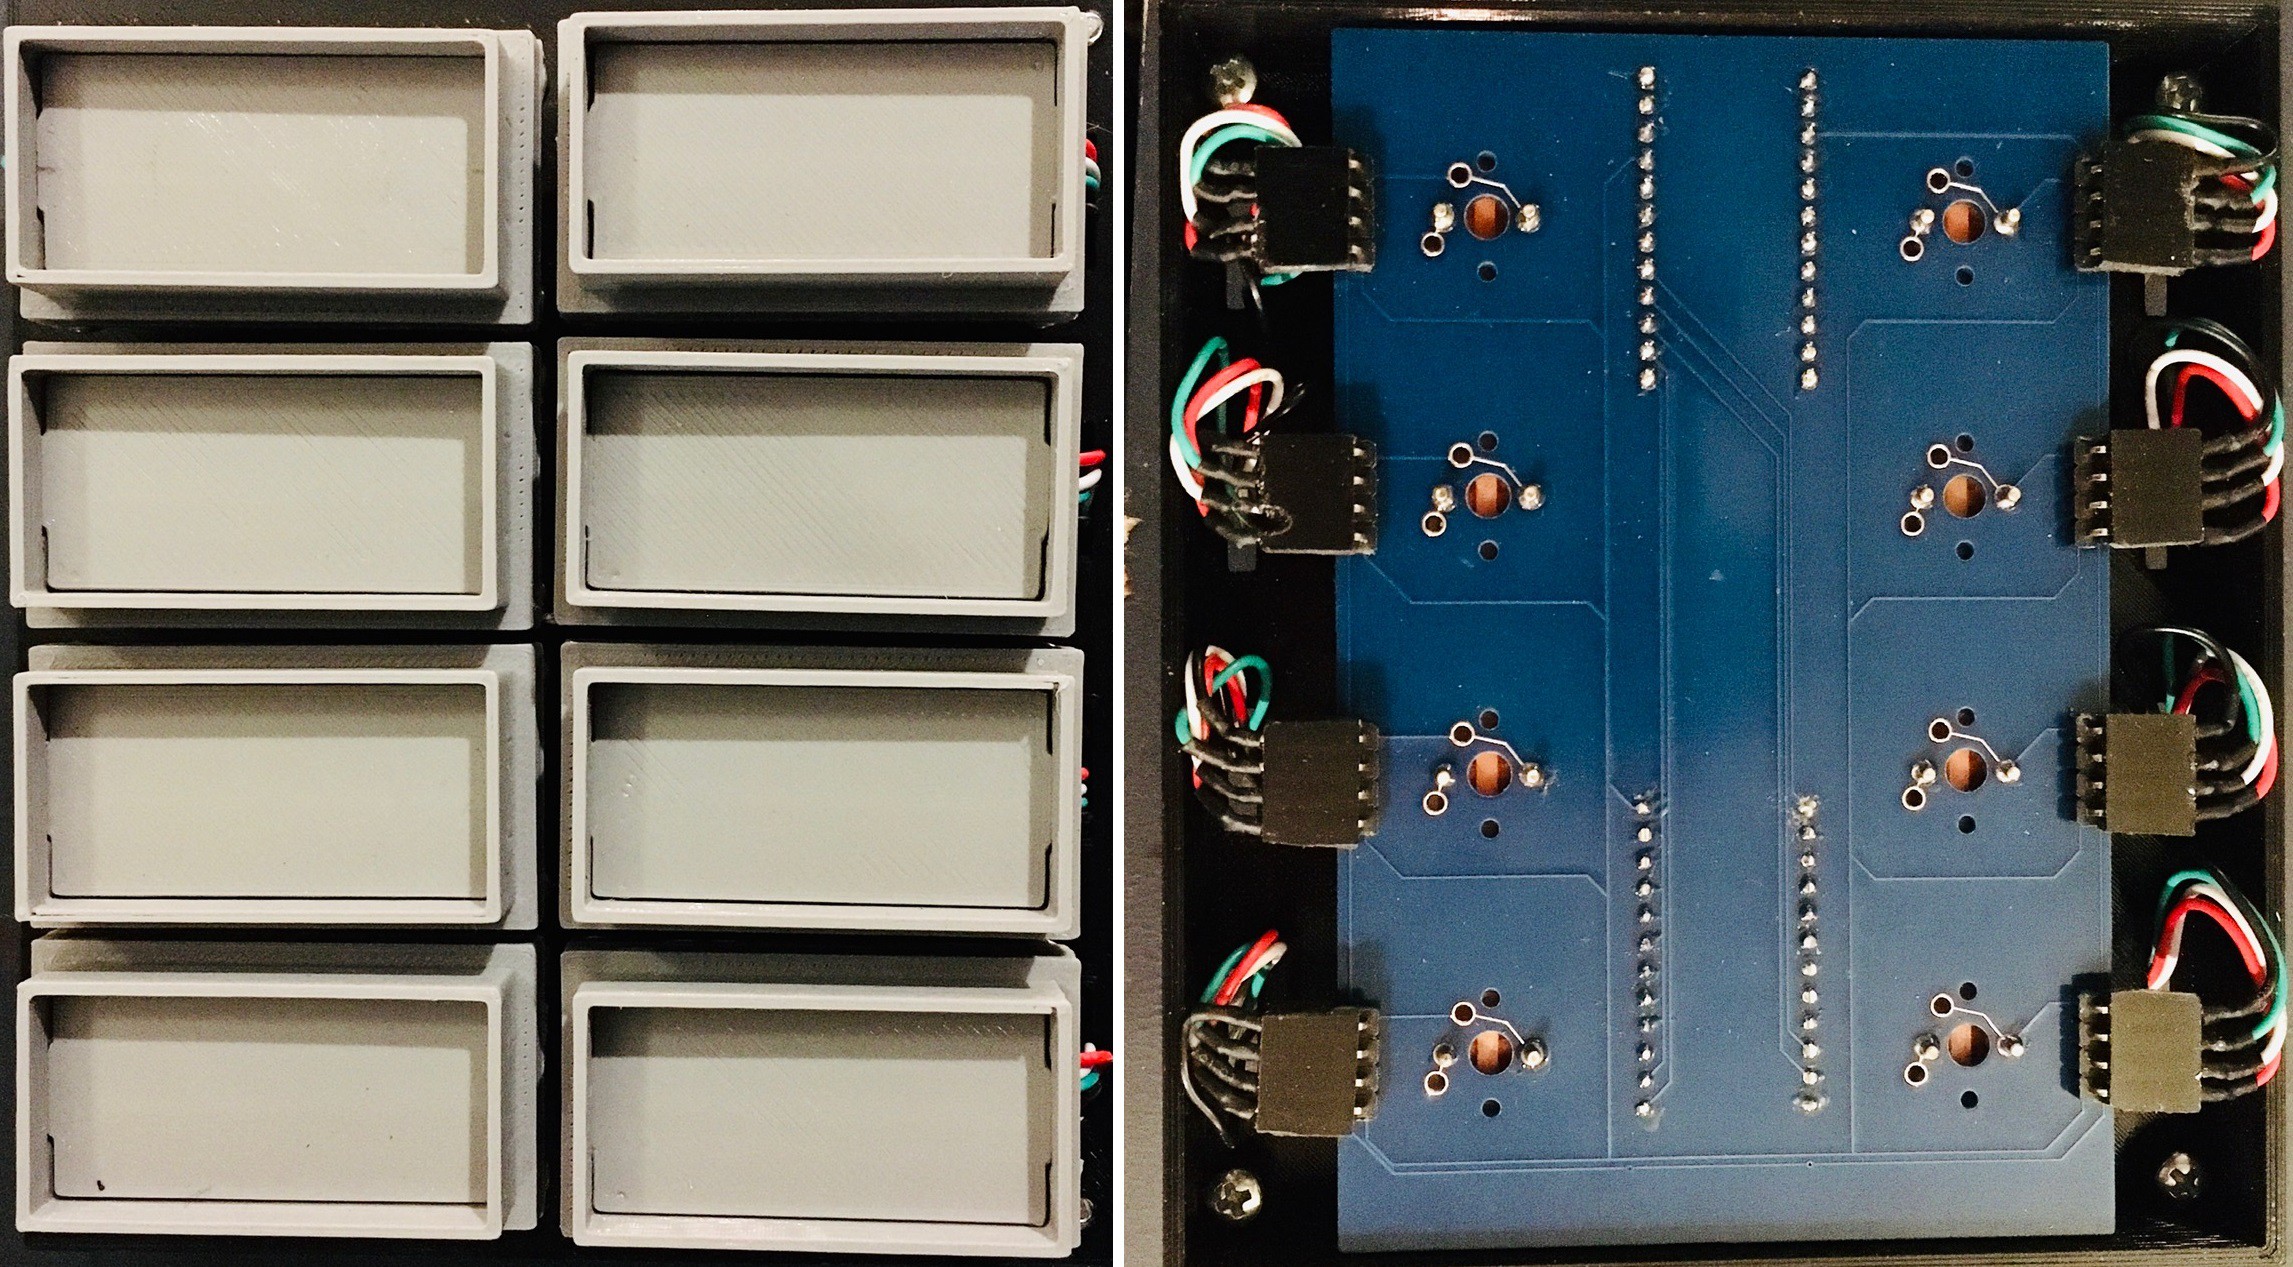
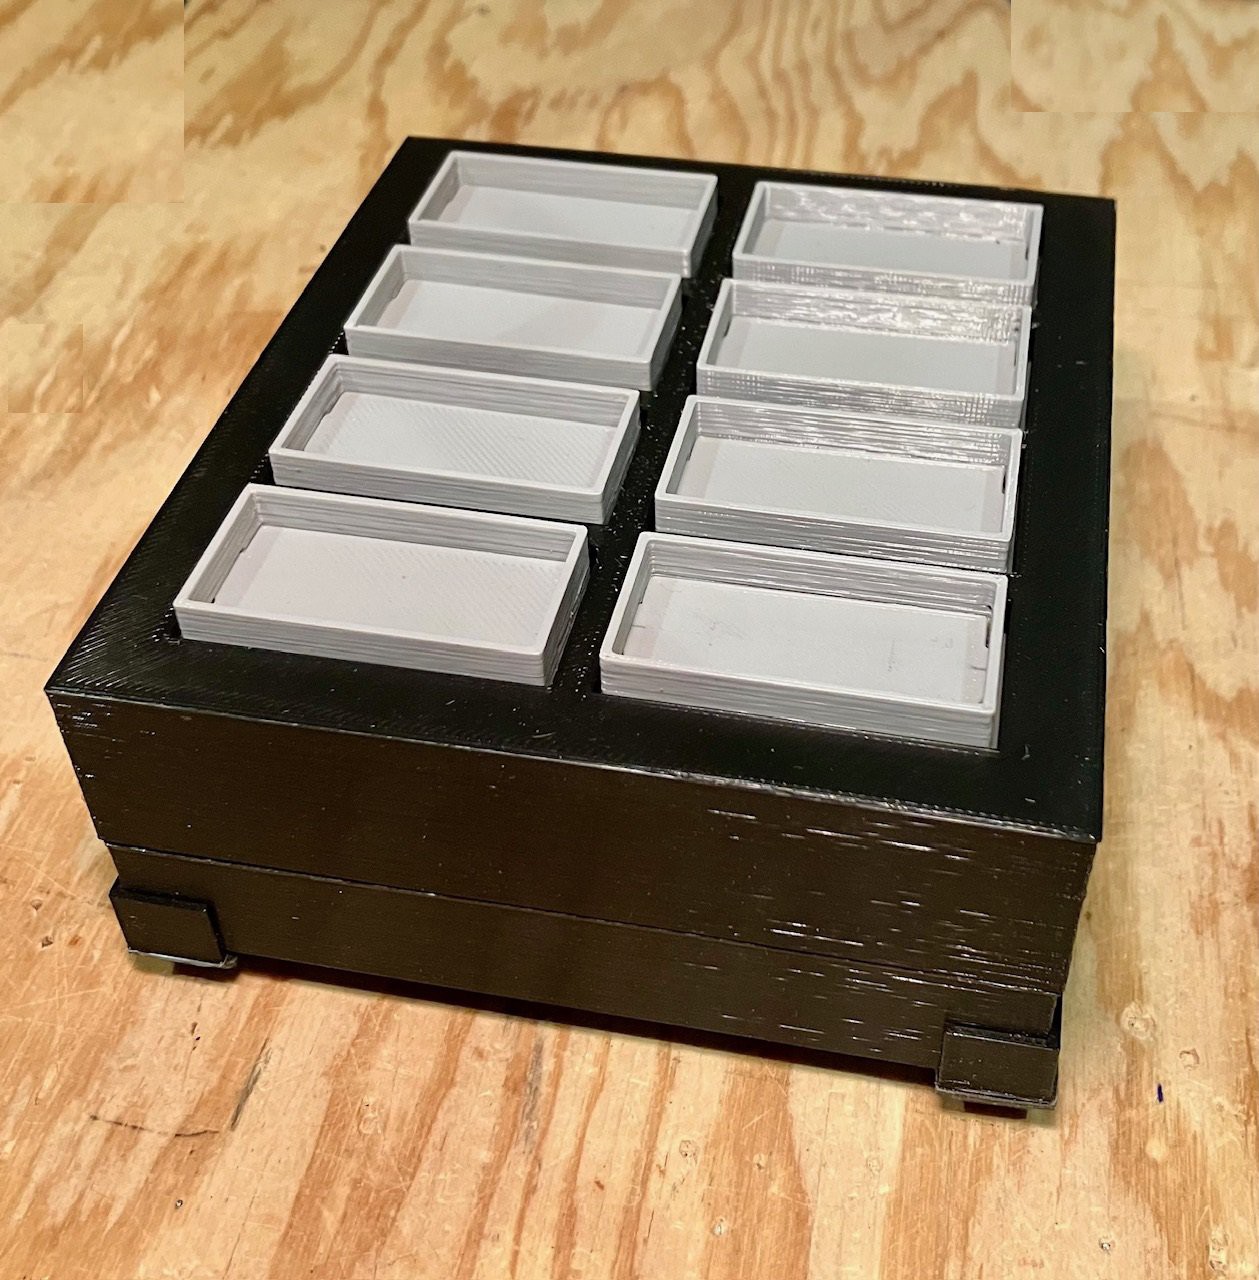
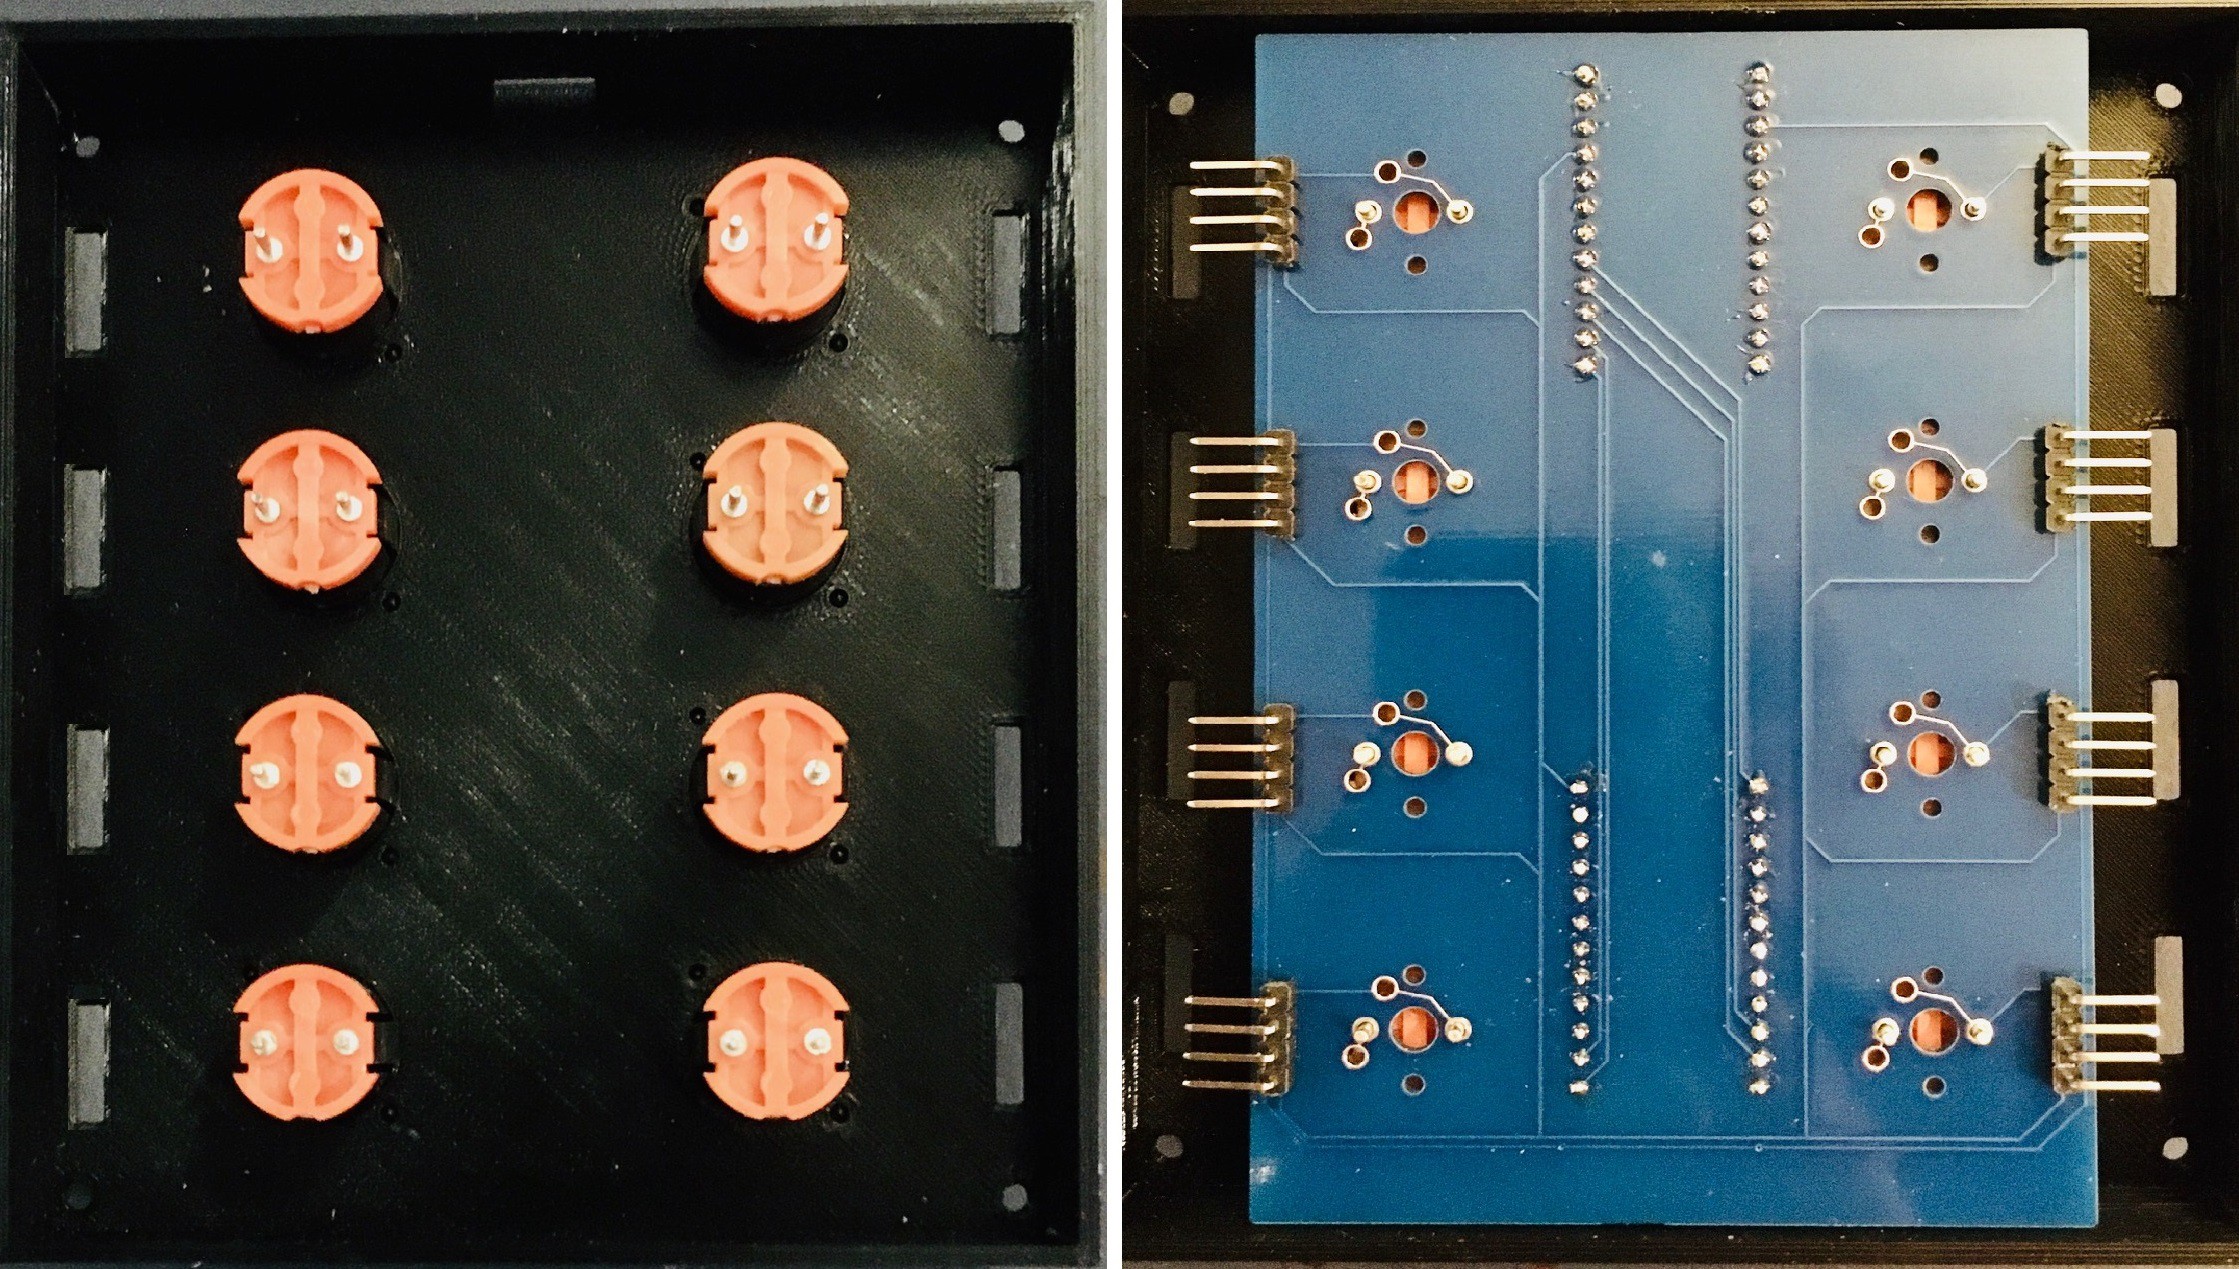
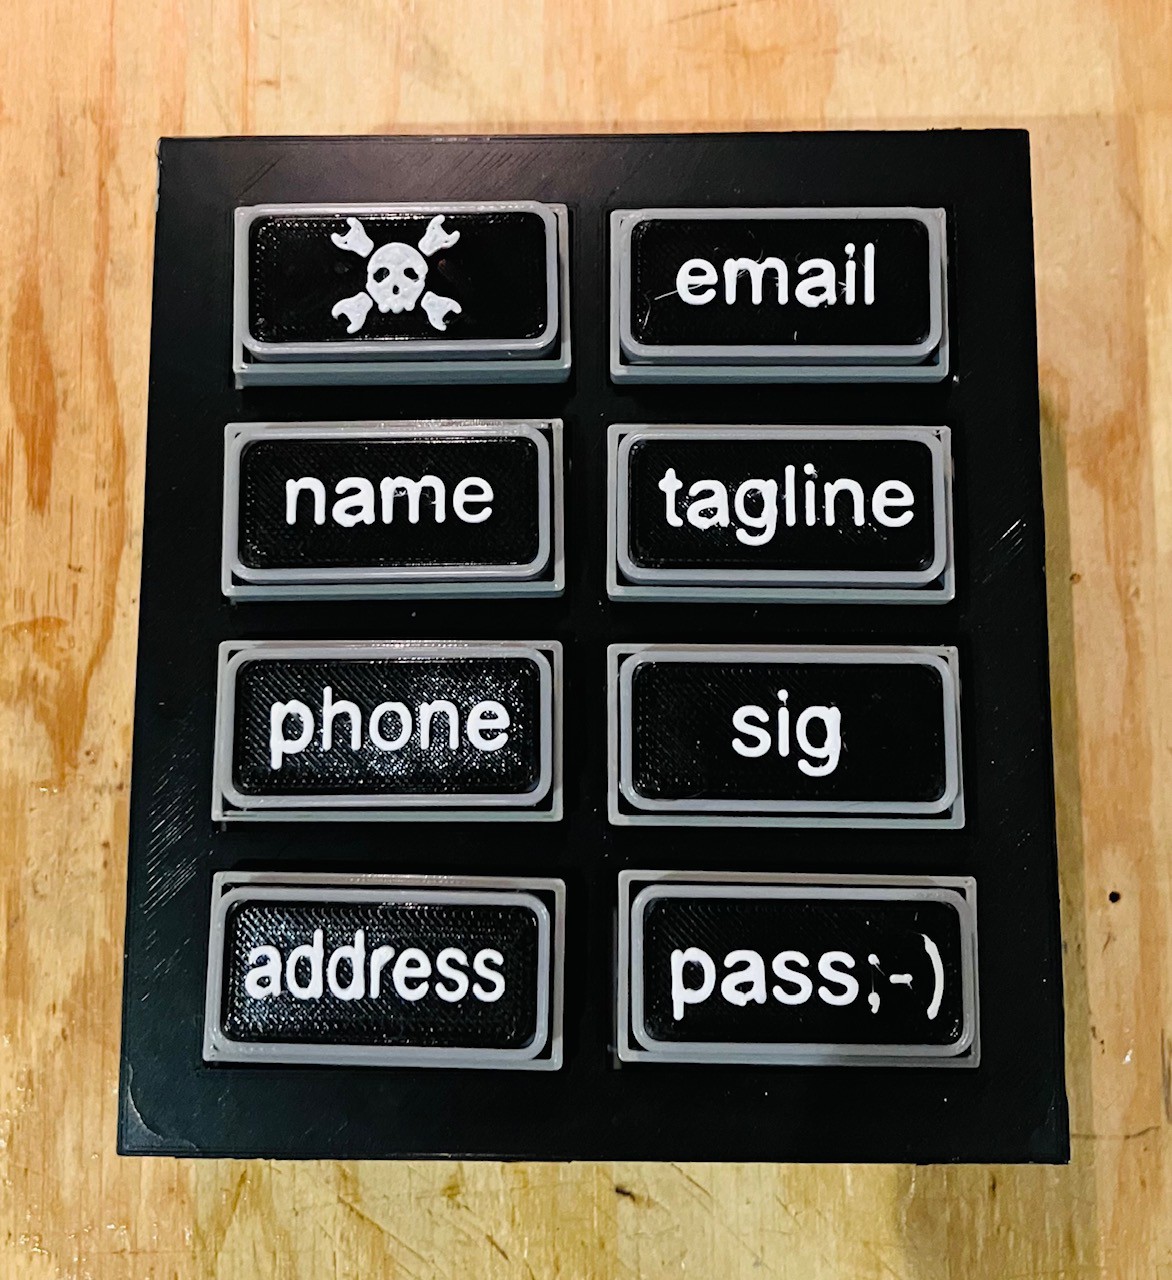
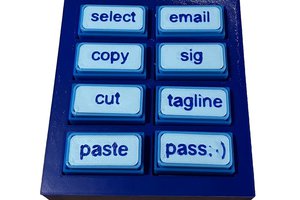
Outwardly this version of the MacroPad will not look any different than my last version (except for the new color scheme or should I say lack of color scheme). The inside will however be much cleaner than the rats nest of wires of the previous using the same components.
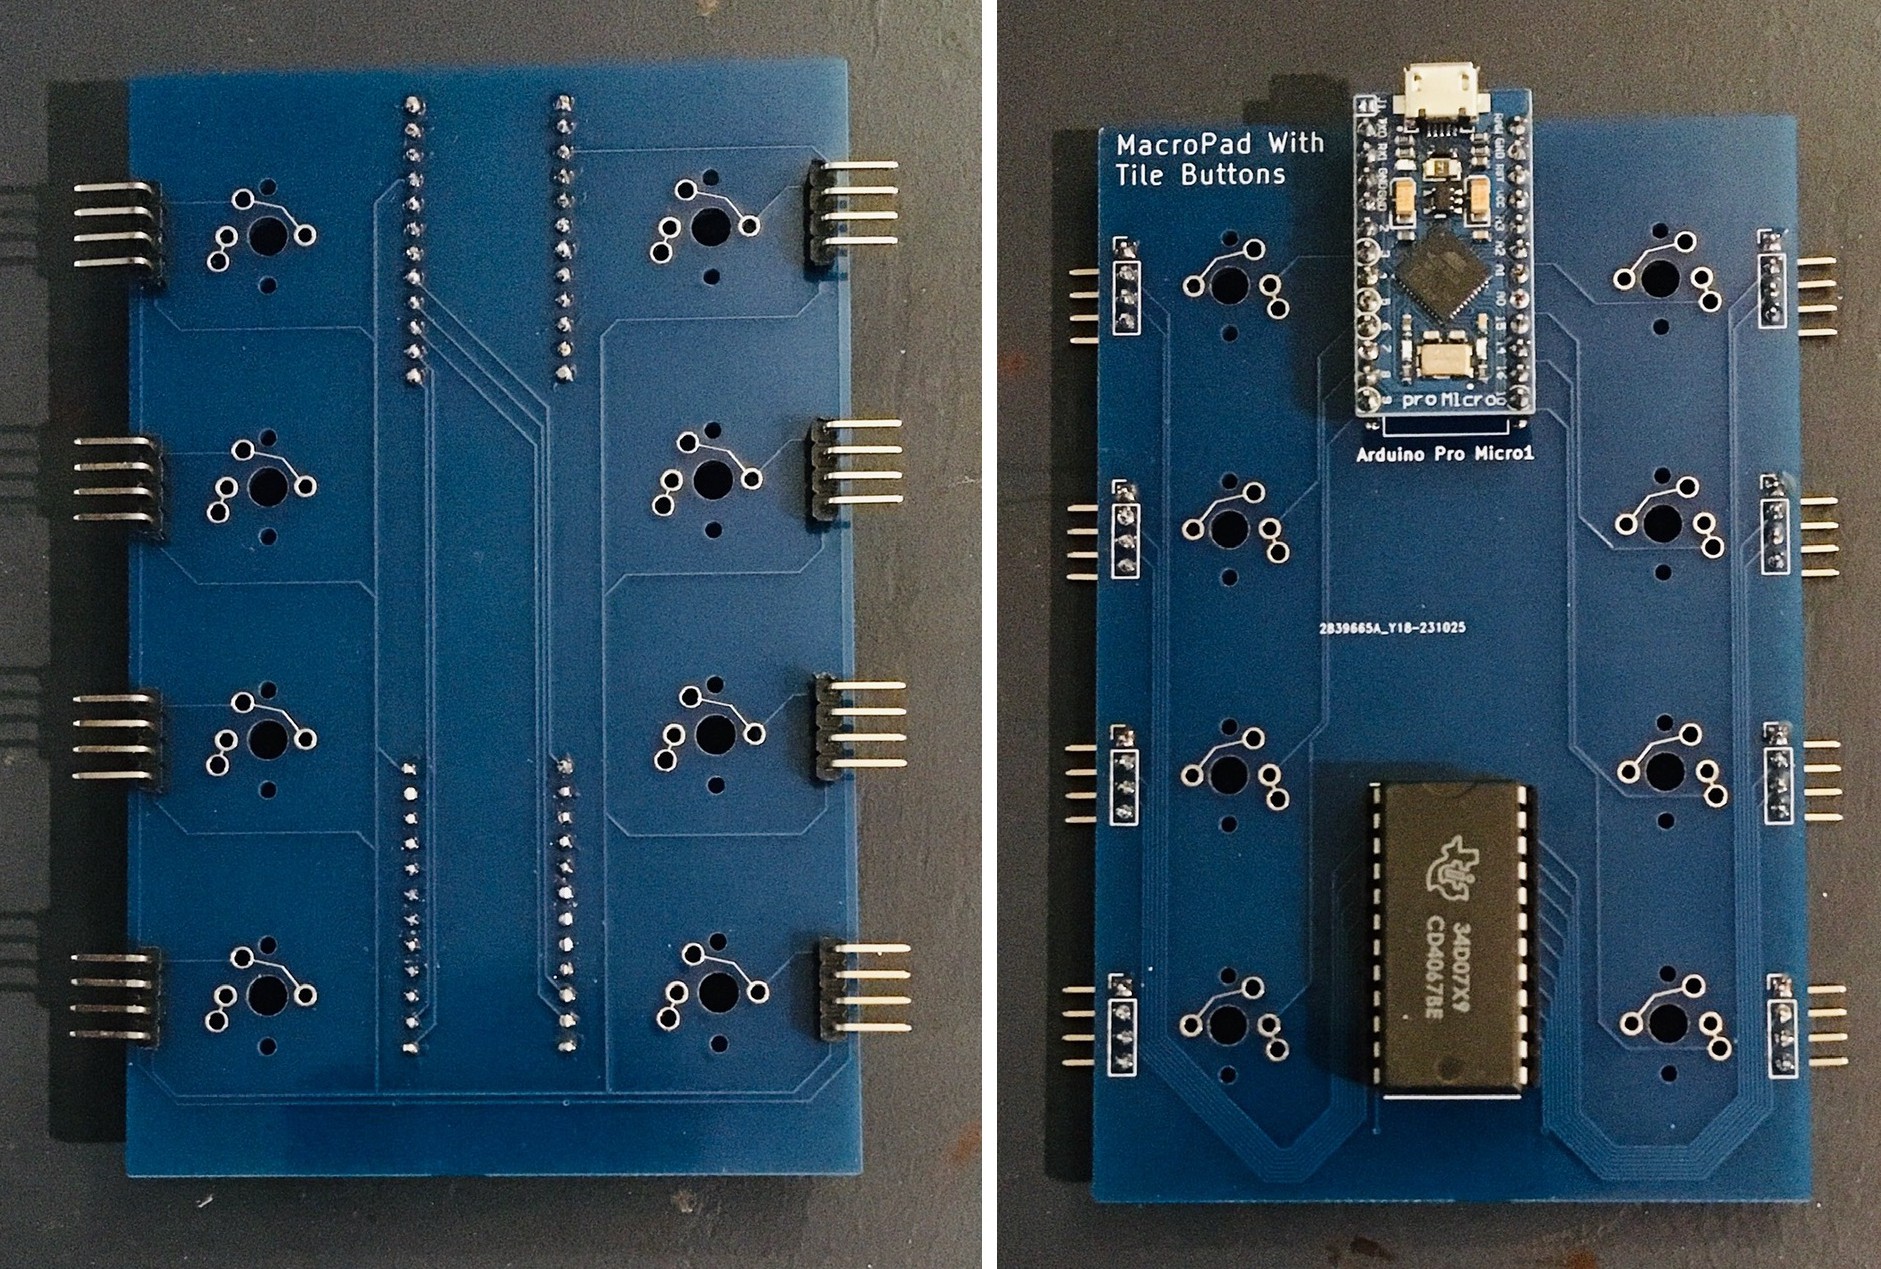
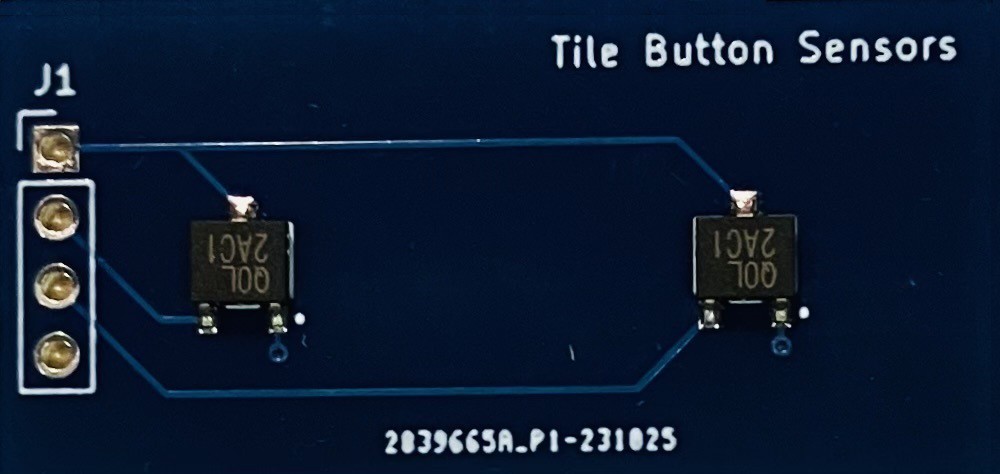
Here are the KiCad designs for the PCBs that will make this happen.
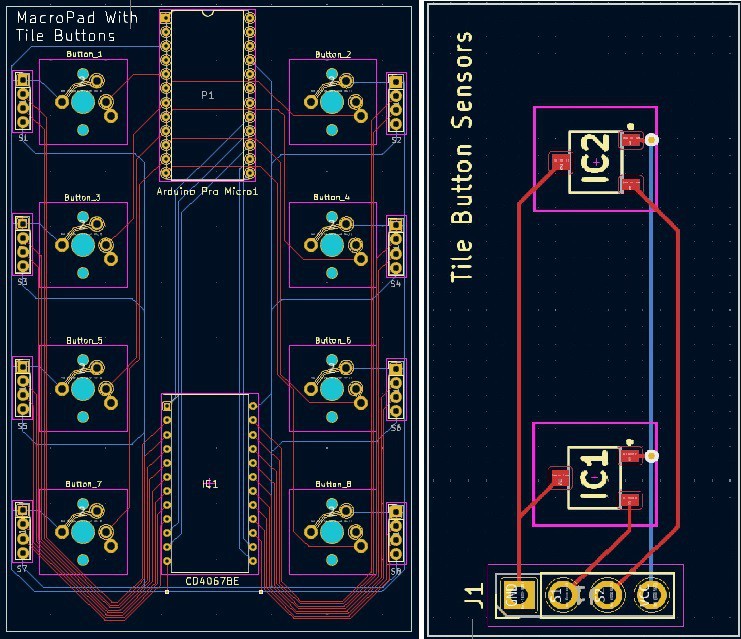
Obviously not to scale relative to each other but these PCBs give you an idea where I'm going with this.
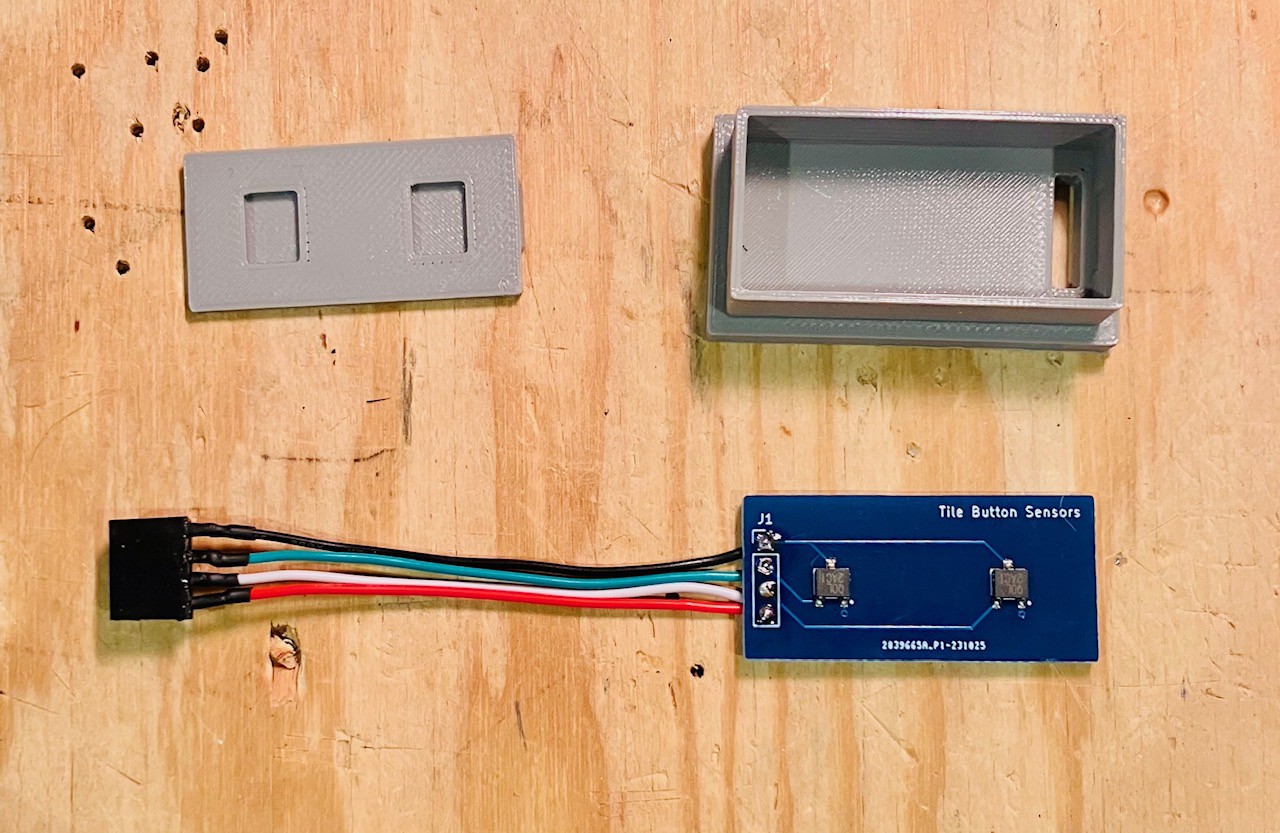
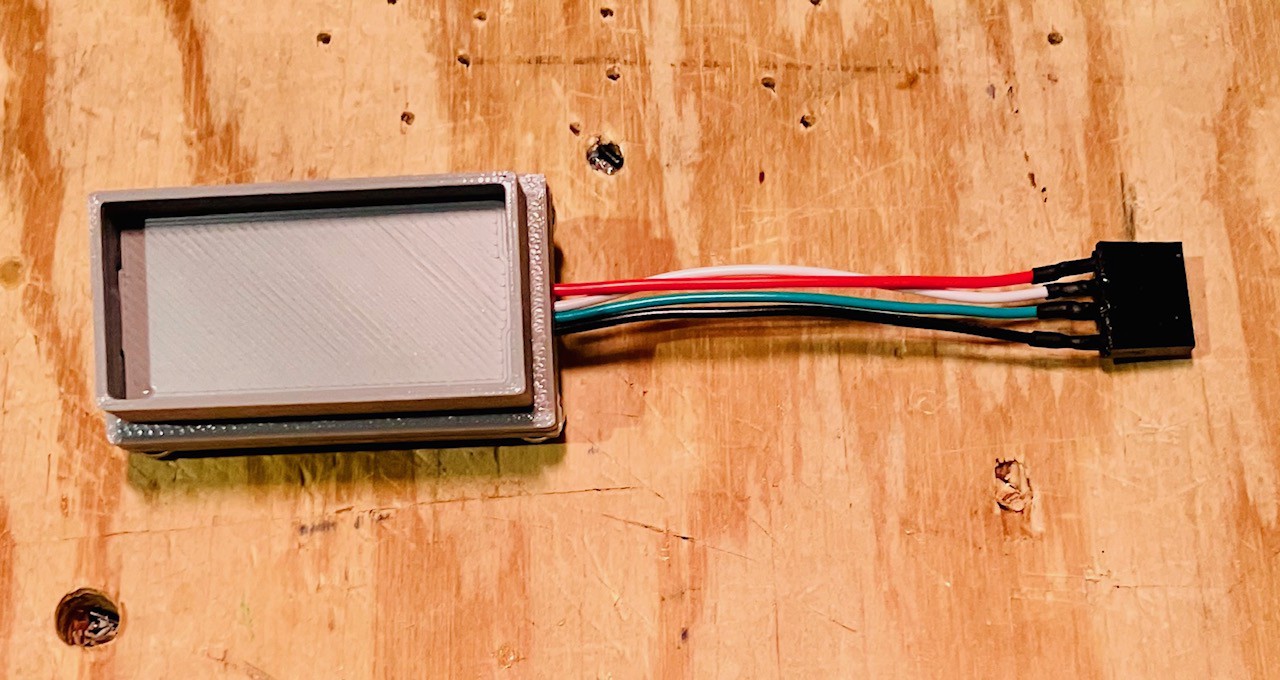
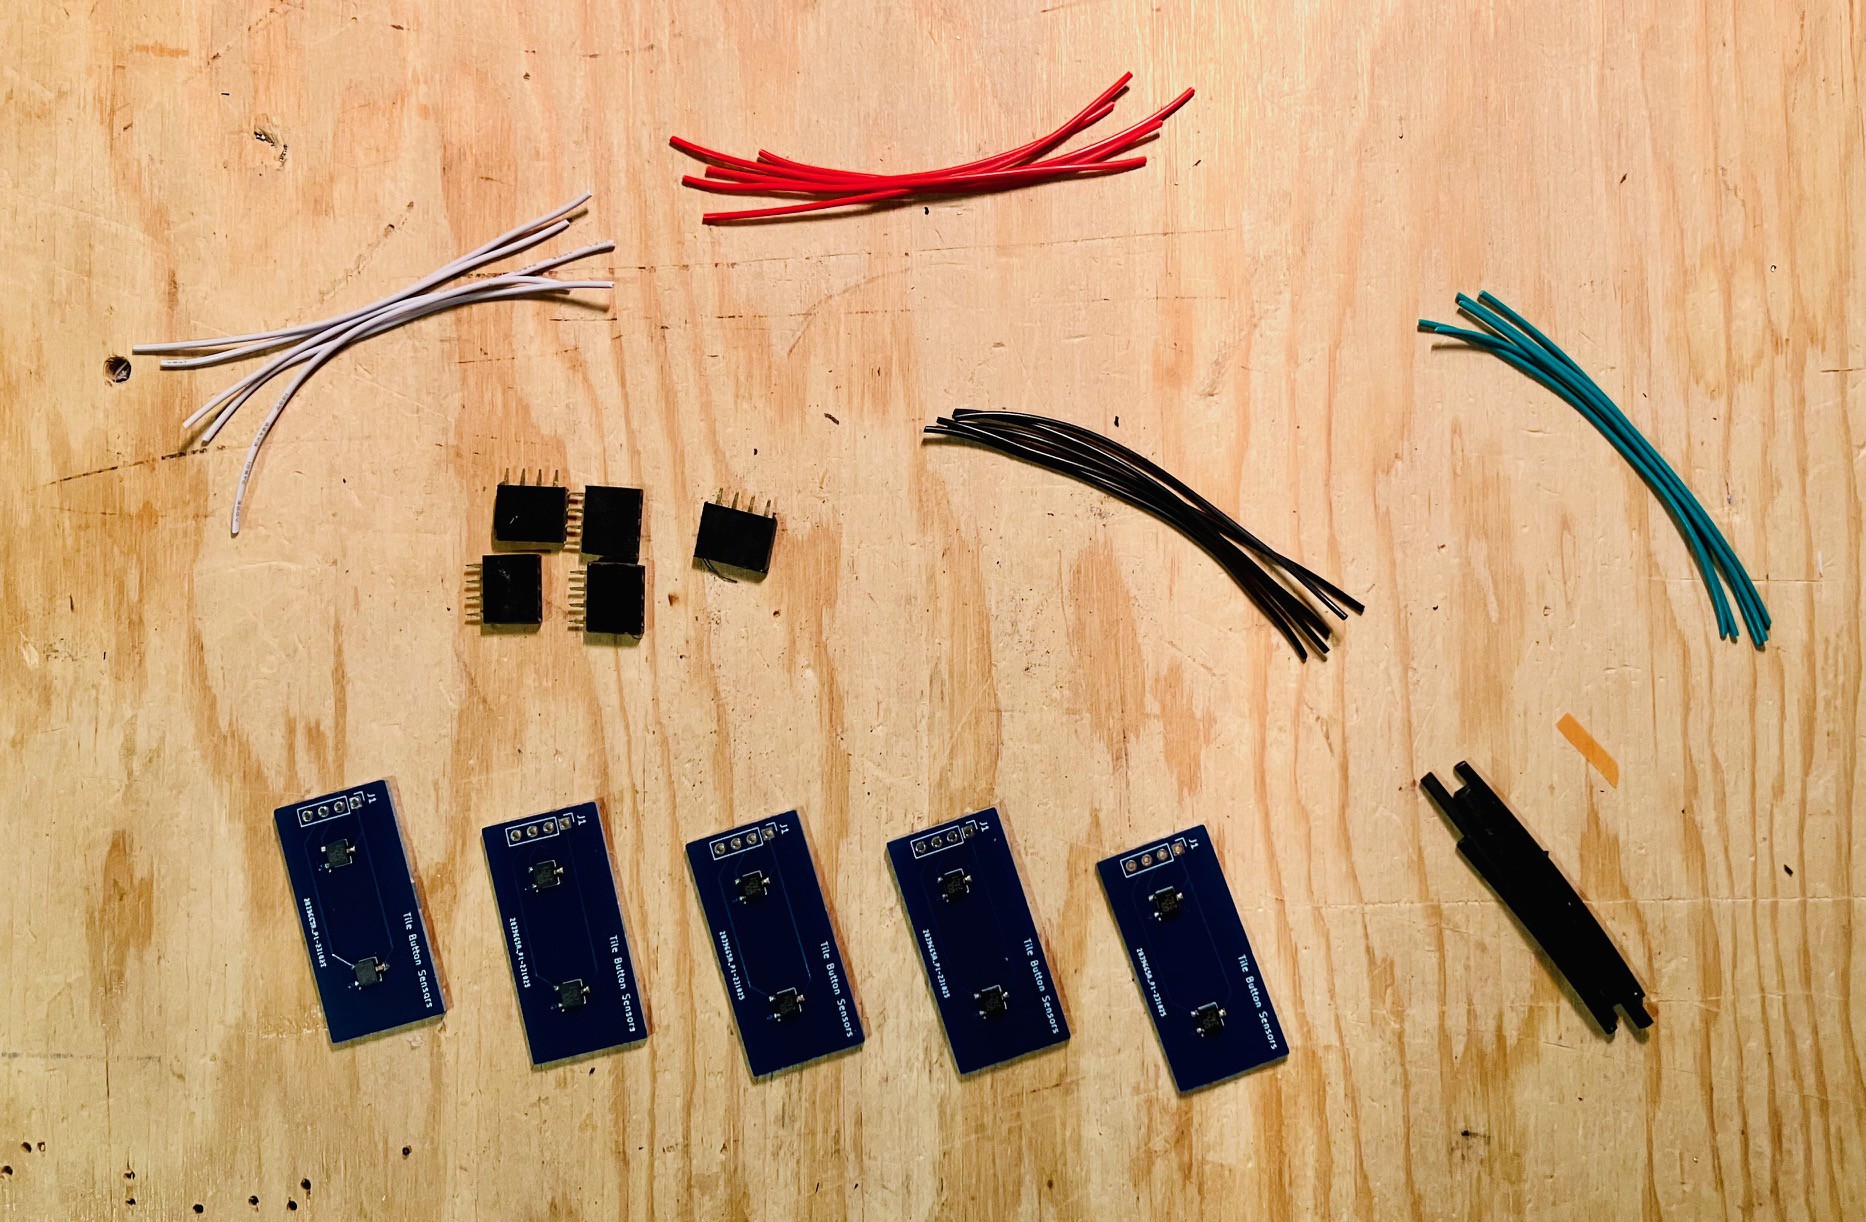
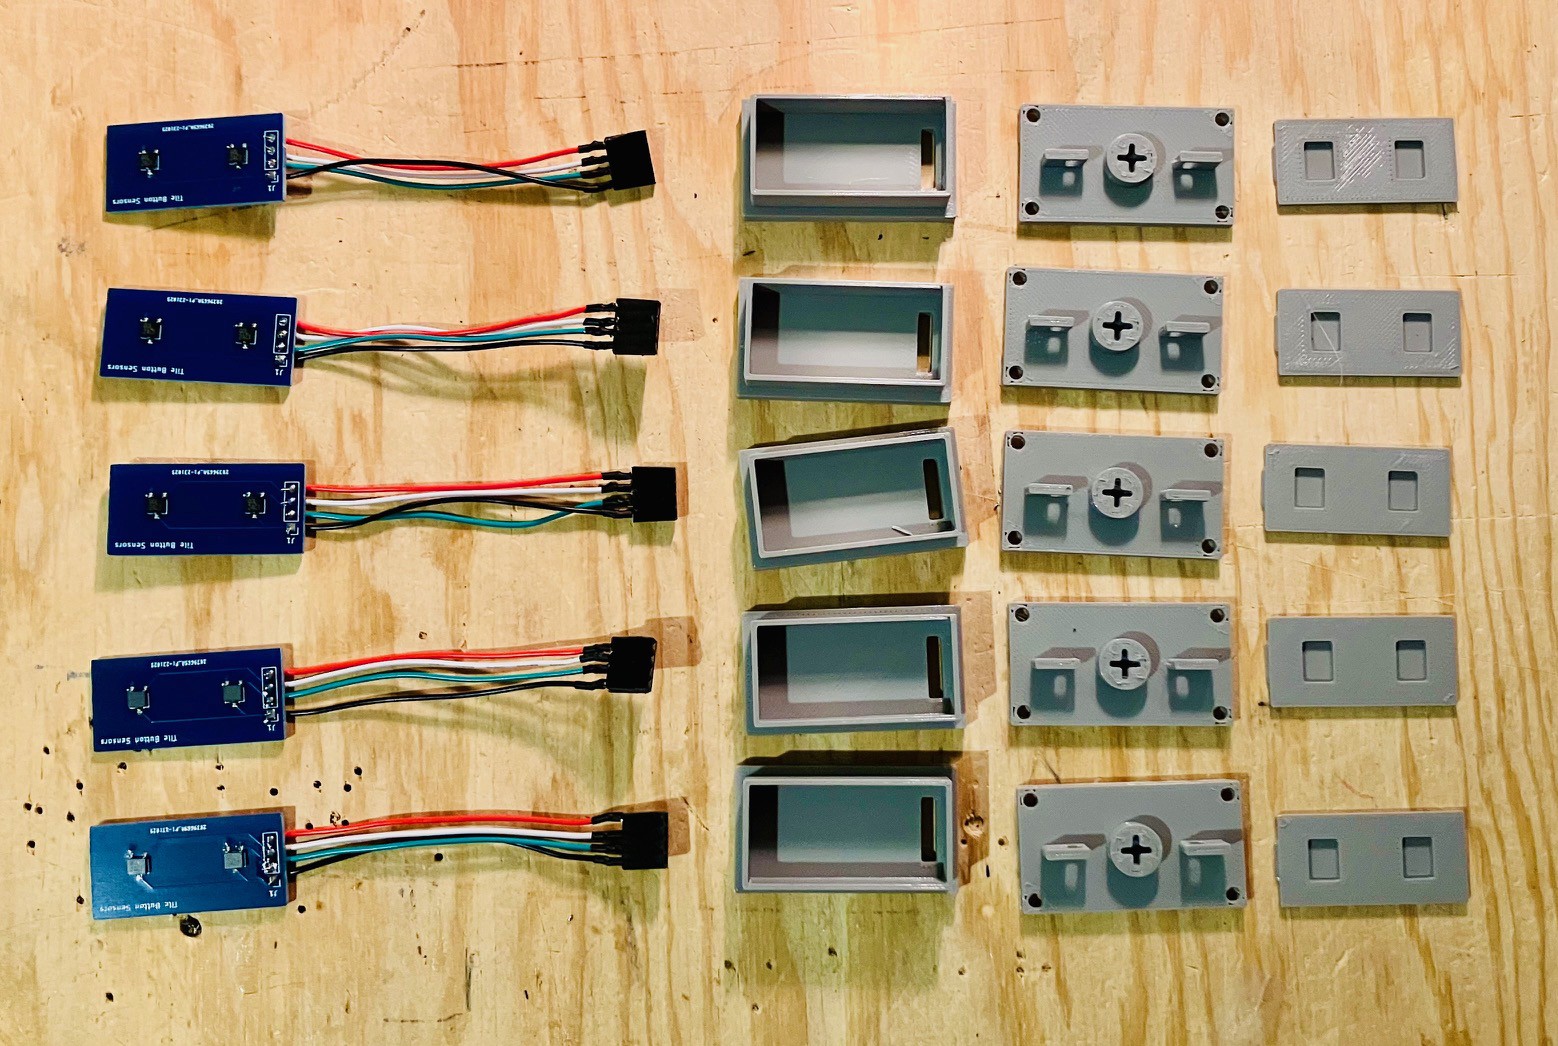
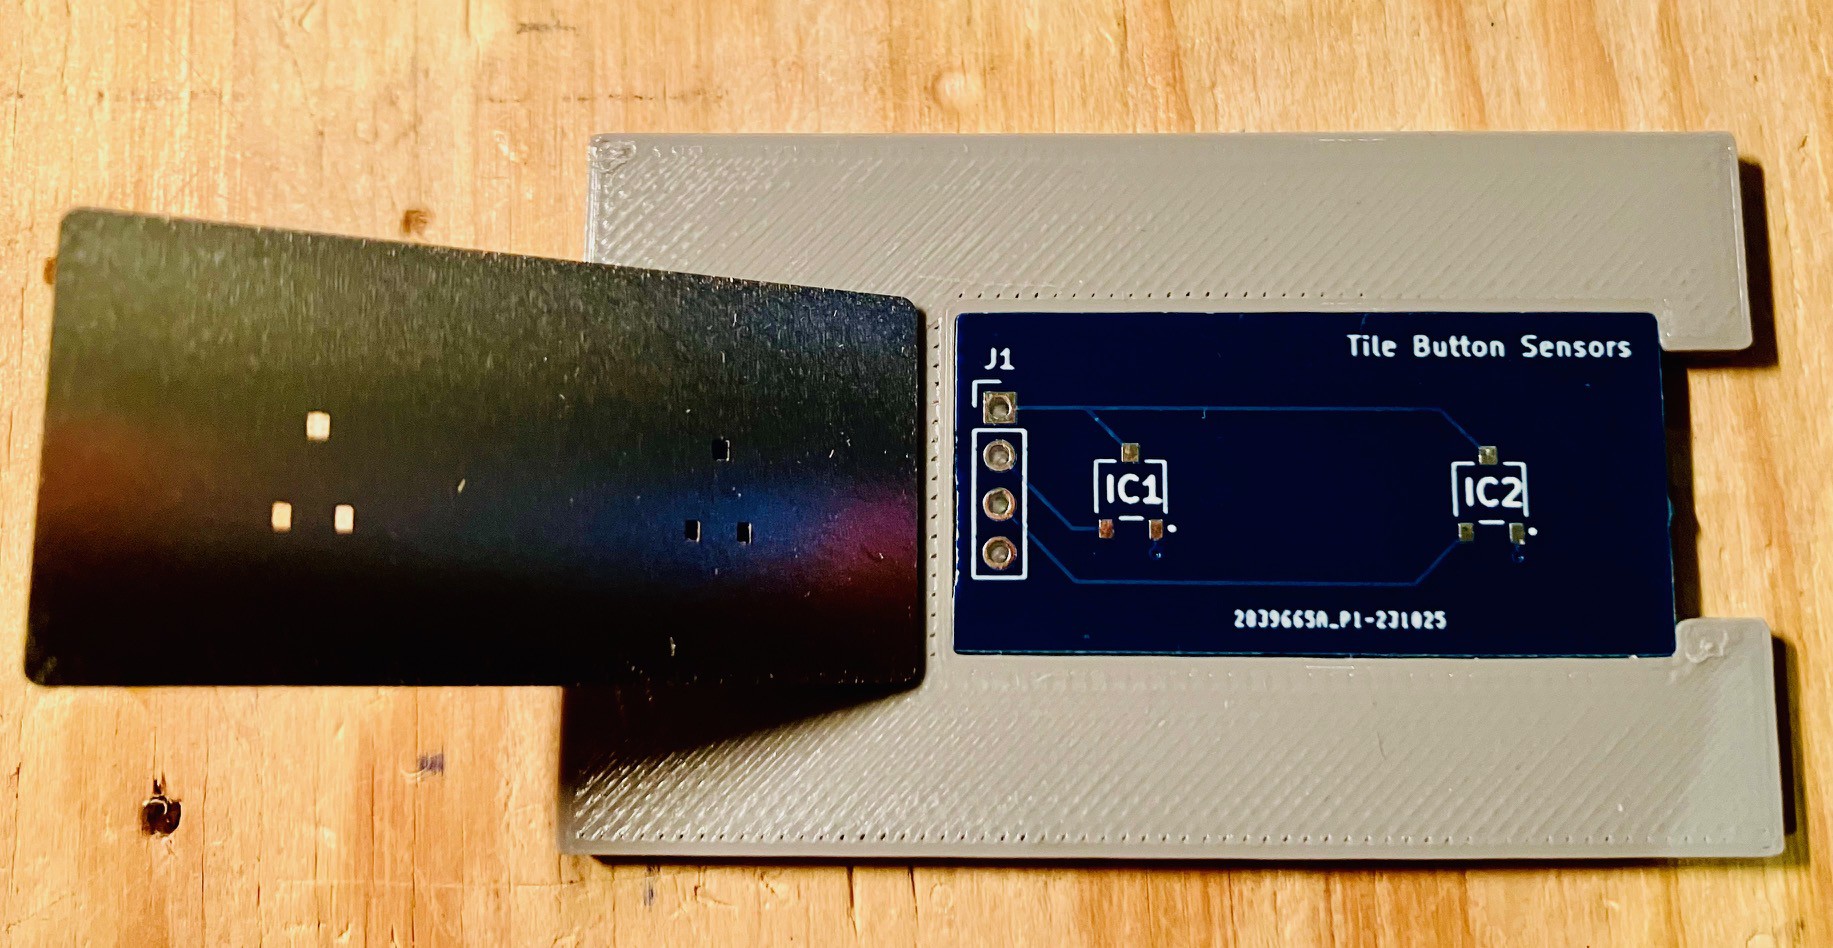
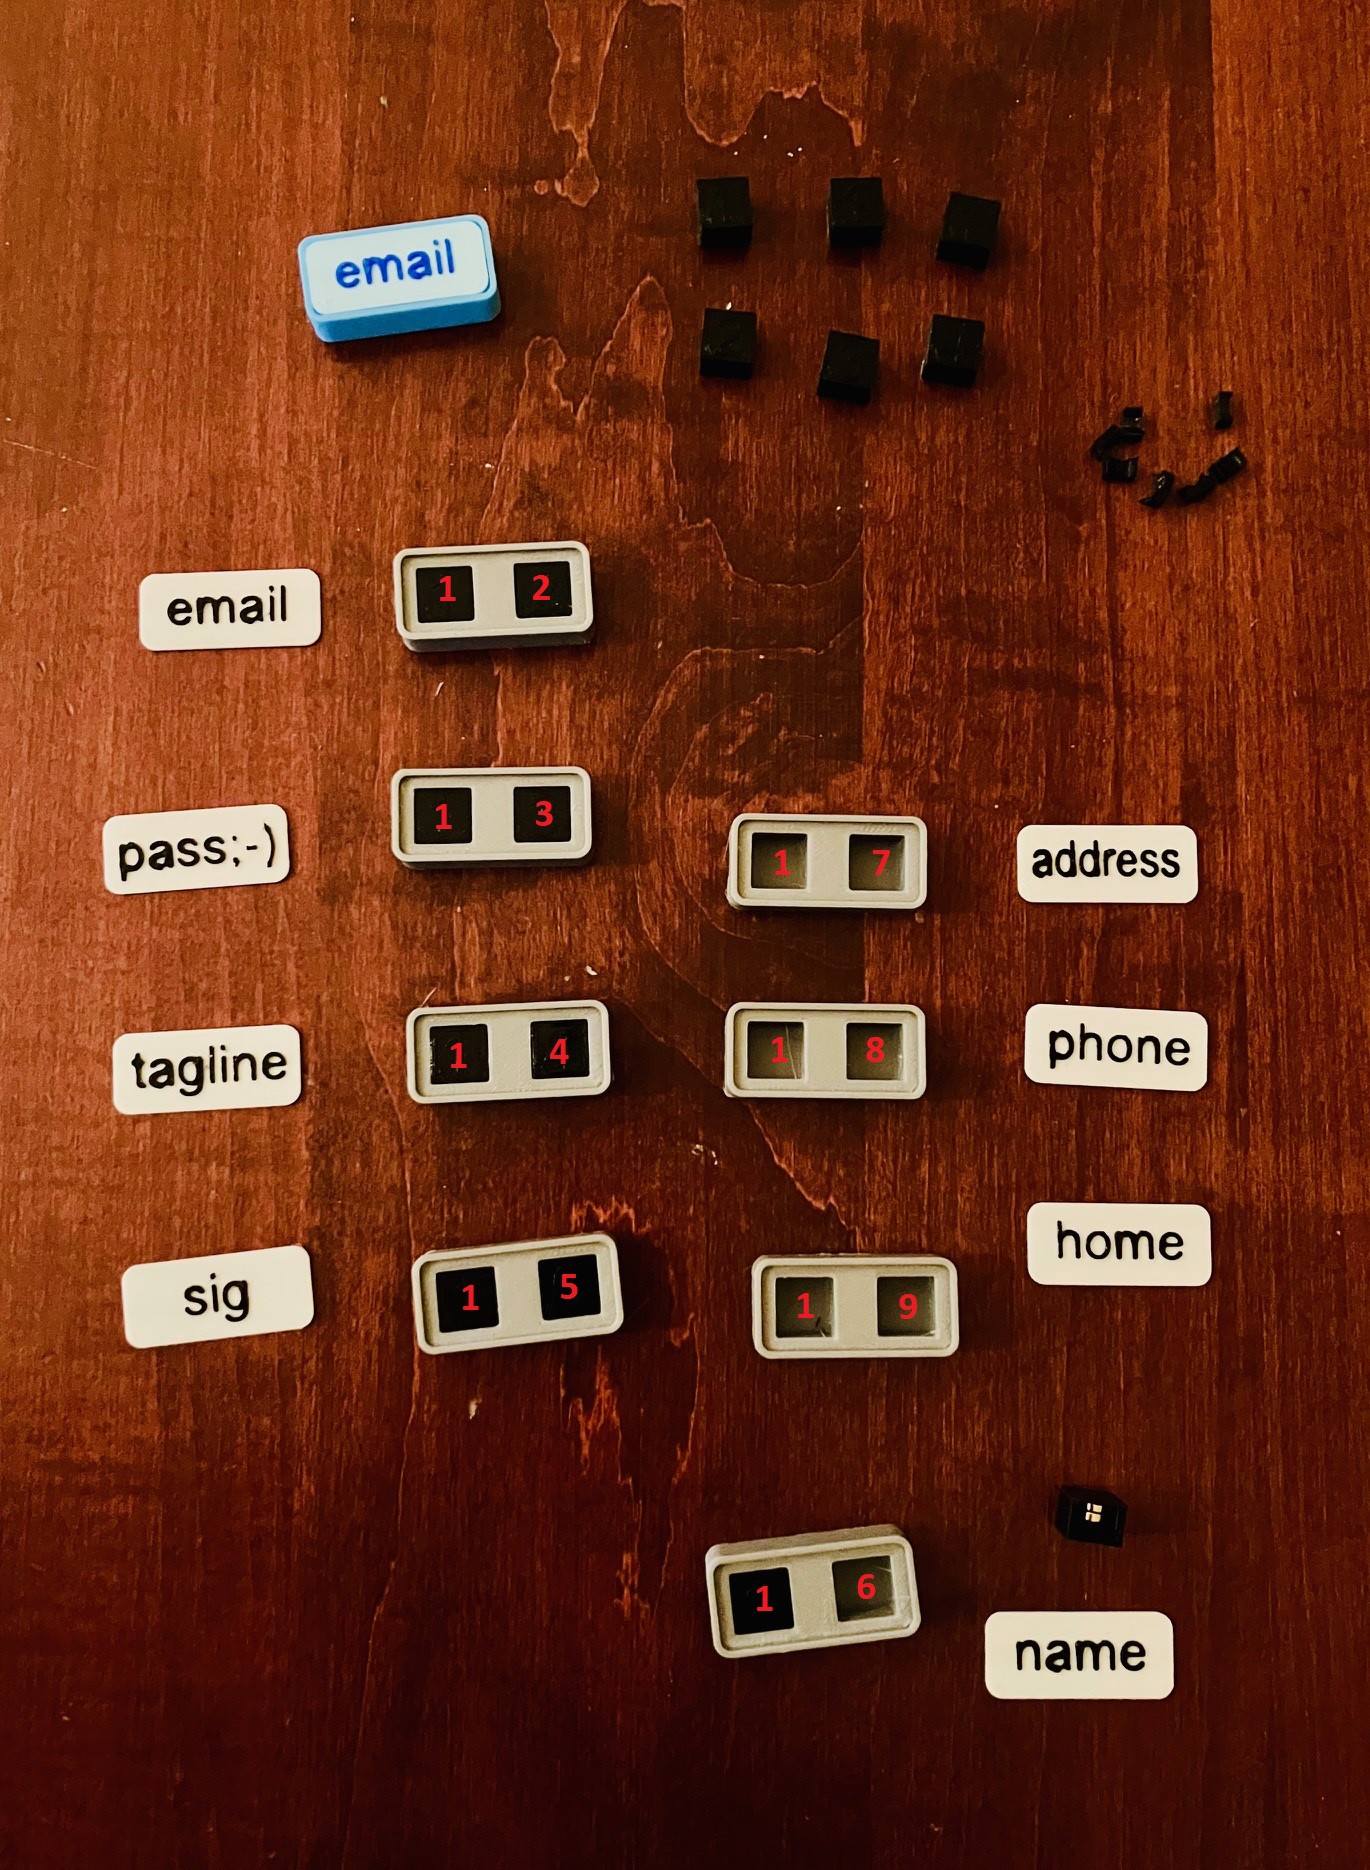
I now have the PBCs in hand and have printed all of the parts I need to make my new more robust MacroPad With Tile Holder Buttons.
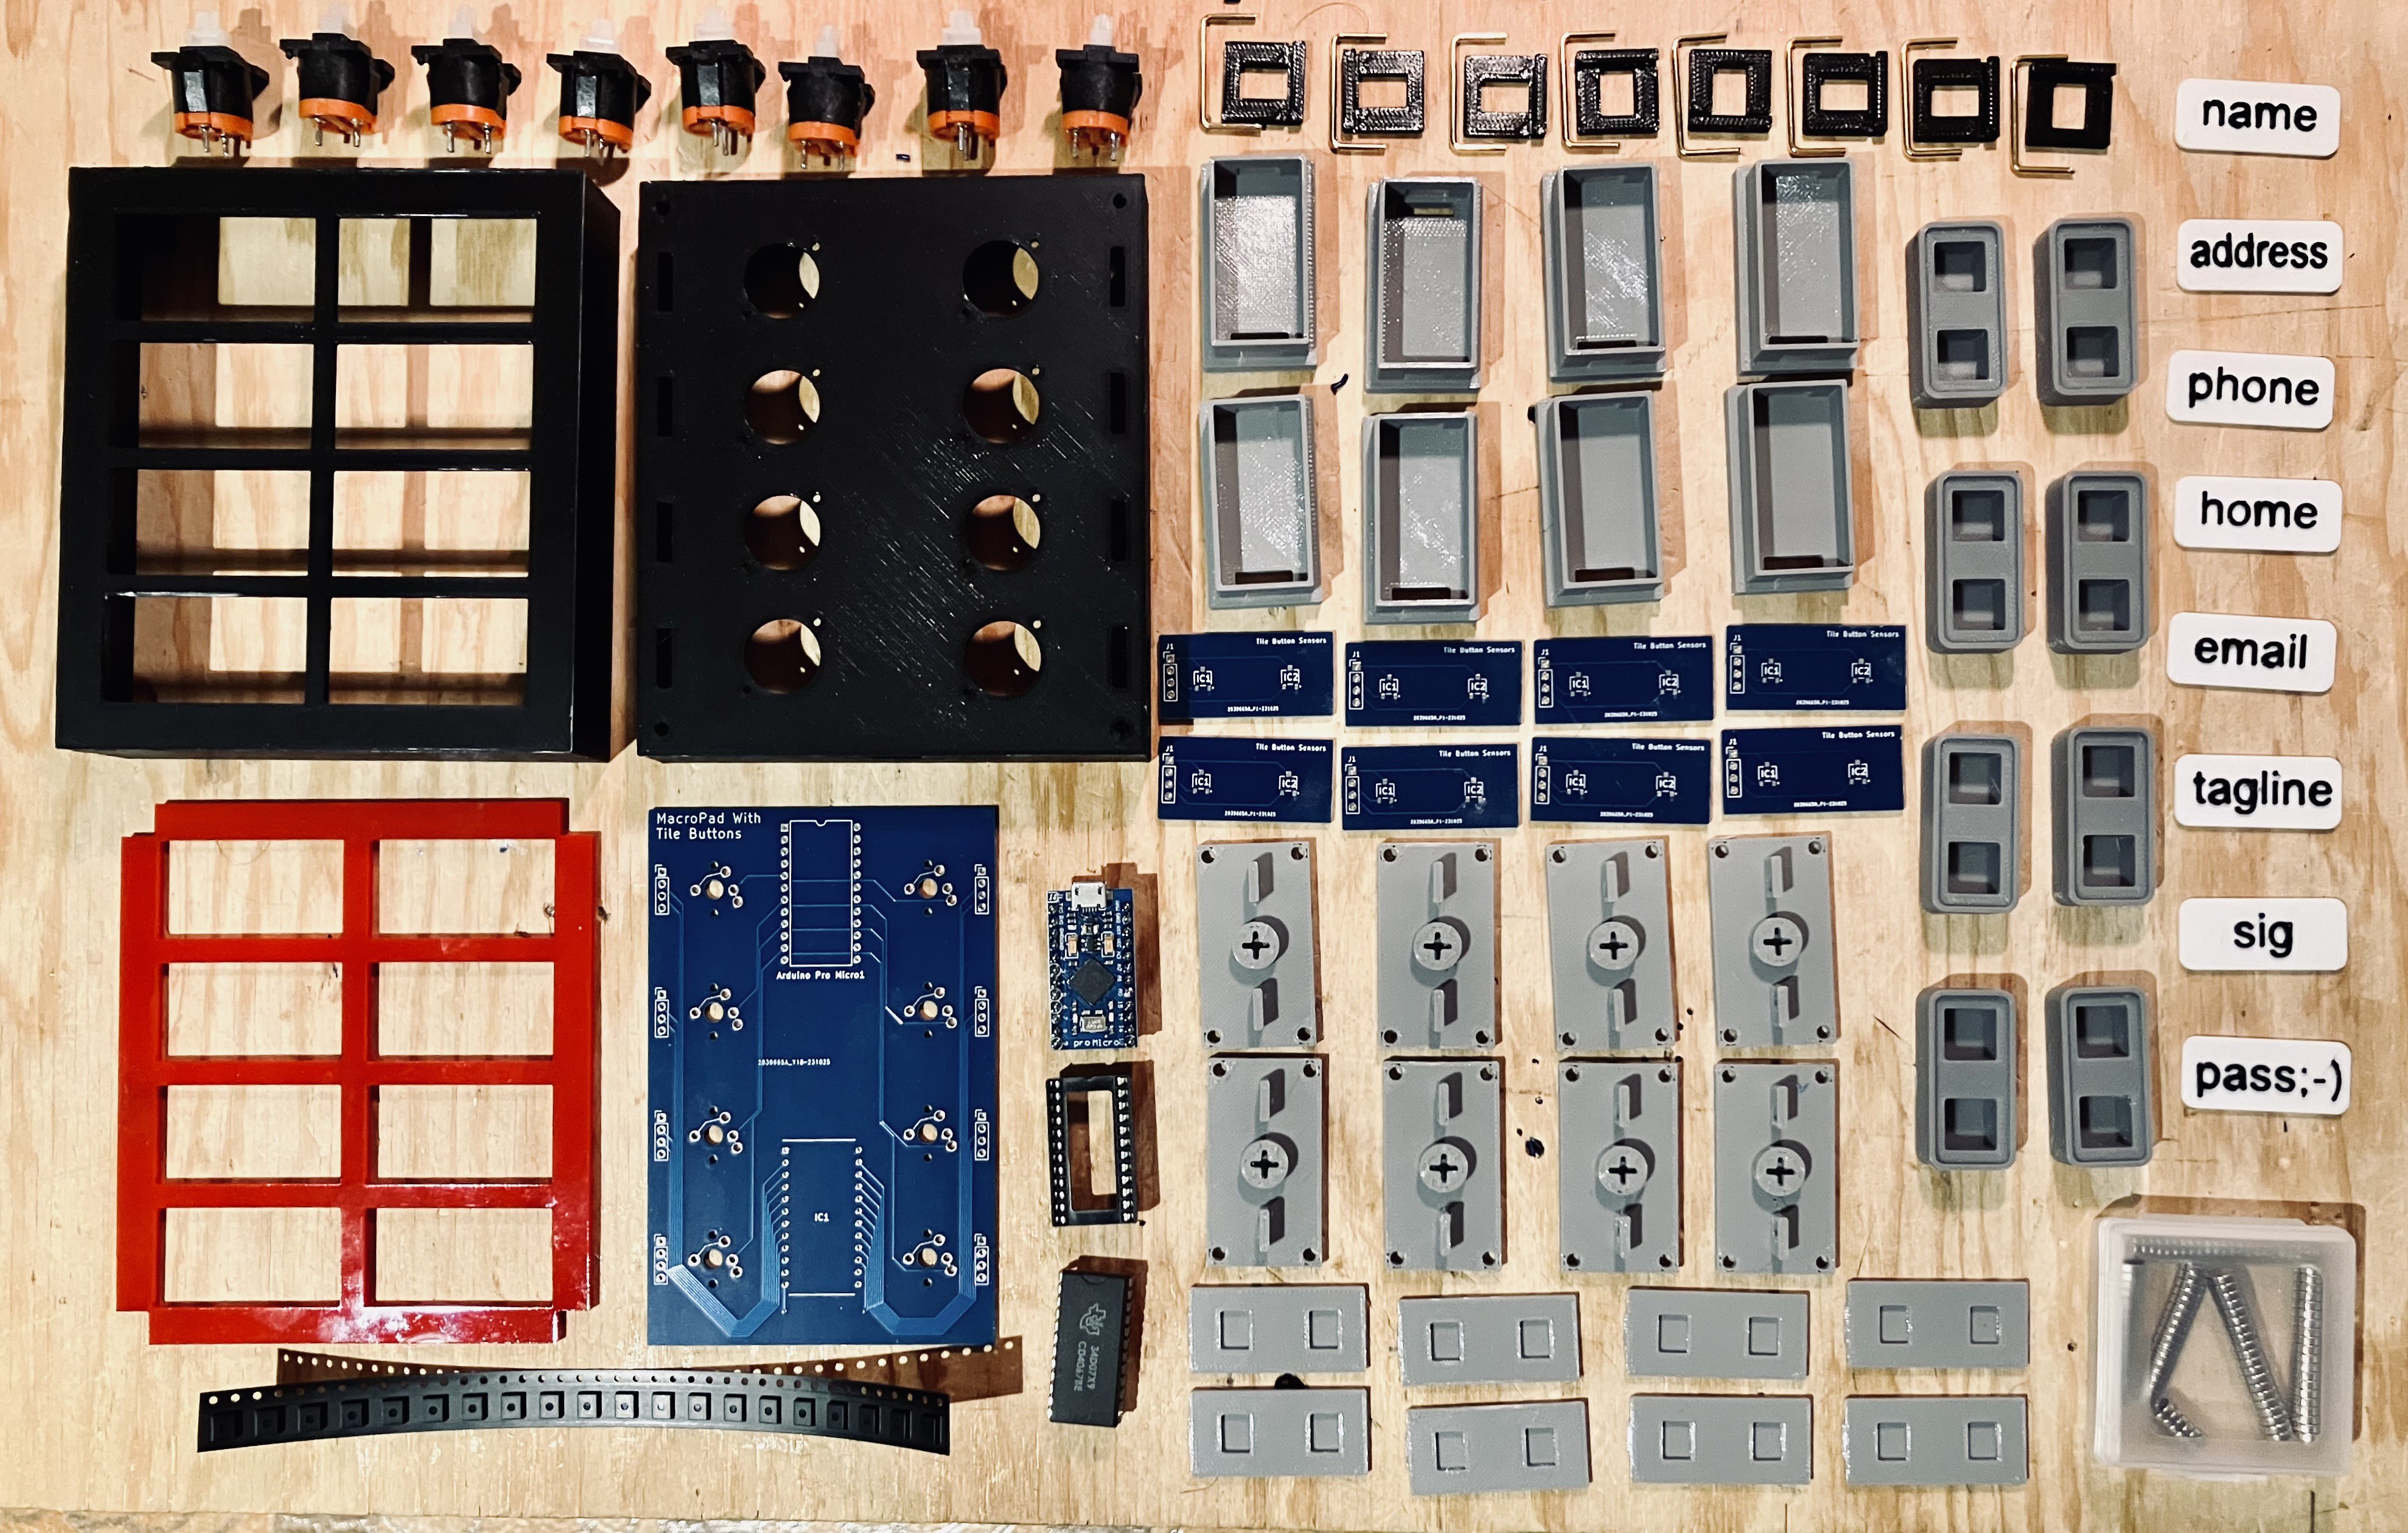
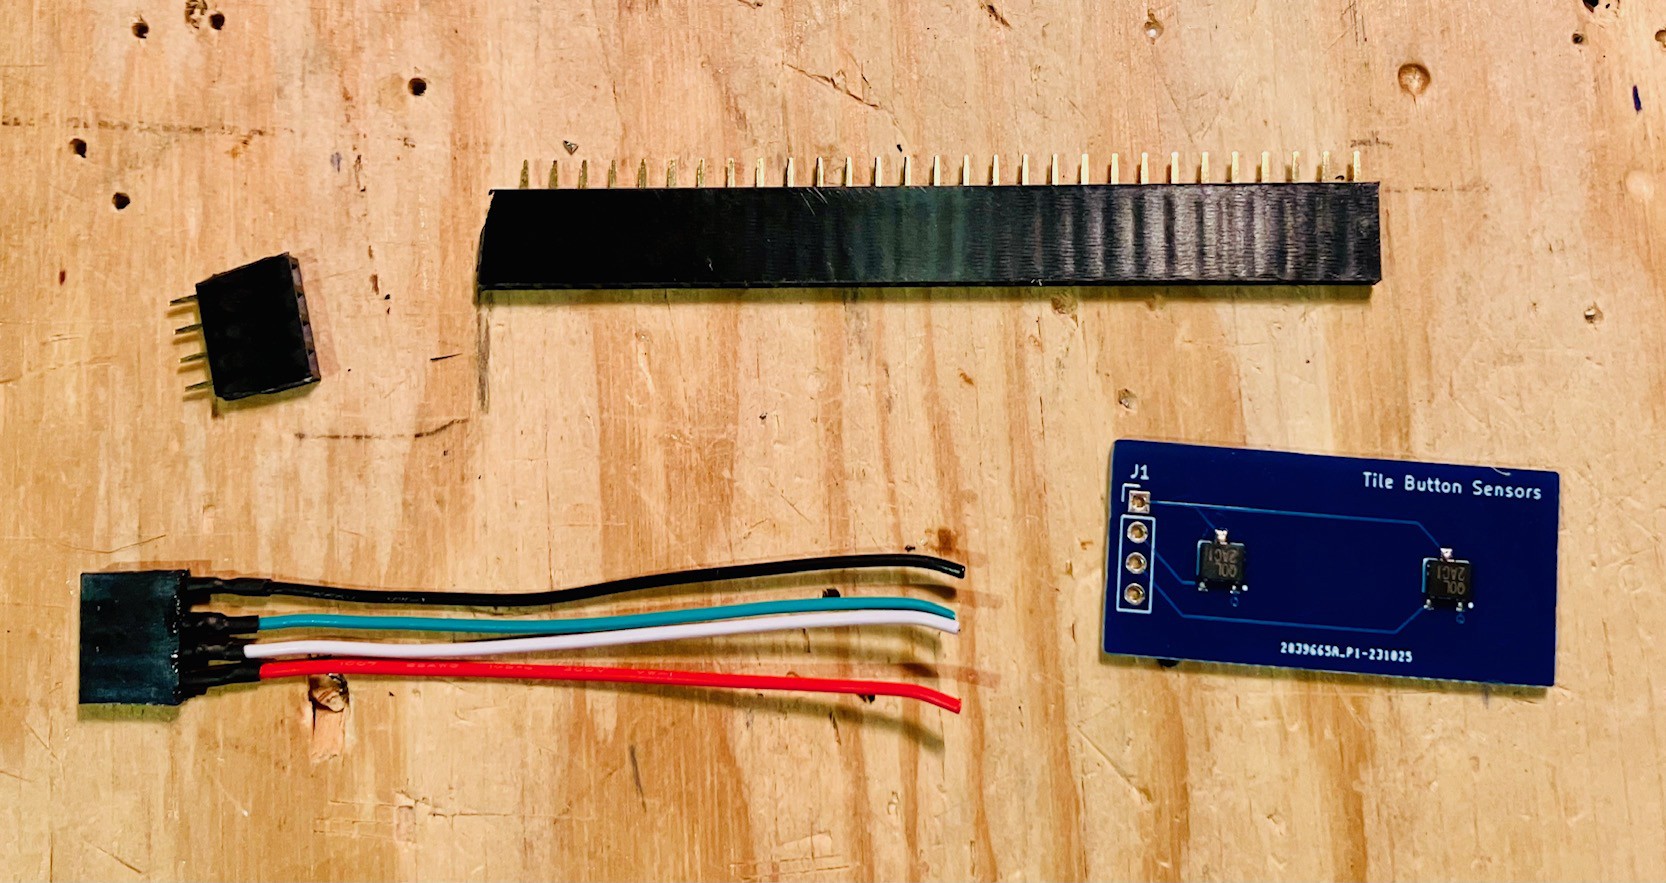
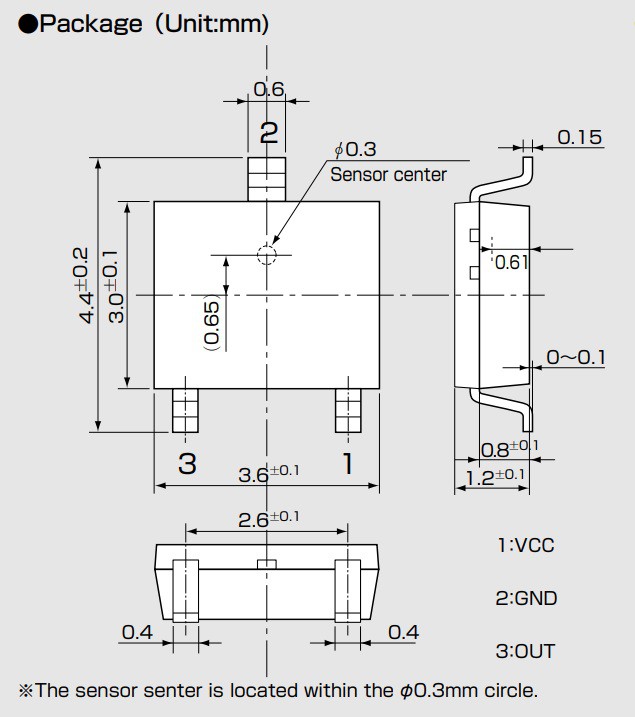
Before I start putting this all together I have to solder the SMD versions of the Hall effect sensors to the Tile Holder PCBs. I have never used SMD parts in a project so this will be a bit of a learning curve for me. Fortunately I am able to tap the expertise I need to get started from some of the great people at my local maker space Kwartzlab.
Montage
Picture a montage of me printing and soldering and building all at fast-forward speeds. At this point, given the background and design described above, I went ahead and finished my MacroPad 3. If you are interested in the details of how this happened I would strongly encourage you to have a look at this project's logs for the complete picture. Here is a handy link: Project Logs. Make sure that the SORT BY: is set to Oldest to get a chronological view.
Final Thoughts
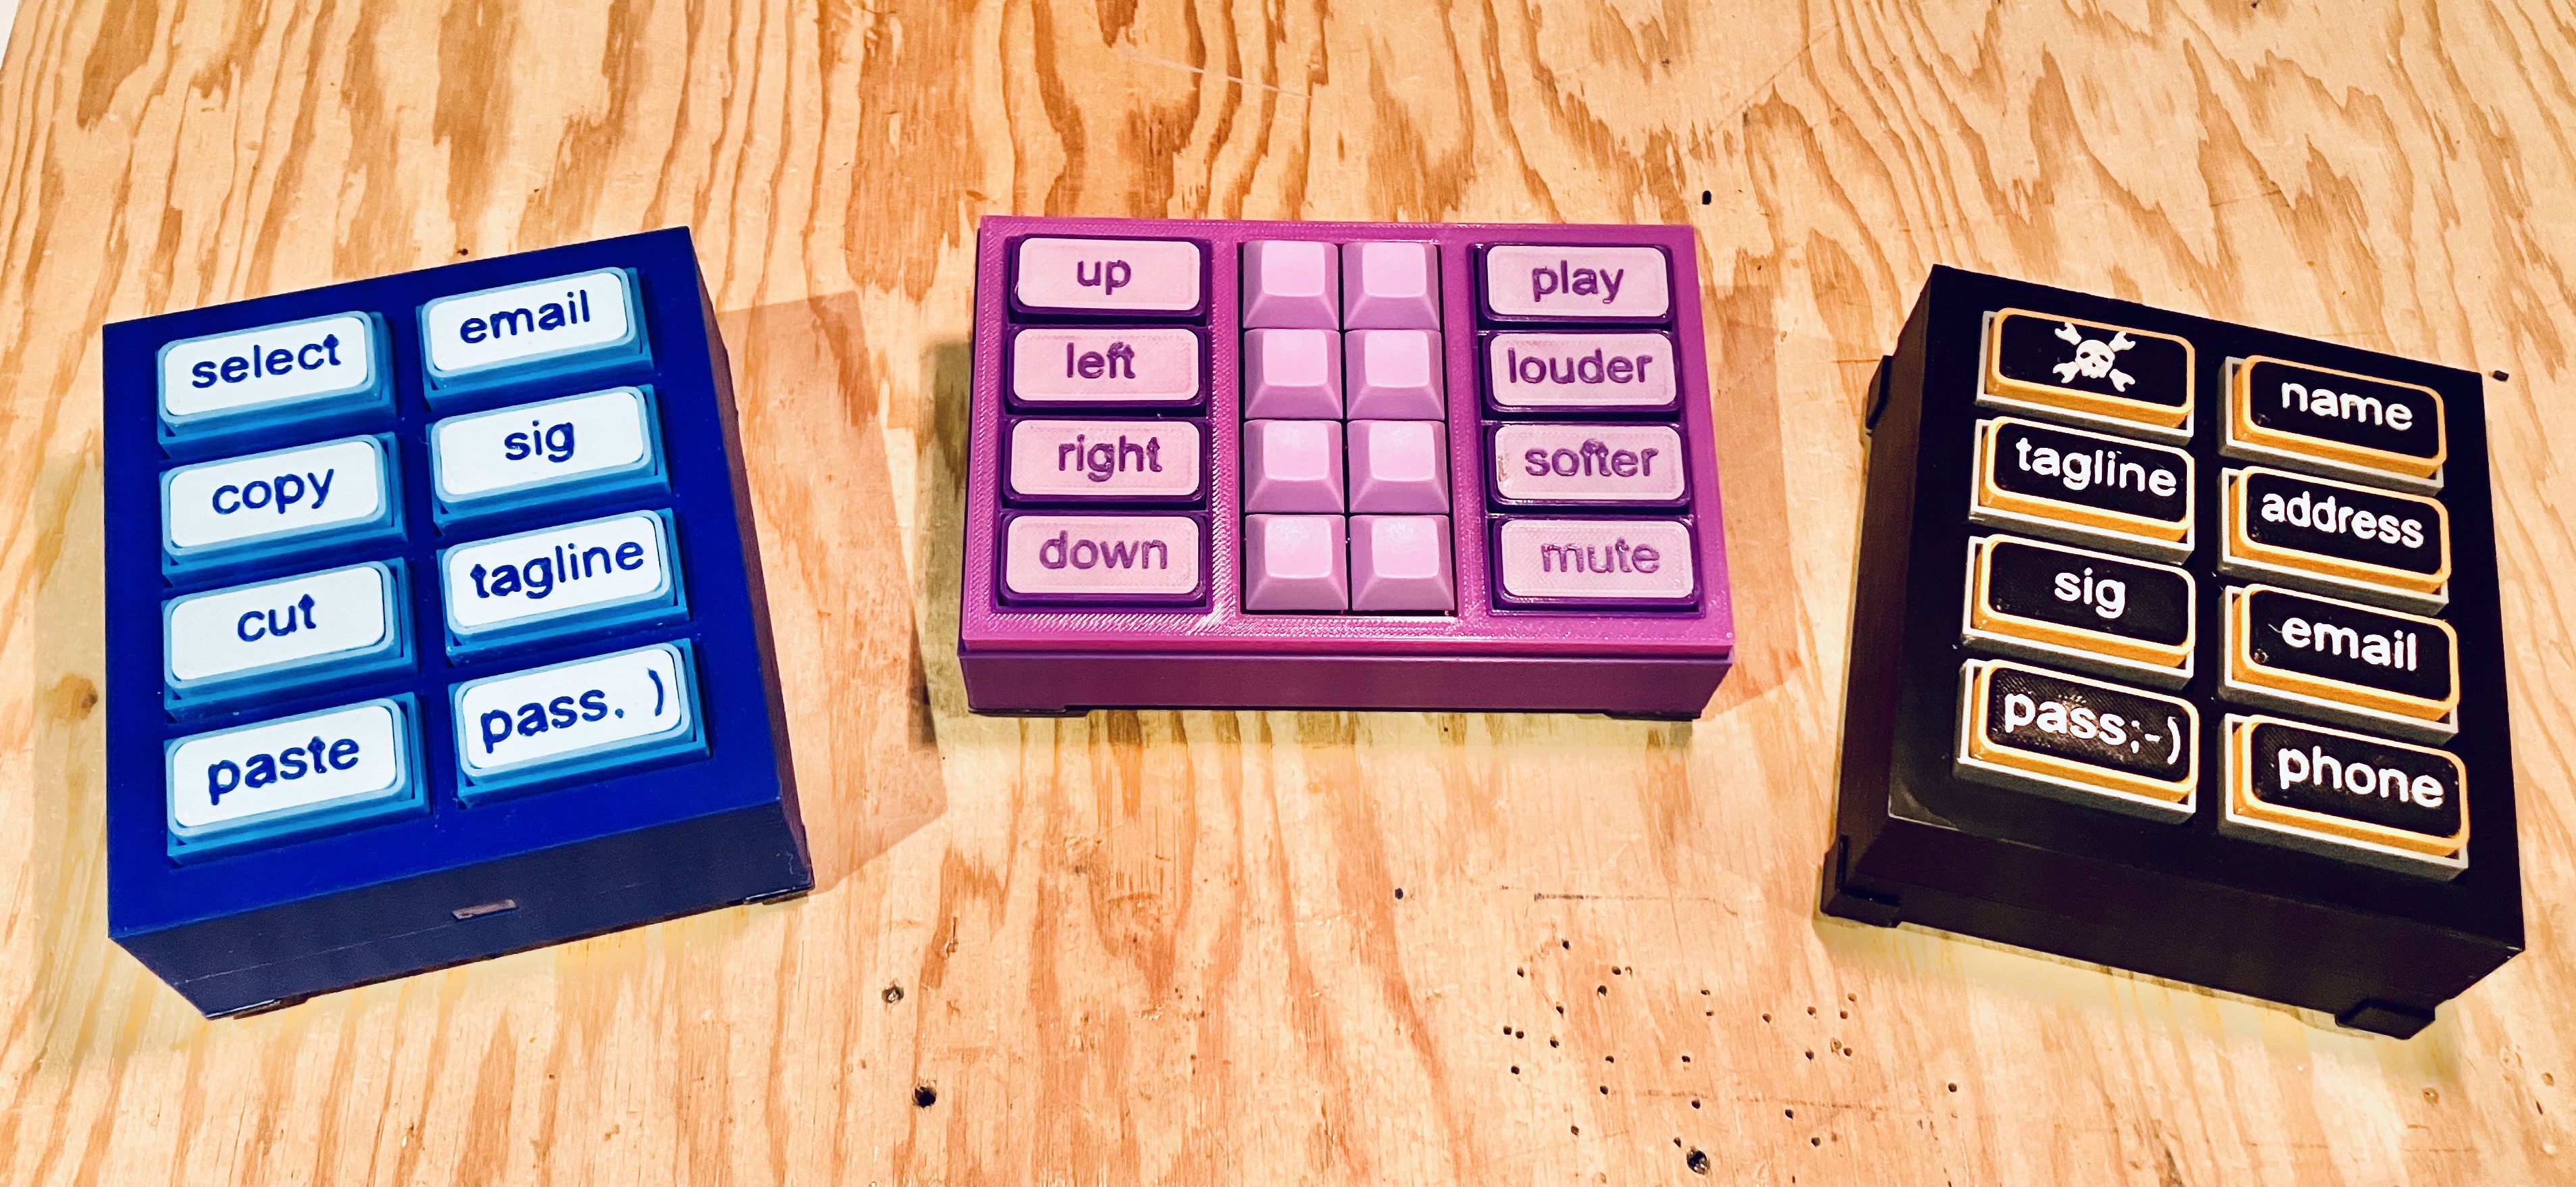
Well the last few months have been interesting. Over that period of time I have created three similar tile based MacroPads. As each project wrapped up I kept thinking of improvements that I had to try. Fortunately for me, MacroPad 3 finally felt "done" but I'm not sure I'm completely done with tile based interfaces. We'll see I guess.
 Michael Gardi

 deʃhipu
 Ben Brooks