Close
0%
0%

Nyan Keys - FPGA Based Mechanical Keyboard

Using an FPGA to further reduce input latency, coupled with an overkill MCU, and a dash of USB 2.0 HS. Nothing beats the cats nyan.

Similar projects worth following
Designed an FPGA based mechanical keyboard with parallel per key inputs and debouncing. Then used an STM32F723 MCU to enable USB 2.0 High Speed 480Mb/s communication to the host computer at 8000hz to achieve the lowest latency possible.

This design is Open Source under the Apache 2.0 License.

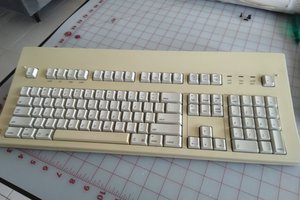
Nyan Keys - Hardware

The purpose of Nyan Keys was to engineer the lowest possible latency mechanical keyboard that would accept any Cherry compatible switches, e.x. Kailh and Gateron.

The hardware inspiration came from the Wooting 60HE and Pok3r 60% mechanical keyboards. Where the performance characteristics of the Wooting were desired but with the freedom to use any off the shelf switches of the Pok3r


Latency 🚀 (The Numbers) 

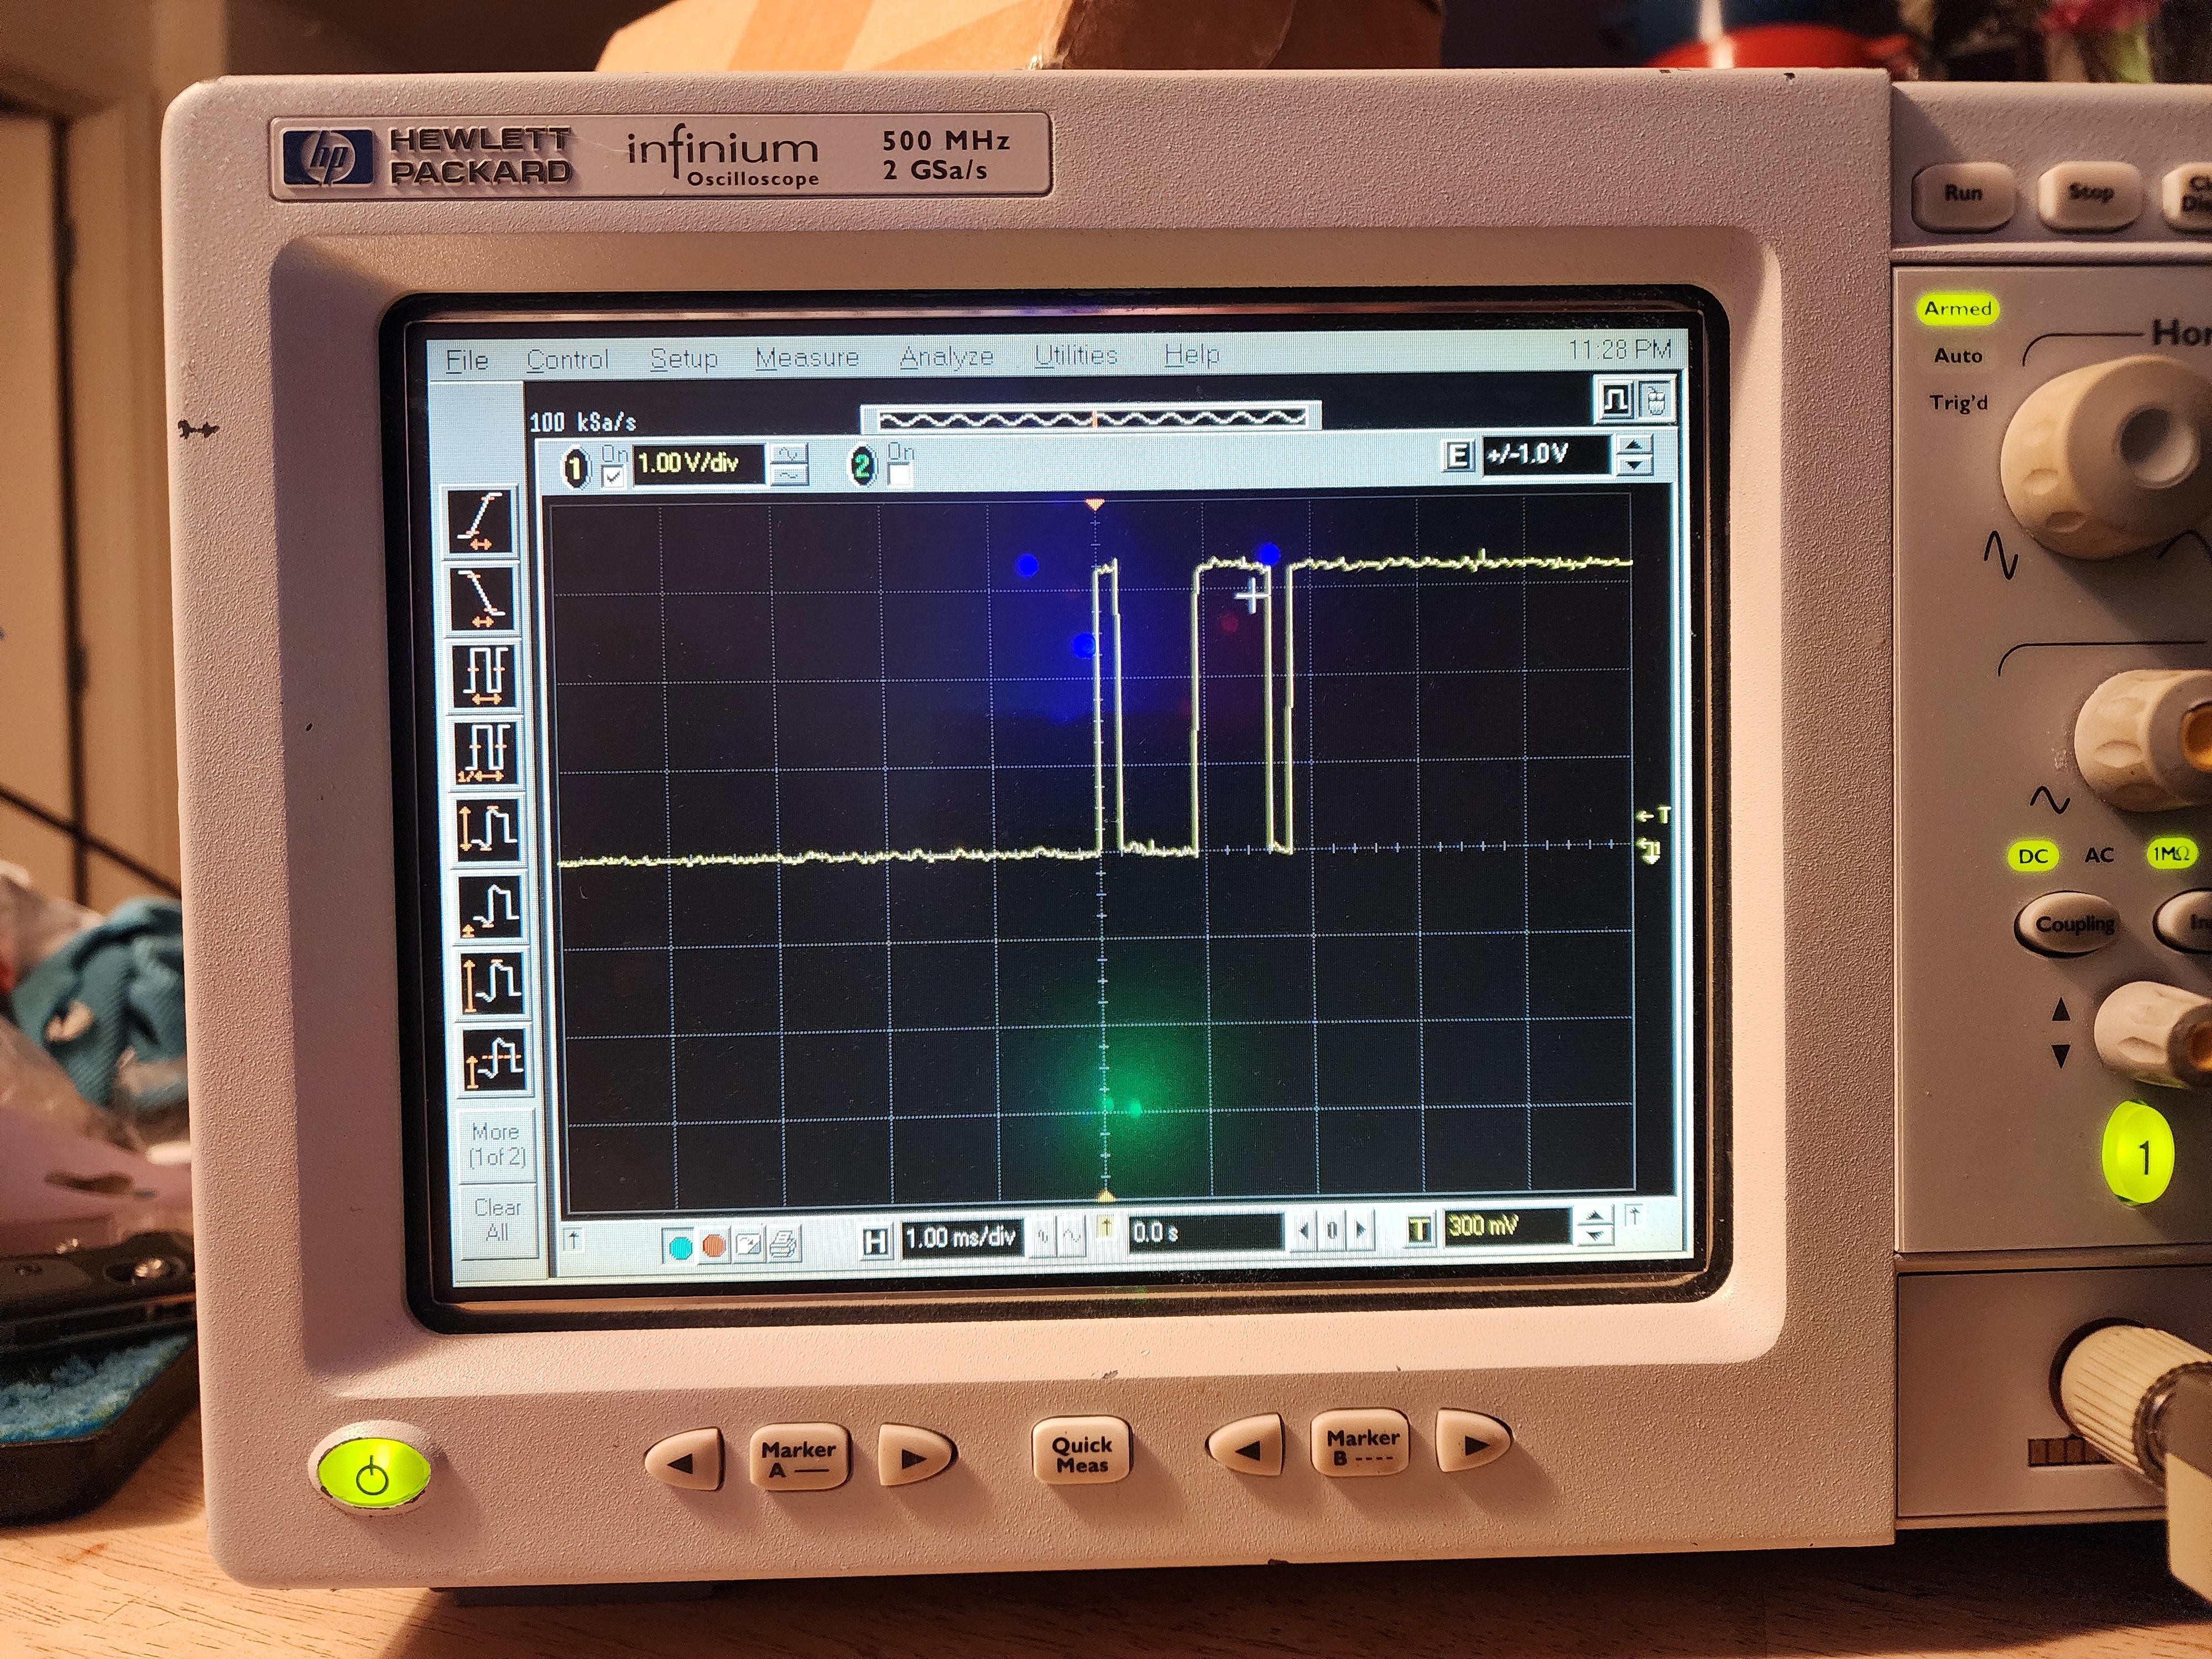
Nyan keys is fast... really fast. Key latency is unmatched at 30µs worst case while the SPI bus between the FPGA and the MCU is running at 12.25Mhz. 

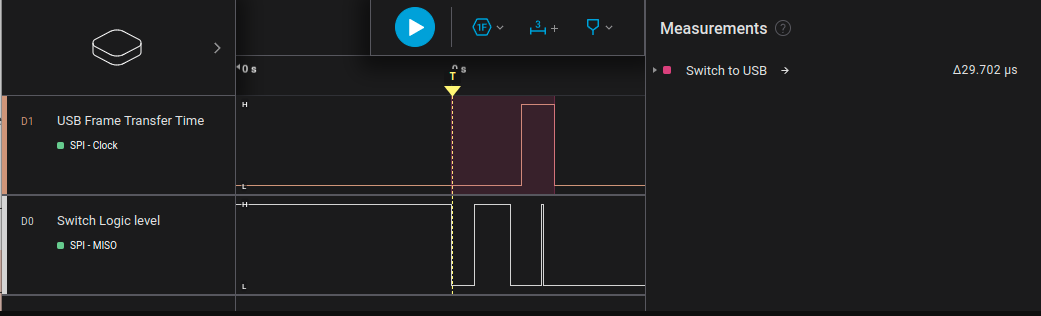
The above is a simple test of when the switch logic level goes low how long until the 'USB Frame Transfer Time' line goes from low->high->low. This is the total time between keypress and the the buffer for the next usb interrupt to be set. This is not the end all be all though. the host still has to interrupt the keyboard at 8000hz to get that data that was just set from from the key press. The bInterval of Nyan Keys is set to 1 at USB2.0 HS, which means 8000hz or .125ms. Lets us assume the worst case scenario where the key is pressed right after the last frame was requested and sent to the host. We would take out 30us latency then add that to the 125us latency of the USB Interrupt transfer to get ~155us. This is 6.5x faster than any usb 2.0 FS based keyboard (The current market) which have an interrupt rate of 1ms and you have to also add in the latency of scanning the matrix.  giving Nyan Keys not just the win in the most over engineered solution to a problem that .00001% of people would have, but likely the lowest latency solution available. 

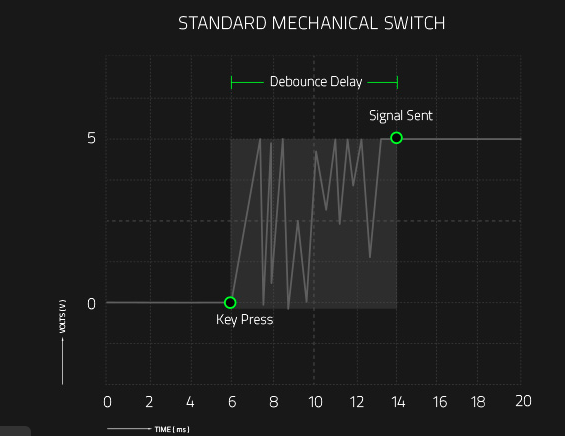
Notice how the switch state is sent before the the switch is even done bouncing. This is because you can arm the debounce counter to prevent a state change after the initial press or release of the key.
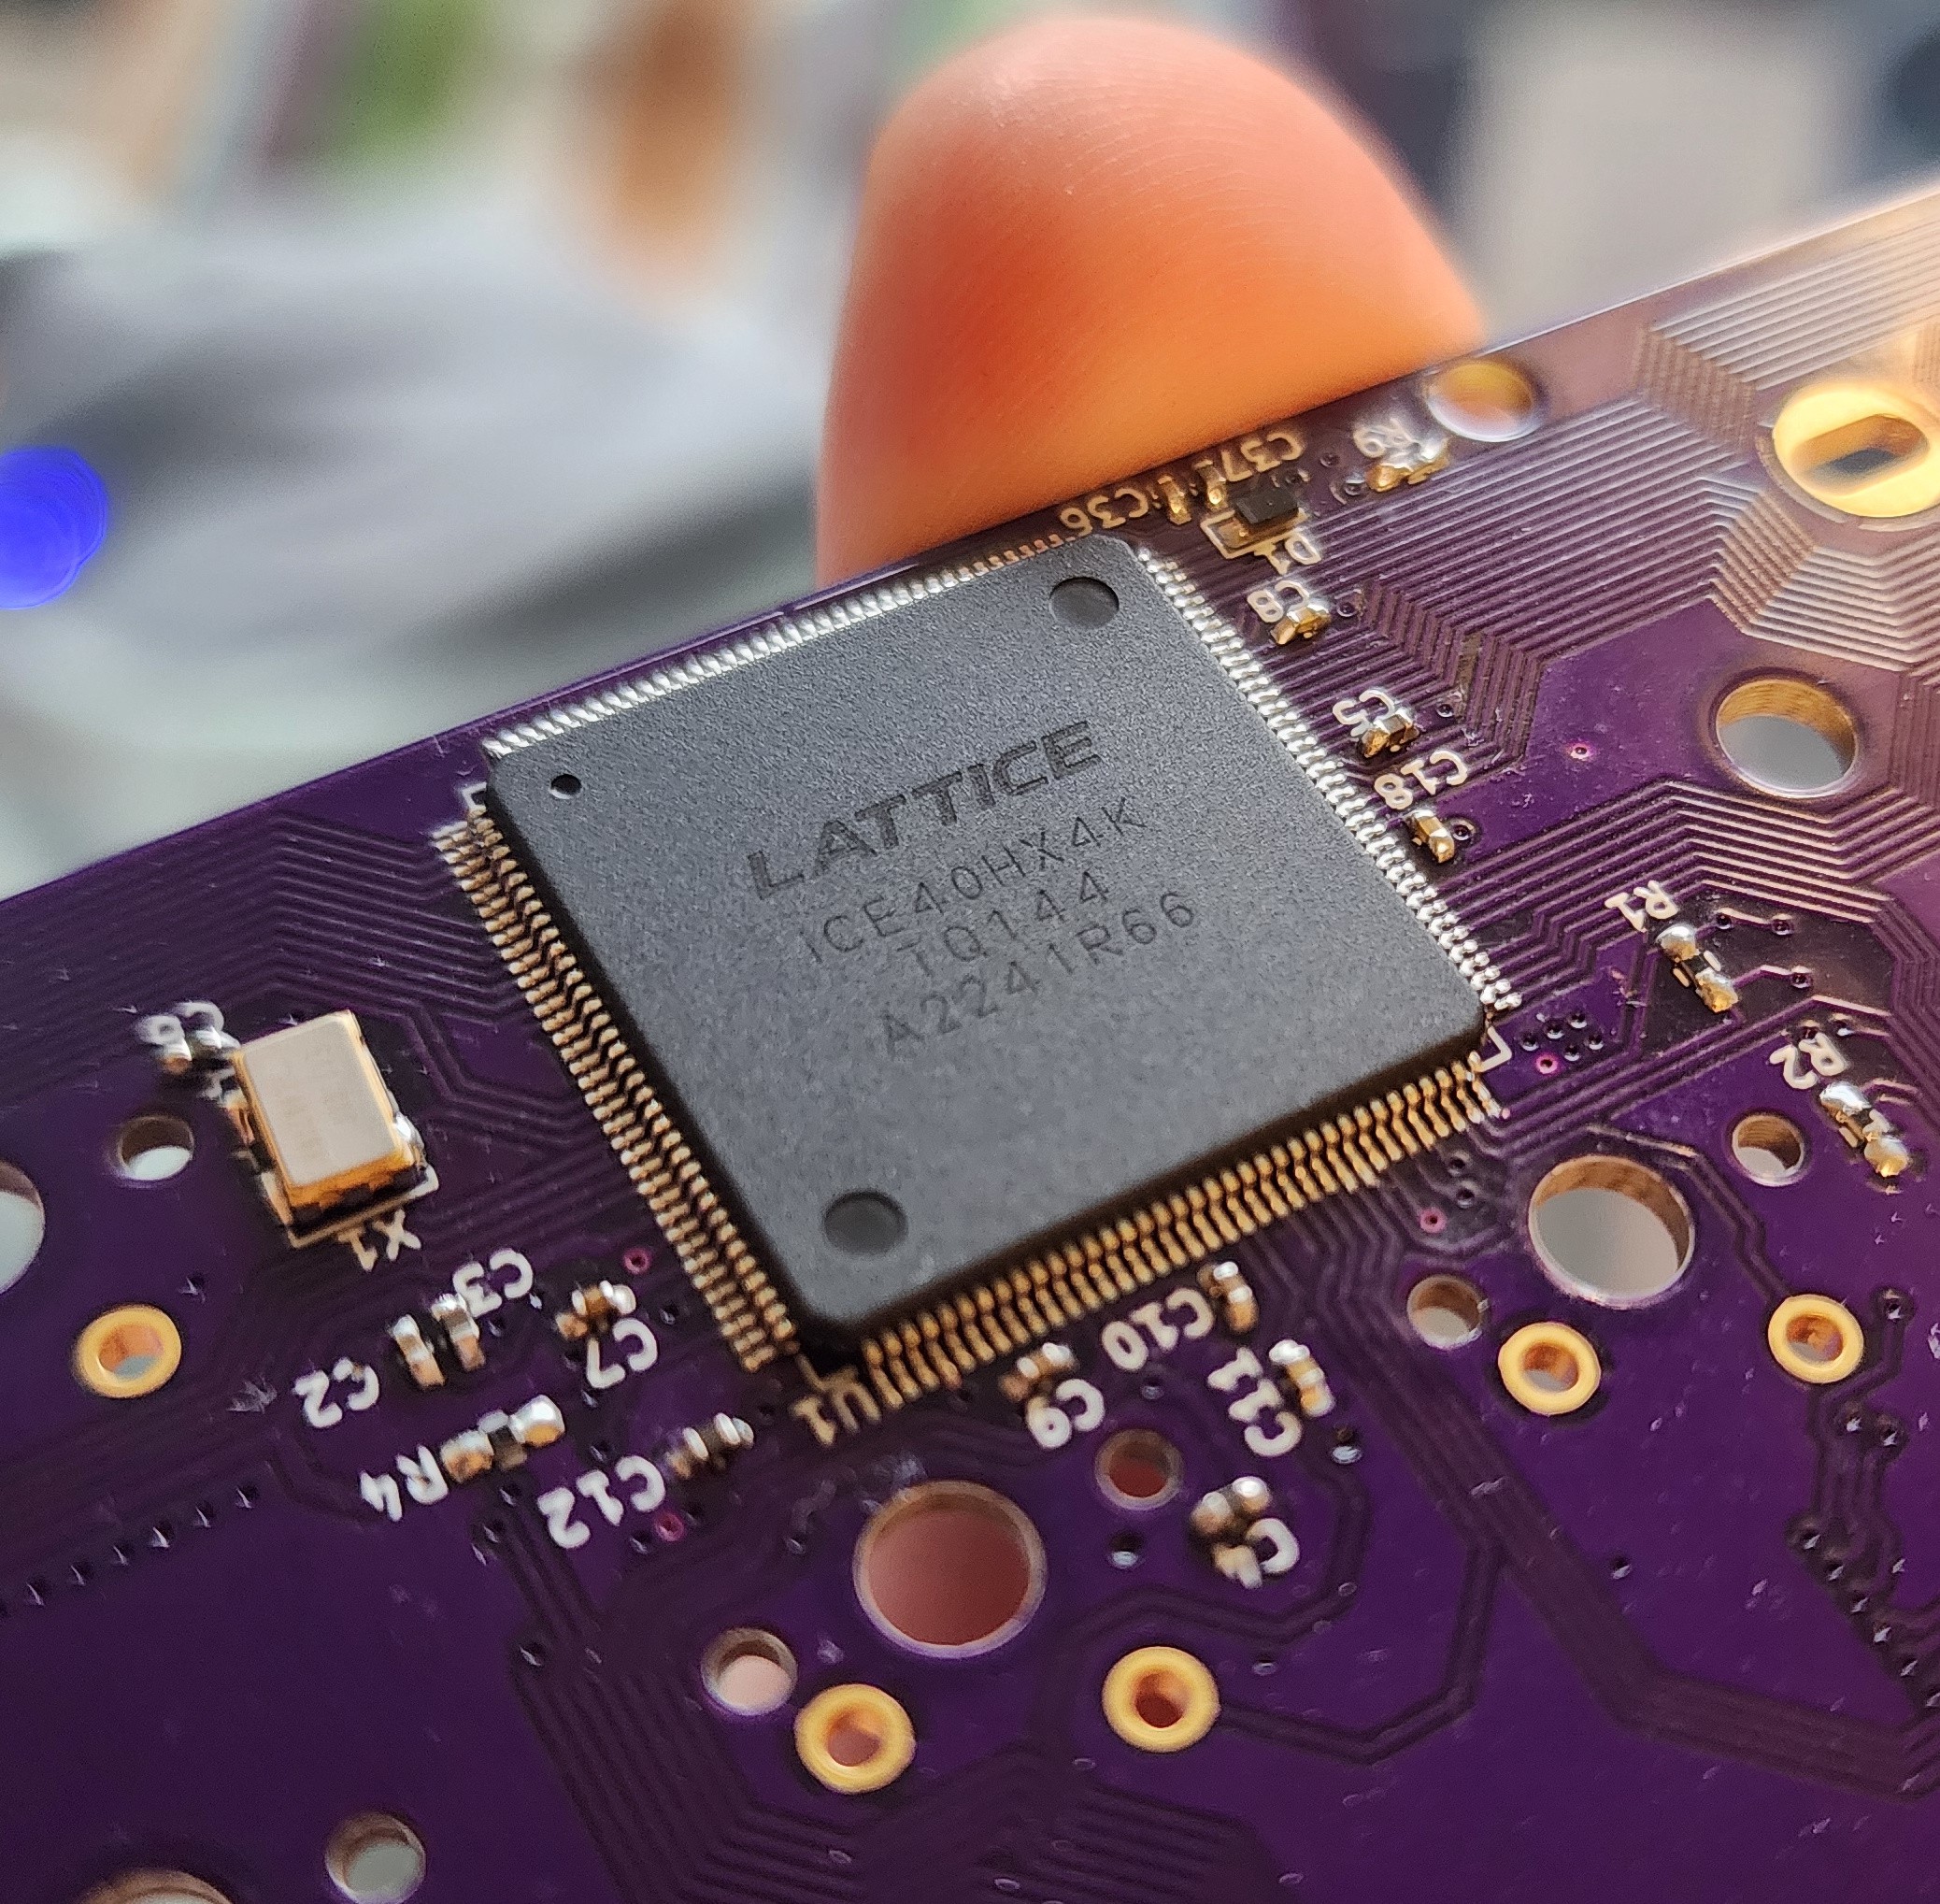
FPGA

The most novel element to Nyan Keys is the use of an FPGA to handle the debouncing logic and serialization of the parallel keys interface. Using an FPGA had the advantage of being able to wire each switch to it's own IO pin, which could be pulled high with the internal pull-up resistors on the Lattice Ice20HX4K IO block. This design greatly increased the routing complexity but at the same time removed any need for additional components such as diodes with each switch. 

Using and FPGA allowed for the ability to give each key (switch) it's own core, which consists of an 8 bit timer. The timer is always counting up to the value of 255, once the counter reaches the comparison value the key can change its state and the timer will reset to 0. While the counter is any value that is not 255 the switch state can not be changed. This is the debounce mechanism.

There are 2 primary advantages of the above method for debouncing. The first is that the key press is able to be instantly registered for the press and release as long as the debounce lockout counter has passed. Second it's very area efficient using ~25-30% of an Ice40HX4K for 61 total keys.

Some of the initial designs were very area inefficient and as such would use a majority of the PLBs of the lattice ICE40 FPGA. This led to the initial versions which had an up AND down counter for the debounce to use more than the available logic blocks on an ICE40HX1K IC. This design was safer from electrical noise and very accidental touches but increased the latency by the time of the counter to even get the switch to change state. 

The new revision scrapped all of that an instead just uses an UP counter as such the new logic just uses NUM_KEYS * COUNTER_REG_WIDTH registers and the total area used was reduced by nearly 75% given the same width debounce counters. This can be seen below in the .PNG showing the various elements of the PLB that are used once the verilog is synthesized and routed. This new approach also removed the need to synthesize subtractors and replaced it with much simpler...

Read more »

JPEG Image - 6.49 MB - 12/07/2023 at 00:00

Preview
Download

  • 1 × iCE40HX4K-TQ144 Logic ICs / Programmable Logic: FPGAs
  • 1 × STM32F723VET6 Microprocessors, Microcontrollers, DSPs / ARM, RISC-Based Microcontrollers
  • 1 × TPS70345PWP Power Management ICs / Linear Voltage Regulators and LDOs
  • 1 × 0805L200SLTHYR Fuses and Accessories / PTC Resettable Fuses
  • 5 × 150060GS75000 LEDs and Accessories / Light Emitting Diodes (LEDs)

View all 17 components

  • Building is for Builders

    Portland.HODL01/11/2024 at 03:07 0 comments

    Intro
    So why the radio silence? Well I have been building an getting a small supply chain in order! So after the initial Hackaday post with the hackester.io several people had reached out about how to obtain a ready made version of Nyan Keys! I could not be more thankful that people had taken interest in project of mine when all former projects end up in boxes. With that said, the challenge of turning a single prototype into many began and the challenges were numerous.

    Lets start off with step 1. First I went to OSH Park and requested 10 Nyan Keys .9e boards through their medium run service which totaled to $409. Spendy but to me worth the cost for a product/project I love so much and have no interest in corner cutting. For the first time ever I also decided to get a solder stencil to hopefully save time. This step turns out to be the most important step in board production. Out of all the things you can take away from this piece it would be to get stencils of you are attempting any kind of volume.

    Also thanks OSH Park for sending 14 boards.

    2 weeks later!

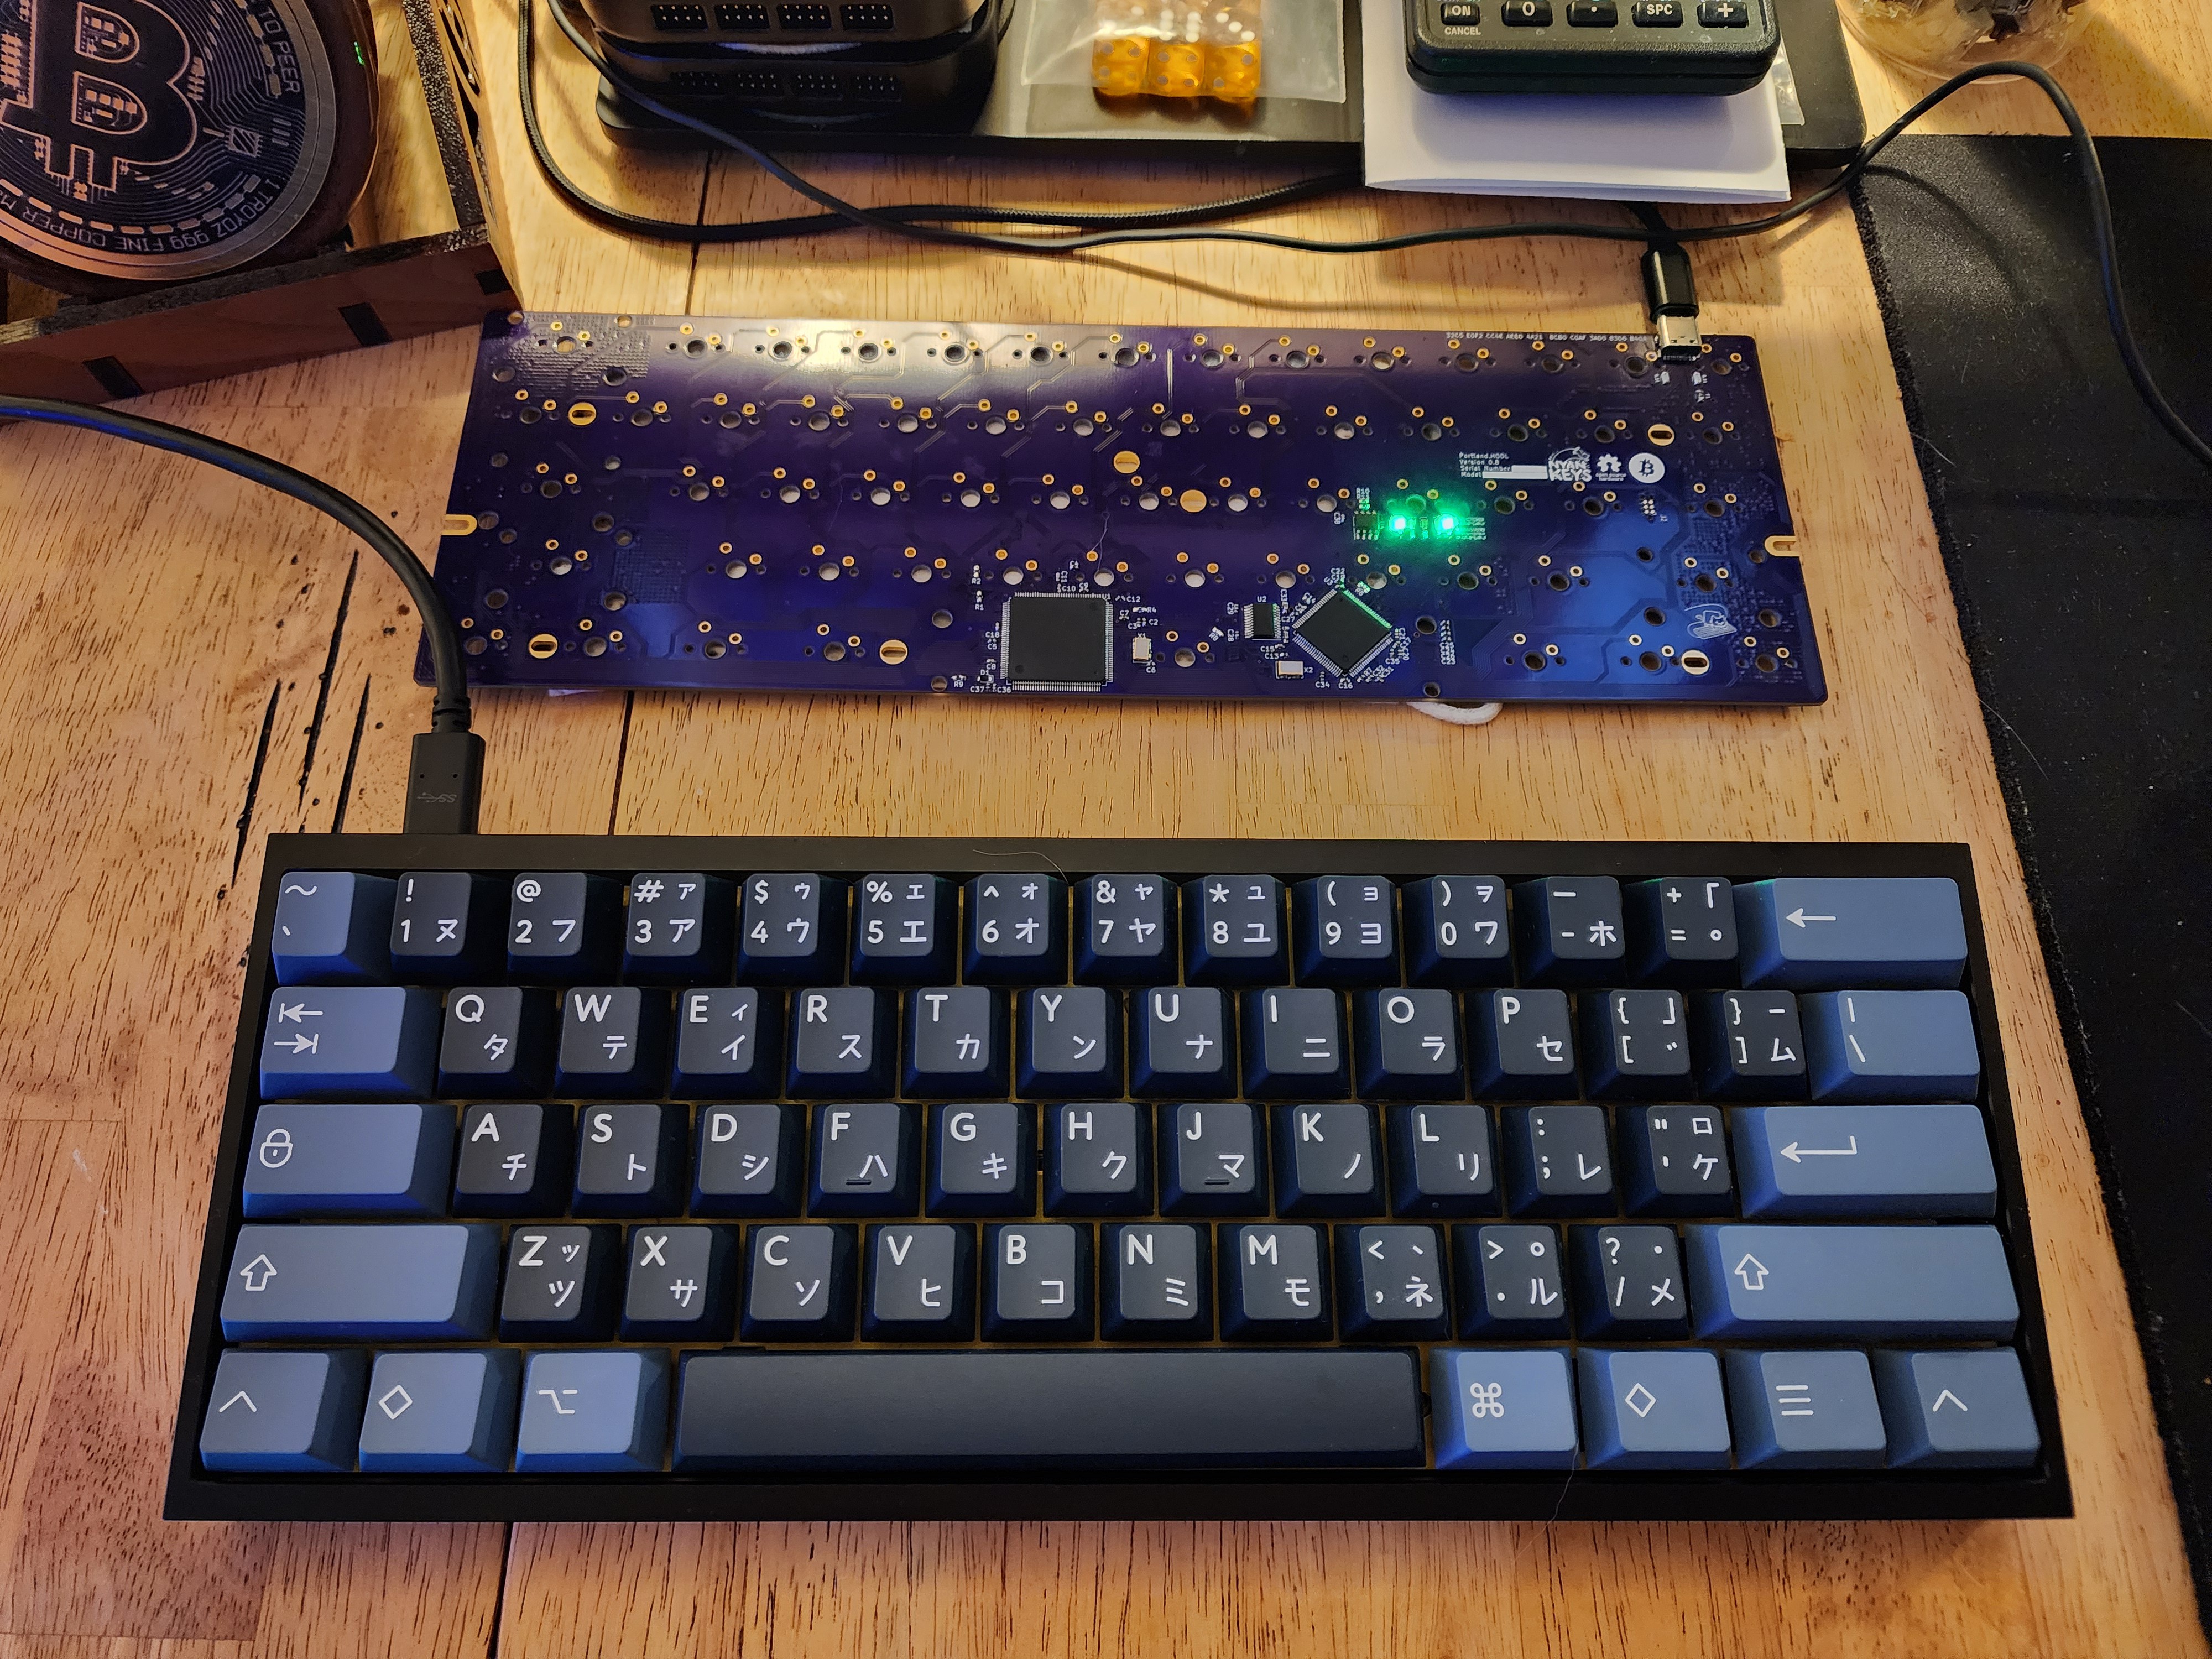
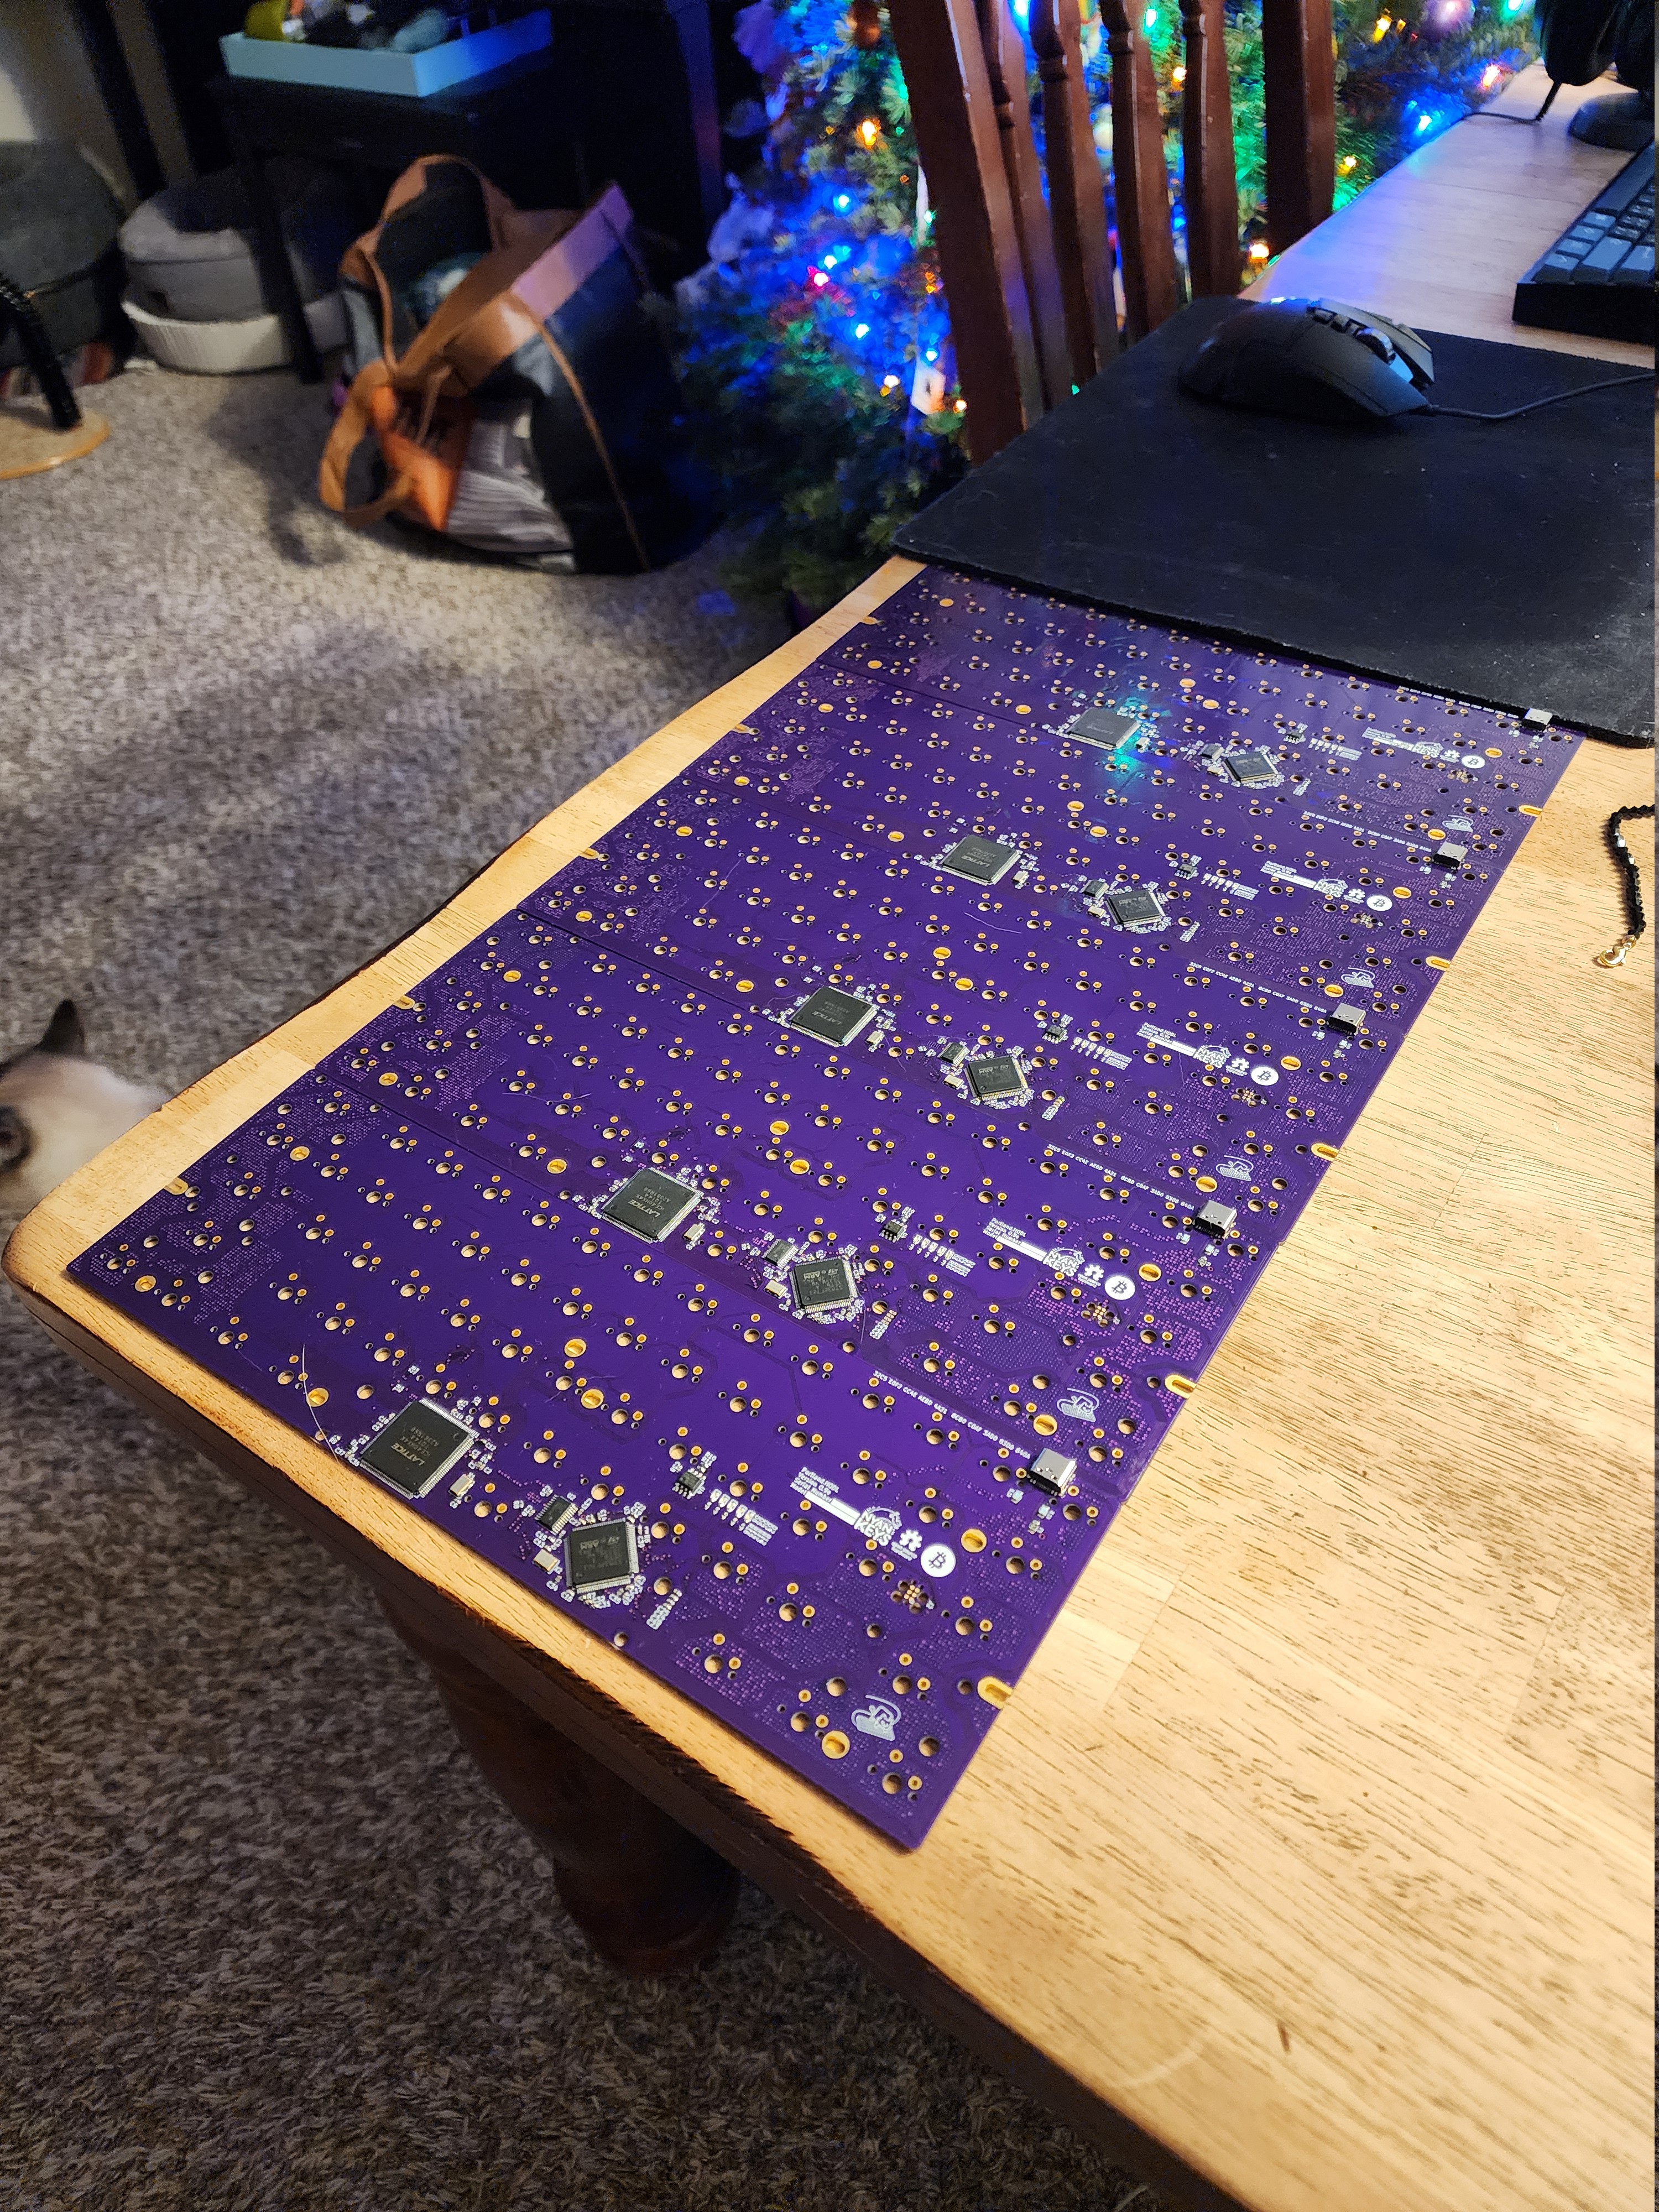
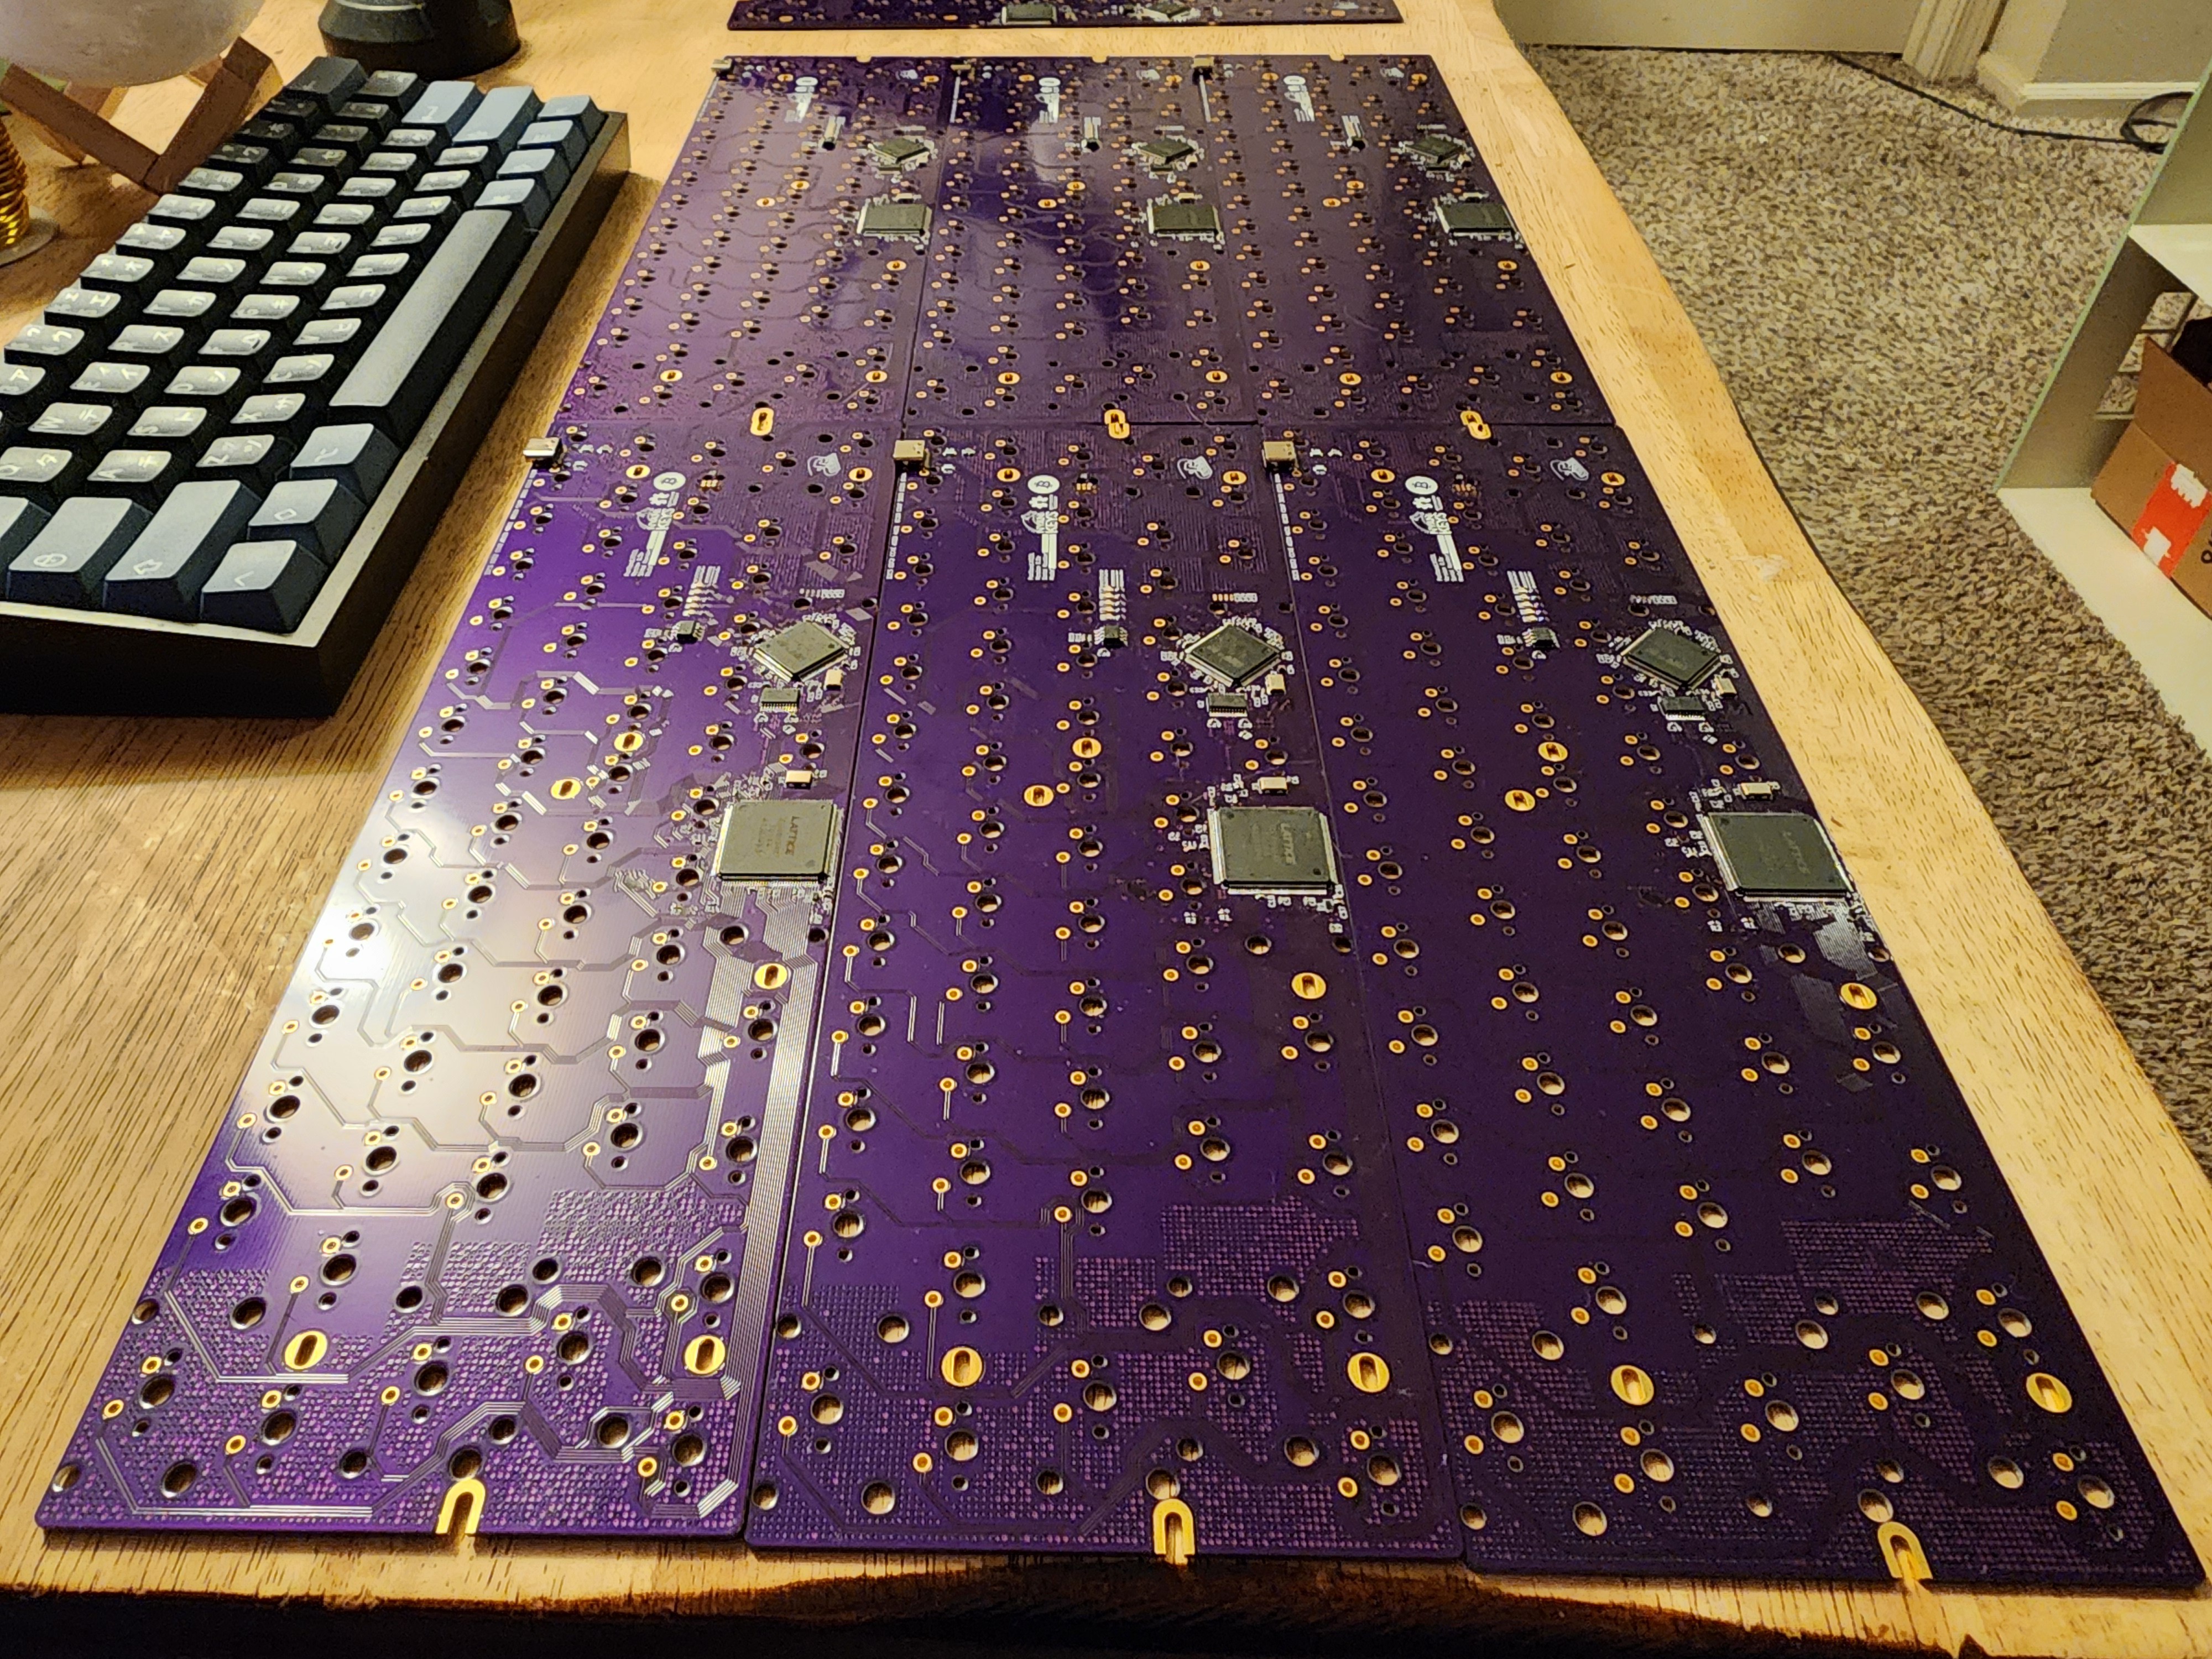
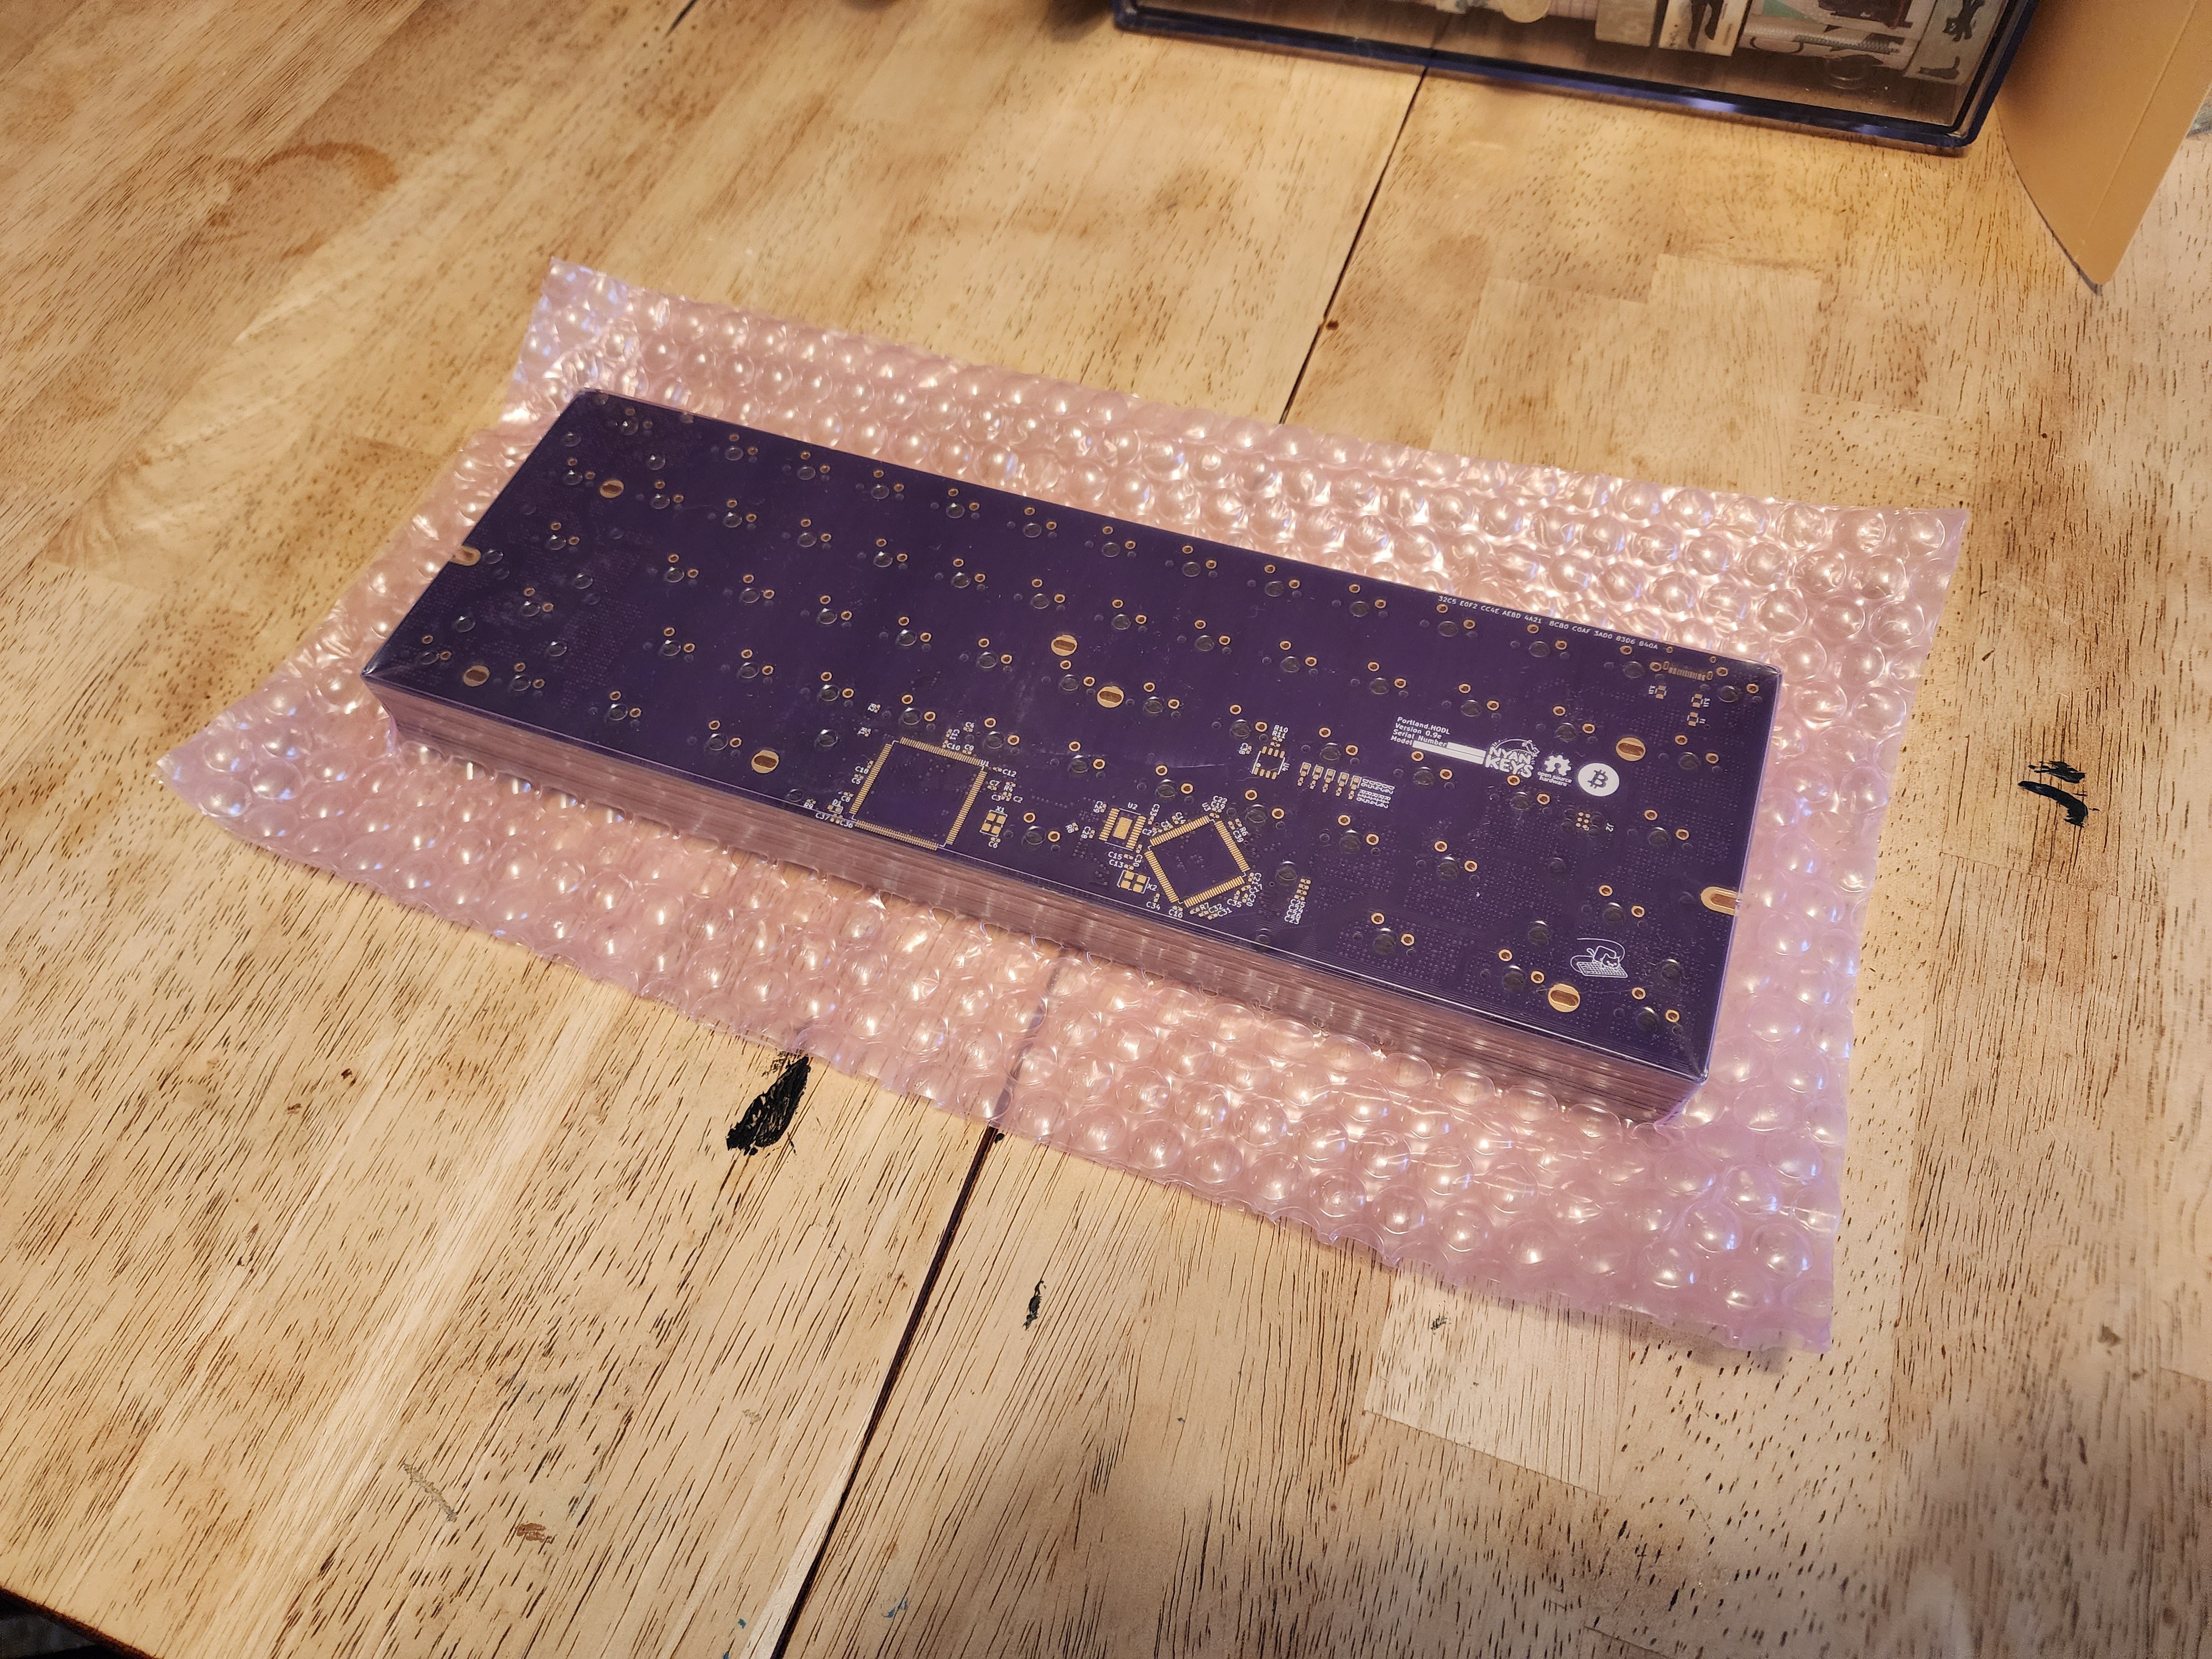
    Some glamor shots of the boards :D

    The day is now Saturday, I decided today was the day to build as many boards as possible. A jig was made with 4 PCBs and some scotch tape

    For anyone who is curious this was the paste I ended up using. I decided on going Pb because of the overall ease to work with combined with no long term risk of tin whiskers

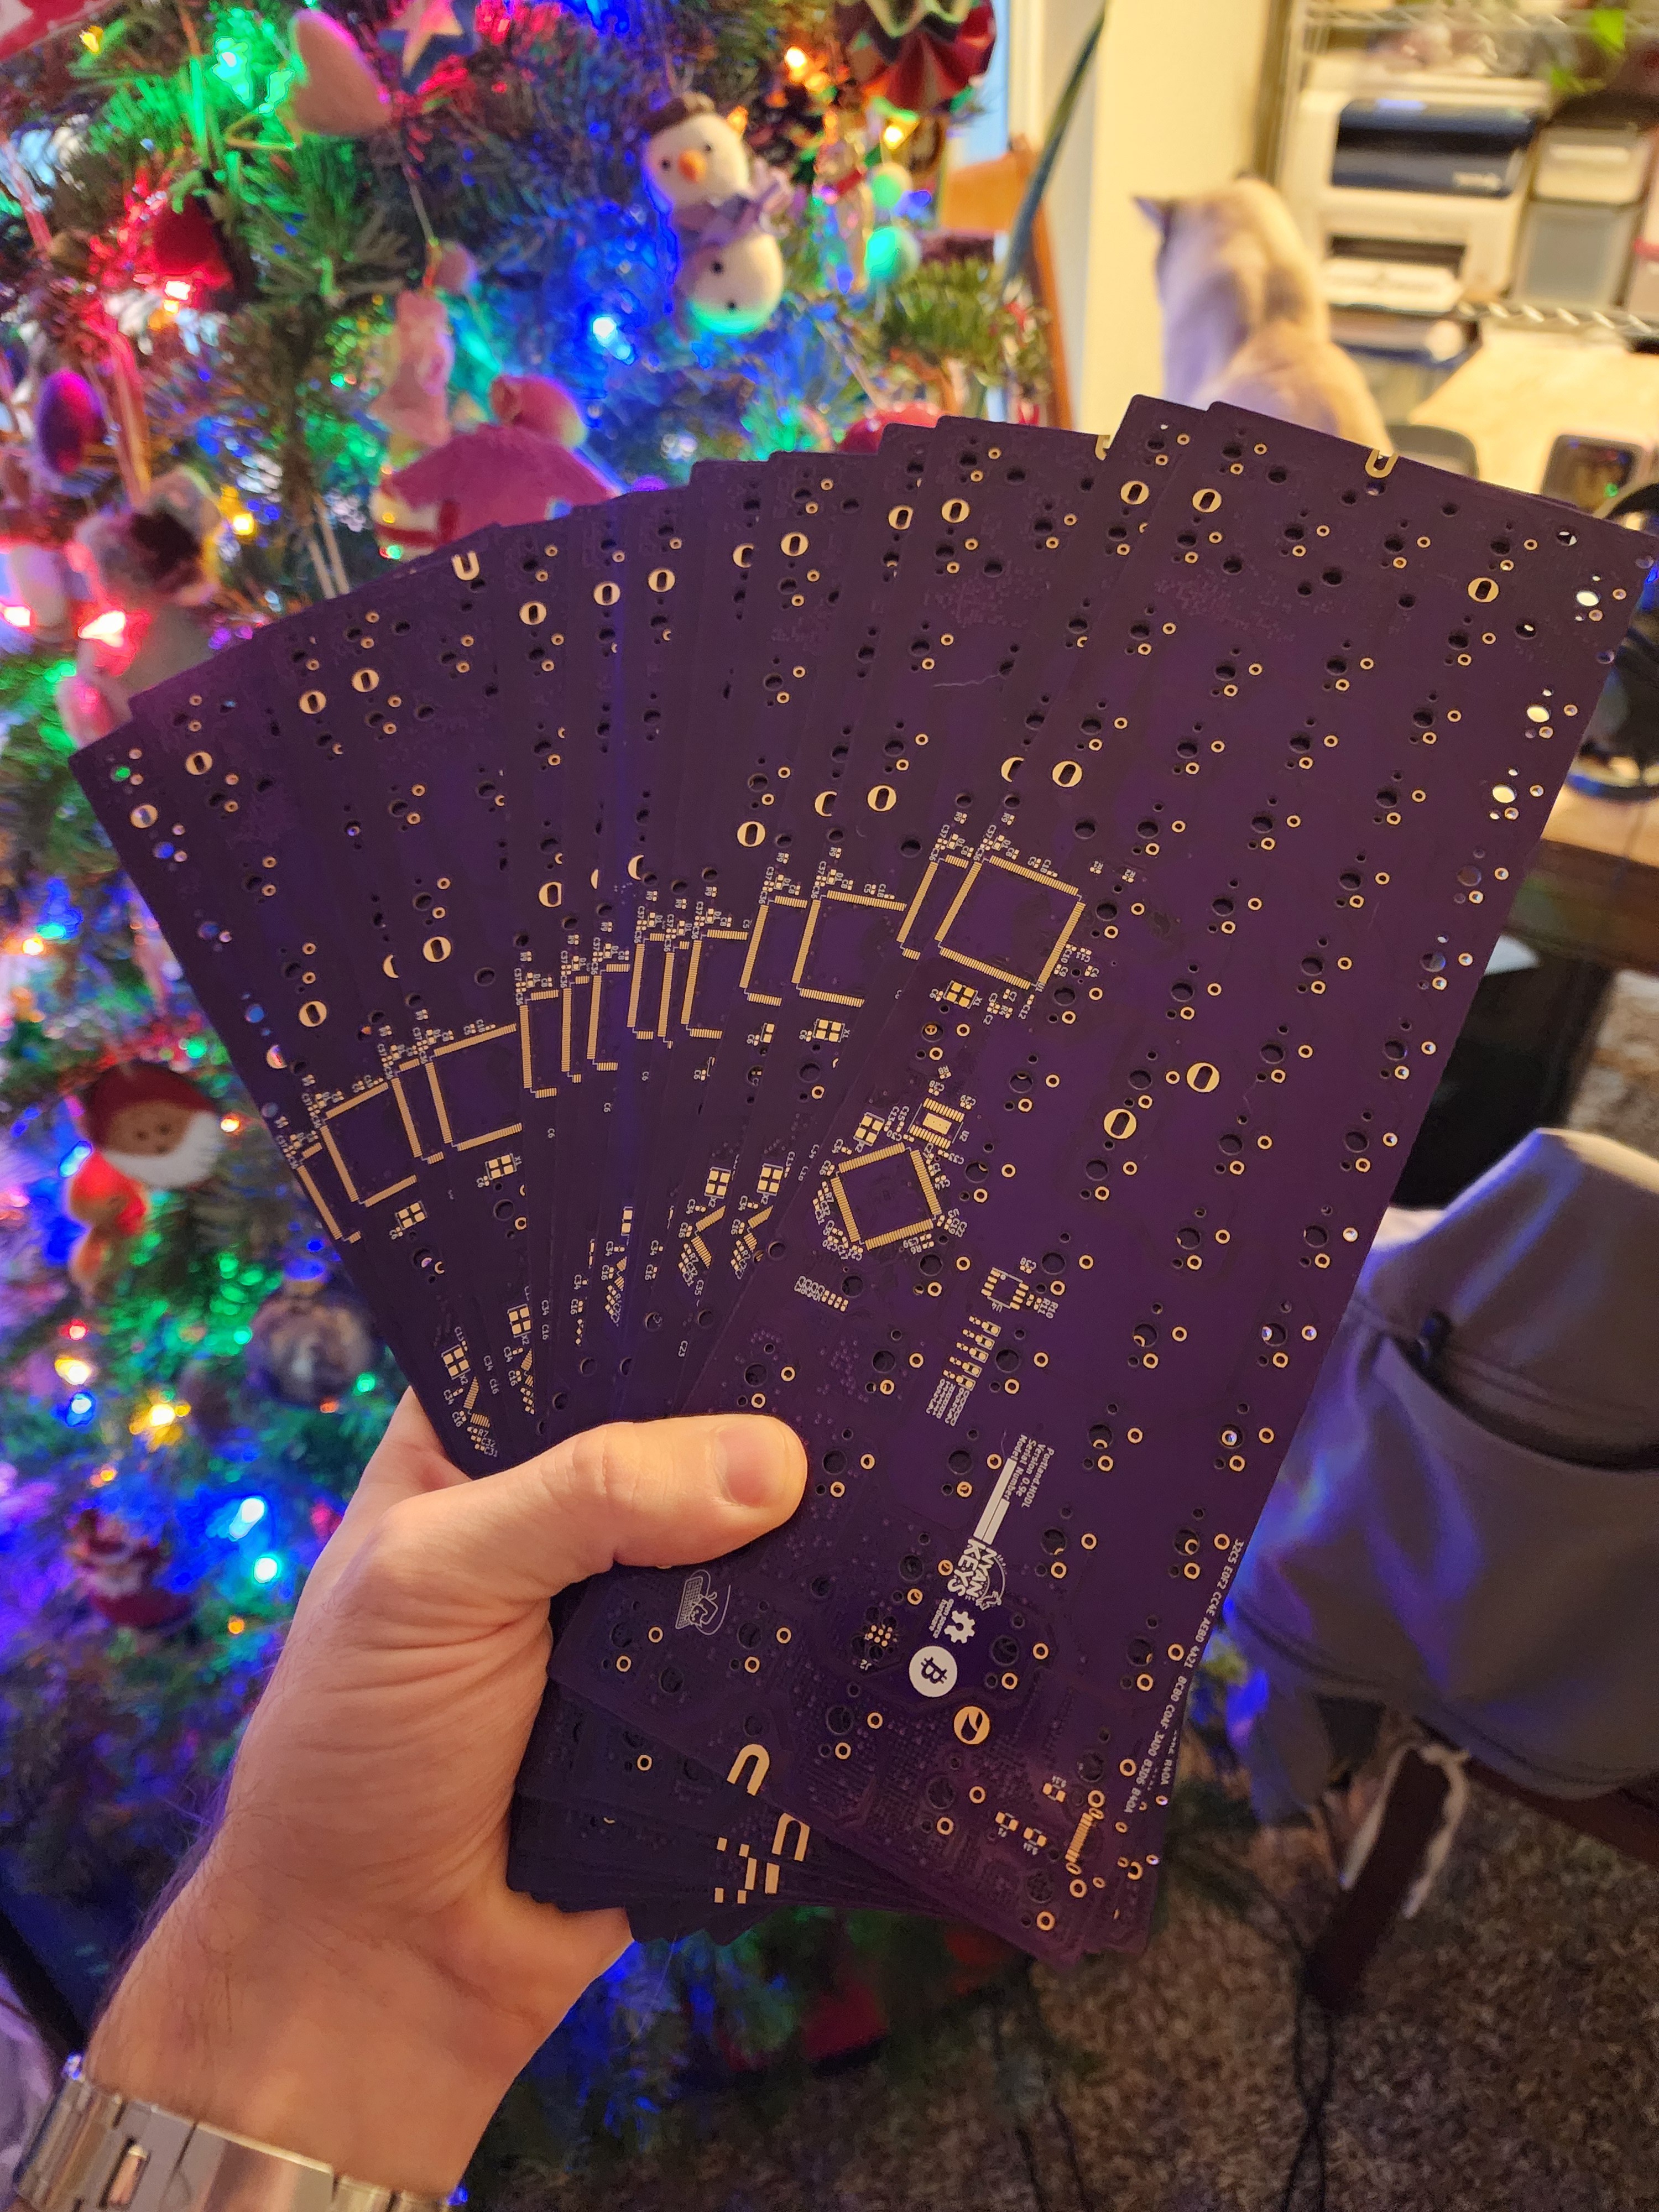
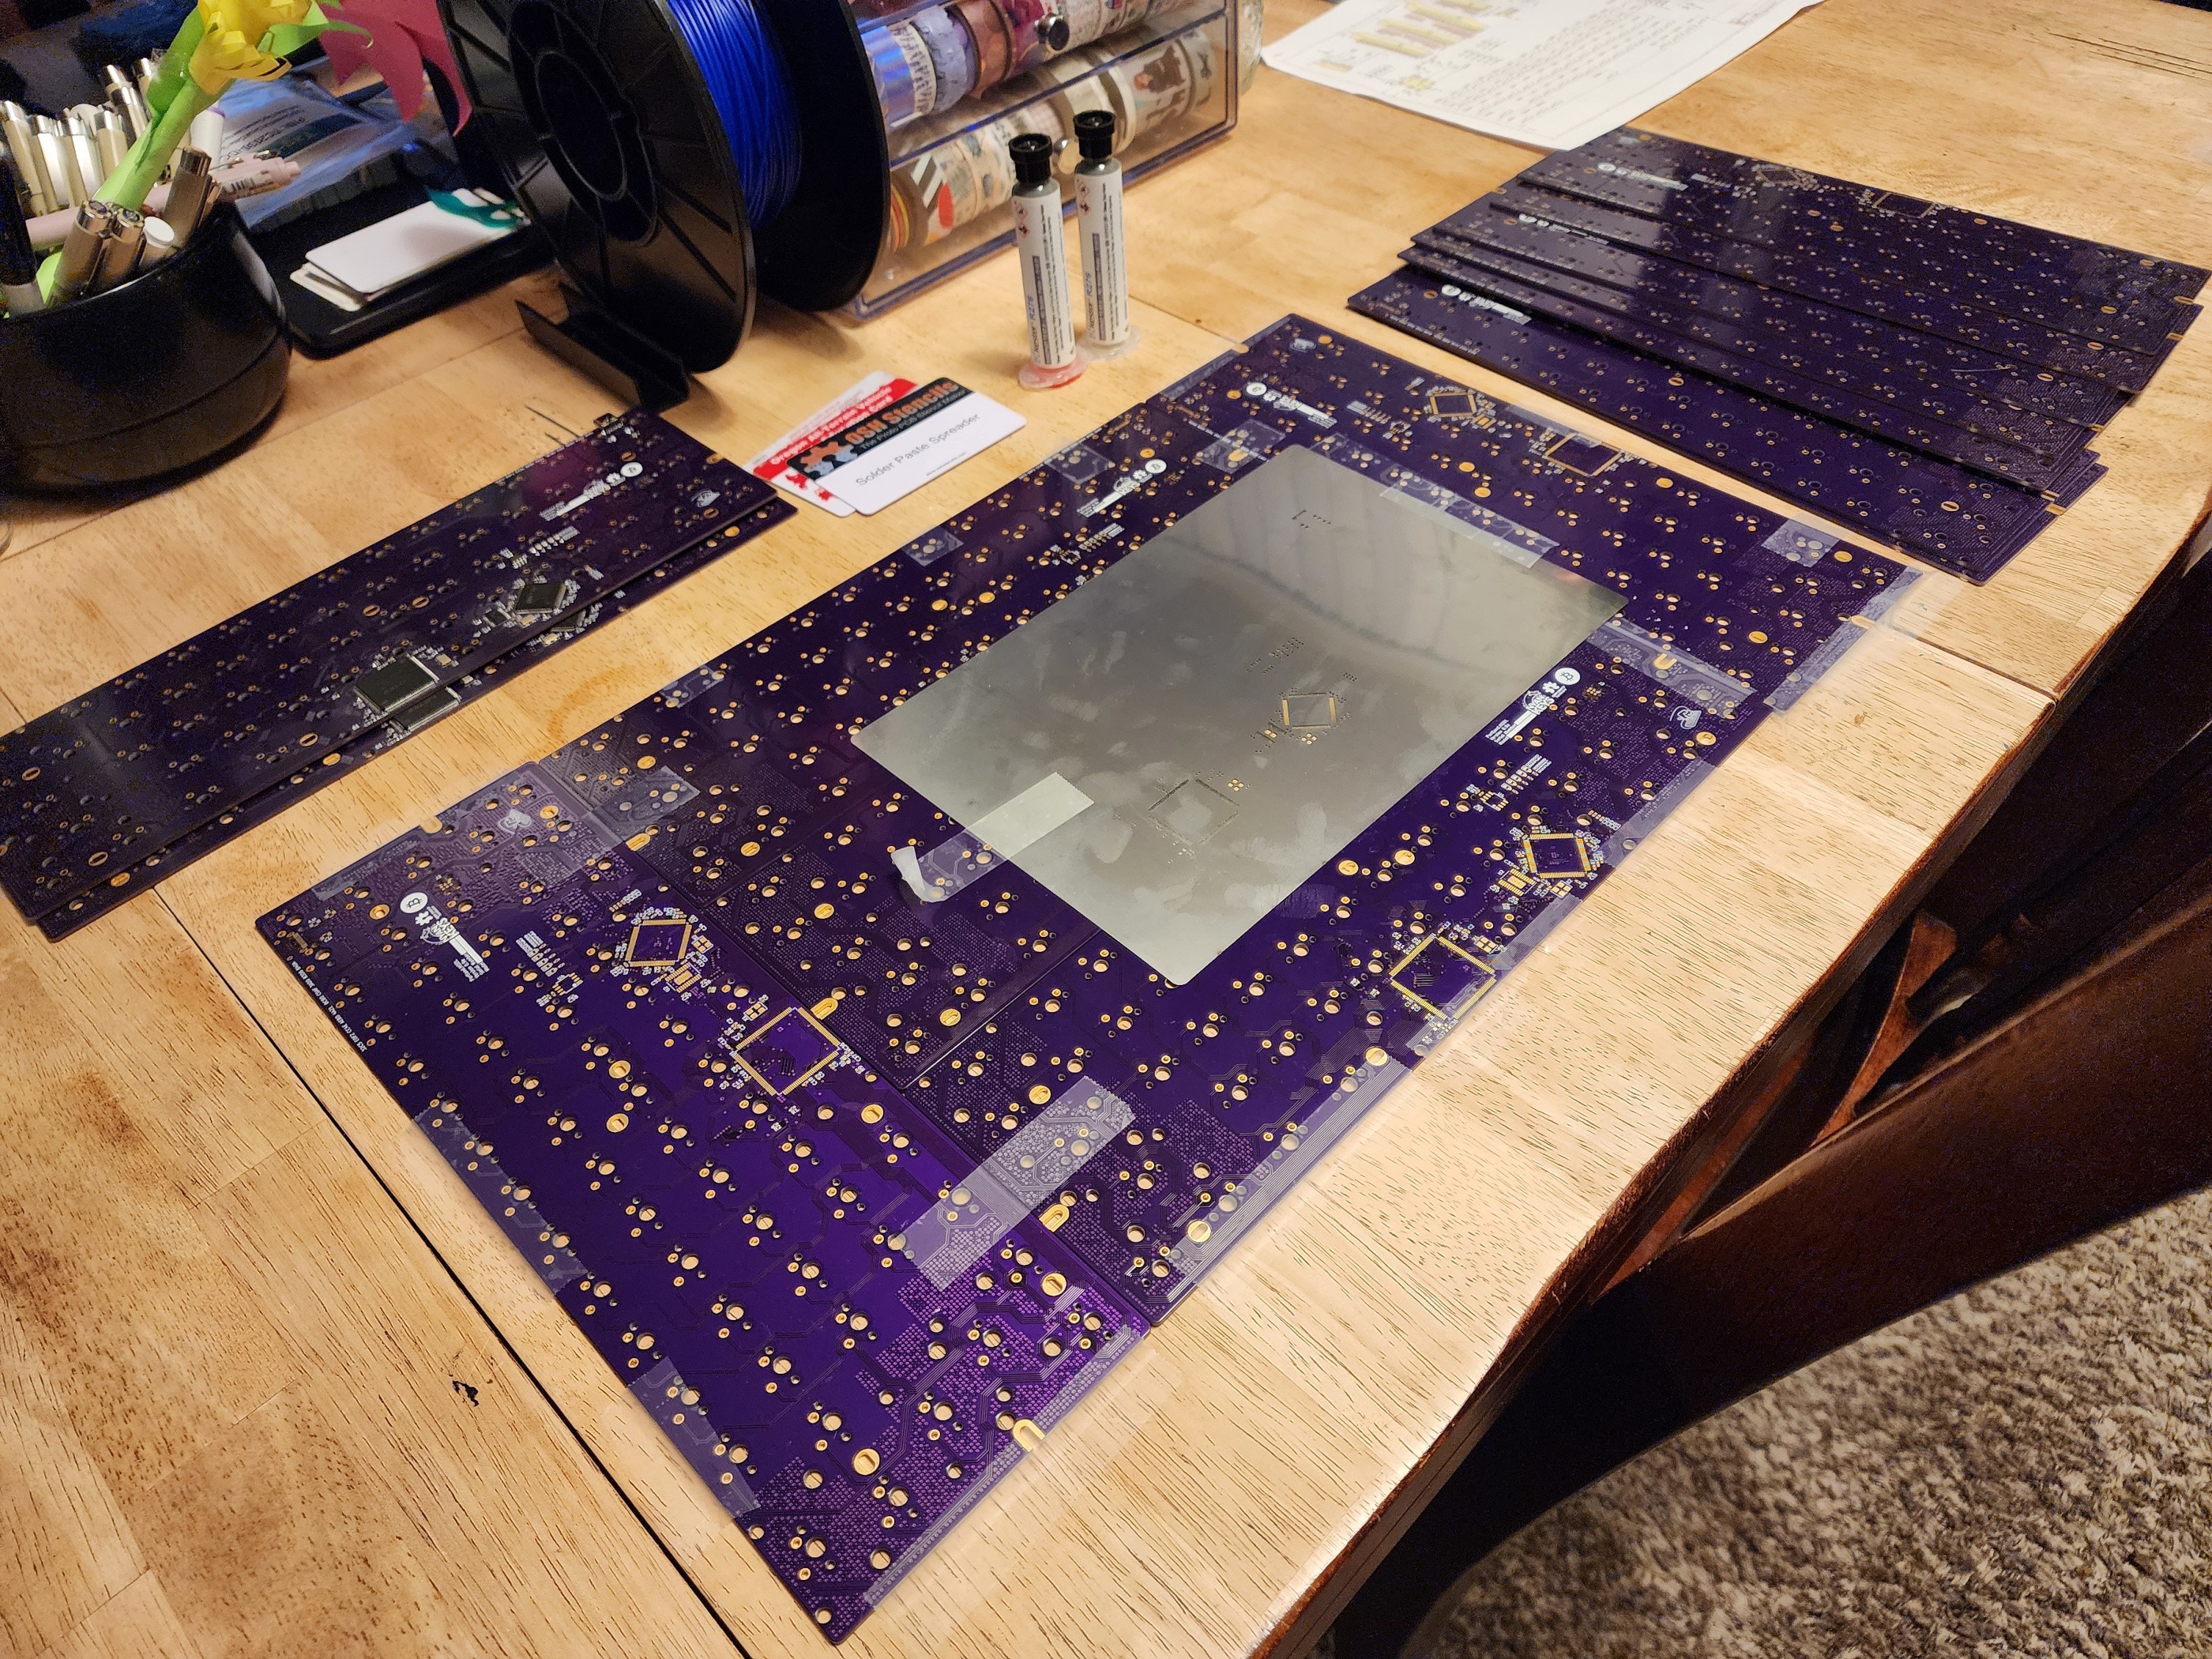
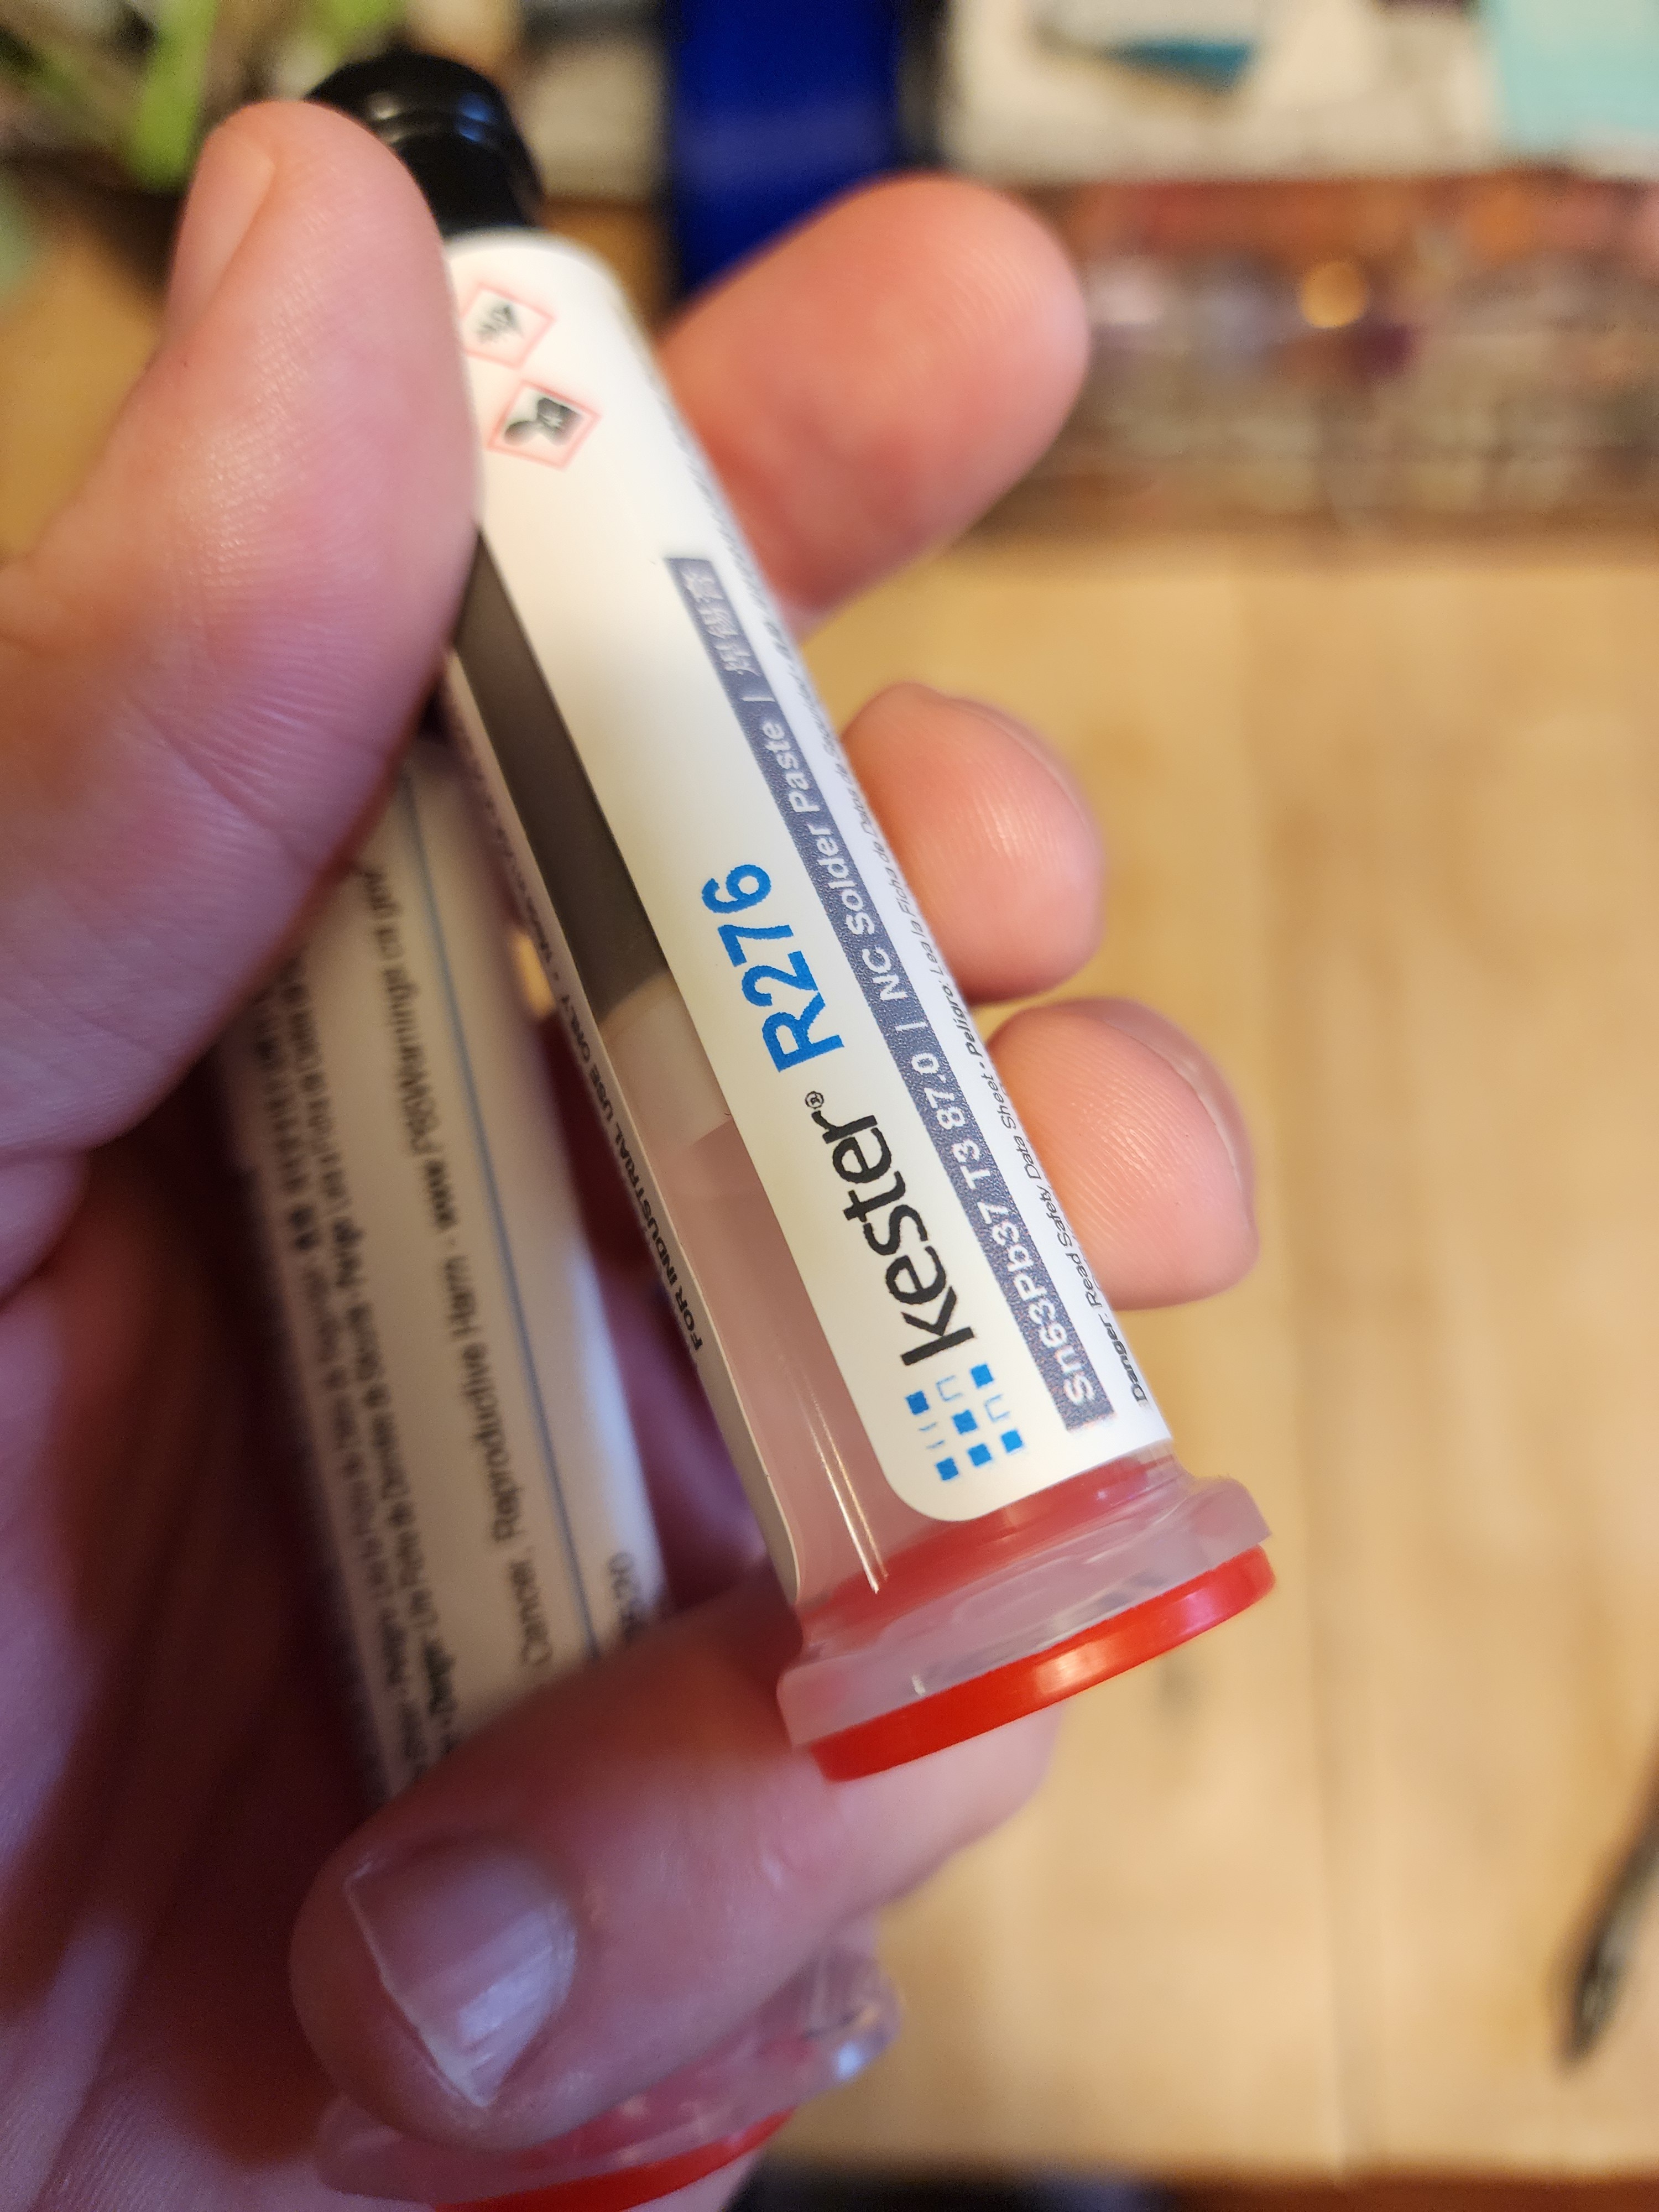
    So next thing I use a plastic gift card as a spreader and ... well let the results speak for themselves....

    So the next optimization was to not be picking things from the reels so I used these tiny SMD boxes so I could pick the parts out quickly with tweezers.

    So the next part is just using air and such to reflow these parts after I have placed them by hand onto the PCB. 

    And boom!


    In conclusion get a solder stencil and good paste of you want to try to do any volume production. The time per board went from 8 hours to just over 1 in my case. I hope you all learned something and enjoyed the read.

  • End to End Latency - ~300-500µs

    Portland.HODL12/10/2023 at 22:02 0 comments

    So one of the questions that keeps coming up is what is the end to end latency of this board. Well being up front I don't have the same level of tech that  Rtings has. What I did decide to do was use my Saleae Logic Analyzer to capture the state of the stop capture key and the time until the capture stops once I press that key. The results still blow even the fastest keyboards out of the water at ~300-500us time between the logic level of the switch changing and the actual capture stop. These results include all delays including OS, USB Stack, and application.

    Here is an example of the total time between pressing the stop key and the capture actually ending with just a 502us delay. 

    This test is not perfect as there would be additional delays introduced by the application itself but at the end of the day the results are so much better than what is offered by anyone else. I won't worry about small details. 

    Overall results like this should cement Nyan Keys as the lowest latency keyboard right now.

  • Nyan Keys tries the new Cherry MX2A... And Cherry Loses

    Portland.HODL12/08/2023 at 07:02 0 comments

    Cherry MX2A The good, the bad, and thhhe uggggly.

    Nayn Keys exposes the twilight zone of misleading marketing, and potentially discovering why debounce doesn't matter at the end of the day. If you missed it the title was supposed to show how failing to debounce works. 

    Lets start off with this snippet from Cherry's website. 

    "Precision Meets Longevity Through a meticulous 2-point welding process, our contacts are attached and integrated with robust resilience. This precision ensures a breathtakingly rapid debounce time of typically less than 1 ms and a lifespan exceeding 100 million clicks for select switch types." 


    Src. https://www.cherrymx.de/en/mx2a.html

    That middle sentence "debounce time of typically less than 1 ms" had my mind captured. If I could combine these Cherry MX2A switches with Nyan Keys FPGA keyboard tech. There would certainly be no faster keyboard and lower latency board outhere. Cementing Nyan Keys at the top of the podium for a contest nobody asked to compete in.

    Fast forward to today, a knock on my door and 95x Cherry MX2A Browns are sitting in a jar just waiting for me to solder up and enjoy their glorious "debounce time of typically less than 1 ms" unbinding Nyan Key from the Kaliths 5ms debounce time.

    Some time later ... A fresh Cherry MX2A Nyan Keys is born. 

    I have a FPGA bitstream that creates a 1ms debounce timer length and write that to Nyan OS. Everything feels initially good! The switches are now allowed to change state just 1ms after an impulse (press or release) and there aren't any multiple presses.

    After typing just 15 words I end up with my first "ooo" This was initially chalked up to just the way I was typing. After another few words a "vv" and then a "iii" appeared. These switches were certainly bouncing for more than 1ms. To add to the problem it  wasn't a single switch it was multiple meaning this wasn't a one off outlier switch that just seemingly had a manufacturing defect. It was inherent to these switches.

    Now I had to confirm my suspicions, I break out the ole' HP Infinium scope and start measuring and .... within 4 triggers. 


    A bounce period of nearly 2.0ms shows up. I repeat this again and again on various MX2A browns and they all are yes better at having a lower debounce time than Box Jades for example but the reality is the typically 1ms number is a far cry from the reality you will see with these switches. With all instances being lower than 3ms but bouncing longer than 1ms occoured far more often to warrant Cherry stating "typically" under 1ms. 

    At the end of the day I wouldn't recommend buying MX2A switches for their debounce properties because they will not live up to the marketing. 

    Here is why it doesn't matter!

    If you send the state of the key at the impulse, then arm the debounce timer that prevents the state from changing. The key state is still sent right away, the state just can't change until the debounce timer has counted to the target. These timers can be set to a very conservative value such as 5ms and have no effect because we as humans can't press and release a key in 5ms! So by the time you release the key, the debounce timer has already completed and the release is also sent instantly!

    Here is an example from Razer's website showing how a debounce works in their keyboard with a standard mechanical switch! Notice they wait the debounce delay before sending the signal? They could instead just send the signal instantly if they used my method! This would reduce their products latency! 

    src: https://www.razer.com/razer-optical-switch

    TL;DR Cherry MX2A switches don't reliably perform under 1ms debouncing, but it won't matter anyways if you implement your debounce logic properly. 

    Also razer could improve their product latency quite a bit if they switch to sending the signal on impulse then just lock the state for the duration of the debounce. 

View all 3 project logs

Enjoy this project?

Share

Discussions

Dan wrote 02/20/2024 at 11:19 point

I would love to pick one of these up for a build, I sent you a pm and would be great to organise a way to buy it from you

  Are you sure? yes | no

nomu wrote 01/18/2024 at 04:49 point

Would love to see an alice version of the PCB

  Are you sure? yes | no

Cameron Collet wrote 01/07/2024 at 22:27 point

I saw your comment about the difficulty of selling these due to time to produce, is there any chance of you putting together a kit of some kind with diy instructions? I'm not sure of my ability to solder the more complicated chips... but I'm working my way in that direction. If it could be in a state where the 'most' specialized parts were done, and you could wrap it up with some more accessible soldering/assembly I'd pick it up in a heartbeat.

  Are you sure? yes | no

Portland.HODL wrote 01/11/2024 at 02:42 point

I will post a project update but I got some solder stencils and good paste so I can make a board in an hour now! This is compared to the previous record of 8 hours. LMK if you are interested, I could ship  you one. I made 6 of them this weekend.

  Are you sure? yes | no

Cameron Collet wrote 01/16/2024 at 05:48 point

I am interested... but as this would be my first build, I'm also not sure where to go from there. If you could point me to a decent guide of the parts and steps in general I think I'd be fine.

I have knowledge and practice soldering and I'm also comfortable with electronics and scripting so... think I could handle it.

  Are you sure? yes | no

Raleigh Littles wrote 12/12/2023 at 18:07 point

Are these available for sale at all? Please consider making a preassembled kit available for sale if possible, maybe through Tindie or even EBay.

  Are you sure? yes | no

Portland.HODL wrote 12/12/2023 at 19:26 point

I am working out a way to sell them currently because of the amount of interest there is. Right now I don't have a good means to produce many boards as each one takes me 7+ hours to solder and test.

  Are you sure? yes | no

Portland.HODL wrote 12/07/2023 at 12:18 point

@Elay Hadad Thank you so much! IDK why I can't reply directly to your post. The way I setup the debouncing makes the need for these non-bouncing switches not even needed. The trick is as soon as the state of the switch changes at the logic level, send the switch value over. Then start the debounce timer. After that time has passed then you can accept another state change. 

Example assuming a 3ms debounce time switch. 
1. User presses key, the state is instantly sent to the computer.

2. A timer starts, and counts until the 3ms is up.

3. After 20ms the user releases the key. The state is sent instantly again because the switch has settled. 

The only time where debounce matters is if a user presses and releases a key all within the debounce time of the switch. This is because while the debounce timer is running the switch can't change state. 

This works because in practice no human can press and release a switch in under 3 ms. as such both press and release be registered instantly. 

Even Razer does this wrong -_- Check out their marketing material, they wait for the debounce to send the switch value... 
https://imgur.com/a/313zco5

  Are you sure? yes | no

Elay Hadad wrote 12/07/2023 at 16:02 point

I might be mistaken but I think the picture you included refers to mechanical switches. Here is the full article from Razer - https://www.razer.com/razer-optical-switch. Actually even the magnetic switches are indeed fall short within the optical switches, that is why Razer Huntsman V2 for example would give a faster response on the first click unlike the Wooting 60HE, but the Wooting 60HE would return a faster response on the clicks after the first one compared to the optical switches - because of their reset point.

If to put it in a graph it would look something like this:

First click - Optical switches > Magnetic switches > Mechanical switches. Reclicking - Magnetic switches > Optical switches > Mechanical switches.

To my understanding, debounce delay takes place as soon as you press the key and not only at release time since there is always a need to filter false signals.

The photoresistor in an optical switch extremely sensitive and sends a "1" signal much faster than it takes for a mechanical switch to reach wetting current. Also, the PTR starts getting light even before the plunger has fully even bottomed out.

  Are you sure? yes | no

Portland.HODL wrote 12/07/2023 at 18:31 point

Yeah the picture I referenced is from Razer's own documentation. I wonder how much of an impact the wetting current has on the total latency. Assuming it's in the ns range. Not that it's even perceptible.

  Are you sure? yes | no

charliex wrote 12/06/2023 at 20:40 point

i'd be curious to see the latency from the fpga/cpu.

 i made something like this a few years ago where i used a 168Mhz STM32F4 with one key per GPIO and apa102's on a dual layer pcb. I'm glad to see someone else is just as nuts ;)

https://www.youtube.com/watch?v=PUxpDS3zXqI

  Are you sure? yes | no

Portland.HODL wrote 12/07/2023 at 03:30 point

I haven't measured latency between the switch activation and the MCU, the scan rate per each keys debounce timer is 120MHZ, and the SPI Bus is 6.5MHZ. Do you have any pics of the PCB. For me that was one of the hardest parts was routing on top of the 2 layer board whilst avoiding using the top side to leave room for LEDs in rev2.I will bust out the scopes tonight and do some testing and report back.

Edit 1: Turns out the latency from key switch to USB frame sent is 30uS. I added a picture the article/

  Are you sure? yes | no

Elay Hadad wrote 12/07/2023 at 11:06 point

First of all, well done! I wouldn't be able to even come close. Second, if the goal here is latency and performance, isn't it better to use optical (like Razer) or magnetic switches (like Wooting or SteelSeries)? Since there wouldn't be a debounce.

  Are you sure? yes | no

charliex wrote 12/08/2023 at 17:47 point

heya, thanks for answering,. i do have pics on at nullspacelabs.com ,  trying to dig up some more, i meant to publish the files since we usually do but honestly i figured no one would want it, i only made it because a commenter on reddit said it wasn't possible to do a two layer one per gpio keyboard with rgb leds.. 

since i can read all the keys a full port at a time in asm and do a parallel debouncer in software its pretty quick :)

there are three versions, two are different sized rgb leds 3535s and 2020s and i made a third revision that has bluetooth as well since i wanted it to be able to switch been the host and controlling my tablet.. the snapshot of the brd is the bluetooth version

https://photos.app.goo.gl/iD2XiTZqFR5AbD5S8

https://i.imgur.com/yVJOOW5.jpg

https://i.imgur.com/yVJOOW5.jpg

https://i.imgur.com/R8CMCK6.png

cheers!

  Are you sure? yes | no

Similar Projects

Does this project spark your interest?

Become a member to follow this project and never miss any updates