 Arnov Sharma
PCB Design
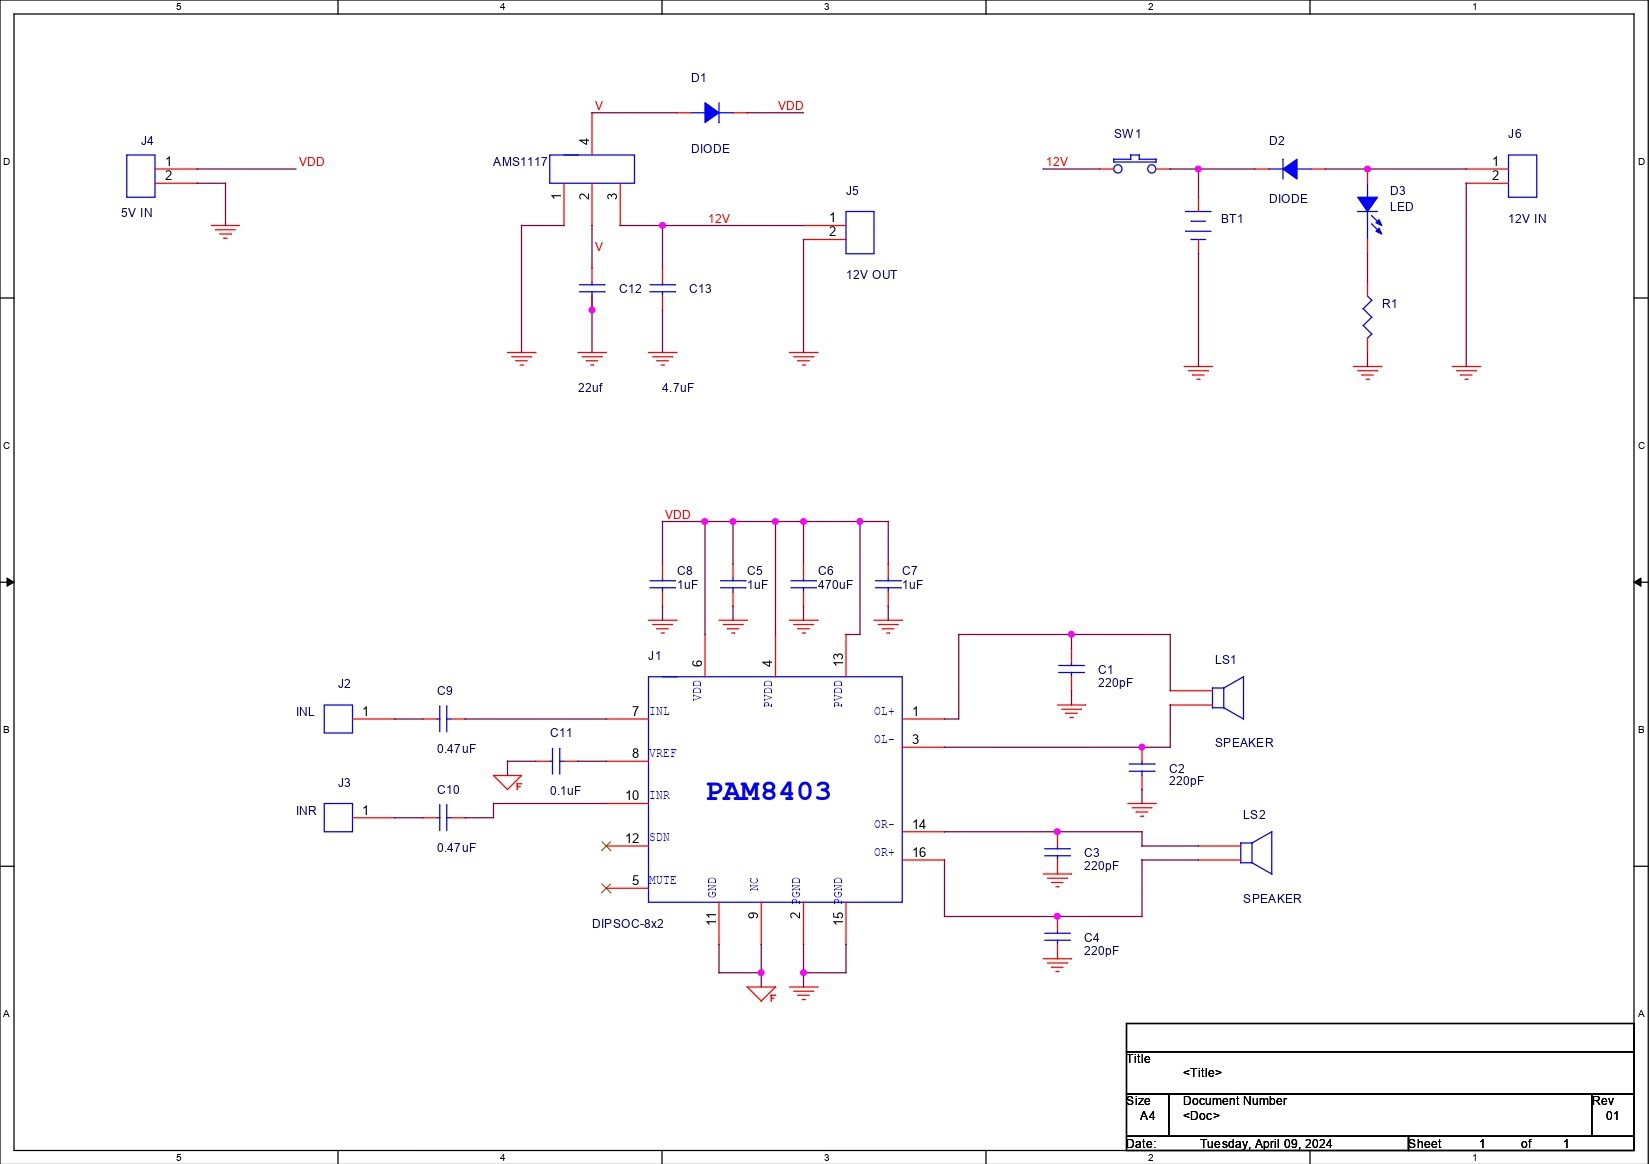
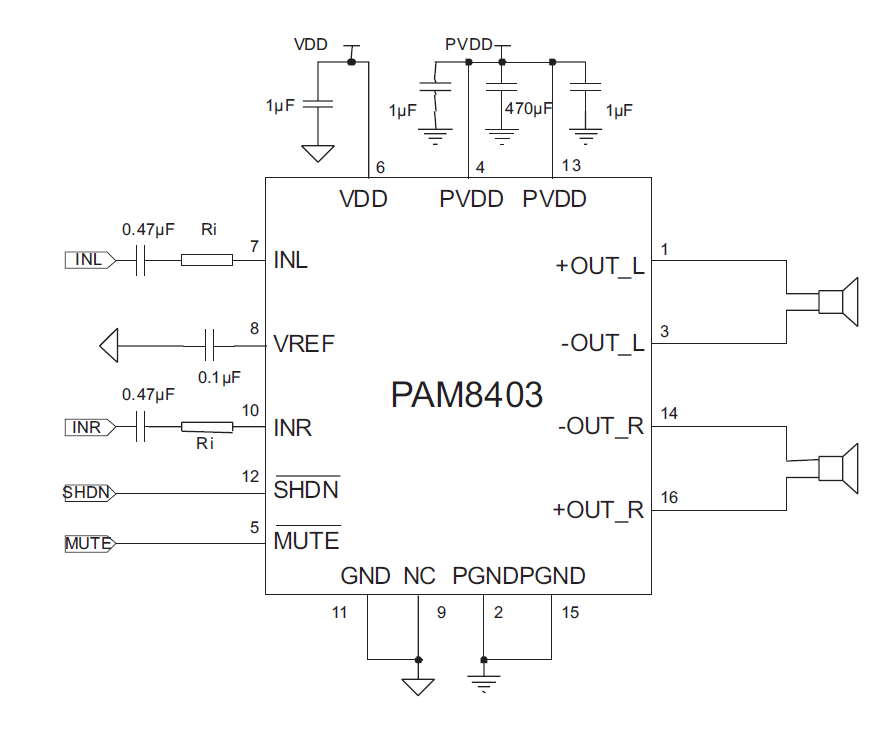
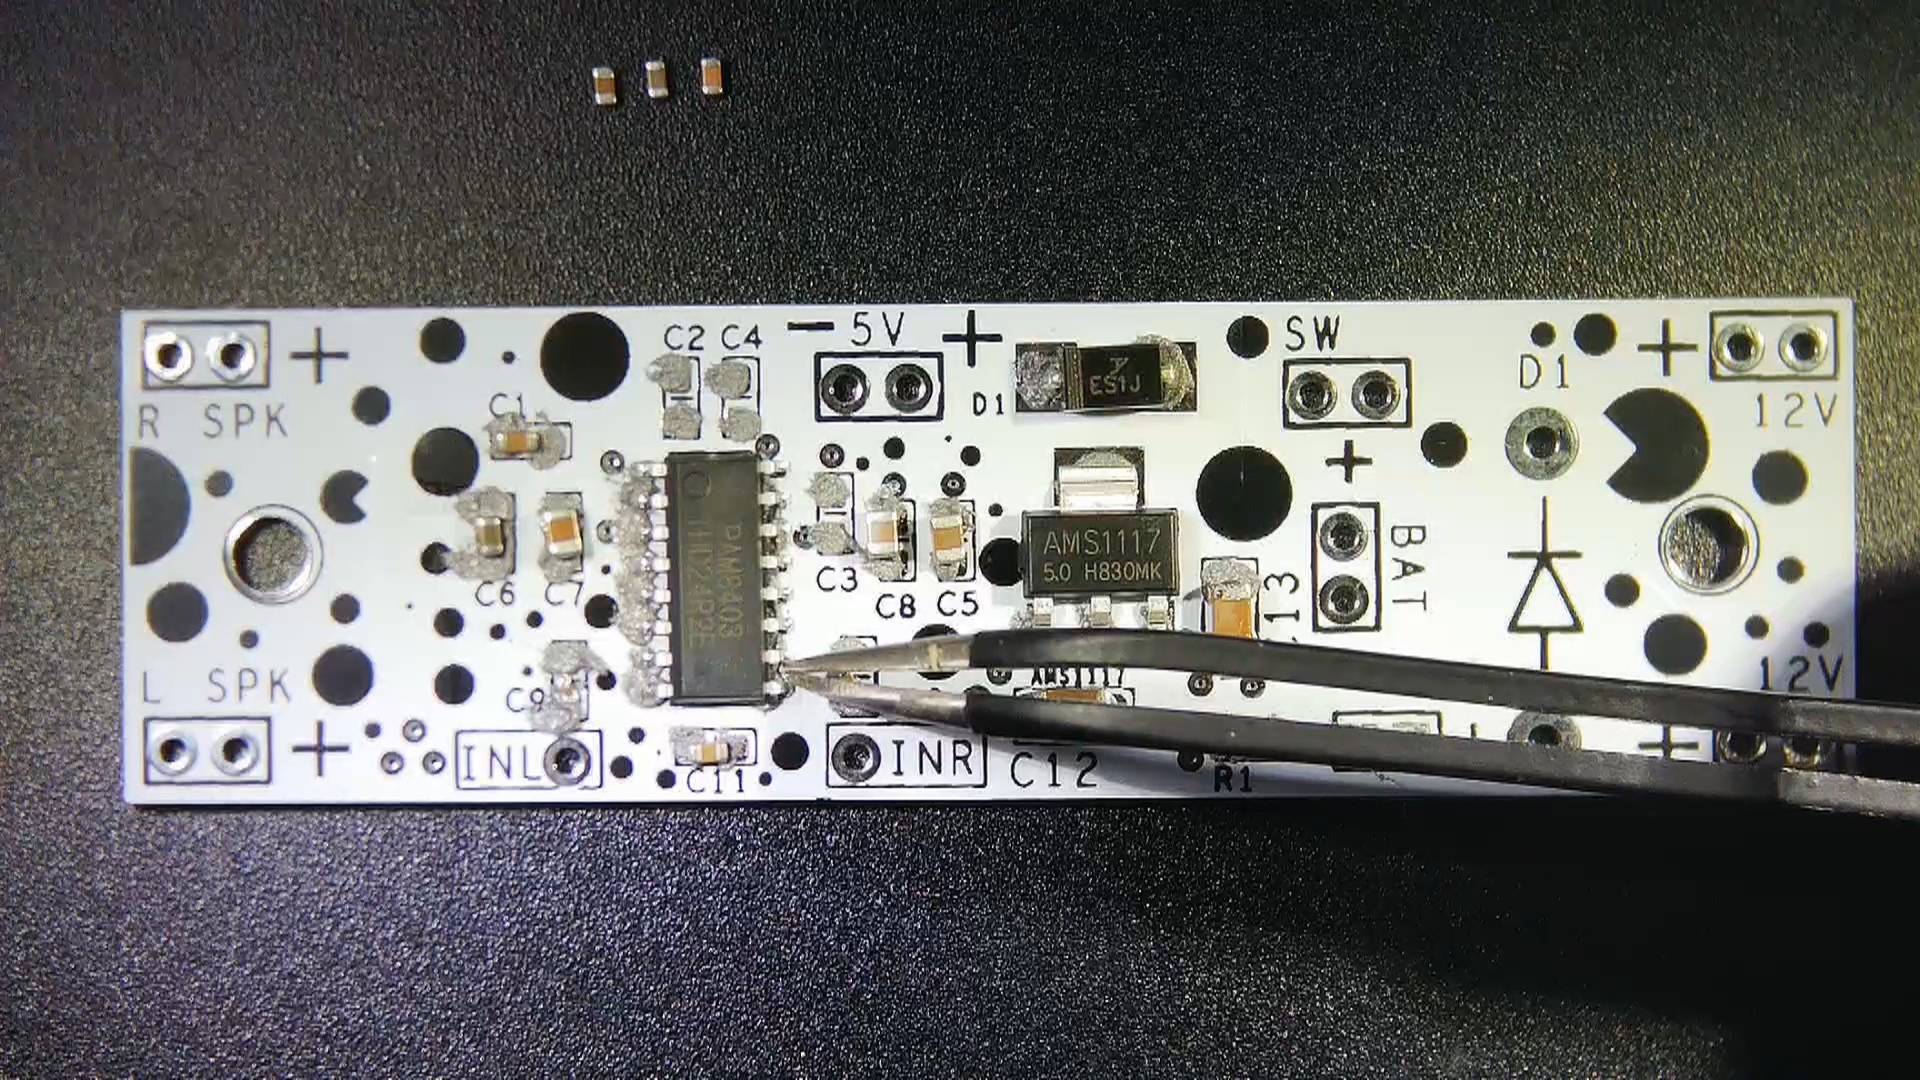
We started the project by first looking into the PAM8430 datasheet and understanding the workings of the amplifier IC.
Using the provided minimal connection diagram for PAM8403, we created the design. Following the datasheet's instructions, we included a coupling of capacitors to reduce noise and smooth out the output side (speaker side) of the signal.
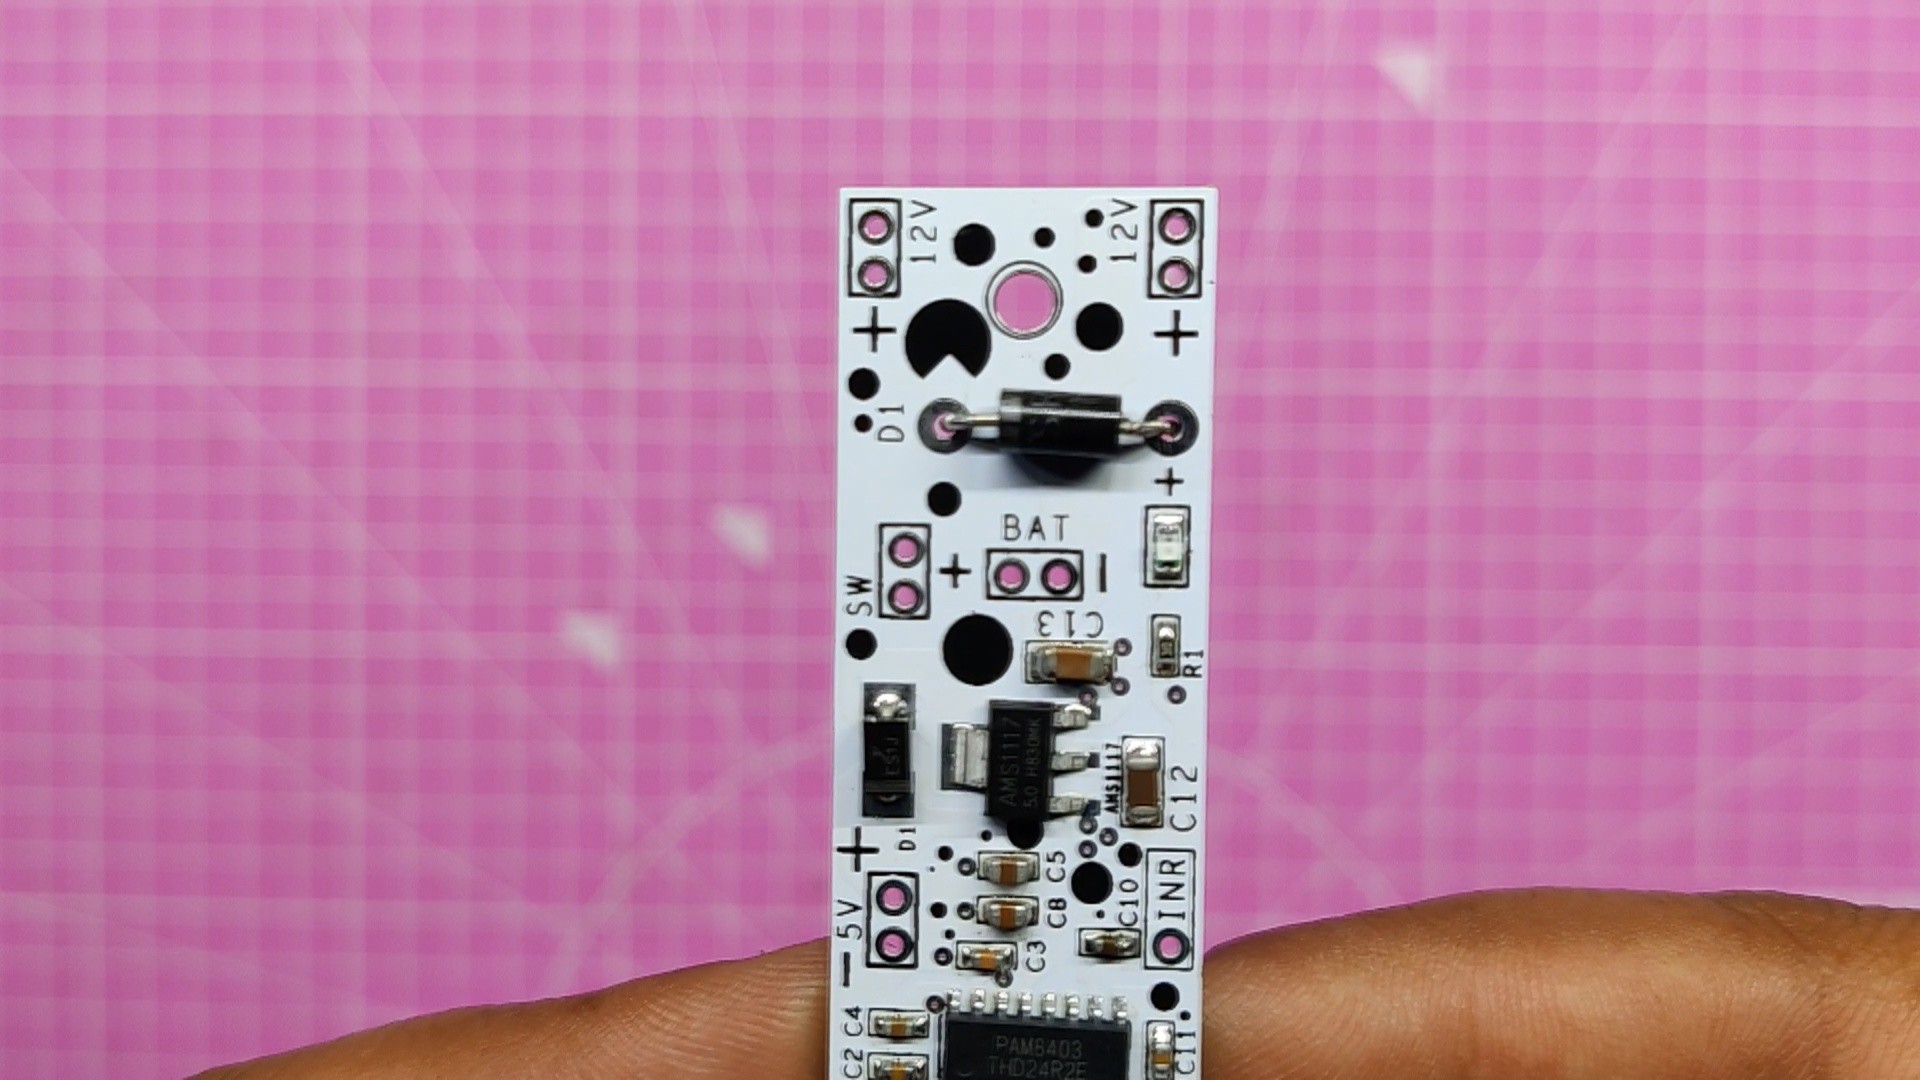
Since the PAM8403 is a 5V device and we intend to utilize a 12V battery source, we selected the widely used AMS1117 voltage regulator IC, a low dropout (LDO) voltage regulator that is frequently used to control voltage levels in a variety of electrical projects and applications.
Checkout its datasheet here. https://www.advanced-monolithic.com/pdf/ds1117.pdf
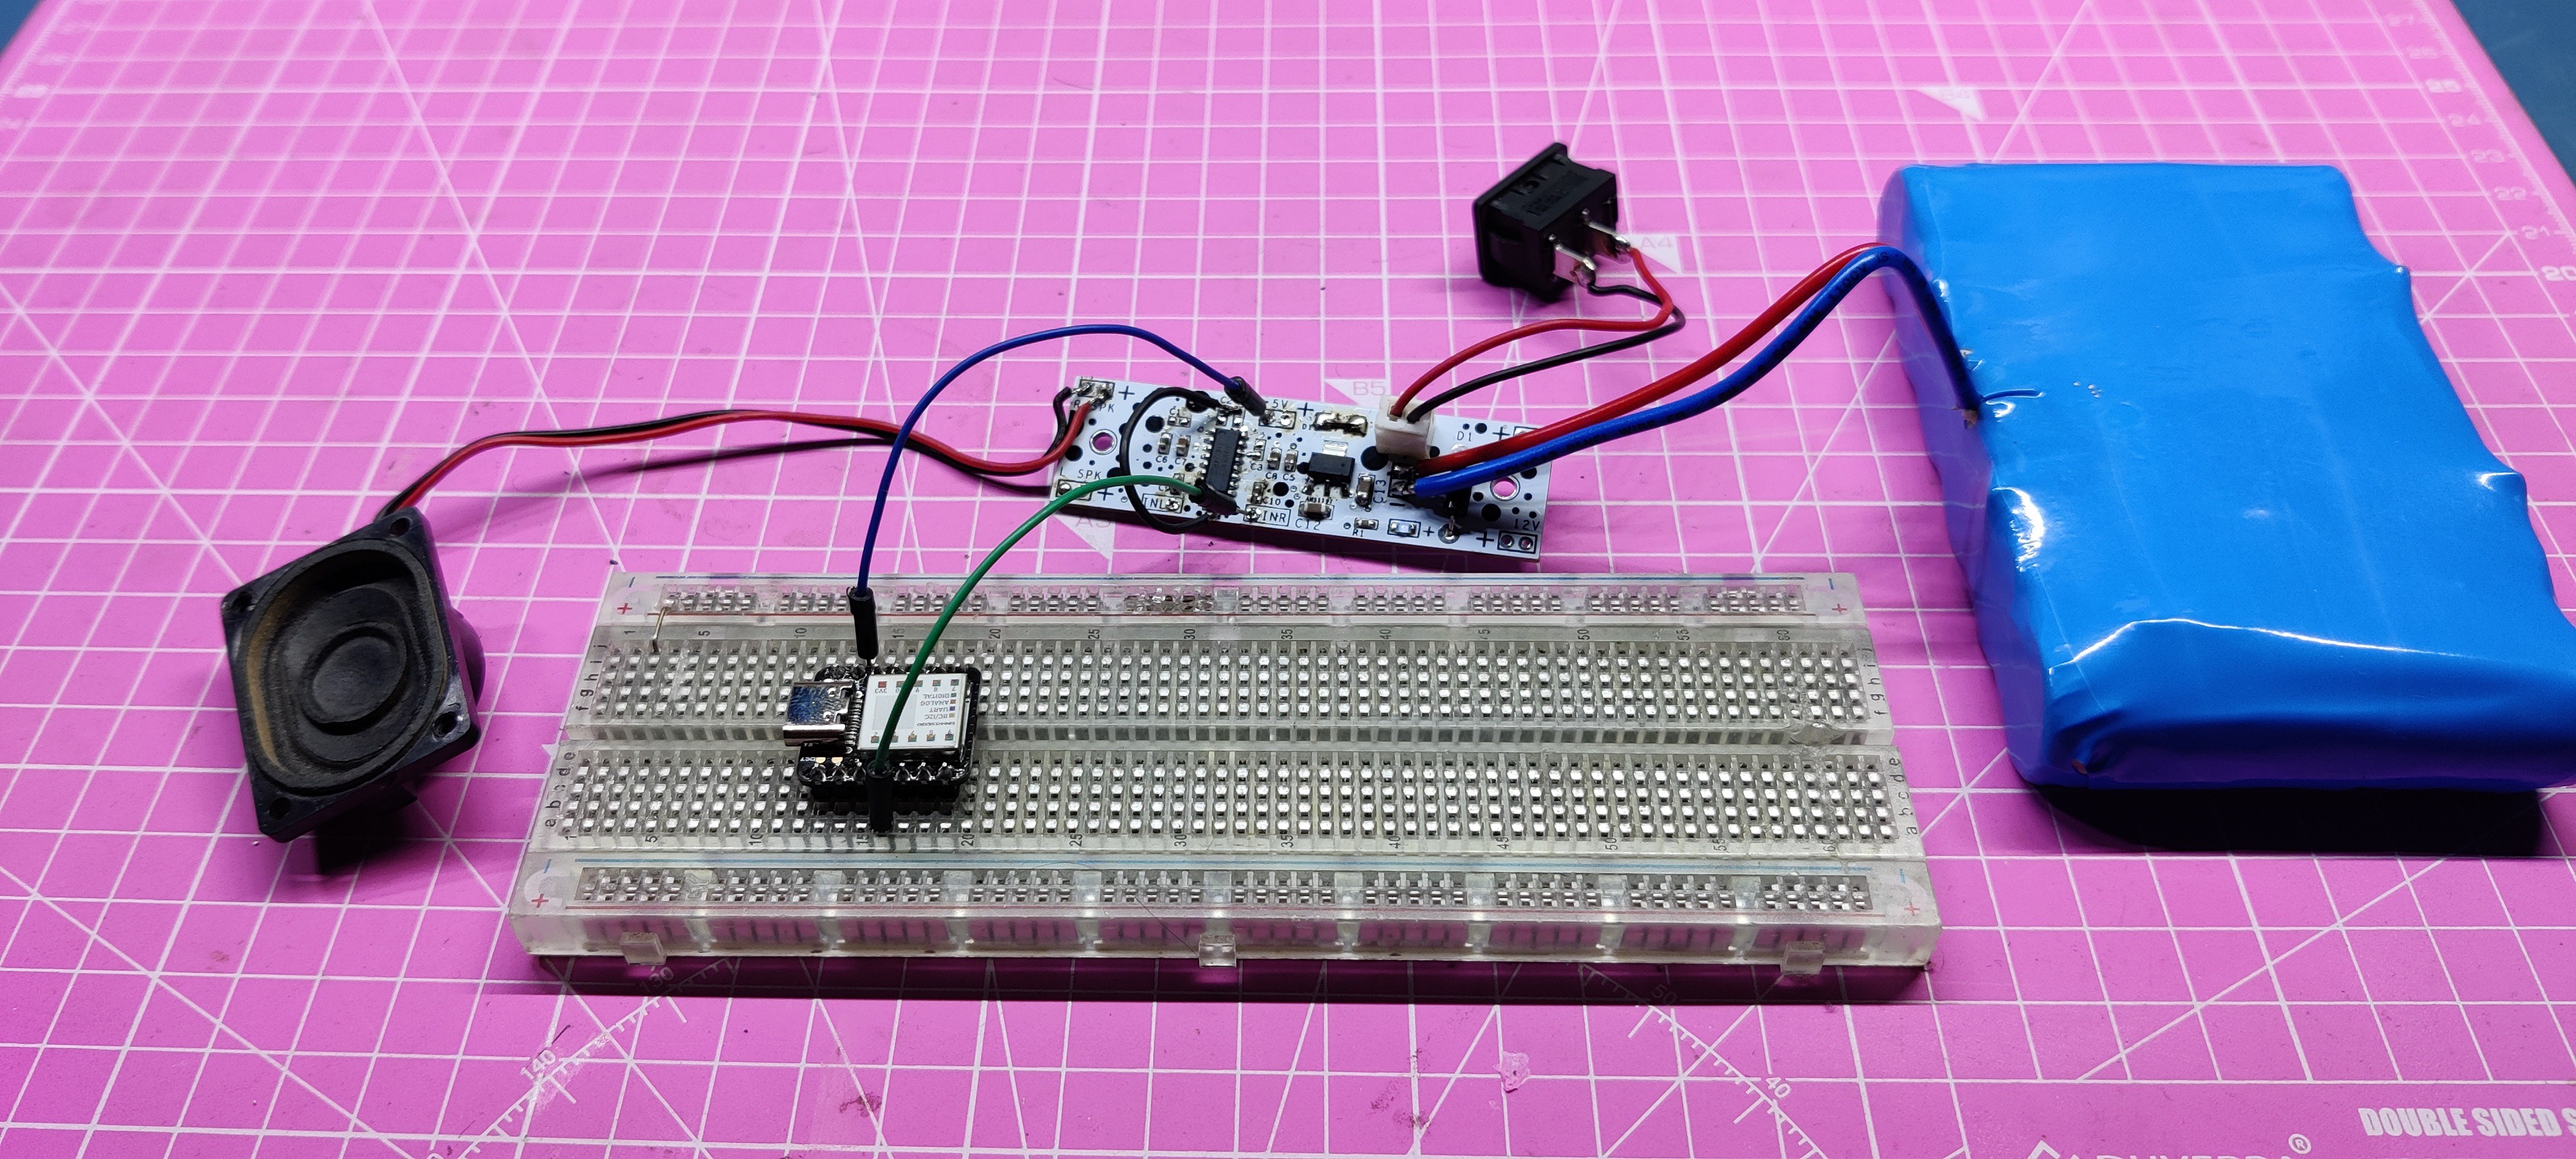
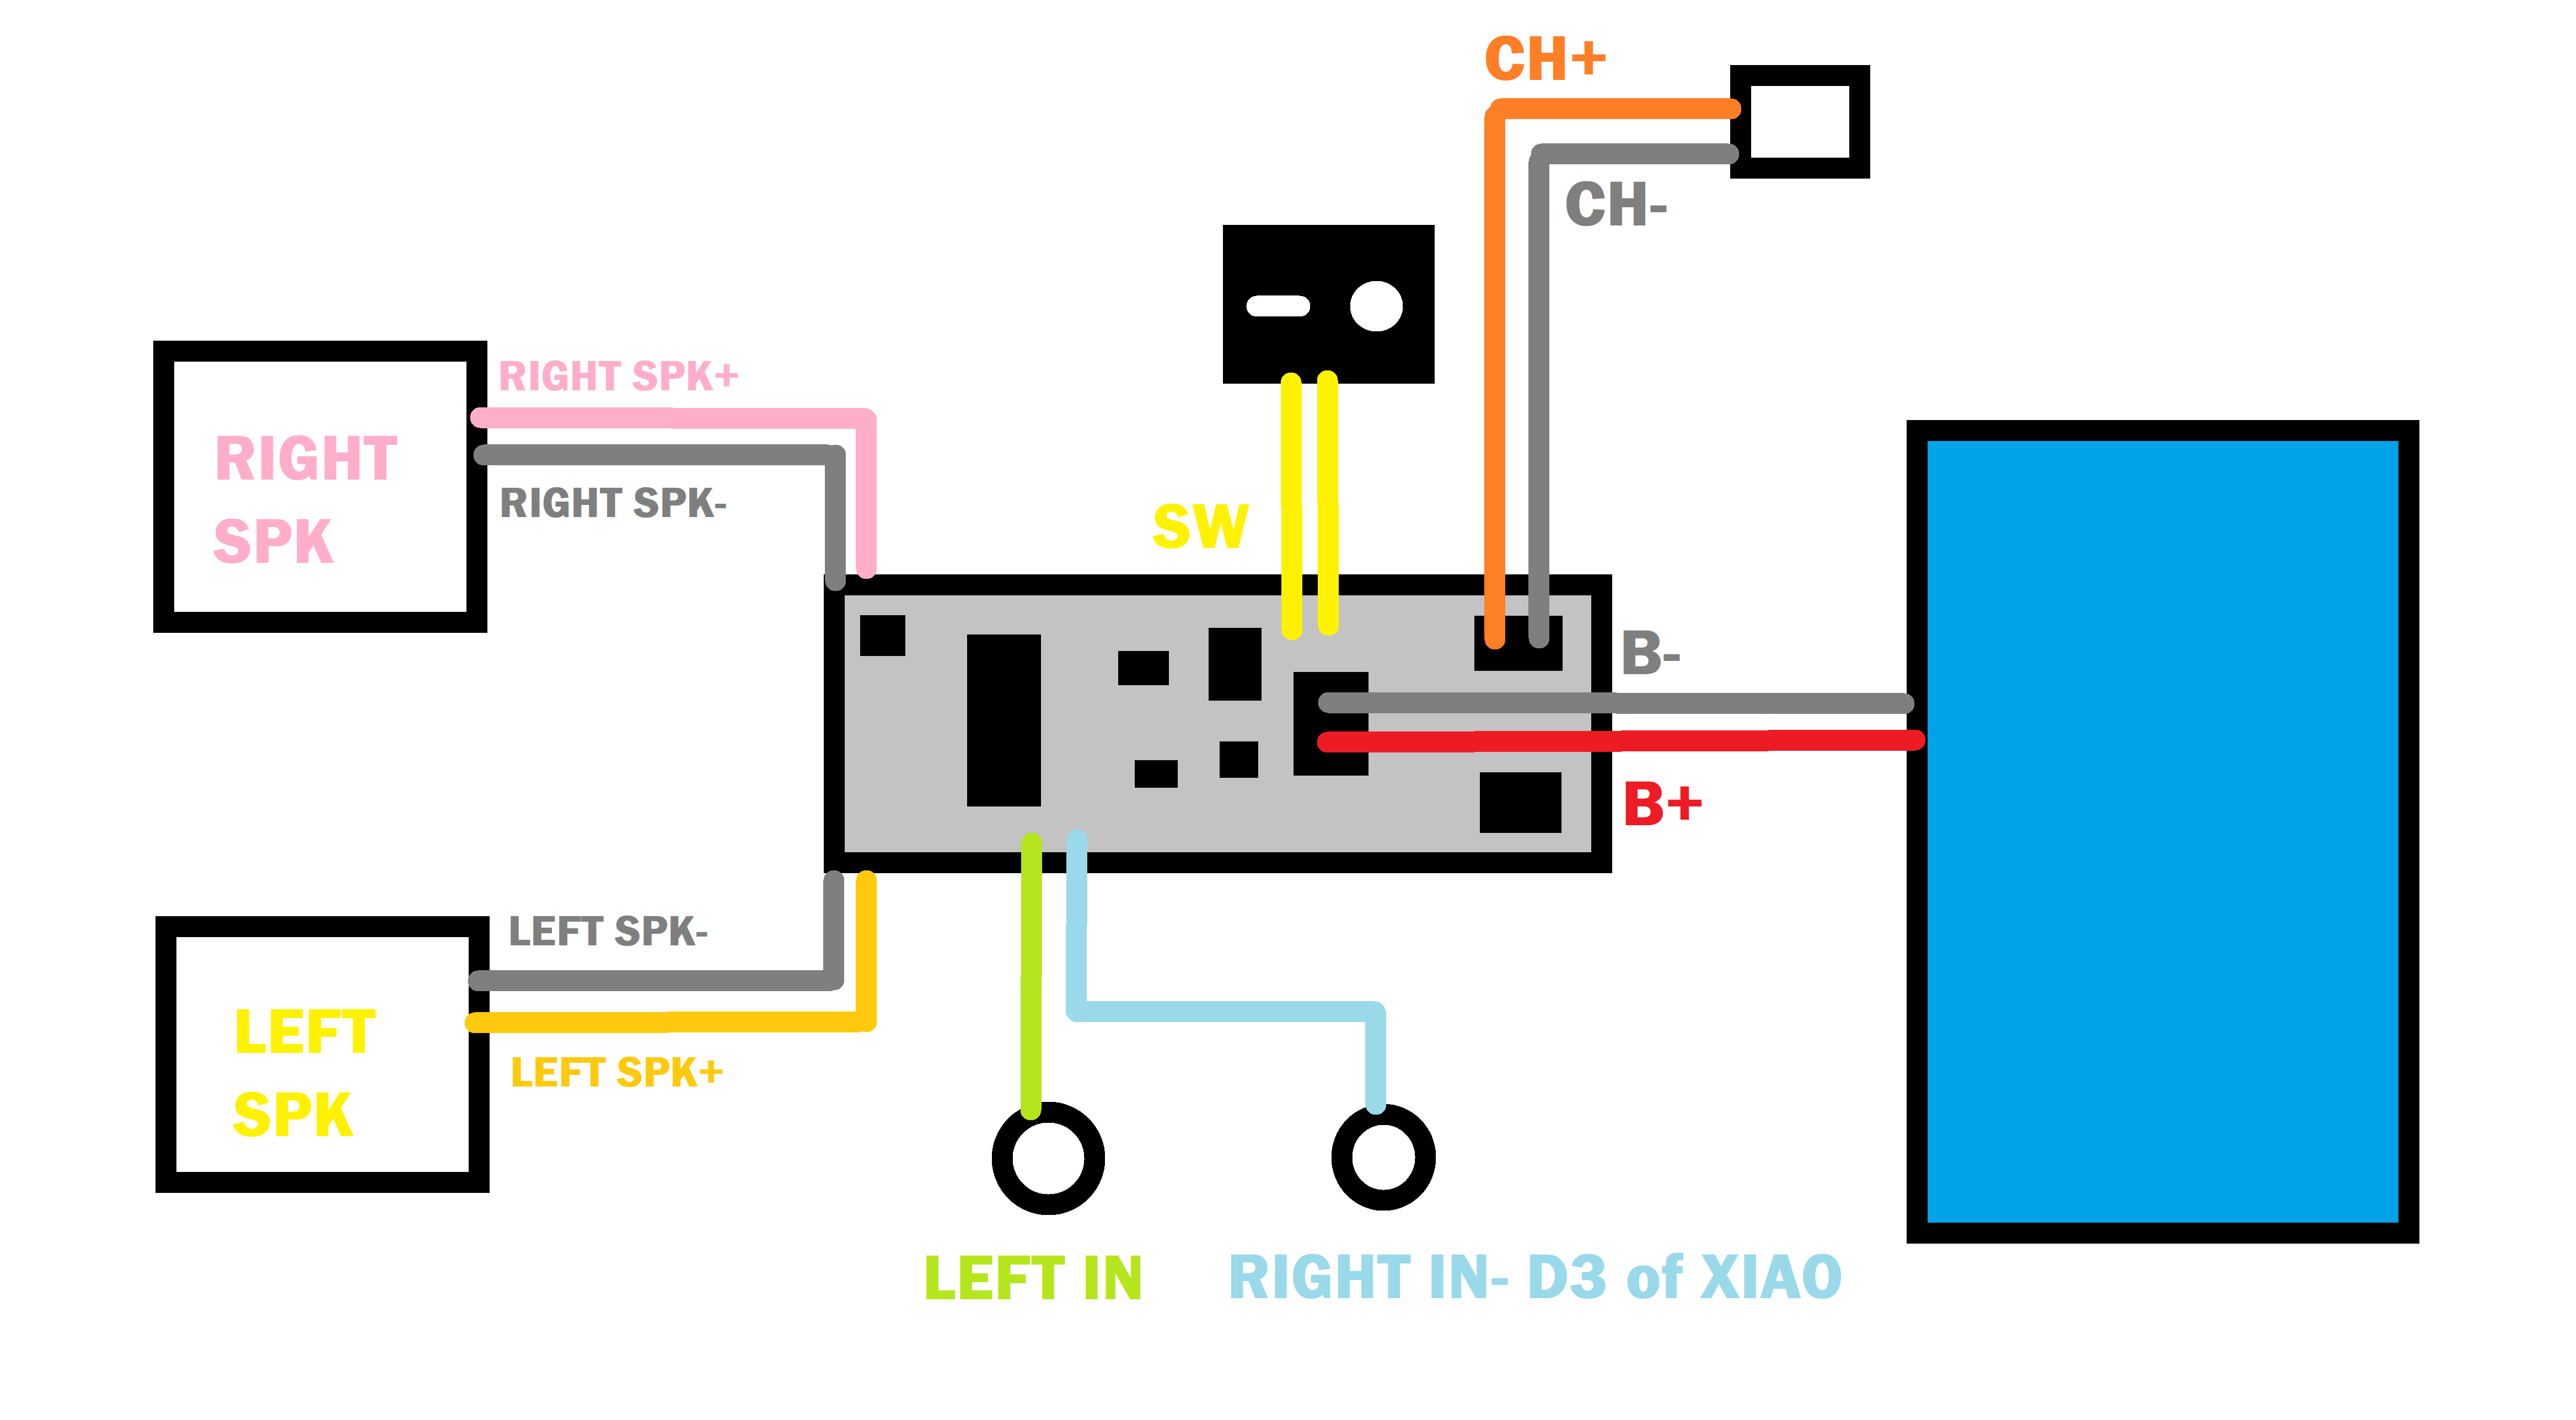
Additionally, we added a CON2 Port, which we will use to connect a rocker switch for switching the Audio Board ON and off, between the battery positives and the VDD Pin.
In order to charge the battery pack, we added an additional CON2 port, which is connected to the anode of a diode and its cathode to the positive port of the battery.
Additionally, there is an LED and resistor connected to the CON2 port that serve as a charging indication. The indicator LED will illuminate when 12+V is applied to the CON2 port.
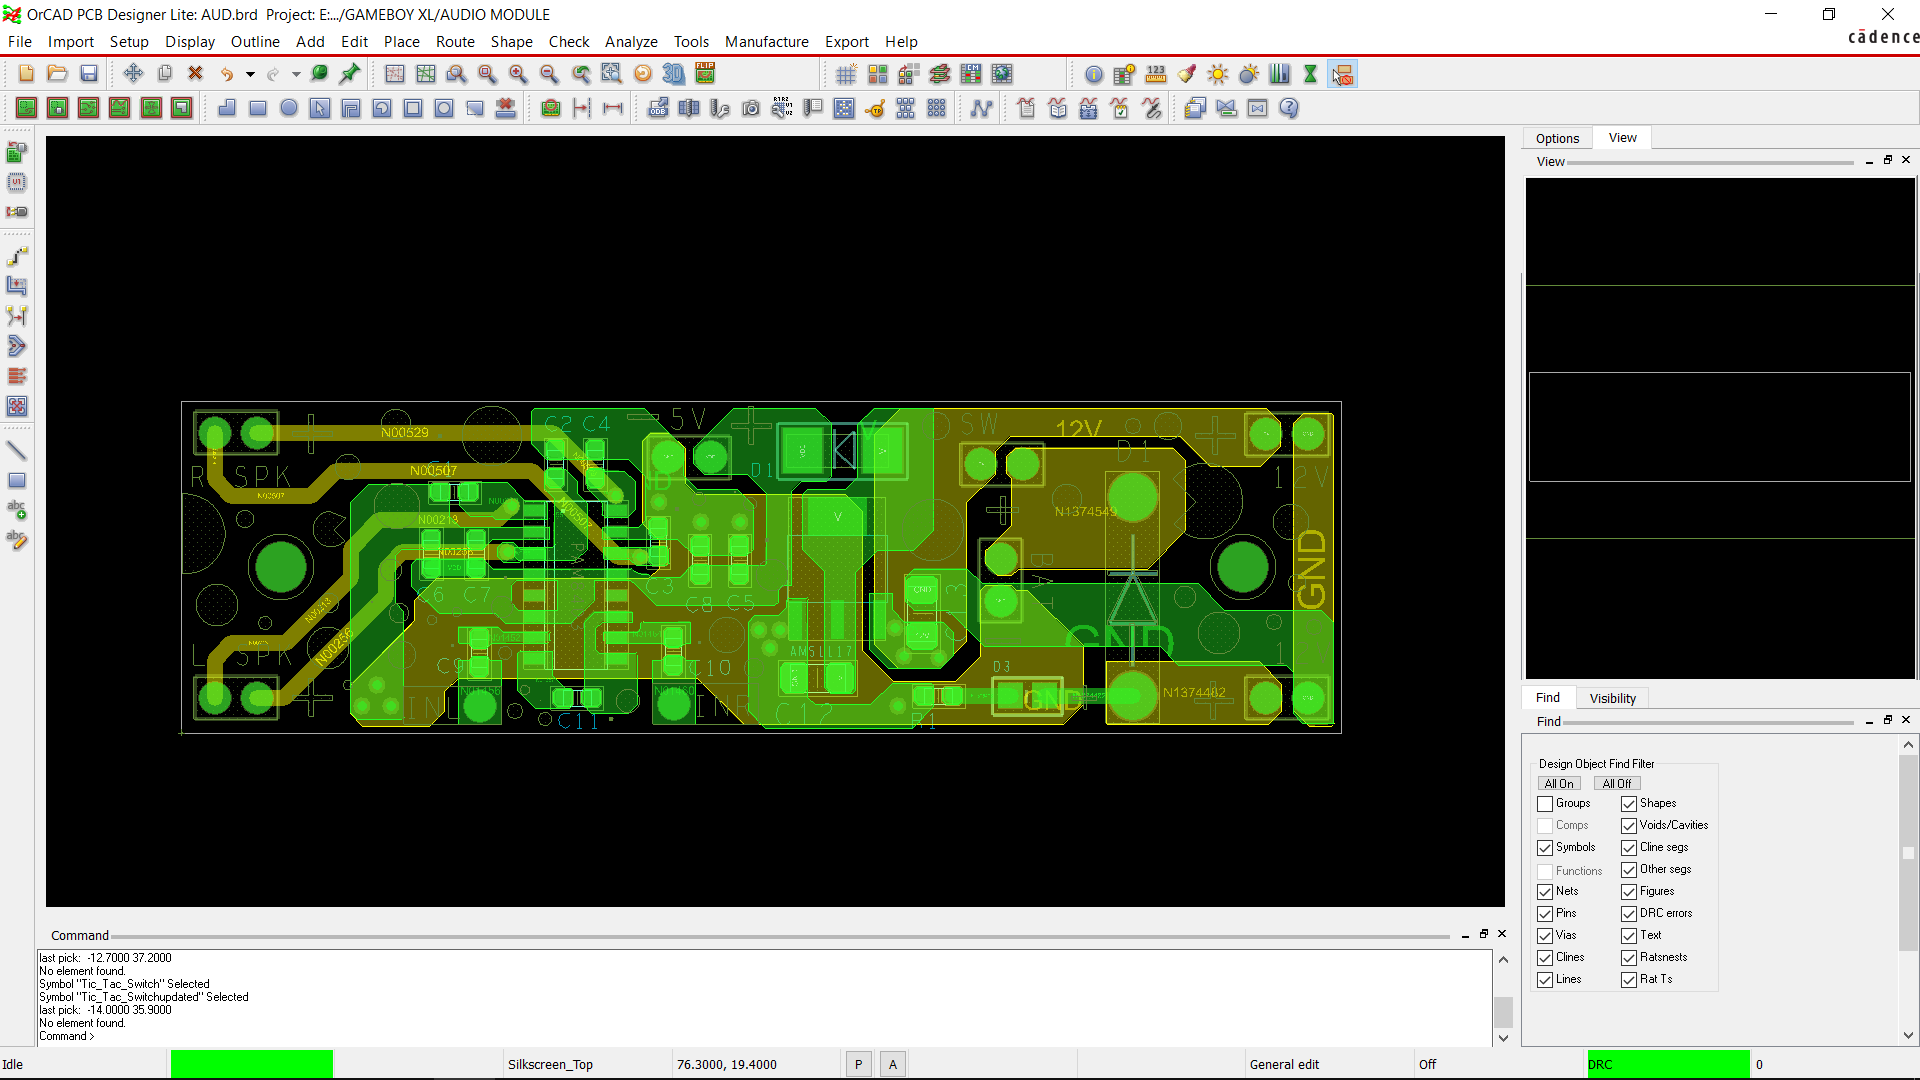
Following the completion of the schematic, we used the PCB outline—which was modeled for the next project—to produce the PCB design and complete the board.
Seeed Fusion Service
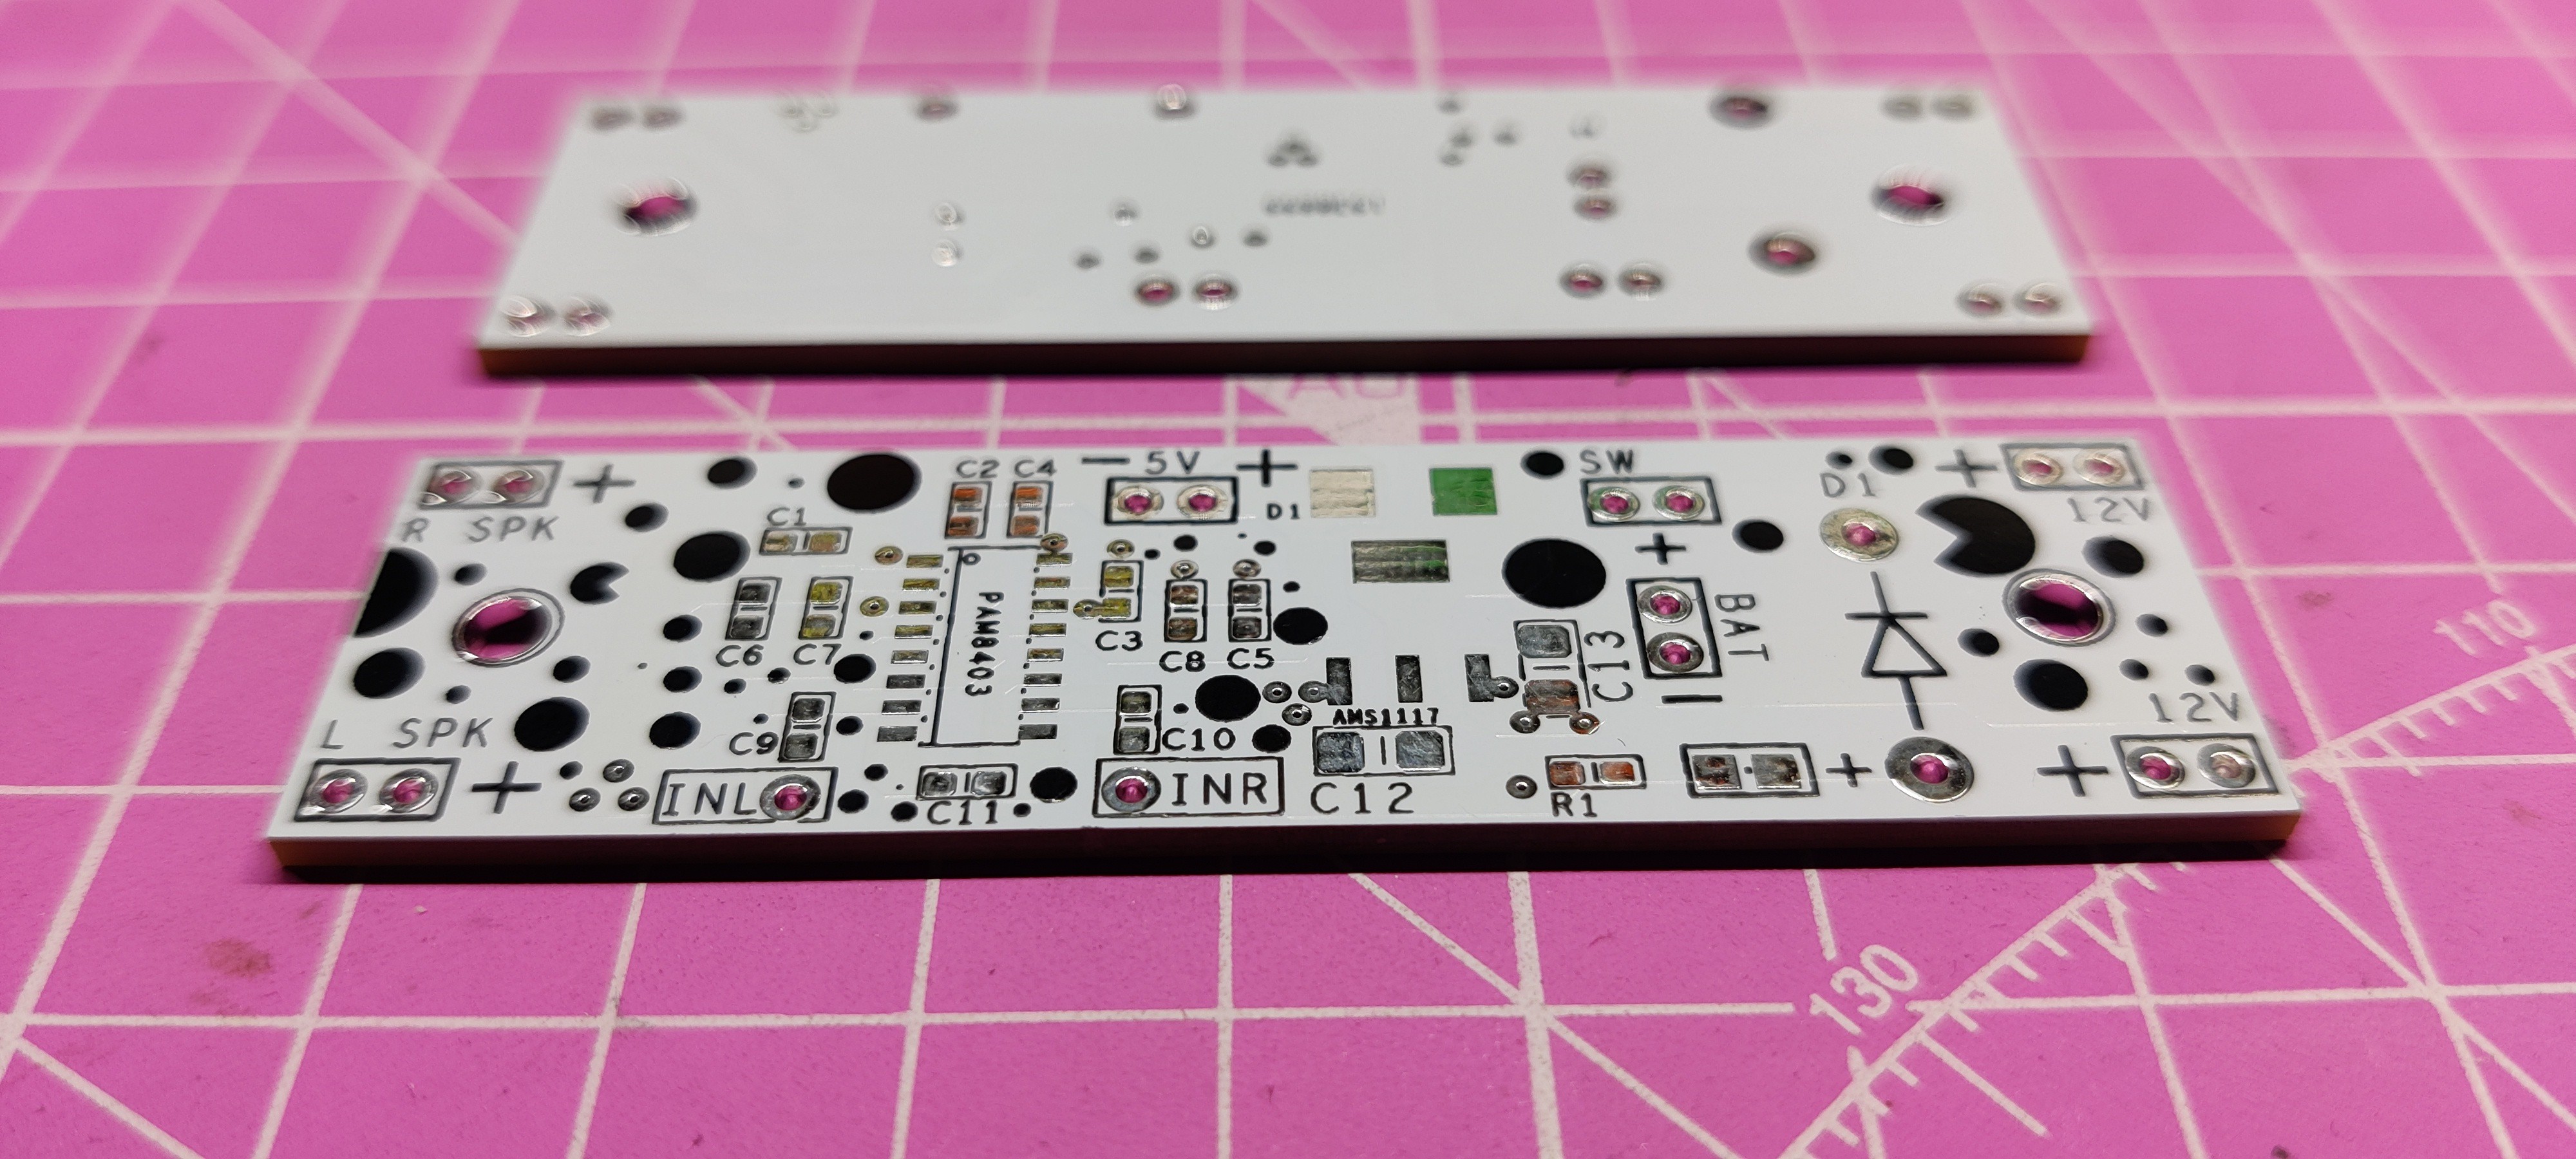
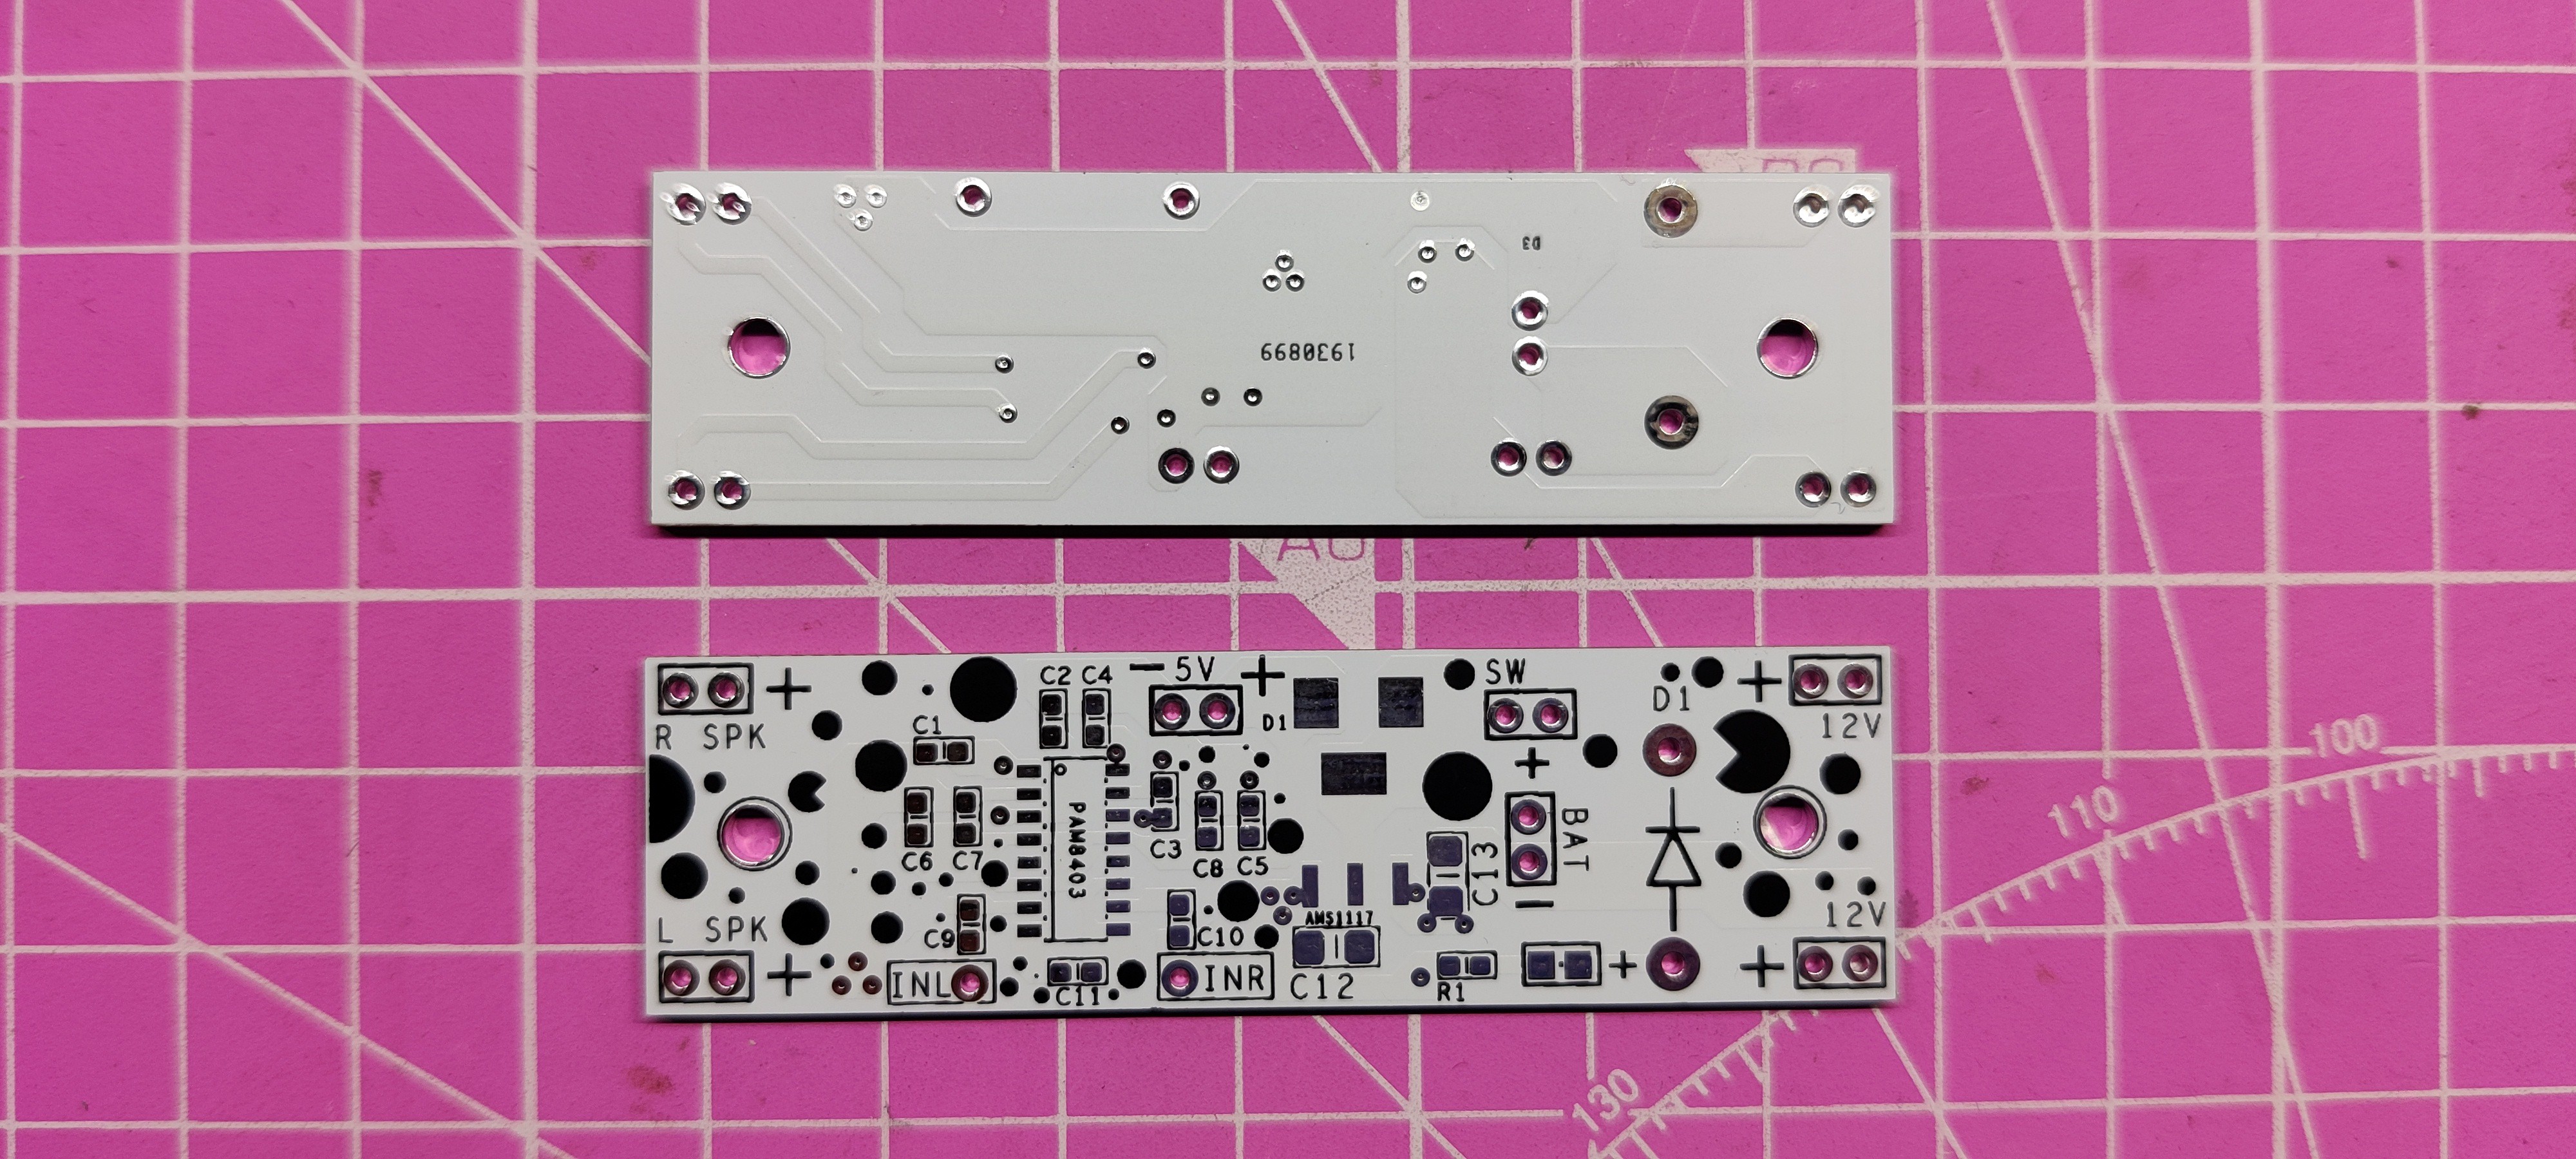
After finalizing the PCB and generating its Gerber data, it was sent to SEEED Studio for samples.
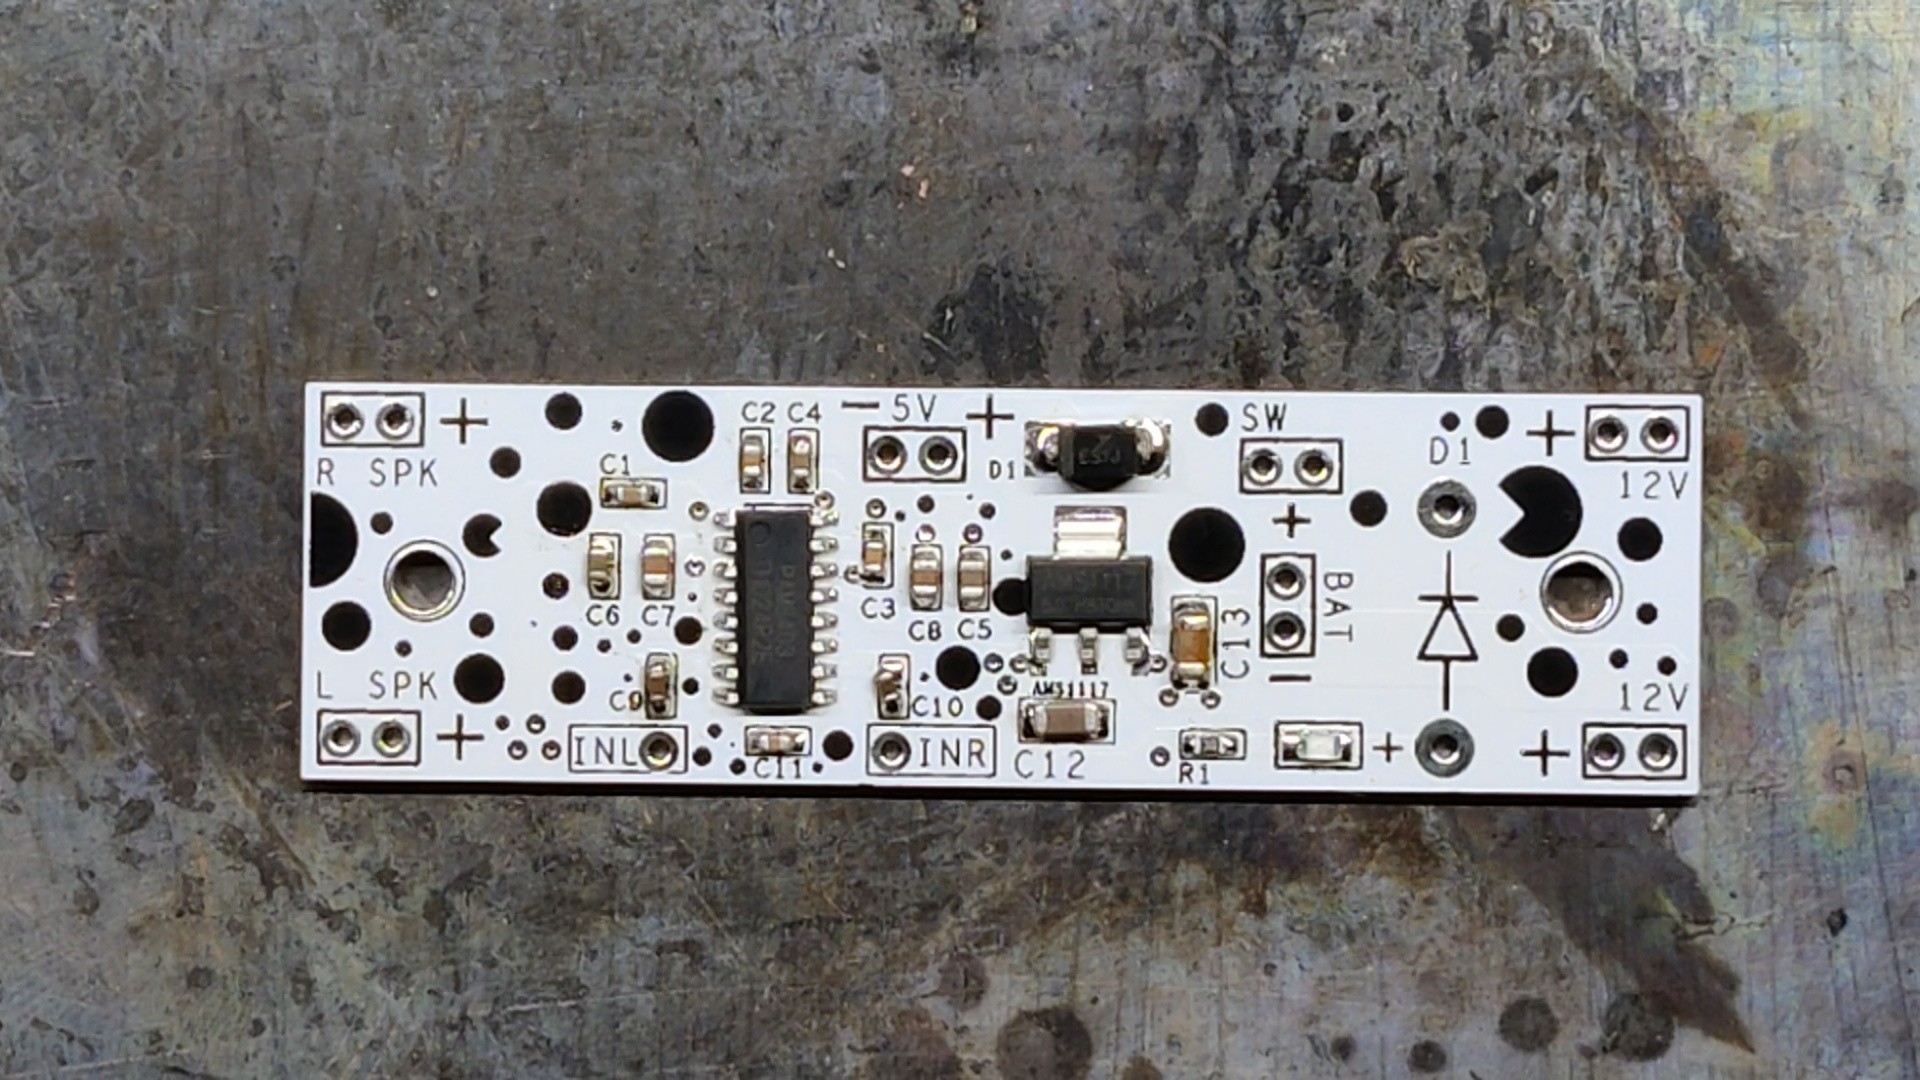
The PCB was ordered in a white solder mask with black silkscreen.
PCBs were received in a week, and their quality was super good considering the rate, which was also pretty low.
Seeed Fusion PCB Service offers one-stop prototyping for PCB manufacture and PCB assembly, and as a result, they produce superior-quality PCBs and fast turnkey PCBAs within 7 working days.
Seeed Studio Fusion PCB Assembly Service takes care of the entire fabrication process, from Seeed Studio Fusion Agile manufacturing and hardware customization to parts sourcing, assembly, and testing services, so you can be sure that they are getting a quality product.
After gauging market interest and verifying a working prototype, Seeed Propagate Service can help you bring the product to market with professional guidance and a strong network of connections.

 ElectroBoy
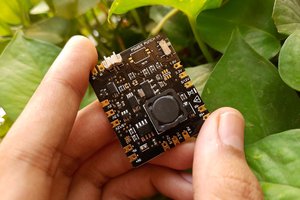
 MakerPals
 DIY GUY Chris