Close
0%
0%

Wireless USB for Instant IoT

While you could use a WiFi shield, or one of the many, many, ESP8266-equipped 'duinos out there, why not just make your USB cable WIRELESS?

Similar projects worth following
Wireless USB for making IoT projects easier. The box is a USB host, where you can connect almost any USB device. For example, a 3D printer, an Arduino, a webcam, a servo controller, a MIDI controller.

Sever allows you to connect any USB device to your computer...without a USB cable.

Just unplug your project from your computer, and plug it into Sever. That’s it, you’re ready to go! Your project will work the same as if it were plugged directly into your computer. Yes, the connection is via USB - no, there is no cable.

The PC doesn't even know that it isn't hardwired to your project via USB. The bridge is nearly transparent.

Short explanation:

This is a device that allows you to connect almost any USB device to your computer....without a USB cable. It uses a USB message to IP message wrapper and creates a simple virtual COM port on your PC. This device is a true USB host and you can use it to make almost any USB device instantly wireless.

It works very reliably (as long as your wifi signal strength not poor), and seems to be the quickest way to get a project both wireless and on the internet.

Long explanation:

Imagine if you will: You have an Arduino connected to your PC via good old USB. THEN....you cut that USB cable in half, and attach an antenna to either cable stump. Then, you move the Arduino further away from your computer, maybe you even move it to the other side of house.

You click "Upload" in the Arduino IDE and voila!...the sketch uploads successfully. If your sketch has the Arduino writing over serial, you can even open the serial monitor and your data comes through, no problem.

Oh you don't use Arduinos? Okay, maybe you use a USB webcam, or a USB-controlled 3D printer, a normal printer, a USB nerf turret...or even some other fancy new microcontroller. Either way, it is now totally wireless, and you didn't need to write (or even copy and paste) a single line of code.

That's what I wanted, and, as is typical for me, what pretty much didn't exist.

So I did it myself!

Here is how it works: The Linux Single-Board-Computer (SBC) inside the 3D printed case has a "USB host" port, which basically means it can have slave devices (arduinos, flash drives, 3D printers, etc) connect to it. Your PC has lots of host ports, whereas your Arduino has none. That's why you can't connect two Arduinos together via USB (not without a host shield at least, and even then, you'd need drivers!).

SO, we have a USB host port. That's the first step in the right direction. Now, we need the Linux SBC to be connected to your home wireless network. Let's skip the details for now, but take my word for it...that part is easy. Great, now our Linux SBC is on your wifi!

Then, we connect something...(let's say an Arduino for now, as an example)...to the USB host port on the Linux SBC.

This is when the Linux SBC starts doing something sneaky, and clever. It reads the USB messages zooming to and from your Arduino, and uses a "USB/IP" protocol to wrap those messages up into little IP messages. Now, these IP messages (secretly USB messages), get sent over your network back to your PC. Your PC is running some nice software that knows how to convert these IP messages BACK into USB messages. It feeds these USB messages into a "Virtual USB port", which is basically a real USB port, as far as your PC is concerned.

After that, you're good to go - Device Manager will show that an Arduino is connected on COM-XYZ. Fire up the Arduino IDE and upload a sketch, it works, no problem. From here on out, the system behaves as if you are connected directly via USB....but you know better. The little bugger is actually all the way upstairs, tending to your automated houseplant watering system.

Side rant about why I went down this track:

Now that it is the year 2017, it seems like every project is supposed to be an "IoT" project of some kind.

I've done my fair share of ESP8266 projects, but as a relatively weak coder, it usually ends up slowing me down a LOT when it comes time to code up a little nodejs page or parsing some long string of data from one or more sensors.

The last ten years has seen a literal revolution in accessibility to powerful tools for hobbyists and engineers, but connecting stuff to the internet (or just being wireless in any sense) continues to be a challenge if you aren't a strong programmer. Admittedly, the learning curve is better than it has ever been, but I am spoiled and I want to connect my projects to the internet in...a minute.....and have it be over with and just work.

There are some pretty great products out there now (and even greater community support and how-to articles!) but I...

Read more »

  • 1
    Step 1

    Here is how you can use this little box to put your microcontroller on your WiFi in under 1 minute:

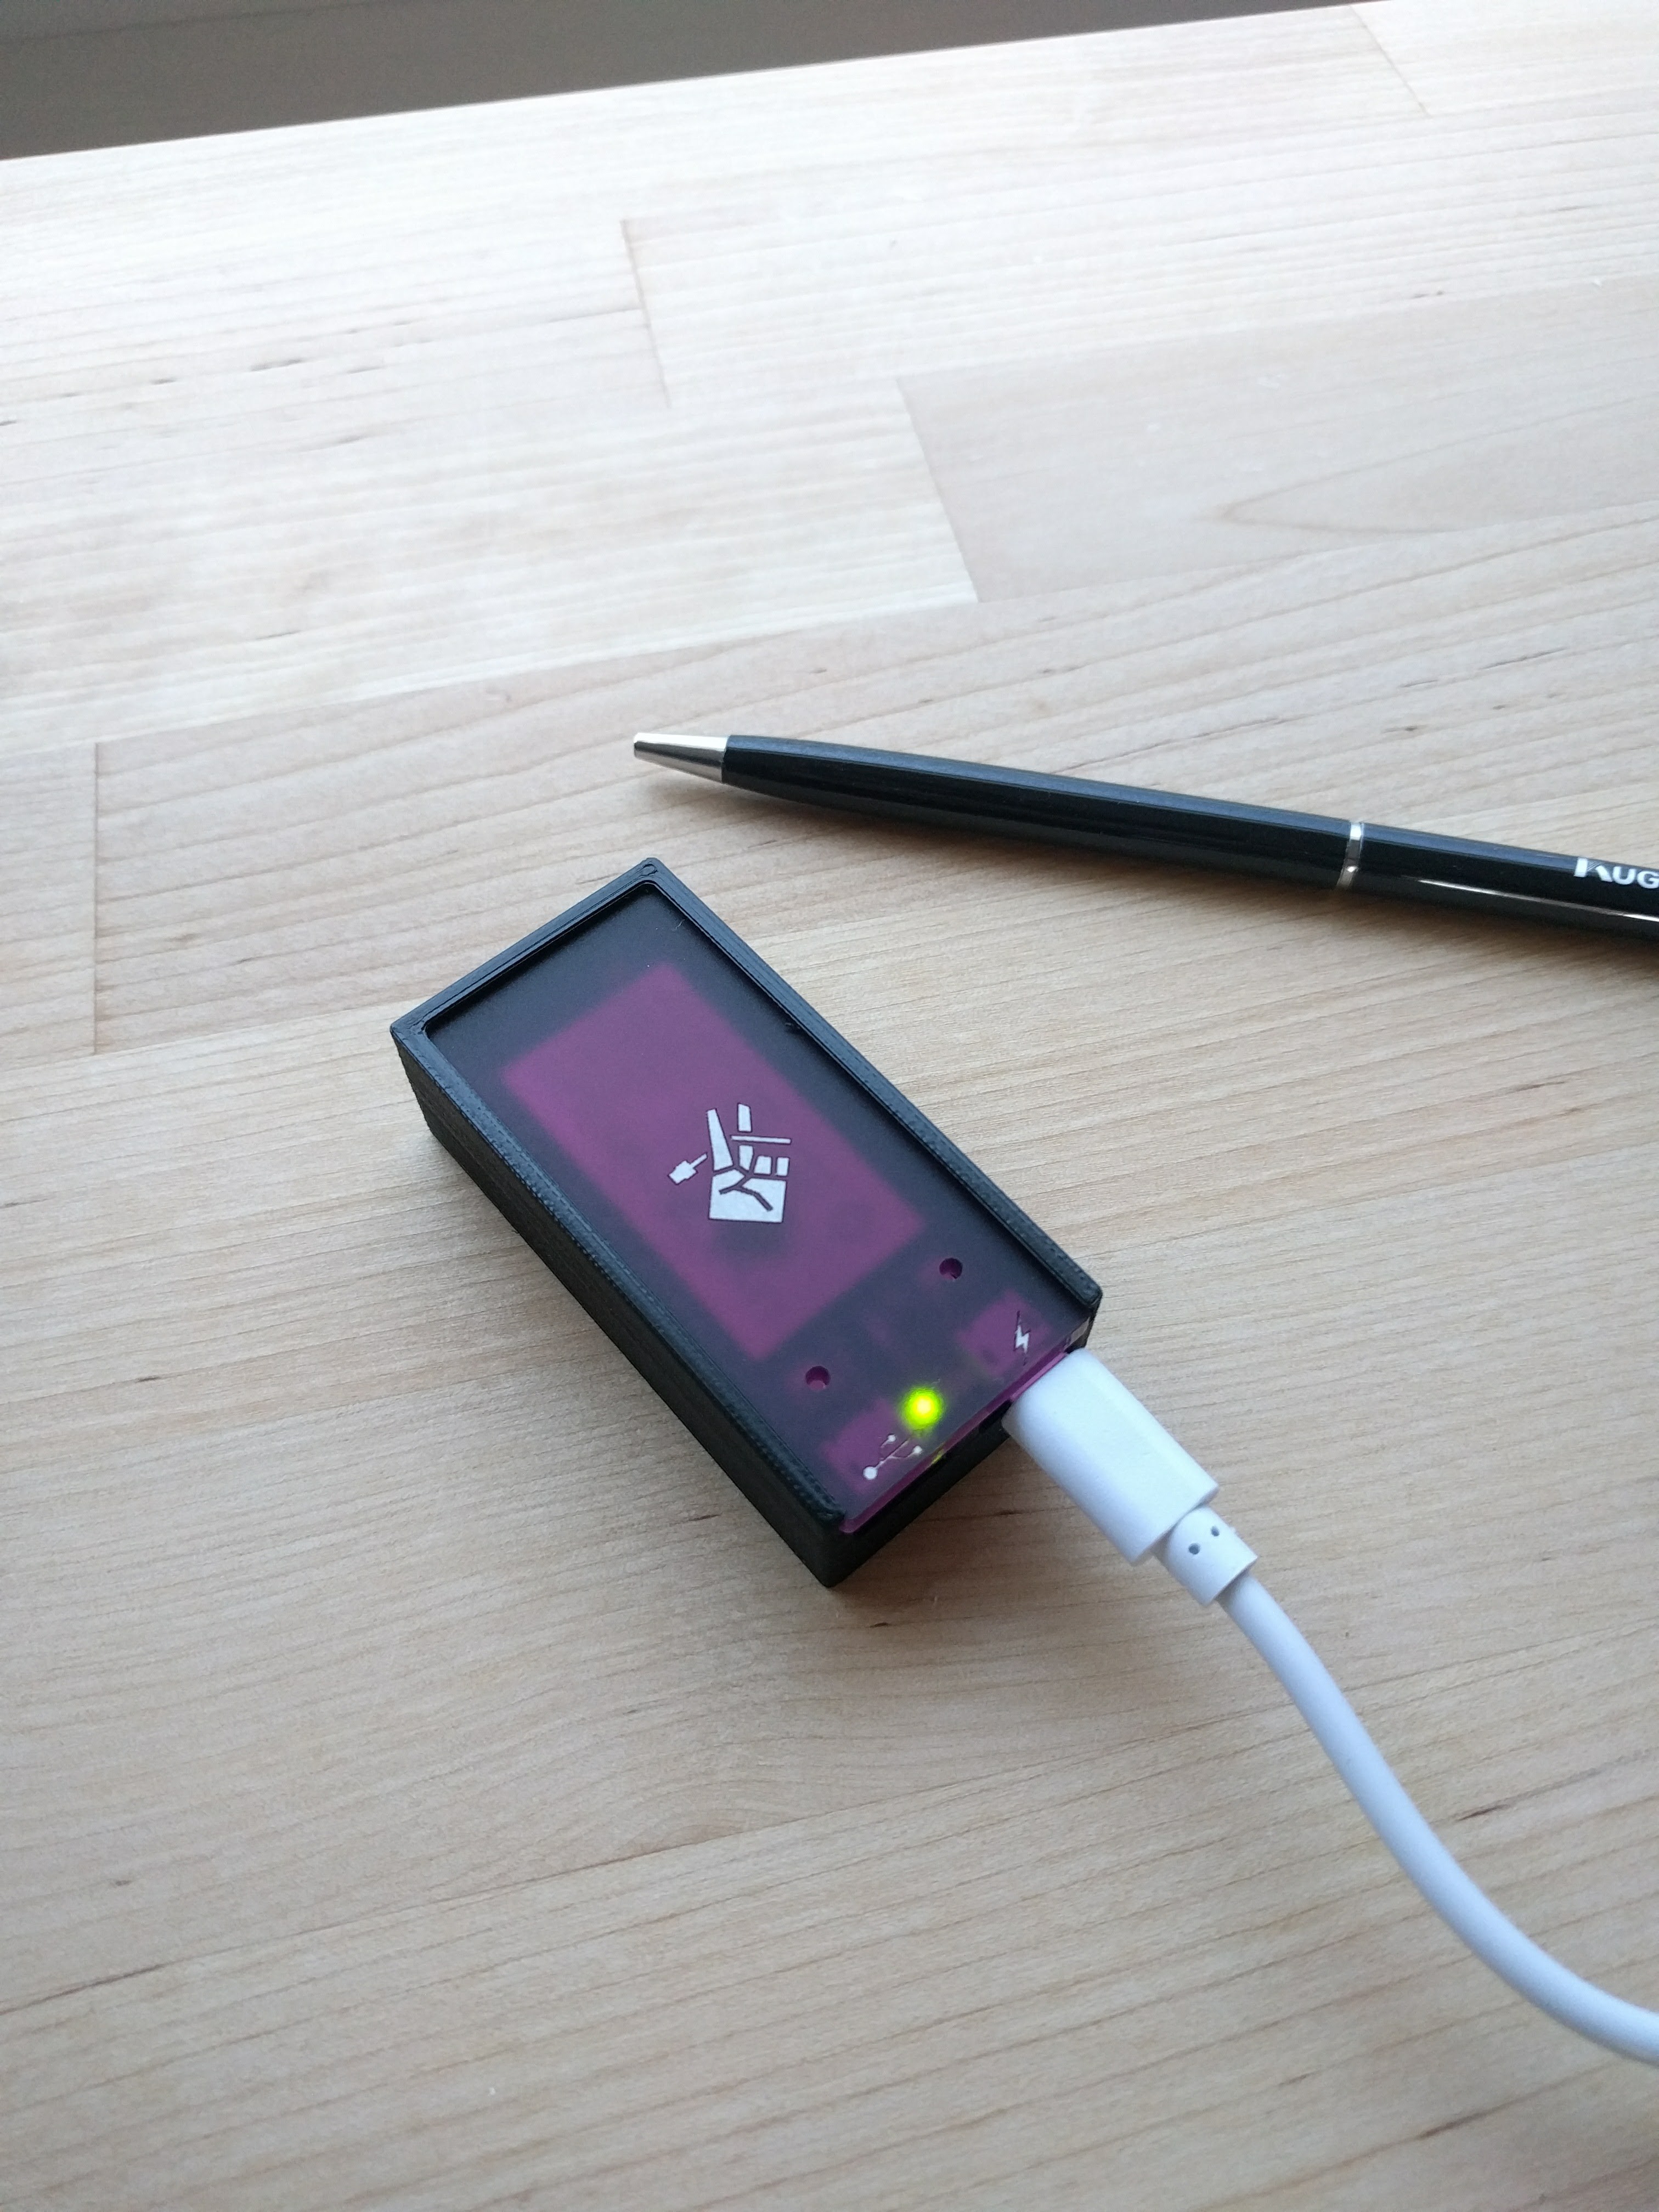
    First, you place the box on a hard and visually pleasing surface:

  • 2
    Step 2

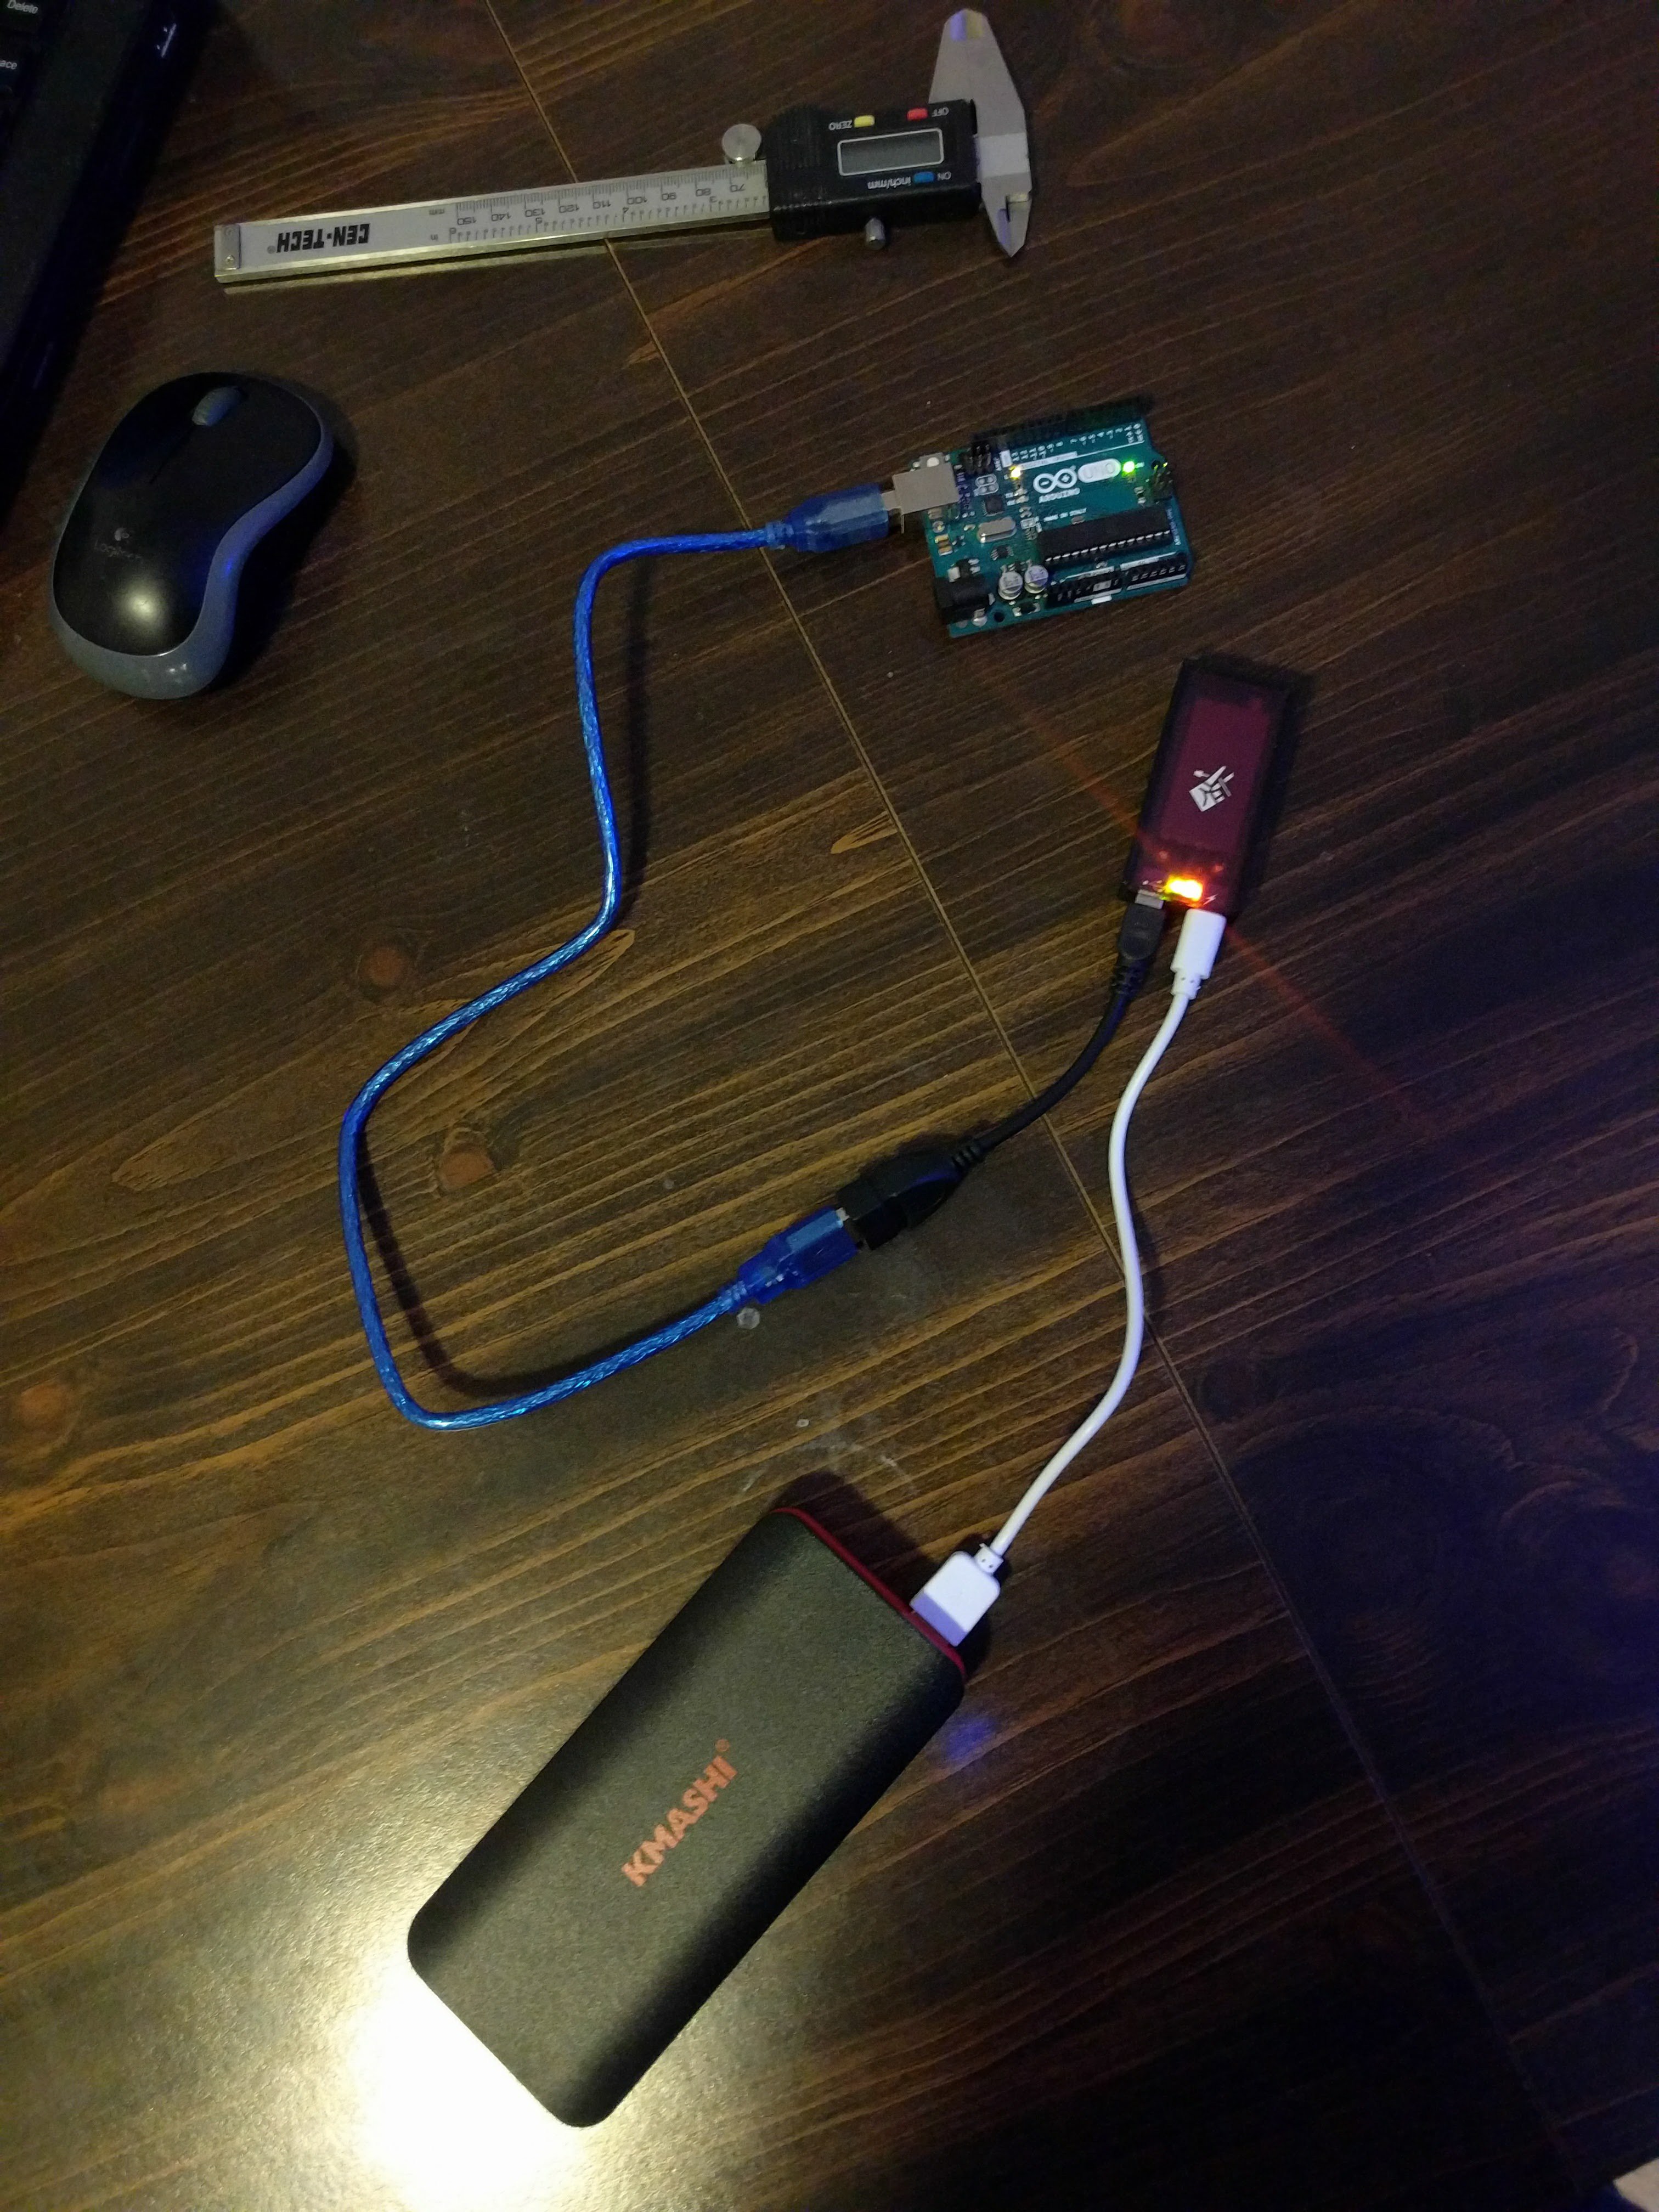
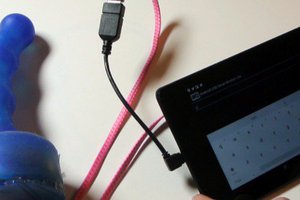
    Then, you connect your microcontroller (an Arduino for this example) to the little box, and give the little box 5 Volts via a wall wart, a USB battery, or anything that outputs 5V.

  • 3
    Step 3

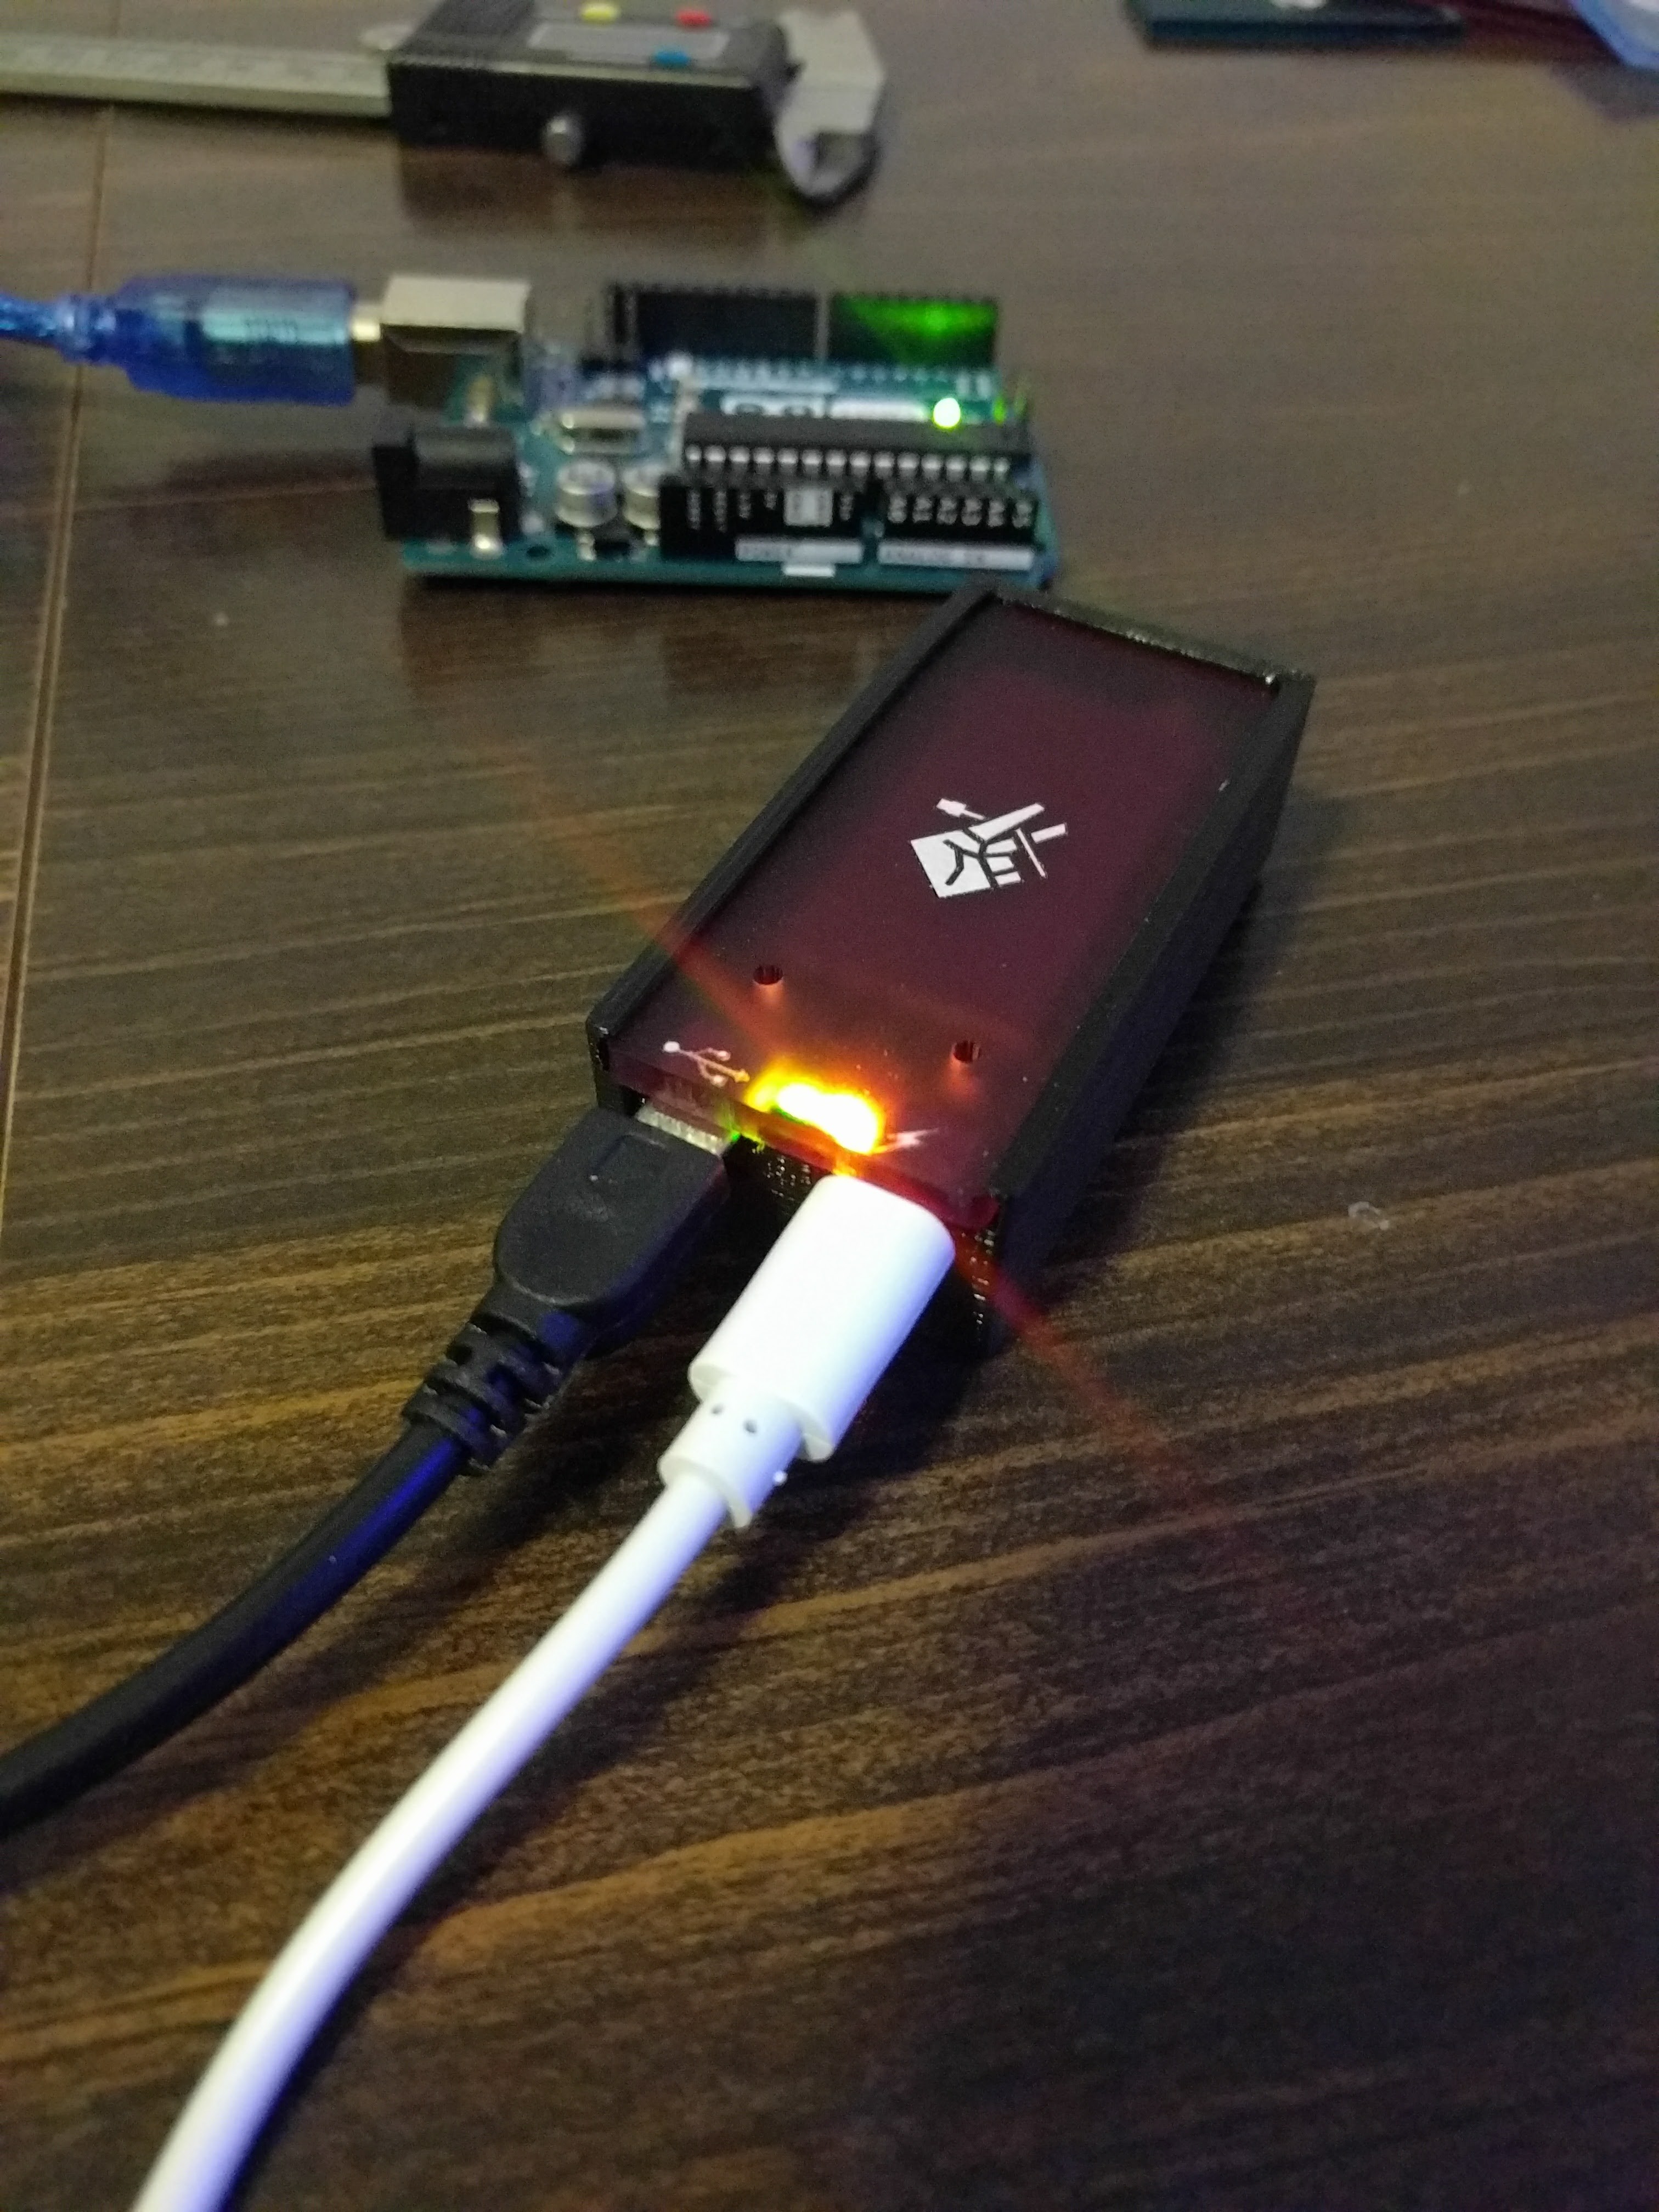
    Next, make sure that the LEDs on the little box are on. If they aren't, check your 5V supply.

View all 6 instructions

Enjoy this project?

Share

Discussions

PanderPeter wrote 12/06/2024 at 08:26 point

Hello what do I need to make one? Or do you sell these?

  Are you sure? yes | no

3cromk wrote 08/07/2021 at 13:39 point

This is just impressive to see a unique and new idea in the market and you can visit getinfov to learn about it in next process.

  Are you sure? yes | no

Zechtech wrote 01/21/2020 at 19:01 point

I'd like to help develop this project further, I was about to start something similar on my own!

  Are you sure? yes | no

Dice Wasser wrote 02/02/2020 at 07:26 point

I have attempted to contact them as well I am starting my own but hopefully with more community involvment https://hackaday.io/project/169775-usbip-ez

  Are you sure? yes | no

dhruvhC wrote 01/18/2019 at 09:57 point

what components have been used in the Sever?

  Are you sure? yes | no

wburchard wrote 04/29/2018 at 21:28 point

Has any progress been made on this project recently?  I've been searching for a way to completely, electrically, isolate my computer from my breadboard -- the connection has been via USB and I do see the potential for mistakes to route unwanted voltages into my laptop via the USB connection.

  Are you sure? yes | no

Thane Hunt wrote 01/26/2019 at 19:36 point

Hi, this project is still active. I just haven't had much time to work on it. I hope to post some updates in a month or two.

  Are you sure? yes | no

Dice Wasser wrote 02/02/2020 at 09:40 point

usbip is in the linux kernel it always worked that way, I just use an orange pi zero as the server, but if you want to help, I am making trying to make a nice gui and server for it https://hackaday.io/project/169775-usbip-ez

  Are you sure? yes | no

RzR wrote 11/15/2017 at 10:57 point

Is project still active, what about a port to ESP32 and use BT/BLE link ?

  Are you sure? yes | no

Thane Hunt wrote 12/16/2017 at 23:08 point

Hi - yes it is still active. I've just been very busy with other things lately. I'm looking to pick back up with it after the new year!

  Are you sure? yes | no

Thane Hunt wrote 03/13/2017 at 13:56 point

no no, I have almost exclusively done my testing WITH Windows at the other end. :)

It works fine, it just takes patience to get it working. Once it's working, it can hold connections reliably for at least 3 days. (I've never had it on for longer than that).

  Are you sure? yes | no

Thane Hunt wrote 03/13/2017 at 11:54 point

electrobob - Yeah I was working with a TP-Link N100 for while and for me the hardest part was getting around the 4MB or 8MB of flash memory, when OpenWRT already took such a big part of that. The Raspi A+ might be a really good option too, since it is made in decent quantities, is pretty small, and has an enormous support community. I think the NanoPI NEO is great (they have a wifi version too now, I think it is called the "Air", but no USB ports without additional soldering), but you'll need a heatsink because they are using an Allwinner H3 chip and I think they forgot about thermal vias or something. It isn't THAT hot, but without active cooling like a fan the chip can get to 50 C.

The OrangePi boards are mostly the same thing, (Allwinner chip, similar board design) except that for whatever reason they don't heat up as much. The OrangePi Zero is ALMOST perfect, except that its wifi chip/driver is pretty poor for most applications, certainly for USB/IP. You can still use it with an external wifi dongle. 

My best recommendation is: If size doesn't matter, get a nice Raspi 3 and an Edimax wifi dongle. If size DOES matter, get an OrangePi Zero and the same Edimax wifi dongle. If you can hunt one down, I'd be curious about using a Raspi Zero W or a CHIP. If you go with NanoPI or Orange Pi, DON'T use their company-provided OS image. Go to armbian.com and grab their latest built for your board. Their forum is really good and they work really hard to make stable images for the flood of SBCs that are available now. Let me know if I can help with anything! Good luck!

K.C. Lee- Yeah that one main USB/IP download out there is looking pretty sad these days. I have found that the only real problem in newer versions of Windows is that USB/IP hasn't had its dependencies re-pointed/updated. I have it working well on Windows 7, 8.1, and 10, but I've got a whole new package that gives later versions of Windows what they need to work. When I've got it closer to where I want it to be, I plan on releasing the modified system along with the first fully "all in one place" version of the documentation. USB/IP won't last a LOT longer at the current rate of update, but I think we can squeeze a few more years out of it. As you said, it is in linux mainline now, and I don't know what the story will be for Mac, but it works well on Windows, as of now. Stay tuned for updates!

btw: I like Tomato ARM too, I am hoping to make a page on Hackaday for getting it configured with more SBCs.

  Are you sure? yes | no

Duke Circuit Co.,Ltd wrote 03/11/2017 at 05:29 point

can add a function which add a battery power in side this box?

  Are you sure? yes | no

Thane Hunt wrote 03/11/2017 at 13:04 point

Hi! Yes, I have wanted to do that for a long time. I might make one in the feature with a small 3.7V LiPo and a 5V boost converter. For now, the USB battery is very easy. :)

  Are you sure? yes | no

electrobob wrote 03/10/2017 at 18:04 point

I tried this with usbip on a router and  got pretty bad results. What's inside your box?

  Are you sure? yes | no

Thane Hunt wrote 03/10/2017 at 18:37 point

Yeah it takes a lot of configuration and playing around to get good results. 

You have to balance the compression ratio of the wrapped USB messages to get packets as small as possible without overtaxing the CPU.

I've used a NanoPi NEO board with an Edimax WiFi dongle, a Raspi Zero W, an Orange Pi Zero, and some of the different Ralink and broadcom chipsets. I've had great luck with the olimex SBCs as well. The big factor is the quality of your wifi connection. An external antenna makes a huge difference, for example.

OpenWRT works well for this application, although Armbian is much more user friendly. I set this up as a /tmp filesystem, which improved performance a lot, even though my knowledge of Linux suggests that this should only improve the life expectancy of the NAND flash memory. I don't have a good explanation as to why this is, but several very carefully controlled tests confirmed a definite improvement.

What router were you using? Also, have you experimented with doing an ad-hoc connection between the router and your computer? I know that is less flexible, but it opens up some interesting possibilities with regards to extremely simple wireless communication, as opposed to strictly "IoT". Thanks for commenting!

  Are you sure? yes | no

electrobob wrote 03/13/2017 at 08:33 point

I used one of the first hardware versions of this https://wiki.openwrt.org/toh/tp-link/tl-wr1043nd, with all connections wired. It must have been about 3 years ago. It was a time when SBC were expensive, but you could get a complete router for about 25 EUR with USB like this https://wiki.openwrt.org/toh/tp-link/tl-wr710n. Today an onion or CHIP will be more attractive than routers and could be lower power than an SBC.

I got most devices working, but nothing seemed to work over a hub or if the device was more complex. I think it was about whether the openwrt had drivers for it or not. 

I can assume the higher specs and more advanced software of the SBC might help a lot. My biggest issue was that windows was getting a BSOD if I were to remove the USB device without previously closing the connection. 

Thanks a lot for the info, I will give it another try. Any recommendation between the nano or the orange pis ? Definetelly not able to grab a raspberry.

  Are you sure? yes | no

K.C. Lee wrote 03/13/2017 at 09:58 point

USBIP is totally out of date on windows side (i.e. not maintained) and has moved inside linux kernel, so there bound to be compatibility issues. across versions.

At one point I was using USBIP installed under opware in Tomato firmware for Brtoadcom MIPS based routers (later models of "WRT54").  It was a bit tricky to get working to get the right device numbers and connect/disconnect scripts on the router GUI, but I got it to talk to a scanner over USB hub.

I moved to Tomato ARM on my new router, but the kernel driver wasn't compiled and none of the opware/entware were matured enough either.  :(

  Are you sure? yes | no

electrobob wrote 03/13/2017 at 13:54 point

So you are saying that you have not tested it with Windows at the other end?

  Are you sure? yes | no

Similar Projects

Does this project spark your interest?

Become a member to follow this project and never miss any updates