 anfroholic
I am planning to publish a new thing here every day until I get them all. I will probably take me to the end of the year
So stay tuned!! Please give a like or a follow for updates.
This project has gotten massive but here's a small overview:
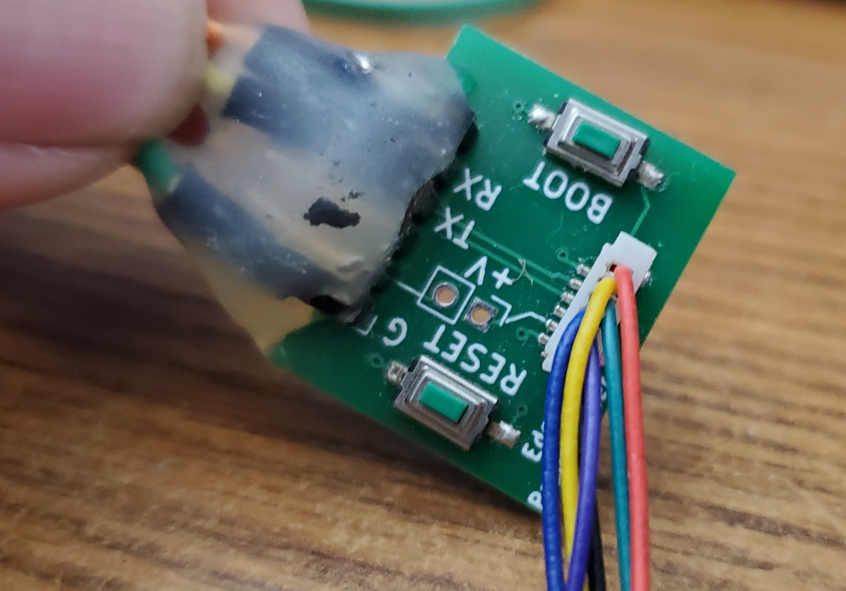
Evezor Edge Boards

Edge boards are a suite of discrete open source electronics boards networked through an open protocol developed by us and programmed using an easy to use drag and drop interface, also created by us. Network mediums currently are focused primarily on CAN bus, MQTT, and some APIs hosted by Evezor, covering the base cases of ease of use, low latency and communications over the internet.
Floe IDE
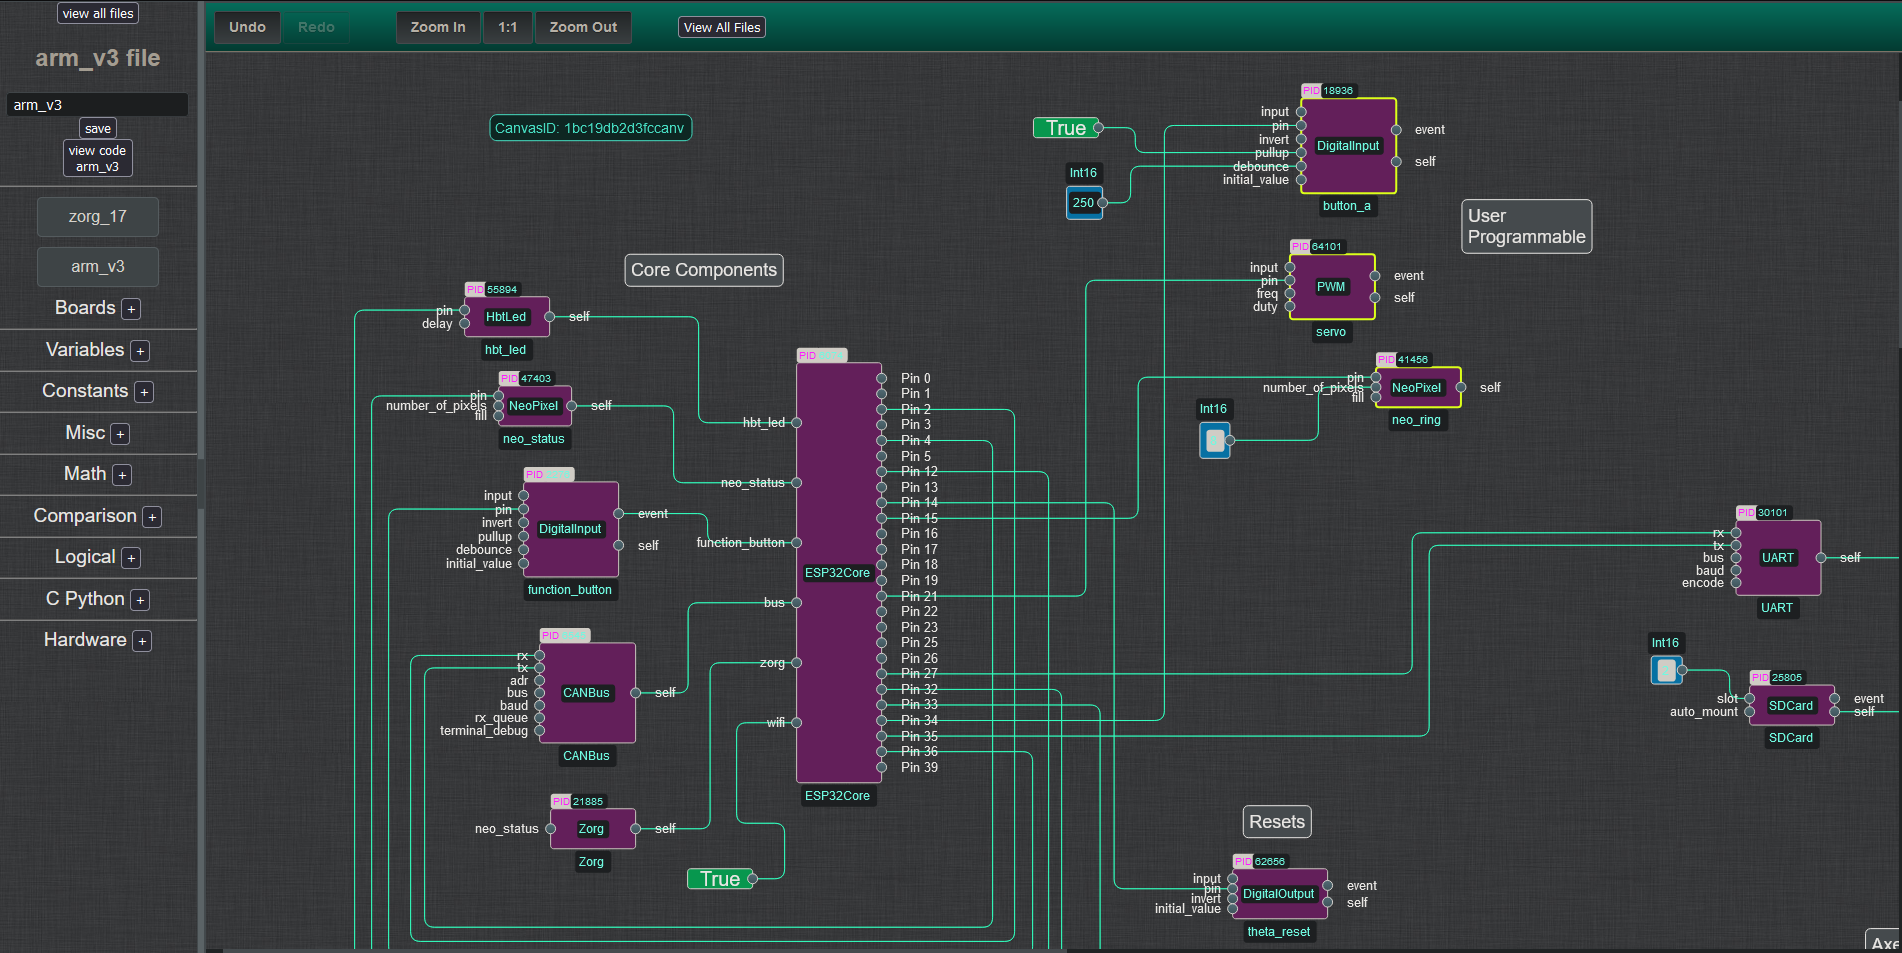
FLOE IDE is a drag and drop flow based programming language used to network robots over whatever but they are connected to. For quite a while now in the software world we've had tools like docker and kubernetes. Now it's time for the hardware world to have the same thing.
You can find a demo here: http://ide.evezor.com/
Robot Arms
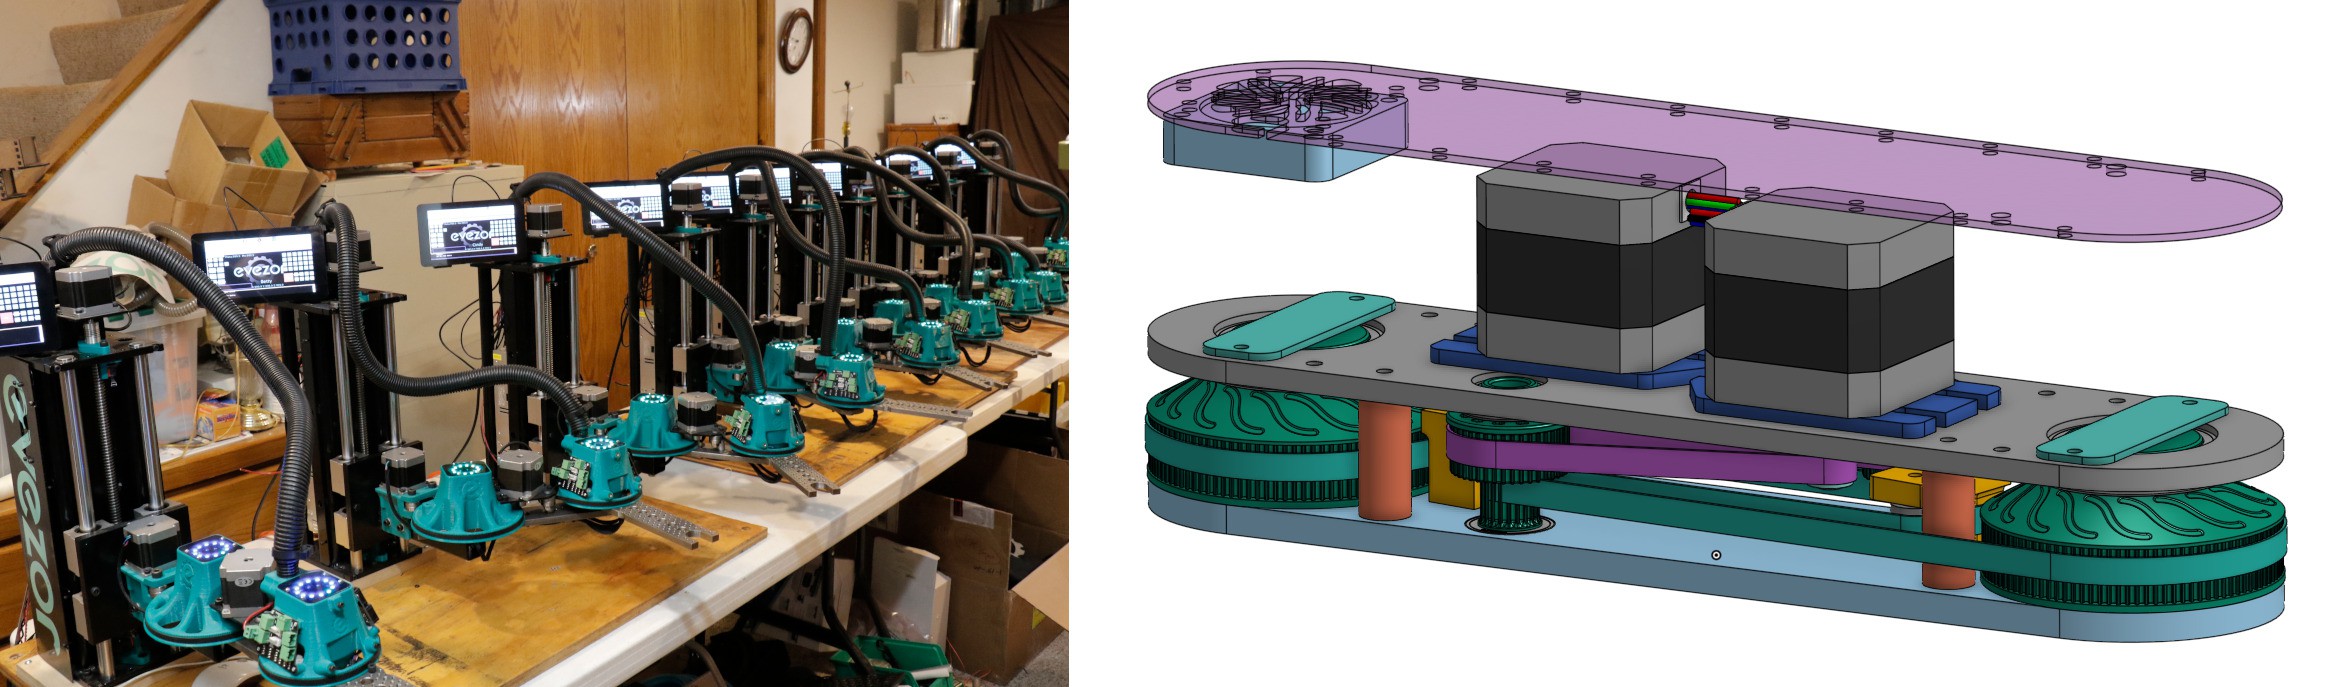
There was the original arm, I am trying to figure out what to do with them, I have over 5 and they are fitted with the latest firmware and network schemes.
There's a bunch you can find about that in the older build logs. They have served cocktails, drawn pictures, 3d printed, welded. A whole bunch of stuff.
I've got the next iteration in the works and will be posting about that soon.
Short Demo of Boards and IDE
One of my favorite videos
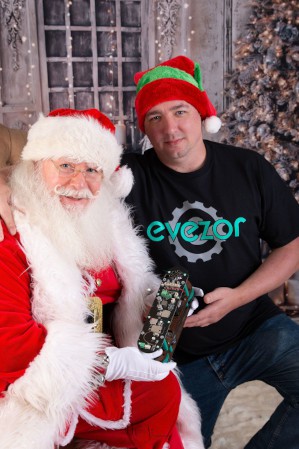
Santa wants to get some of our newest arms under some Christmas trees
A Publish A Day
- Day 1: V1 Firmware and IDE
- Day 2: CAN bus Feather Wing Board
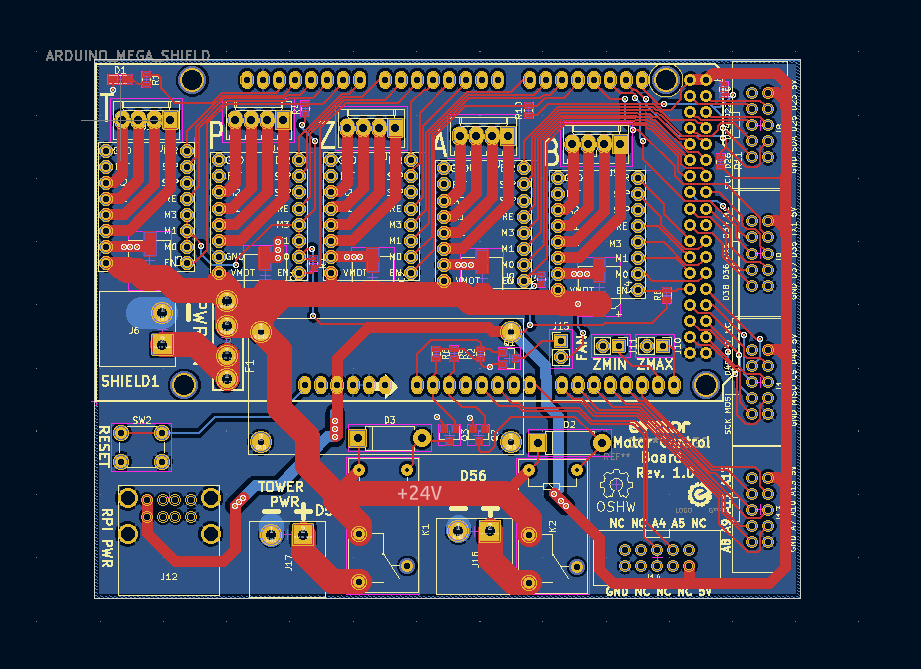
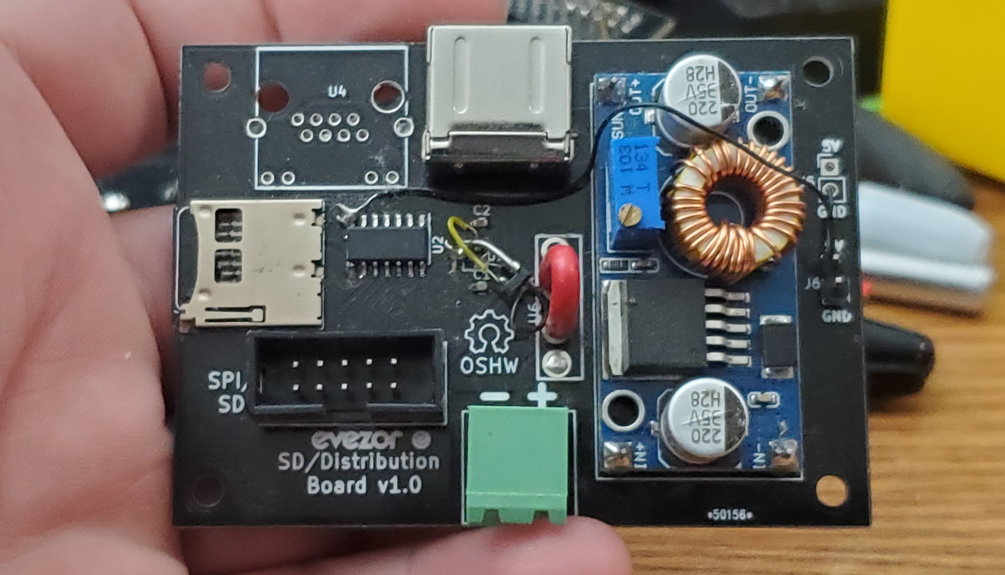
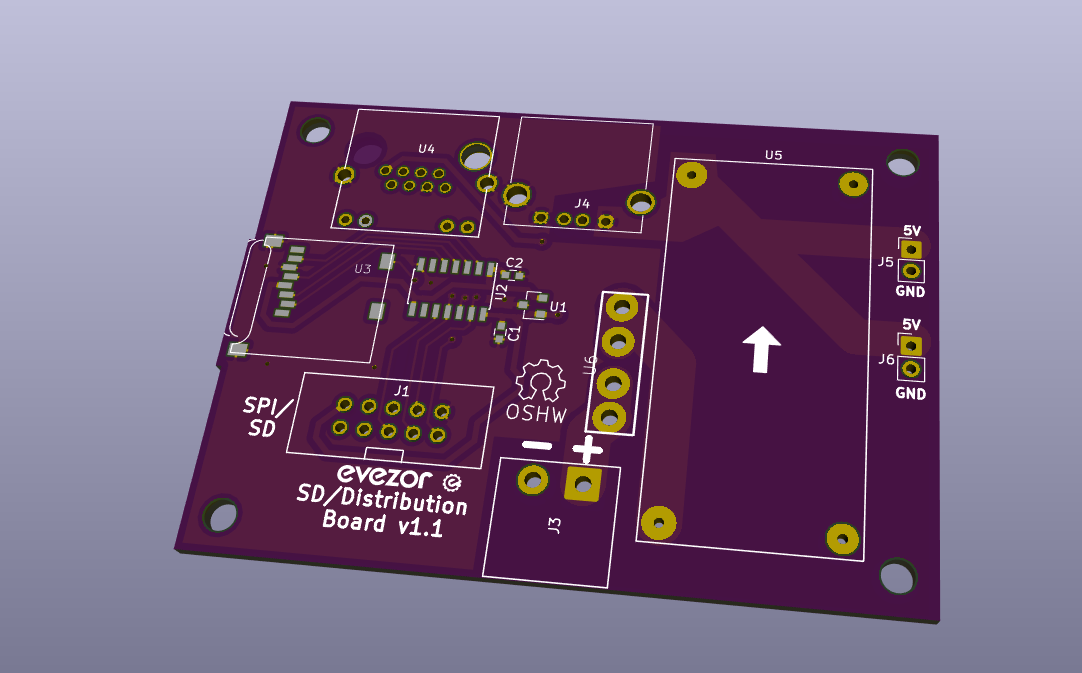
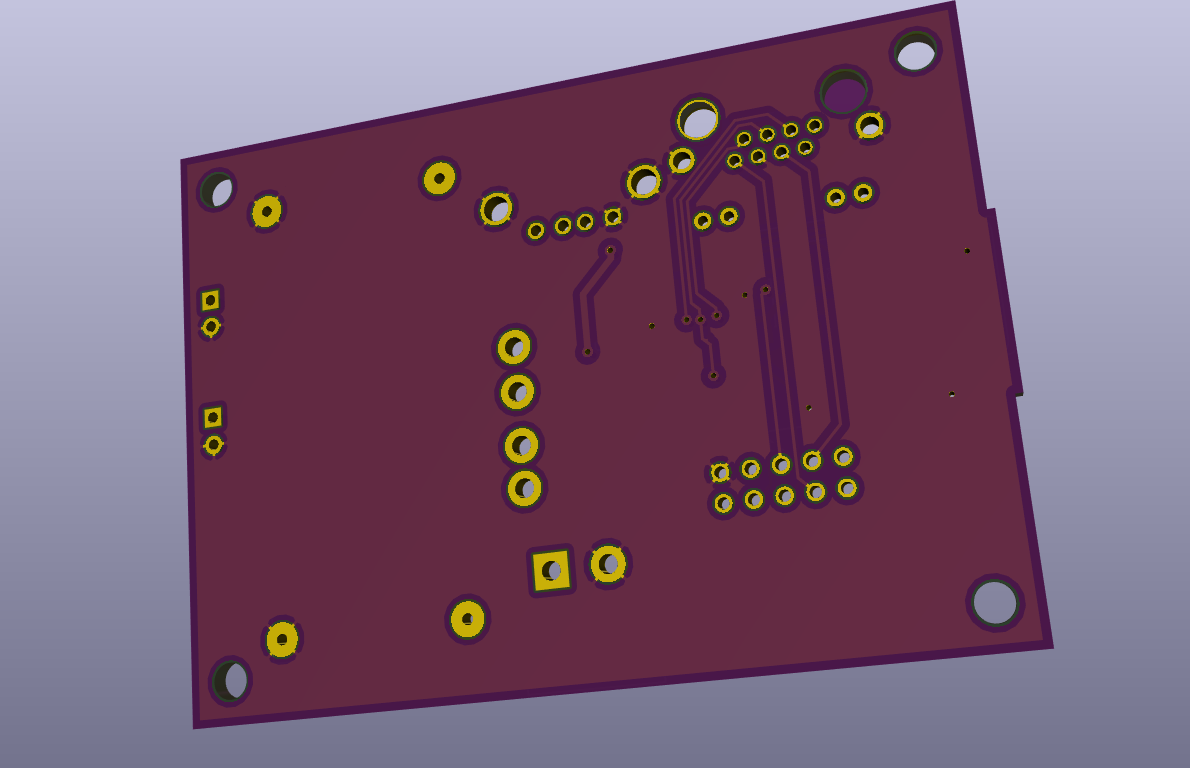
- Day 3: Edge Network Power Input Board
- Day 4: Evezor Stamp STMF405 MCU
- Day 5: B3 Test Board
- Day 6: Edge Development Board and Sidekick
- Day 7: Edge Board Servox16
- Day 8: Edge Board Weather Station
- Day 9: Edge Board Real Time Clock
- Day 10: Voltage Regulator Board
- Day 11: Edge Board 7 Segment Display
- Day 12: Edge Board Joypad
- Day 13: Edge Board Potentiometer Bar Graph
- Day 14: Edge Board Color Sensor Board
- Day 15: Edge Board Low Power Mosfet Board
- Day 16: Edge Board Numberpad
- Day 17: Edge Board 4x Relay
- Day 18: Edge Board Stack Light
- Day 19: Edge Board 5up Digital Input Board
- Day 20: Edge Board DRV8825 Stepper Motor Driver
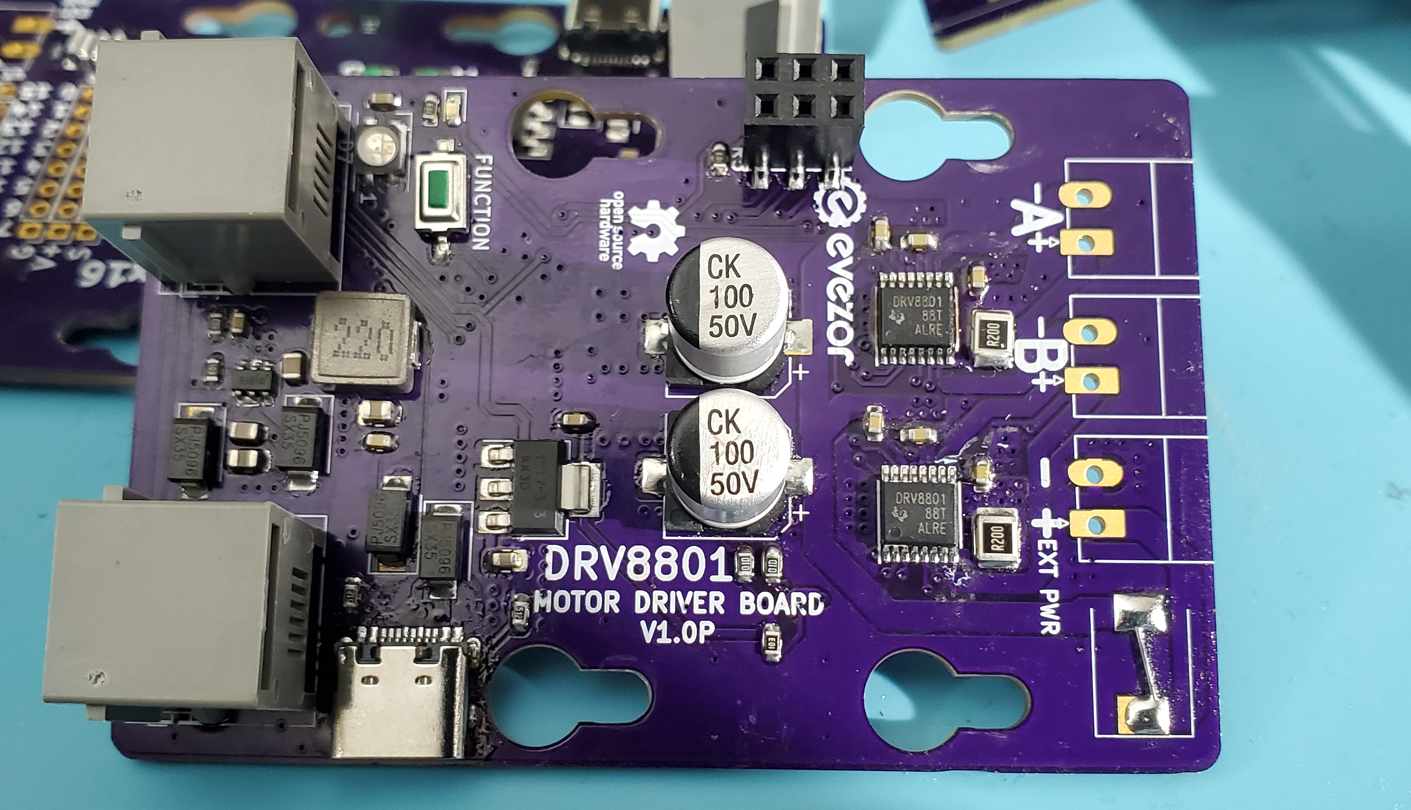
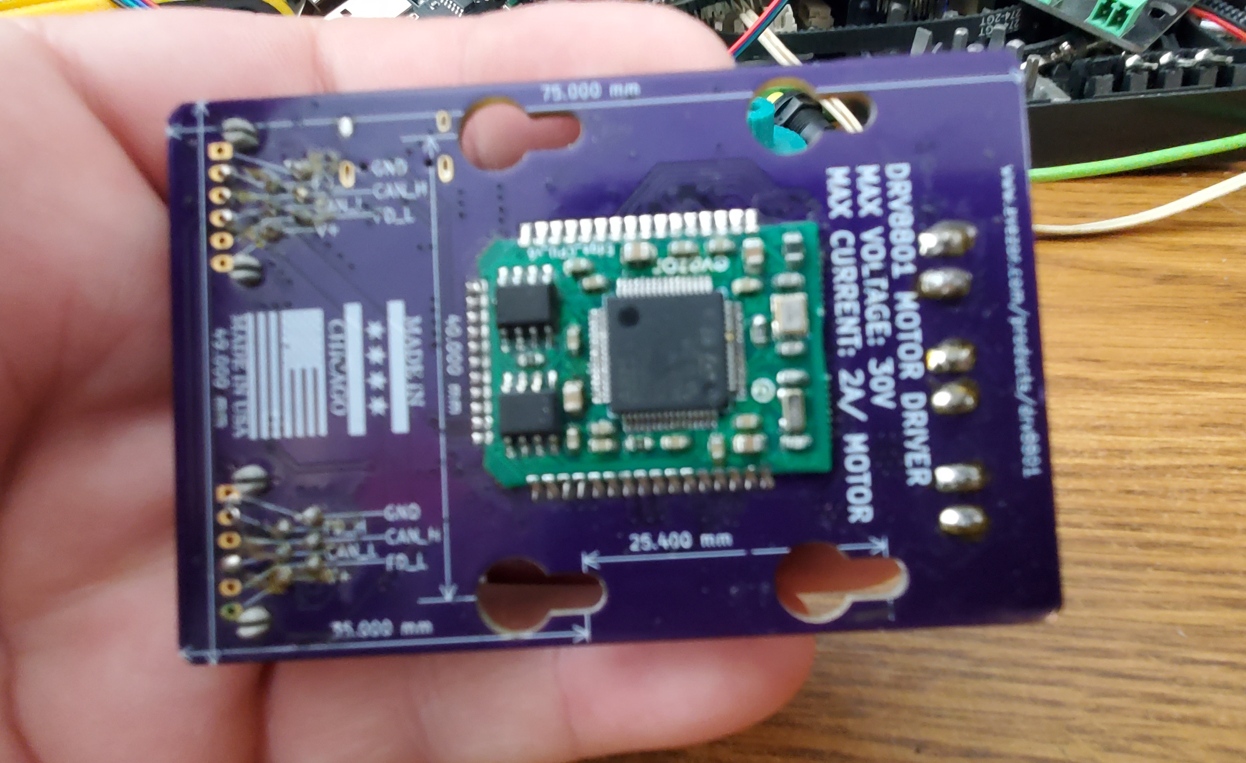
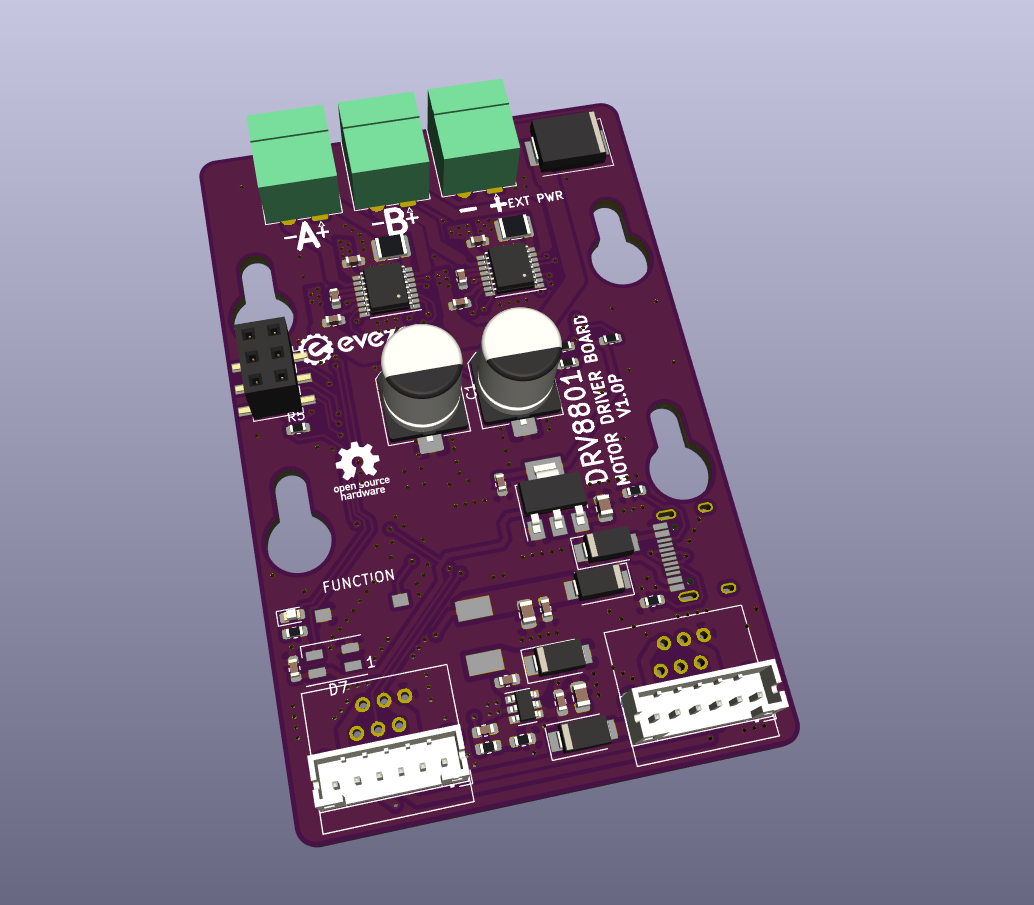
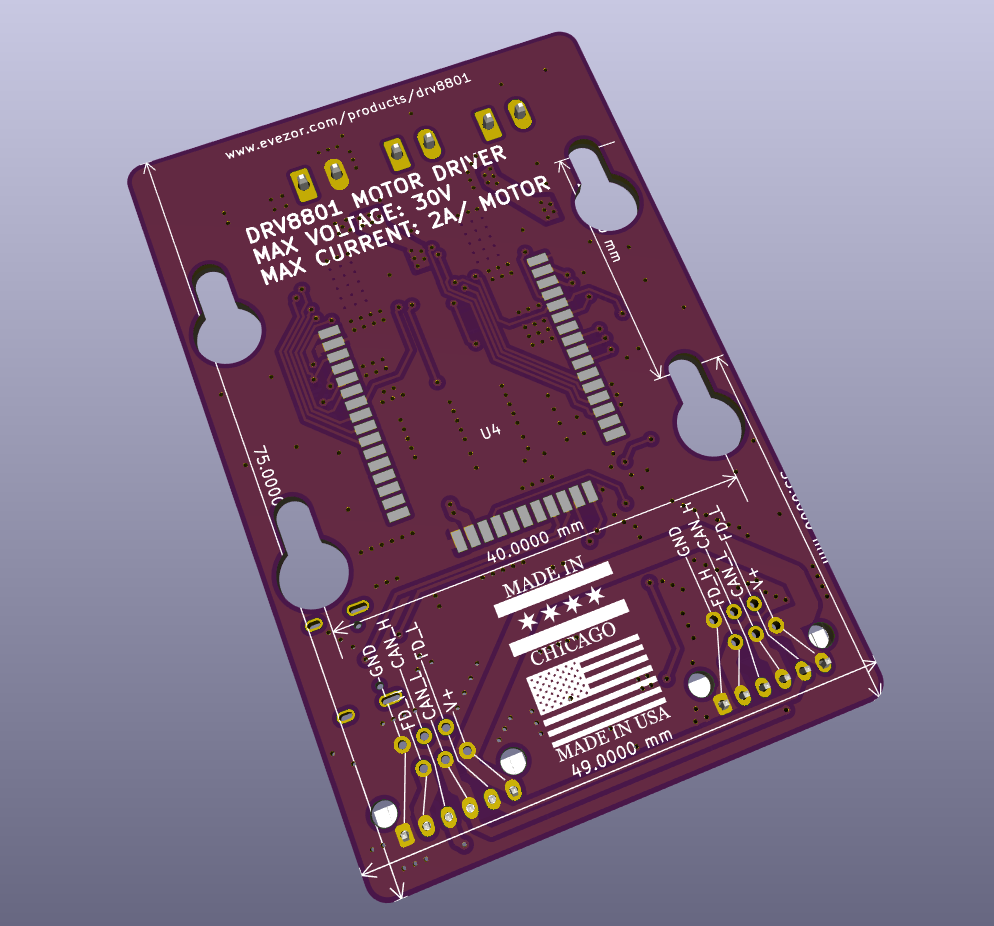
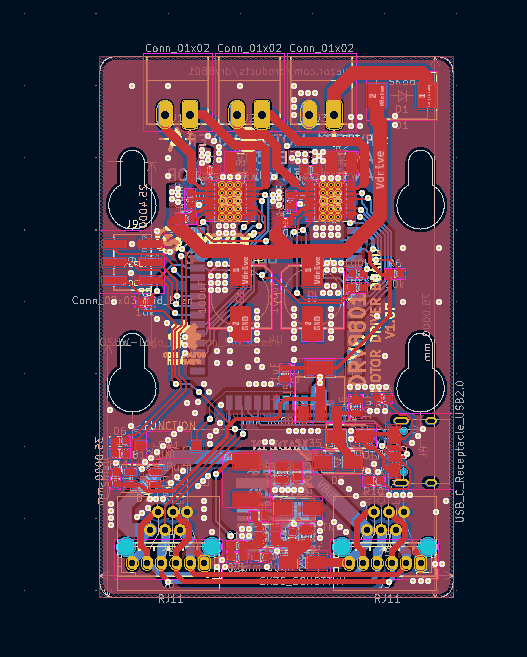
- Day 21: Edge Board DRV8801 Motor Driver
- Day 22: evezor_arm_v1_nano_sleeve_board
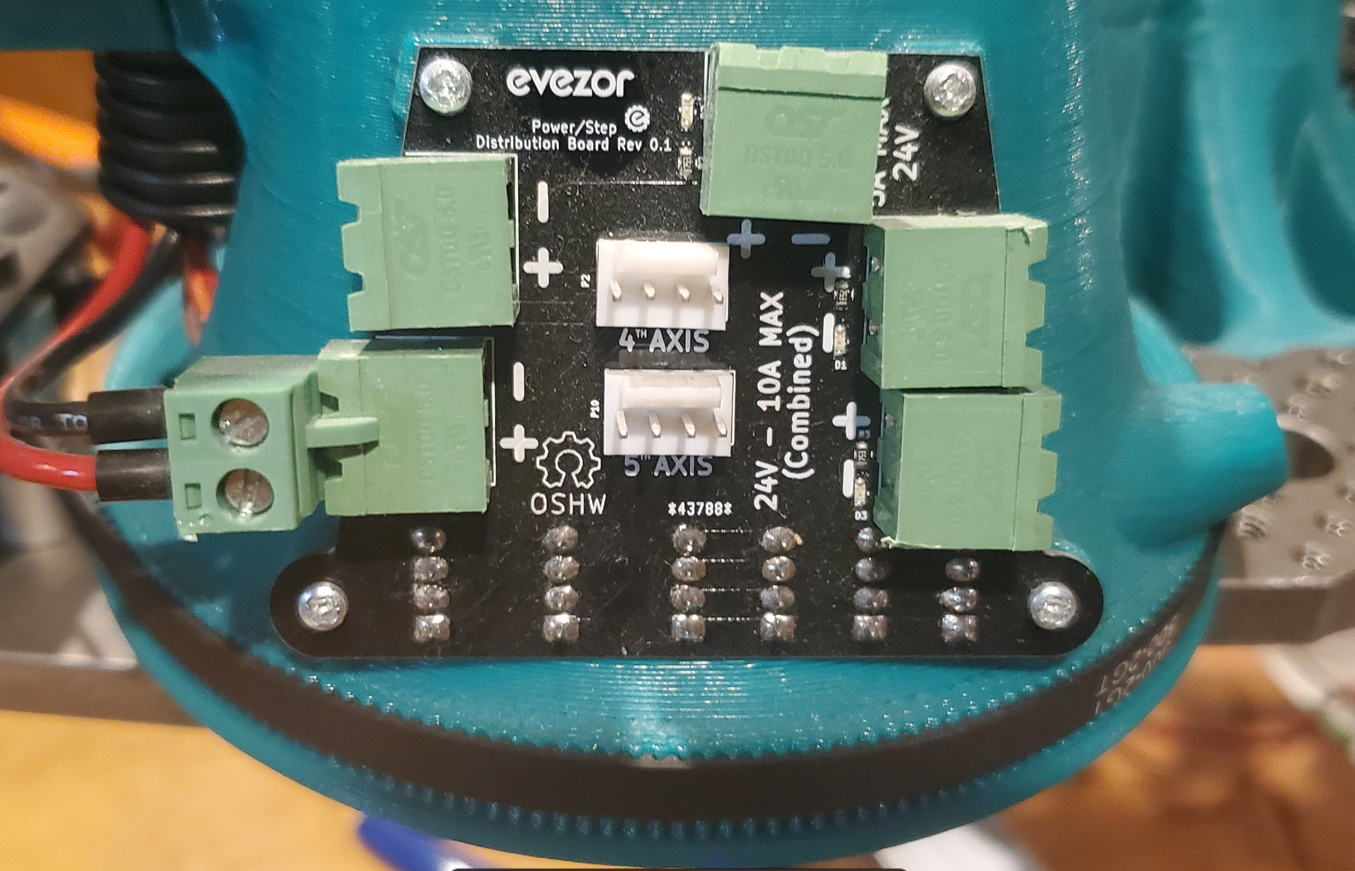
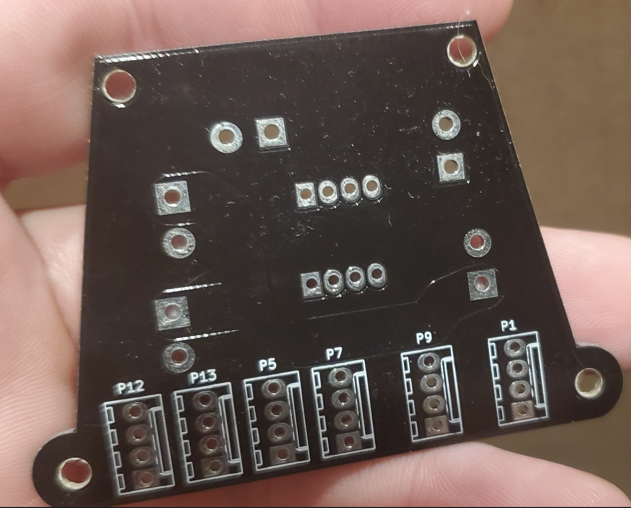
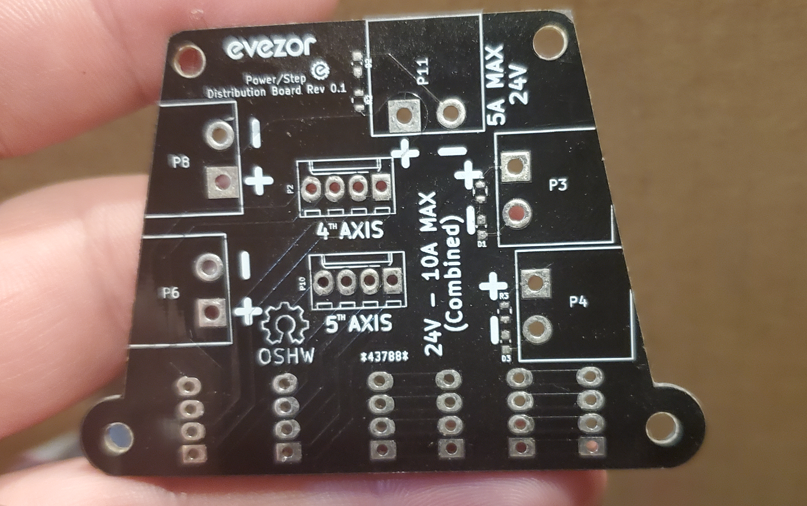
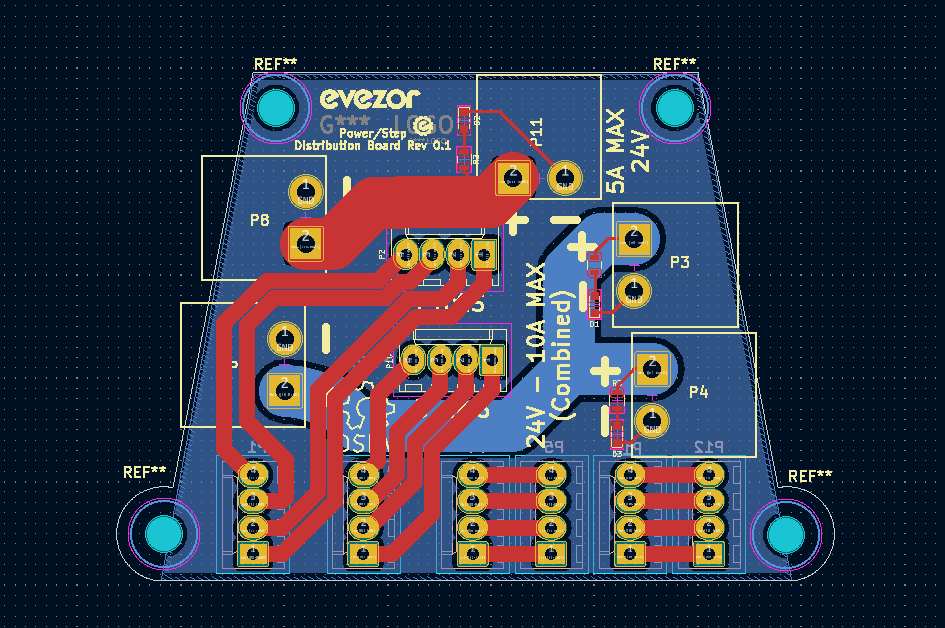
- Day 23: evezor_arm_v1_sleeve_powerstep_board
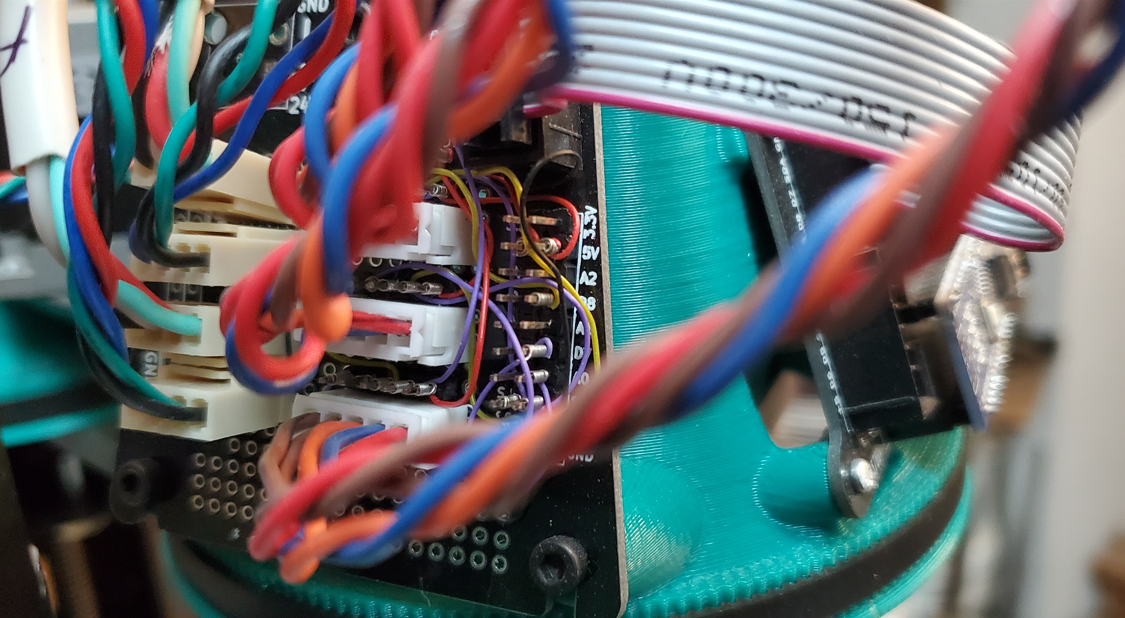
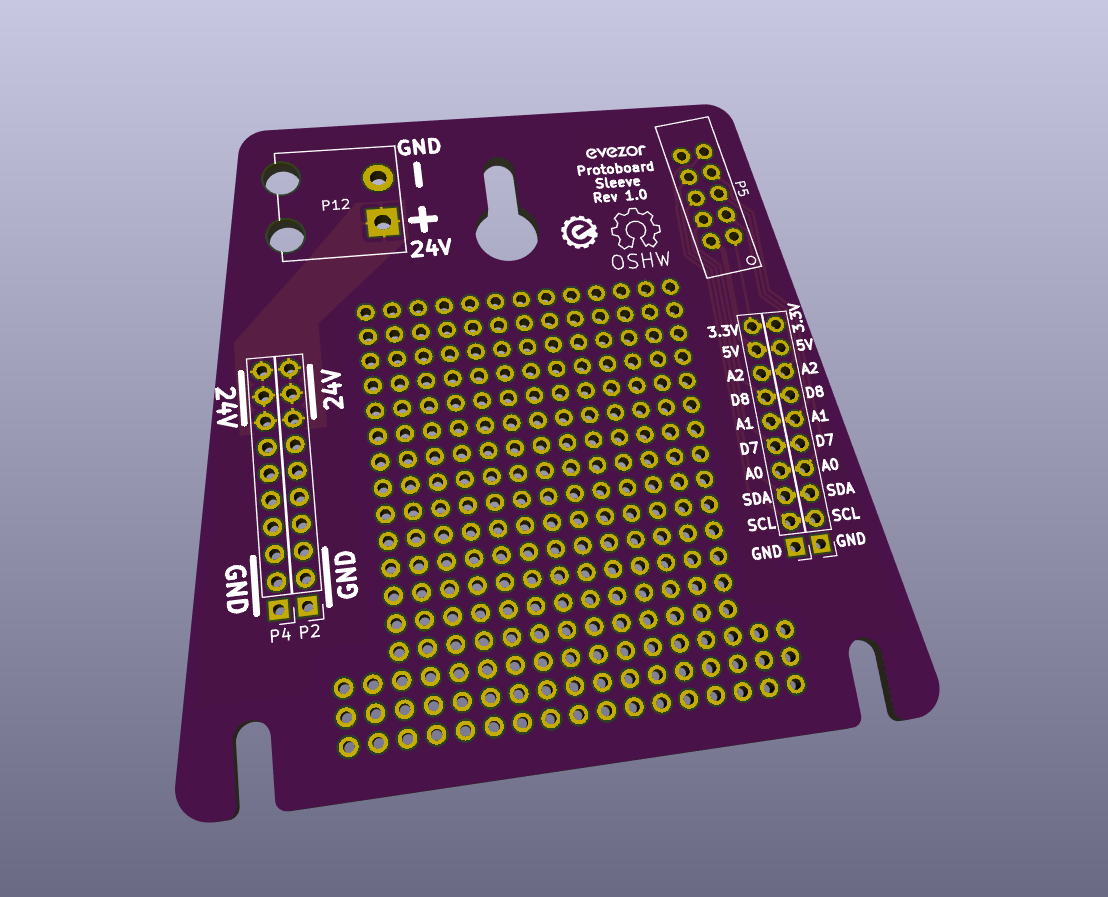
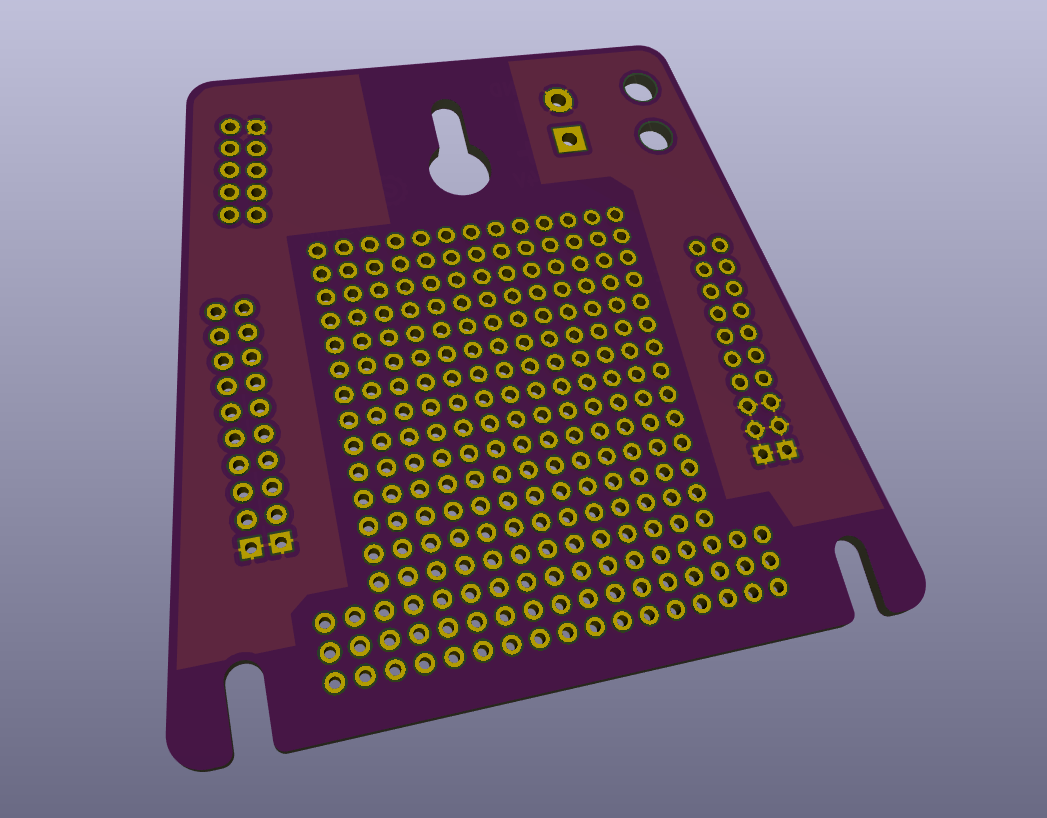
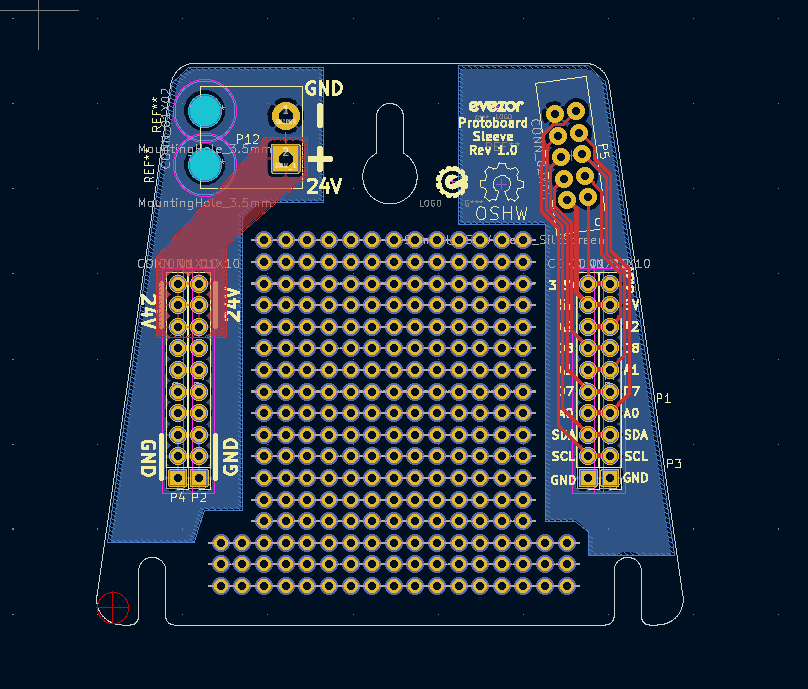
- Day 24: evezor_arm_v1_sleeve_protoboard
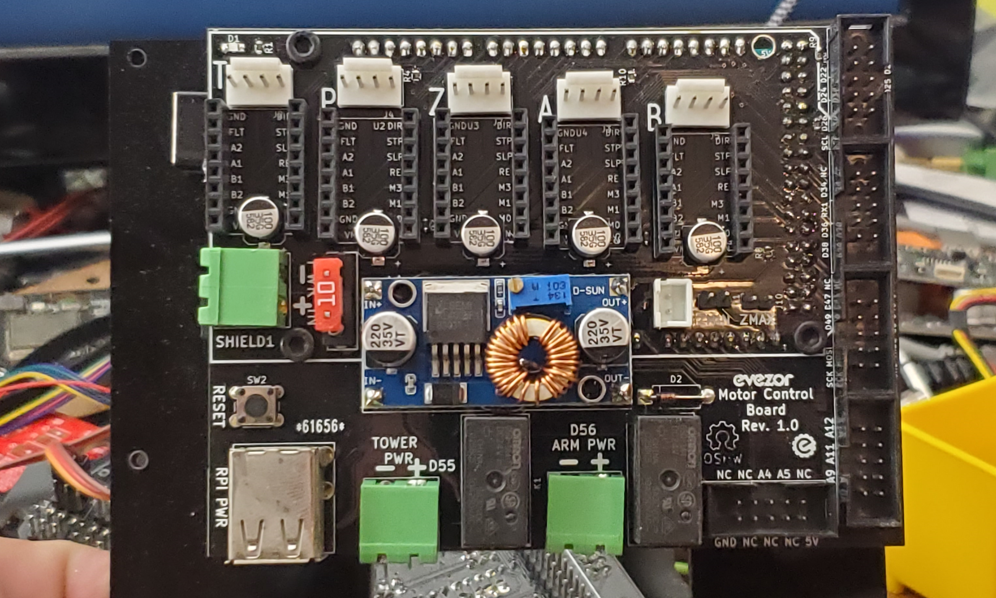
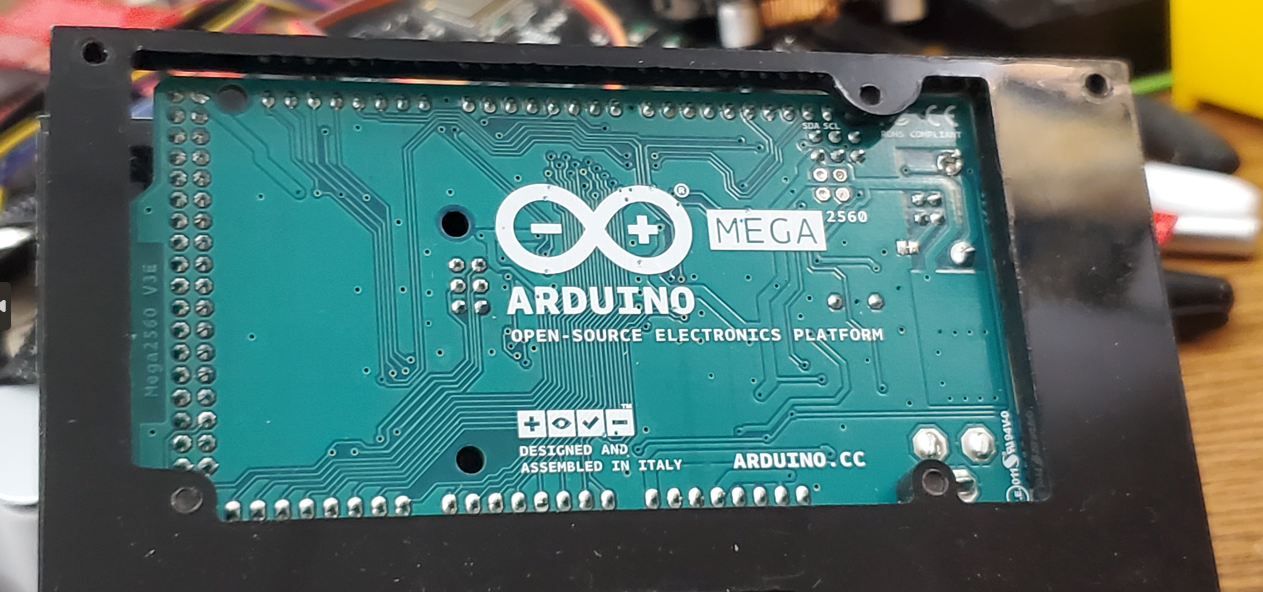
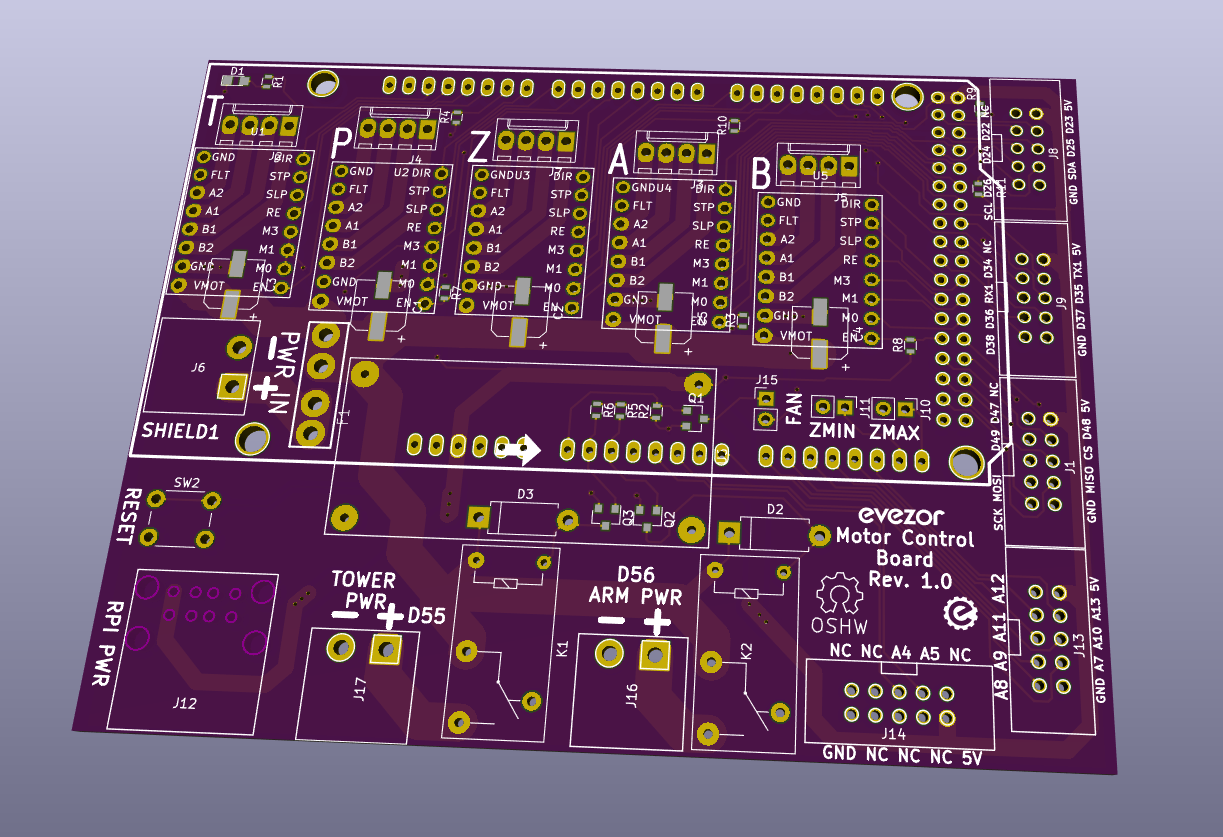
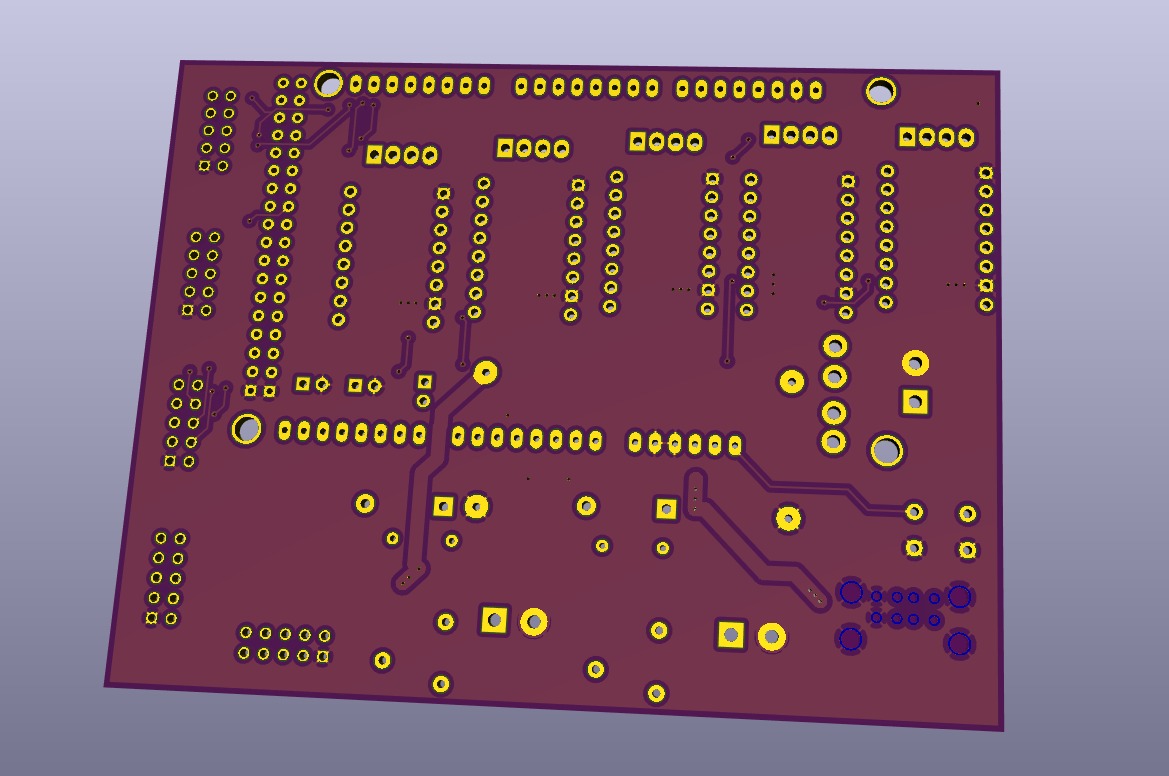
- Day 25: evezor_arm_v1_mainboard_v1
- Day 26: evezor_arm_v1_spi_power_board
- Day 27: evezor_arm_v1_mainboard_V2
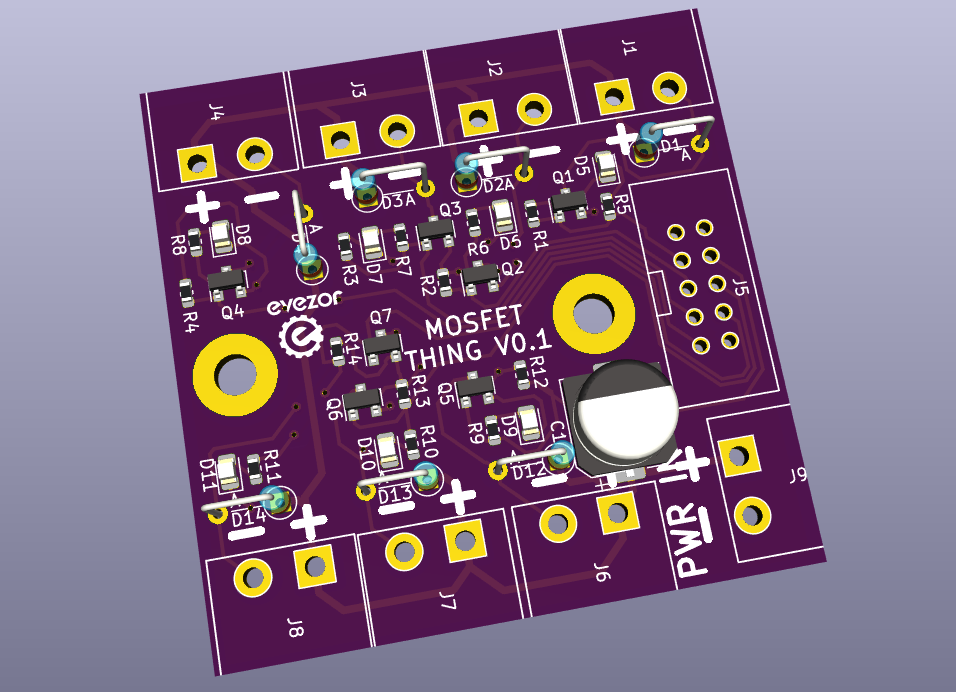
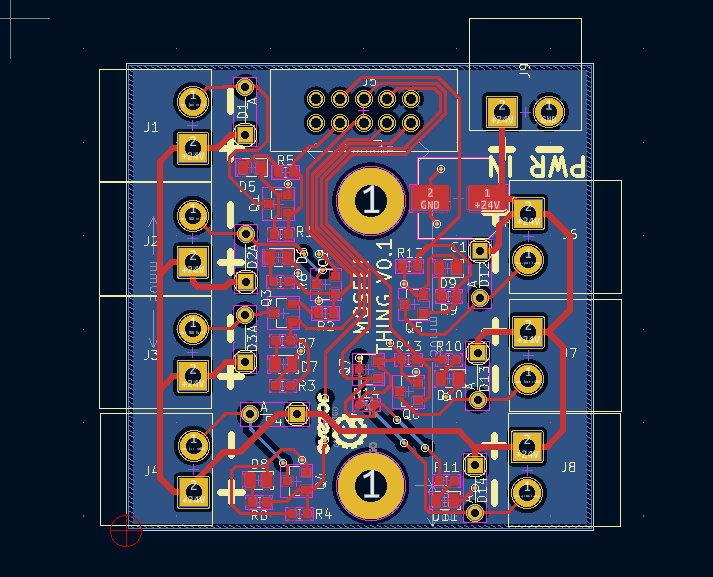
- Day 28: evezor_arm_v1_mosfet_thing
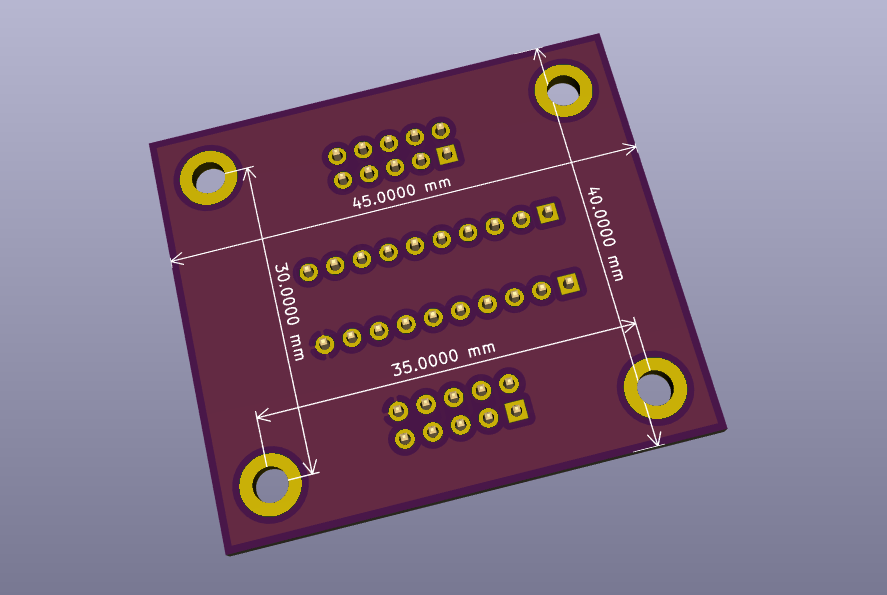
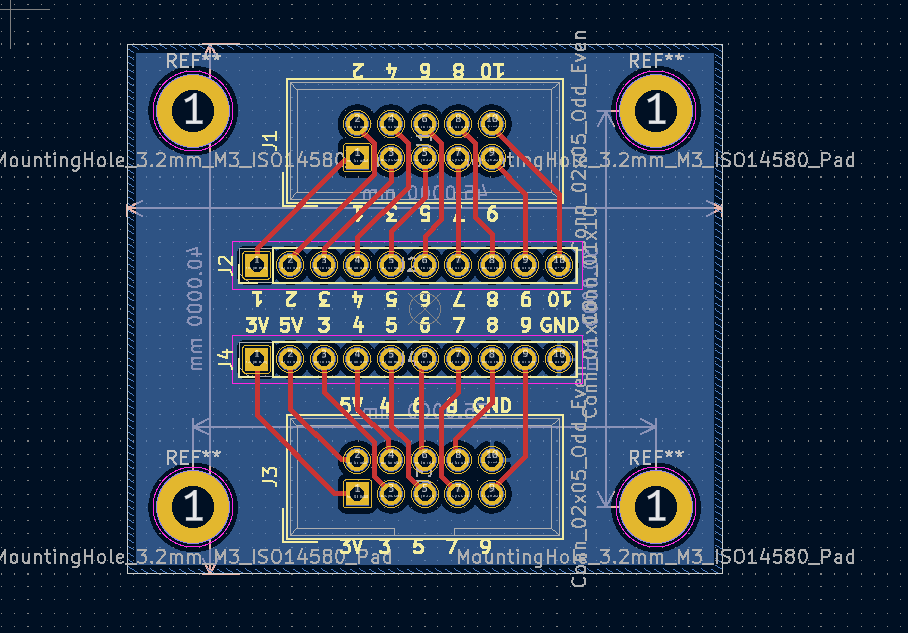
- Day 29: evezor_arm_v1_idc_regiggerer
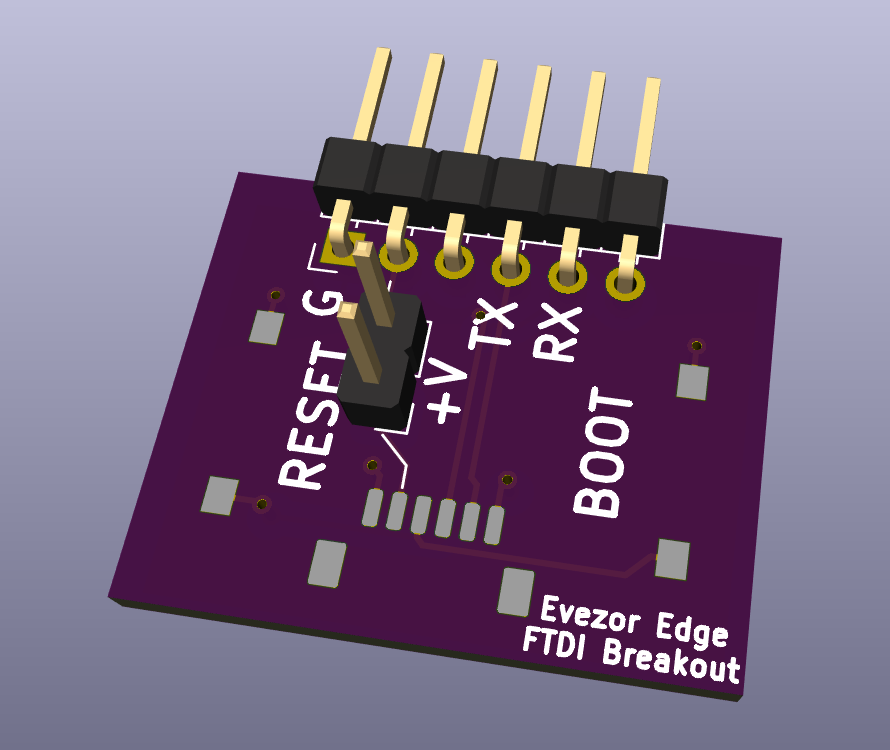
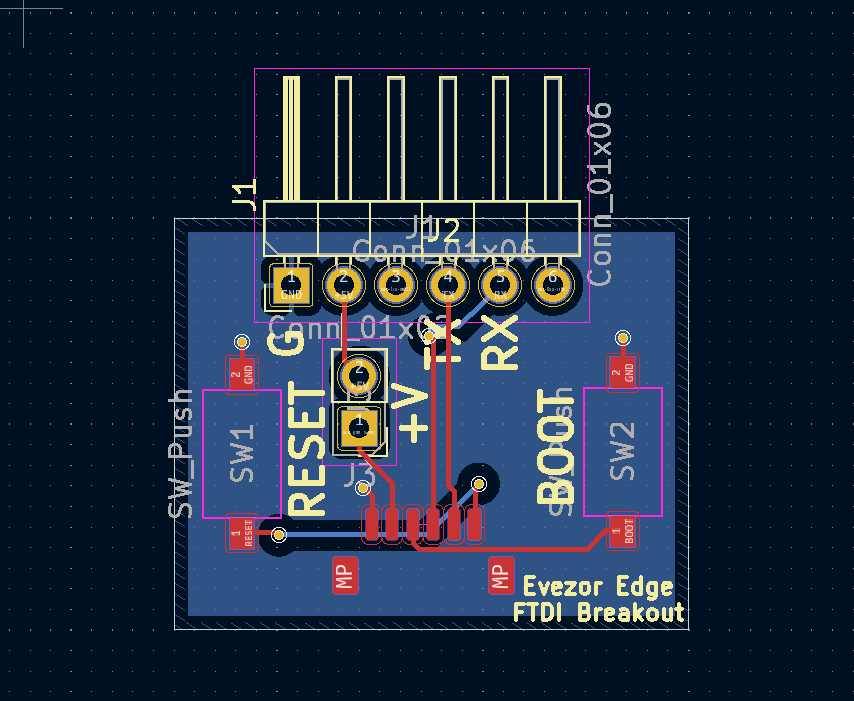
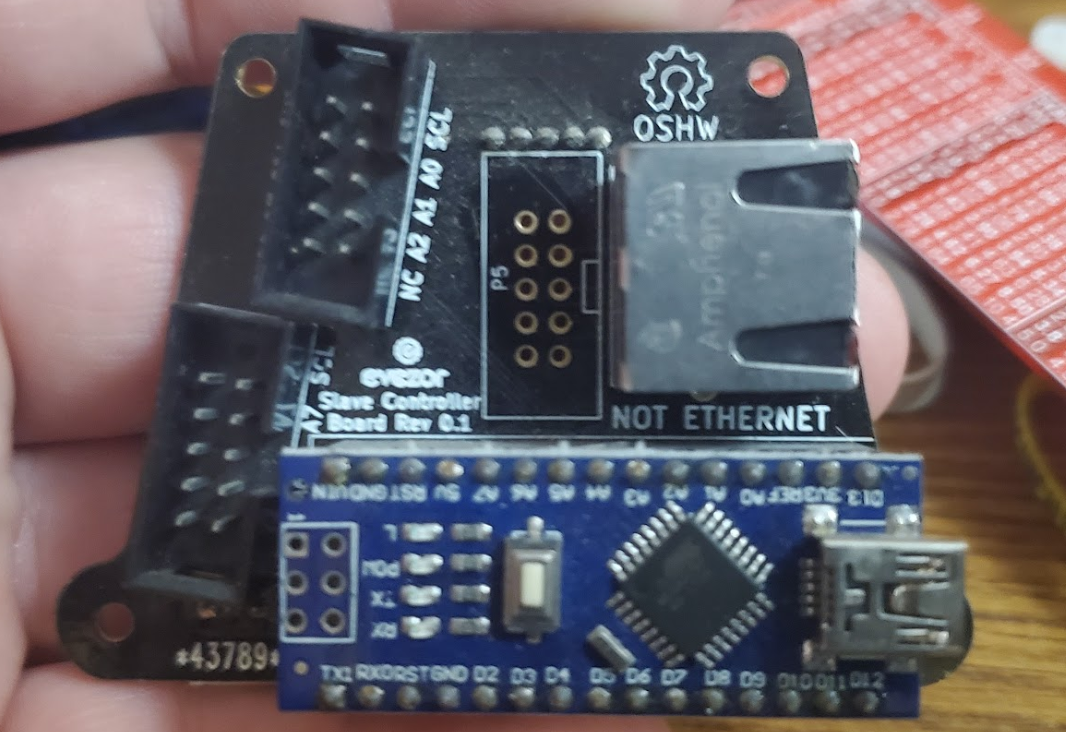
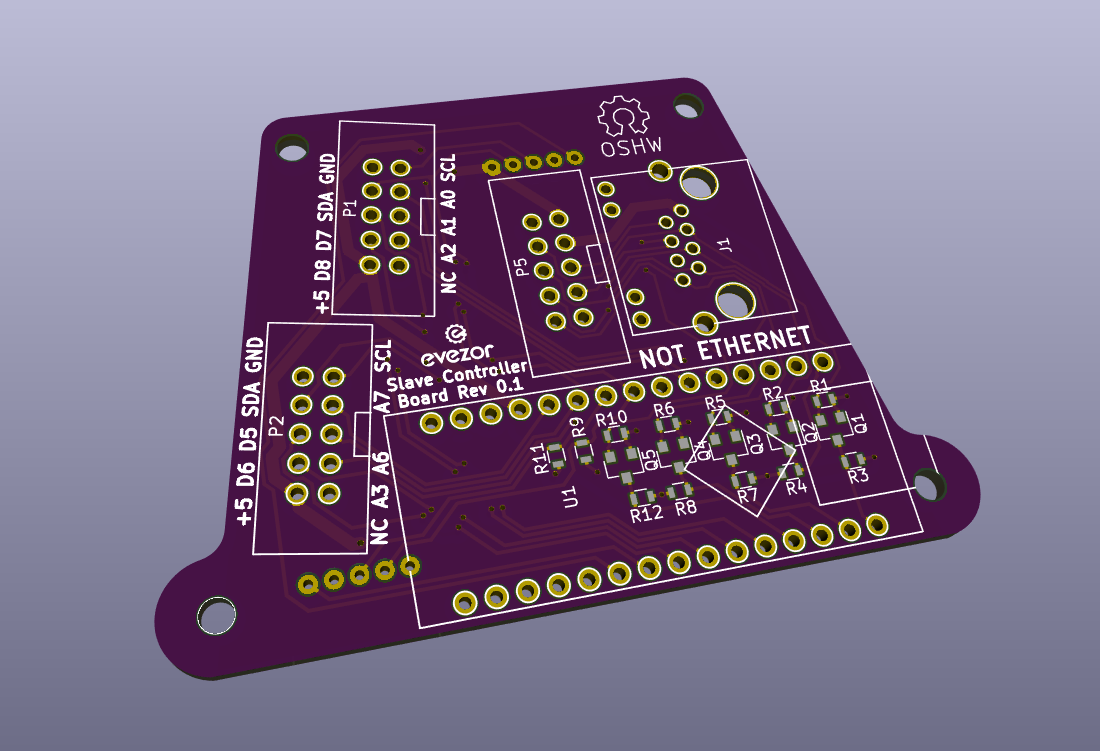
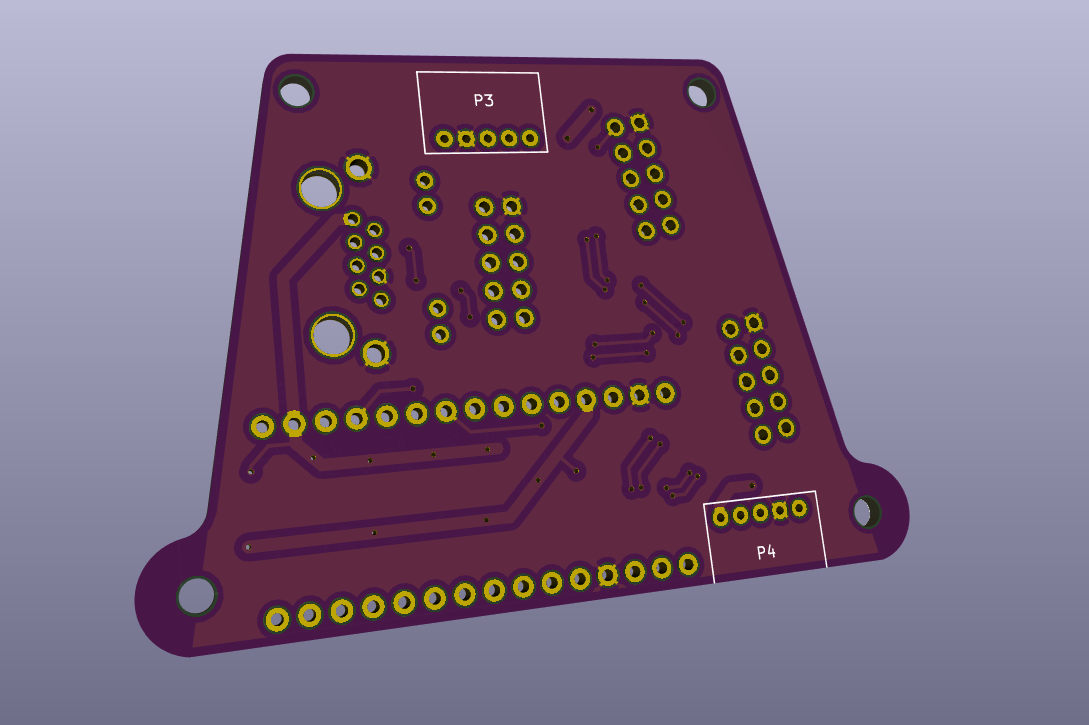
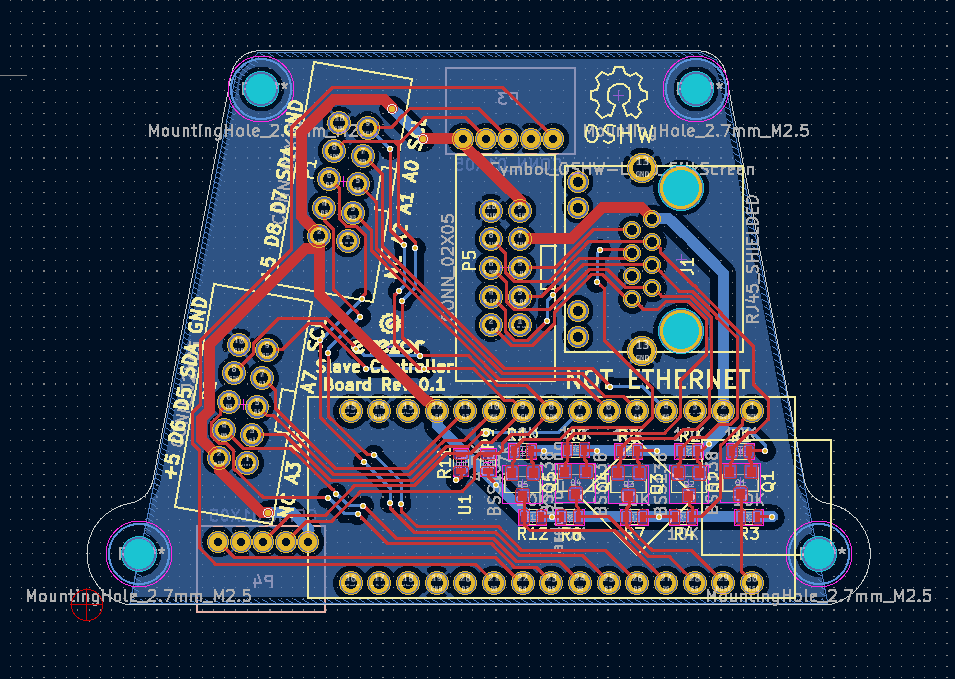
- Day 30: evezor_edgeboard_ftdi_breakout
- more tomorrow 10/16/23
I've got a ton coming so follow this to stay up to date


 Neven Boyanov
 drewrisinger
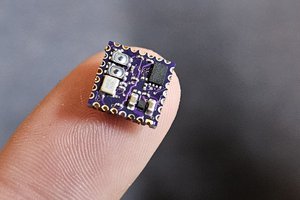
 Jon Thomasson
Is Elite Clothes Yellowstone the Ultimate Style Destination? Absolutely! Nestled in the heart of Montana's rugged wilderness, this boutique offers a distinctive blend of high-end fashion with a Western twist. From cozy flannels to exquisite leather boots, you'll find a curated selection of clothing that complements the rustic charm of Yellowstone National Park. Whether you're a seasoned outdoors enthusiast or simply seeking a touch of luxury in the wild, Elite Clothes Yellowstone has something to suit every adventurer's taste. So, why settle for ordinary when you can elevate your style against the backdrop of one of America's most iconic landscapes?
elite clothes yellowstone : https://elitejacket.com/collections/yellowstone-jackets-and-coats