Close
0%
0%

Star Trek TOS Picorder

Turning a toy "Star Trek" Tricorder into the real thing with a Raspberry Pi

Similar projects worth following
This project aims to upgrade a licensed toy replica of the tricorder from the original "Star Trek" series into a functional and undeniably stylish tool.

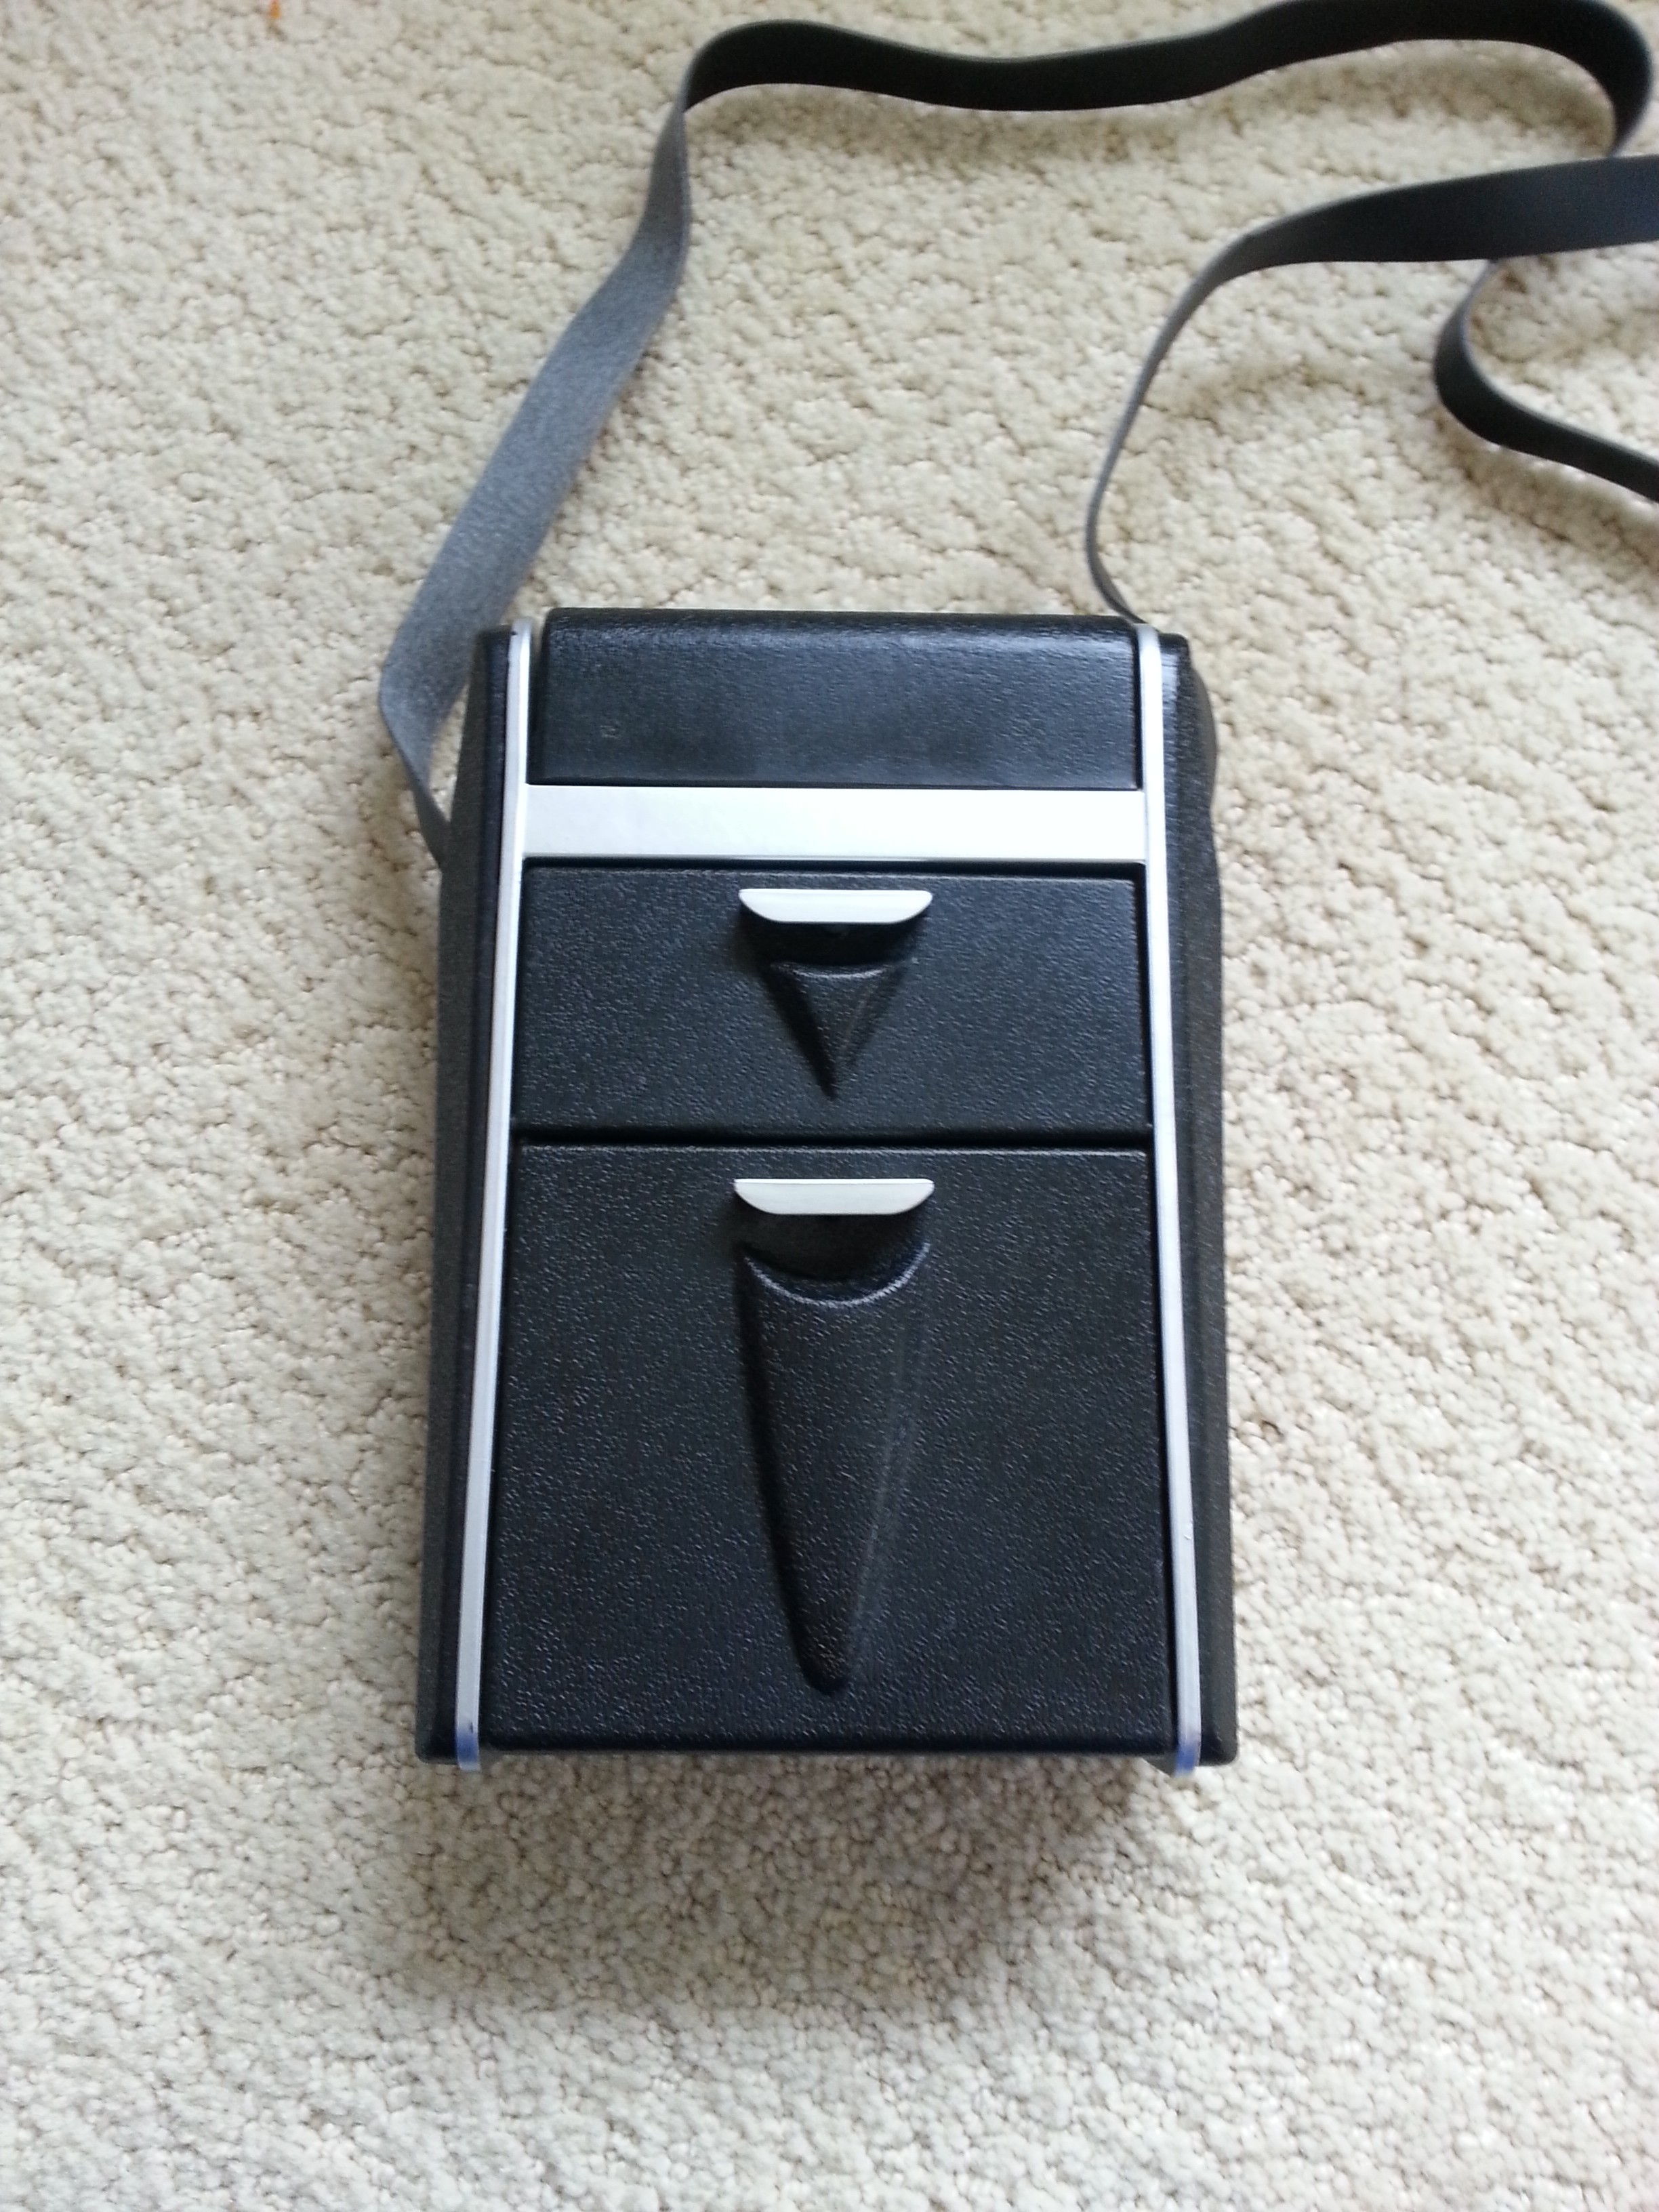
A few years ago, Diamond Select Toys/Art Asylum produced a line of licensed toy Star Trek (the original series) tricorders. They're generally regarded by fans as serviceable toy replicas of the original props.

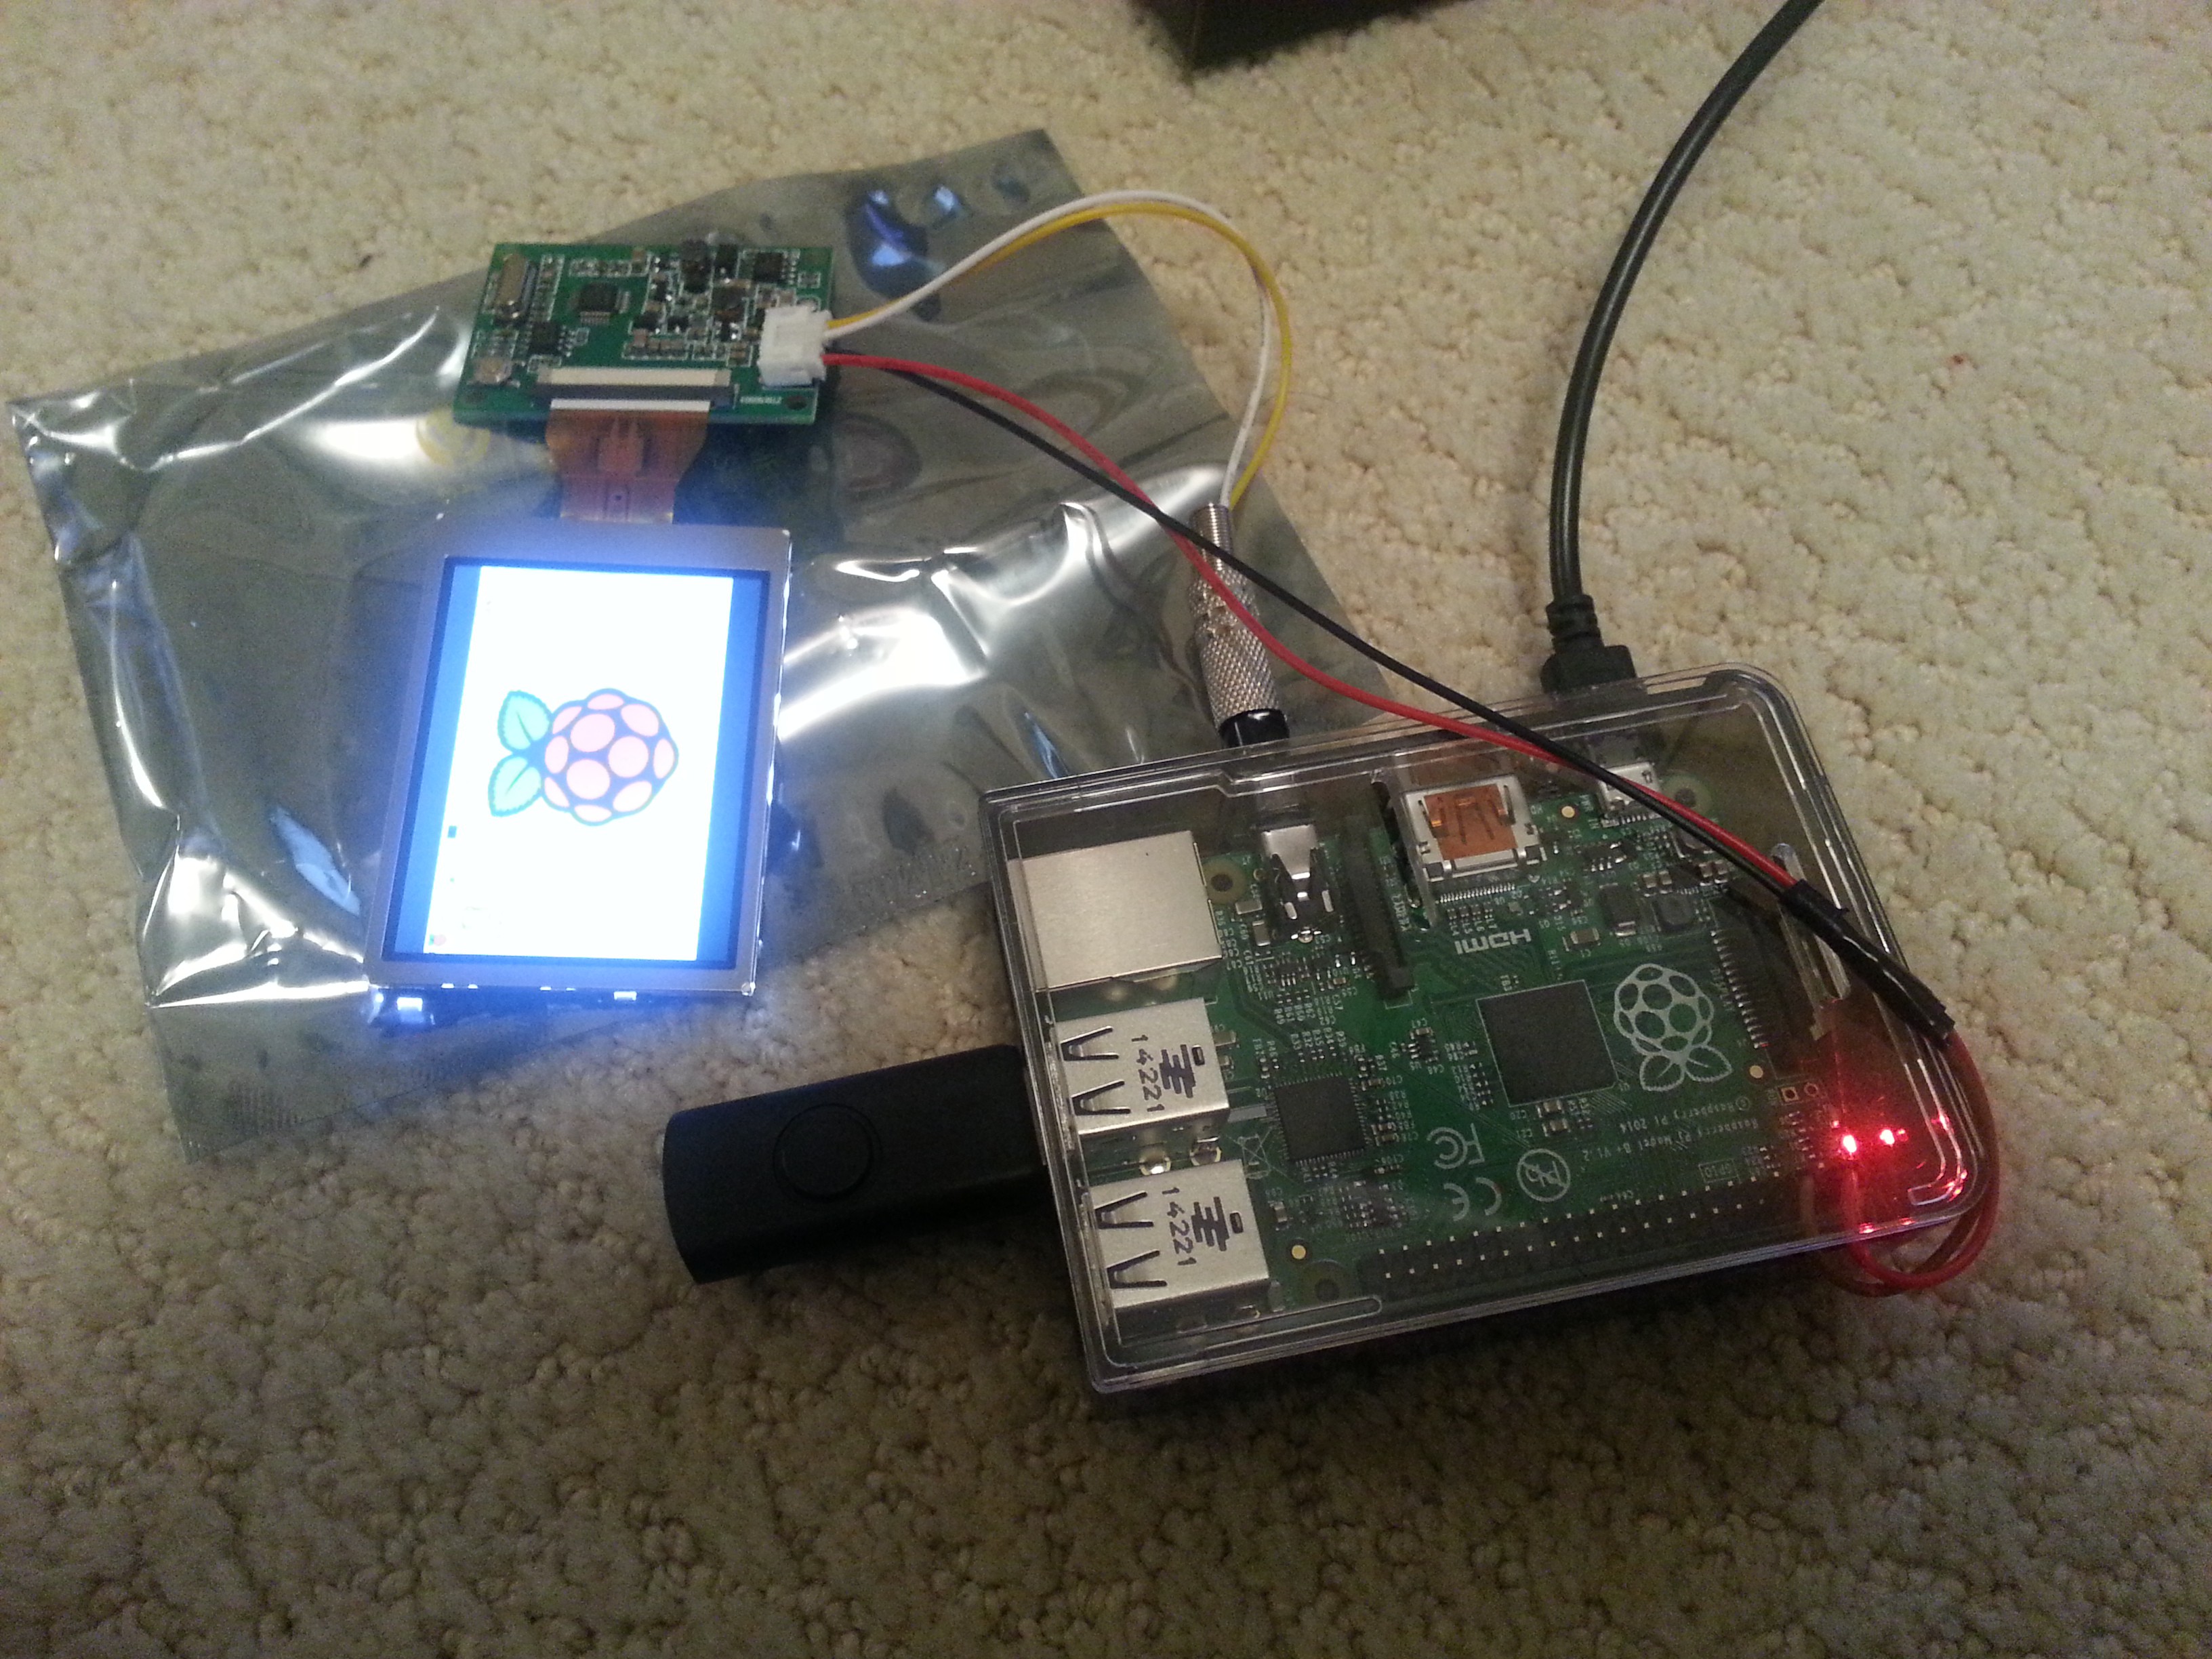
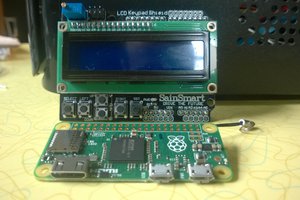
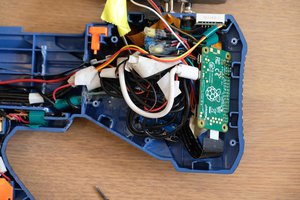
The simulated screen and stock lights and sounds just don't do it for me, though. I realized that if I strip out the toy's guts, I'd be left with an enclosure which would fit a Raspberry Pi and associated hardware to make a tricorder which actually displays my own animations and plays my choice of sounds. It could be made into really fun toy, not just a display piece which gathers dust on a shelf.

From there it was a short leap to realizing that, taking inspiration from the many functional tricorder-inspired projects here on Hackaday.io and elsewhere, I could also add actual working sensors. I could try to defictionalize this tricorder. I could make the best kind of prop replica: one that actually does in reality what it did in fiction.

I'm a hardware person, not a coder (or a doctor, dammit!) but in order to make this work I'm going to have to build those skills up a bit. I'd been wanting to do so anyway, and this is as good an excuse as any!

  • 1 × Diamond Select Toys Star Trek Geological Tricorder Model #OCT088176
  • 1 × Raspberry Pi 1 Model B+ You know it, you love it.
  • 1 × TFT Display - 2.5" Diagonal Adafruit product ID: 912

  • Hot stuff, and a hiatus

    Rob Vincent06/19/2015 at 04:00 0 comments

    Not much of an update, I'm afraid; I'm moving out of my apartment, so the goodies are packed away until I find a new place. Wish me luck! (And hey, if you know anyone renting out a room in New York City...)

    The one bit of additional info I do have to report comes from before I had to pack up my workbench: upon running this for any extended length of time, the screen gets hotter and hotter until it goes out. I'll have to address this somehow; either finding a way to run the screen on less power, and/or heat-sinking it somehow.

    I look forward to being able to work on this again; rest assured, this is not abandoned. I will pick it up again ASAP, I will finish it, and it will be awesome.

  • Pi time!

    Rob Vincent04/29/2015 at 06:47 3 comments

    Now that we've disassembled the toy tricorder, and my Adafruit order has arrived, we're going to have to do some modding to what's left of the tricorder to fit the hardware we want to cram into it.

    Let's take a closer look at said hardware.

    • Raspberry Pi Model B+ - I chose the B+ over the more powerful Pi 2. I don't think I'm going to be pushing this gadget to do multi-core-level work, but we still get the extra GPIO pins and improved power-efficiency. While my primary goal is just to get a Pi running in the tricorder shell, I think if we do end up adding sensors to this, we'll need all the pins and battery power we can get.
    • 2.5" diagonal TFT television - The find that put me over the edge toward finally starting this project, after having it in the back of my mind for a long time, was this screen which happens to be just about the same size as the simulated screen in the toy. I knew it'd be a distinct possibility of fitting this perfectly in place of the toy's screen. Plus, though this is specced at a 6V minimum, it seems to do just fine connected to the Pi's 5V pin.
    • Misc - I have a cellphone recharger I'll be using as a battery, and a wireless handheld keyboard/mouse combo.

    Here's the hardware connected up and running. The USB dongle you see is the receiver for the keyboard.

    Read more »

  • Toy Tricorder breakdown

    Rob Vincent04/29/2015 at 04:42 0 comments

    Let's pull this toy apart! Read more »

  • Starting out

    Rob Vincent04/25/2015 at 02:16 0 comments

    At the moment, the one component for this project I have handy is the toy tricorder itself.

    Read more »

View all 4 project logs

Enjoy this project?

Share

Discussions

Brian Ross wrote 05/20/2017 at 23:37 point

i just found this and I'm quite happy because I just started this same project with my son 2 weeks ago. 

The hardware seems pretty straight forward but I'm not looking forward to the programming. My 12yo son says he thinks he can do it... But we'll see. 

I hope to learn a lot from your project!

  Are you sure? yes | no

marcovalleggi wrote 05/05/2015 at 23:41 point

  Are you sure? yes | no

Rob Vincent wrote 05/06/2015 at 00:50 point

Excellent!  Very nicely done.  I've added your project to the inspirational links on this one, thank you for sharing!

  Are you sure? yes | no

Hans de Bruin wrote 05/04/2015 at 09:26 point

Recently I found a really nice LCD-screen which fits perfectly on the new Rpi. It connects directly to the SPI pins and that gives a better screen than composite-out.

http://www.aliexpress.com/item/Free-shipping-LCD-module-Pi-TFT-3-5-inch-320-480-Touchscreen-Display-Module-TFT-for/32233093666.html

If you combine it with a acryllic case you have really small touchscreen pc!

http://www.aliexpress.com/item/Free-shipping-Raspberry-Pi-512-rev3-RPI3-Box-case-shell-generation-B-acrylic-shell-latest-box/32249379314.html

  Are you sure? yes | no

Starhawk wrote 05/01/2015 at 19:29 point

Very cool :) one skull for you!

  Are you sure? yes | no

Leonard wrote 04/30/2015 at 00:20 point

lol, this is great! i'm going to follow it to the end! :)

  Are you sure? yes | no

Similar Projects

Does this project spark your interest?

Become a member to follow this project and never miss any updates