Close
0%
0%

meinEnigma

A electronic enigma replica

Similar projects worth following
The original Enigma machine is the german crypto machine used during WWII to keep the military communication safe. While it is hard to figure out the decrypted text hard working people mostly at Bletchley park (taking over from the Polish) and lazy operators made it possible for the allied to read most of the encrypted messages.

This project - meinEnigma - is the name of an enigma replica that (the final version) physically look similar to the real one. It will be some PCBs for all the electronics and a metal box to put it all in.

The intent is that setting it up and using it will be as close as economically possible to the real enigma as far as look and function goes.
It currently does have fully functional keyboard, rotors and physical plugboard. it can emulate 3 and 4 rotor enigmas, more are planned as time and program space is available.
It has a serial interface that can be used to configure everything.
The intent is that it will be open-source and fully hackable.

Quick list of features

  • Capable of emulate M3 or M4 rotor machines (Army/Navy/Air Force/Submarine) as well as some other models.
  • All rotors and reflectors of each model (up to 8 for one model)
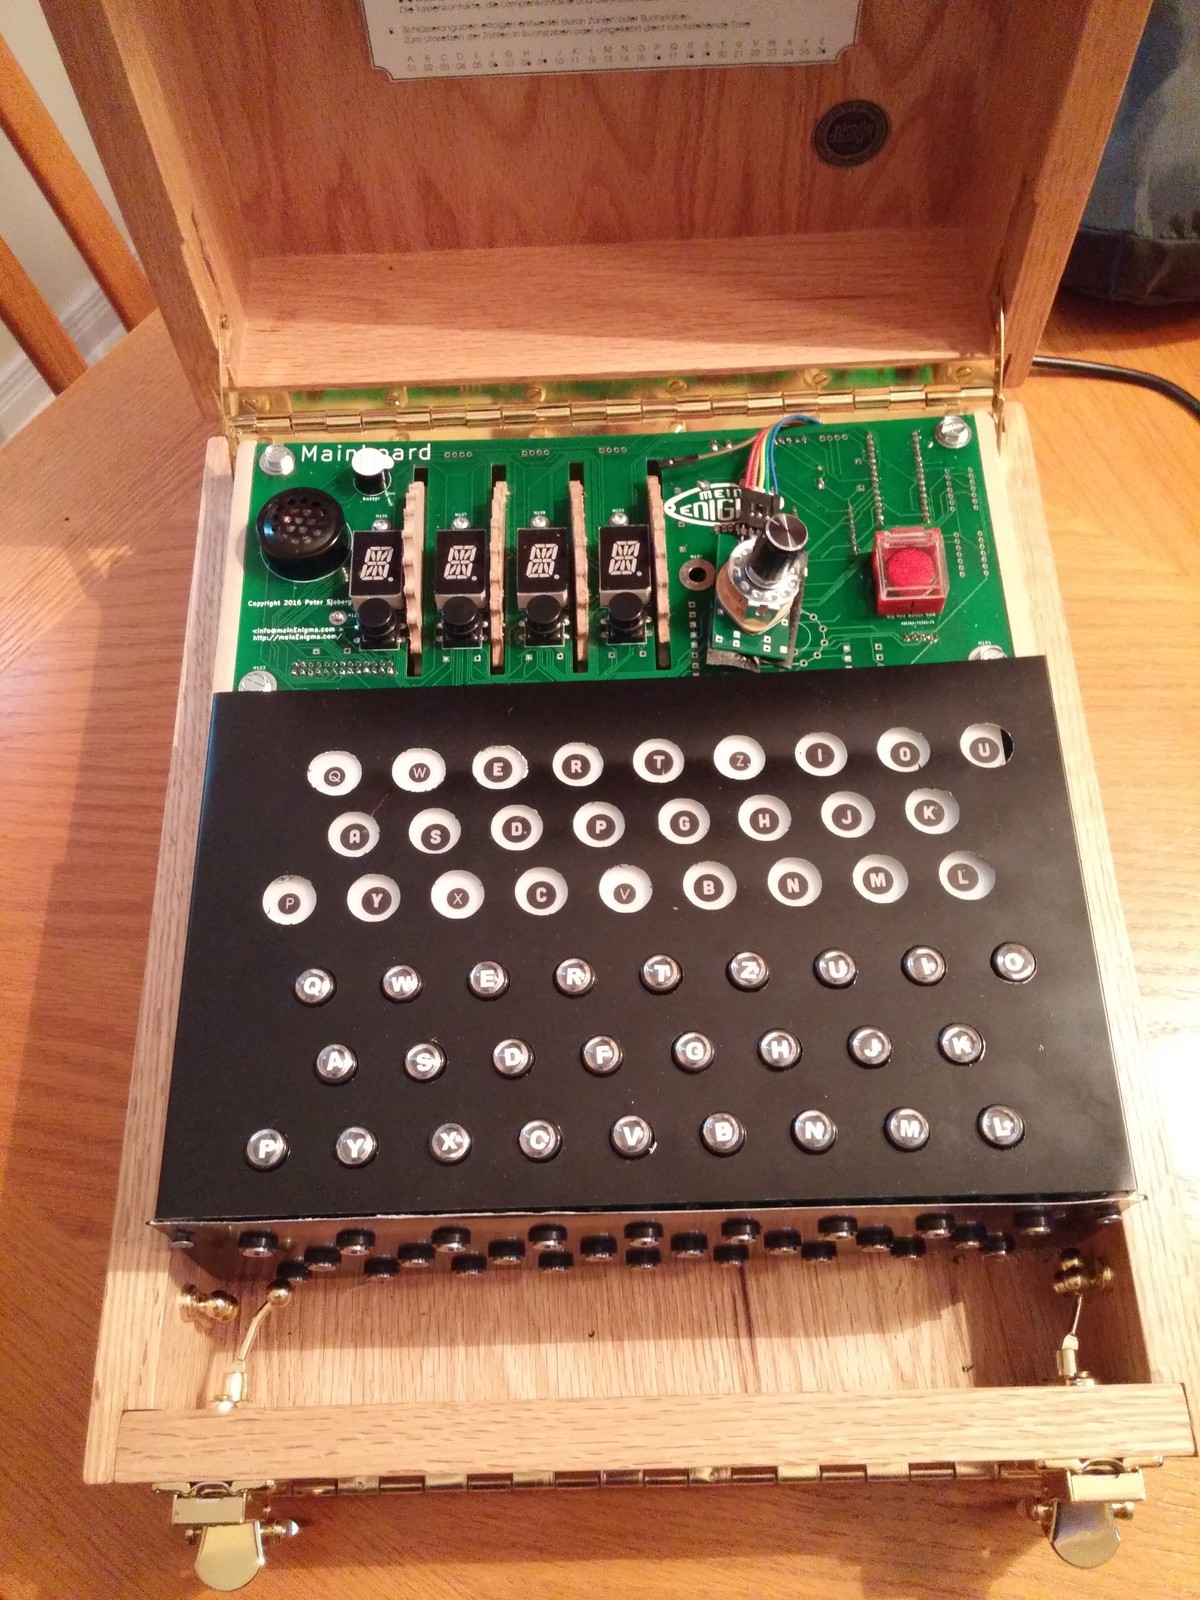
  • Ring settings are fully implemented. You turn the rotor until the decimal point lights up on the display (just like the red arrow on the real one), then you press the button under the rotor (release the latch) and turn the rotor to the setting you need and release the button (latch).
  • Double Stepping fully implemented including the exception case to doublestepping.
  • When you select a specific model you only have the rotors/reflectors actually available to that model to play with - no extra rotors that didn't come with the model you selected.
  • Alphanumeric display for rotors
  • Rotors almost fully functional, move them up or down and the letter change. When entering text the display changes to next rotor position.
  • Fully functional physical plugboard
  • Possible to use a virtual plugboard
  • Machine settings saved whenever you turn it off.
  • 14 user configurable presets (plus 0 which is whatever it was last time you turned it off.)
  • First 4 presets (1-4) are easily accessible by pressing the button under wheel 1/2/3 or 4 when turning it on.
  • Fully functional serial communication over USB port. You can do all of the key configuration over serial port as well as enter text and see the decrypted text.
  • Possible to save or recall presets over USB serial port
  • Prints messages on USB serial port if needed for printing or cut and paste into email.
  • Possible to set verbose mode over USB serial interface to demonstrate the enciphering process while in action (turned off by default).
  • odometer to keep a count of how many characters that been encrypted
  • Possible to have morse code when typing messages
  • Real time clock to show current time on the rotors when not used.
  • (possible planned option) UHR box addon
  • Free firmware upgrades downloadable from web.


Kit version:

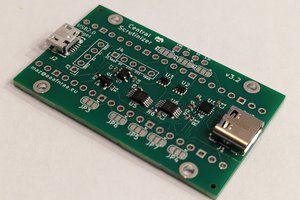
  • Comes with PCB and (optionally) components
  • Includes schematics and sourcecode for firmware
  • PCB dimension same as real enigma within 2mm in regards to spacing between keys, lamps and plugboard jacks.
  • Plugboard comes with two holes for each contact but only one is required, the other one is for someone who want it to look more authentic.
  • Fully hackable, schematics included.

LampAndKeyboardtest.ino

Simple test program for keyboard and lamps

ino - 3.03 kB - 05/23/2016 at 23:45

Download

  • 1 × Arduino Nano main processor
  • 1 × holtek ht16k33 used to control all lights and the keyboard
  • 2 × MCP23017 port expander for the plugboard
  • 4 × alphanumeric digits what the "rotors" shows
  • 4 × rotary pulse encoder, similar to KY-040 but a shorter shaft is needed input for the rotors

View all 18 components

  • Status update 2017-07-12

    lpaseen07/13/2017 at 03:43 1 comment

    I know it takes forever but writing good doc, keeping things like website and stuff up2date plus have a family doesn't give much time left for this. However I now have 4 complete kits except for documentation and the doc is maybe 90% done so I plan on having it ready within a month.
    Once the first 4 kits are gone I will order more PCBs and then about 20 kits will be ready soon after.

  • Status update 2016-11-07

    lpaseen11/07/2016 at 20:56 0 comments

    Have had a few requests./questions about buying the kit and that makes me wonder how many that didn't bother sending email to ask.
    Current status of the kit is that all components for a few early bird kits exist, missing is documentation. While you could possible assemble it without doc (component values are on the boards) I don't like to release a half baked kit just to get it out fast so some doc is needed first.

    I had hoped for more discussions around it in this forum but besides how the buttons where maid it been nothing here and that is a bit disappointing to me, lets hope it pick up a little once some kits are sold.

  • Makerfair Ottawa 2016

    lpaseen10/17/2016 at 13:35 0 comments

    Did present it on makerfair ottawa and had great response there.

    Now we just need to get the documentation finished and then the kit is ready.

  • Almost there

    lpaseen09/03/2016 at 18:58 0 comments

    Got all boards and assembled them as the first complete unit. Did find some issues but nothing catastrophic, more of annoying issues.

    It's now time to put all kit parts in bags, label them and so on. Once done I should have enough to make 5 complete kits.

  • pcb batch #2 ordered

    lpaseen08/16/2016 at 02:15 0 comments

    I have now ordered a second batch of PCB, this time all boards needed. I have also ordered parts enough to put together a few kits so in about 2 weeks I hope to begin assembly of the first meinEnigma.

    I have uploaded some pictures to http://meinEnigma.com/gallery that shows the rendering of the boards.

  • Lamp and keyboard test finished

    lpaseen05/23/2016 at 20:01 0 comments

    Finished testing of the Lamp and Keyboard PCB, did find some issues but nothing to big.

    Plugboard testing will have to wait a little because the plugboard is for narrow version of the mcp23017 and I have E/SO which is the wide version so it doesn't fit on the PBC. I have ordered new mcp23017 E/SS (=narrow) and once they come I can put them on the board and test them. However - since the wide version of the chip is way more common I changed the footprint on the plugboard so it will take the wide (E/SO) version as of next batch.

    While waiting for the chip to arrive I'm going to finalize the main board and start working on a box to put it all in.

  • Two boards arrived

    lpaseen05/22/2016 at 18:05 0 comments

    Two boards arrived and I have now started to populate them. No huge issues found so far but I will have to do another batch with some minor things corrected.

  • Two boards ordered

    lpaseen05/10/2016 at 02:25 0 comments

    I have now ordered two of the three circuit boards (PCB), the Lamp&Keyboard and the Plugboard. Still working on the main board but didn't want to hold back for that. If some serious issues is found I can fix and order new ones when I order the main board.

  • Hw design finalized

    lpaseen05/08/2016 at 04:34 0 comments

    I have now finalized the hardware part, all parts I was planning on are included and nothing missing.

    Software wise it's some small bugs to fix

    PCB - will order two boards in the next few days, the top main board will take a little longer since I need to place all components on it and I don't want to hold up the first two boards with that.

    By design two of the boards are very generic. The lamp and keyboard can also be seen as 26 signal lights and 26 buttons controlled over i2c and the plugboard is 26 io ports on i2c control.
    The main board is a bit trickier but if I change the design I only need to change the top board, the other two boards are the same.

  • Sticking with Arduino - for now

    lpaseen04/13/2016 at 02:38 0 comments

    Did seriously consider switching from Arduino to ESP8266 with program space as no 1 reason. After thinking about it for a while I decided to stick with arduino despite the limit of 32k program space. Reasons are mostly the time it will take to do the redesign and if I start a redesign every time I find a new shiny thing it will never be finished.

    The current version will be limited in some ways but I rather add a arduino mega than switch to esp since that redesign would be just a physically bigger board than the current nano plus a ton of more program space. Going with ESP8266 means redesign a lot more, things like need more io pins, 3.3v to 5v level shifter and software changes both to make it work and also to implement the stuff I then would have space for - that will all take a lot of time to do.

    For V1.0 it will be basically what I already have, a mainboard based on arduino nano, a separate lamp and keyboard plus a plug board.

    If it is interest for more I may make a v2 mainboard based on ESP8266 with way more simulators included, things like UKWD, UHR box, all enigma models, custom models and more.

View all 13 project logs

Enjoy this project?

Share

Discussions

lpaseen wrote 07/13/2017 at 03:38 point

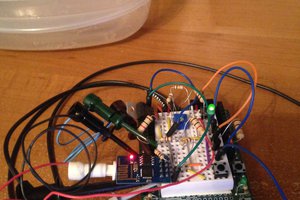
Getting close now, I now have 4 complete kits. Well, almost complete - final touches on the documentation is left and I plan to have that done within a month

  Are you sure? yes | no

lpaseen wrote 05/06/2016 at 21:22 point

(didn't know it was such a market for buttons and caps), just read my comment from 03/10/2016
Source for the stickers was a local craft store.

  Are you sure? yes | no

Oscarv wrote 05/08/2016 at 00:36 point

Thanks! Probably not a store that's local for me though :). They are surprisingly hard to find... Hope you get the kit out soon!

  Are you sure? yes | no

lpaseen wrote 05/22/2016 at 19:16 point

The craftstore is michael's and I found that when it comes to labels different stores has different stock so I have to check all of them for a good label.


First stage of the kit done, got two of three boards and finished testing one of them.
The third board is the main board and that one need a little more checking so I ordered the first two with the expectation that I will have to fix something (and I do) and order another batch.

  Are you sure? yes | no

Oscarv wrote 05/06/2016 at 15:06 point

Great looks! I searched quite a while, can I ask where you found the key caps and alphabet stickers? I am trying to make a lookalike telex machine where they'd be perfect :)

  Are you sure? yes | no

lpaseen wrote 03/10/2016 at 05:07 point

Buttons for the keyboard is really same as the black buttons under the rotors, I just colored them with a silver pen and put some letter stickers on top.

Protoboard is 10cm by 22cm and I while I bought it in a store here I seen it on ebay also.

  Are you sure? yes | no

Pilot Roger wrote 03/09/2016 at 21:31 point

Where did you bought those buttons and button caps? Also where did you get such a large protoboard in the coluor

  Are you sure? yes | no

Similar Projects

Does this project spark your interest?

Become a member to follow this project and never miss any updates